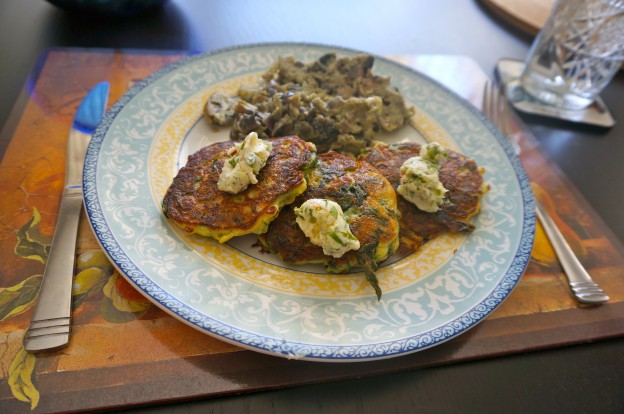
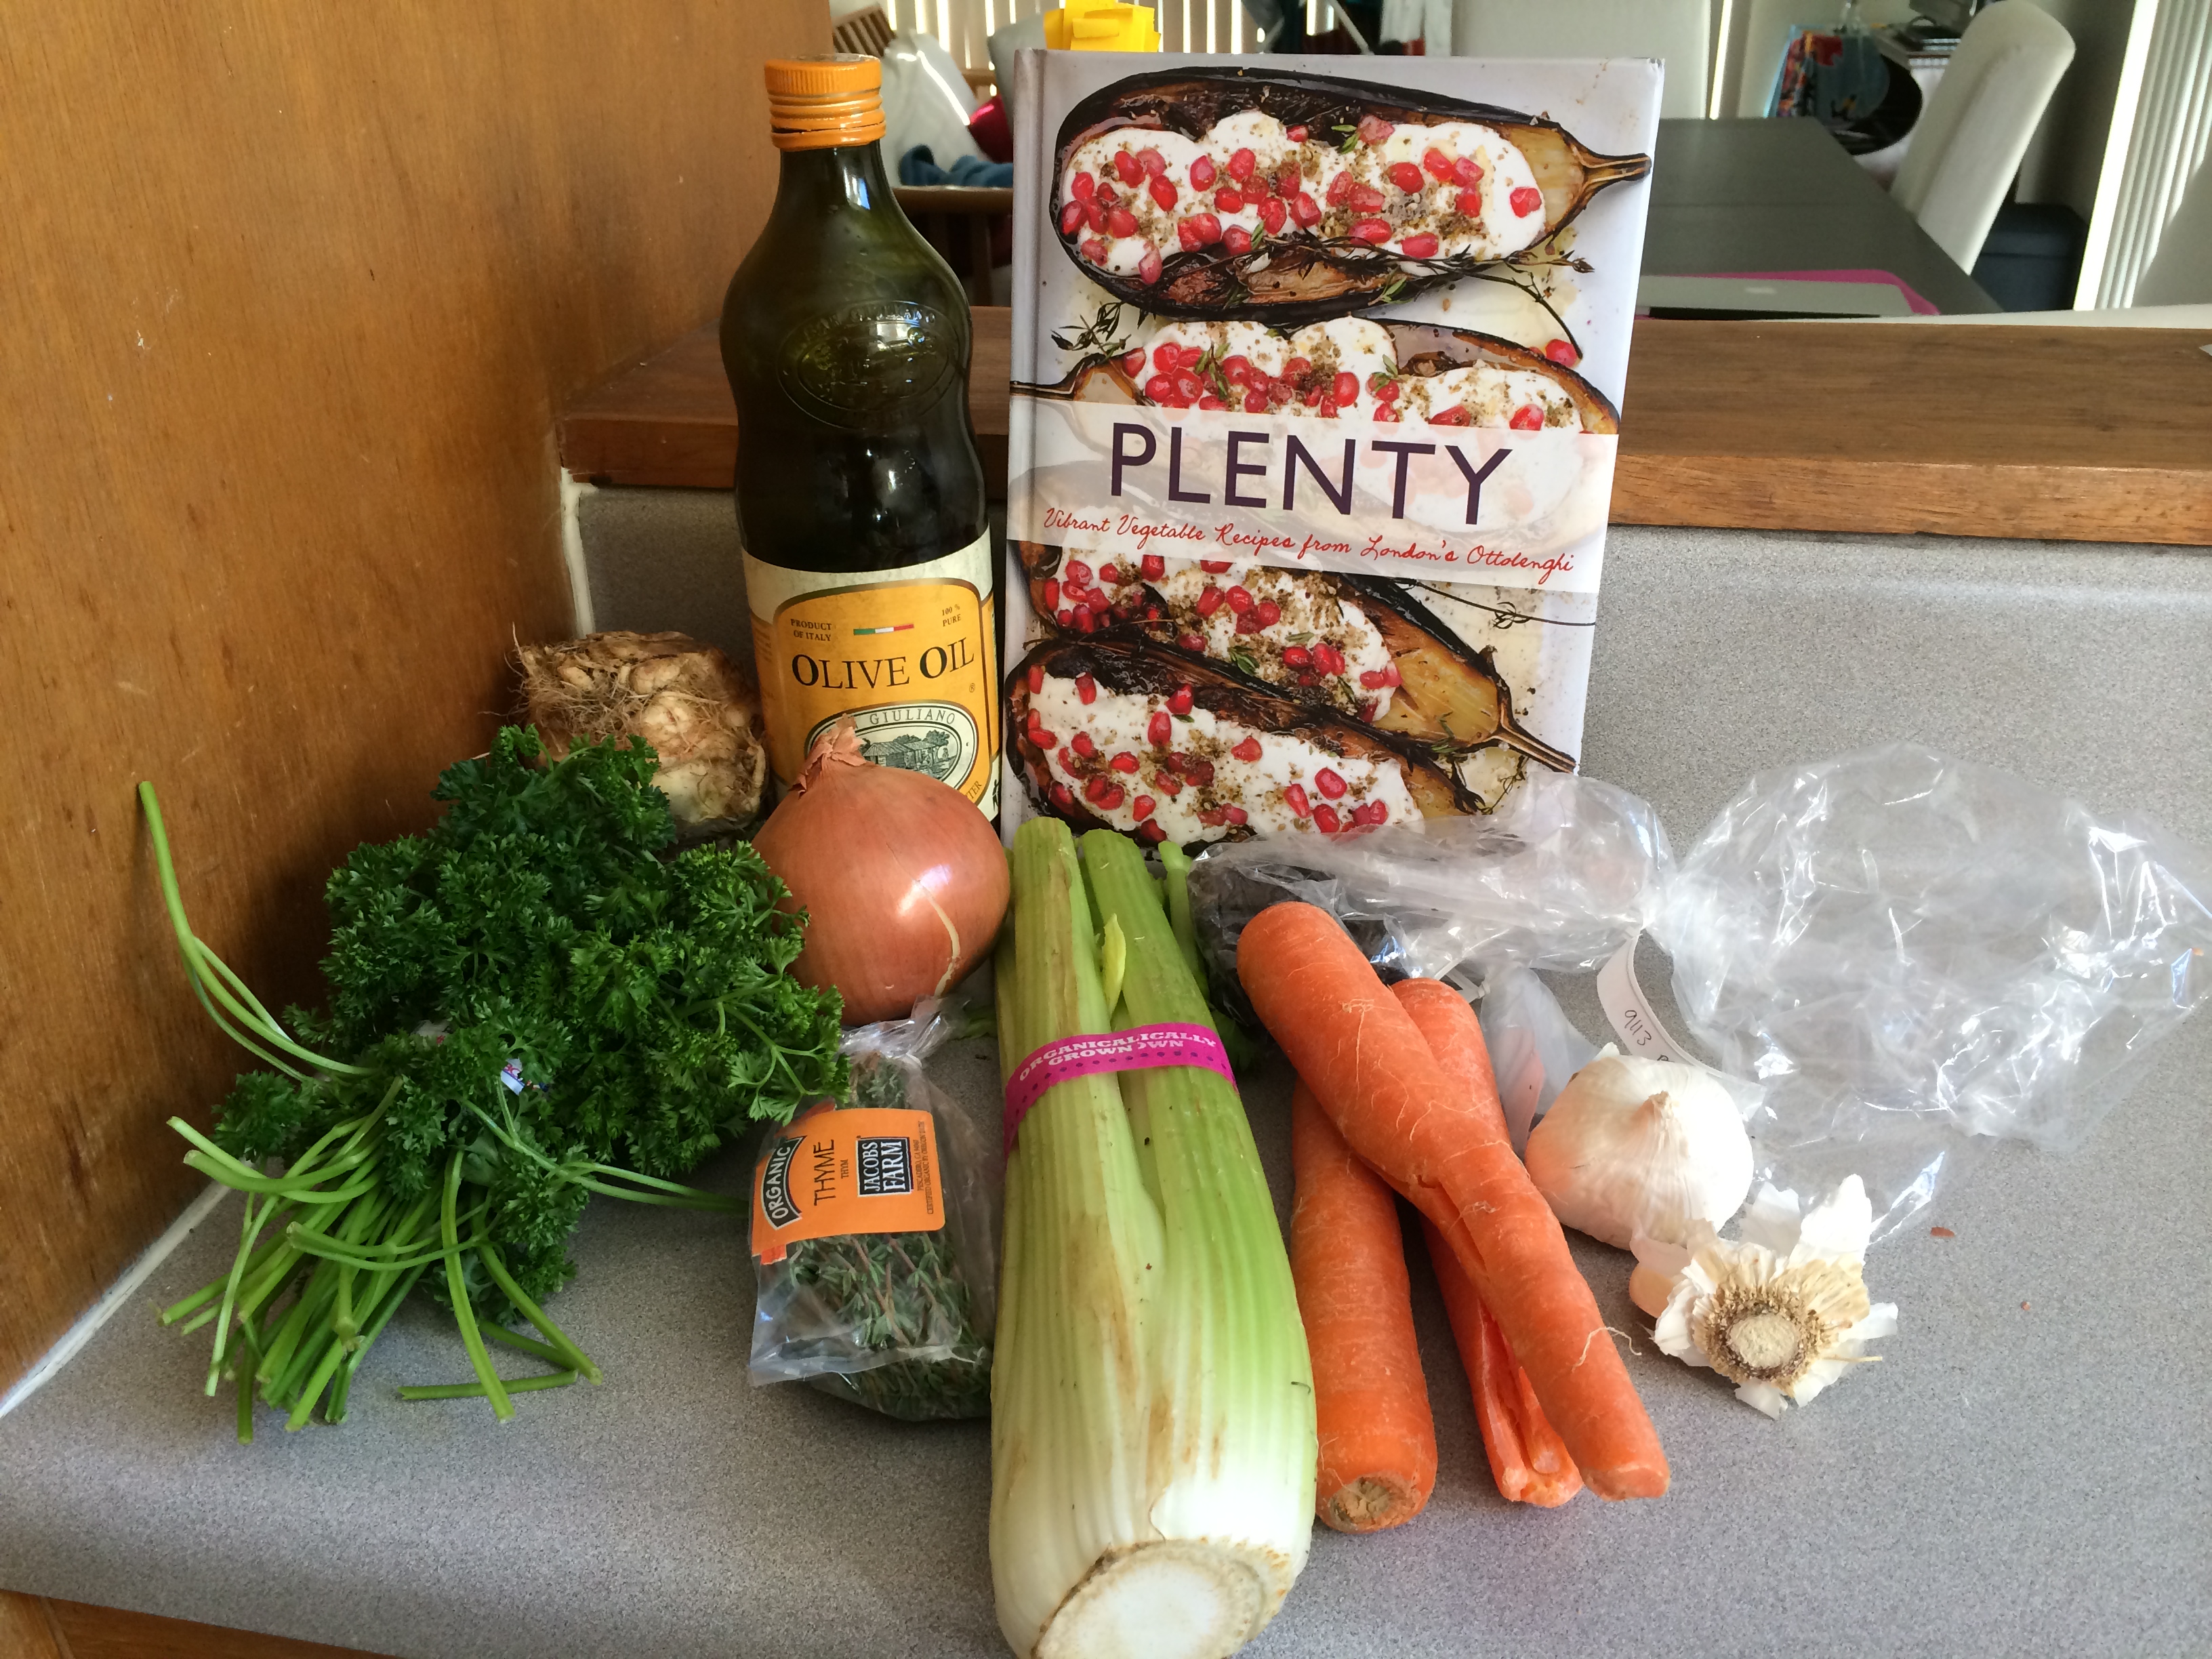
These chard cakes are the perfect vaguely healthy yet super decadent summer appetizer or side dish. They are seriously so good is difficult to describe. It’s this odd sensation of something super healthy and good for you like chard, and then made a little bit sinful by deep frying it, but then it’s covered in this really fresh and light tasting sorrel sauce. The recipe for the chard cakes is on p. 149 of Yotam Ottolenghi’s Plenty and is also featured online here.
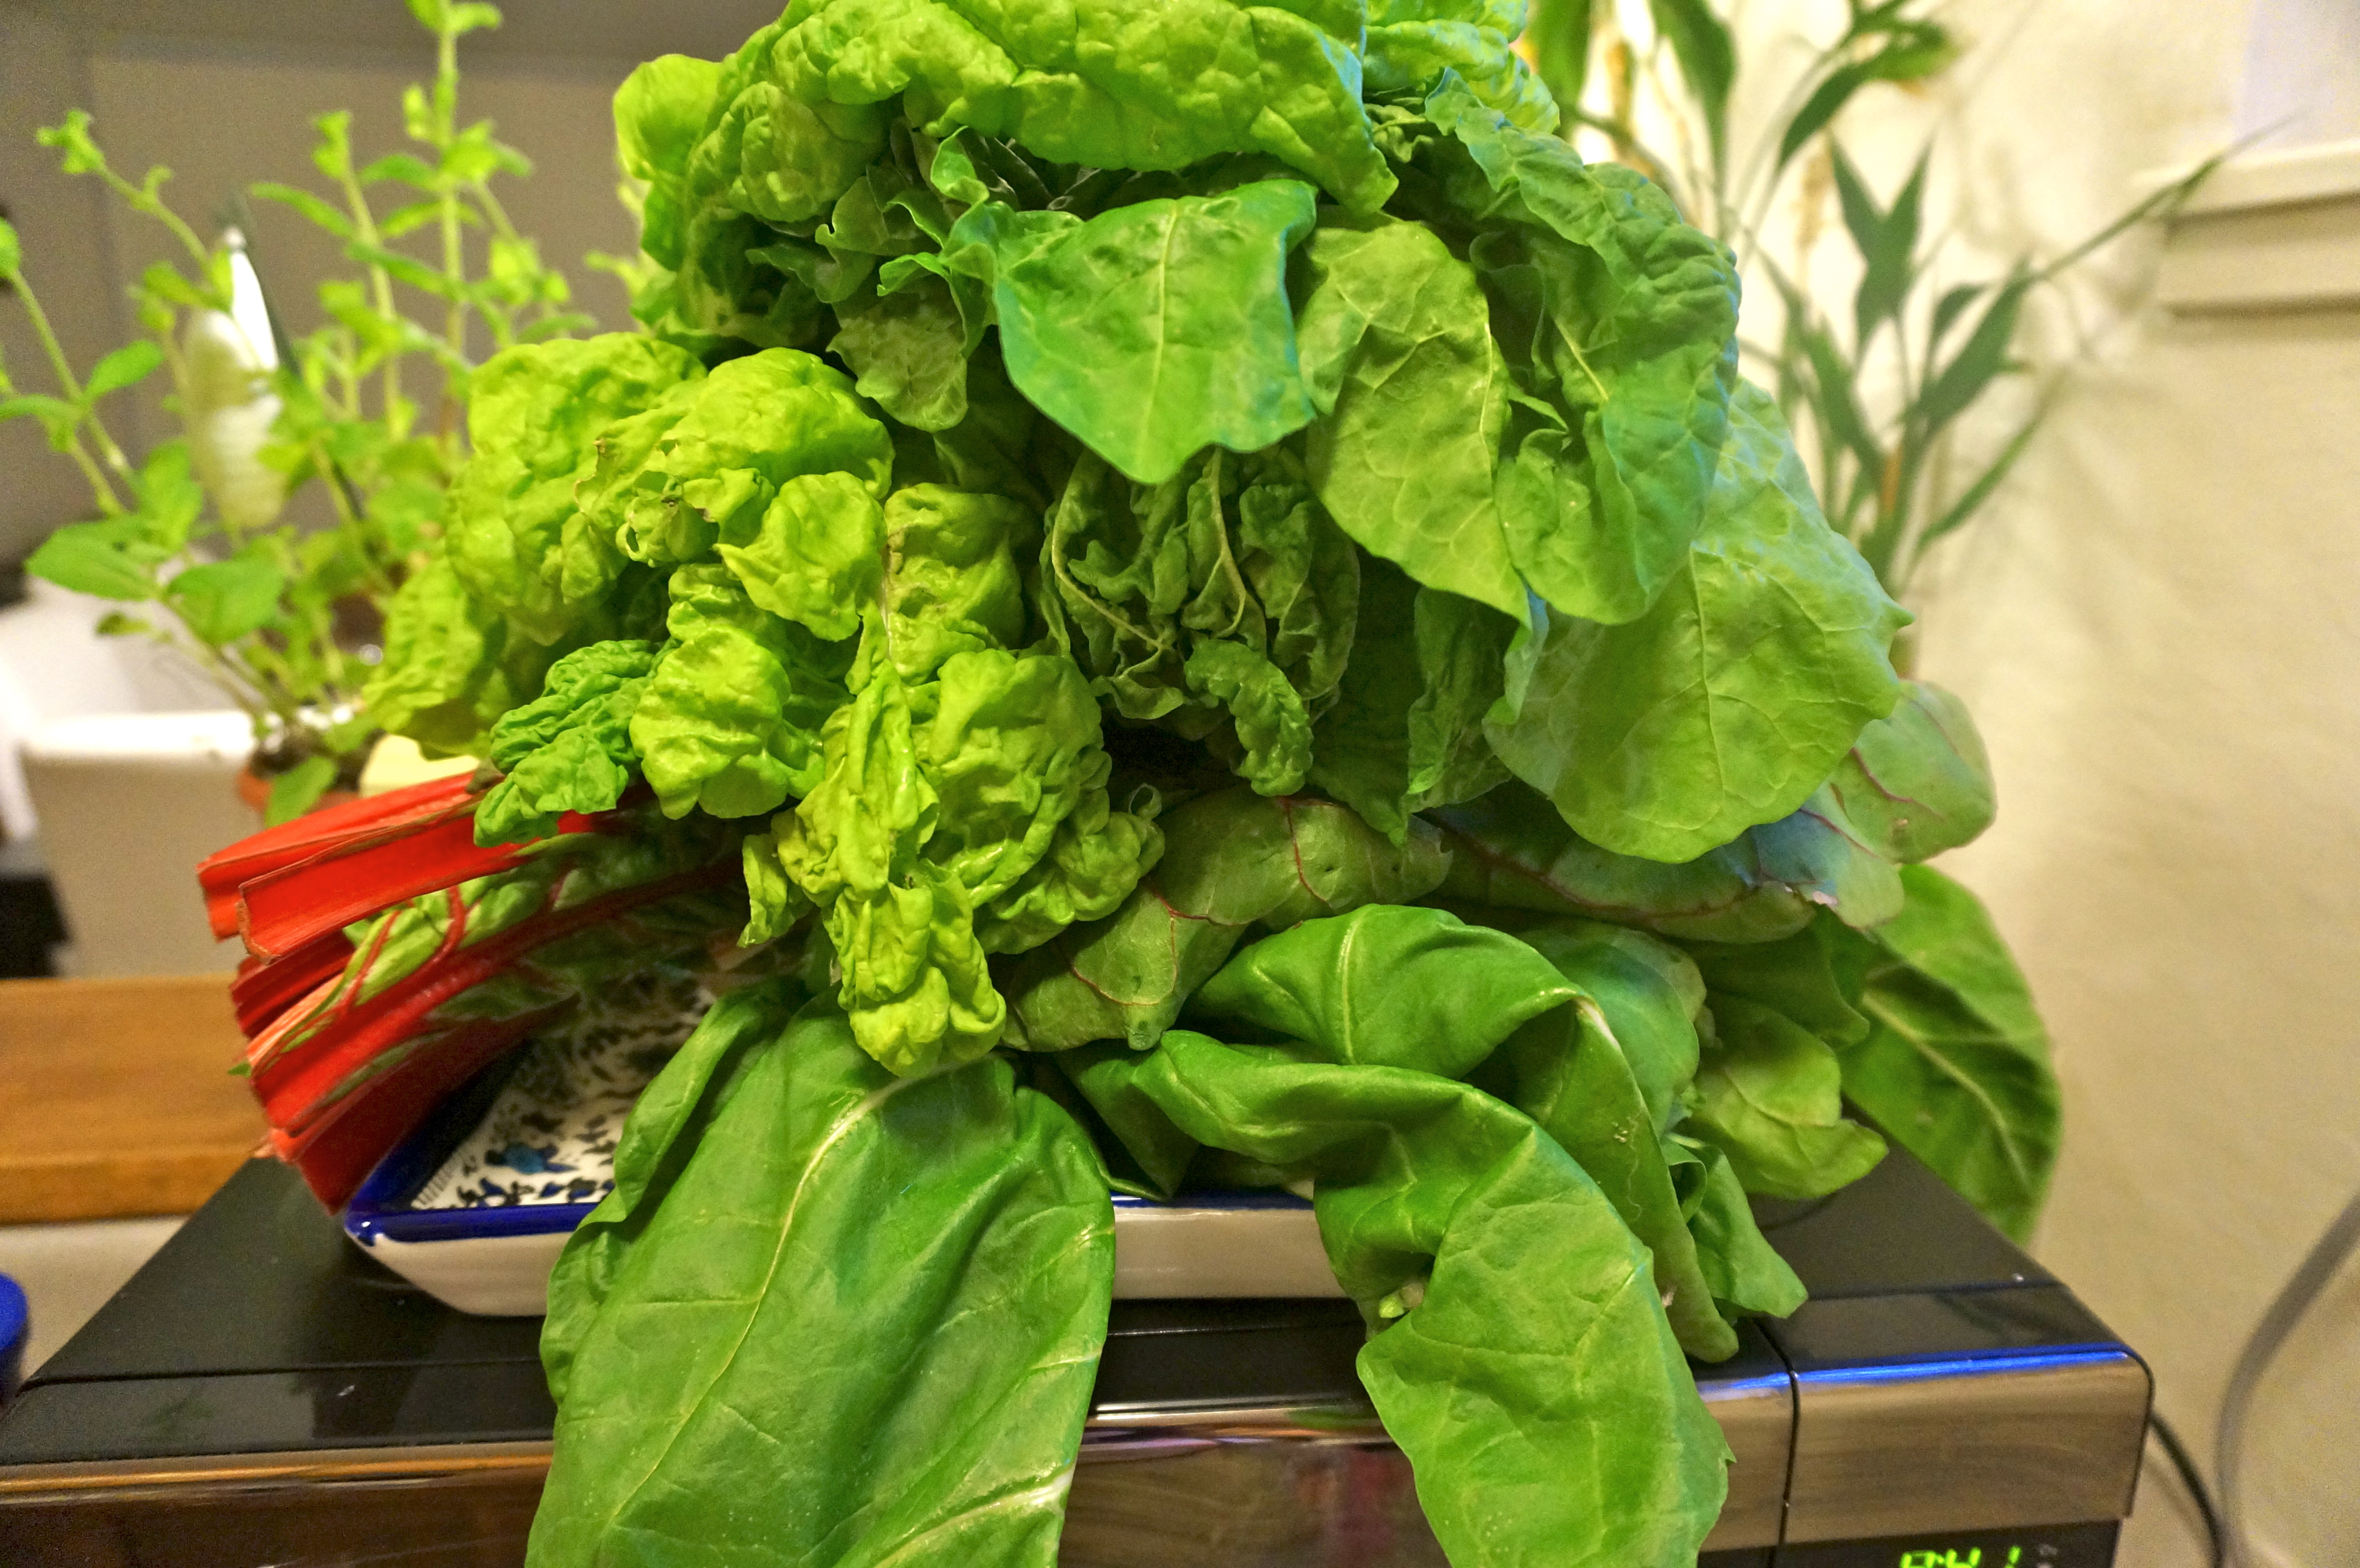
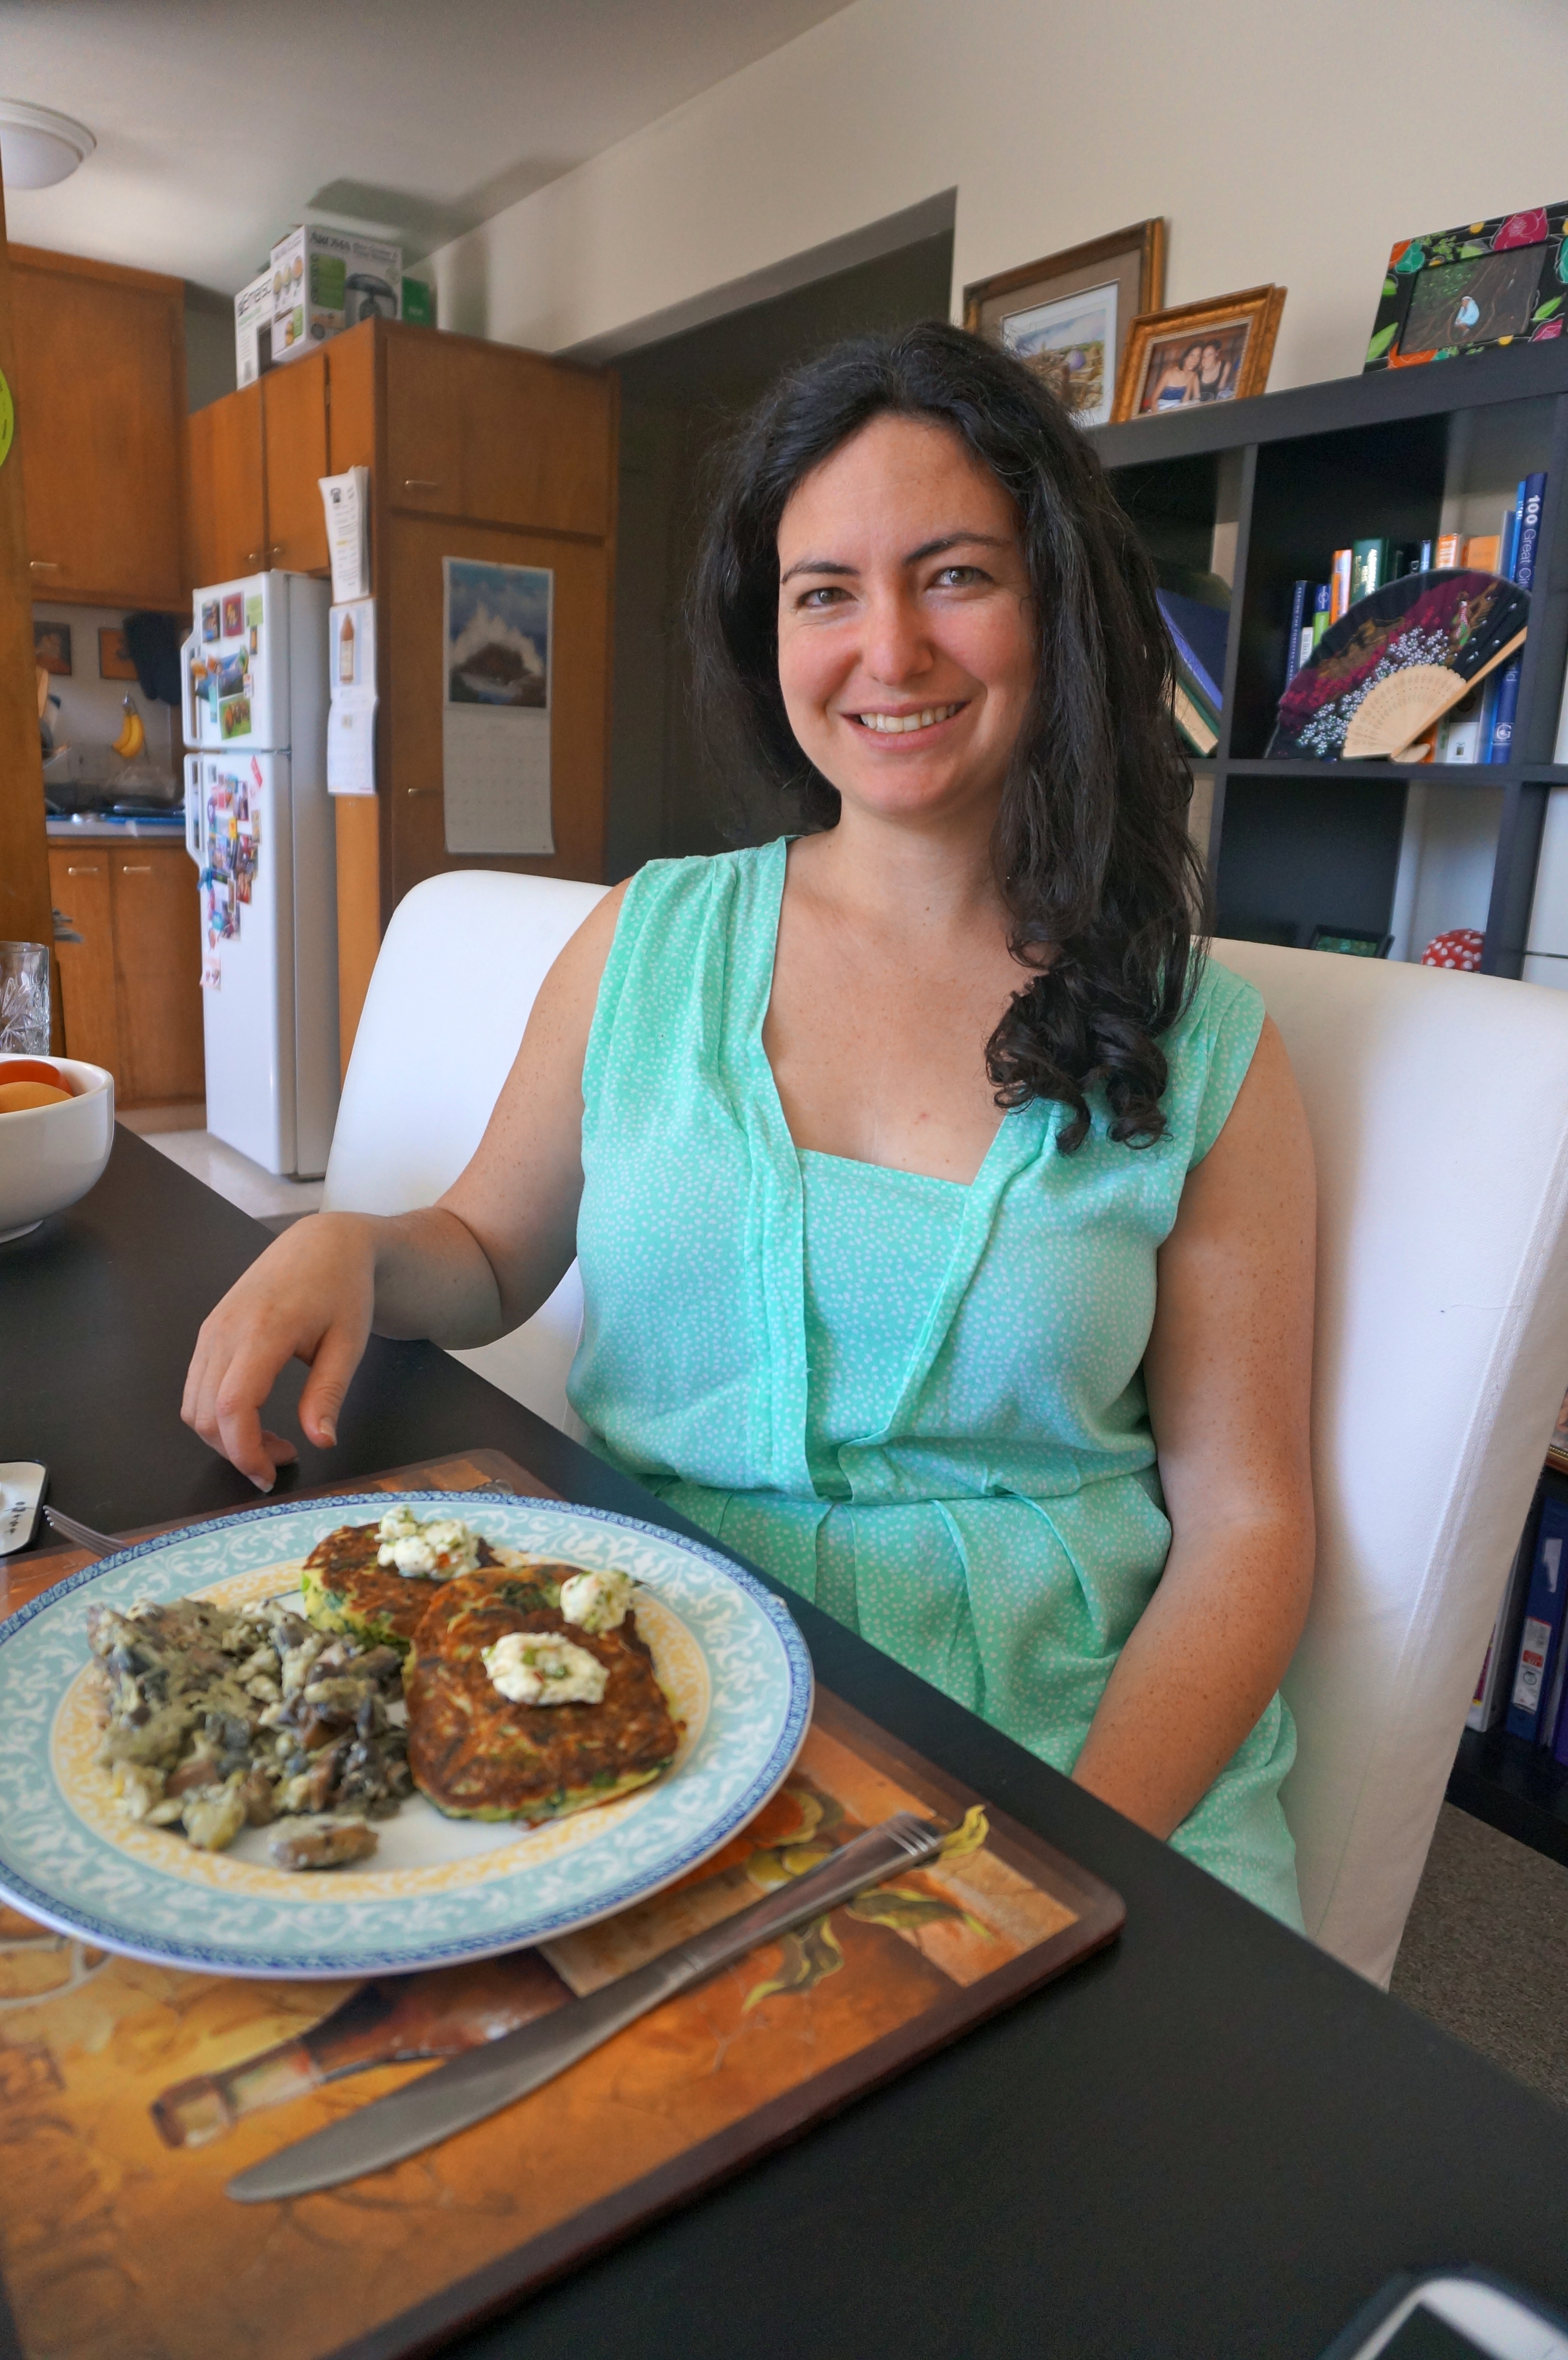
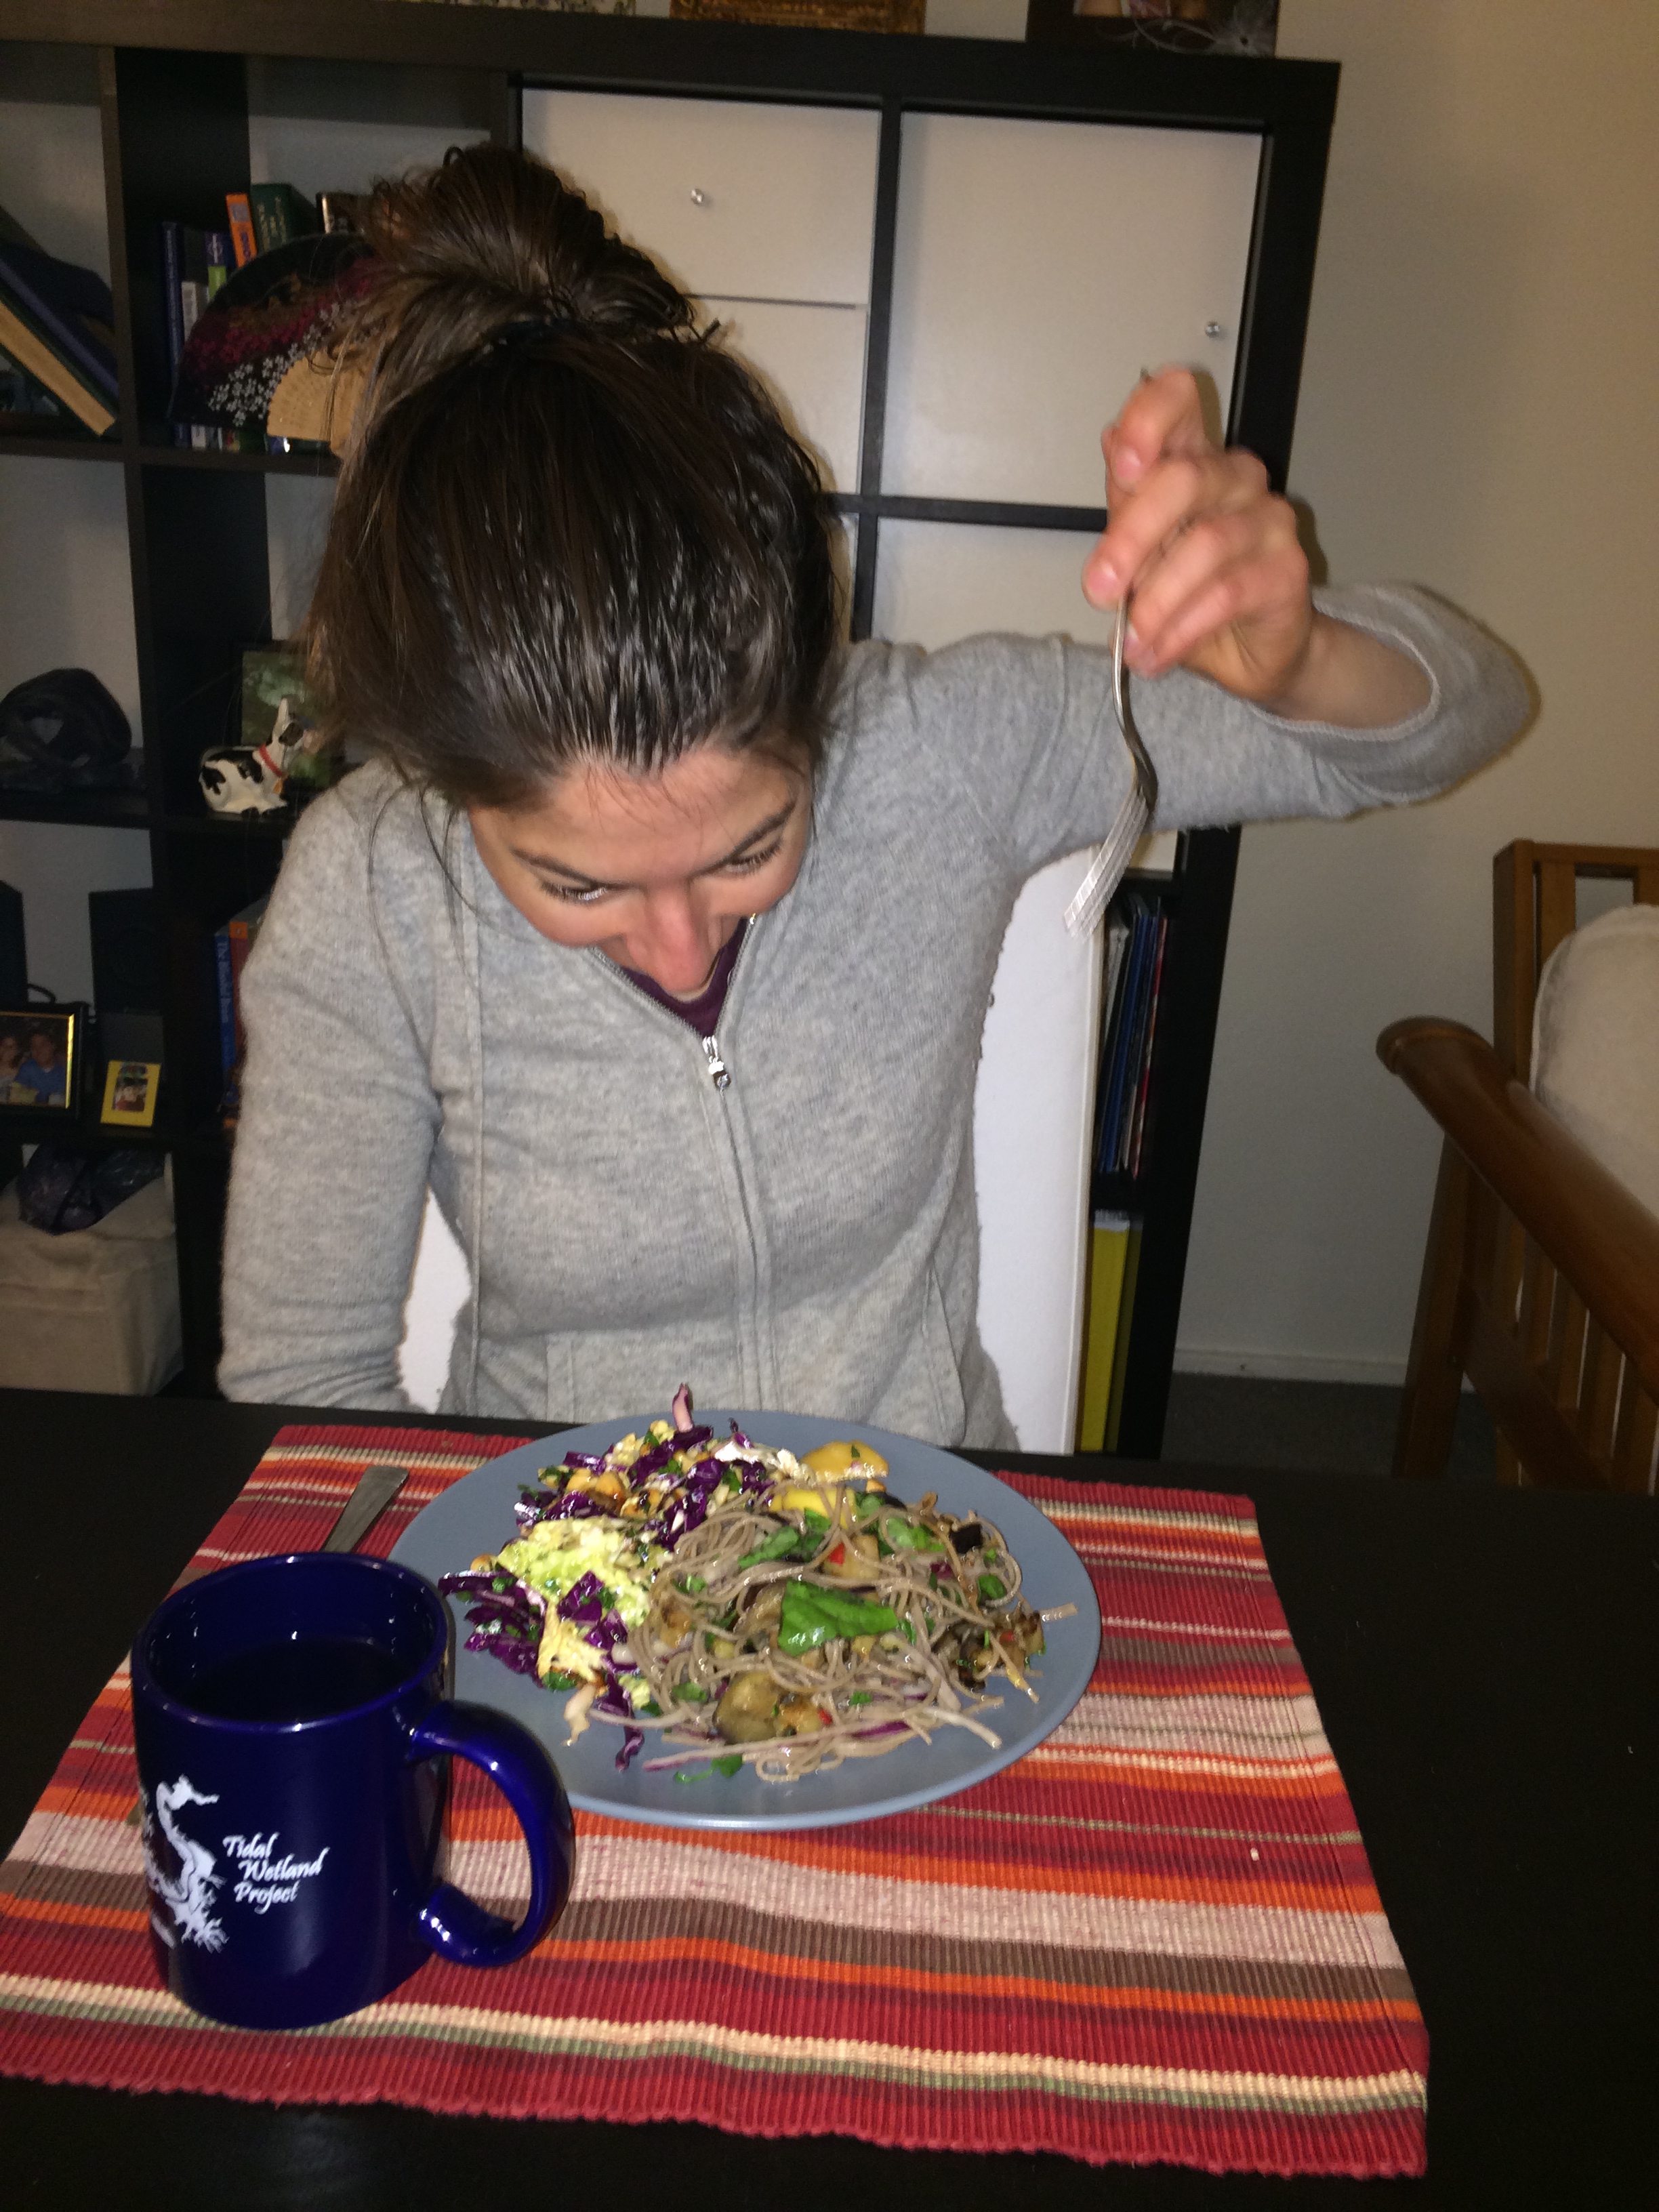
This is how much I love swiss chard
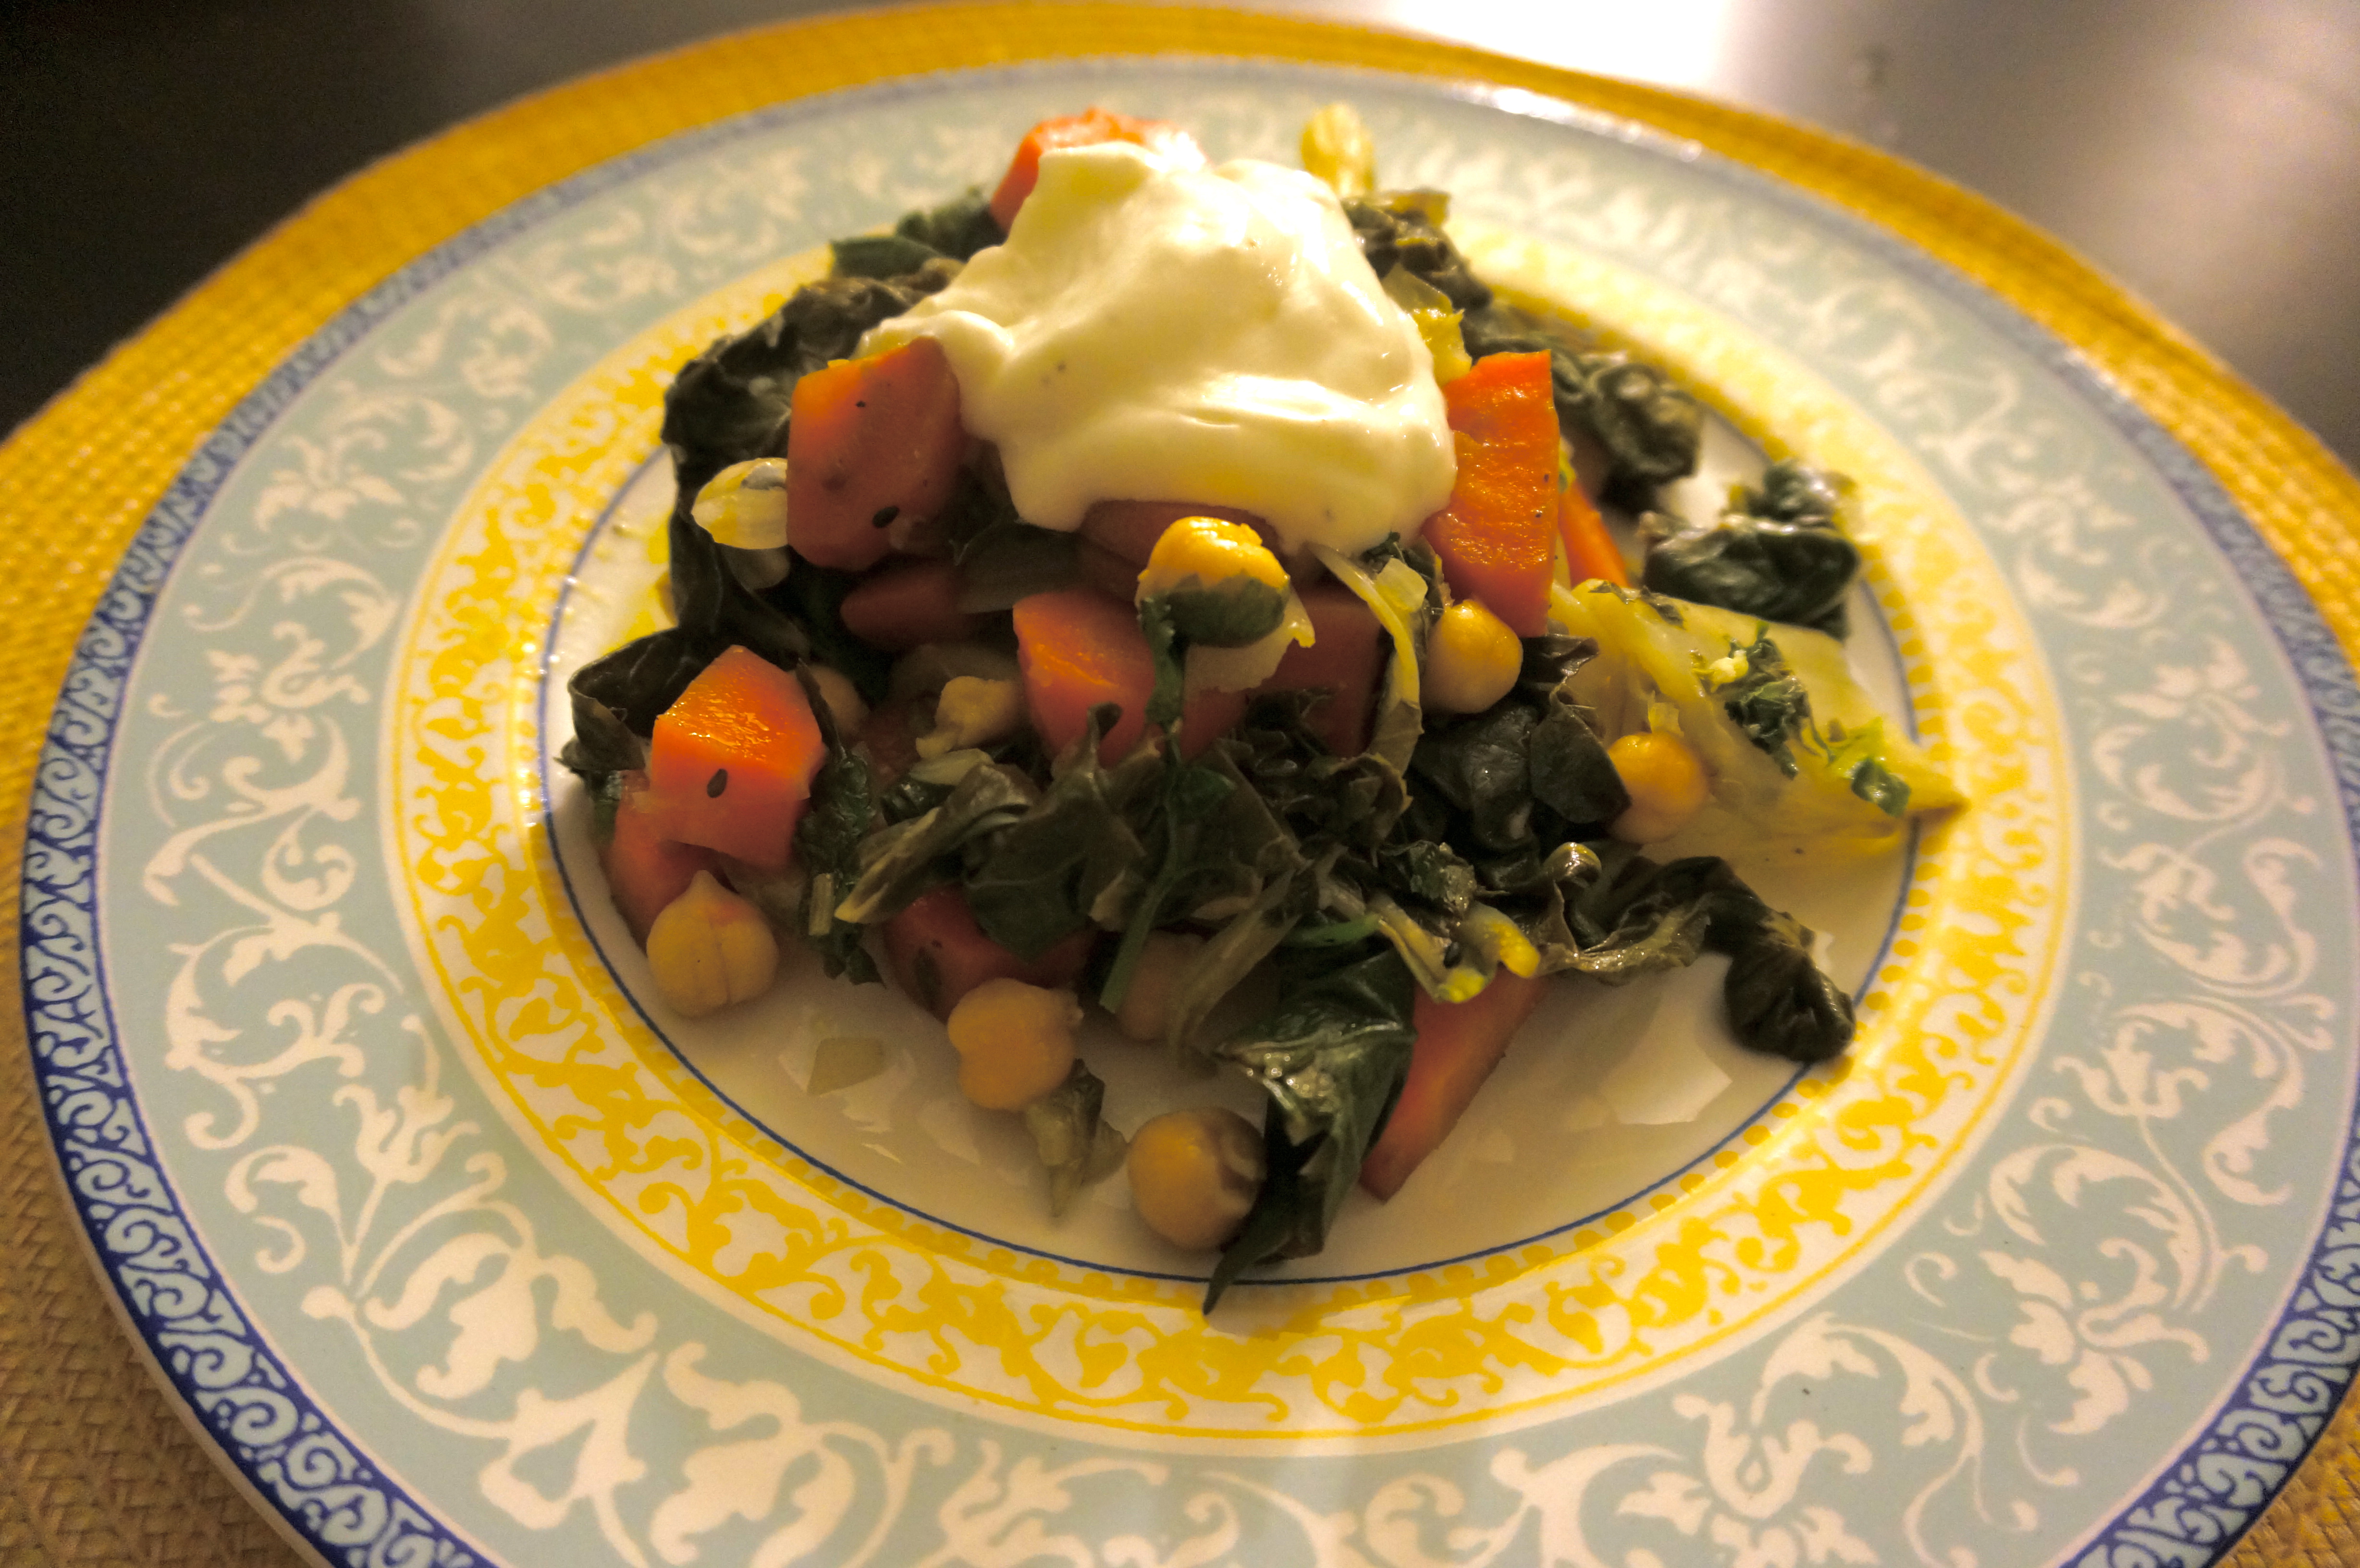
I don’t think I’d ever cooked with swiss chard before starting this blog, but now I’ve cooked at least 4 recipes featuring it. It is just so good the way that Yotam Ottolenghi suggests making it, and it is especially well complemented by Greek yogurt, which I think has been a key ingredient in every swiss chard recipe I’ve made so far (I especially really loved the swiss chard with tahini, yogurt, and buttered pine nuts, featured here).
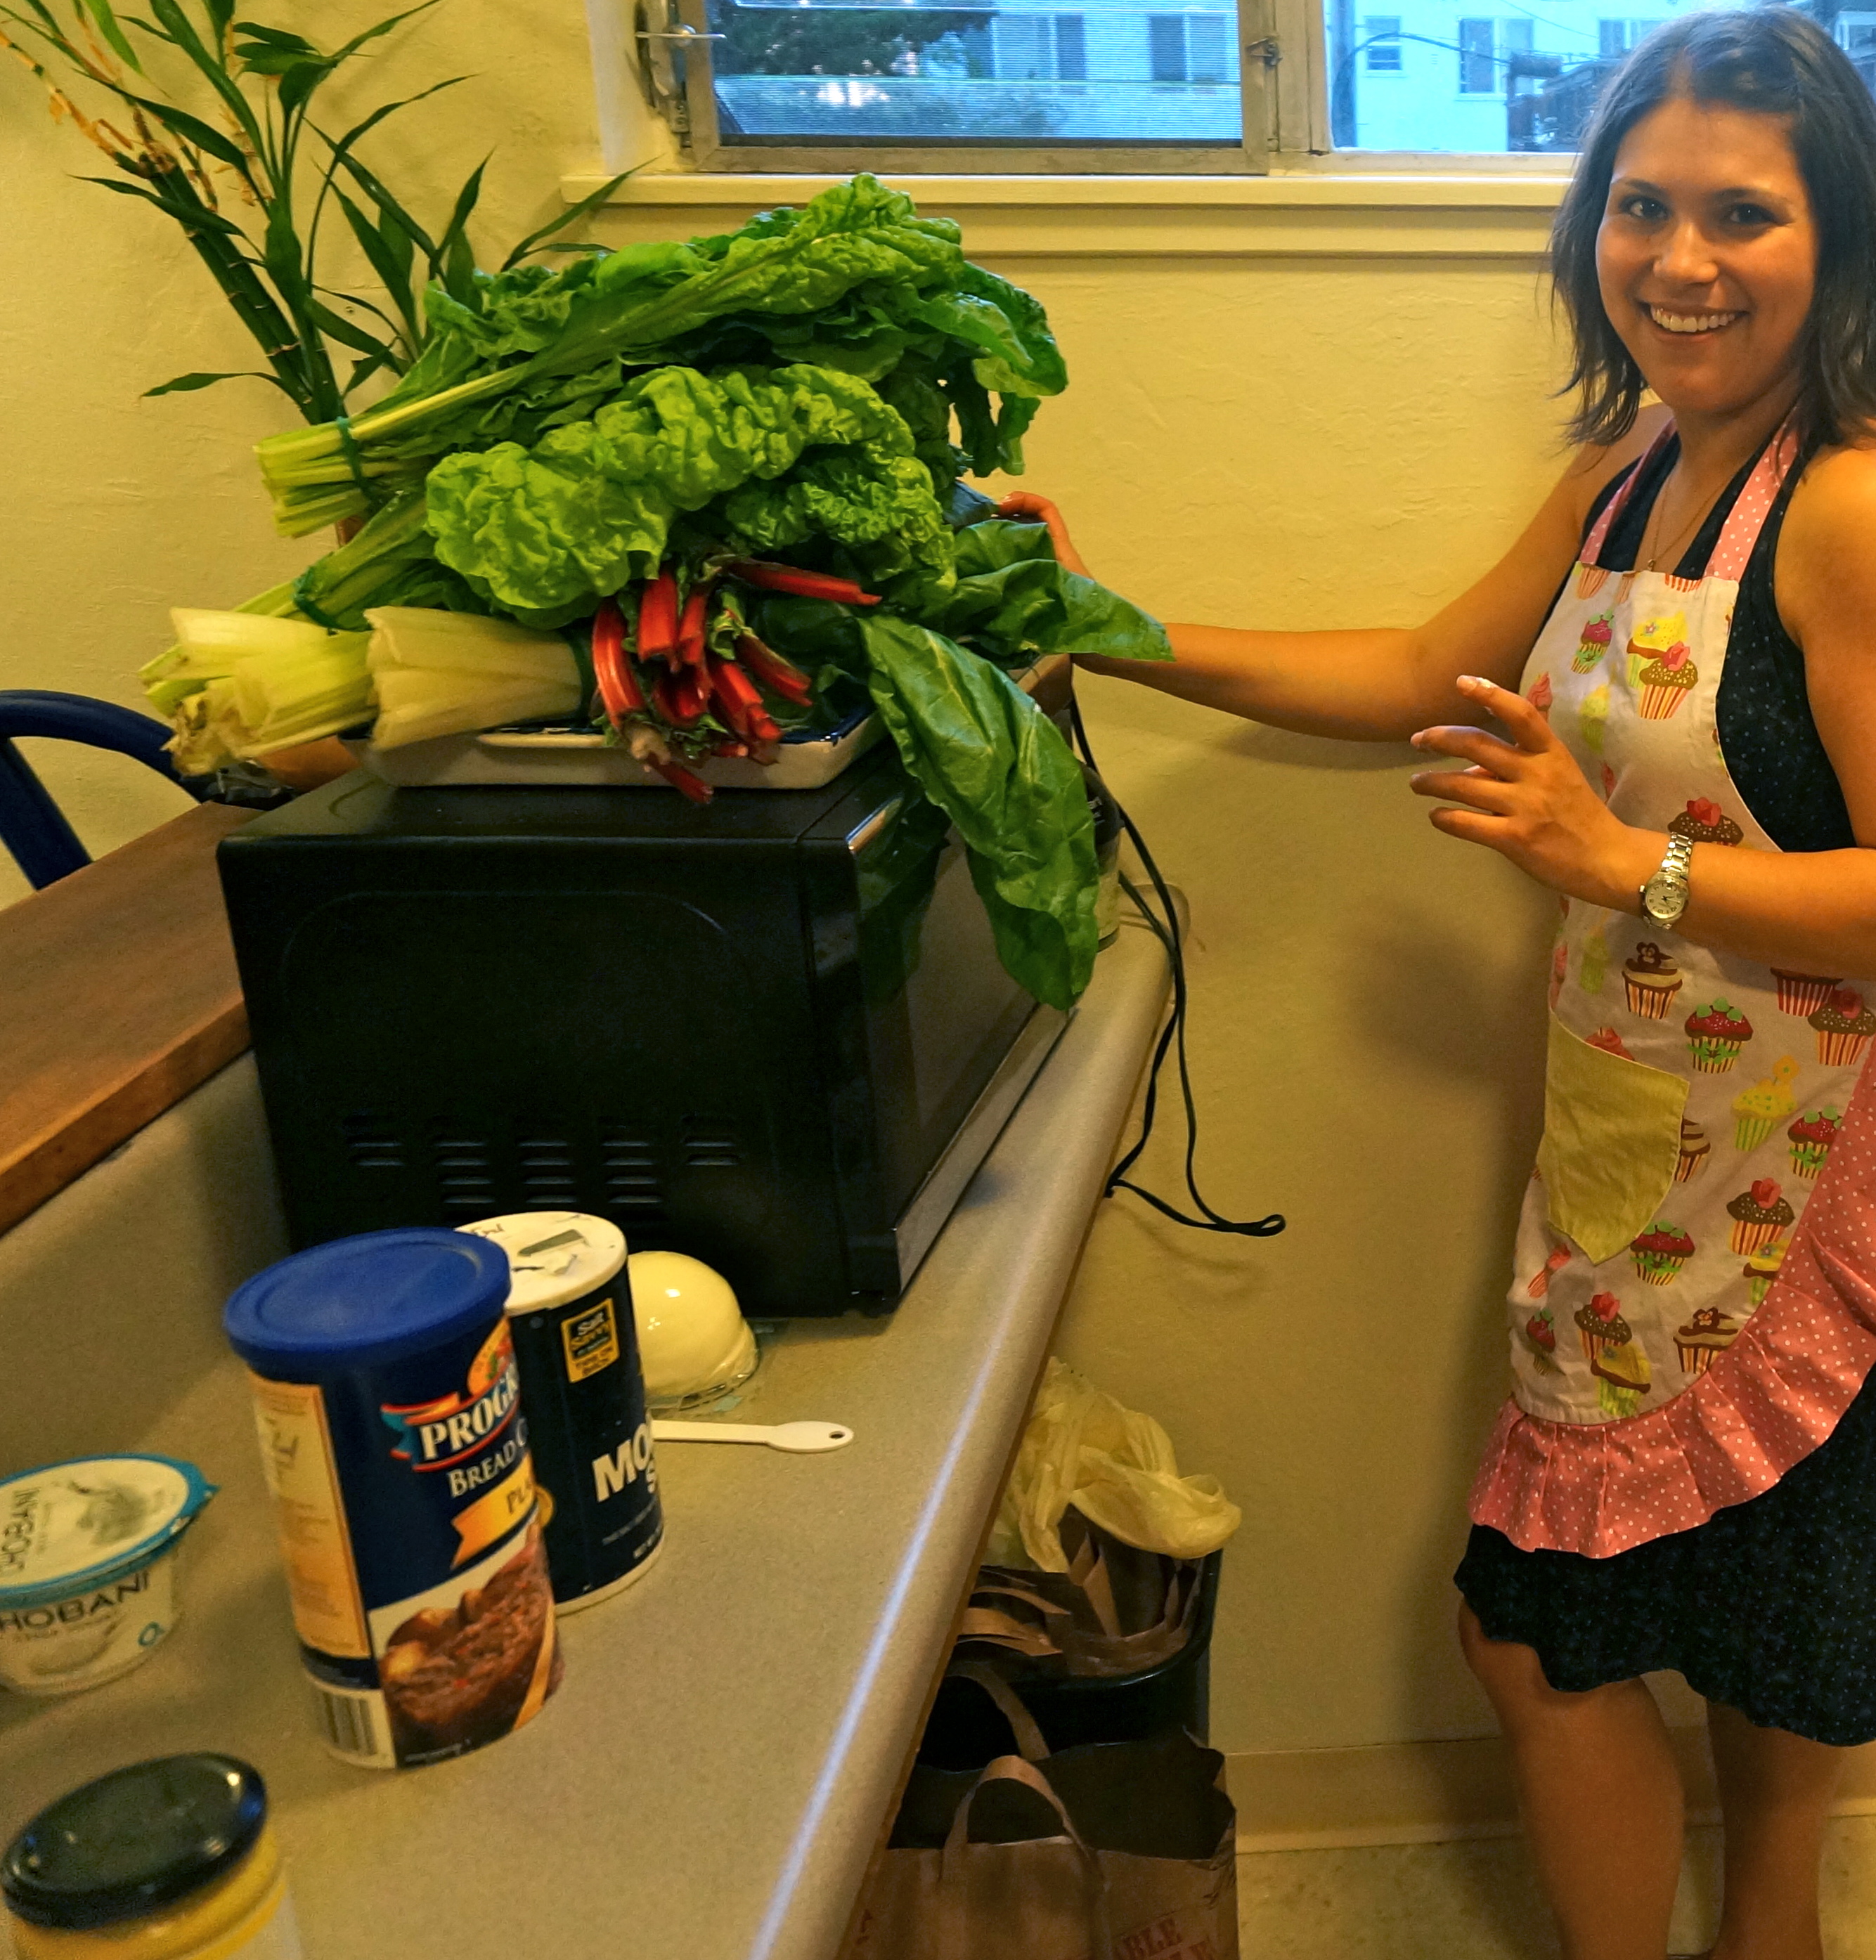
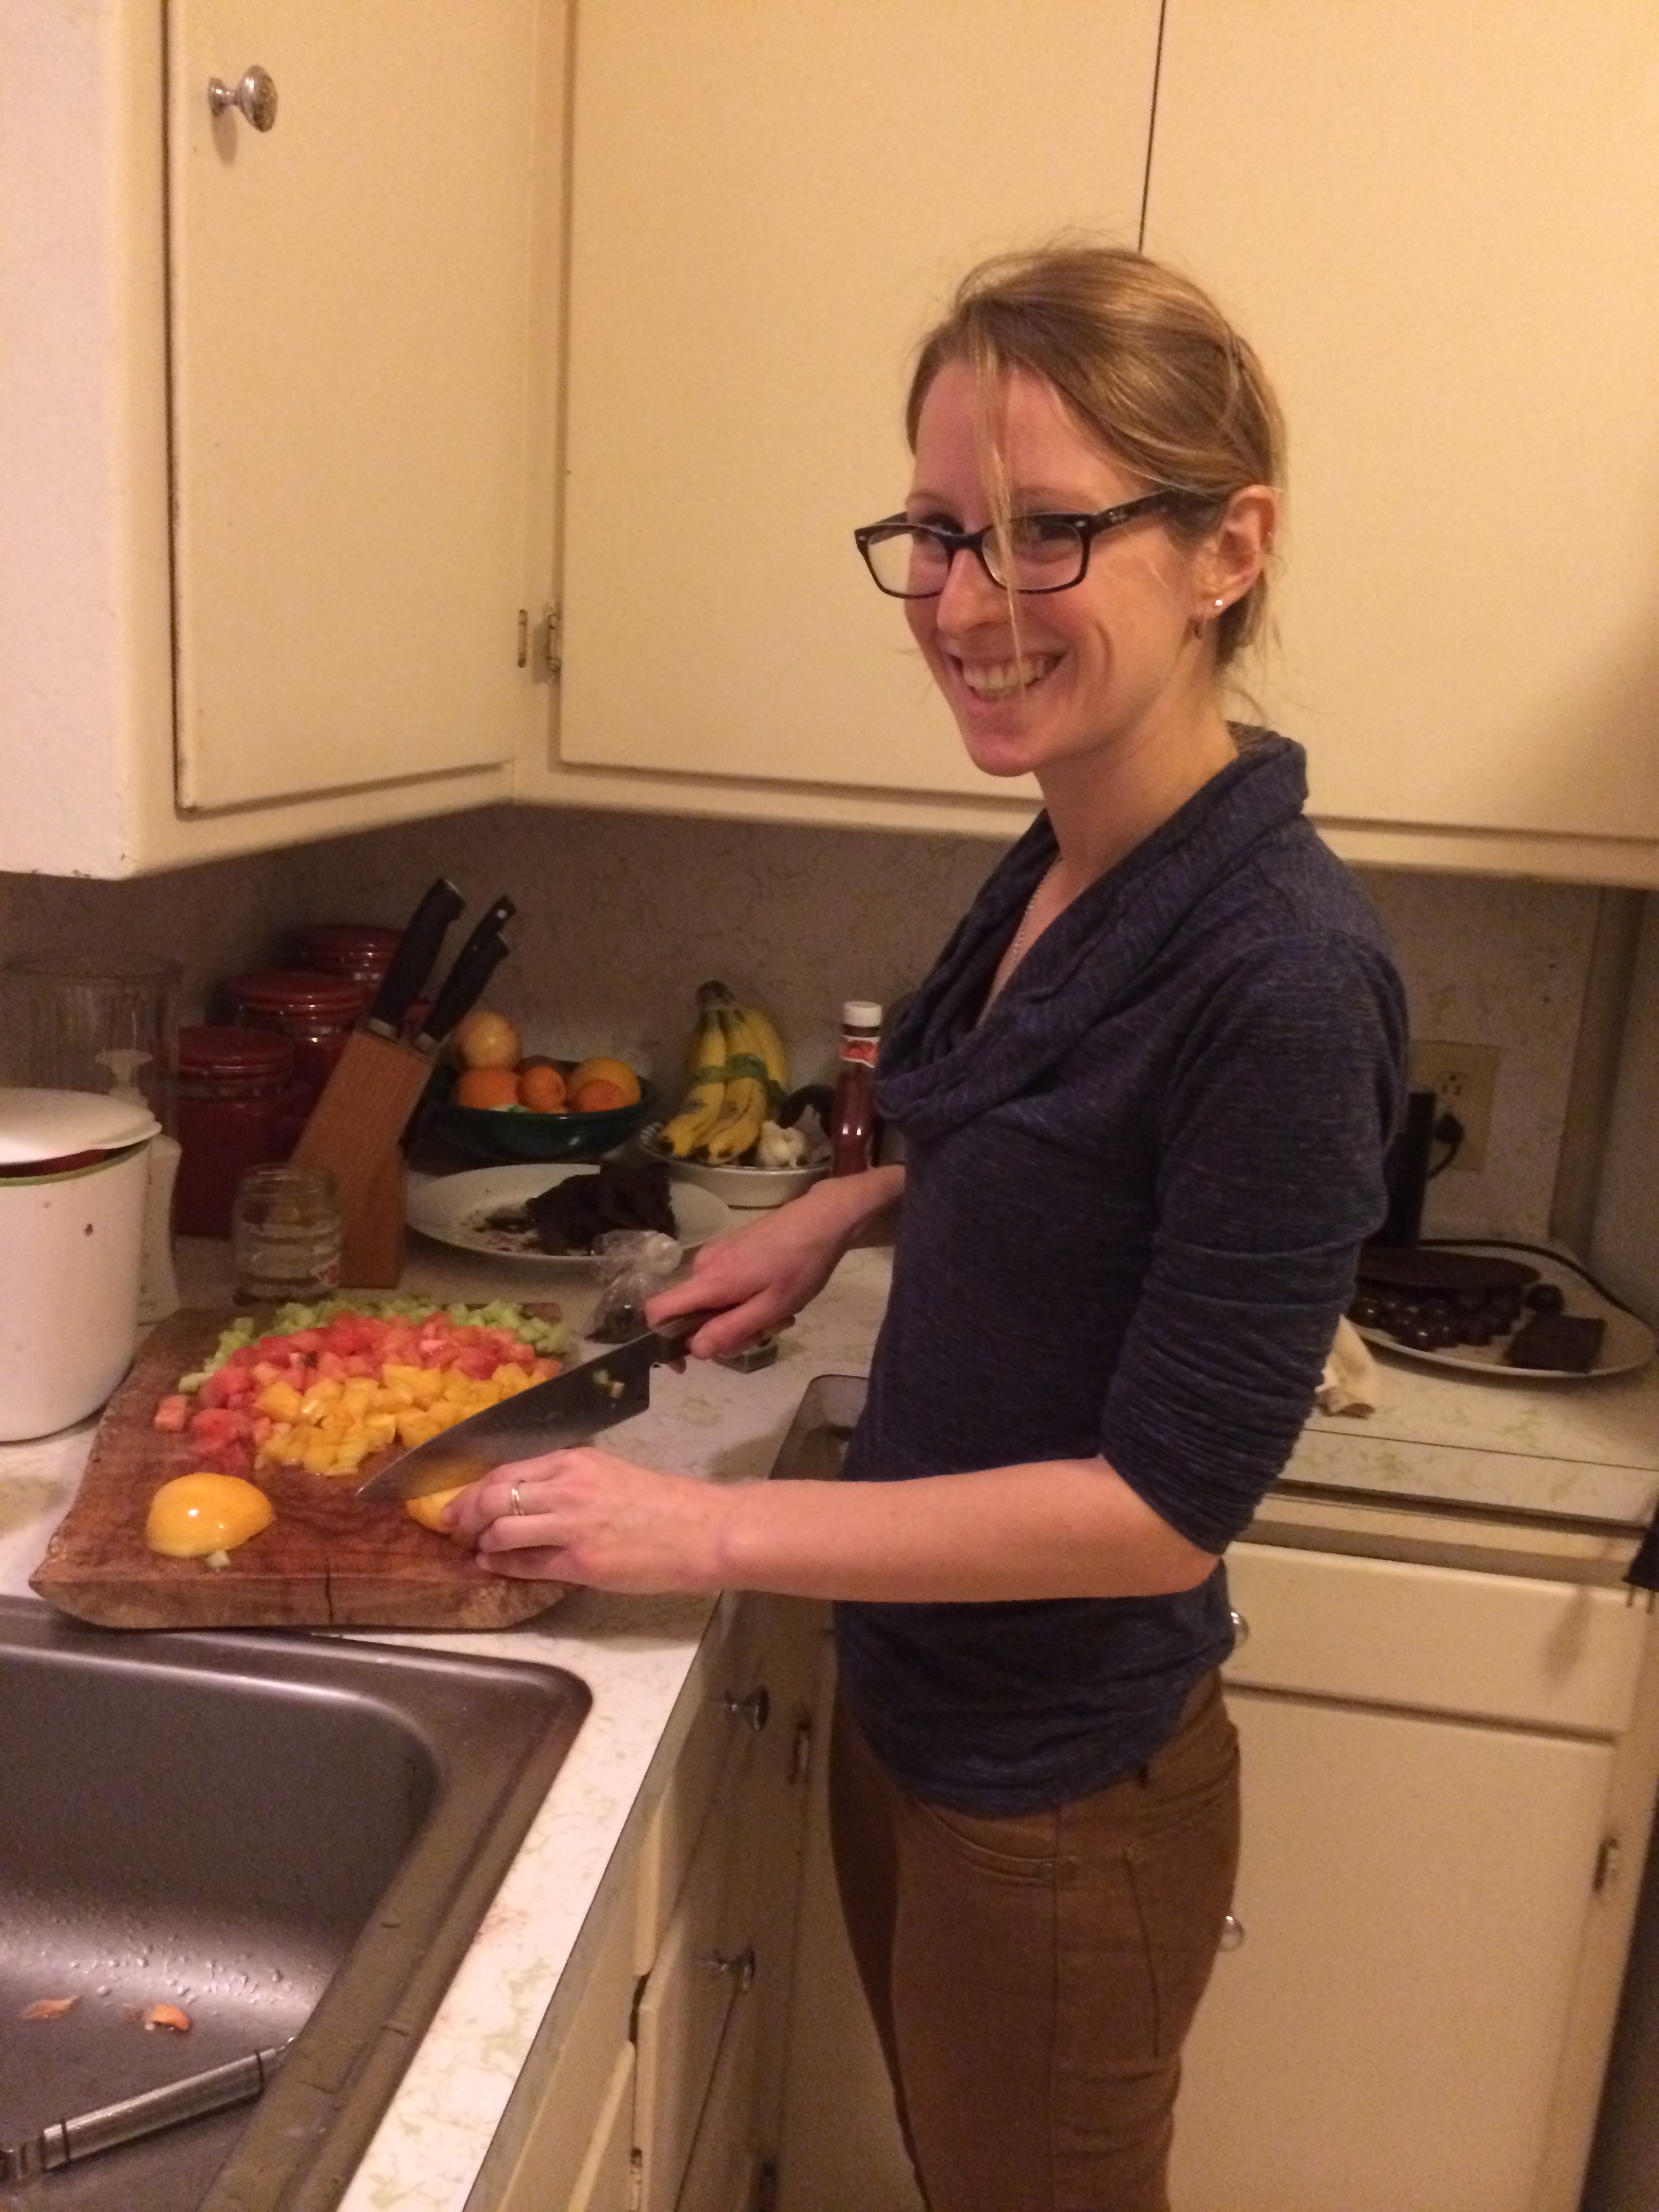
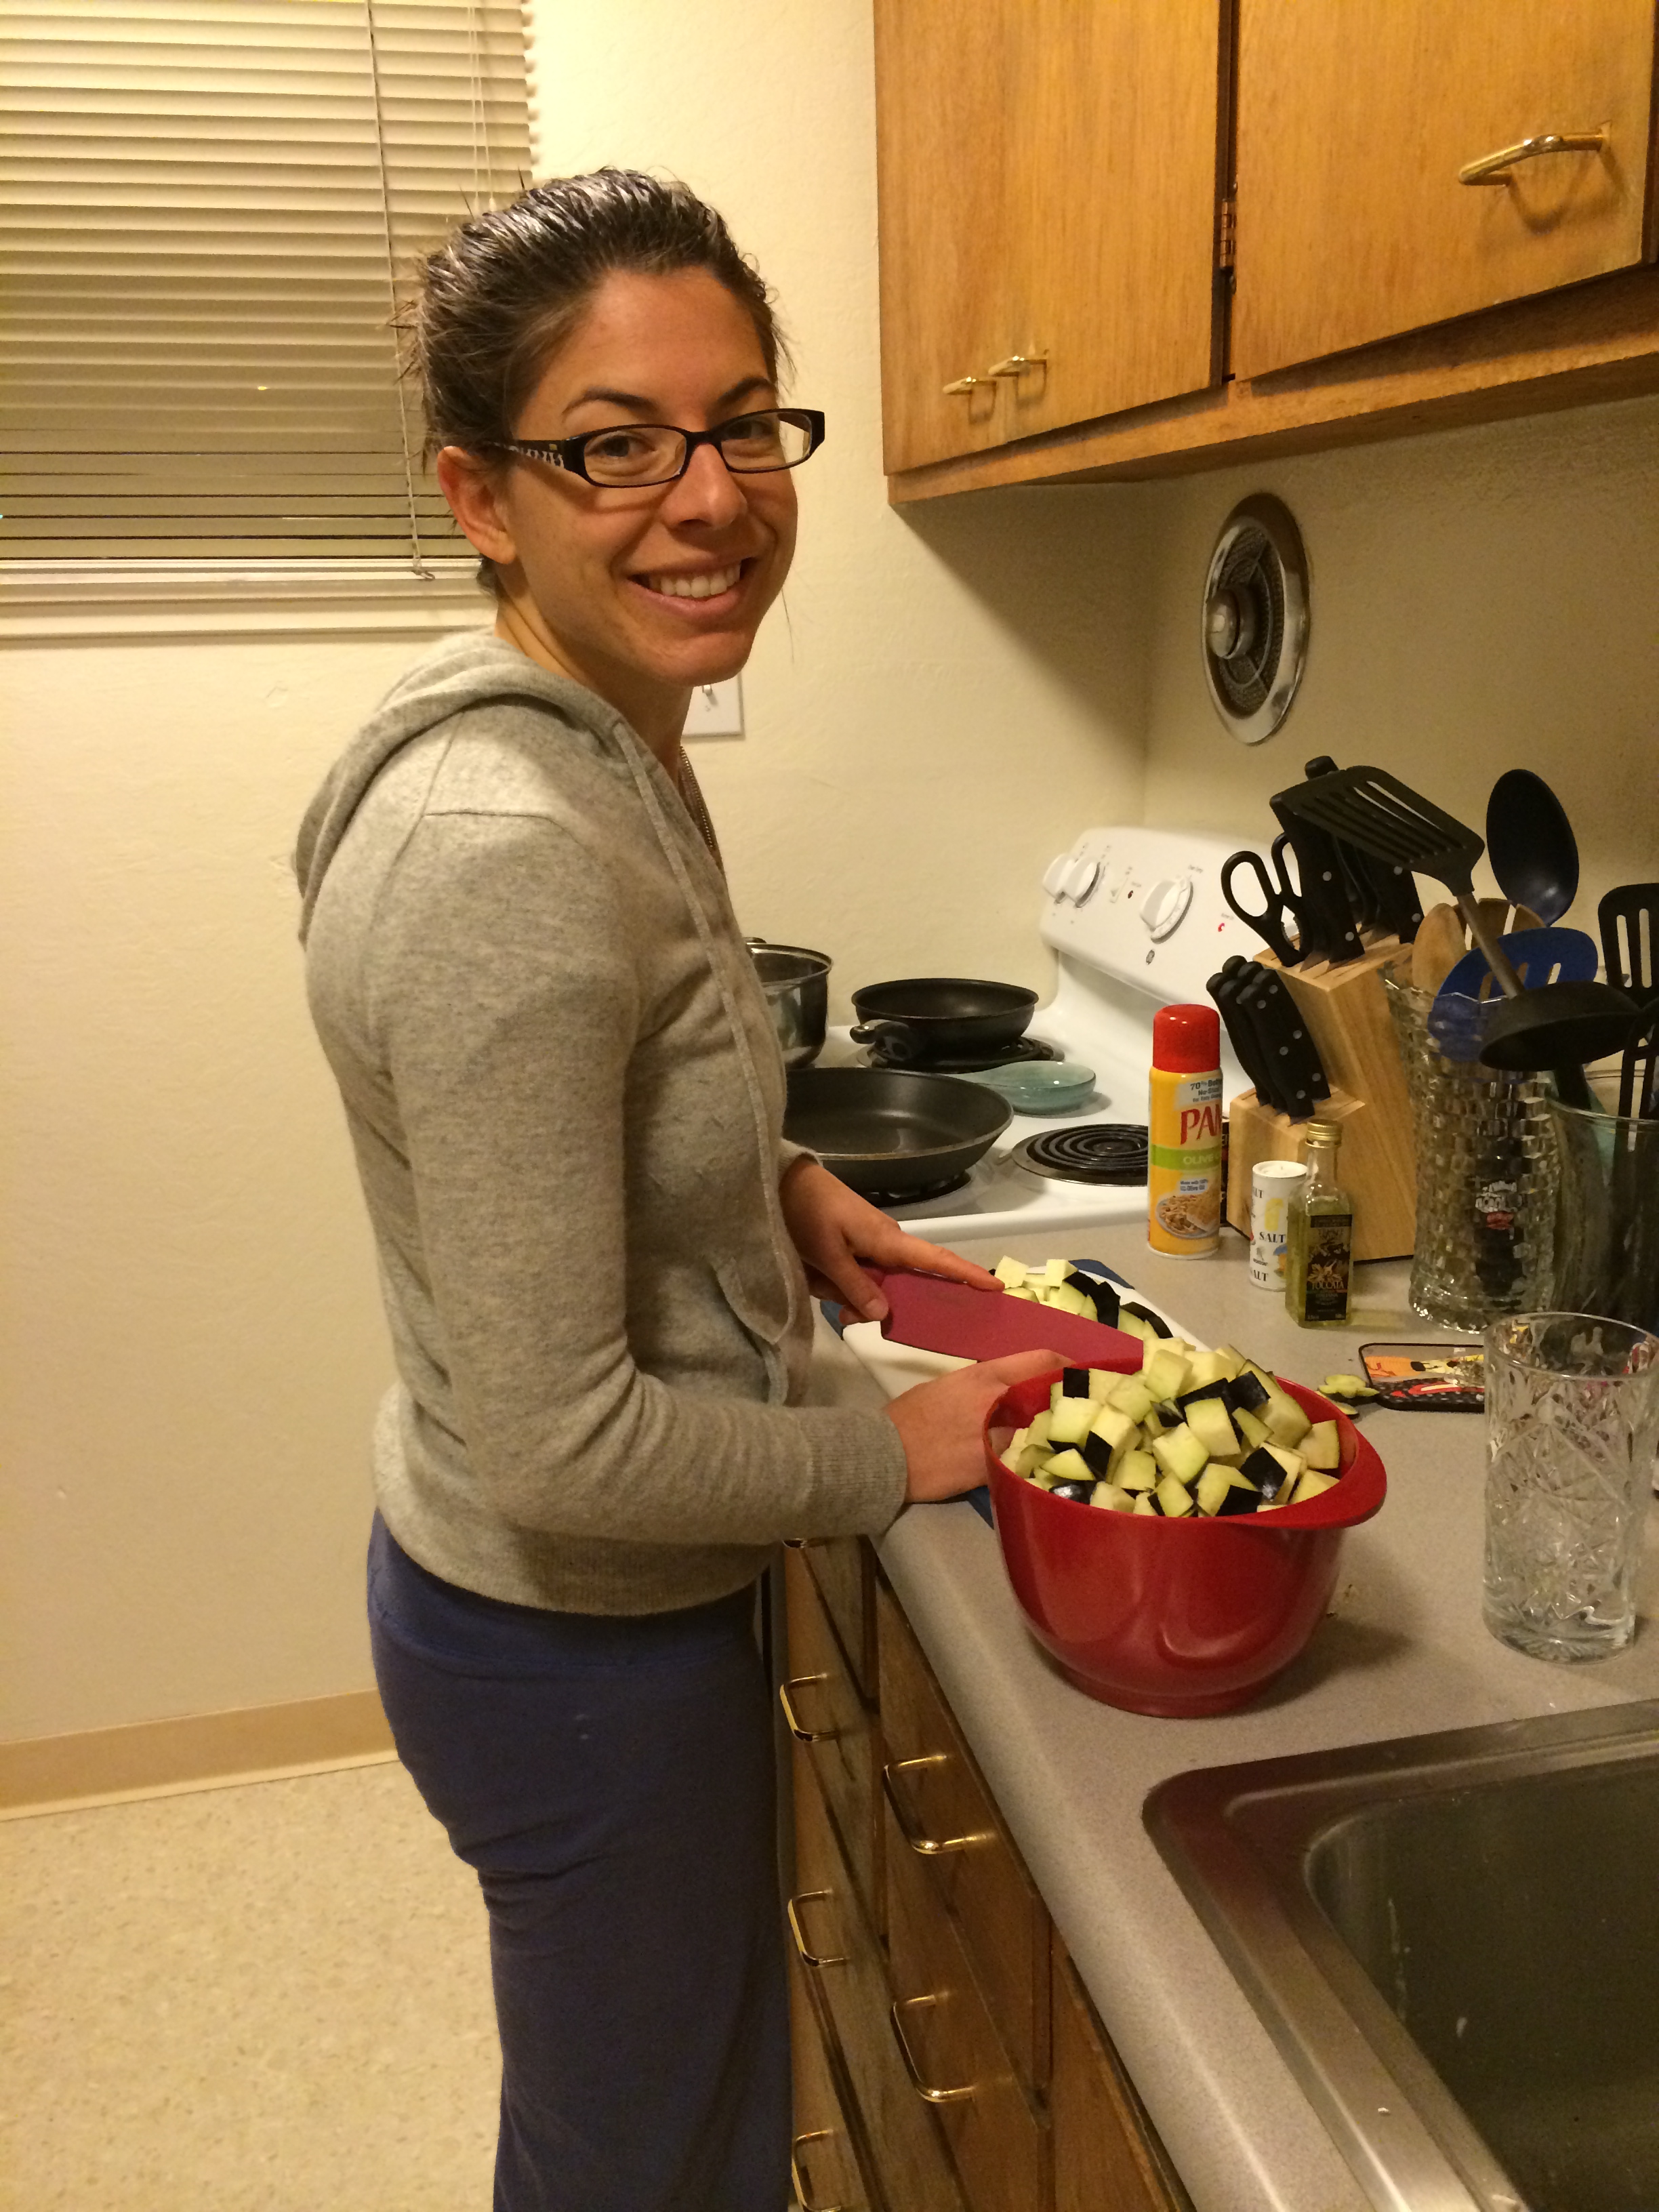
Here I am contending with my mountain of swiss chard
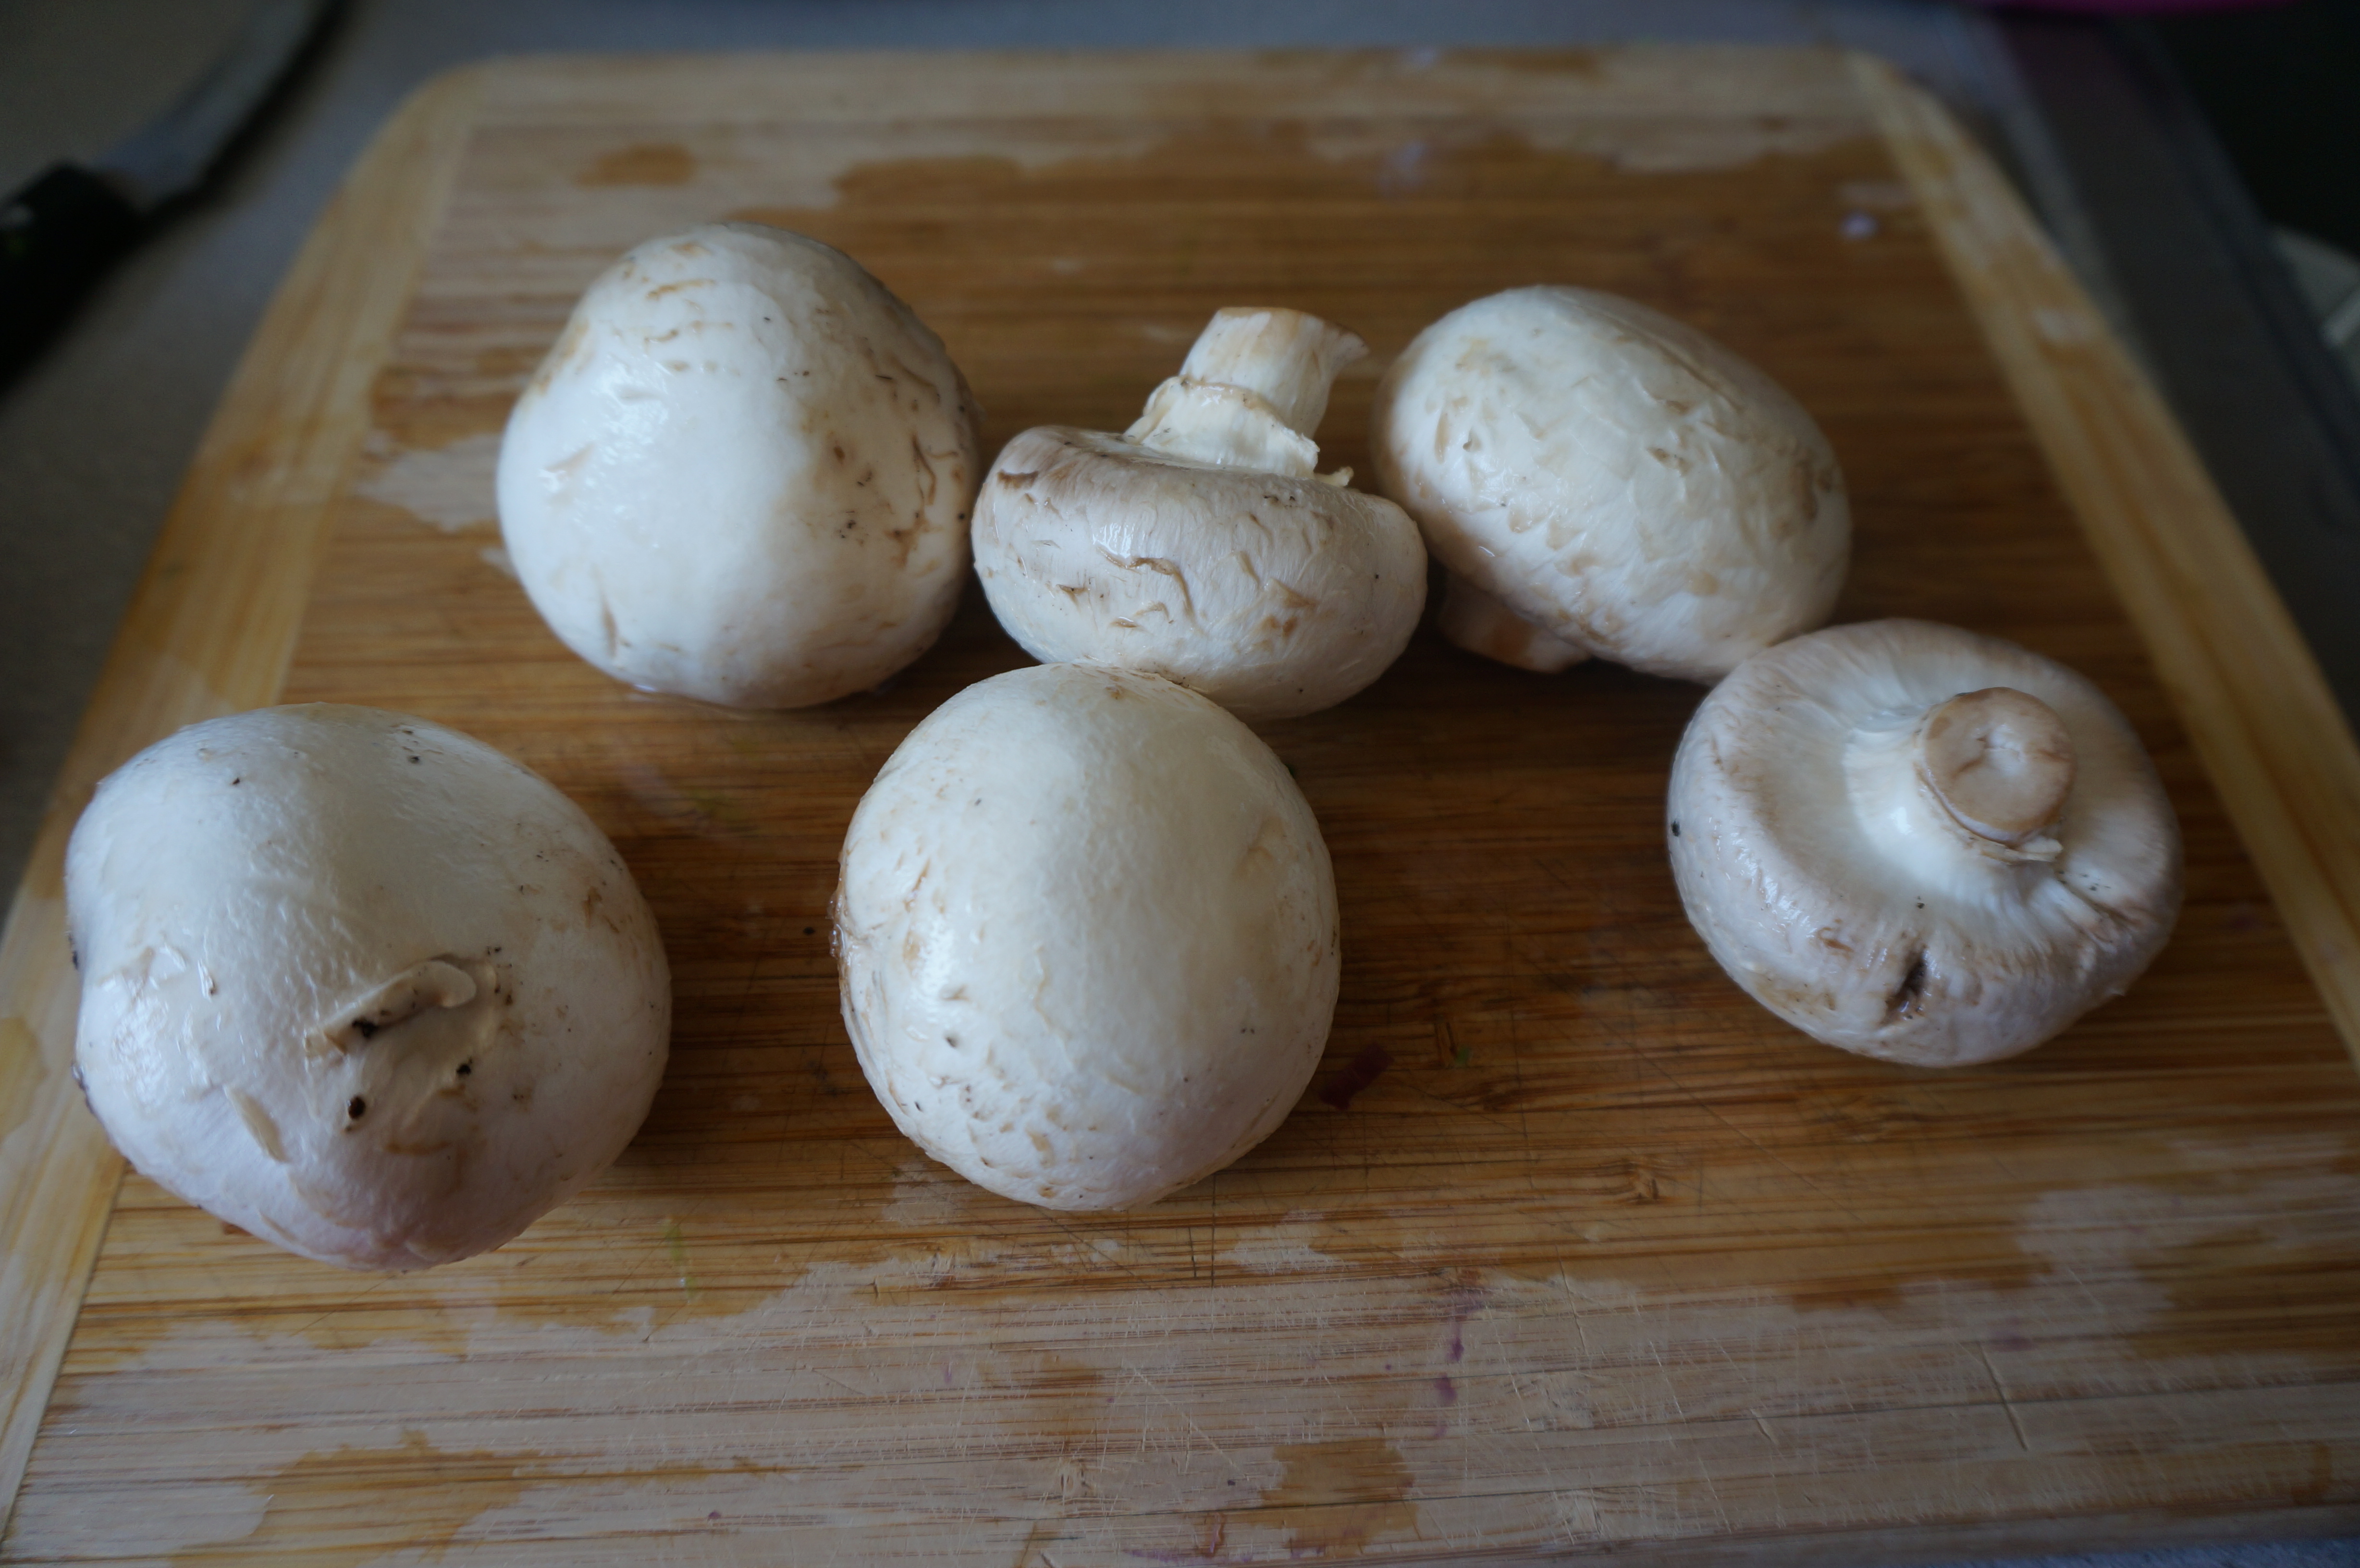
Unfortunately it’s summer and dry as a bone, so I don’t have any mushrooms or a mushroom lesson for you today, but I made this recipe for the first time with my friend Rachel, who is a fellow microbial ecologist and has started a blog herself teaching people about microbes – so check it out if you want to learn some microbial ecology :)
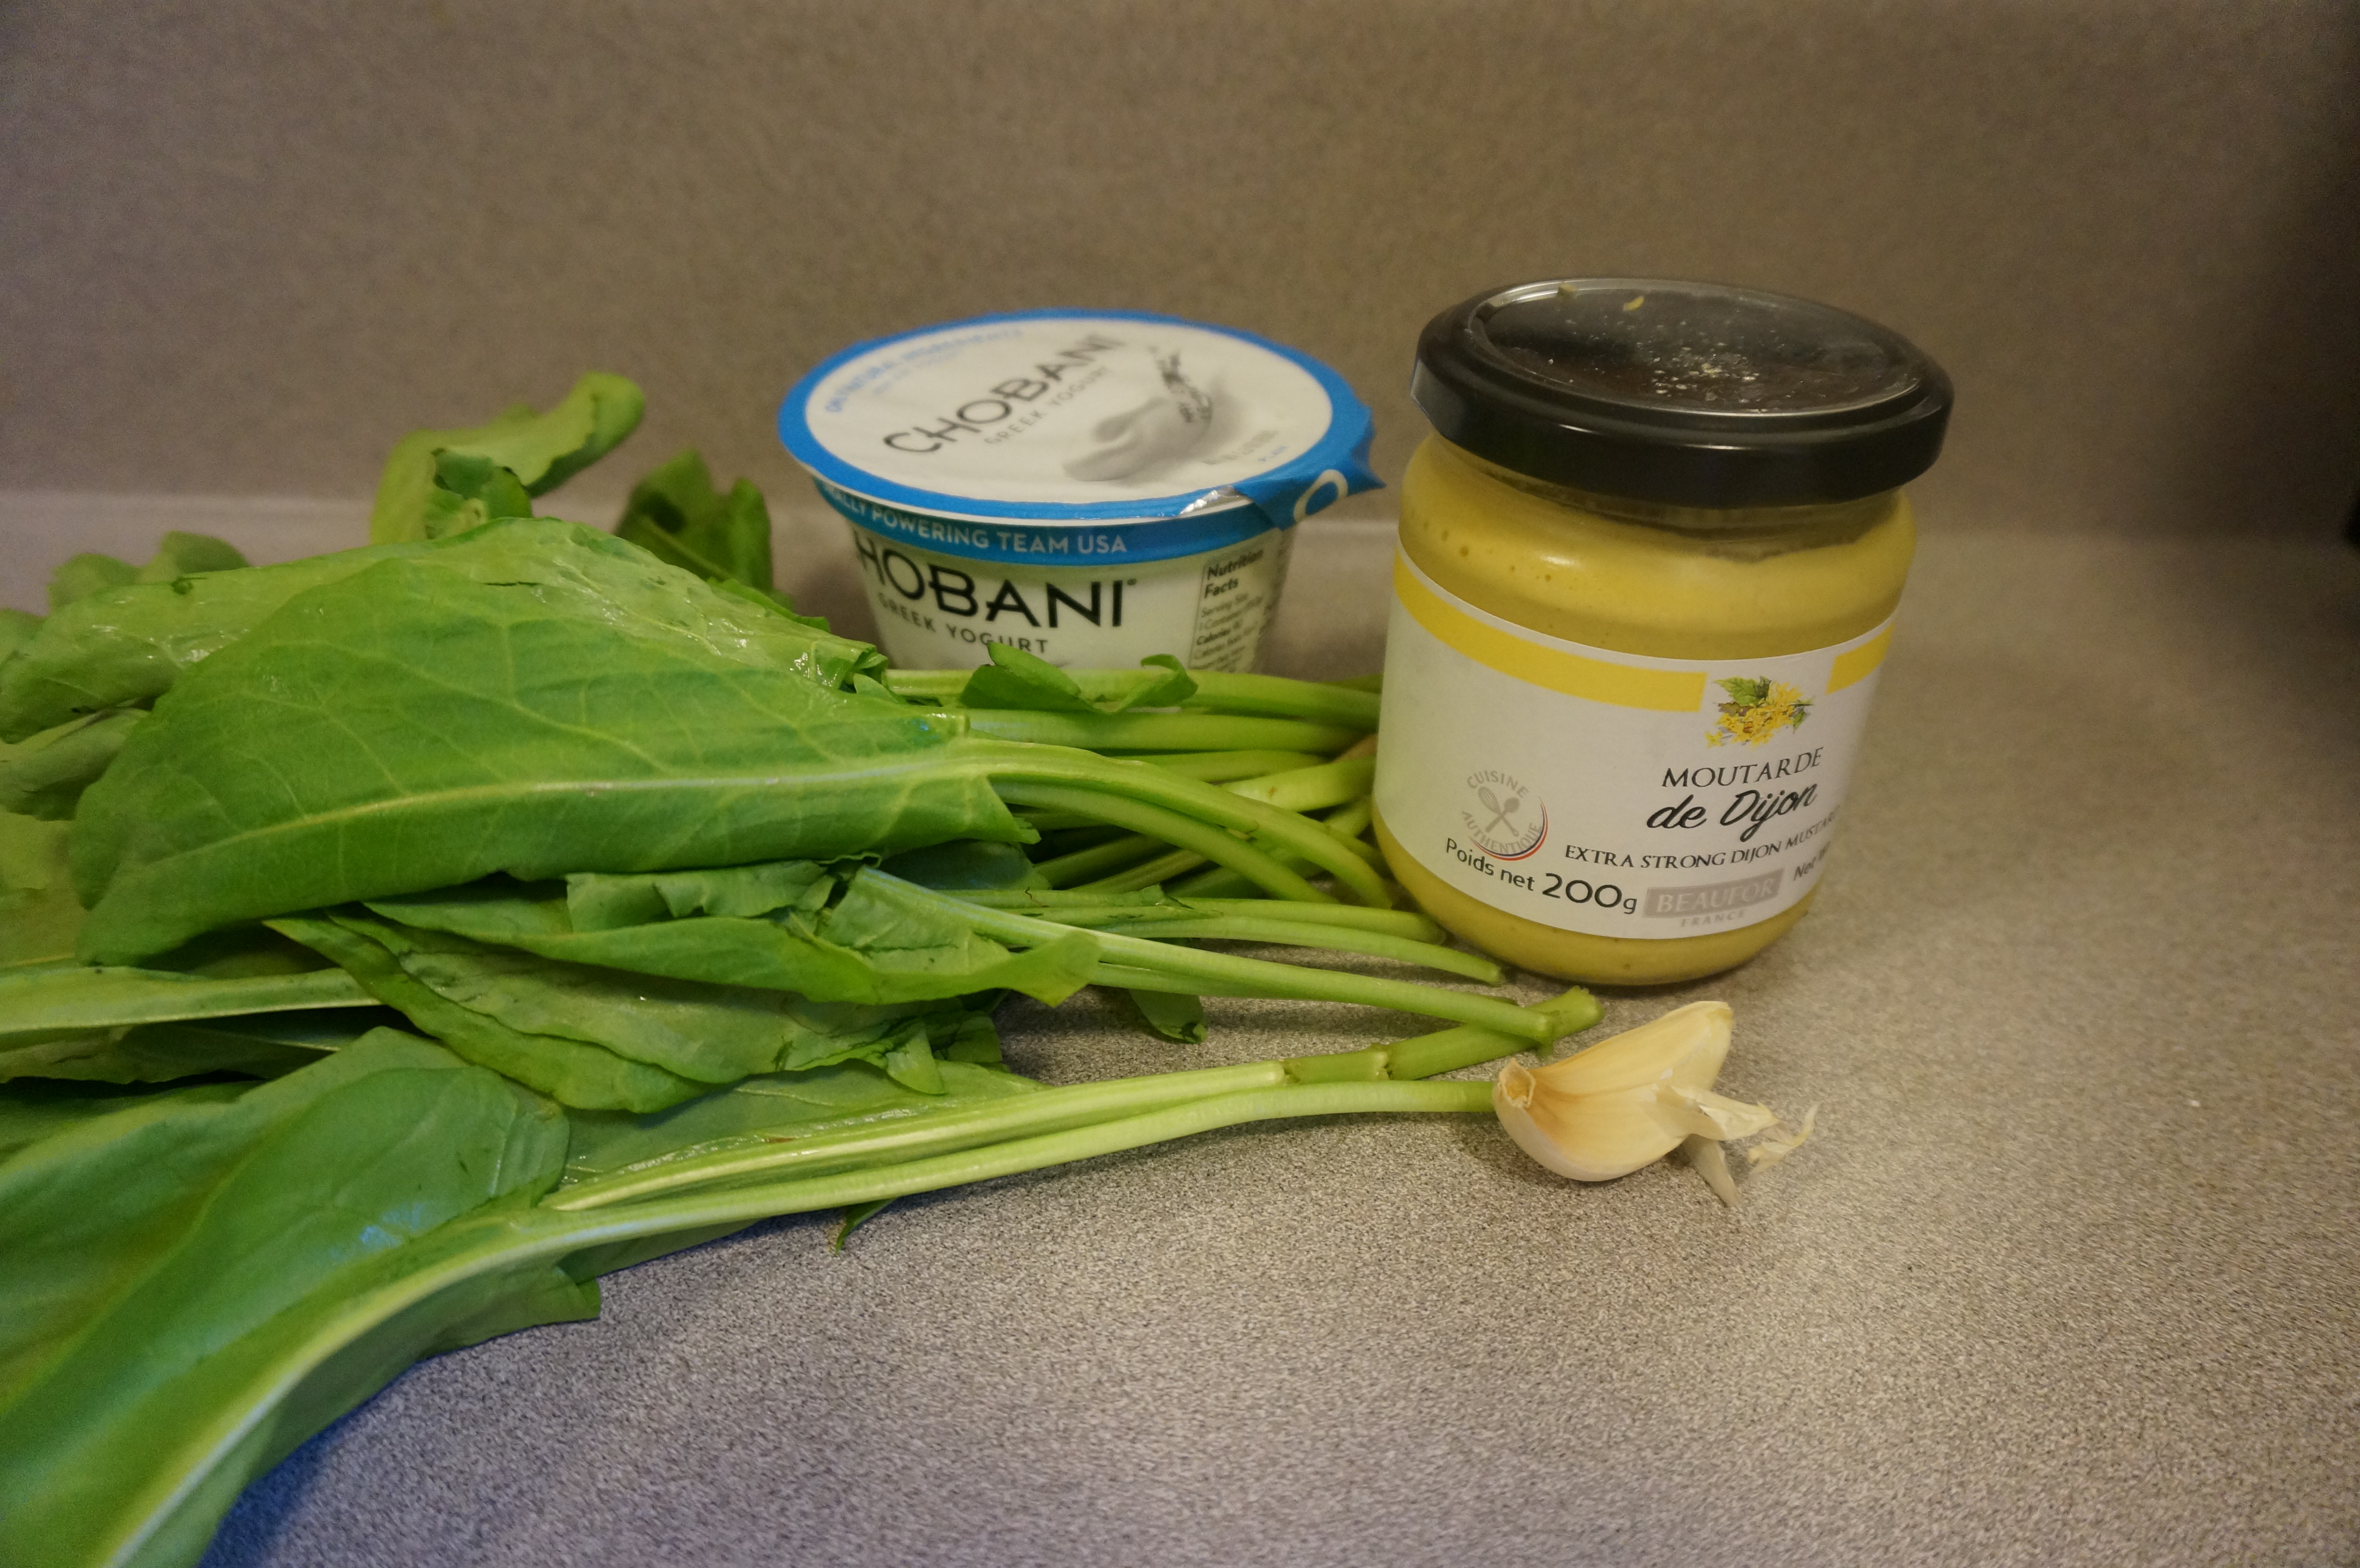
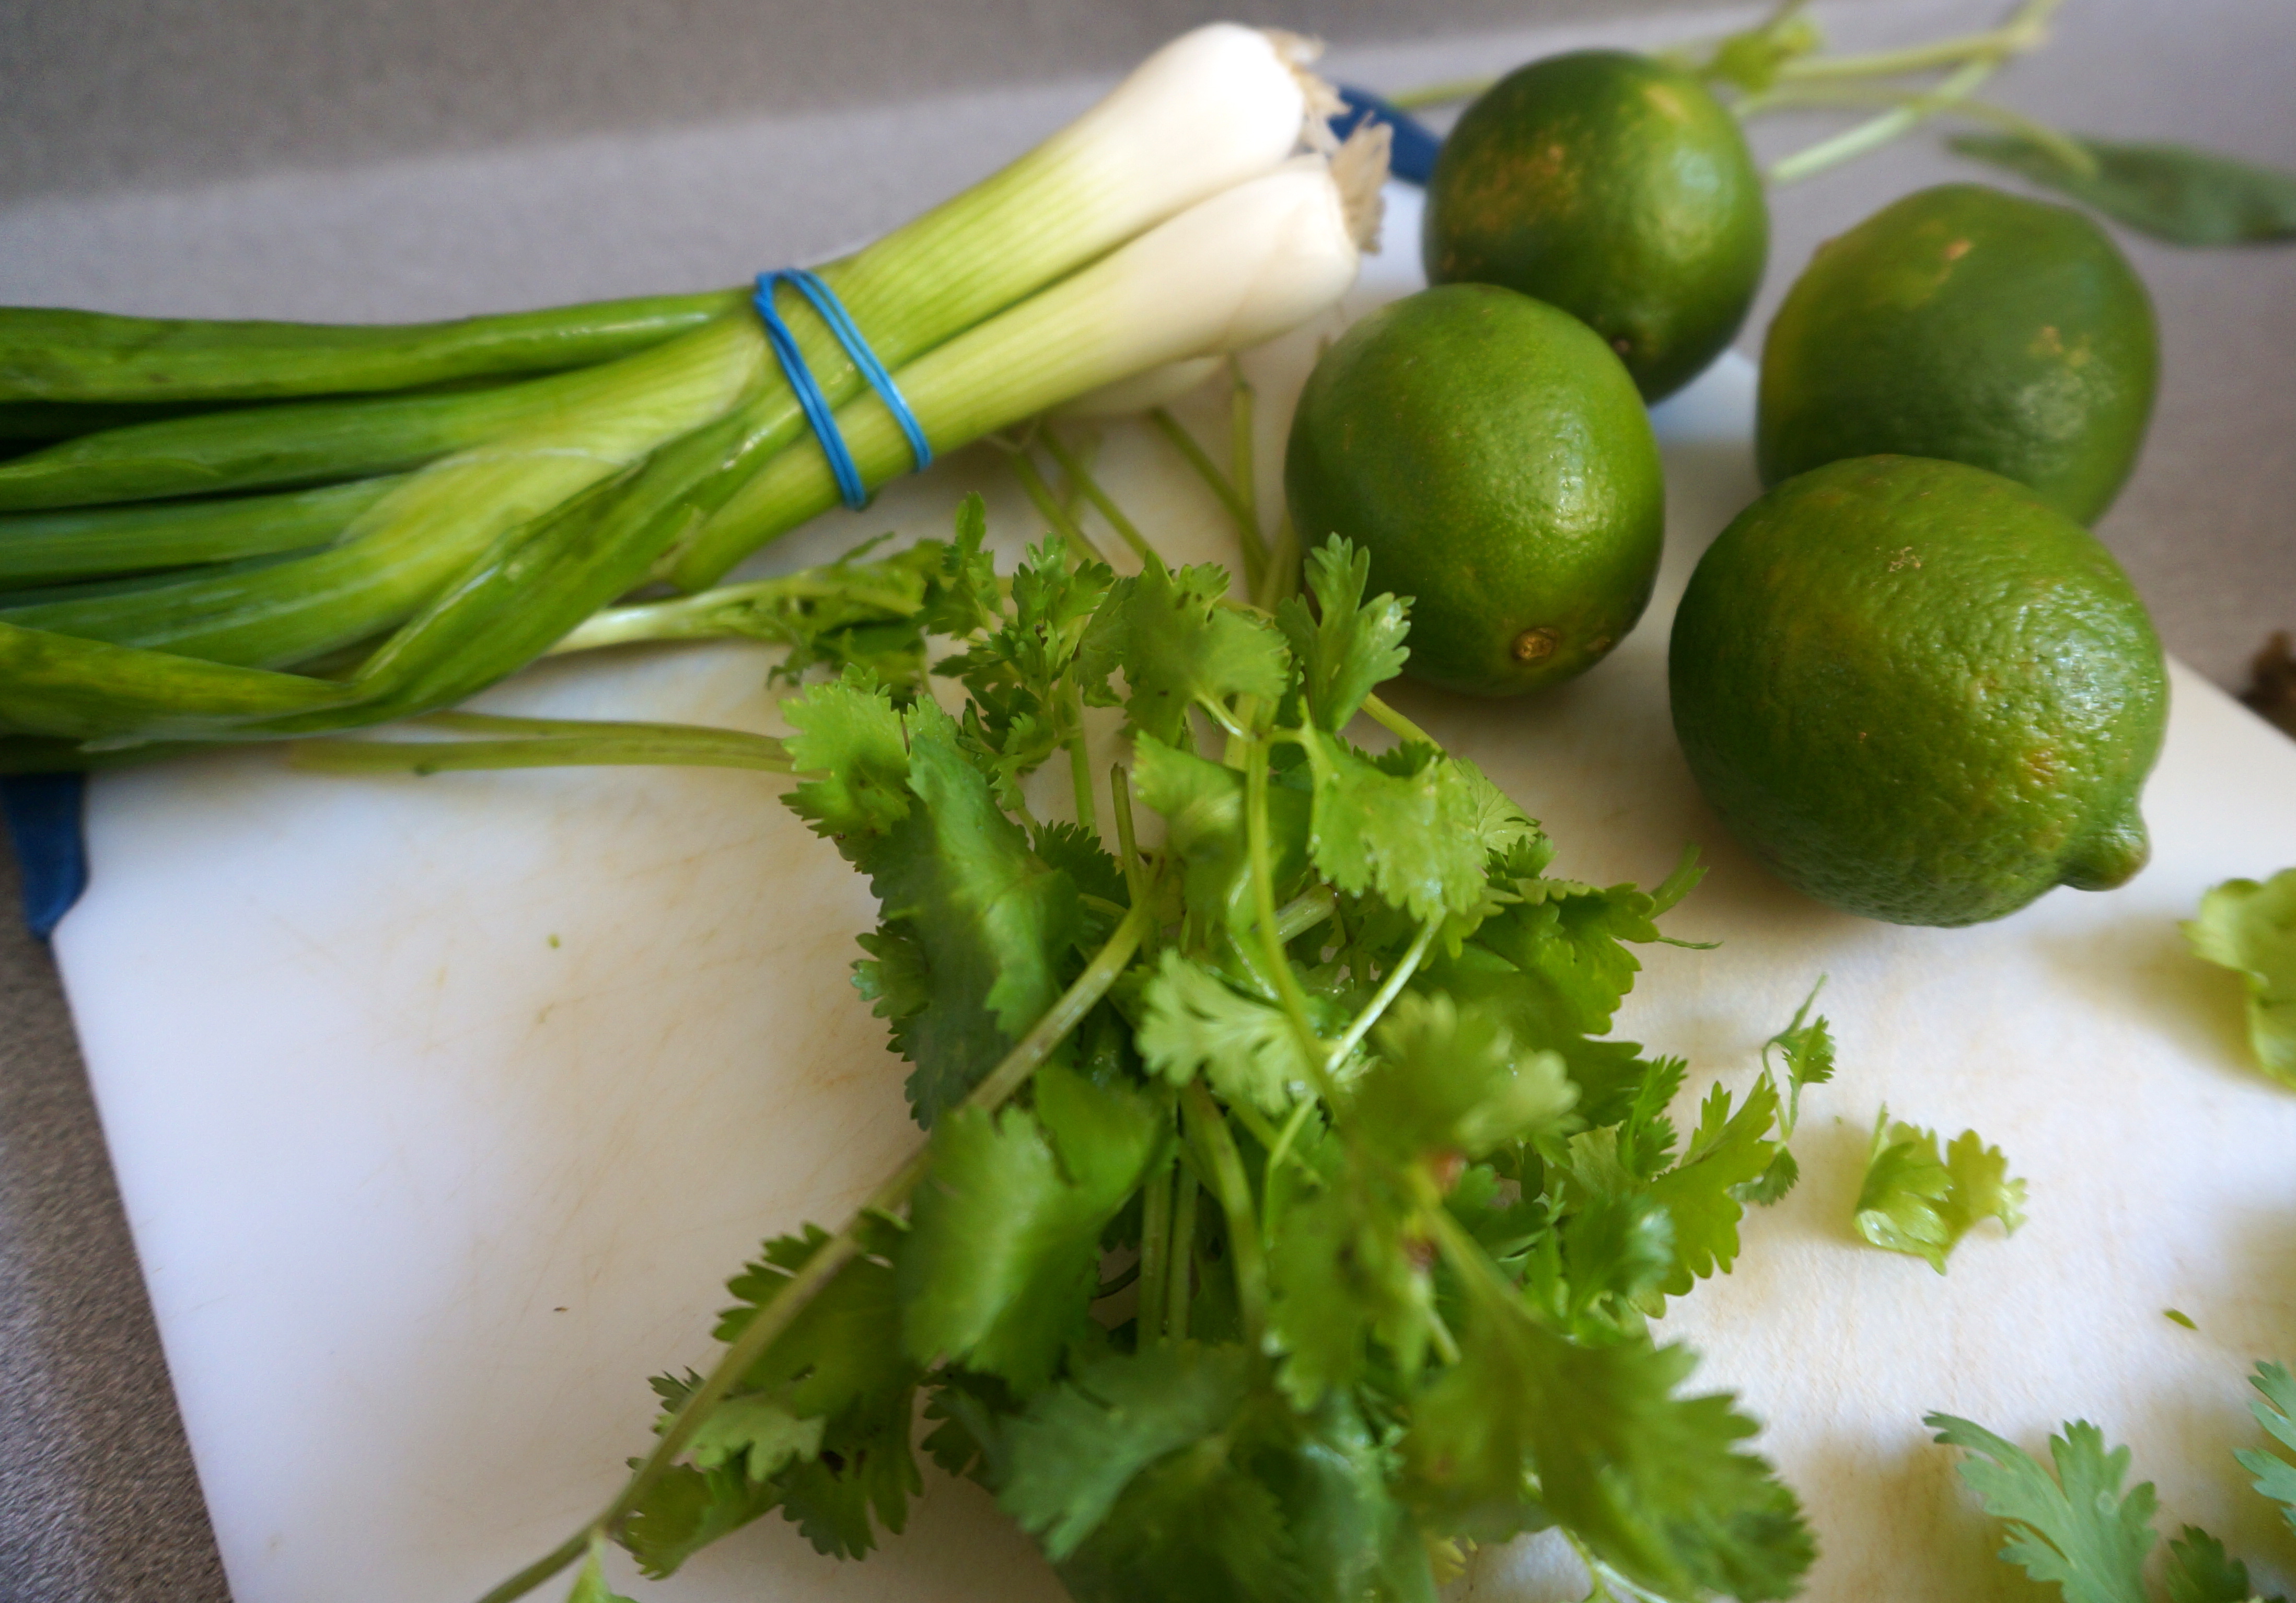
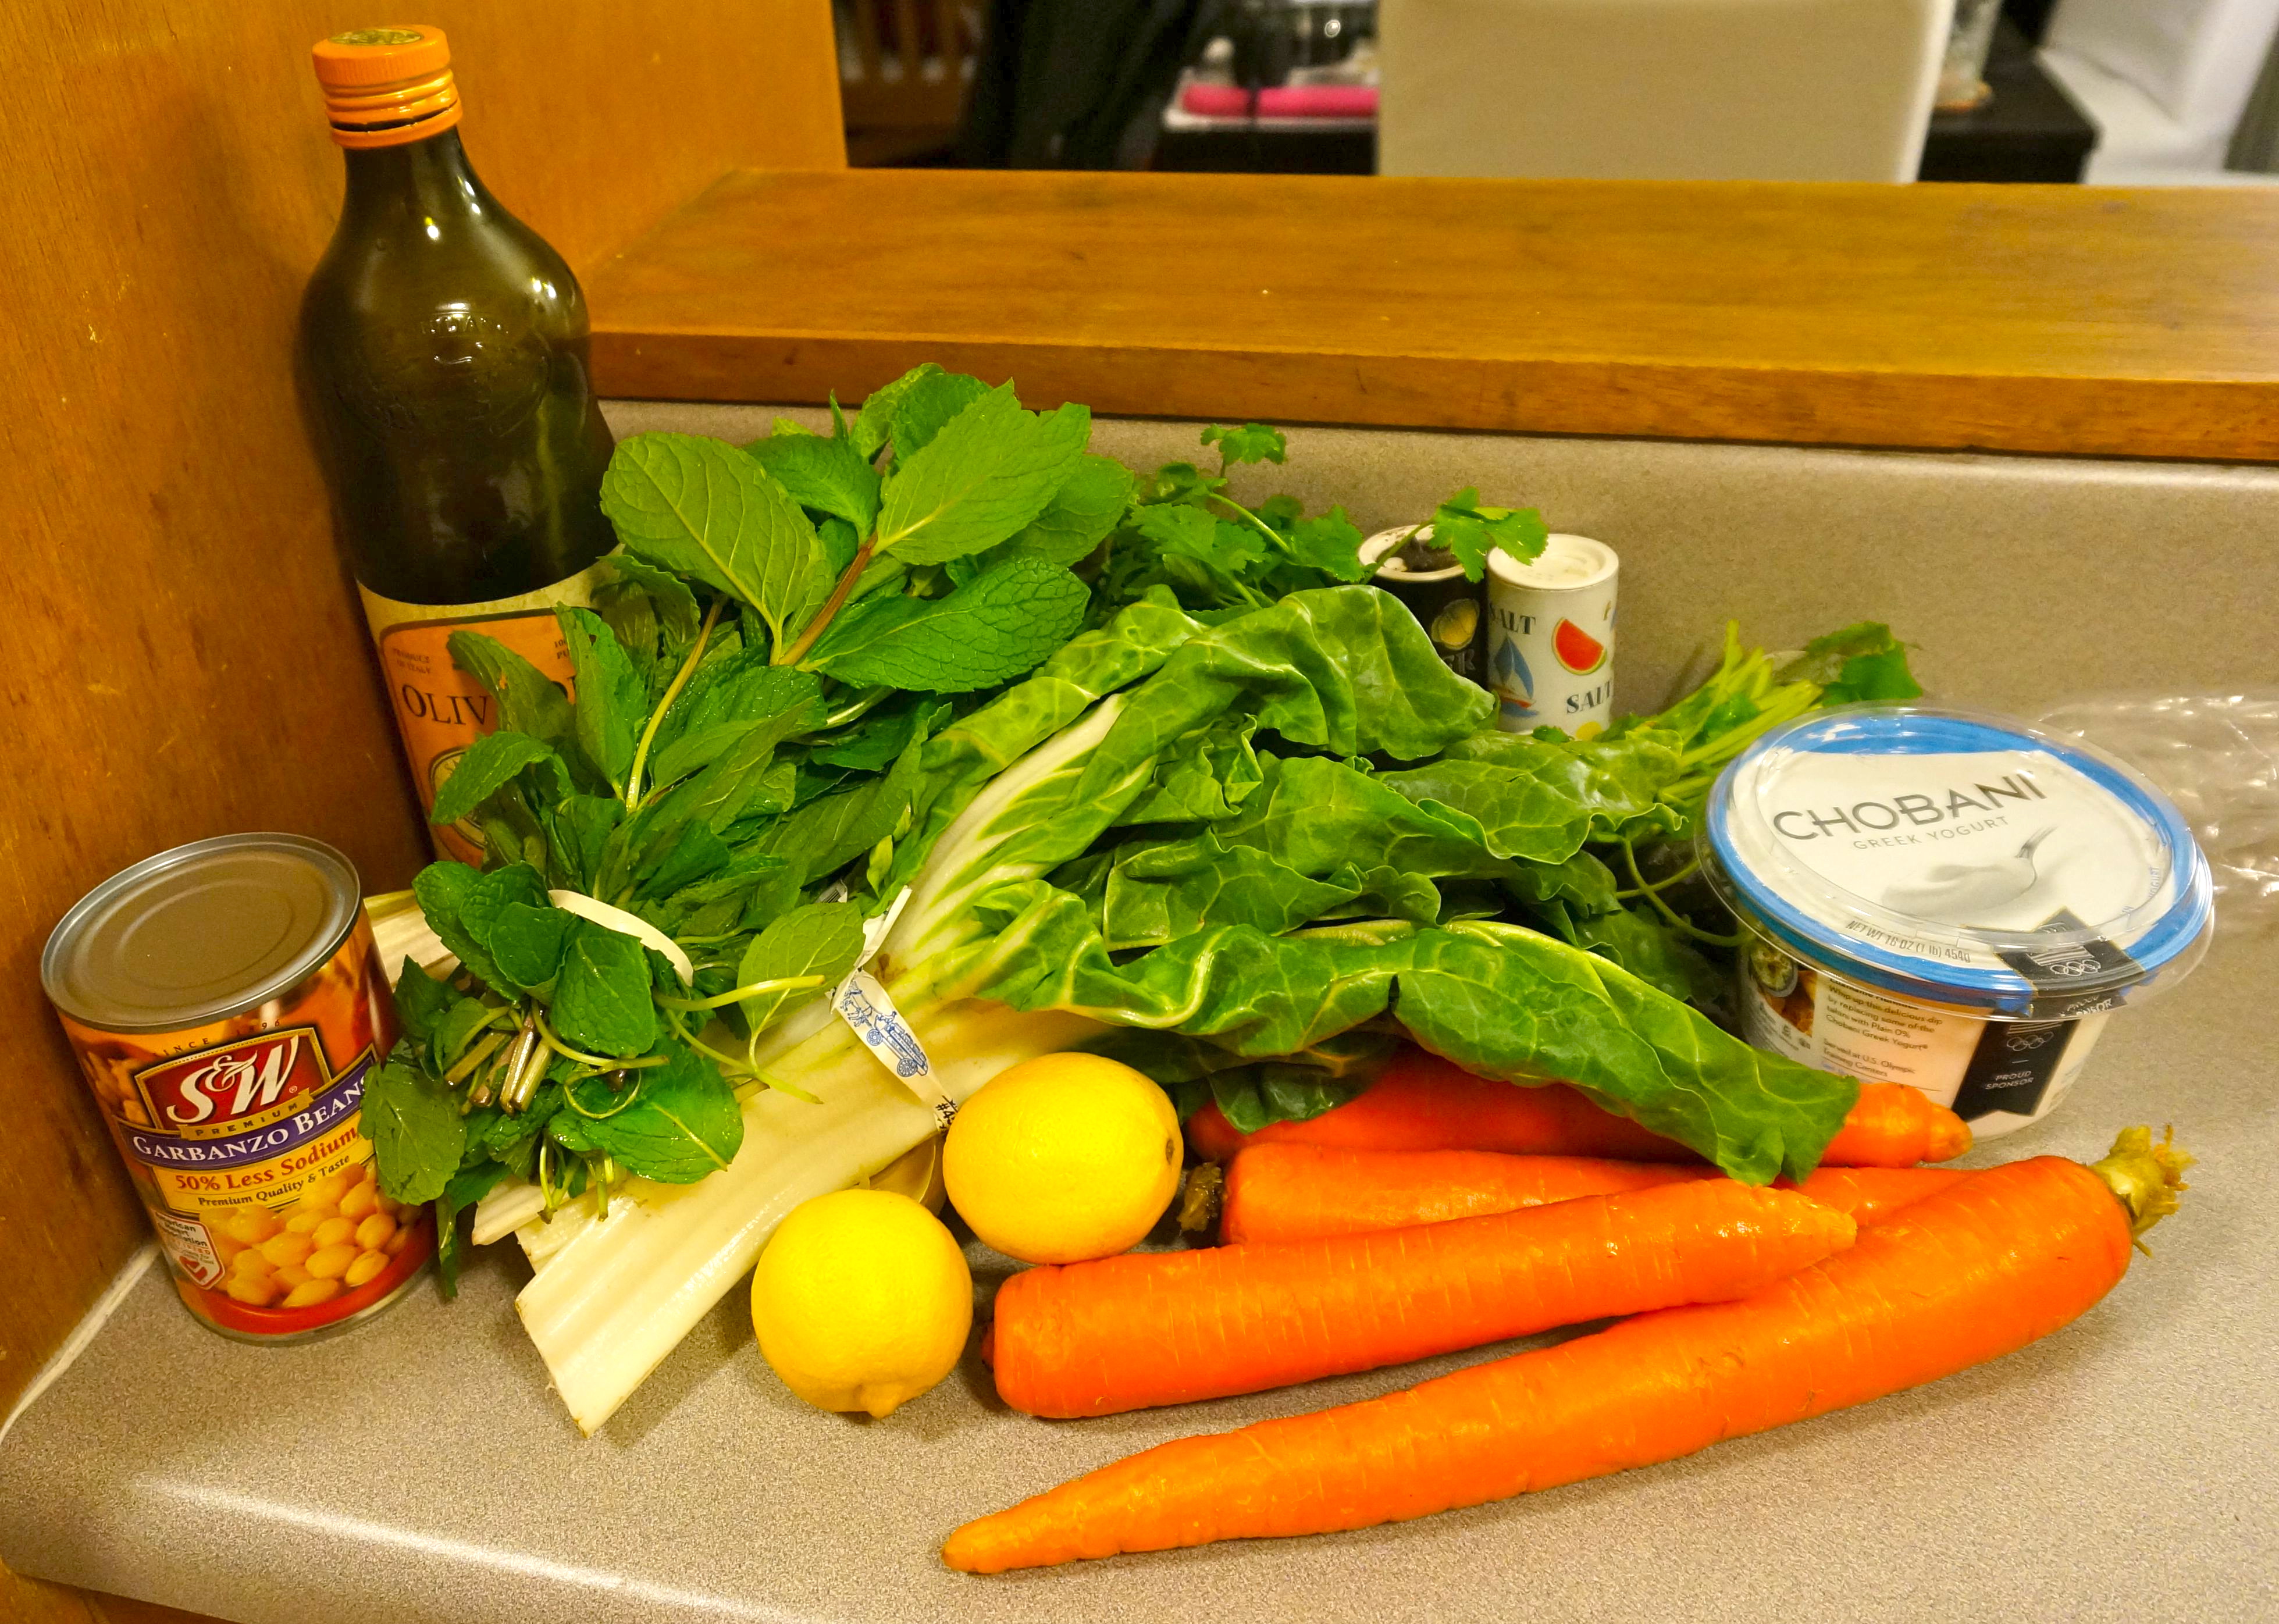
Ingredients for the sorrel sauce – sorrel, garlic, Greek yogurt, dijon mustard
As for the chard cakes, the first step is to make the sorrel sauce, which requires either a food processor or a blender. I used a food blender while making it at Rachel’s house and I used an immersion blender when I made it again at home. Personally I think the immersion blender was a bit easier but either works. Make sure to start boiling the water for blanching the Swiss chard while making the sauce because the sauce doesn’t take that long to make and you might get hungry while waiting for the water to boil!
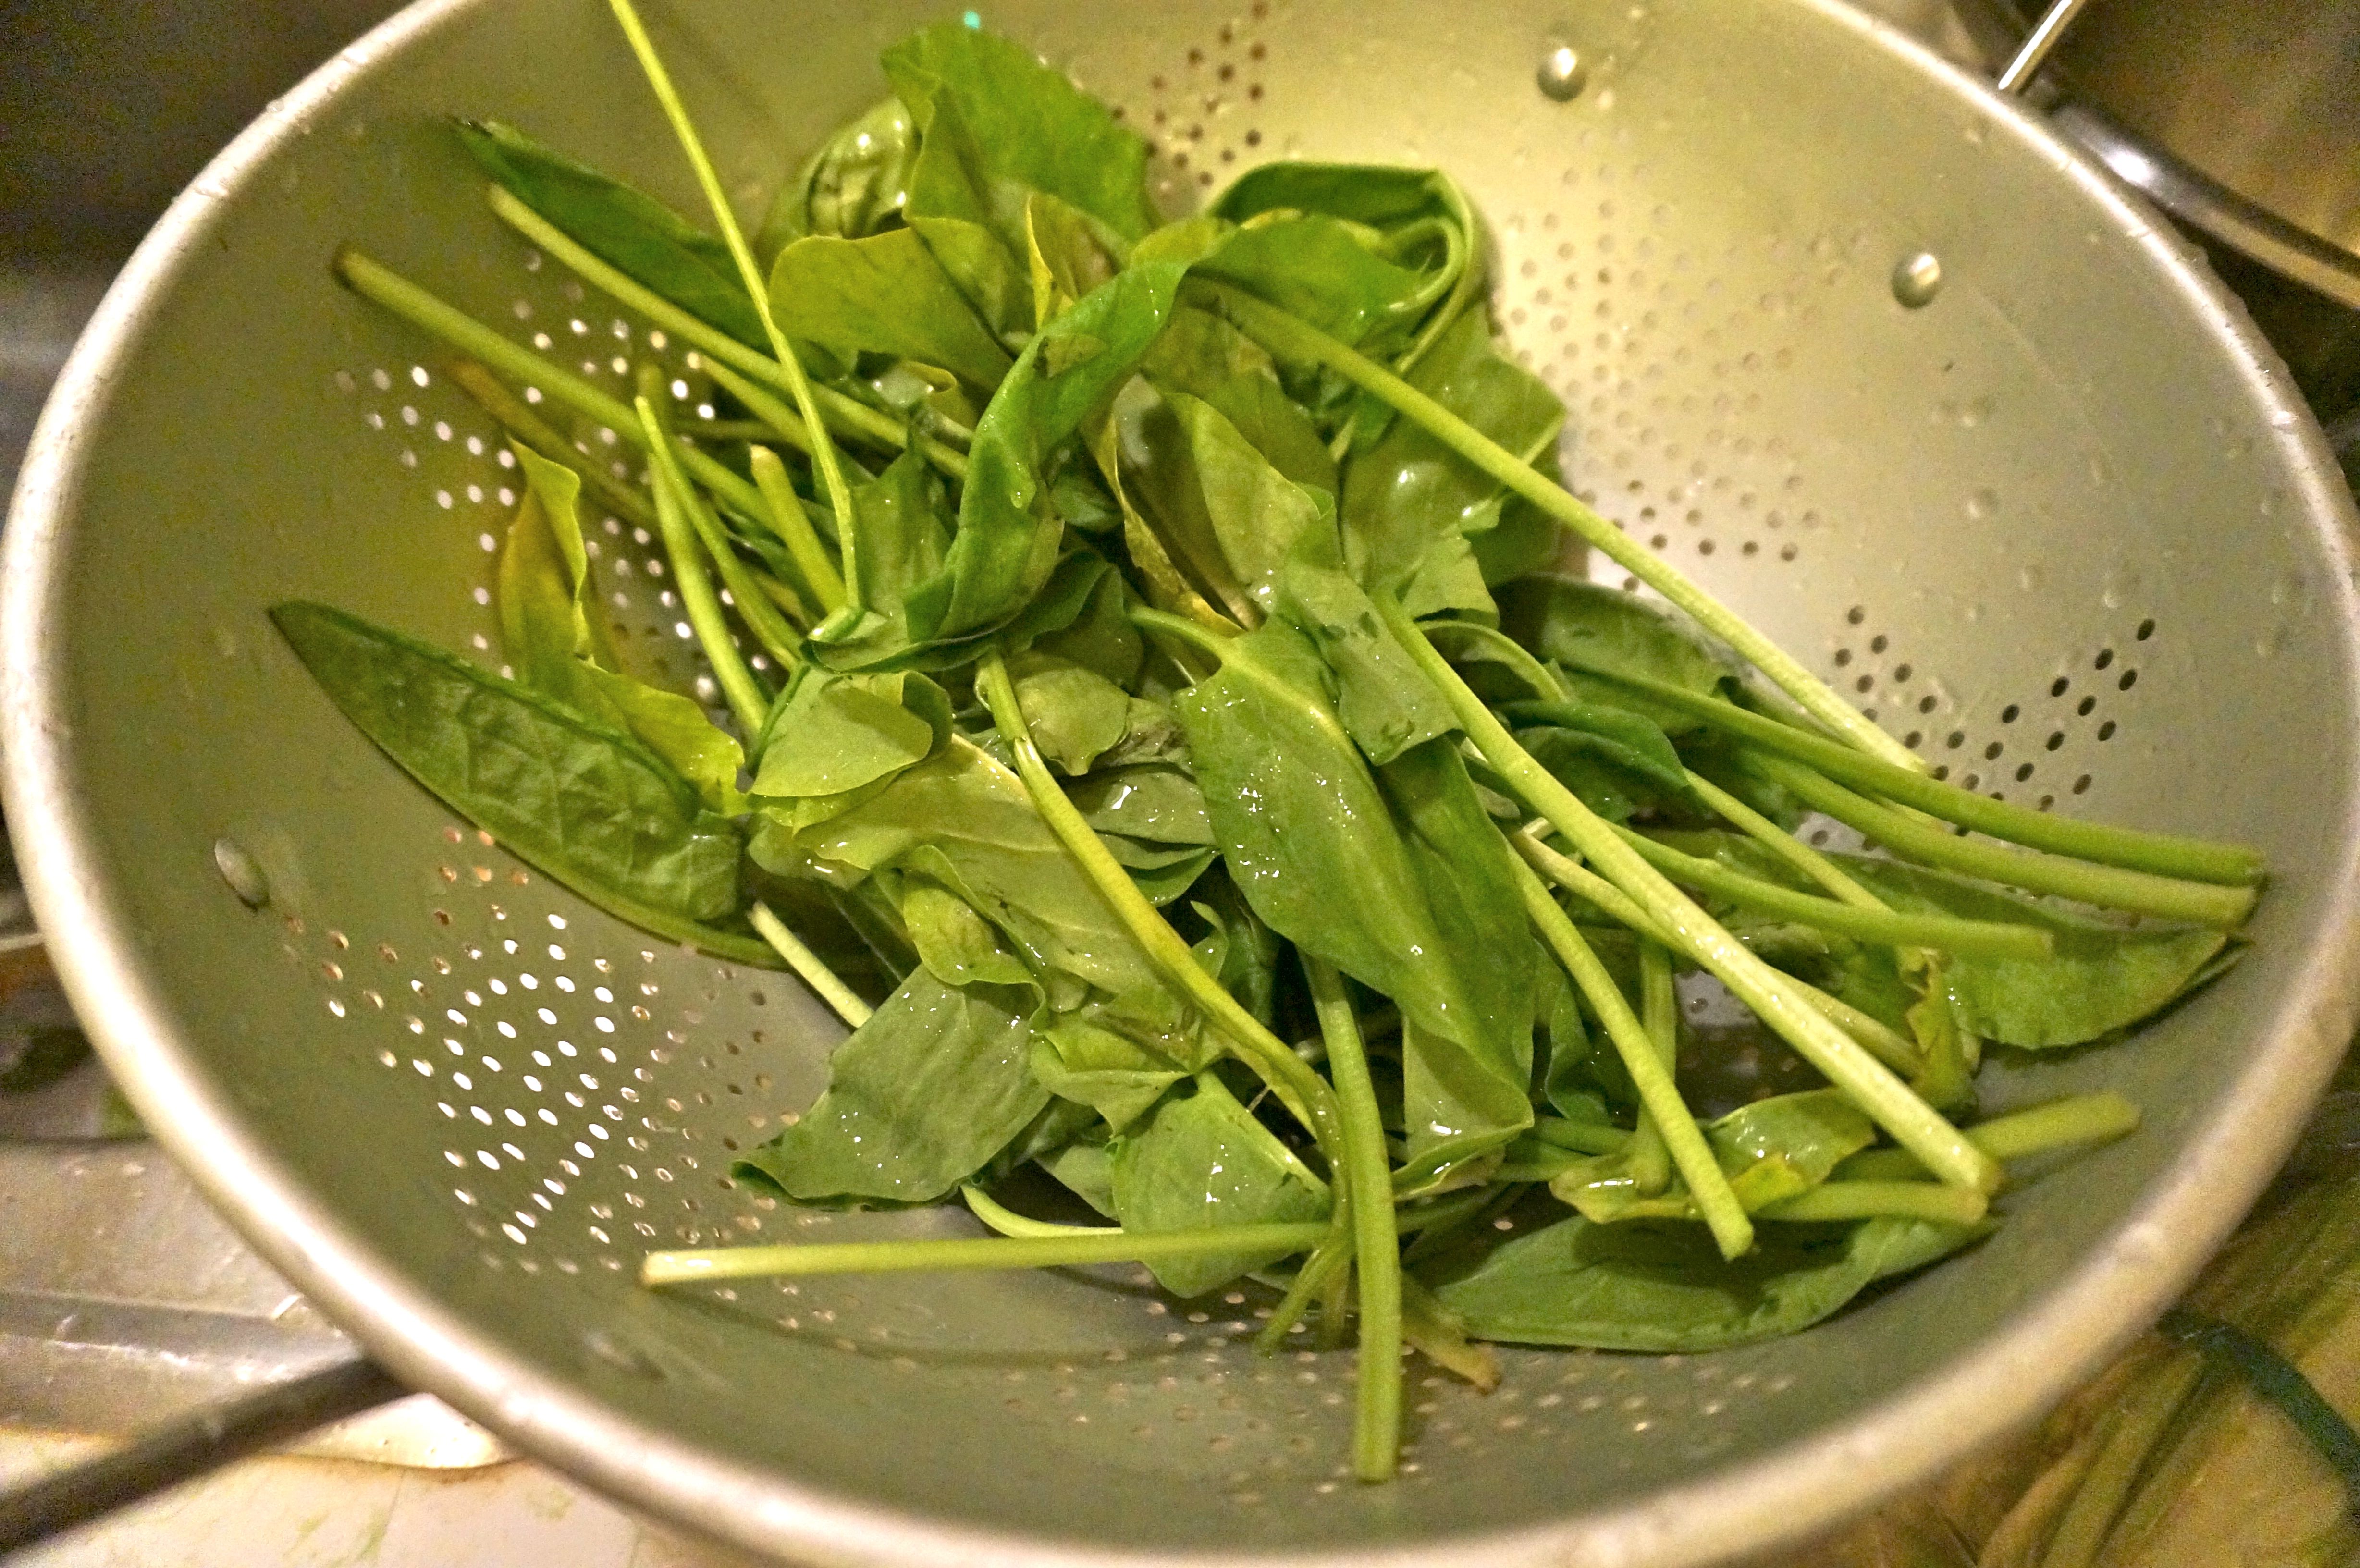
Sorrel leaves
I don’t think I’ve ever cooked with sorrel in my life before! It grows wild all over California and my other friend Rachael, who I took mushroom hunting with me in Point Reyes, was pointing out and collecting the wild sorrel growing along the trails. Next time I will have to collect it myself in the woods, but this time I bought it from the Berkeley bowl. Blend the sorrel leaves, Greek yogurt, garlic clove, olive oil, and Dijon mustard until smooth.
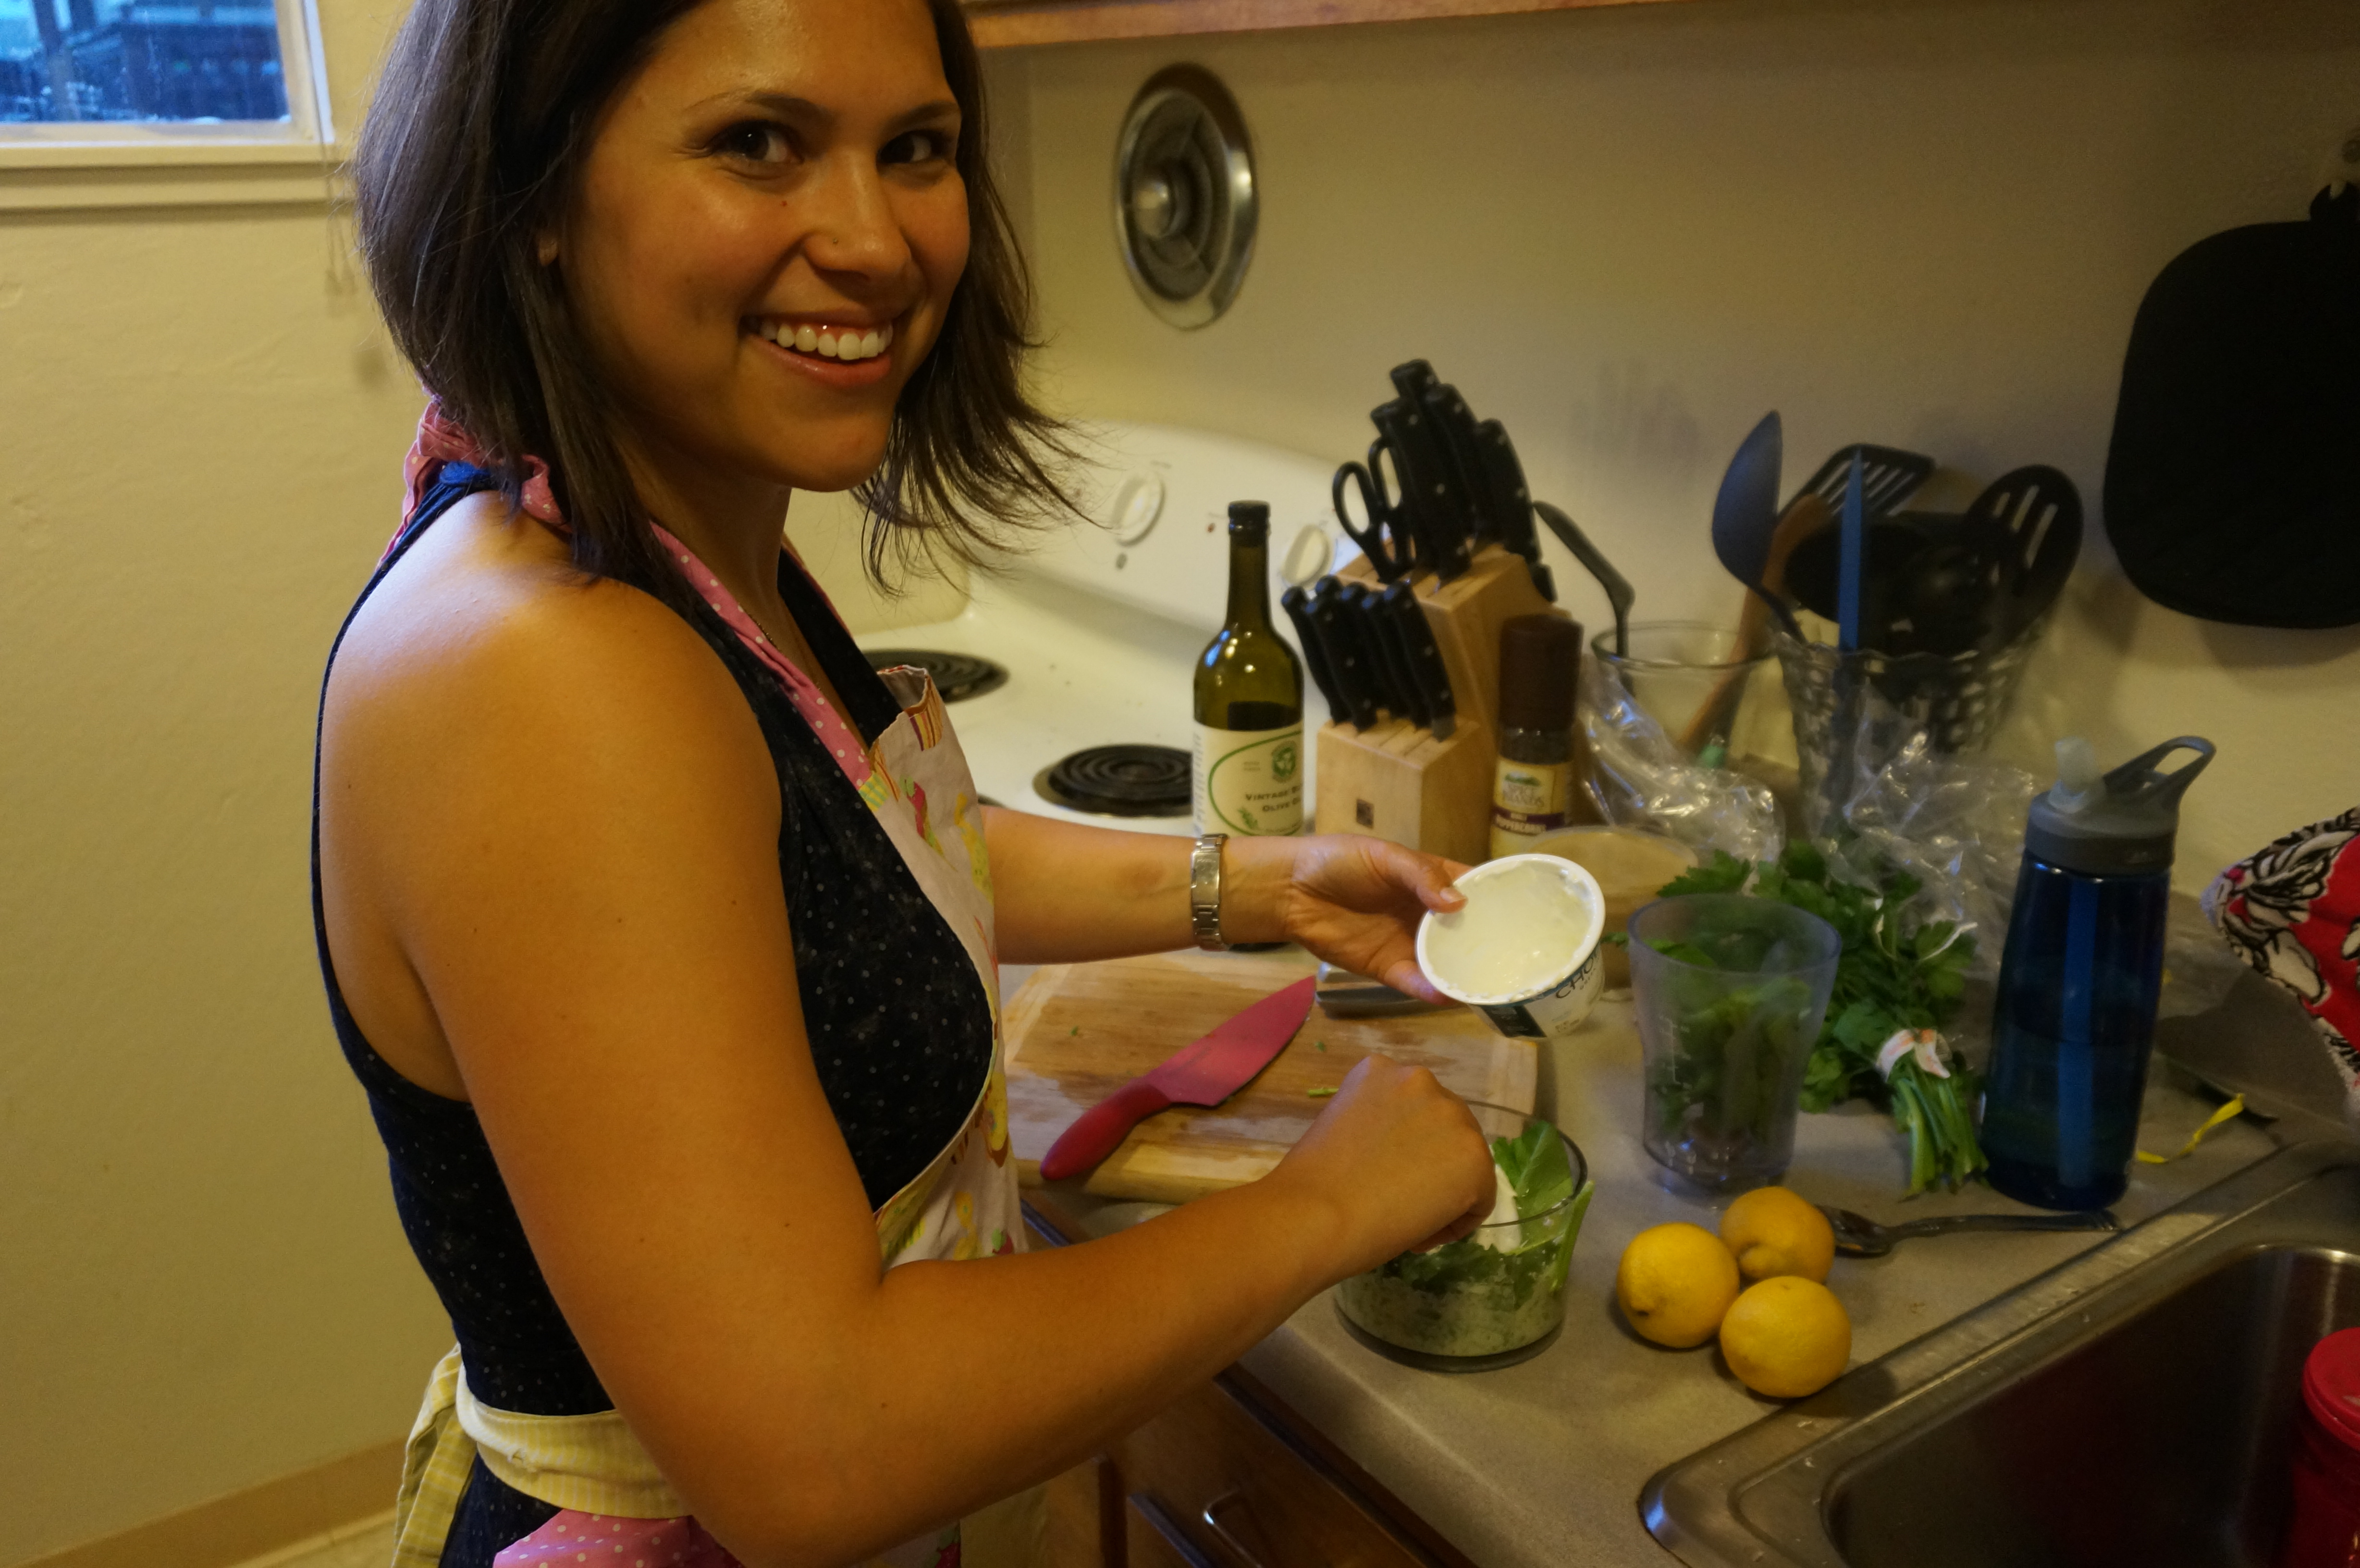
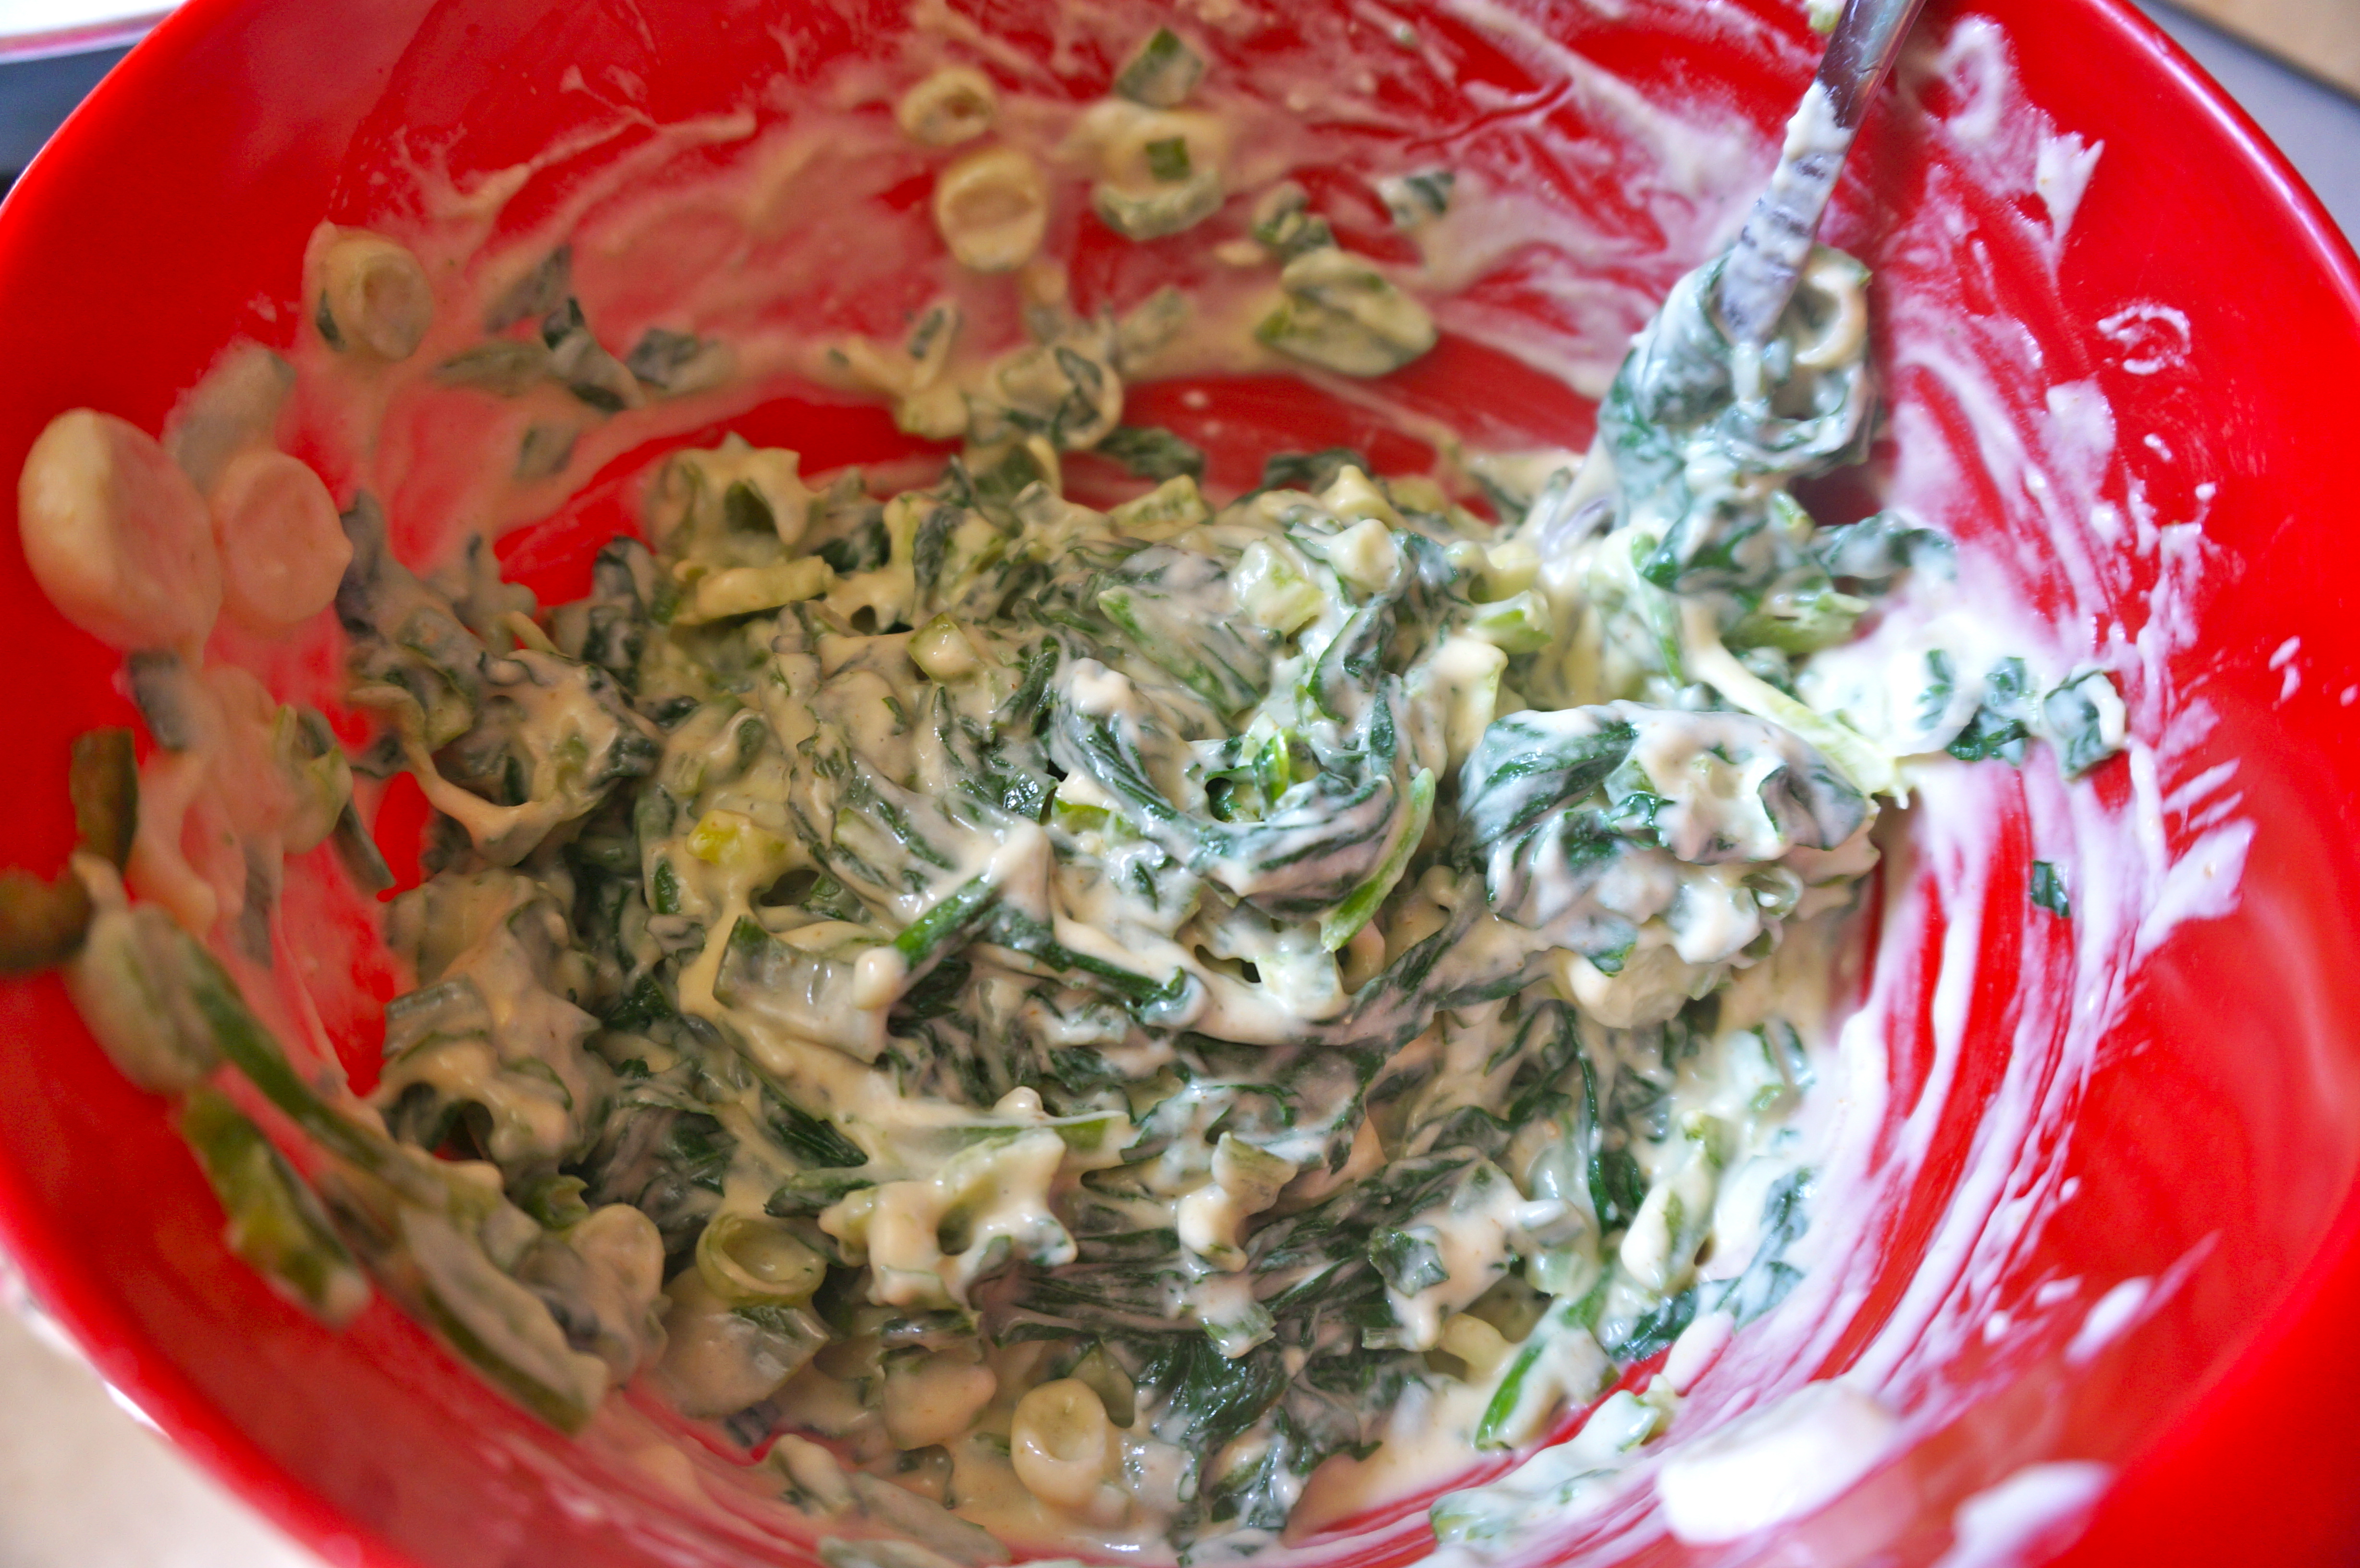
Mixing together ingredients for the sorrel sauce
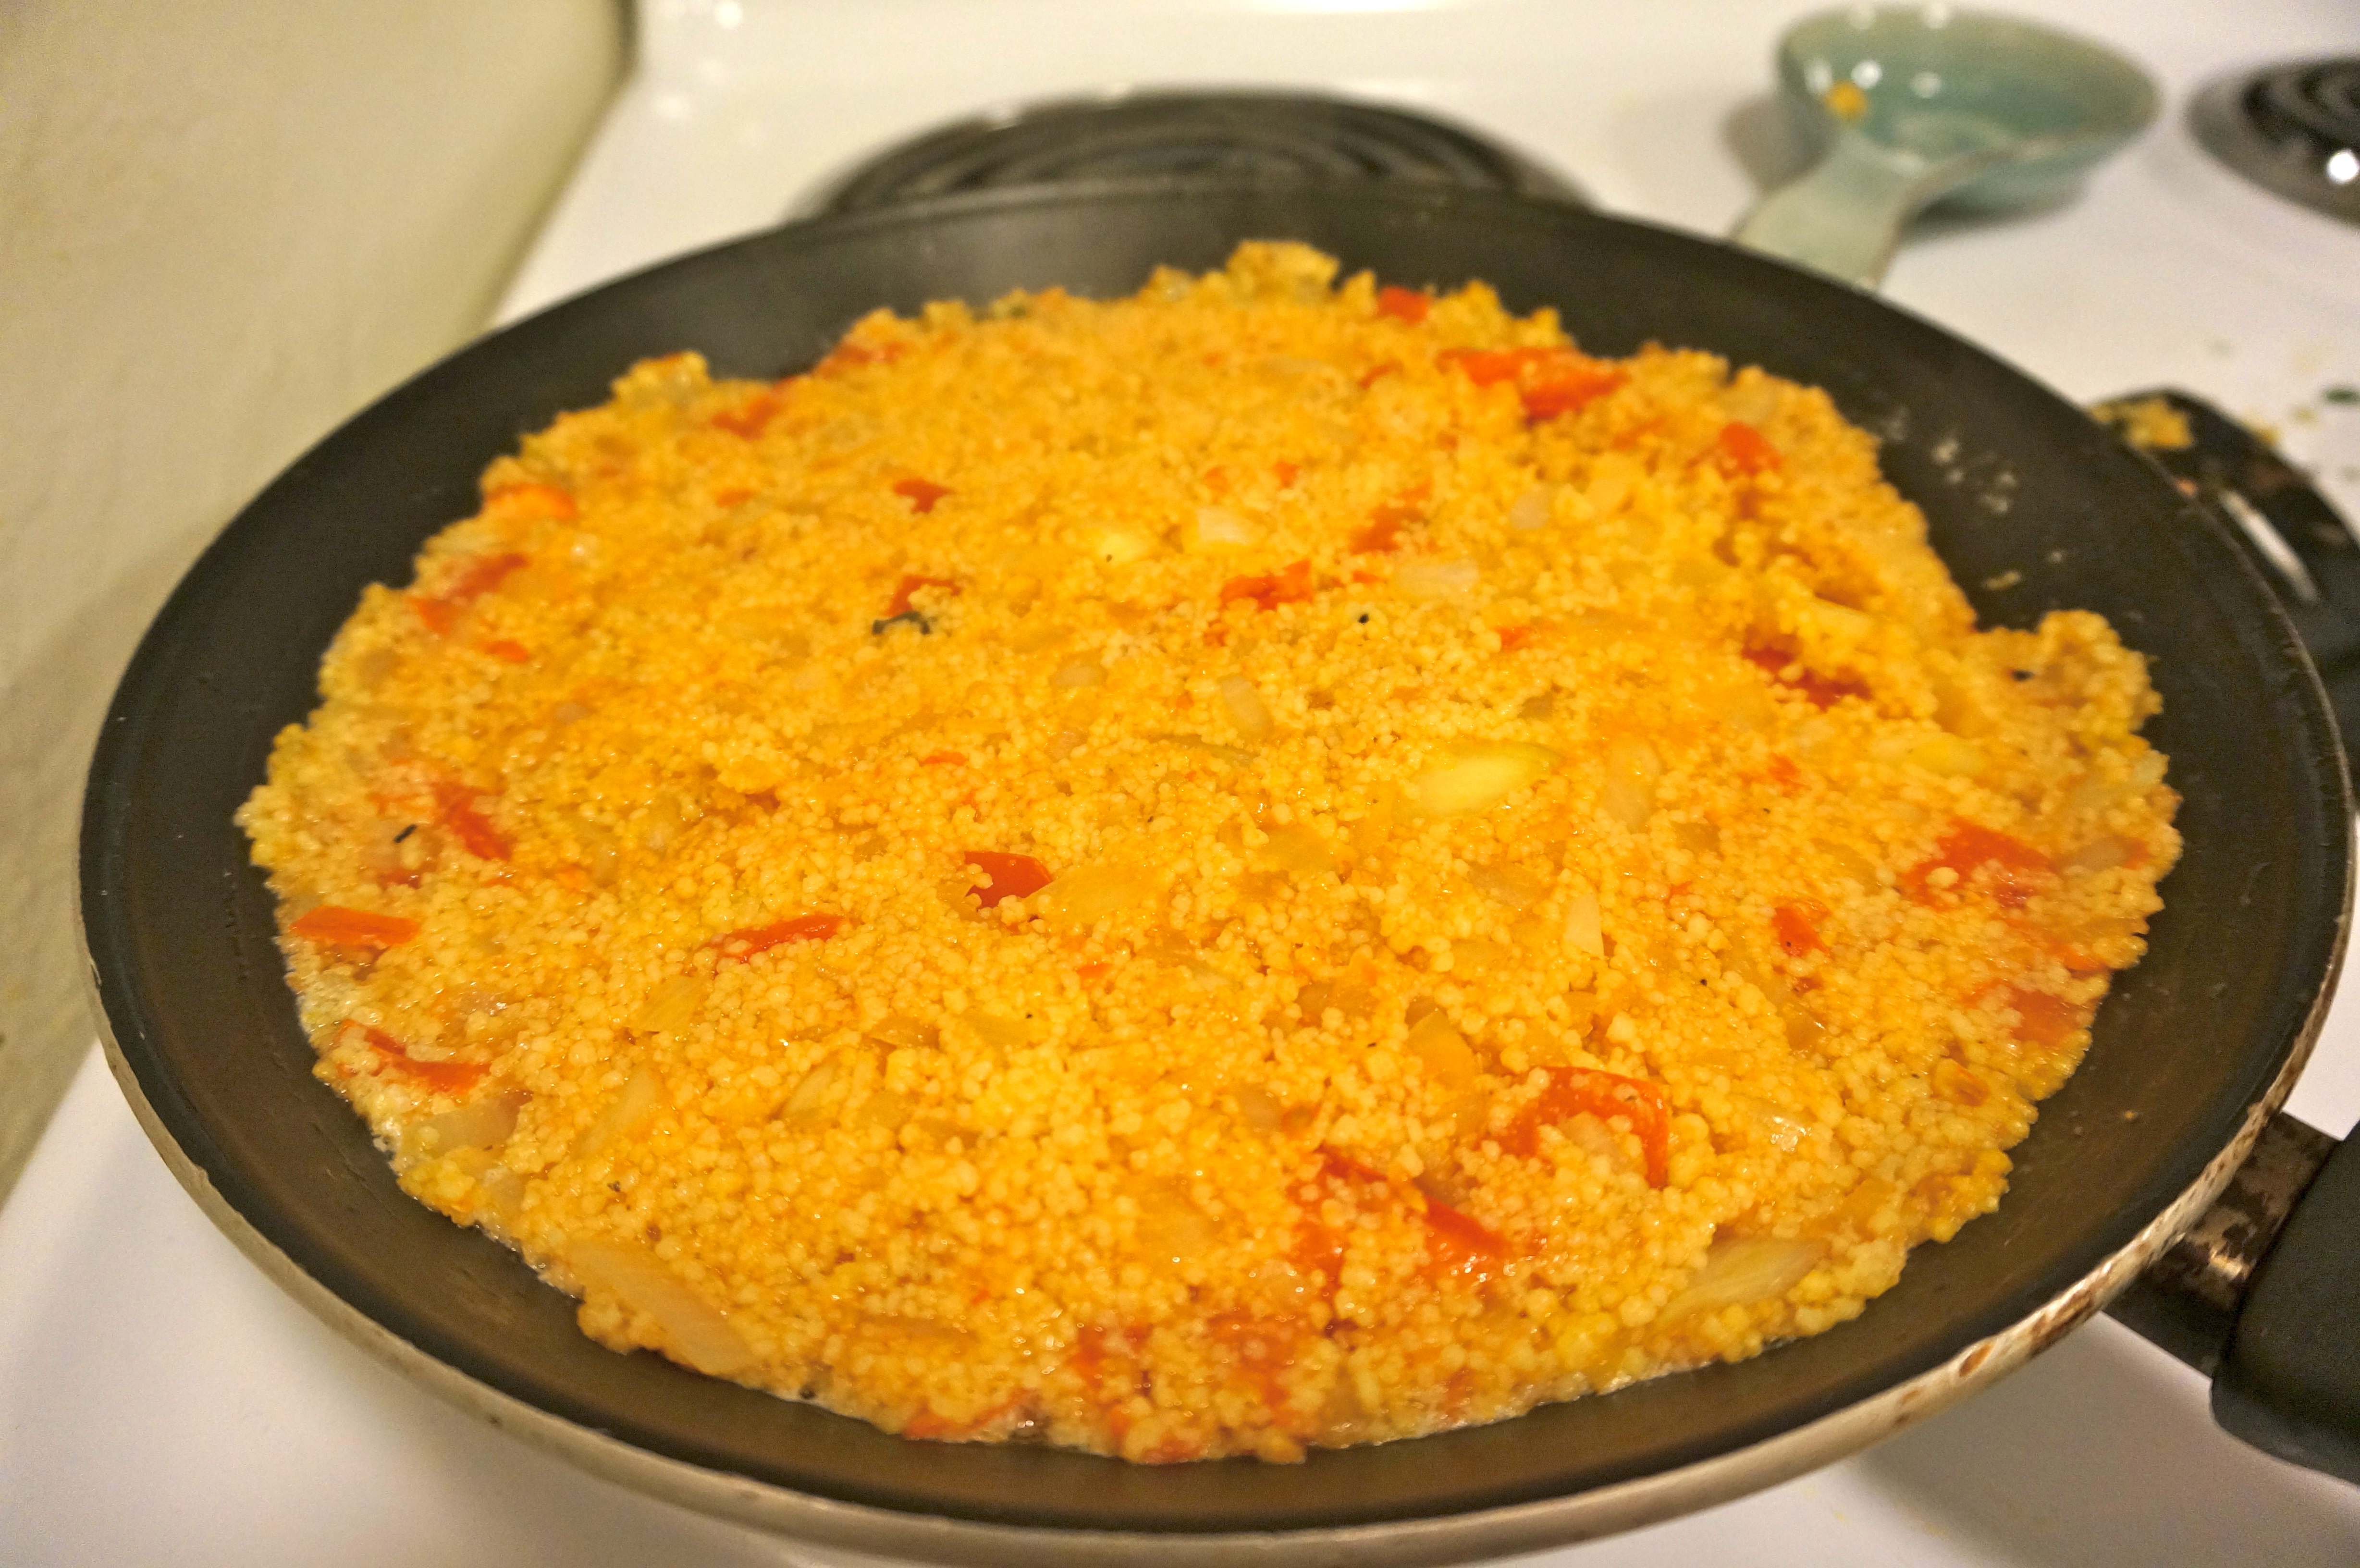
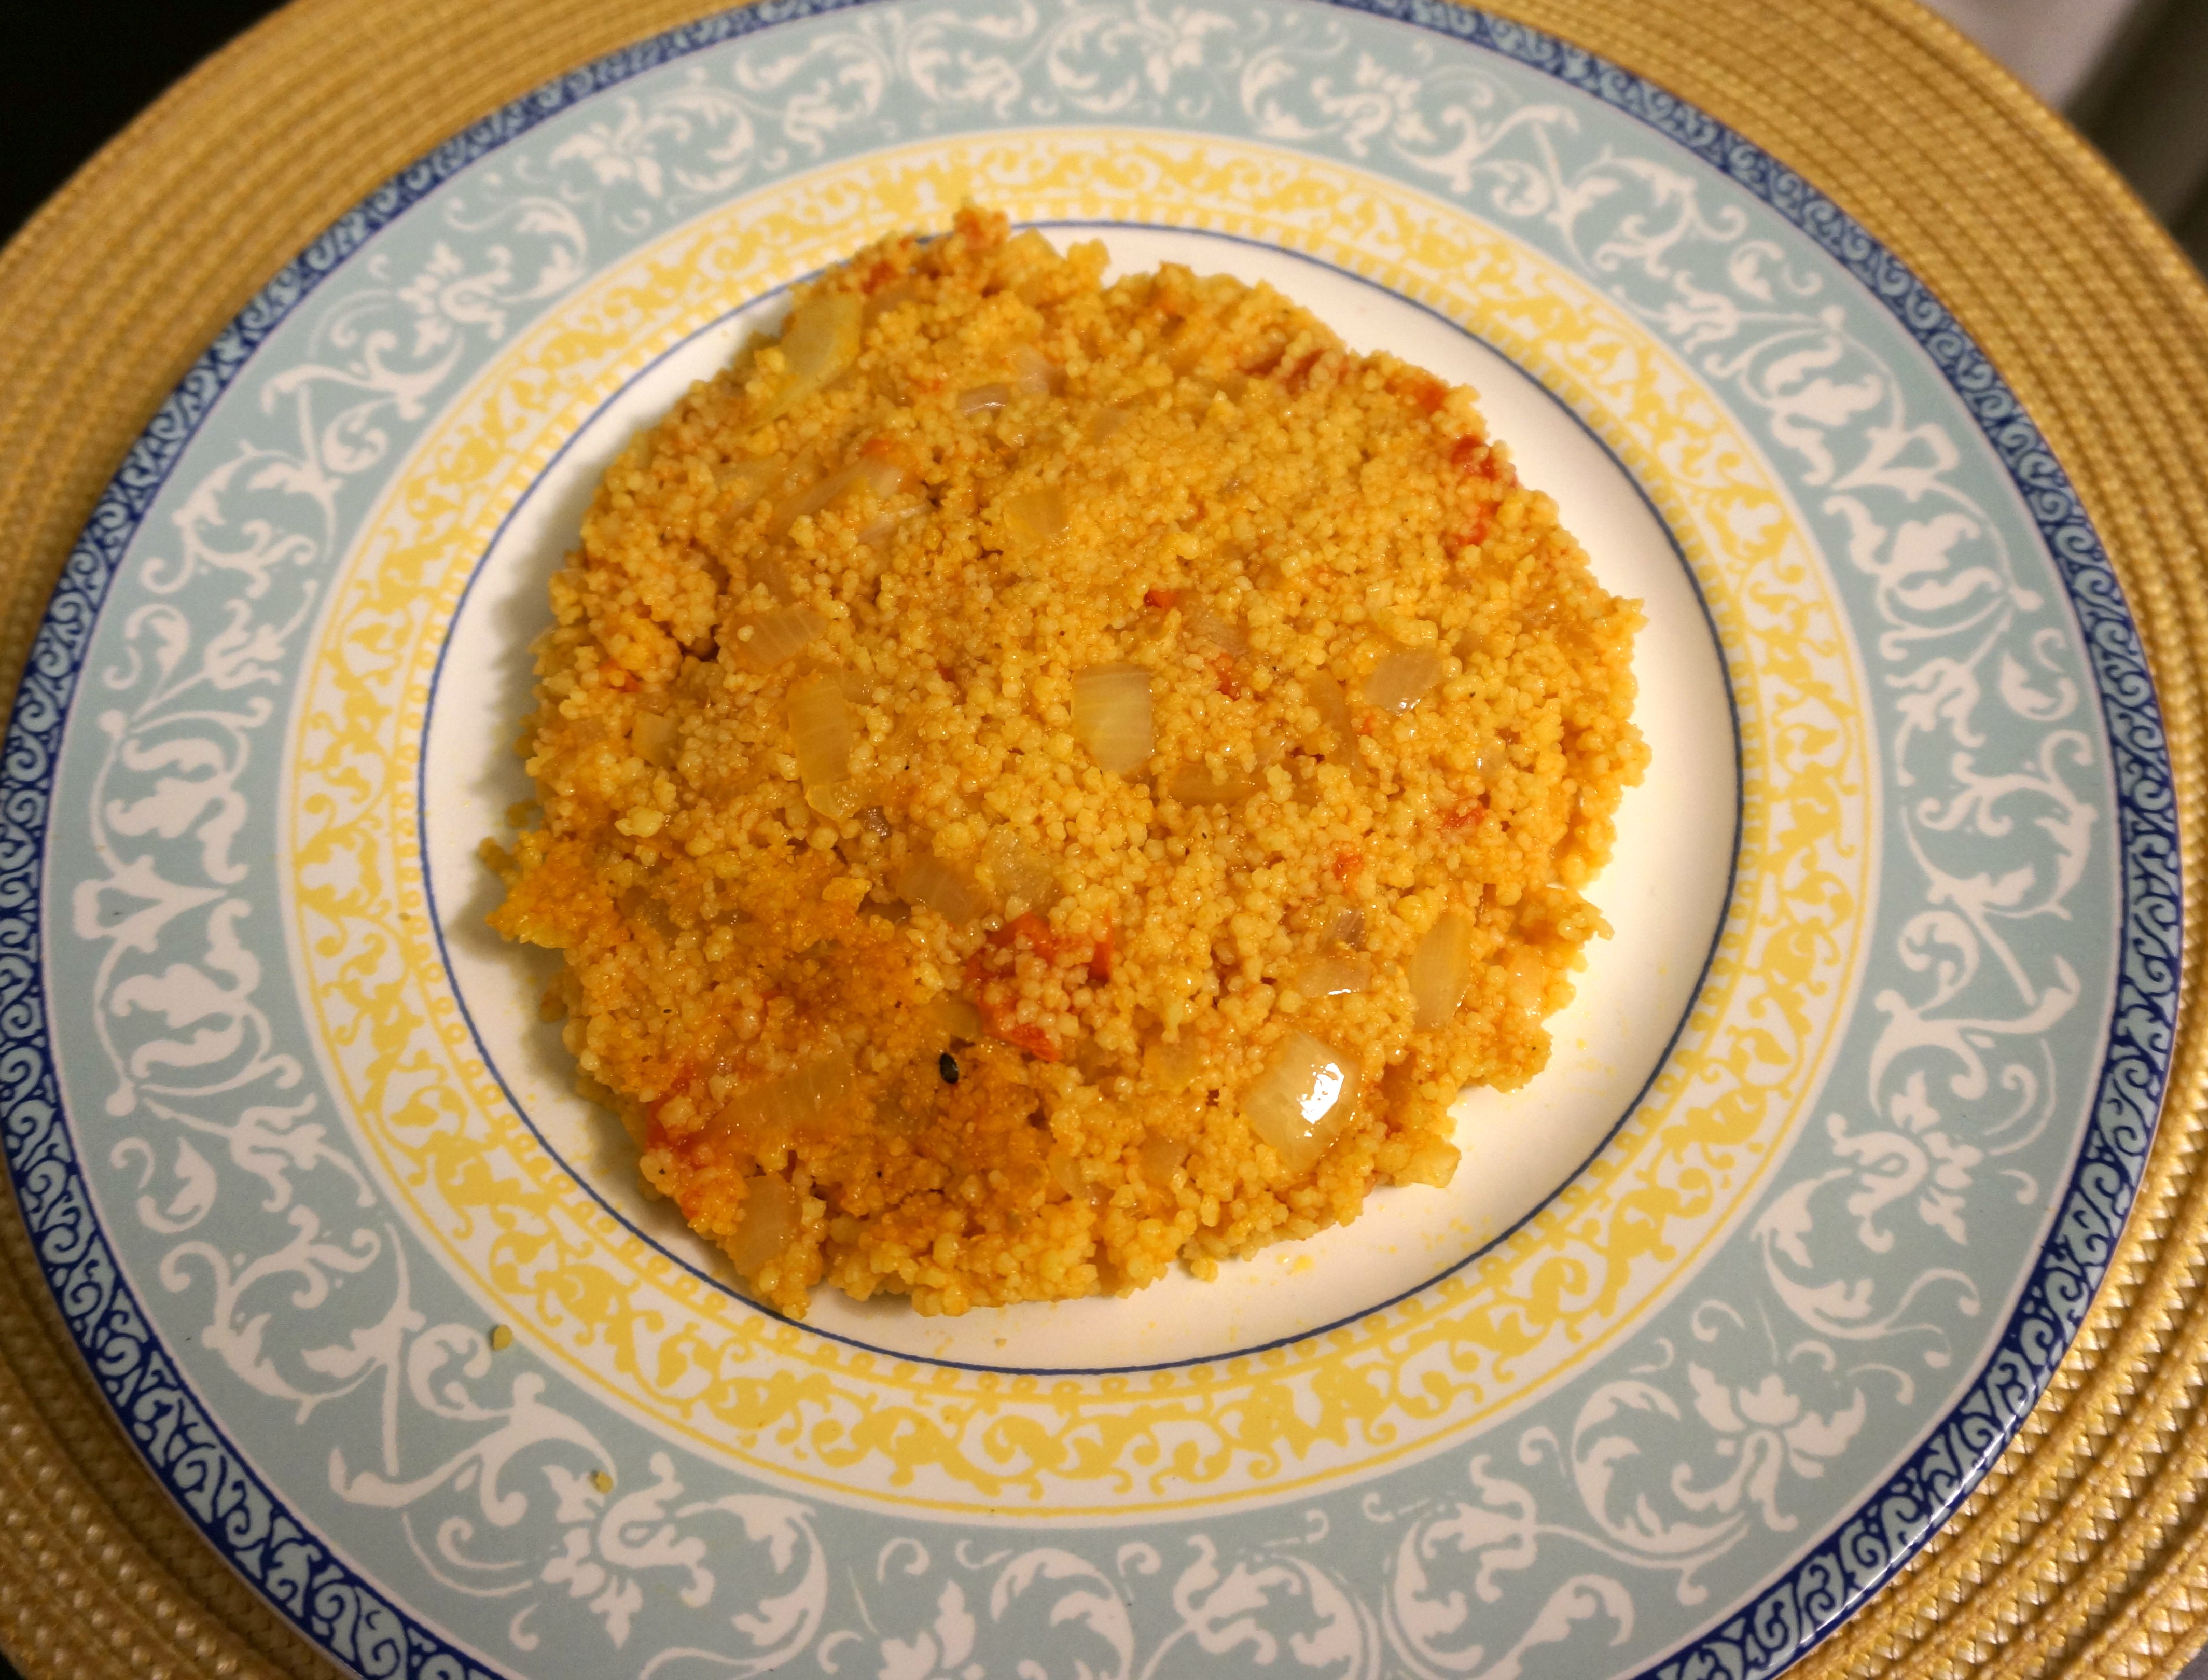
It makes a beautiful bright green sauce that I will have to find other uses for this week since we had a lot of extra! I think it would be good on cous cous or steak and would probably go well with grilled porcinis :)

Sorrel sauce in the immersion blender
I felt like I would totally fit in with all of the Berkeley and Oakland hipsters when Rachel gave me a mason jar to store the sorrel sauce in:

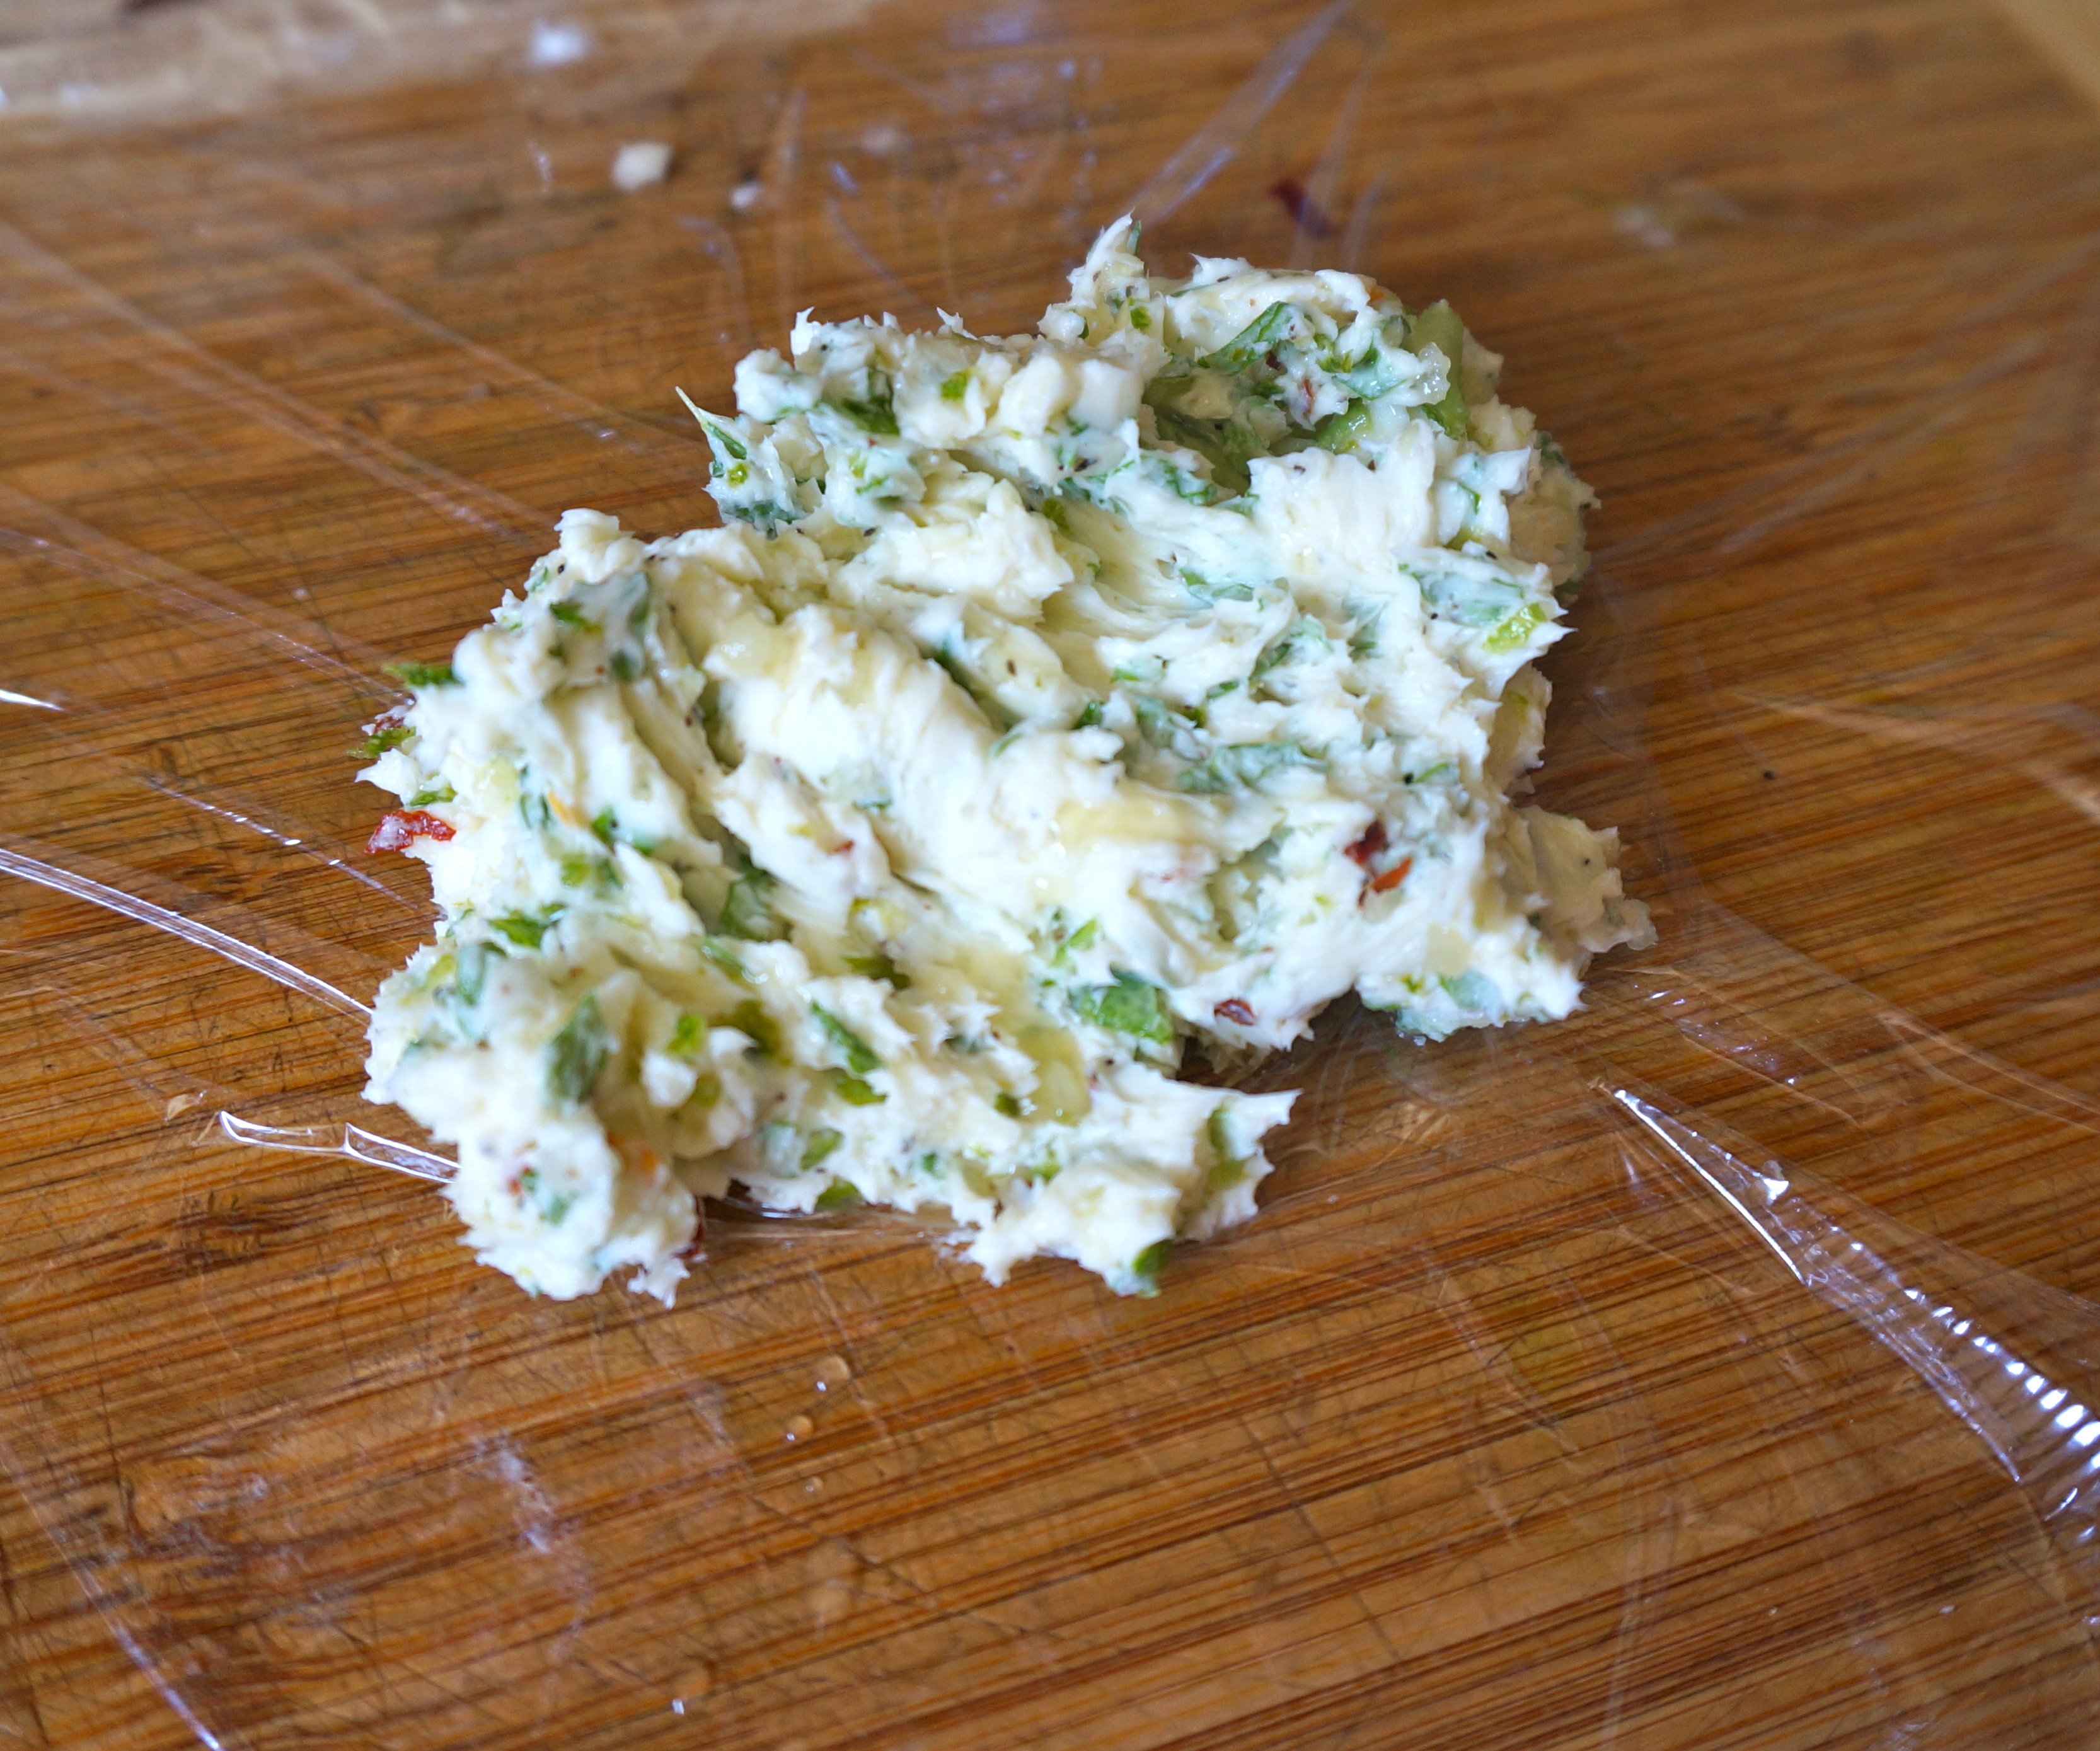
Sorrel sauce
Isn’t it beautifully bright green?
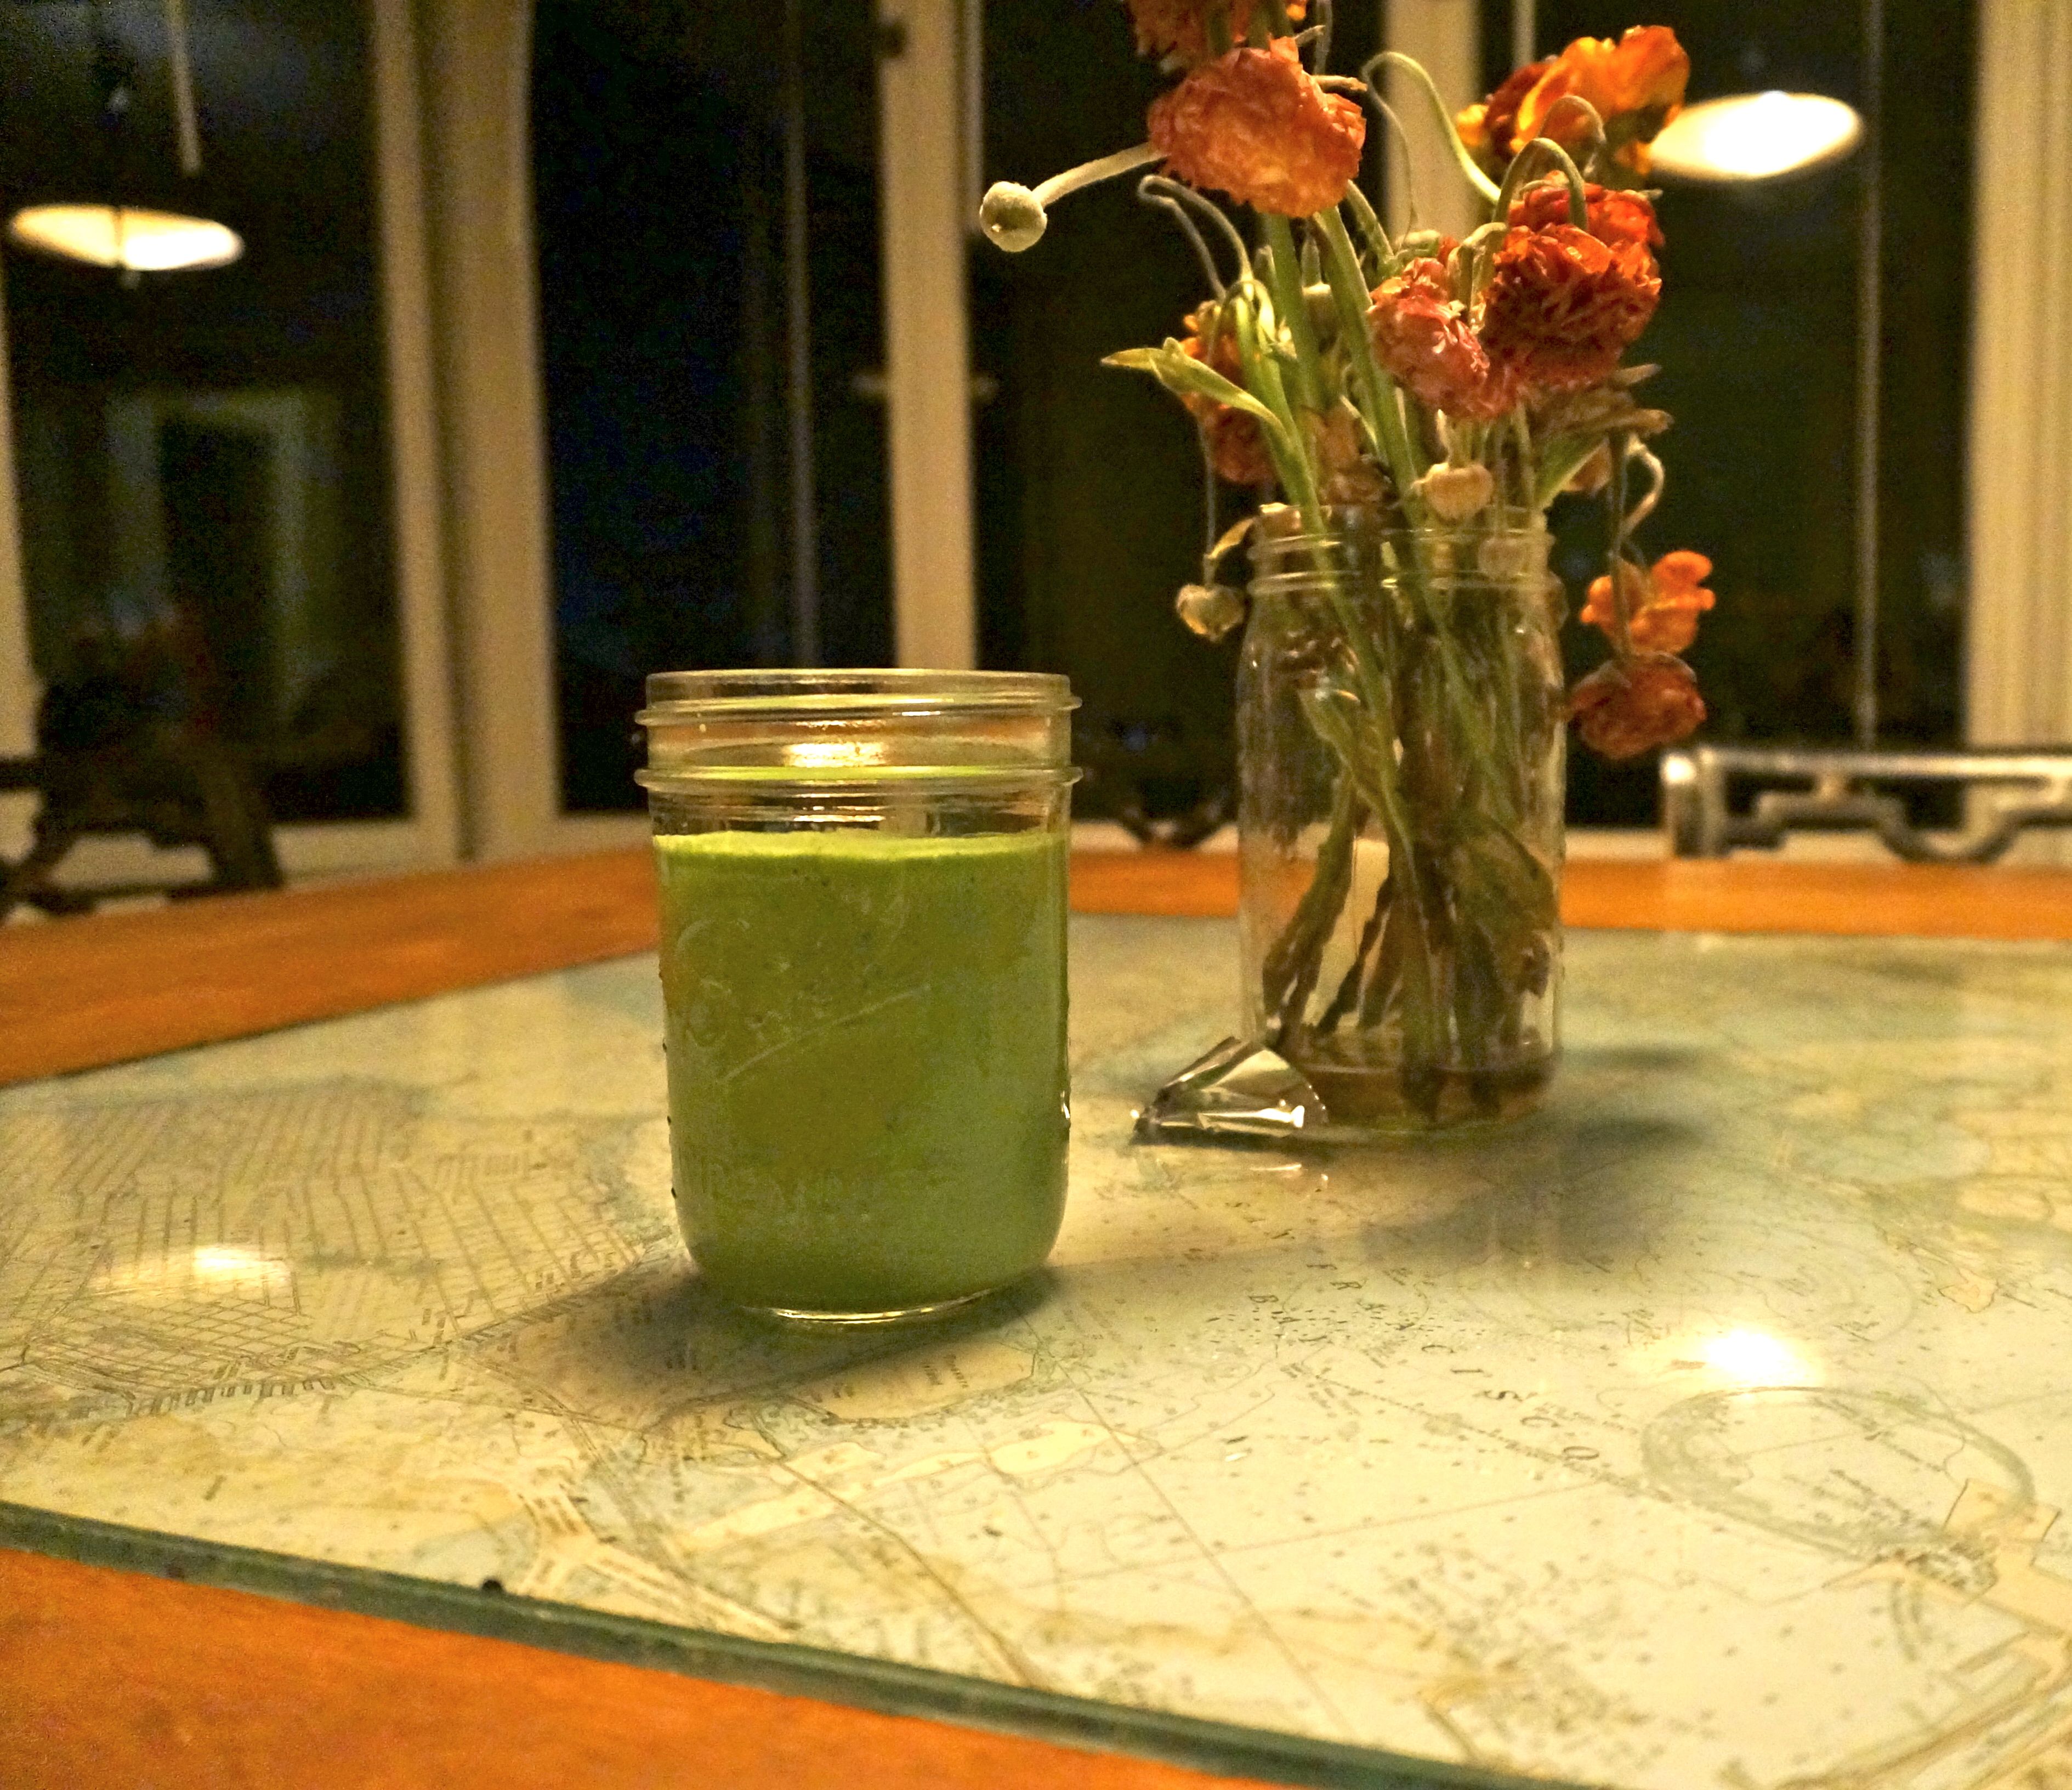
Sorrel sauce in mason jar
After the sauce is made the next step is to blanch the swiss chard. While the swiss chard is blanching, sautee pine nuts in oil. This is another repetitive theme in the Ottolenghi books and it is delicious! Pine nuts add such a nice decadent crunch to all of these dishes and they are so good toasted!

Blanched swiss chard with toasted pine nuts
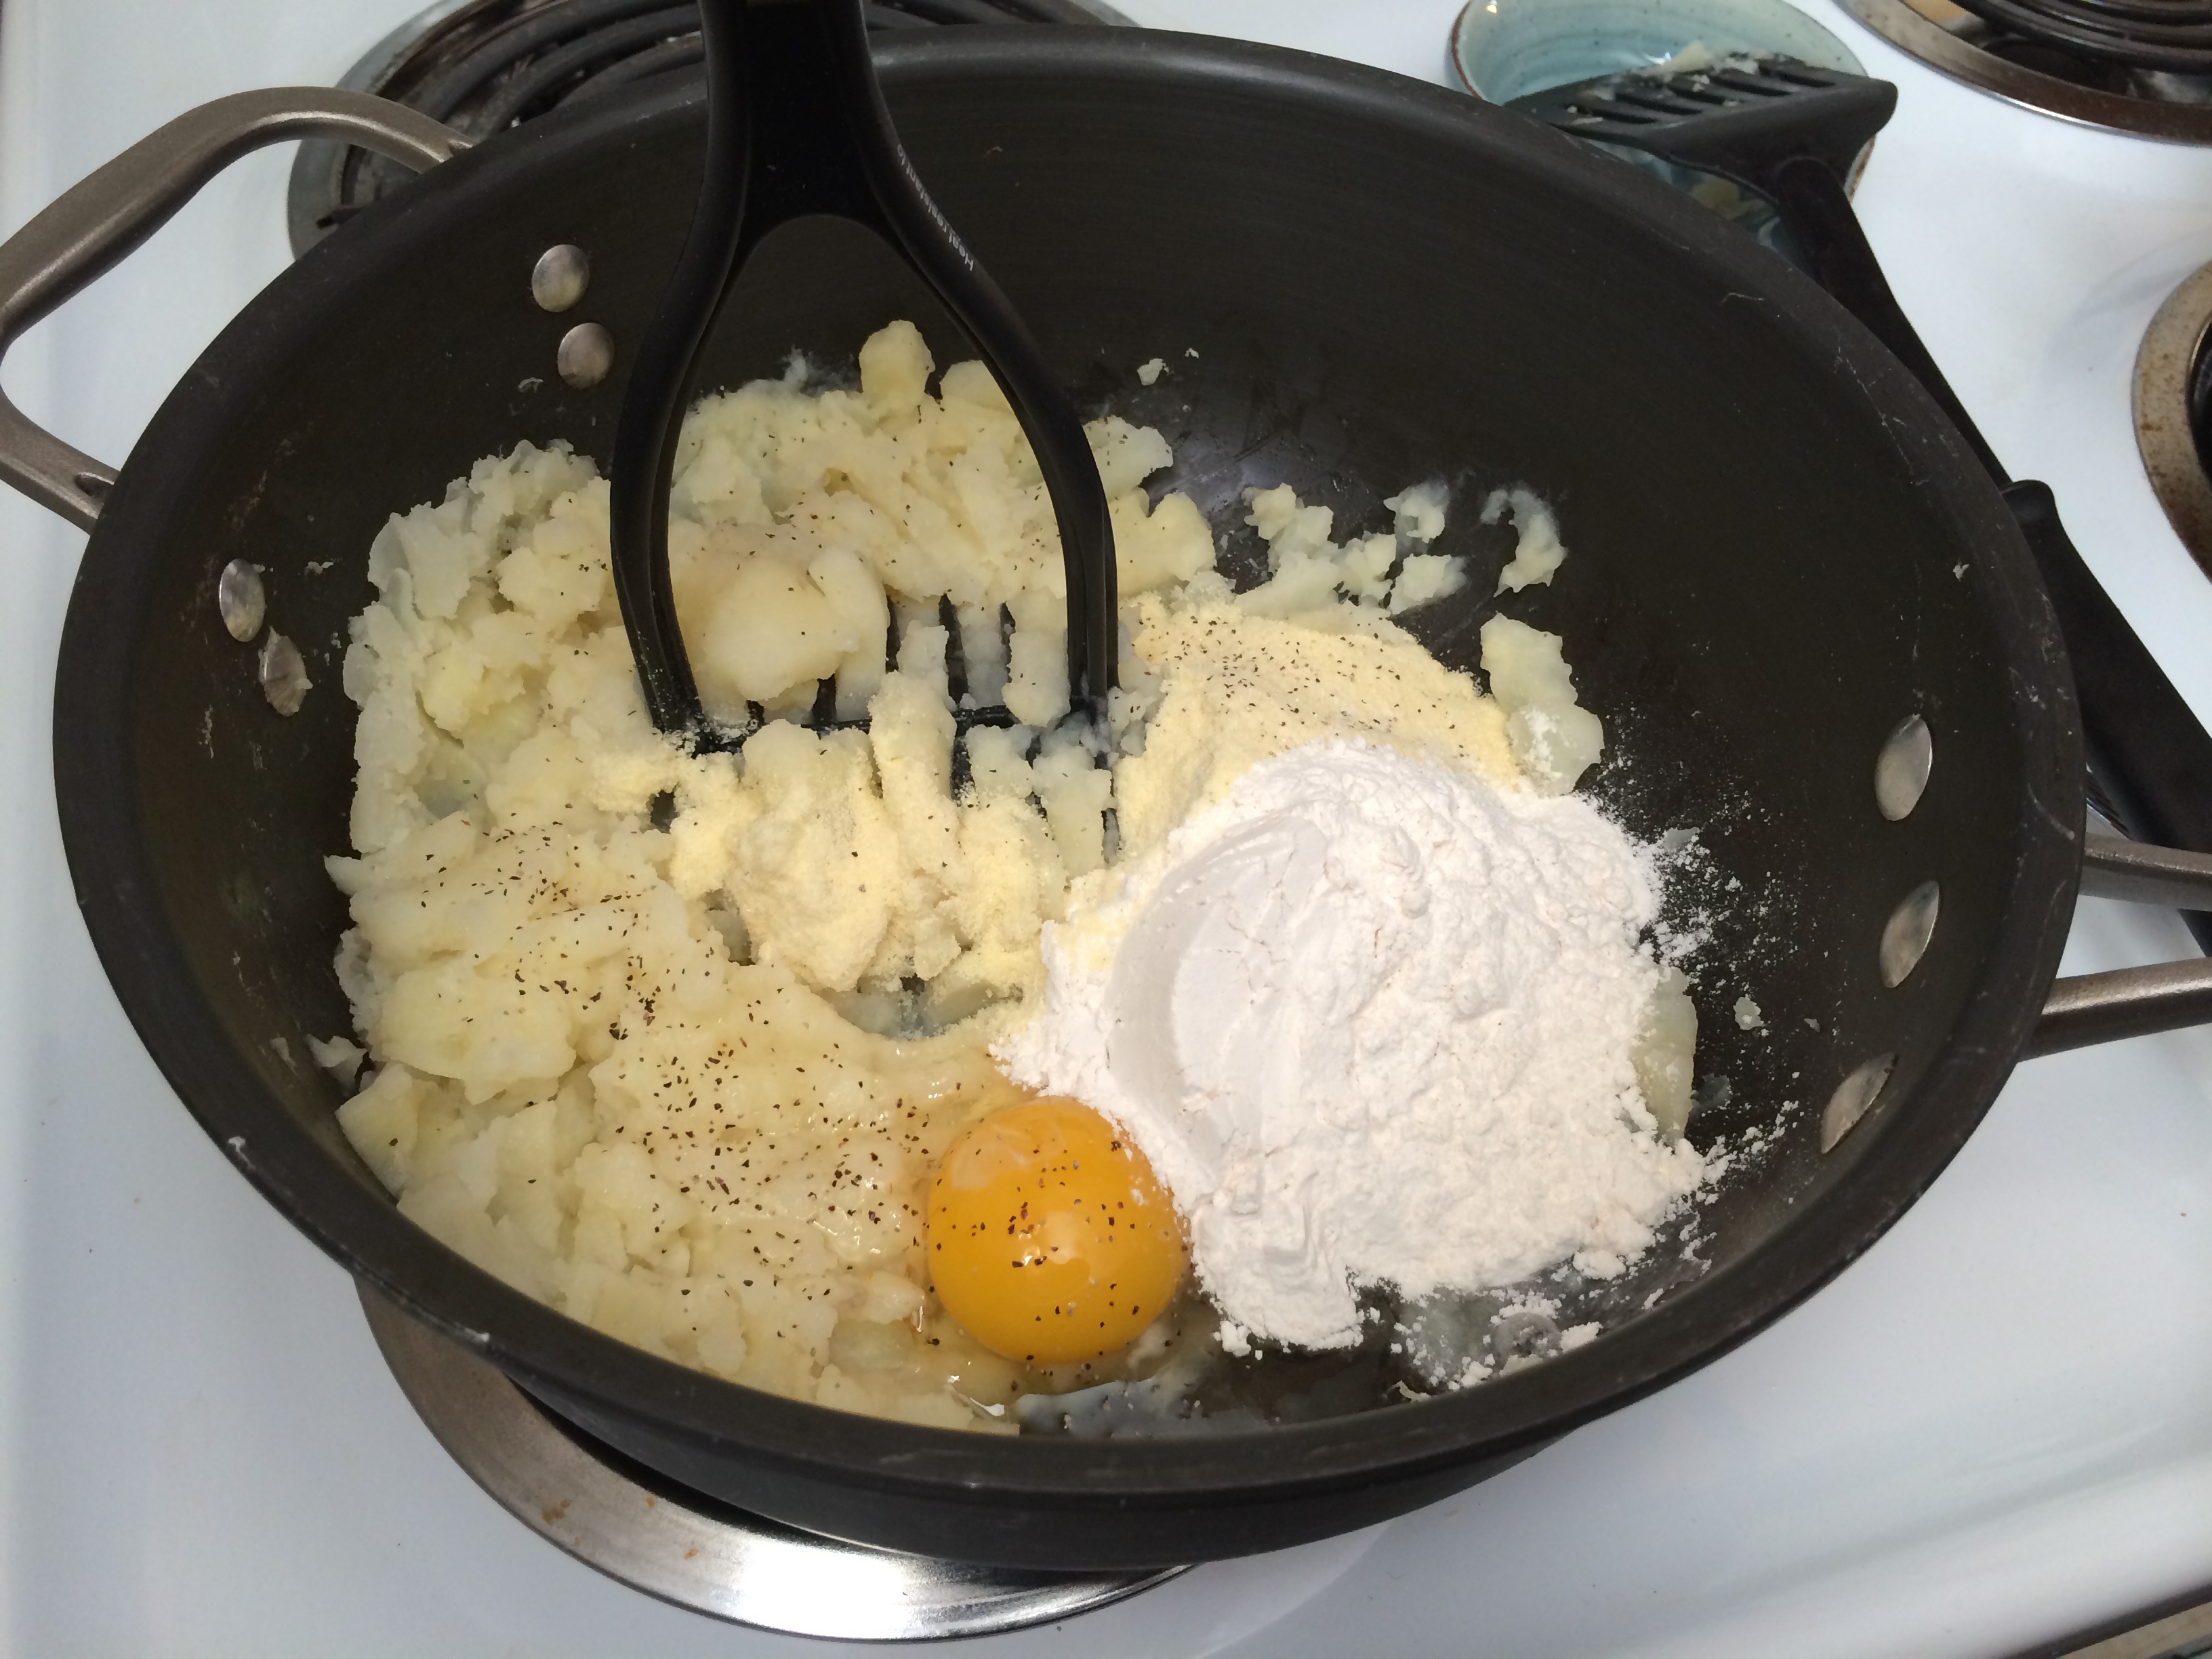
Next add the egg, bread crumbs, salt, pepper, and cheese. I had no idea where to find kashkaval cheese but a quick google for substitutions on my iphone while at the grocery store found me mozzarella. Rachel, who has made the recipe before and said she went out of her way to find kashkaval cheese at a specialty cheese shop, said it tasted way better with mozzarella. The mozzarella was creamy and stringy which held together the cakes very well. Then came the fun part – mixing everything together and molding the cakes with my hands! While mixing the cakes we started heating up canola oil in a pan.
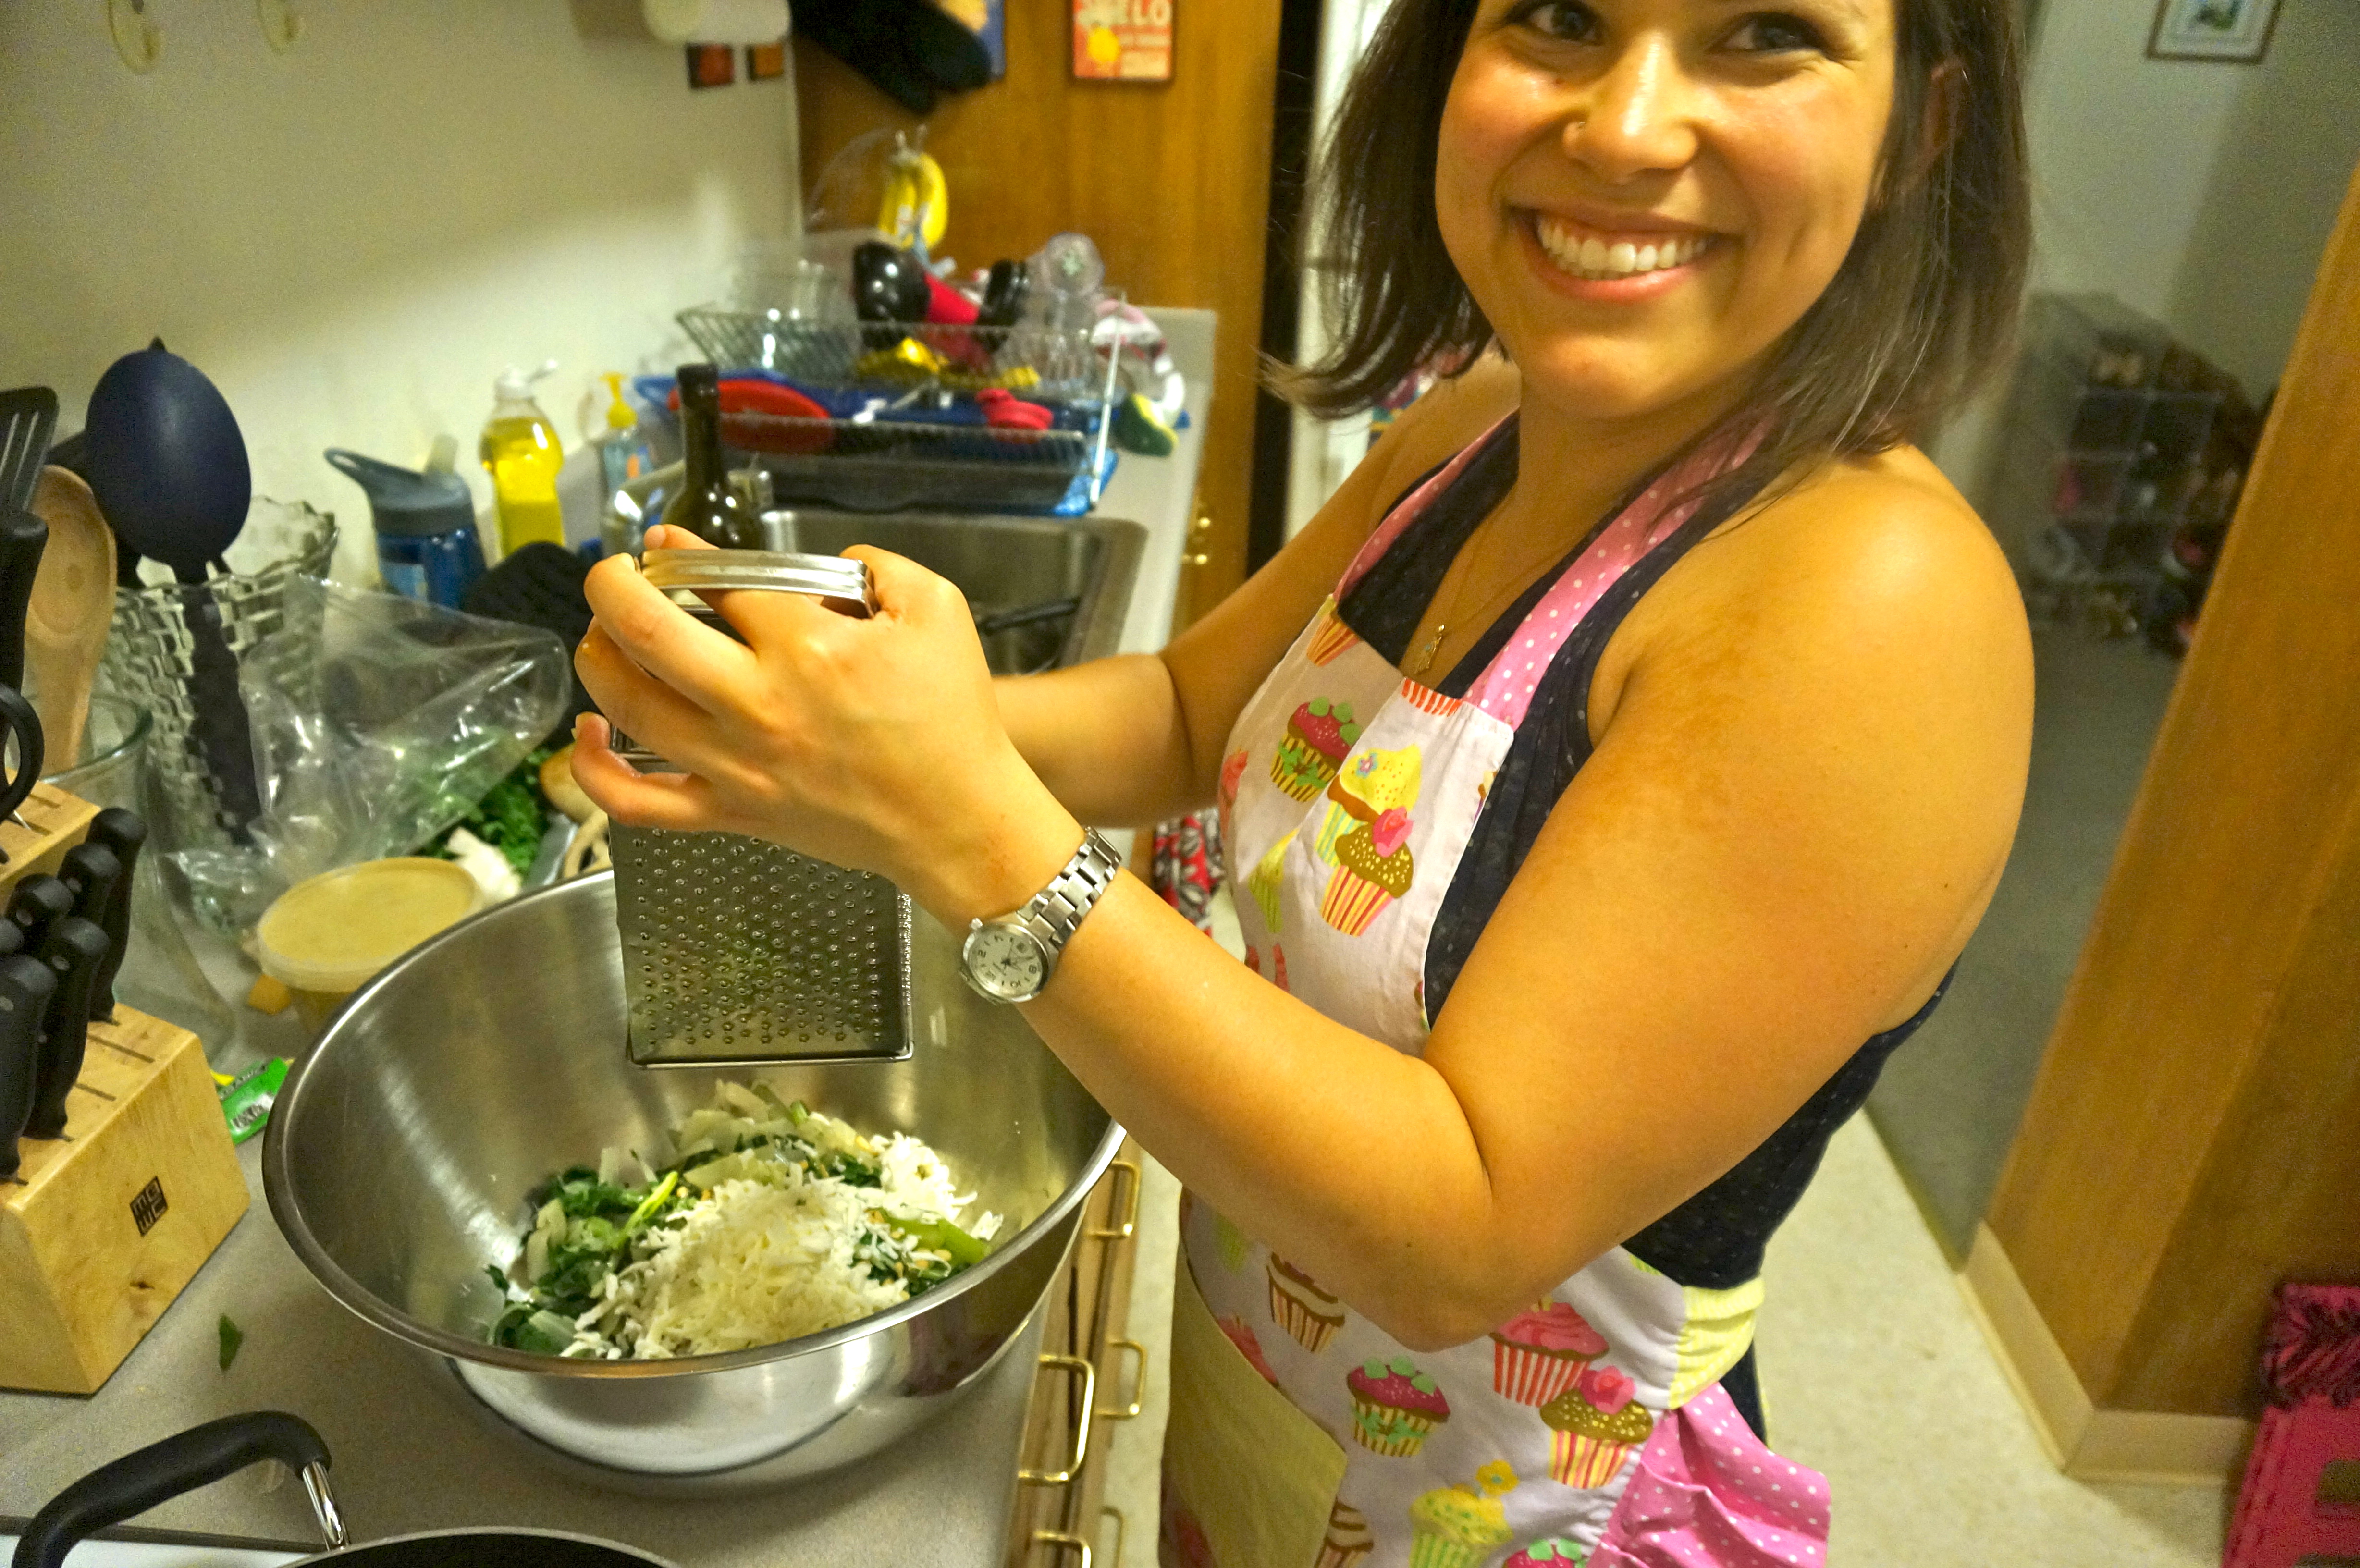
Adding the mozzarella cheese
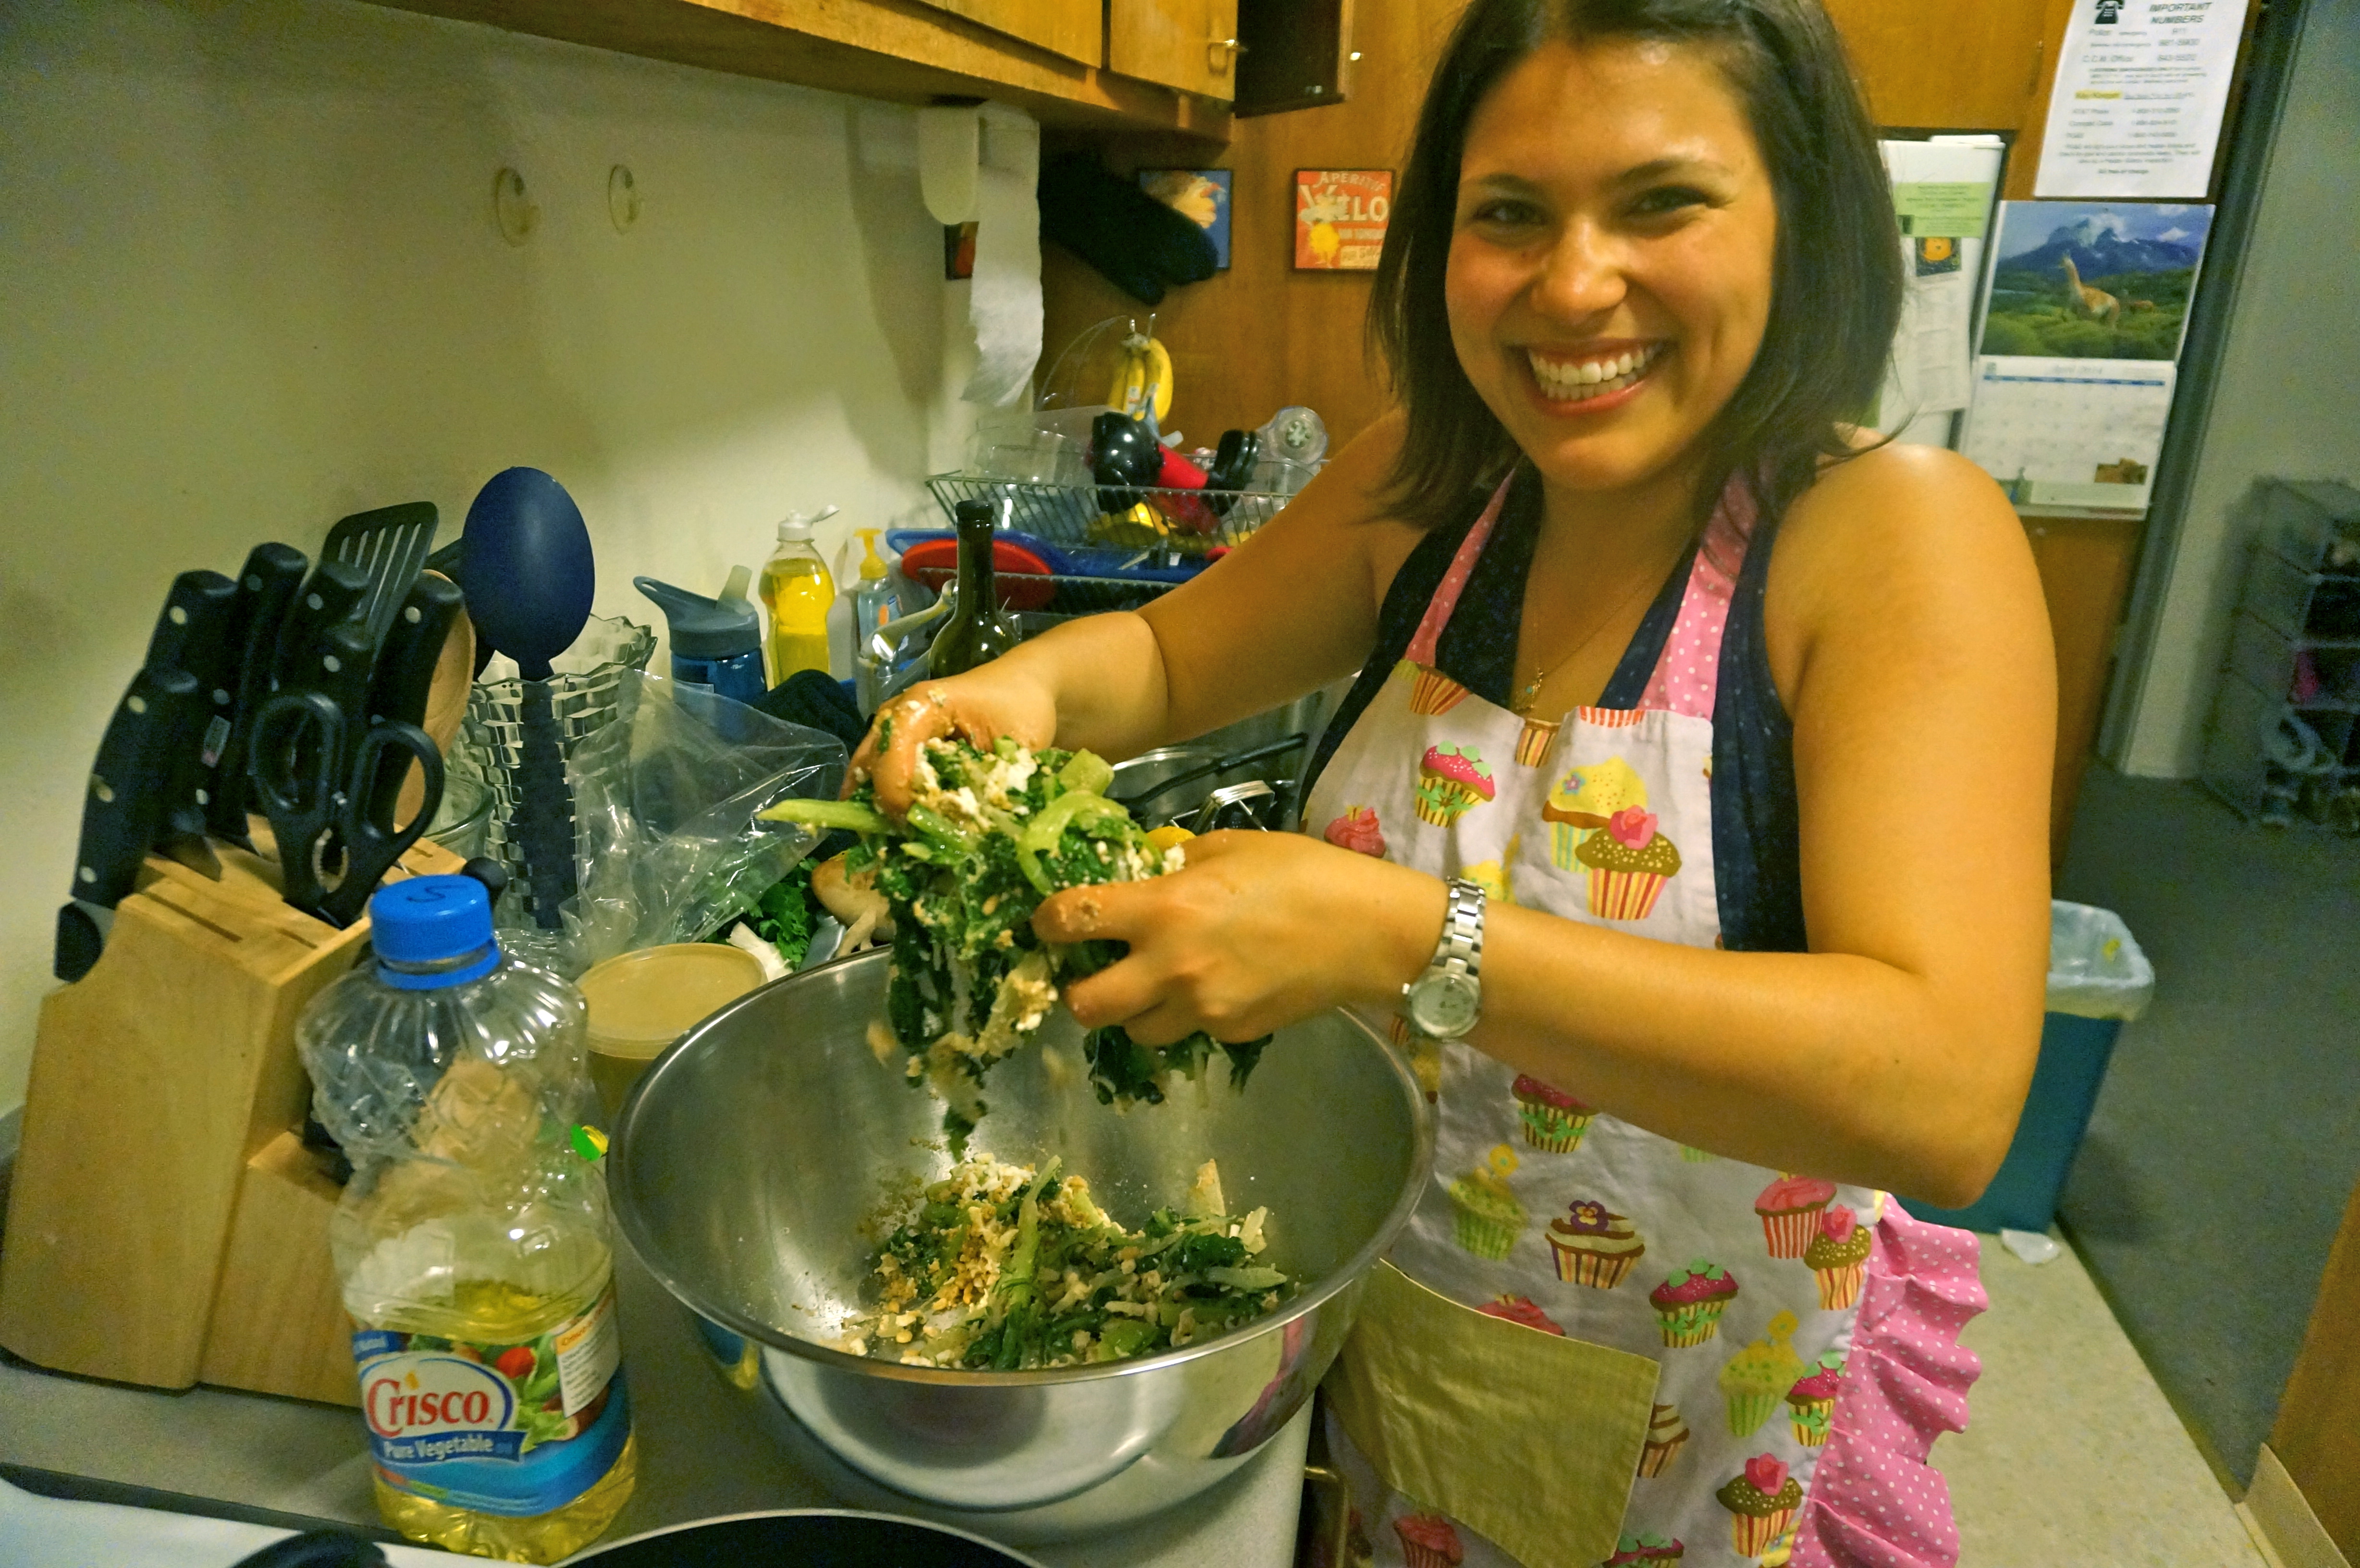
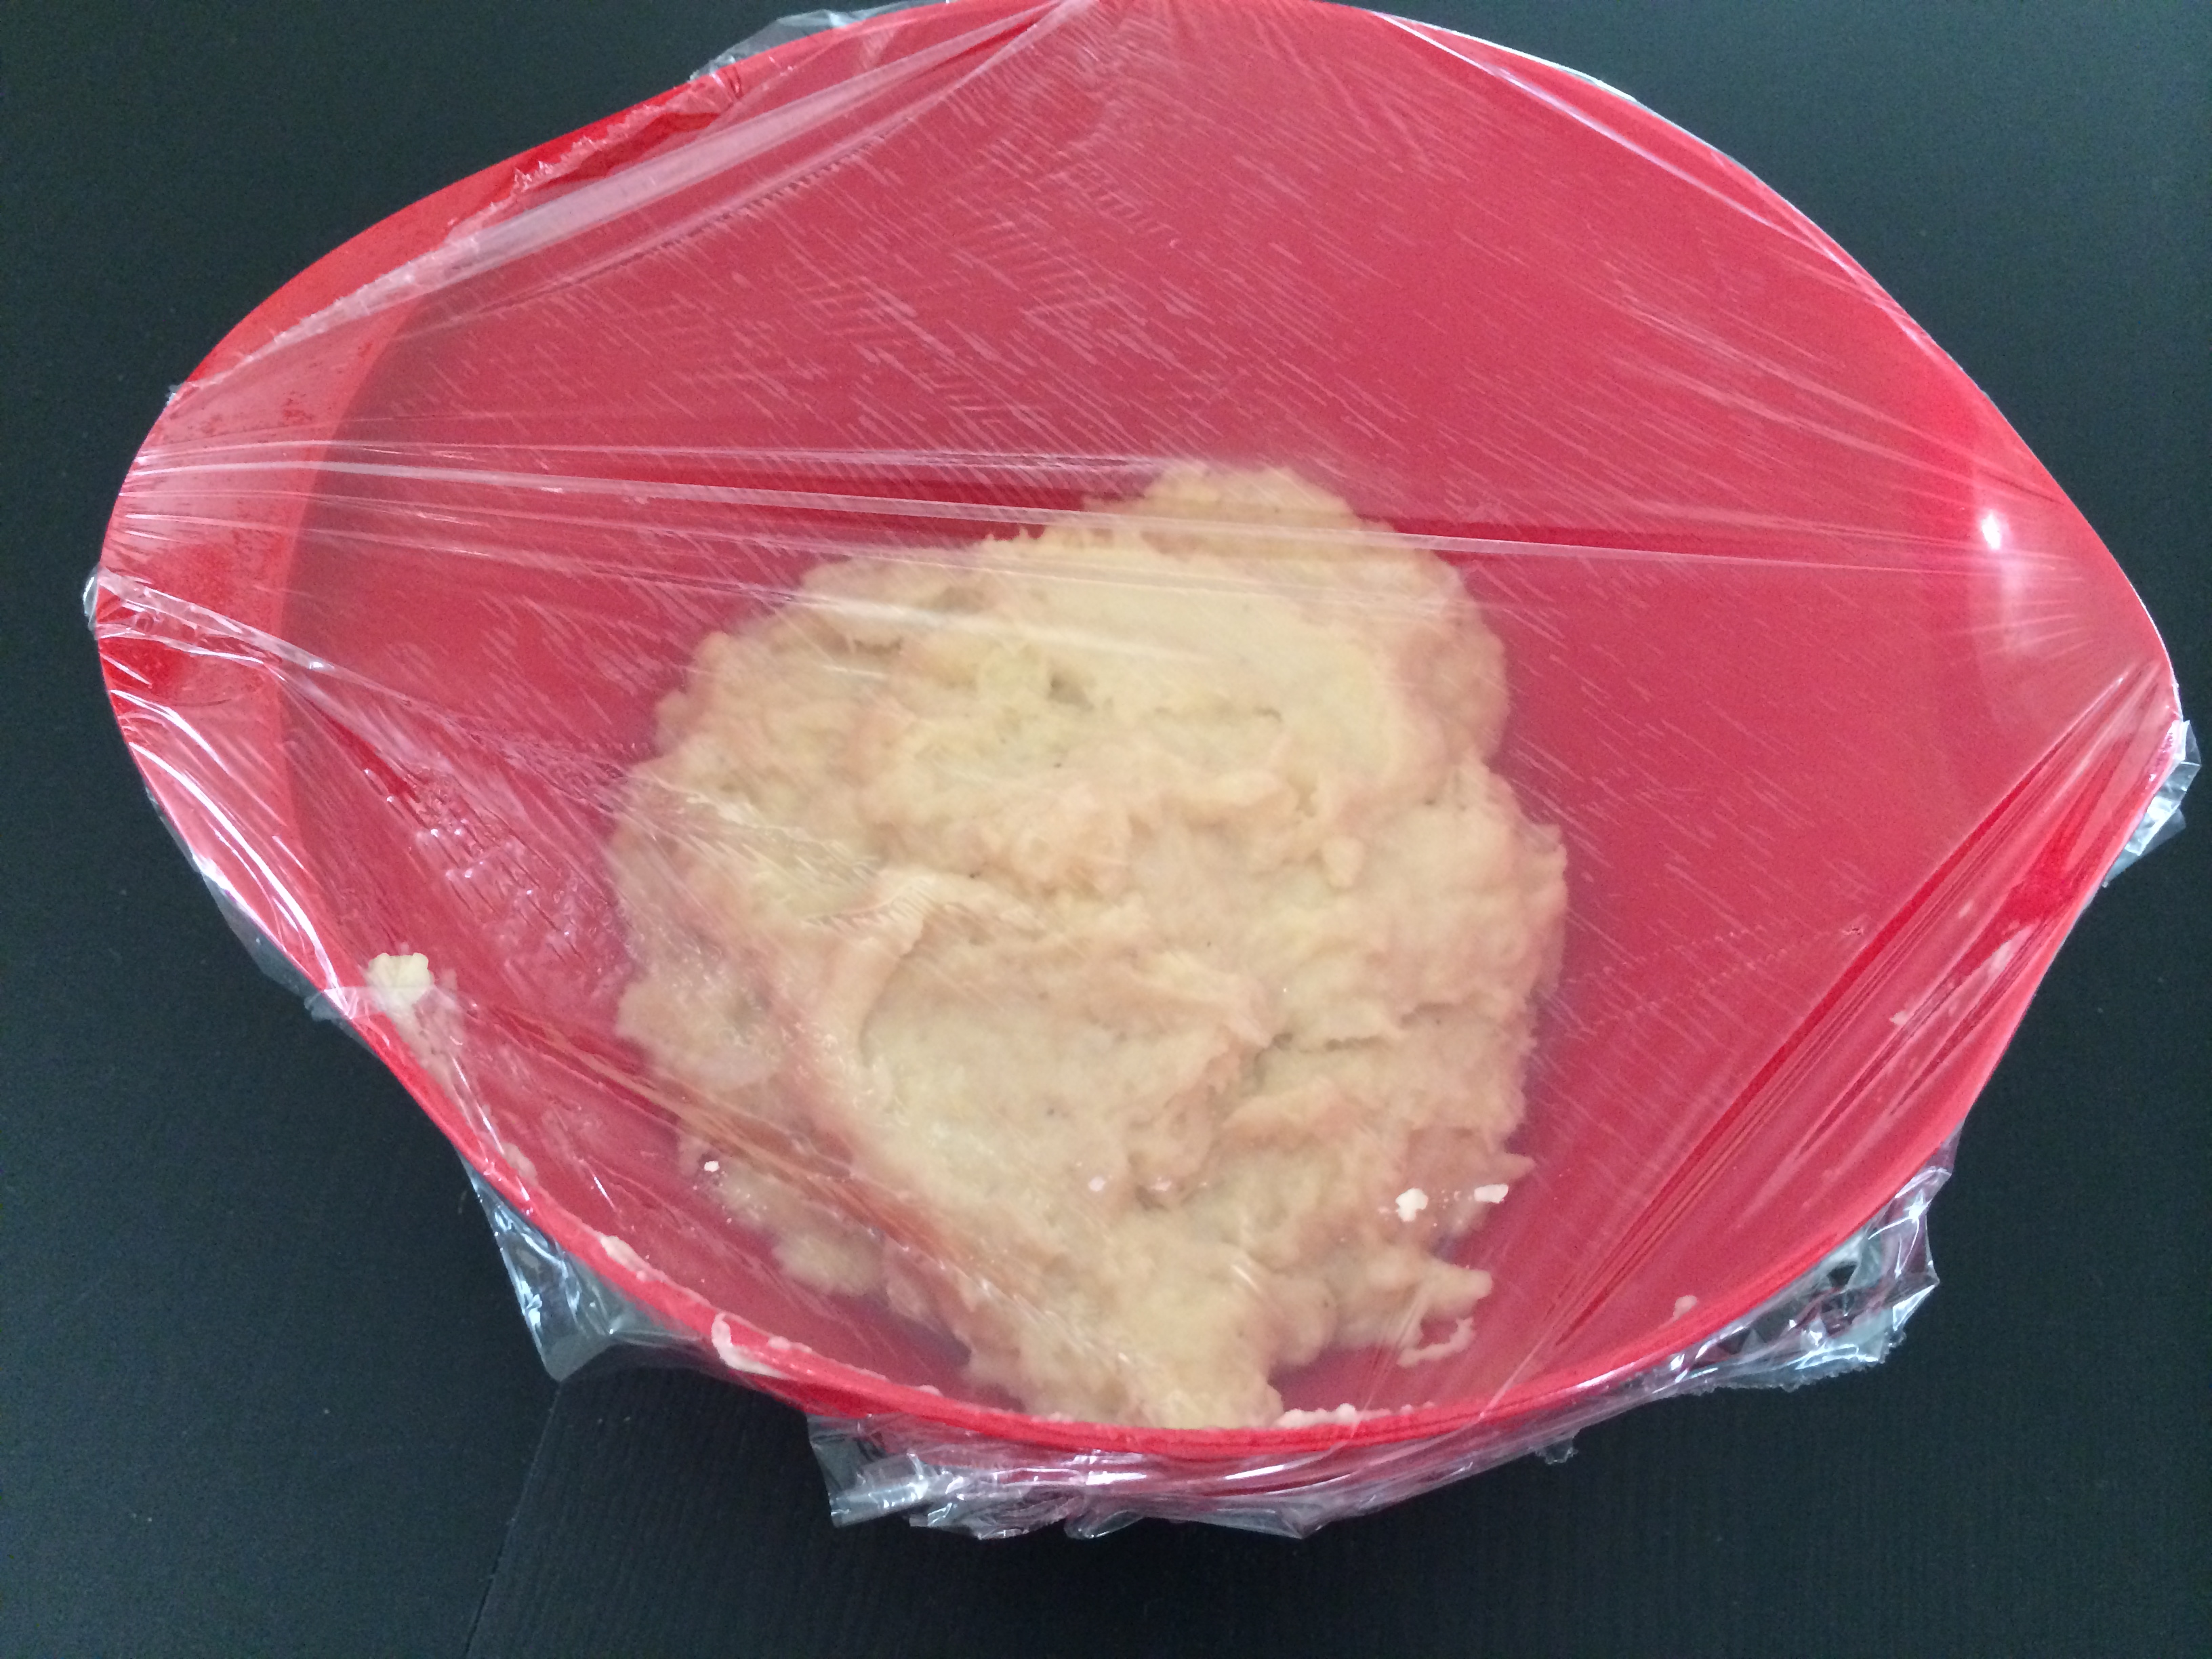
Mixing up the chard cakes
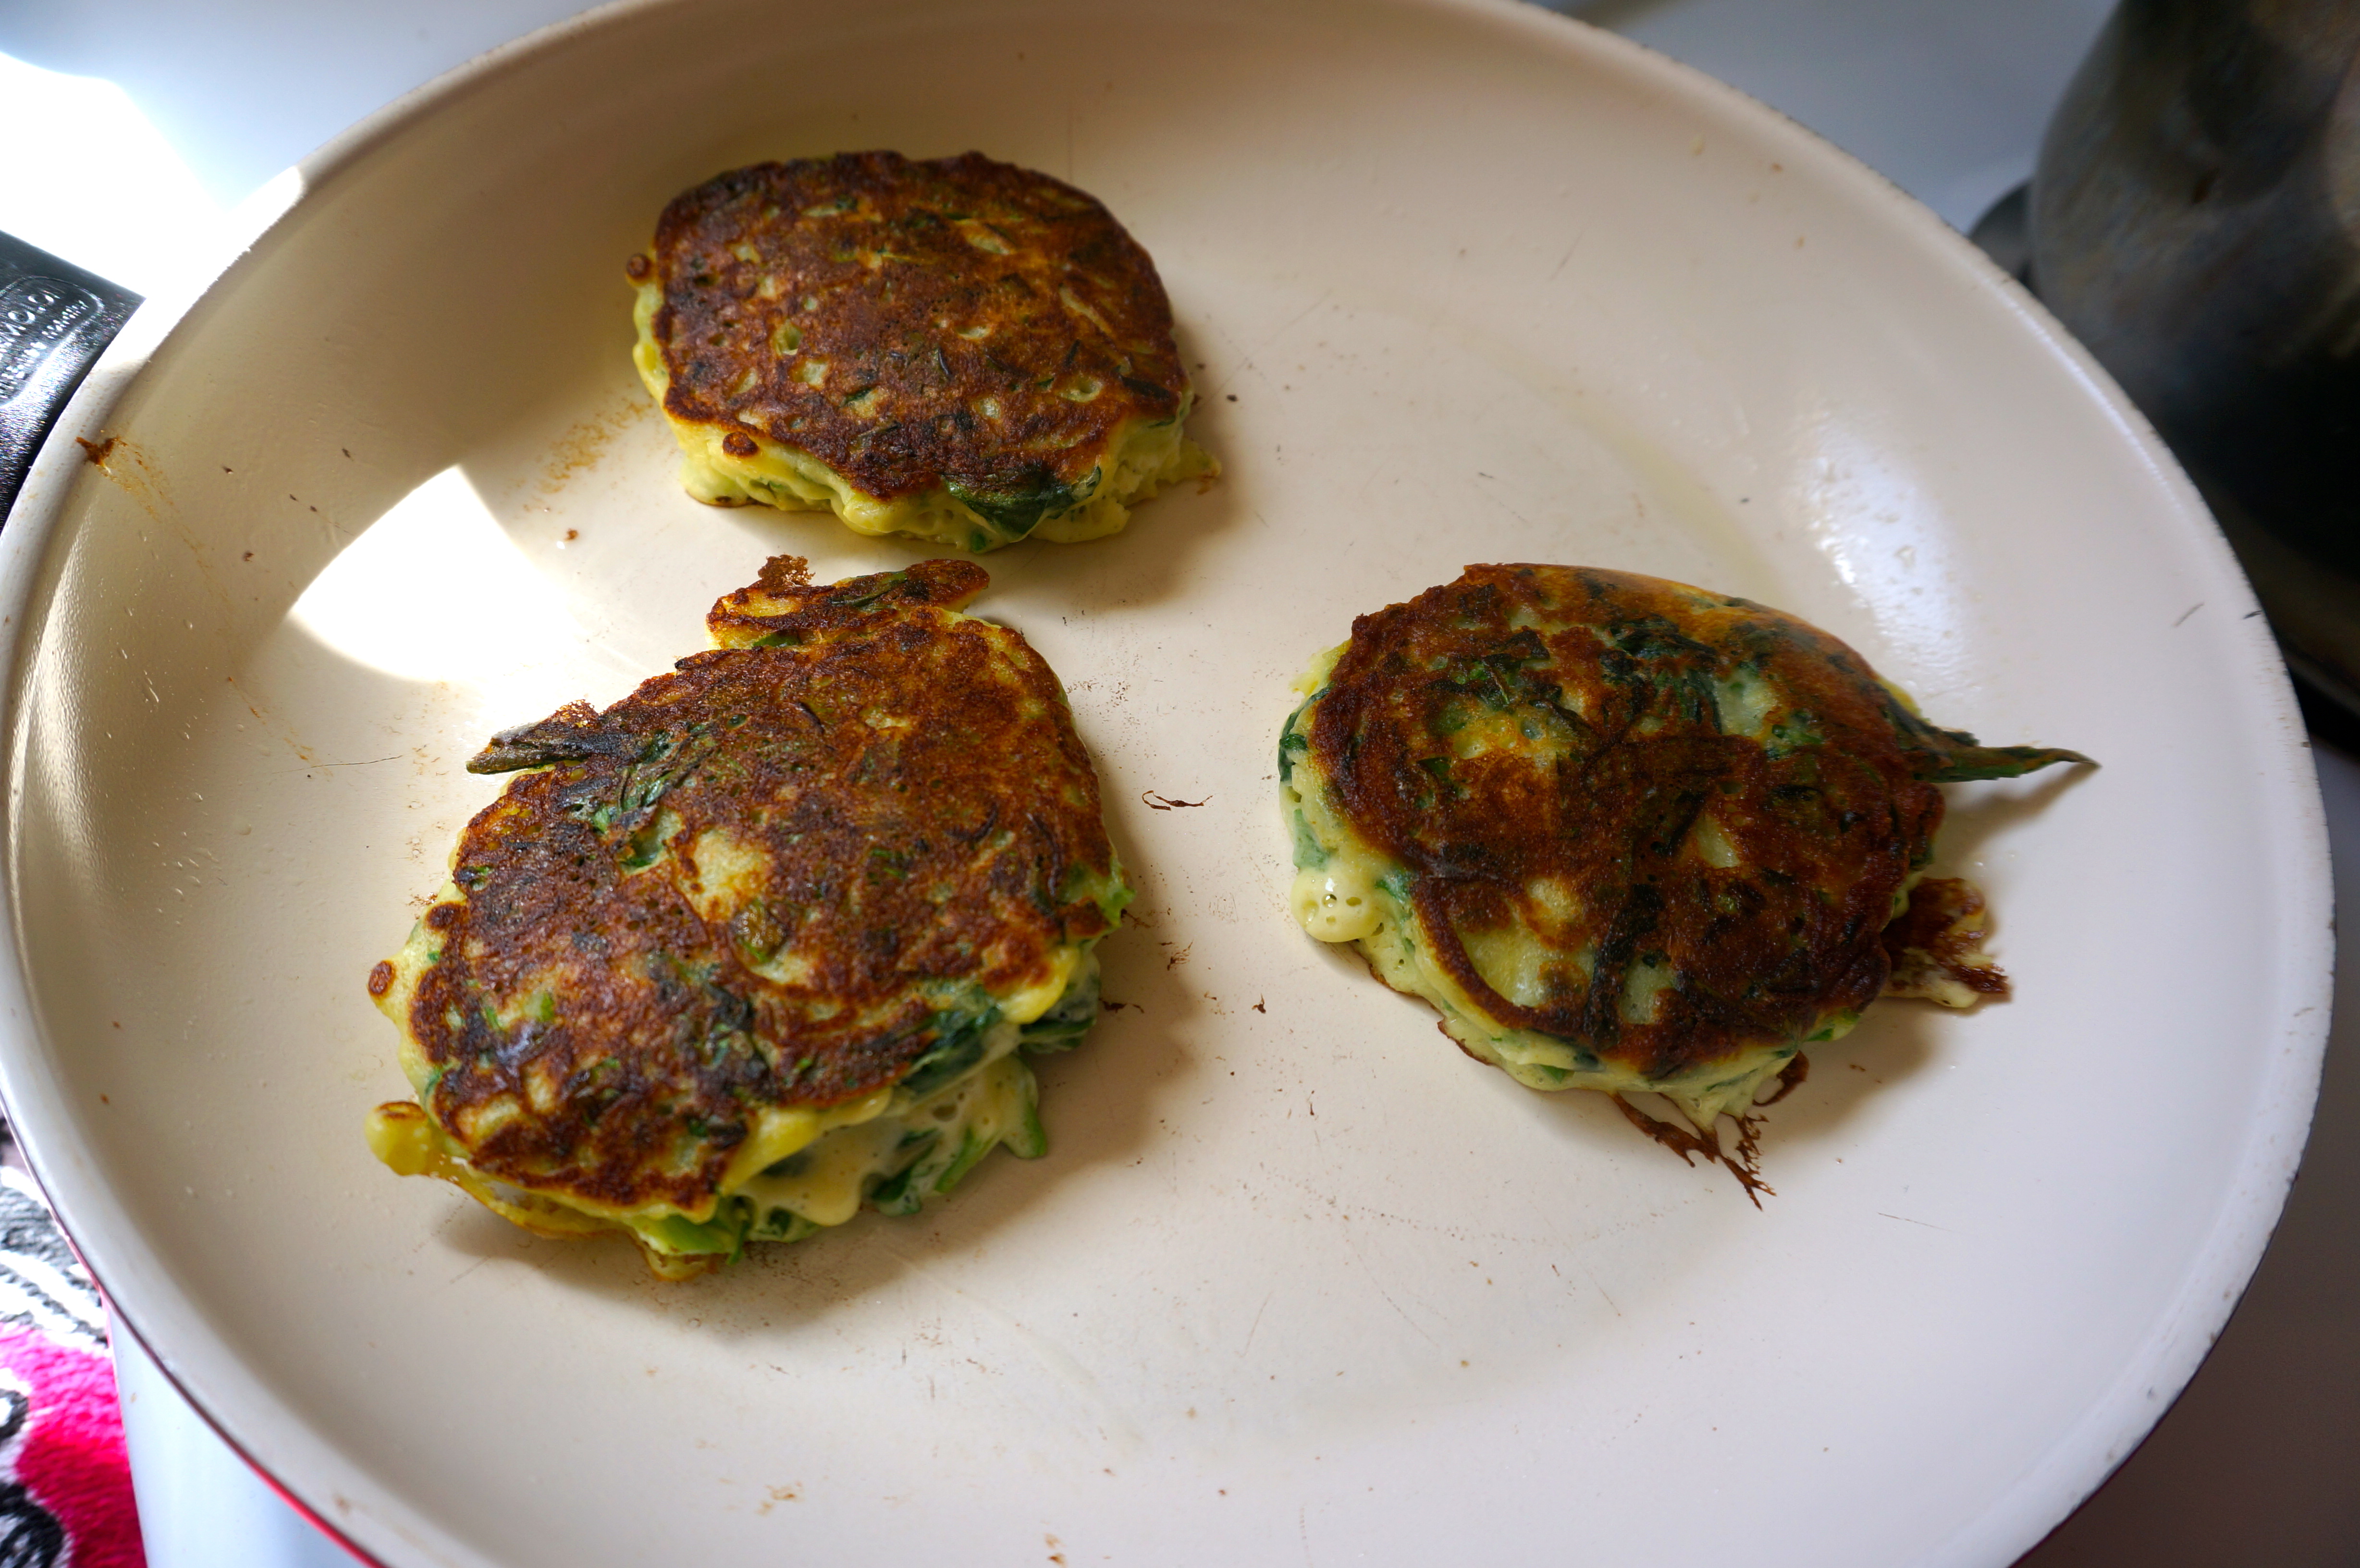
Once the oil was hot we fried the cakes in the oil for 2-3 minutes on each side. This was pretty much my first time frying anything!
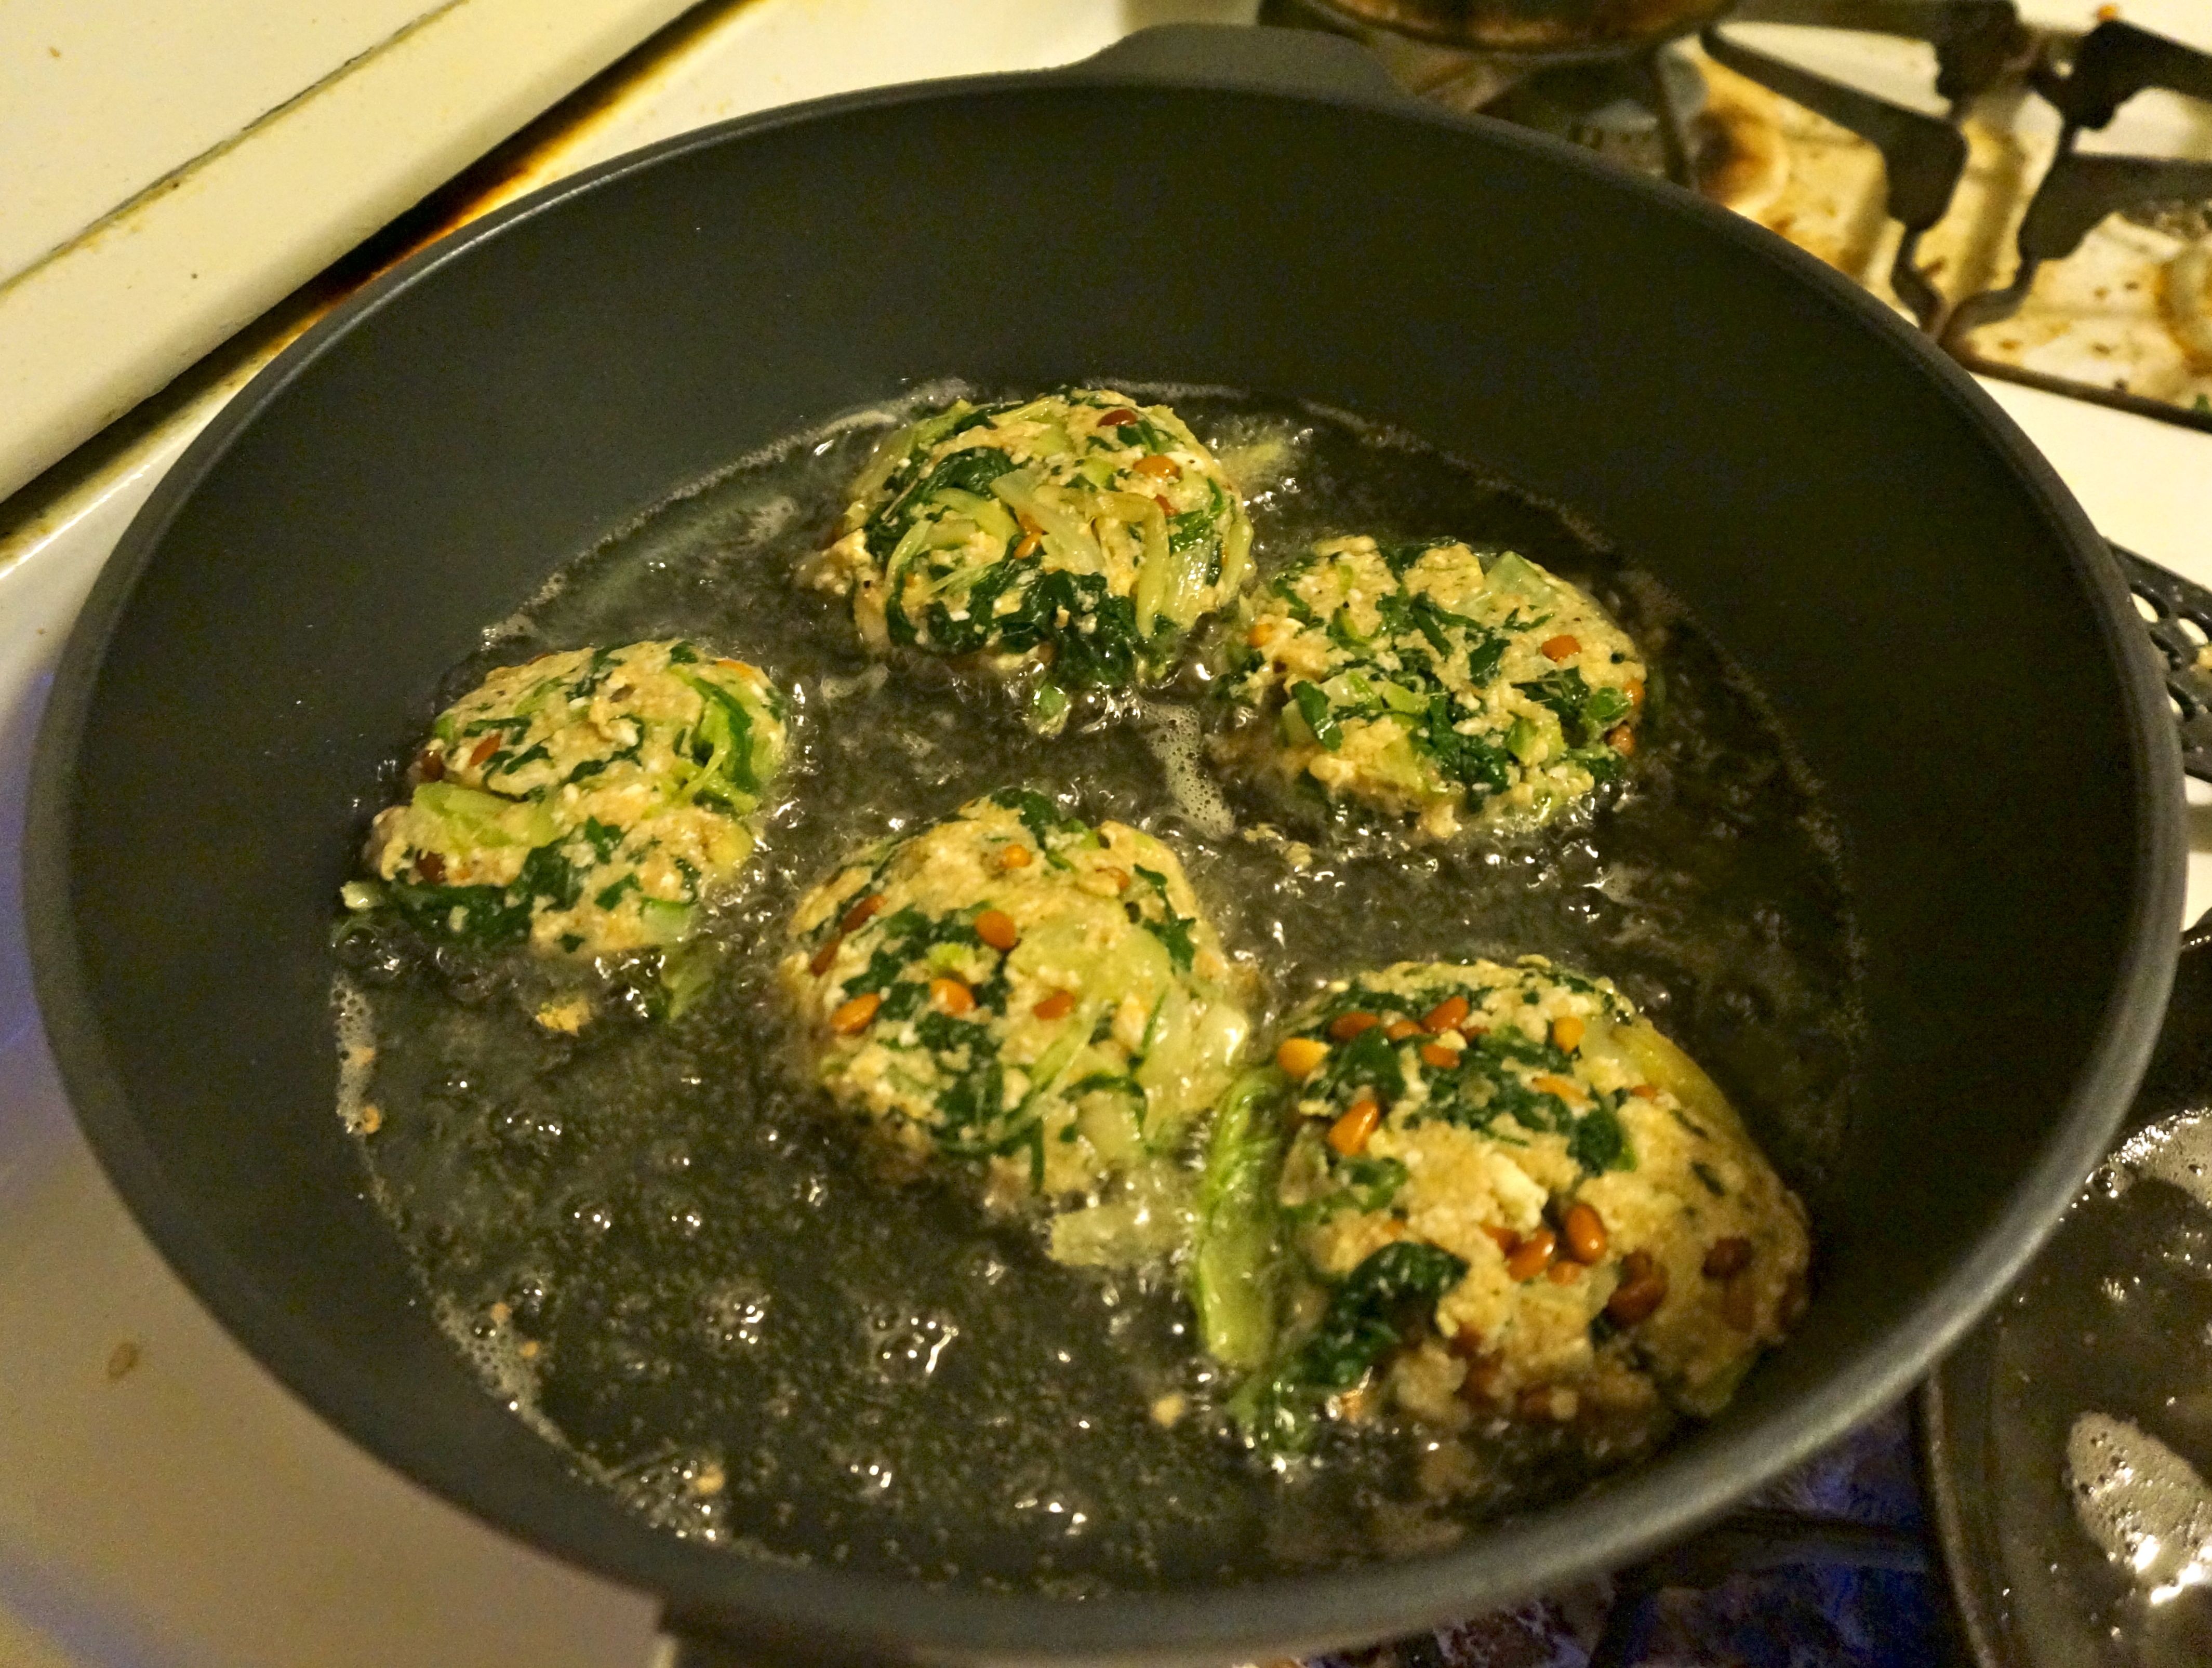
swiss chard cakes frying in oil
Don’t they look pretty when they start to brown?
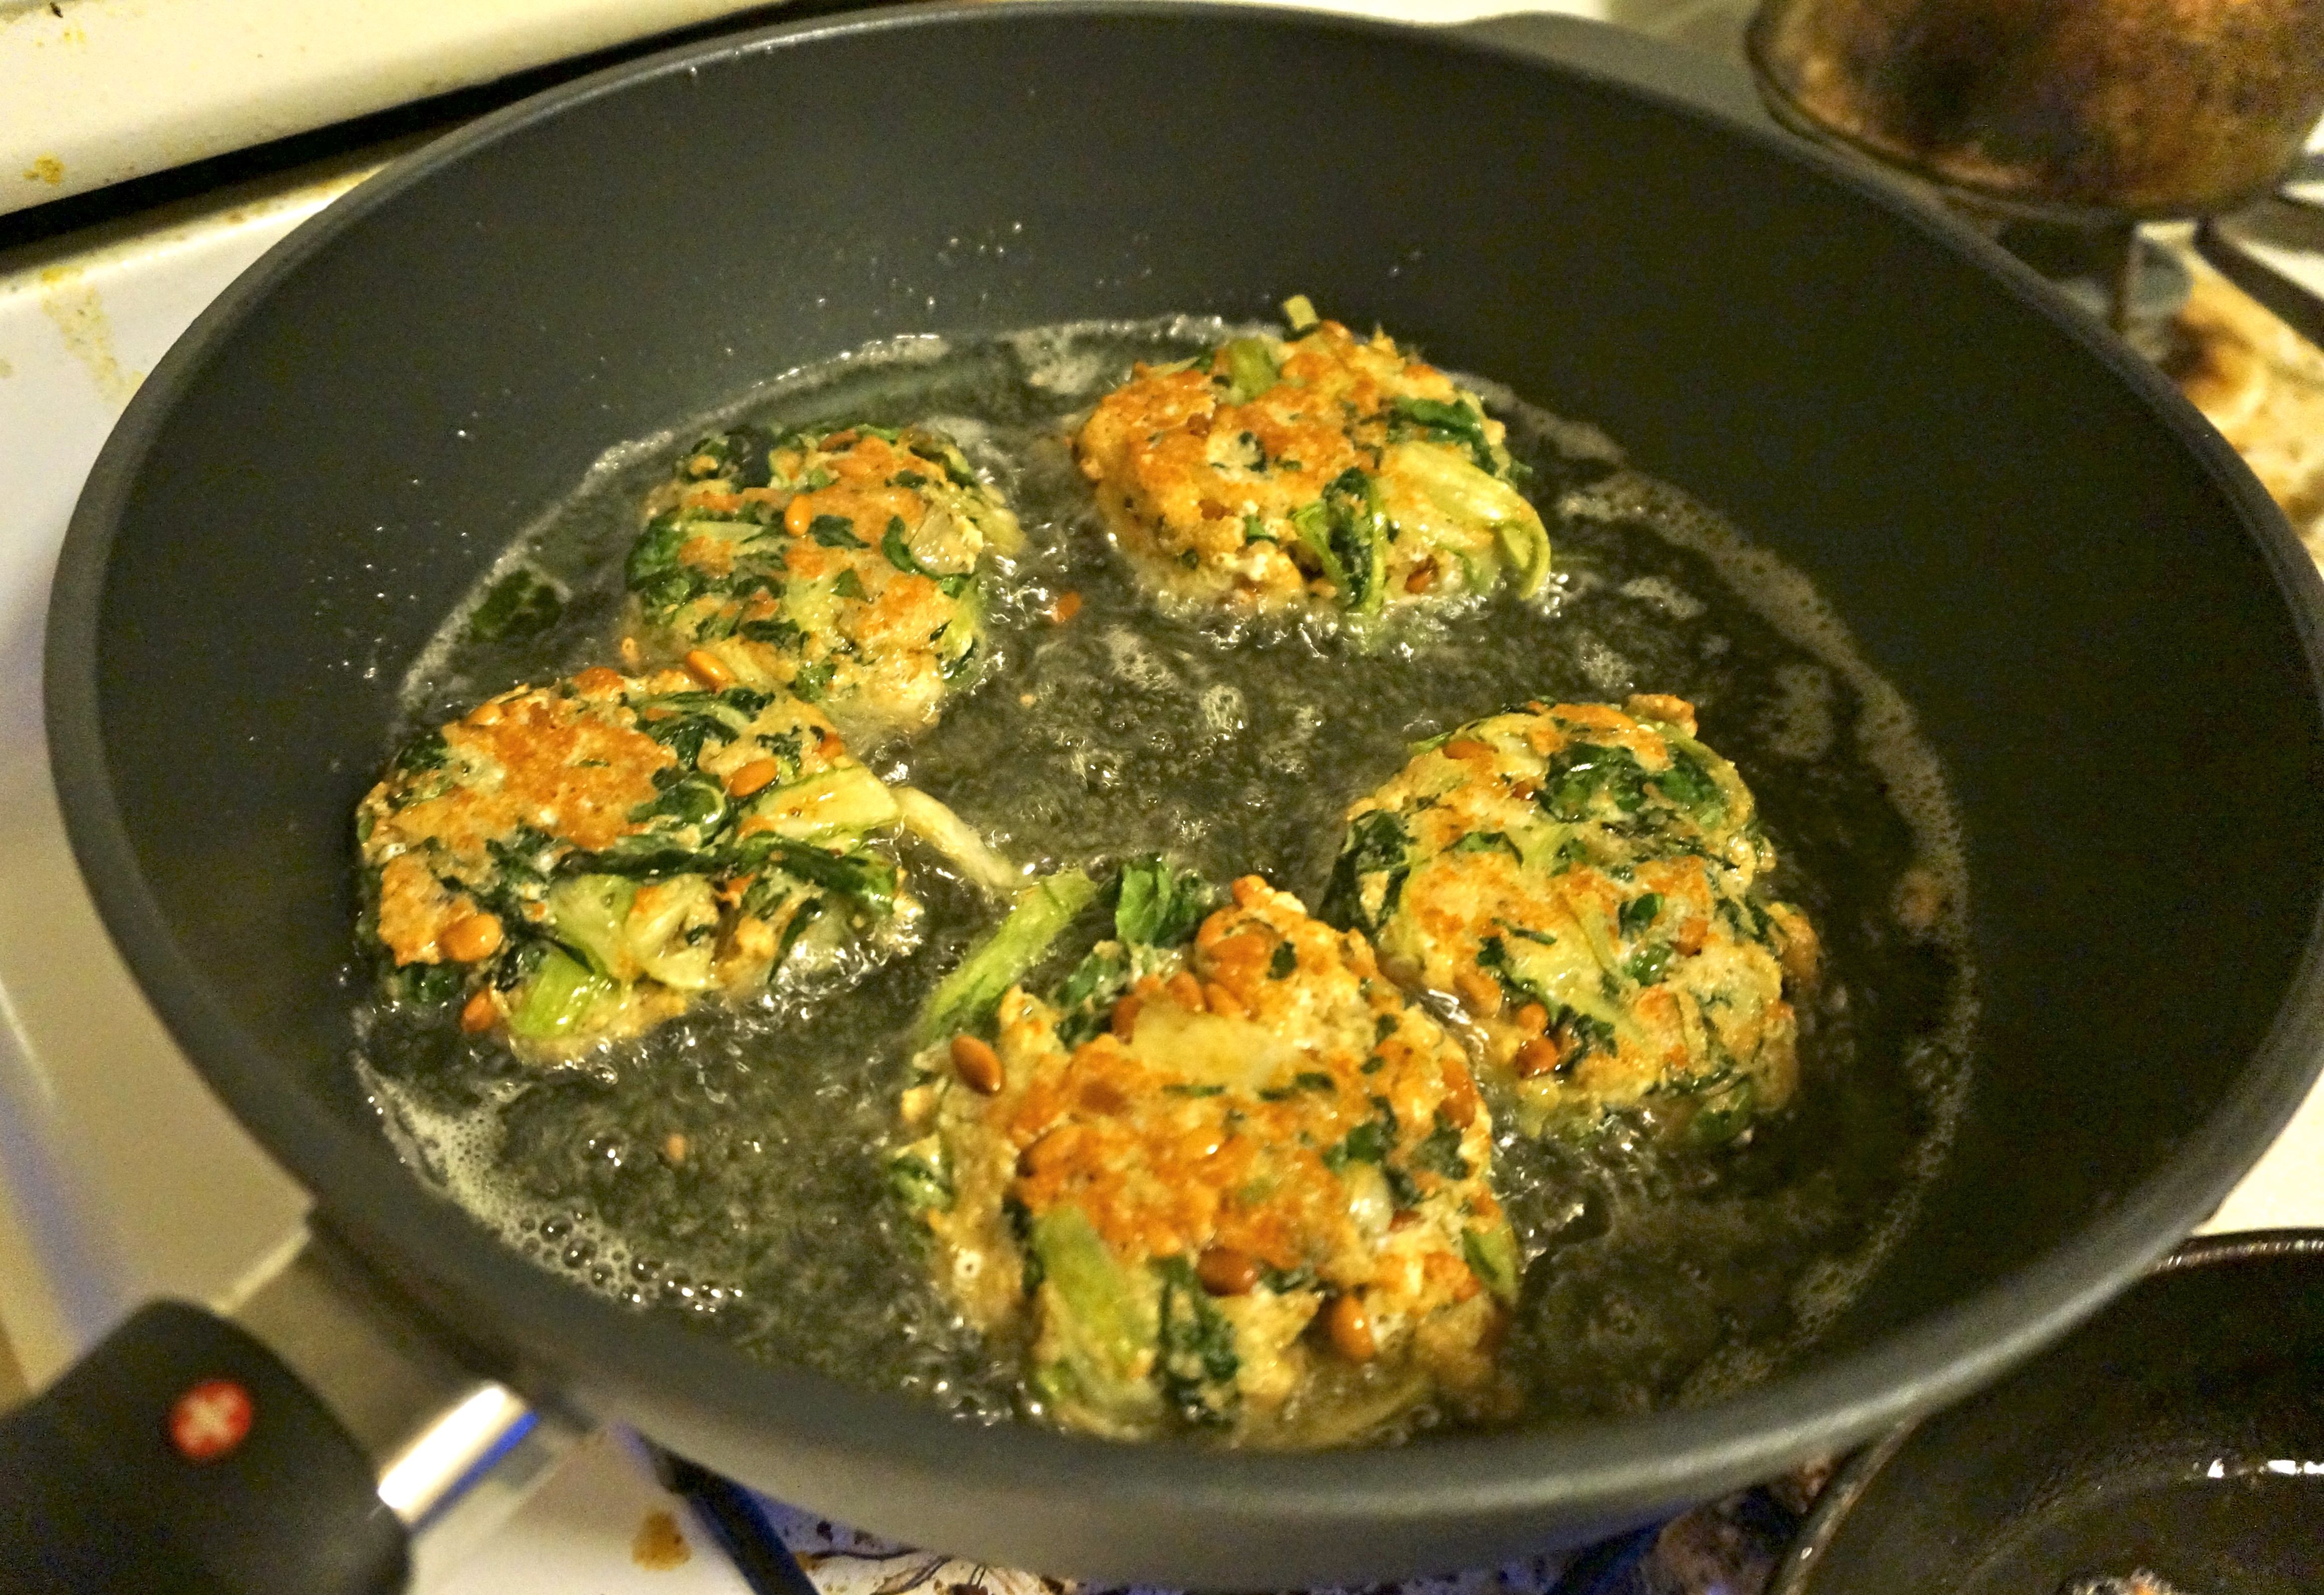
Swiss chard cakes browning
Rachel didn’t have any paper towels but she did have leftover napkins from Halloween which we put to good use!
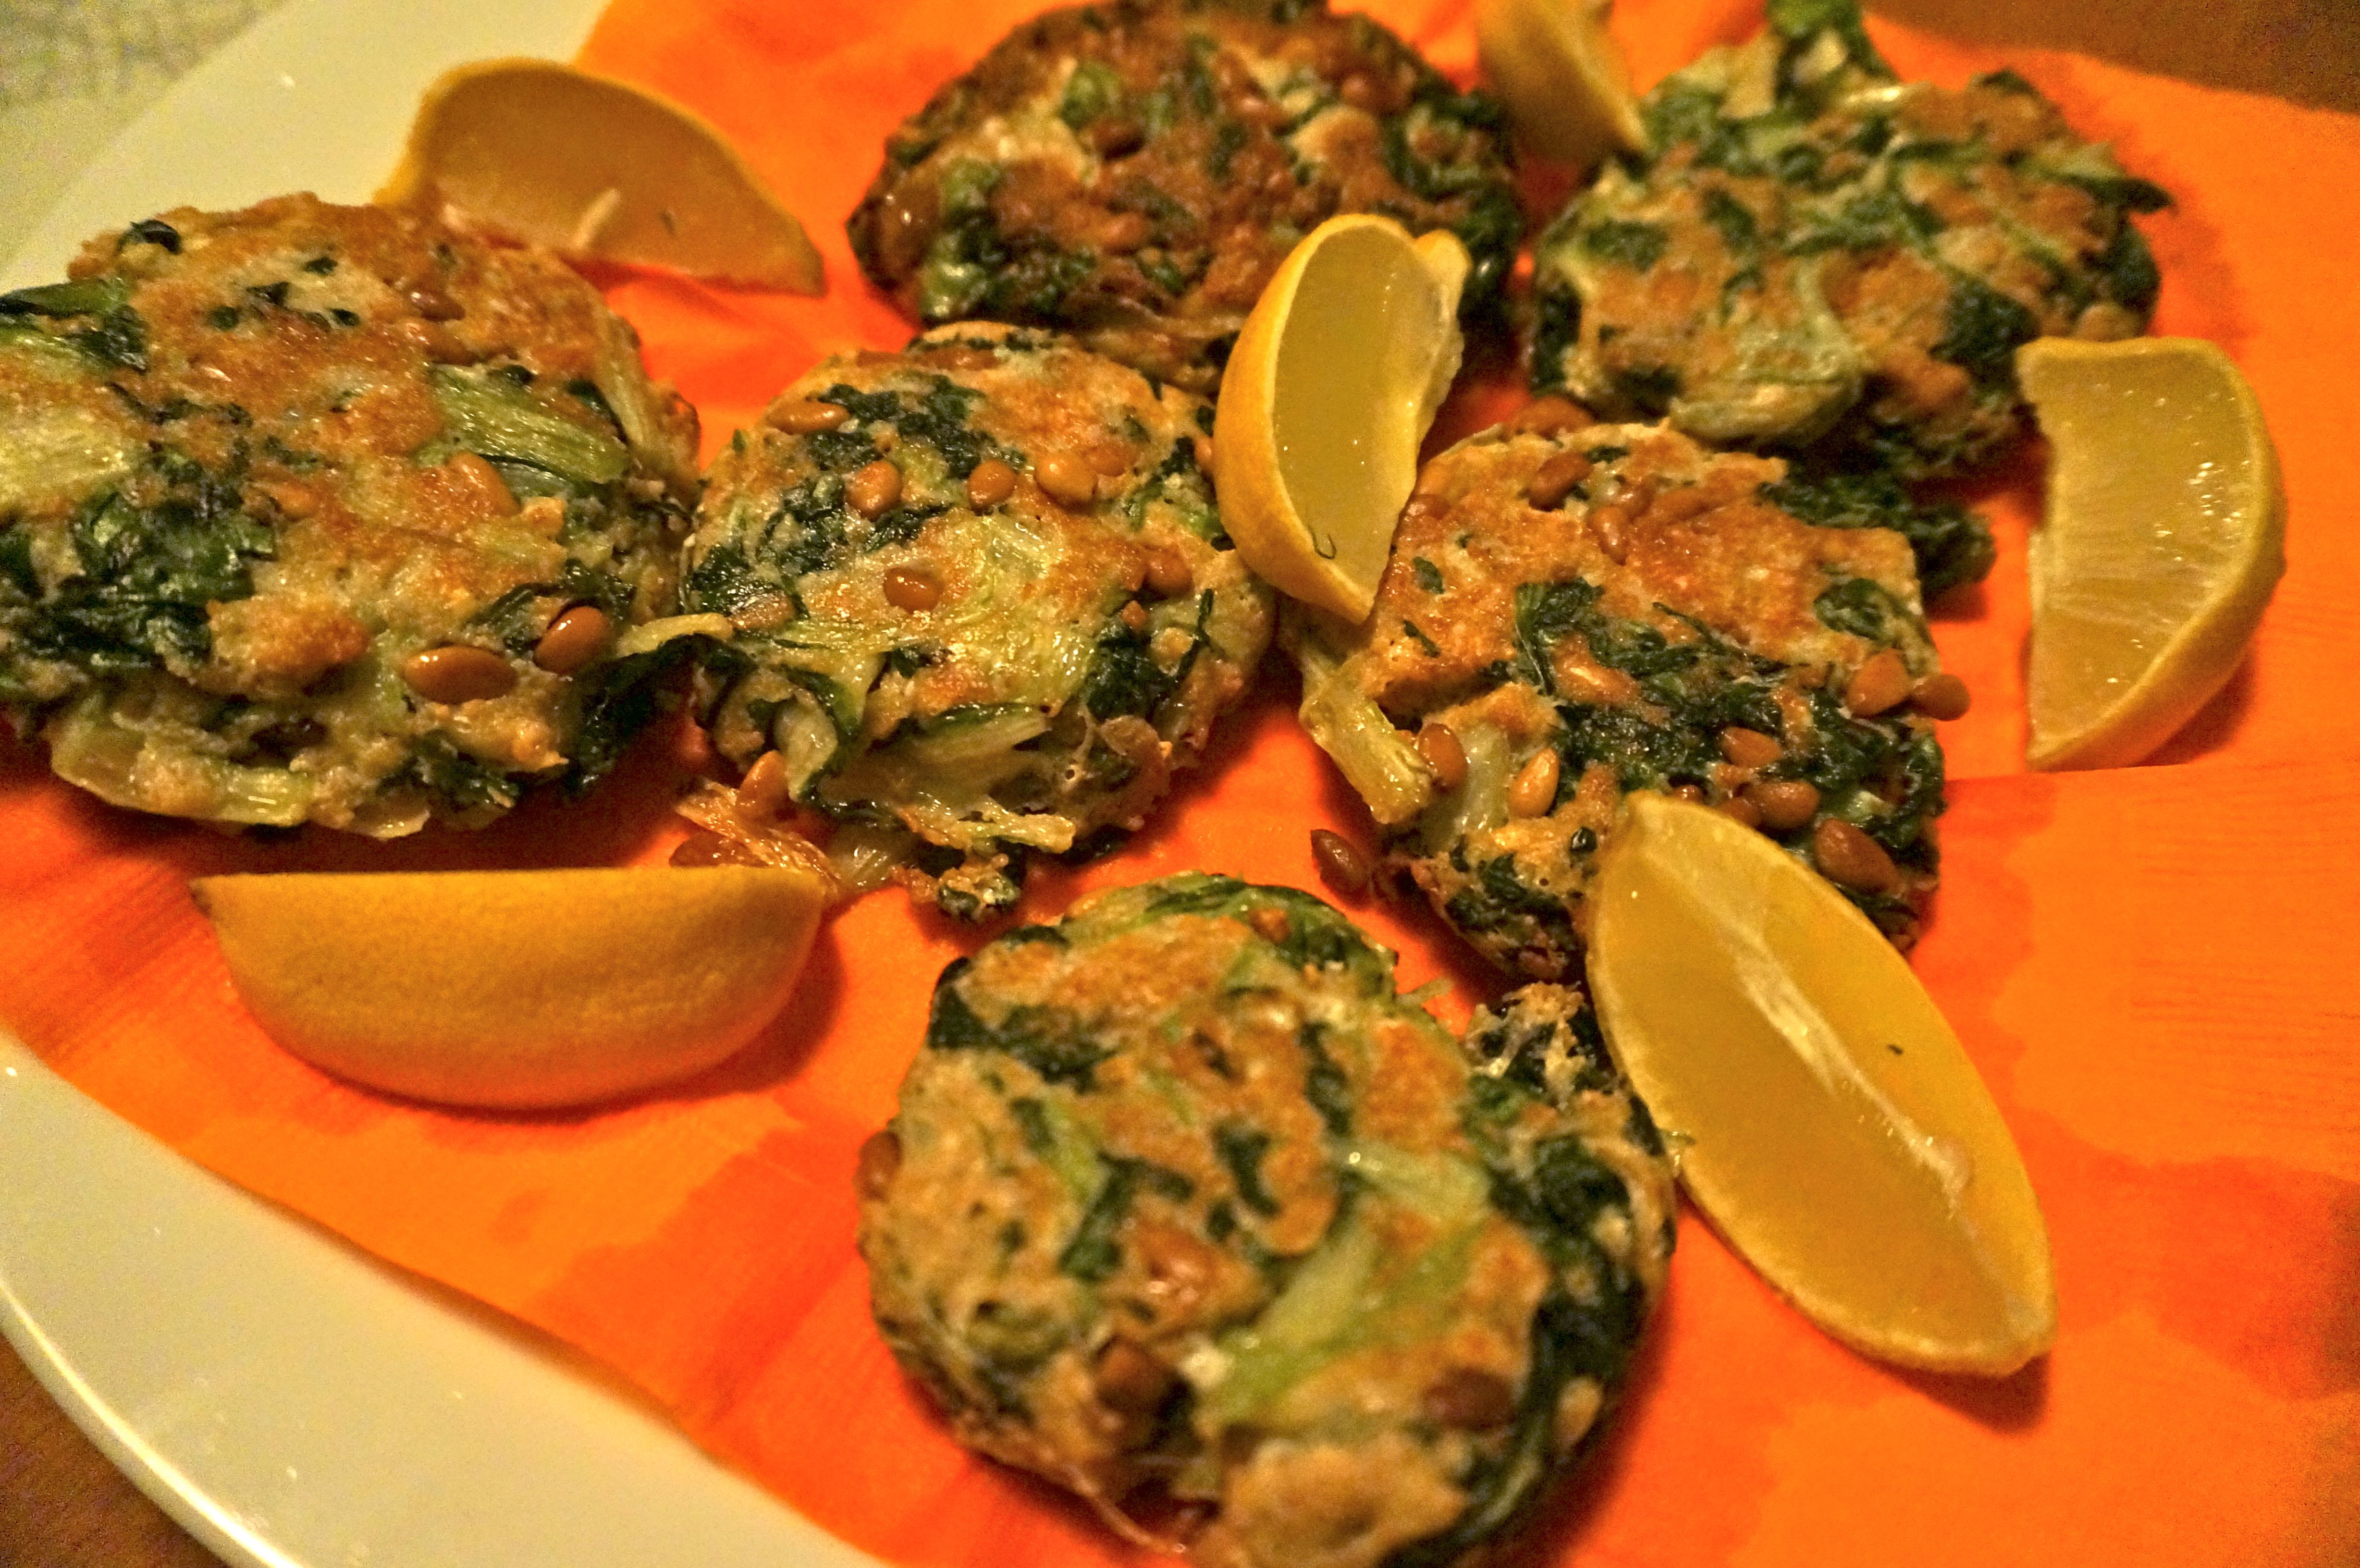
Chard cakes with lemon wedges and halloween napkins
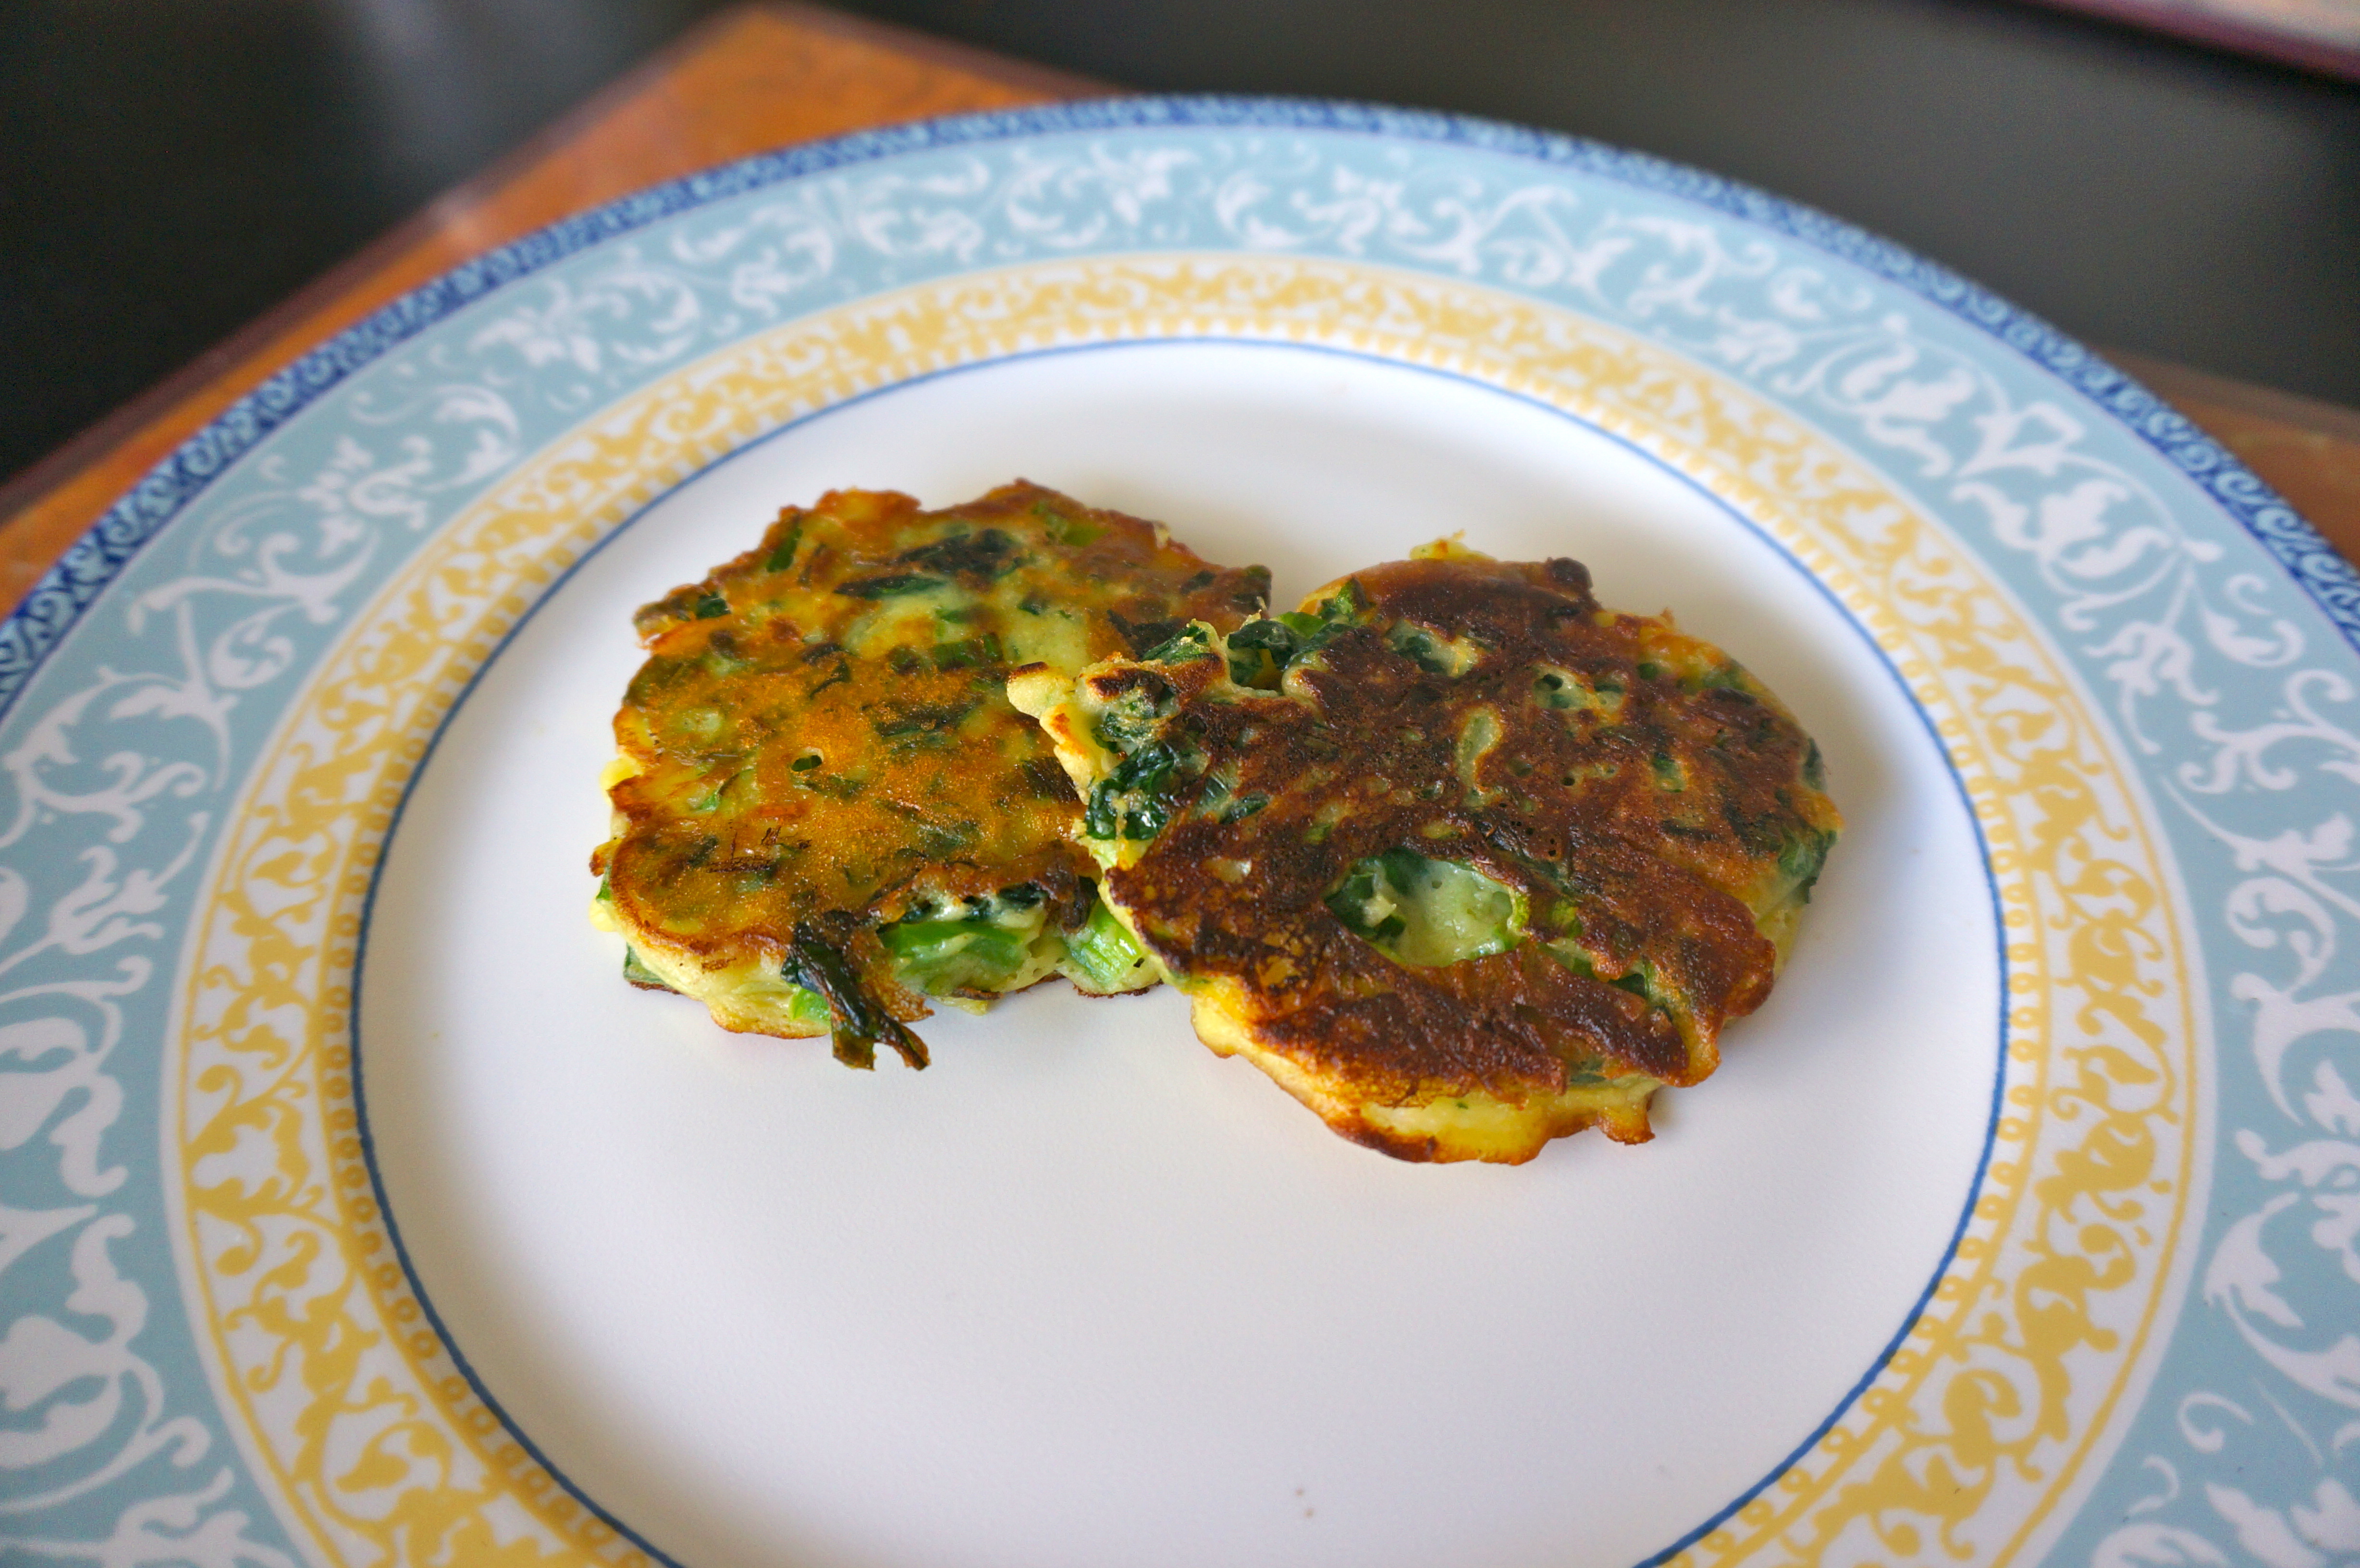
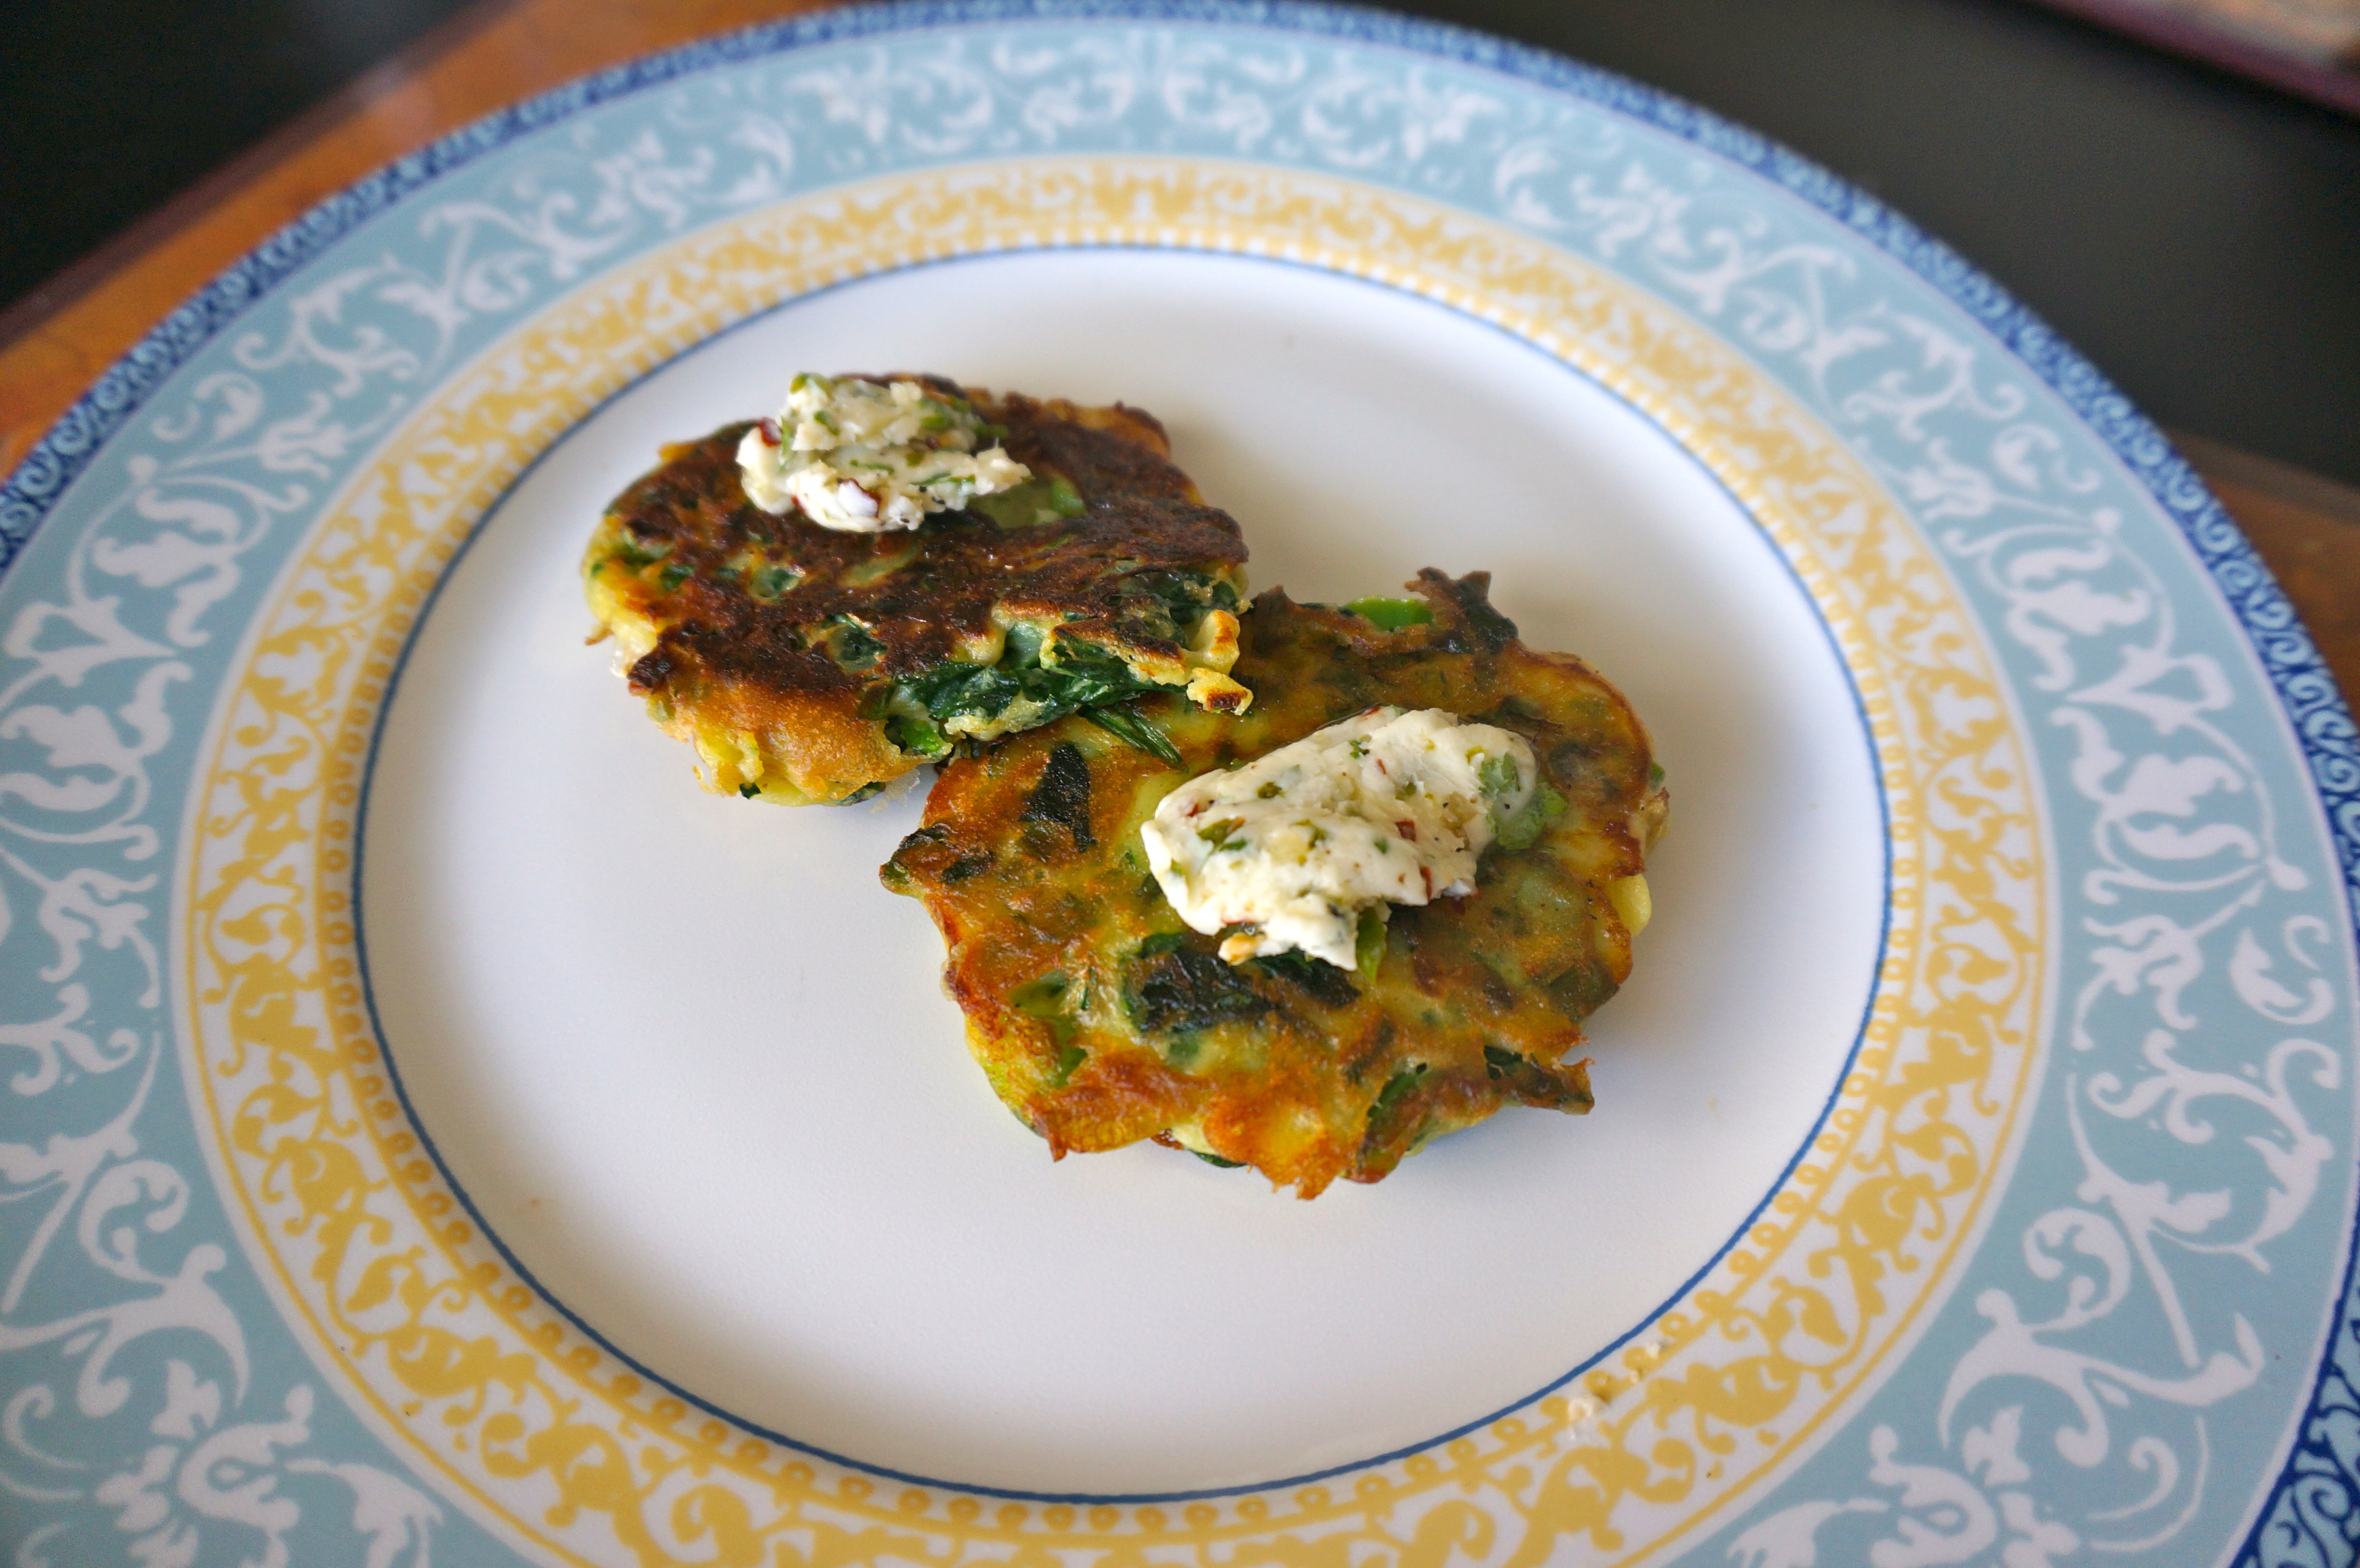
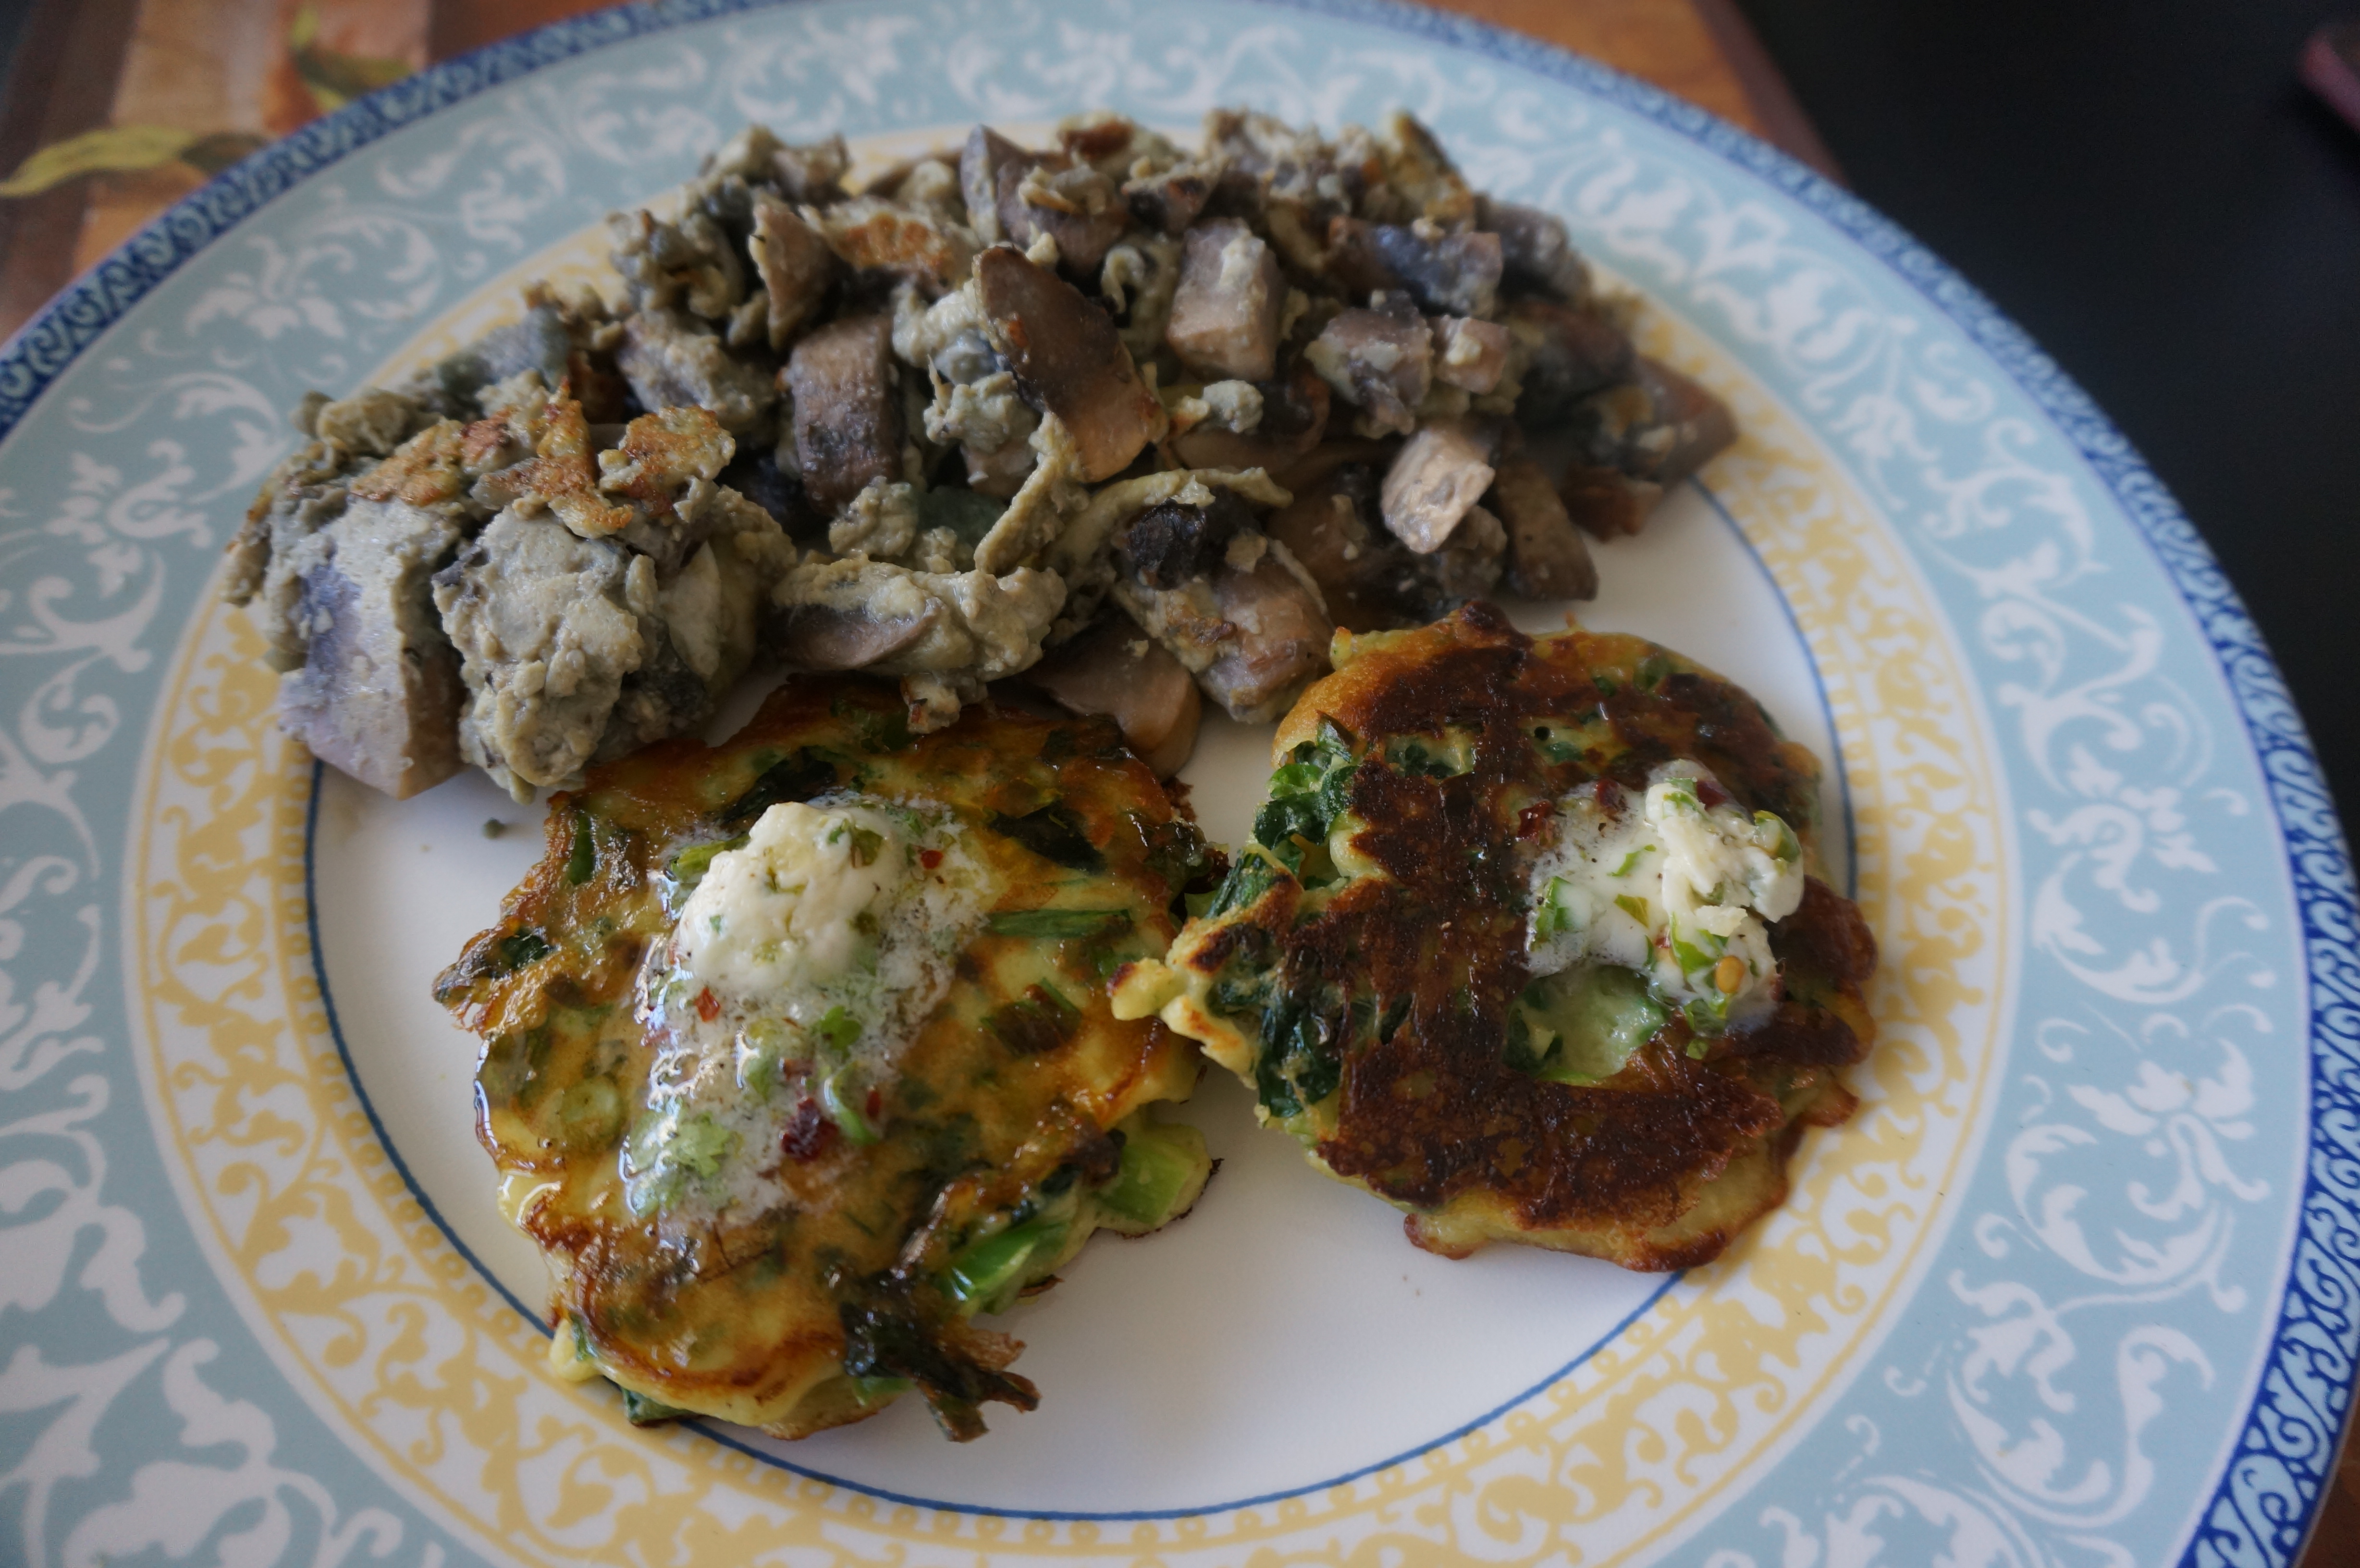
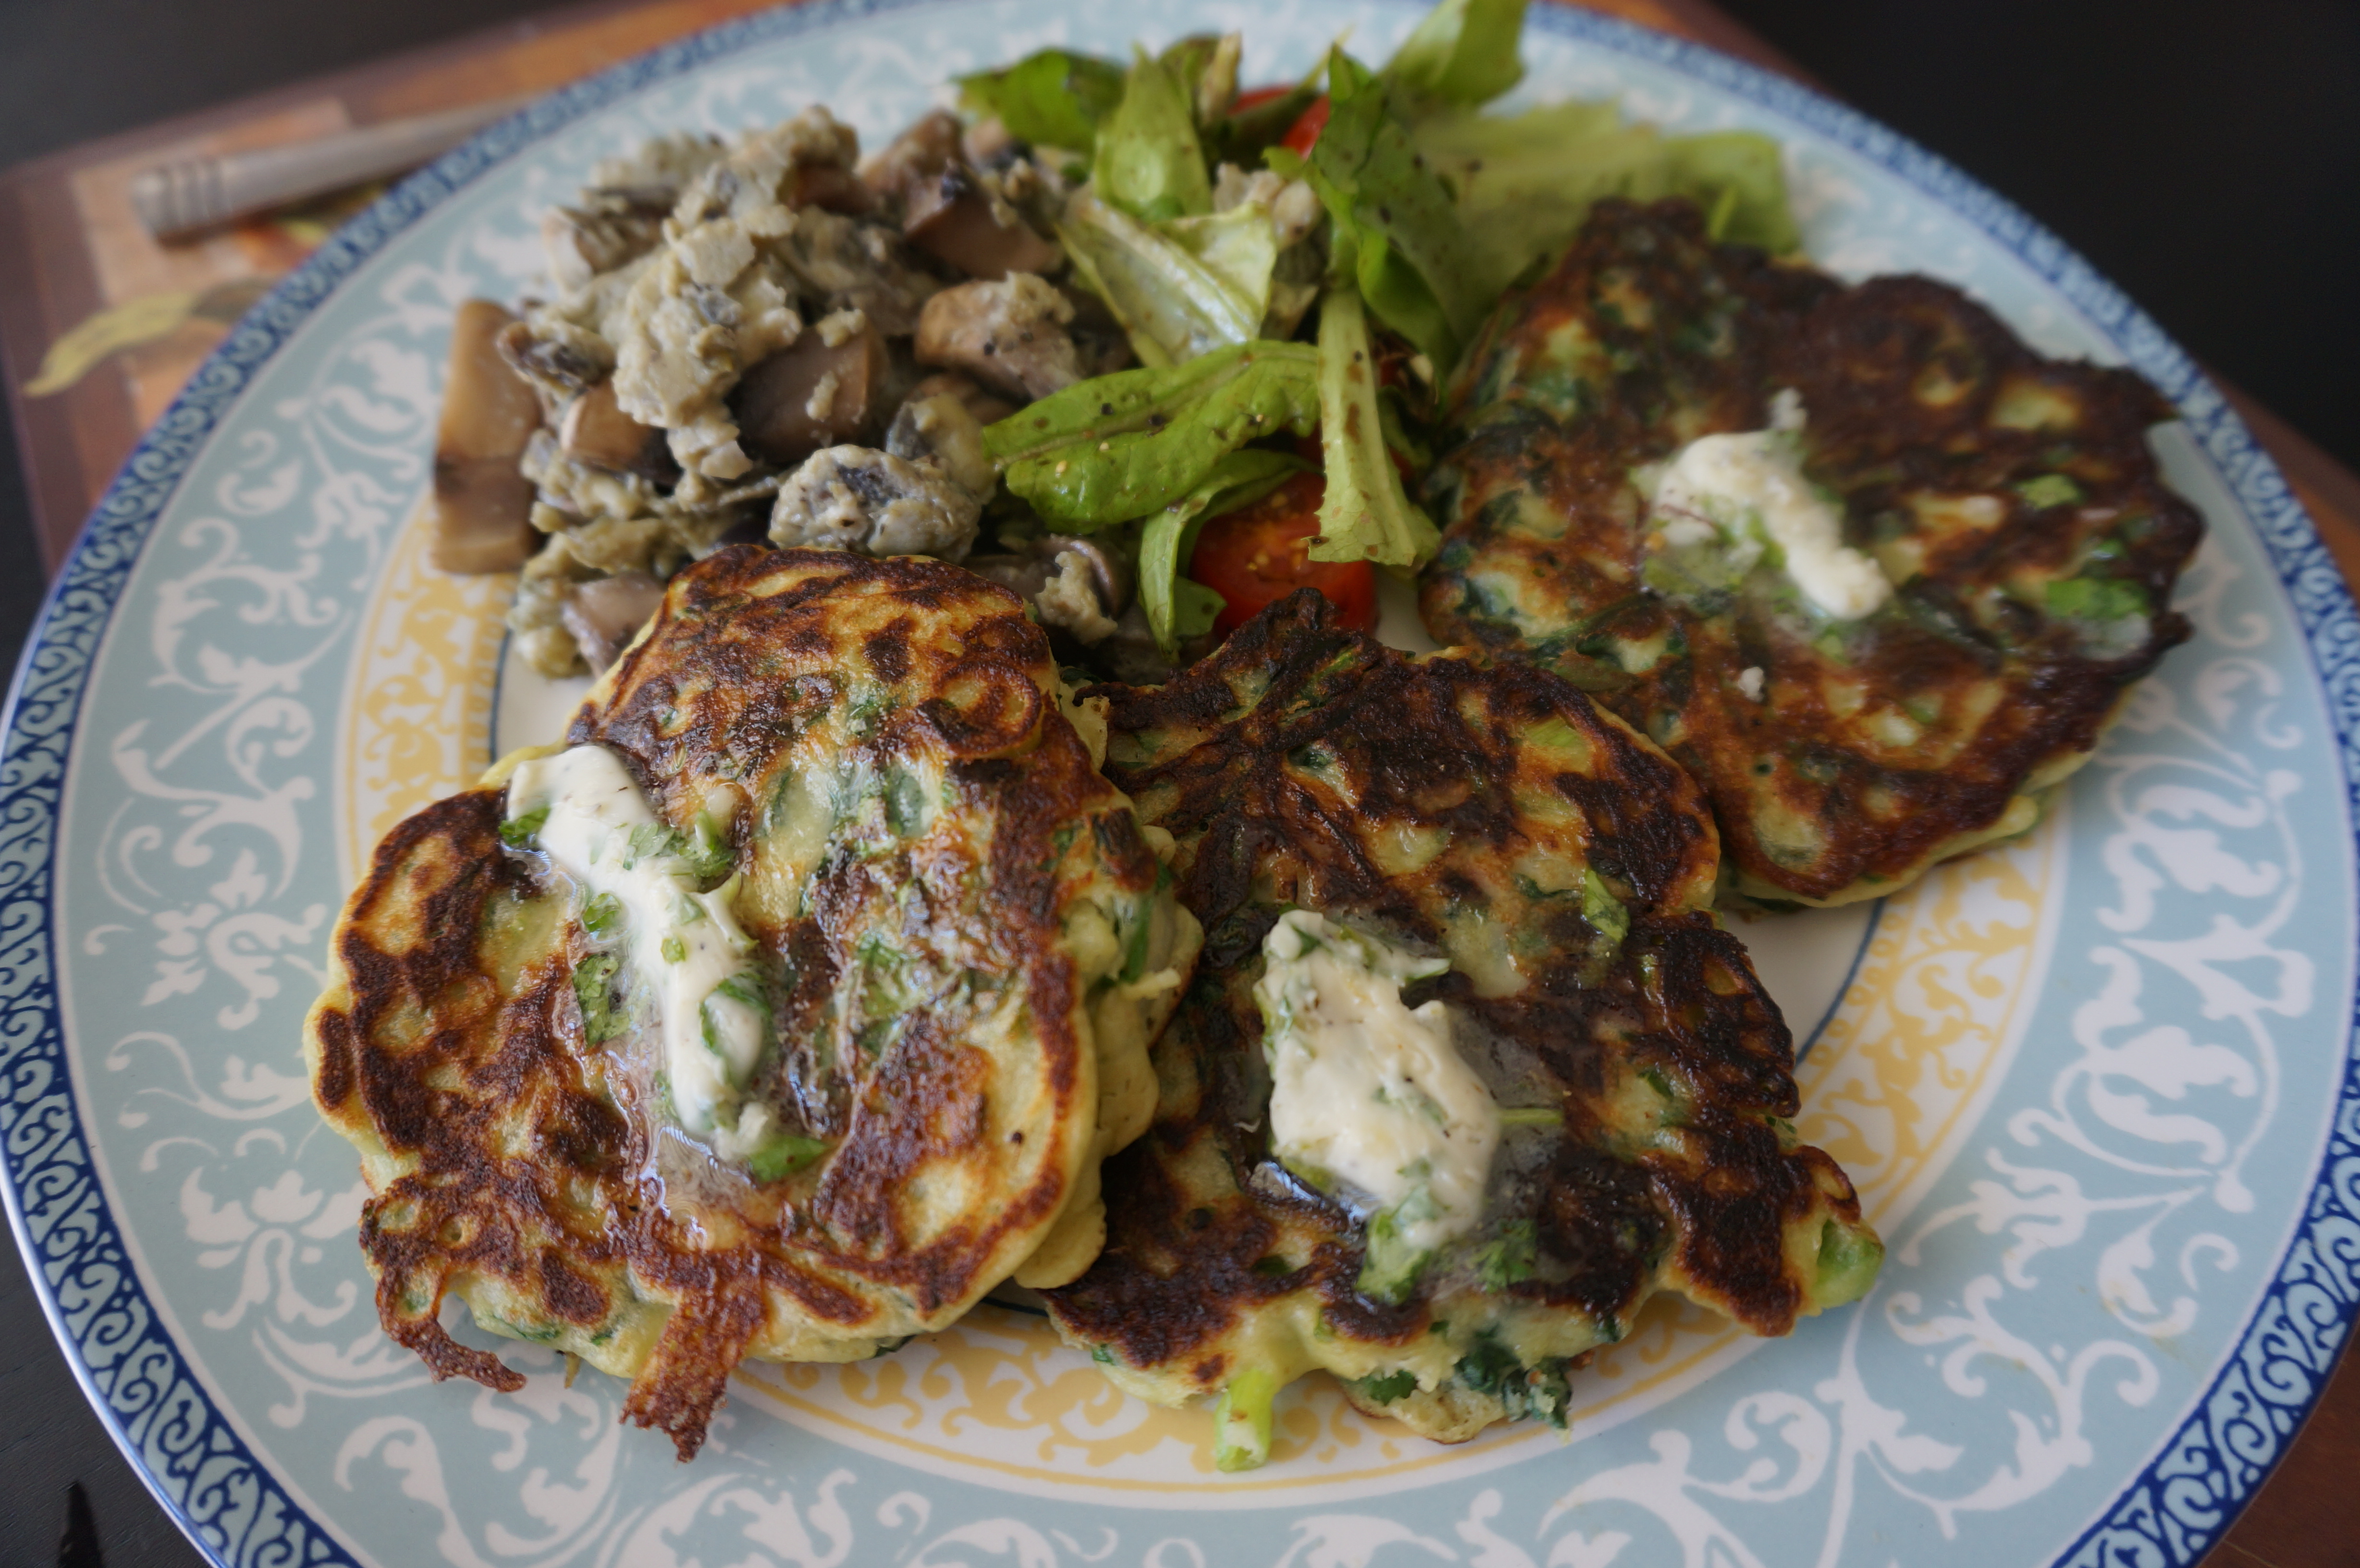
These cakes tasted super decadent and delicious. They were satisfying and surprisingly not that unhealthy tasting given they were fried in oil.
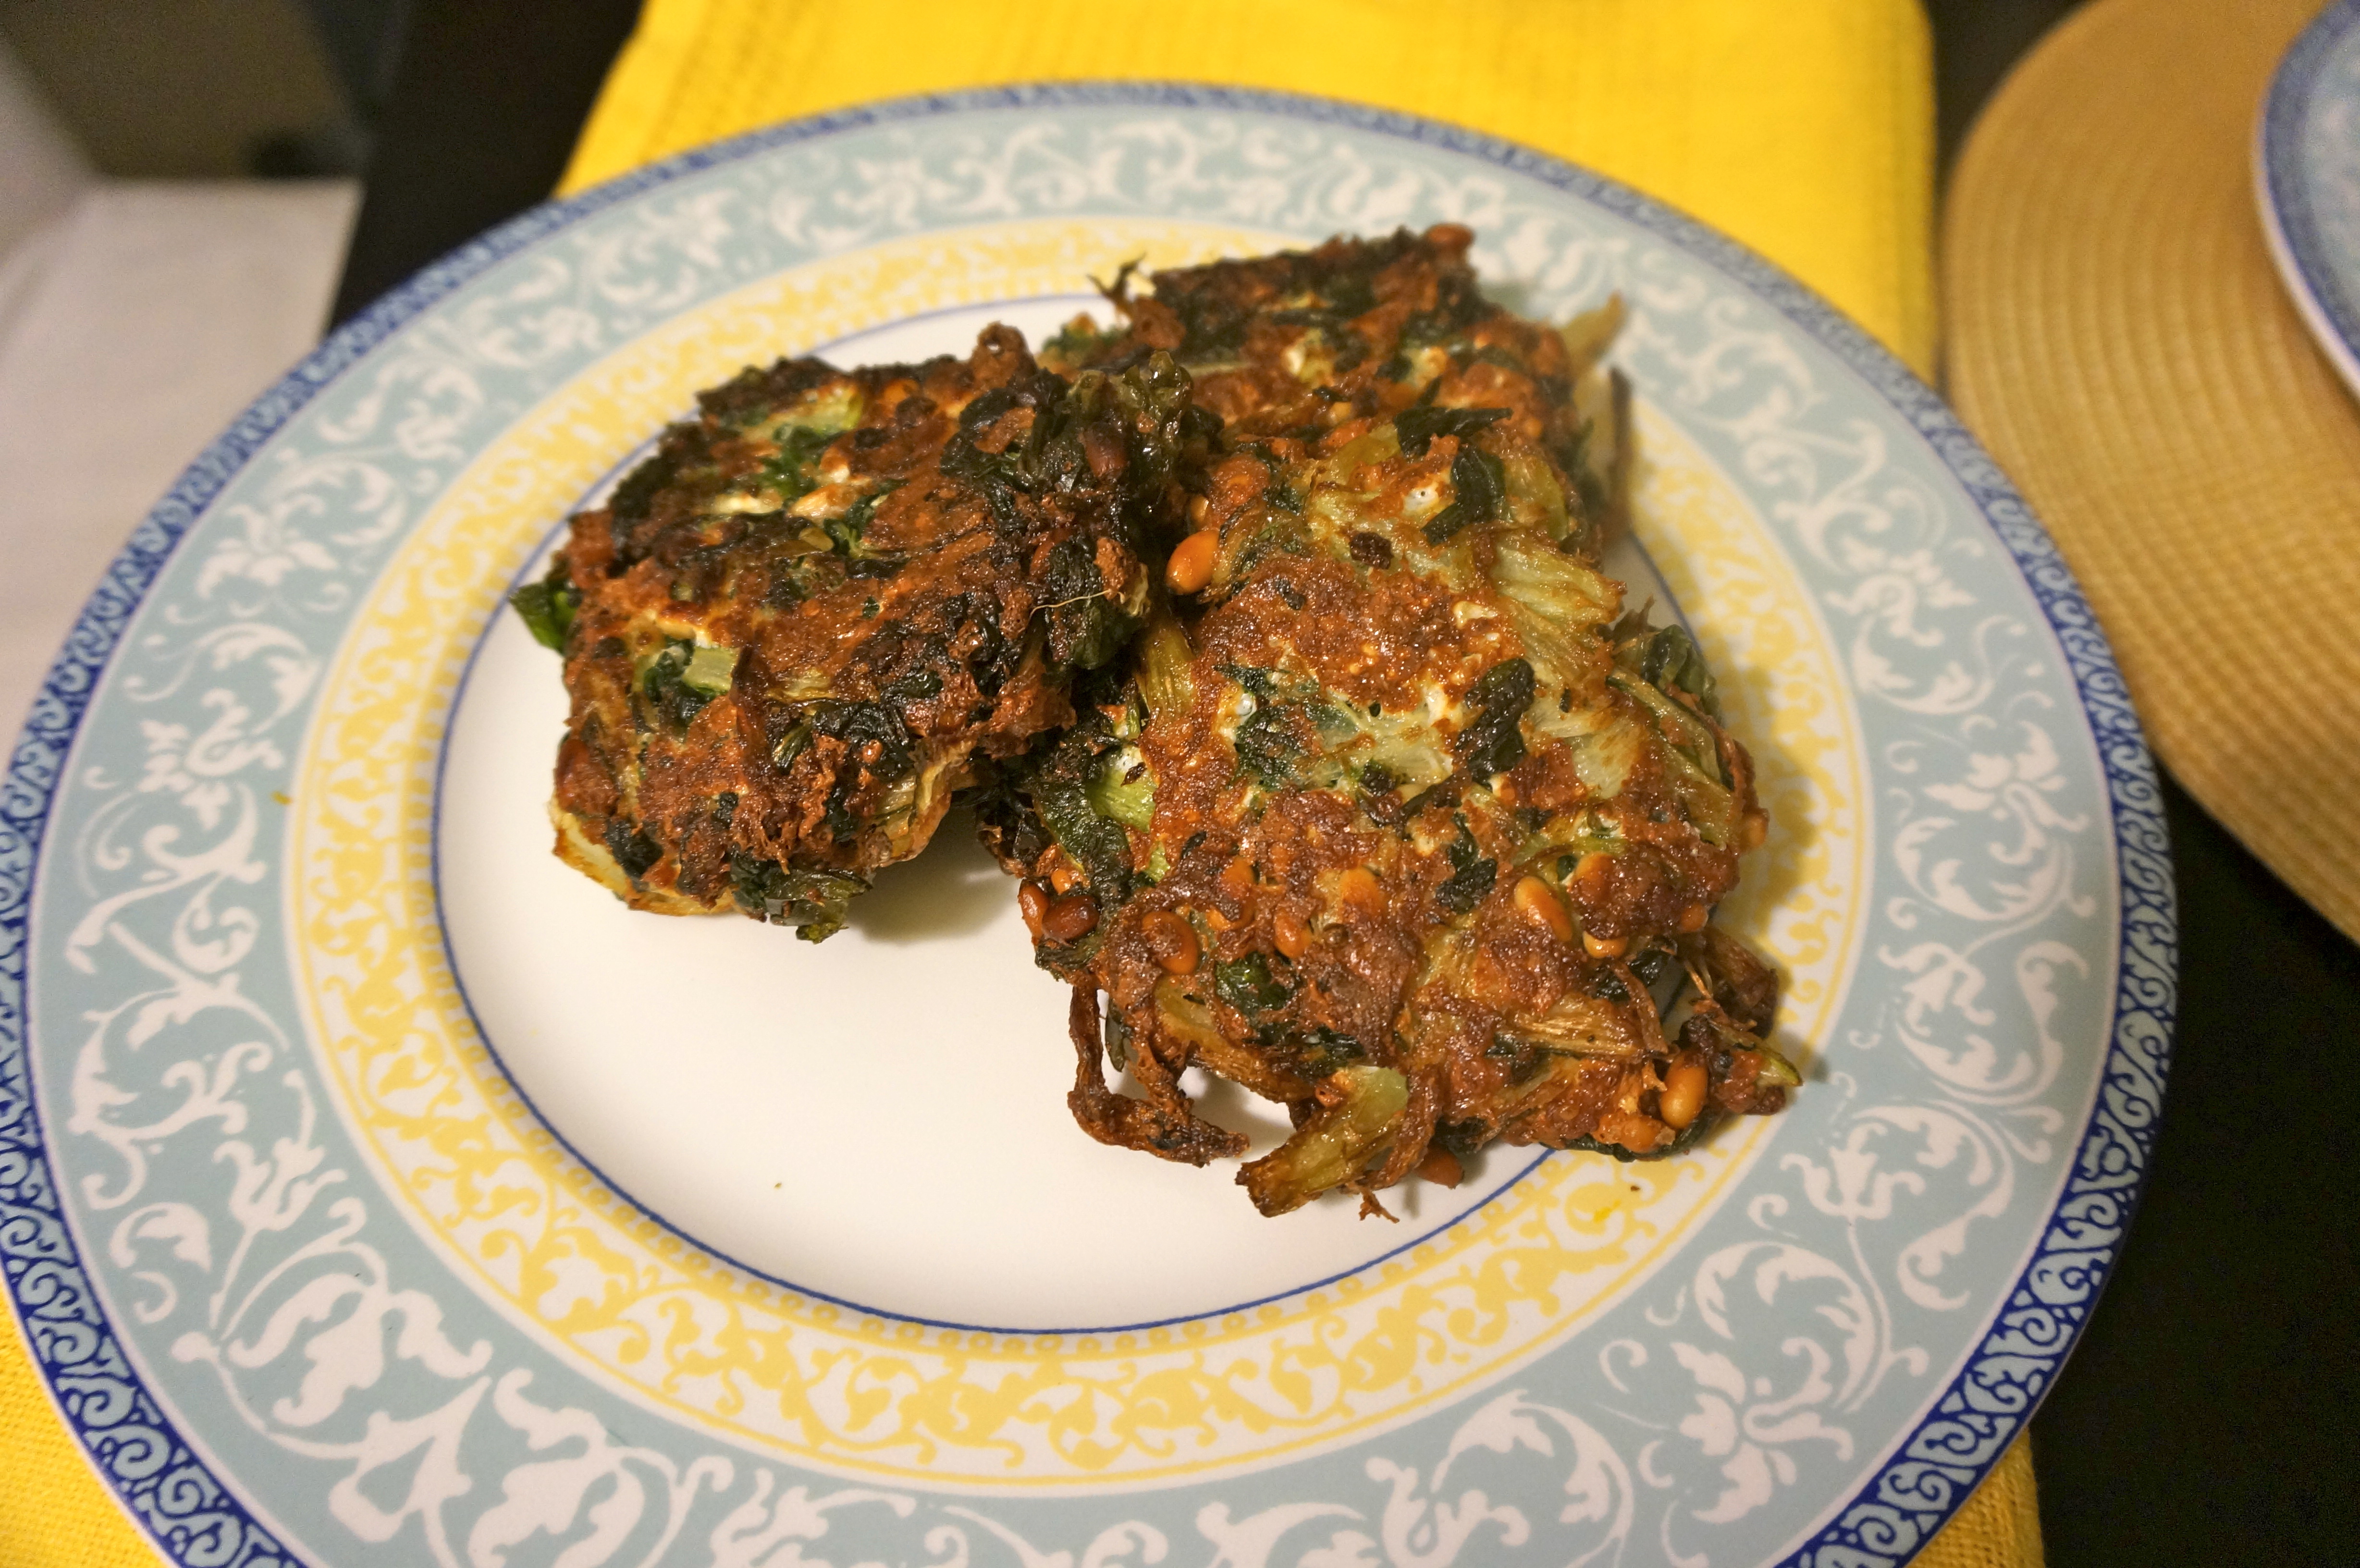
Chard cakes fried to perfection
You have to make them yourself. Seriously, just go do it. You won’t regret it! Here is the ingredient list to help you out :)
Sorrel sauce:
- 3 cups sorrel leaves, washed
- 1/2 cup Greek yogurt
- 1 garlic clove, crushed
- 2 tbsp olive oil
- 1/2 tsp Dijon mustard
- salt
Cakes:
- 1.25 lbs Swiss chard
- 1/3 cup pine nuts
- 1 tbsp olive oil
- 4 oz kashkaval cheese, coarsely grated (I used mozzarella)
- 1 egg
- 6 tbsp dried white breadcrumbs
- 1/4 tsp salt
- black pepper
- vegetable oil for frying