Tag Archives: greek yogurt

Spiced red lentils with cucumber yogurt

Up until this weekend, when we thankfully received our first rains of 2015, it hadn’t rained in Berkeley in months. With no mushrooms to inspire me, combined with the fact that I’ve been in hardcore dissertation writing mode lately, I haven’t taken as much time to cook. But I’m still a poor PhD student and cannot afford to eat out every night, so I was in search of a dish that was healthy, cheap, and easy to prepare. I turned to my old friend Yotam Ottolenghi for some inspiration, and I found this lovely lentil dish “Spiced red lentils with cucumber yogurt” on p. 221 of Plenty, which can be found online here.

Ingredients for curried red lentils

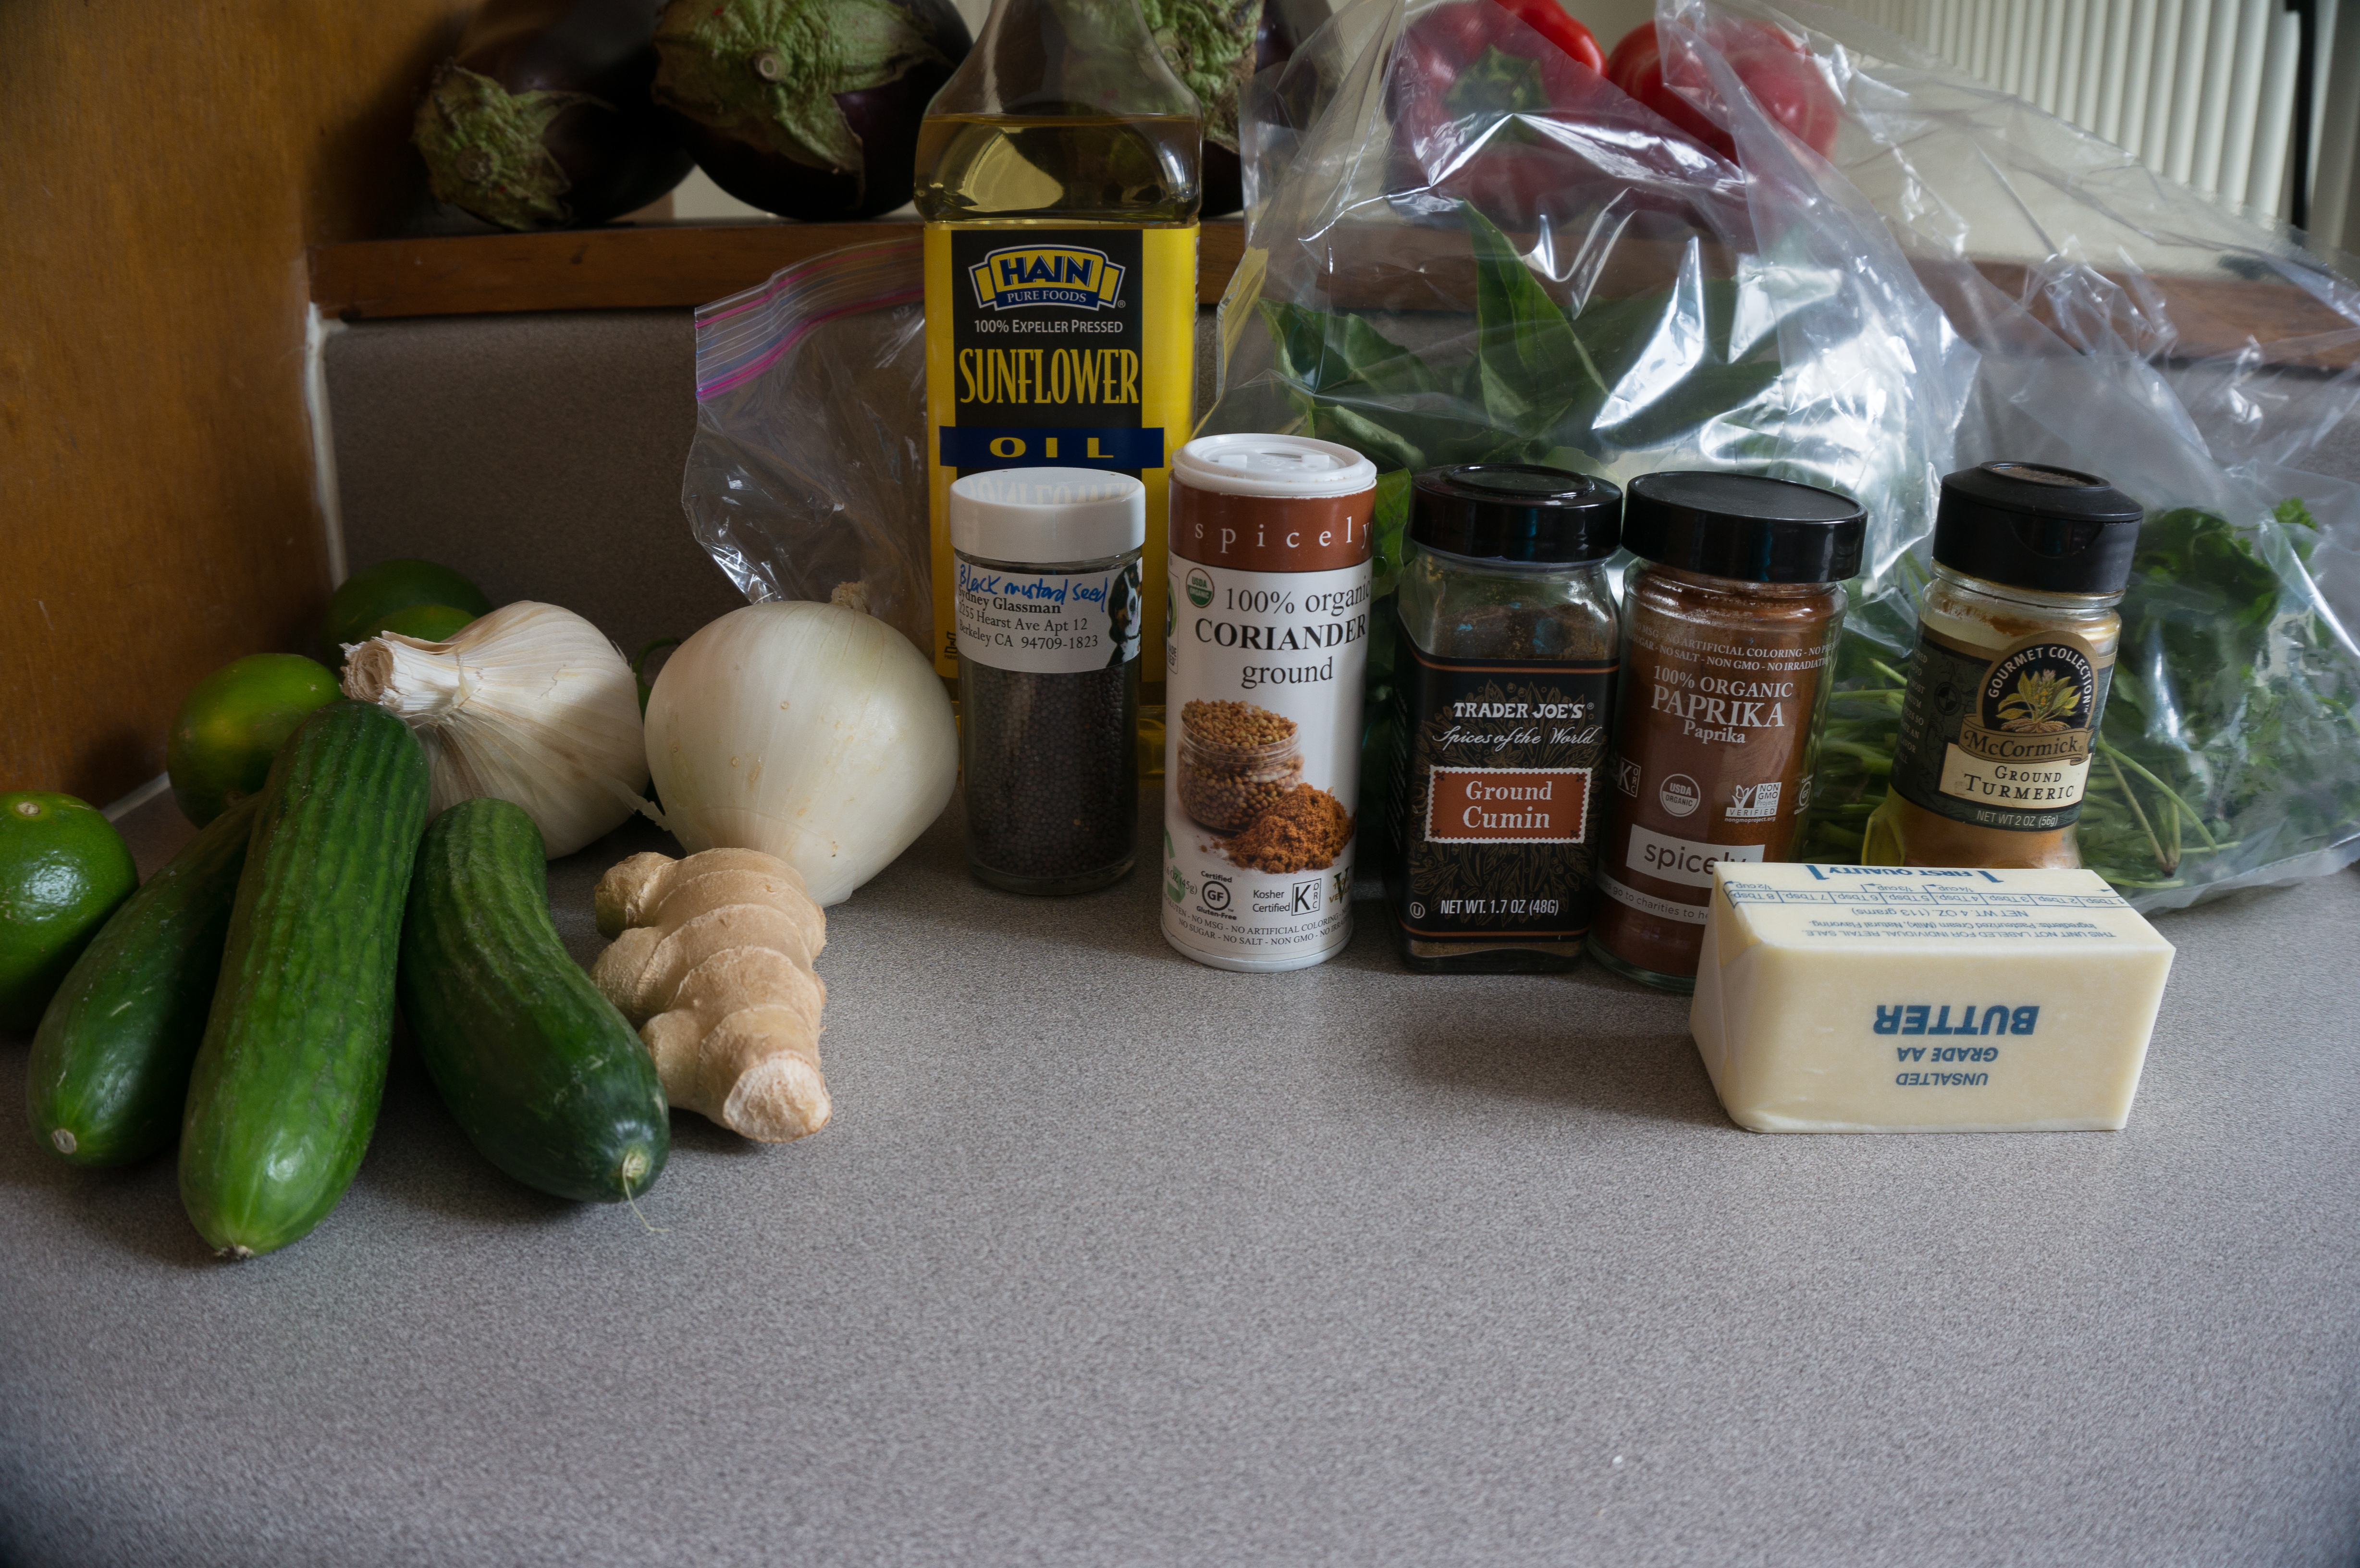
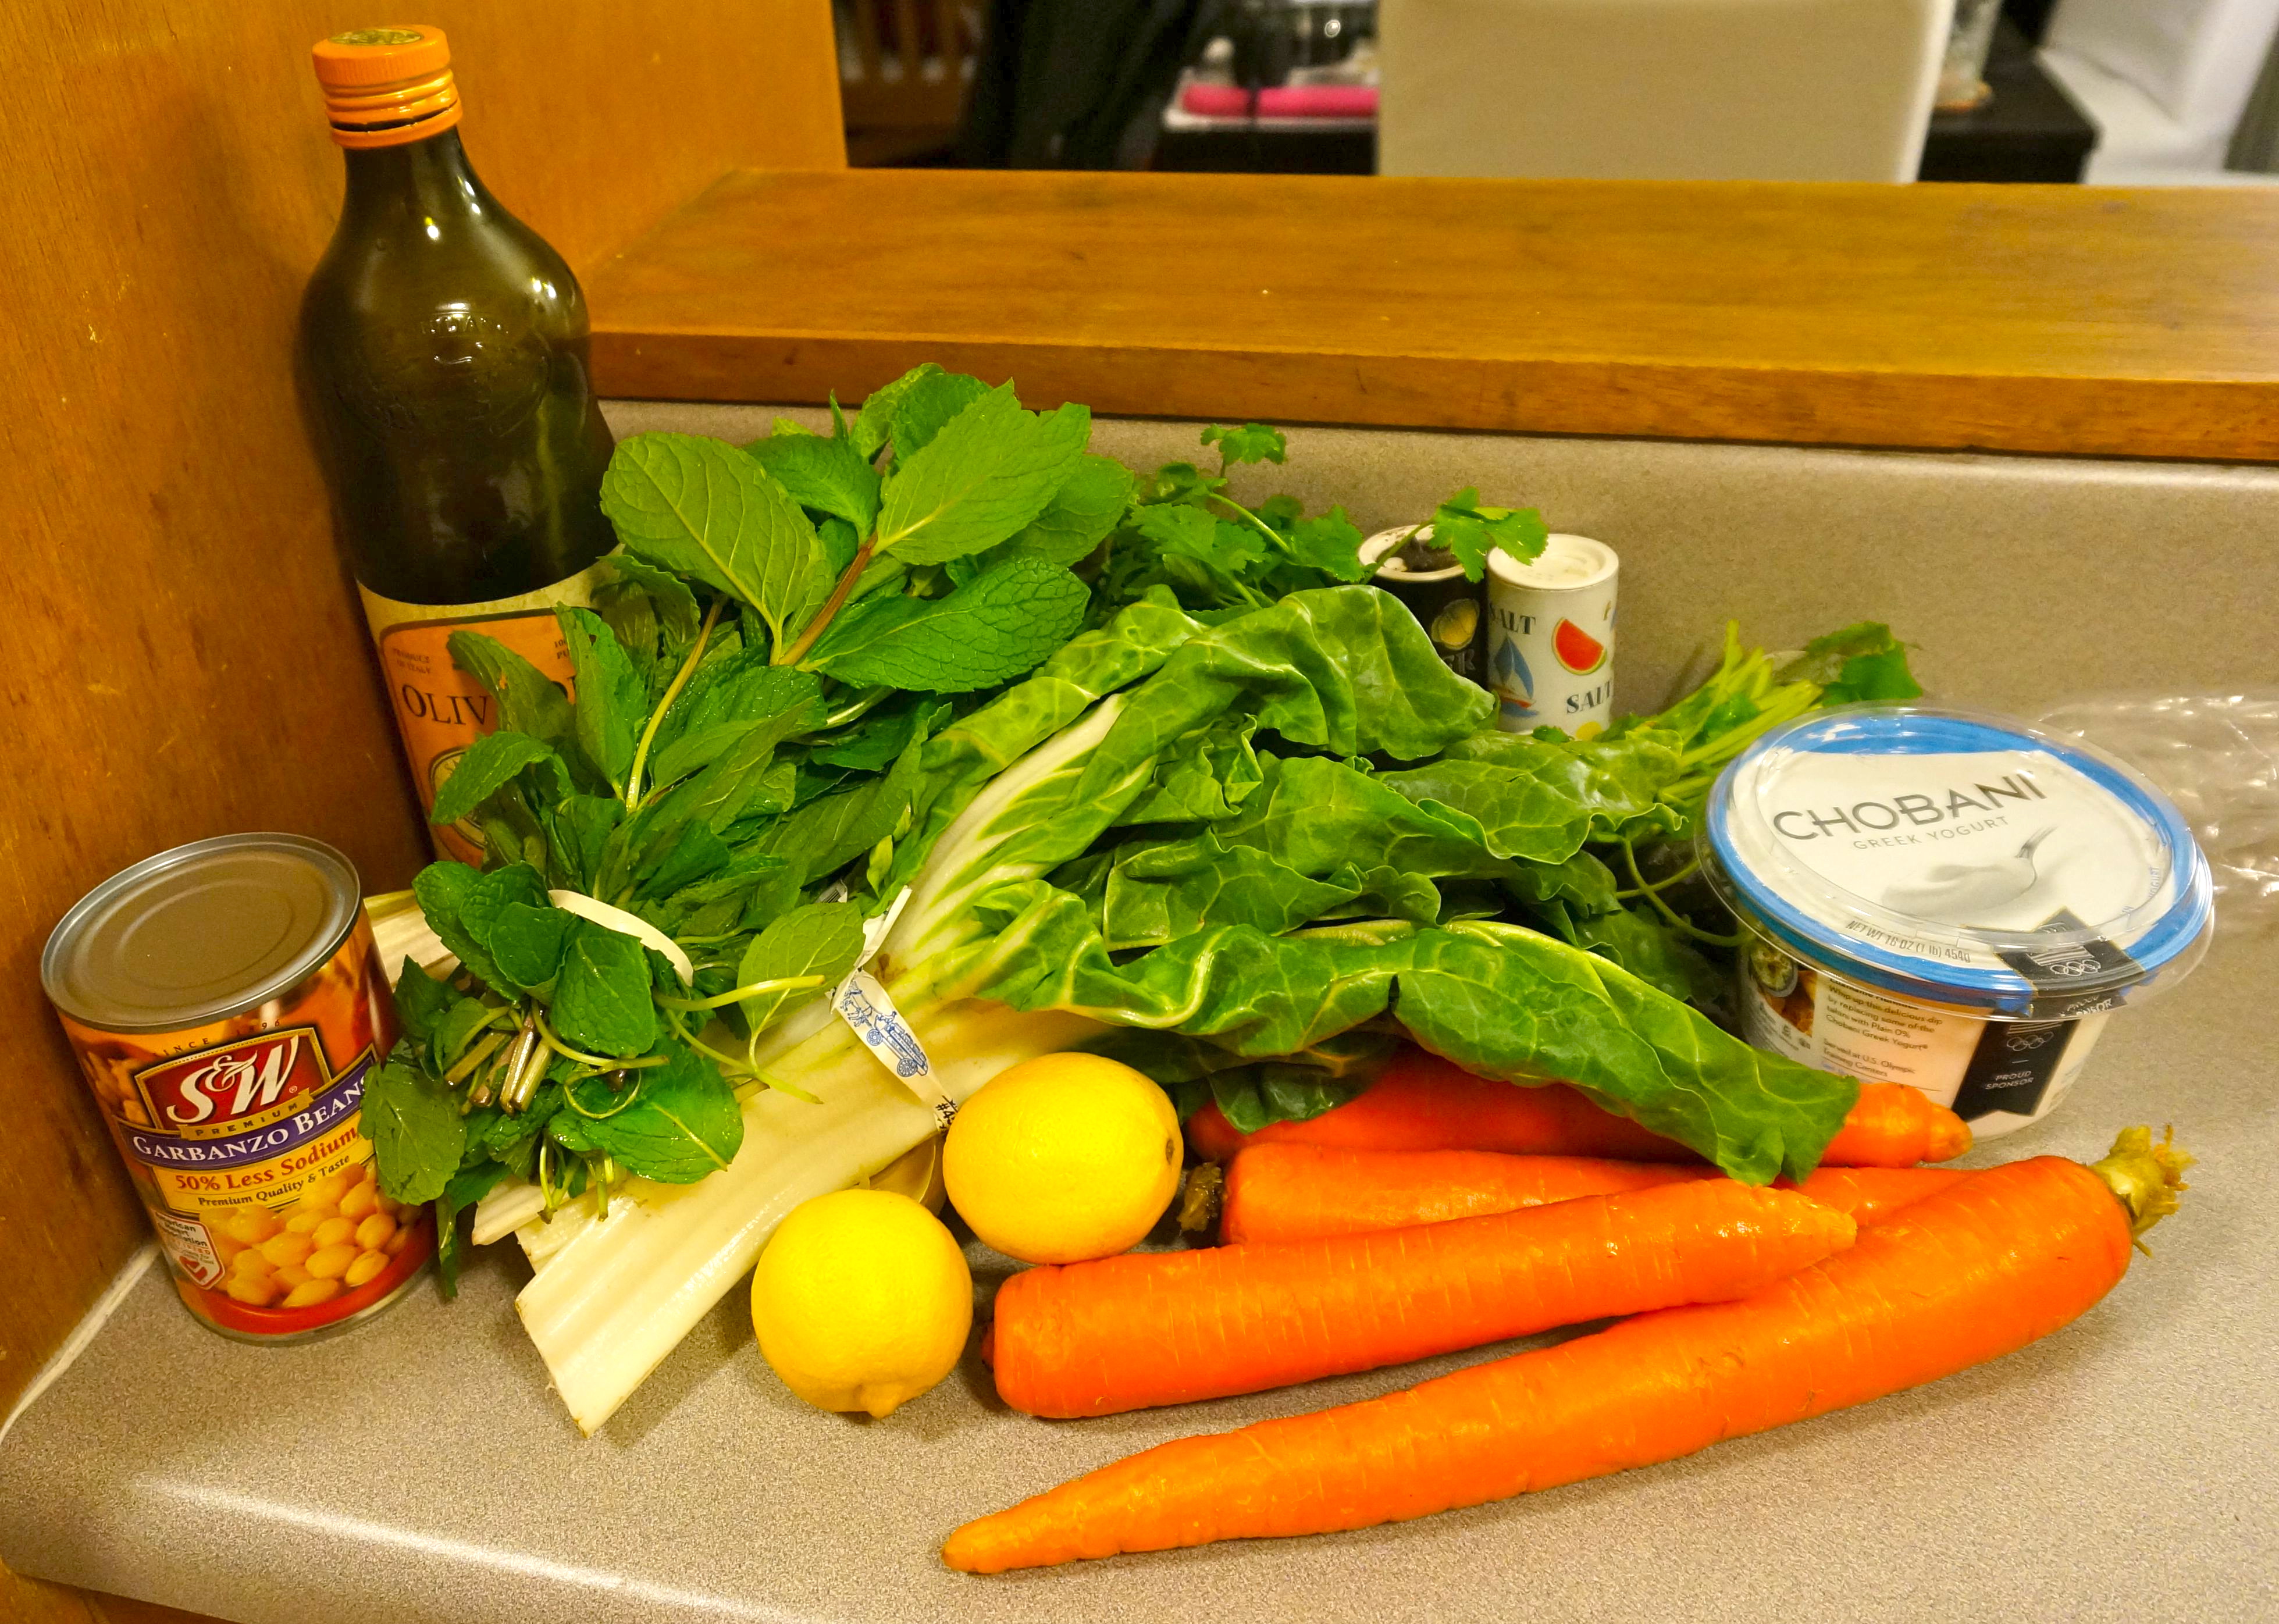
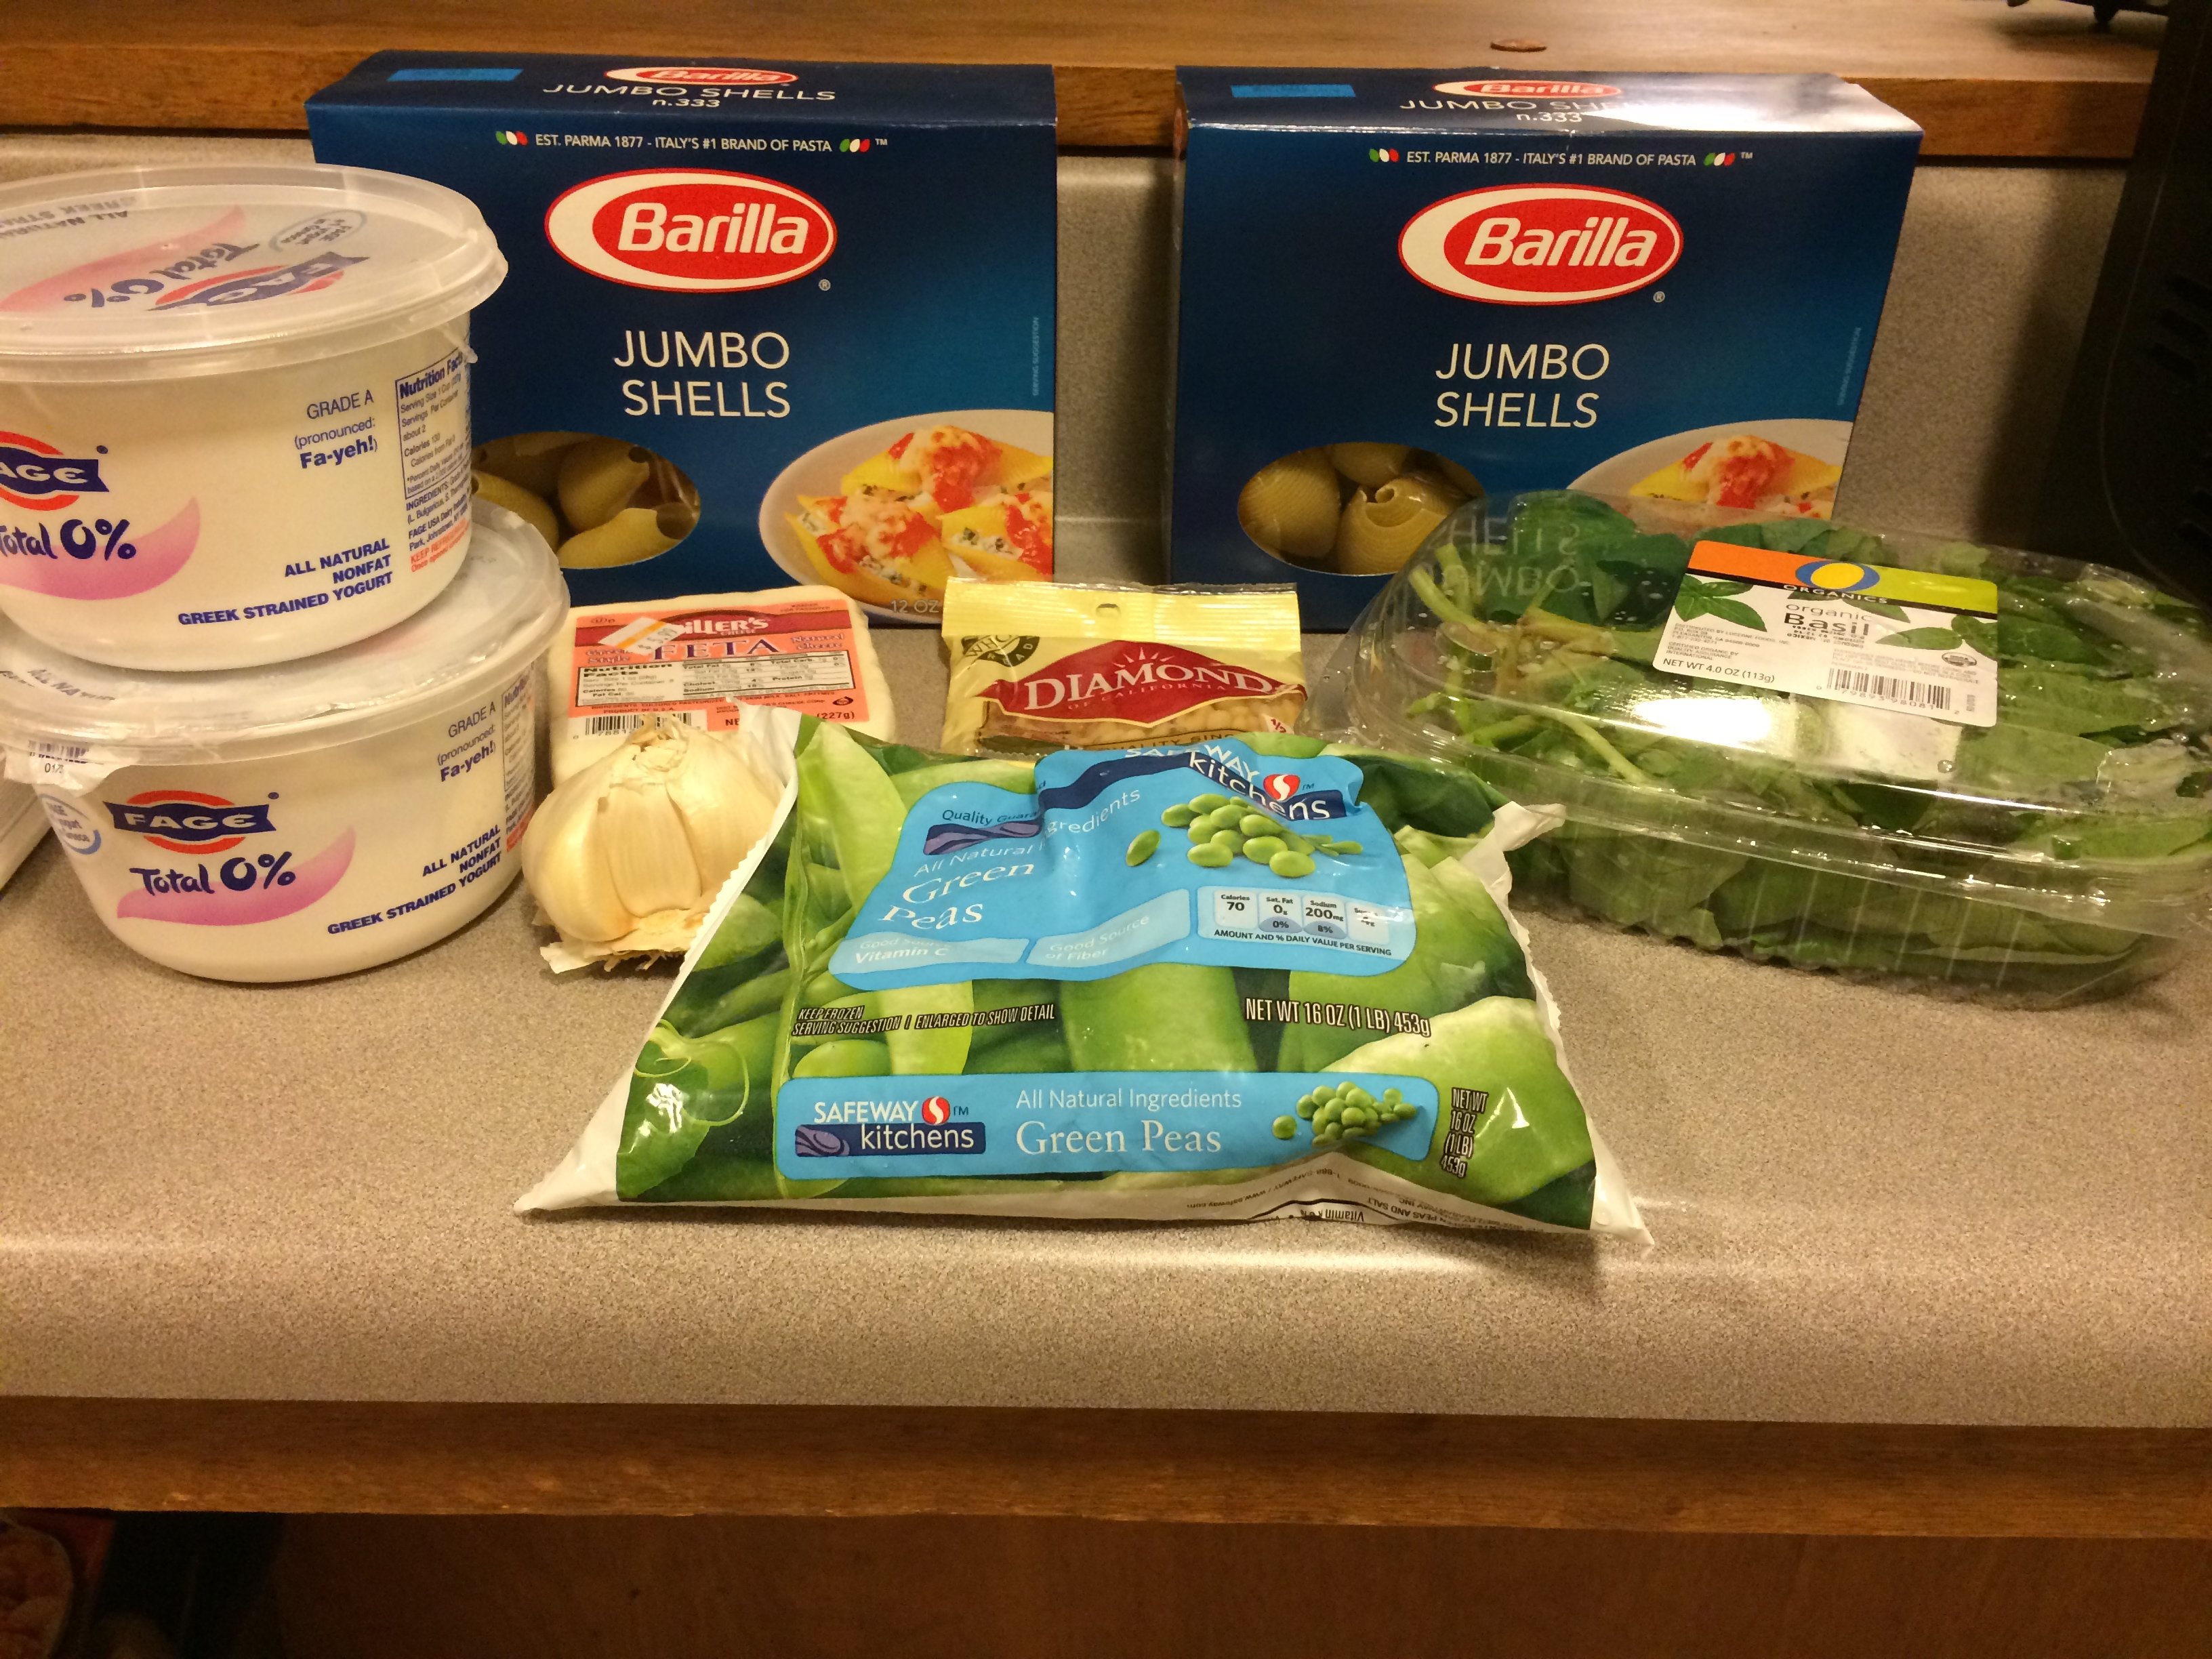
Ingredients for spiced red lentils.

I do not know why it took me so long to discover lentils. Lentils are the perfect food, especially for a PhD student low on funds such as me.  Lentils are really healthy and cheap, and when prepared correctly, can be super delicious and satisfying. Let me tell you, this dish prepares them correctly. This dish is THE BOMB.  It has flavor and spice up the wazoo. As a fair warning, there are a lot of spices involved, all of which I thankfully already own due to the spice buying investments I’ve been making over the last year. But trust me, this dish is so worth it.  You have to soak the lentils in water for 30 minutes prior to cooking, and since I already had the lentils, I placed them in water before heading out to the Berkeley Bowl to grocery shop, so they had ample time to soak.

Limes, cucumbers, ginger, garlic, and onion

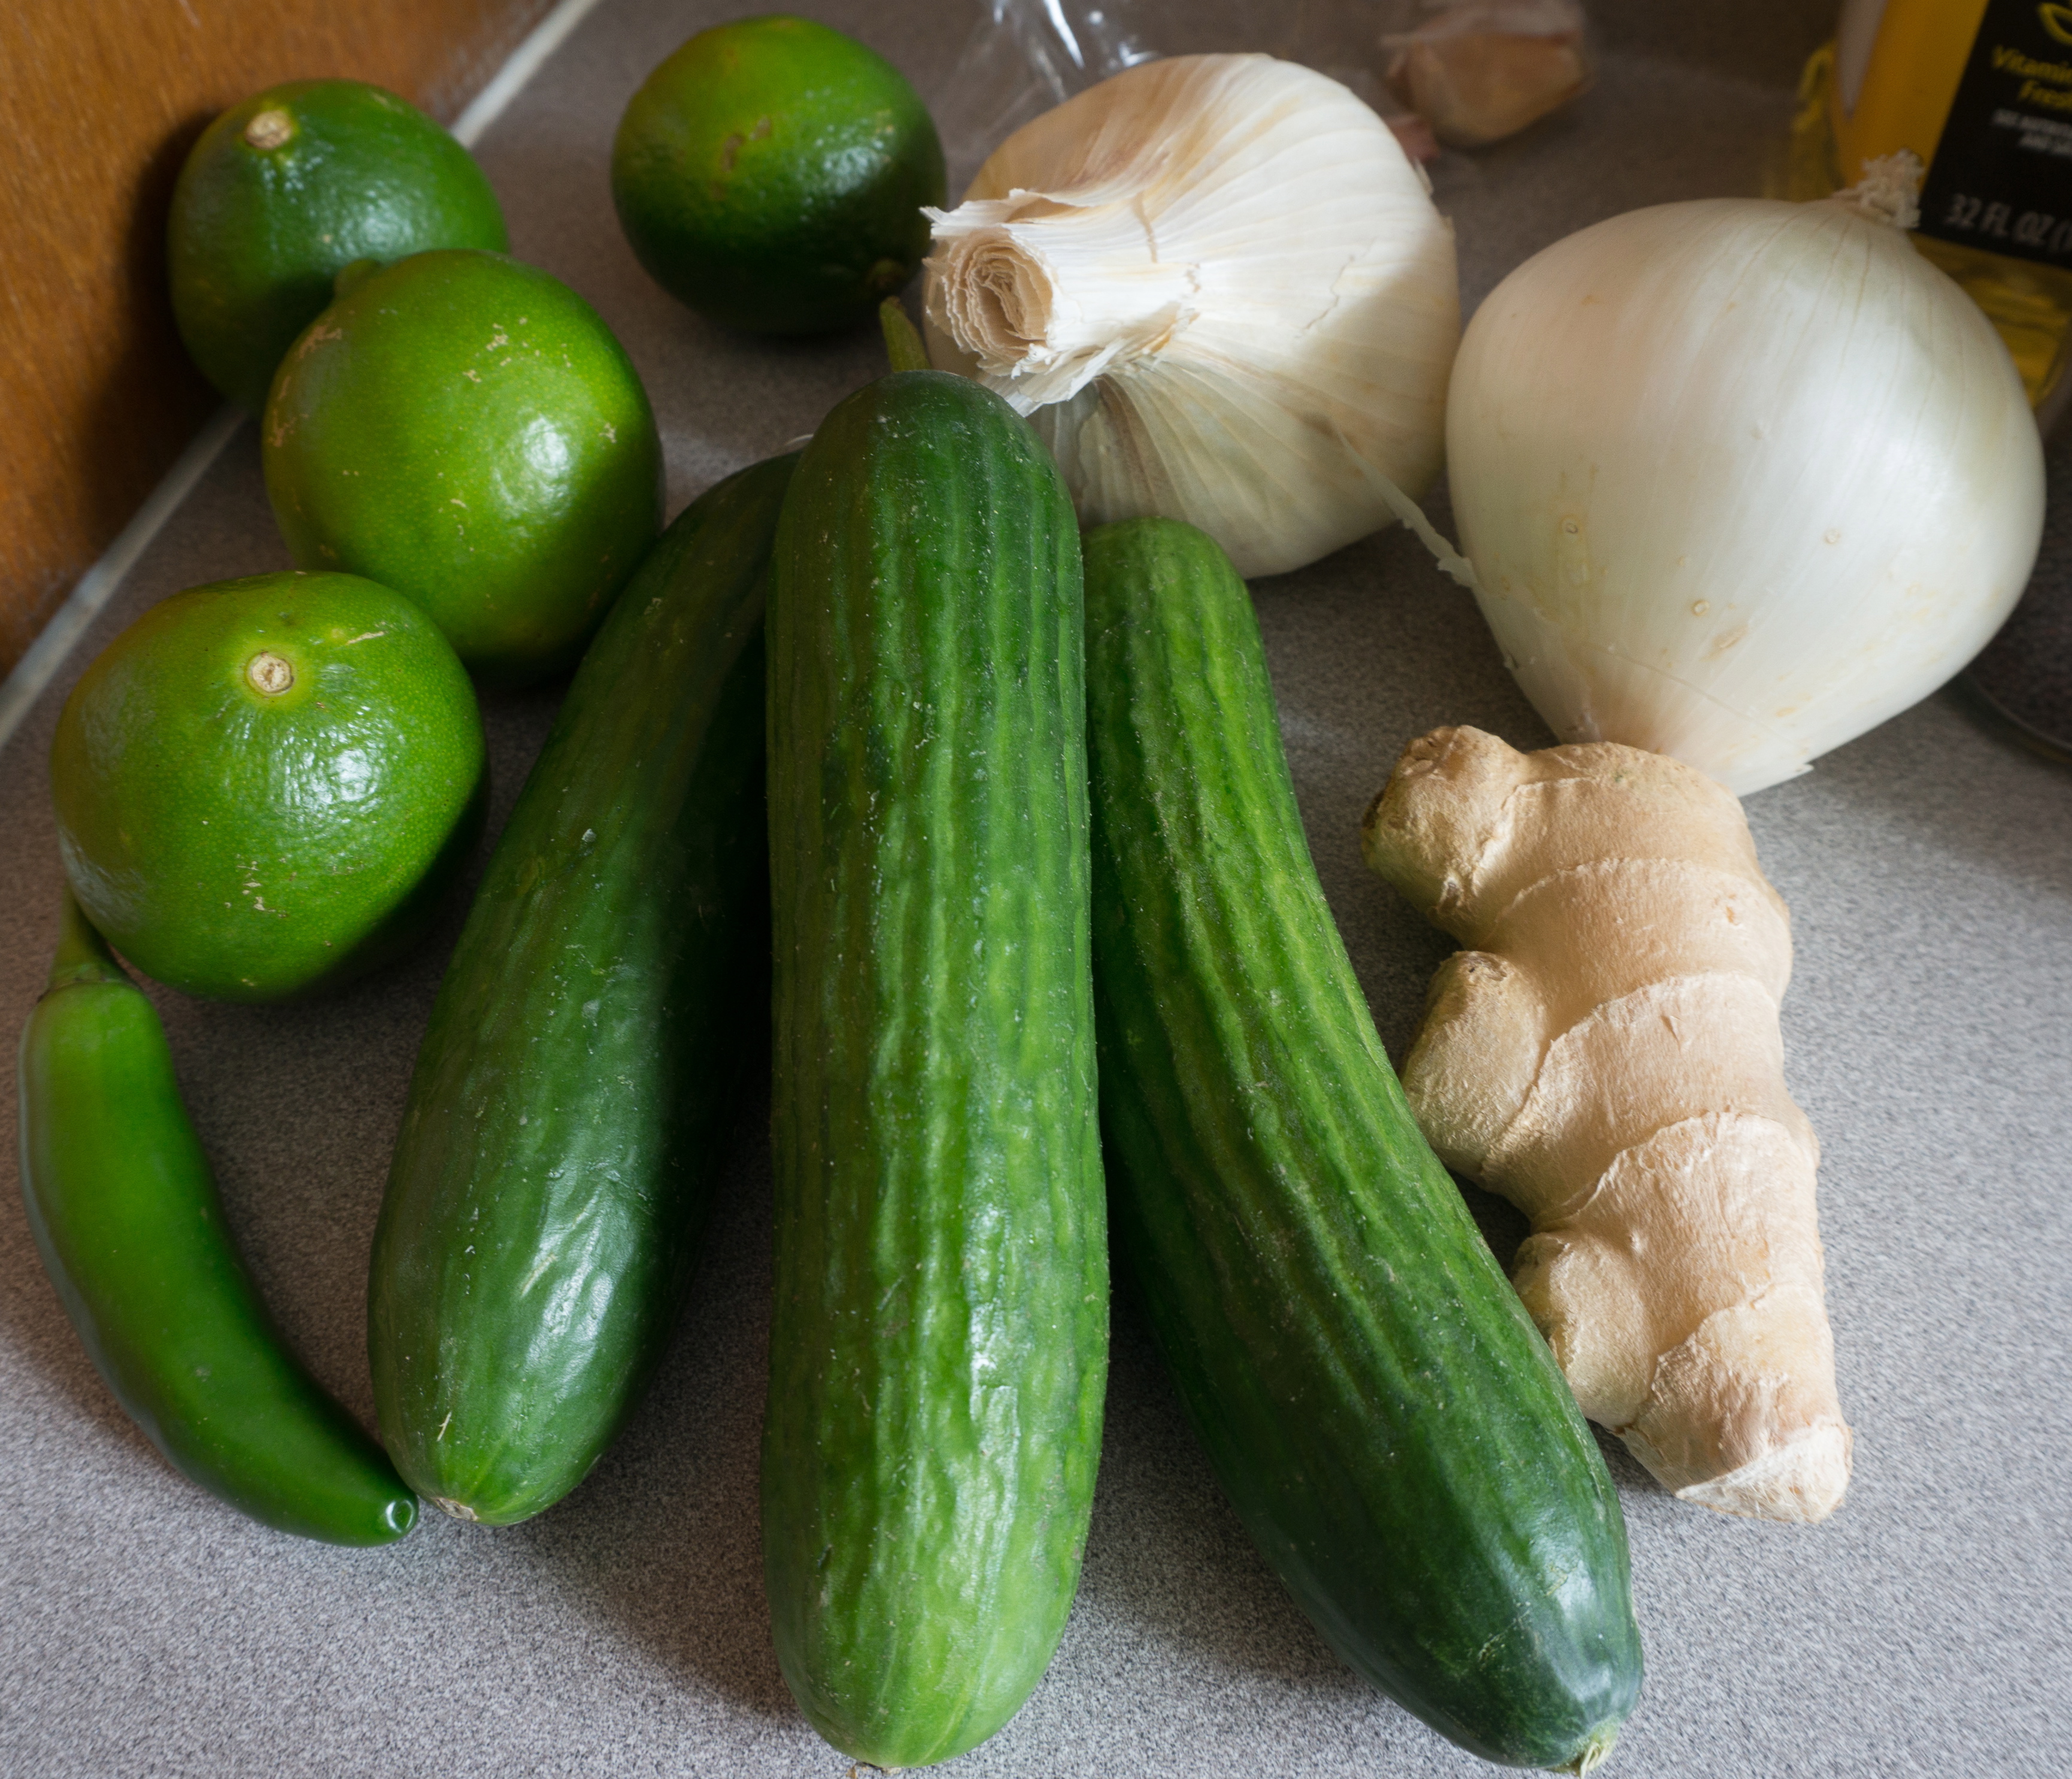
Limes, cucumbers, ginger, garlic, and onion for the curried lentils.

Upon returning from the Berkeley Bowl, I started by making the chopped onion mix. I cut off the stalks of the cilantro and roughly chopped the leaves and set those aside. Then I stuck the cilantro stalks in my food processor, followed by a finely diced onion.

Onion mixture in the food processor

Onion, garlic, ginger, green chile, and cilantro in the food processor.

Then I added 3 peeled garlic cloves, 2.5 inches peeled ginger, and a fresh chile. I used a serrano chile, which I removed the seeds from, but presumably any green chile would work.  This mix is a flavor powerhouse. It smelled so fresh and delicious.

curriedlentils-09-2

This onion, garlic, cilantro, chile mixture was a flavor POWERHOUSE. It smelled so good!

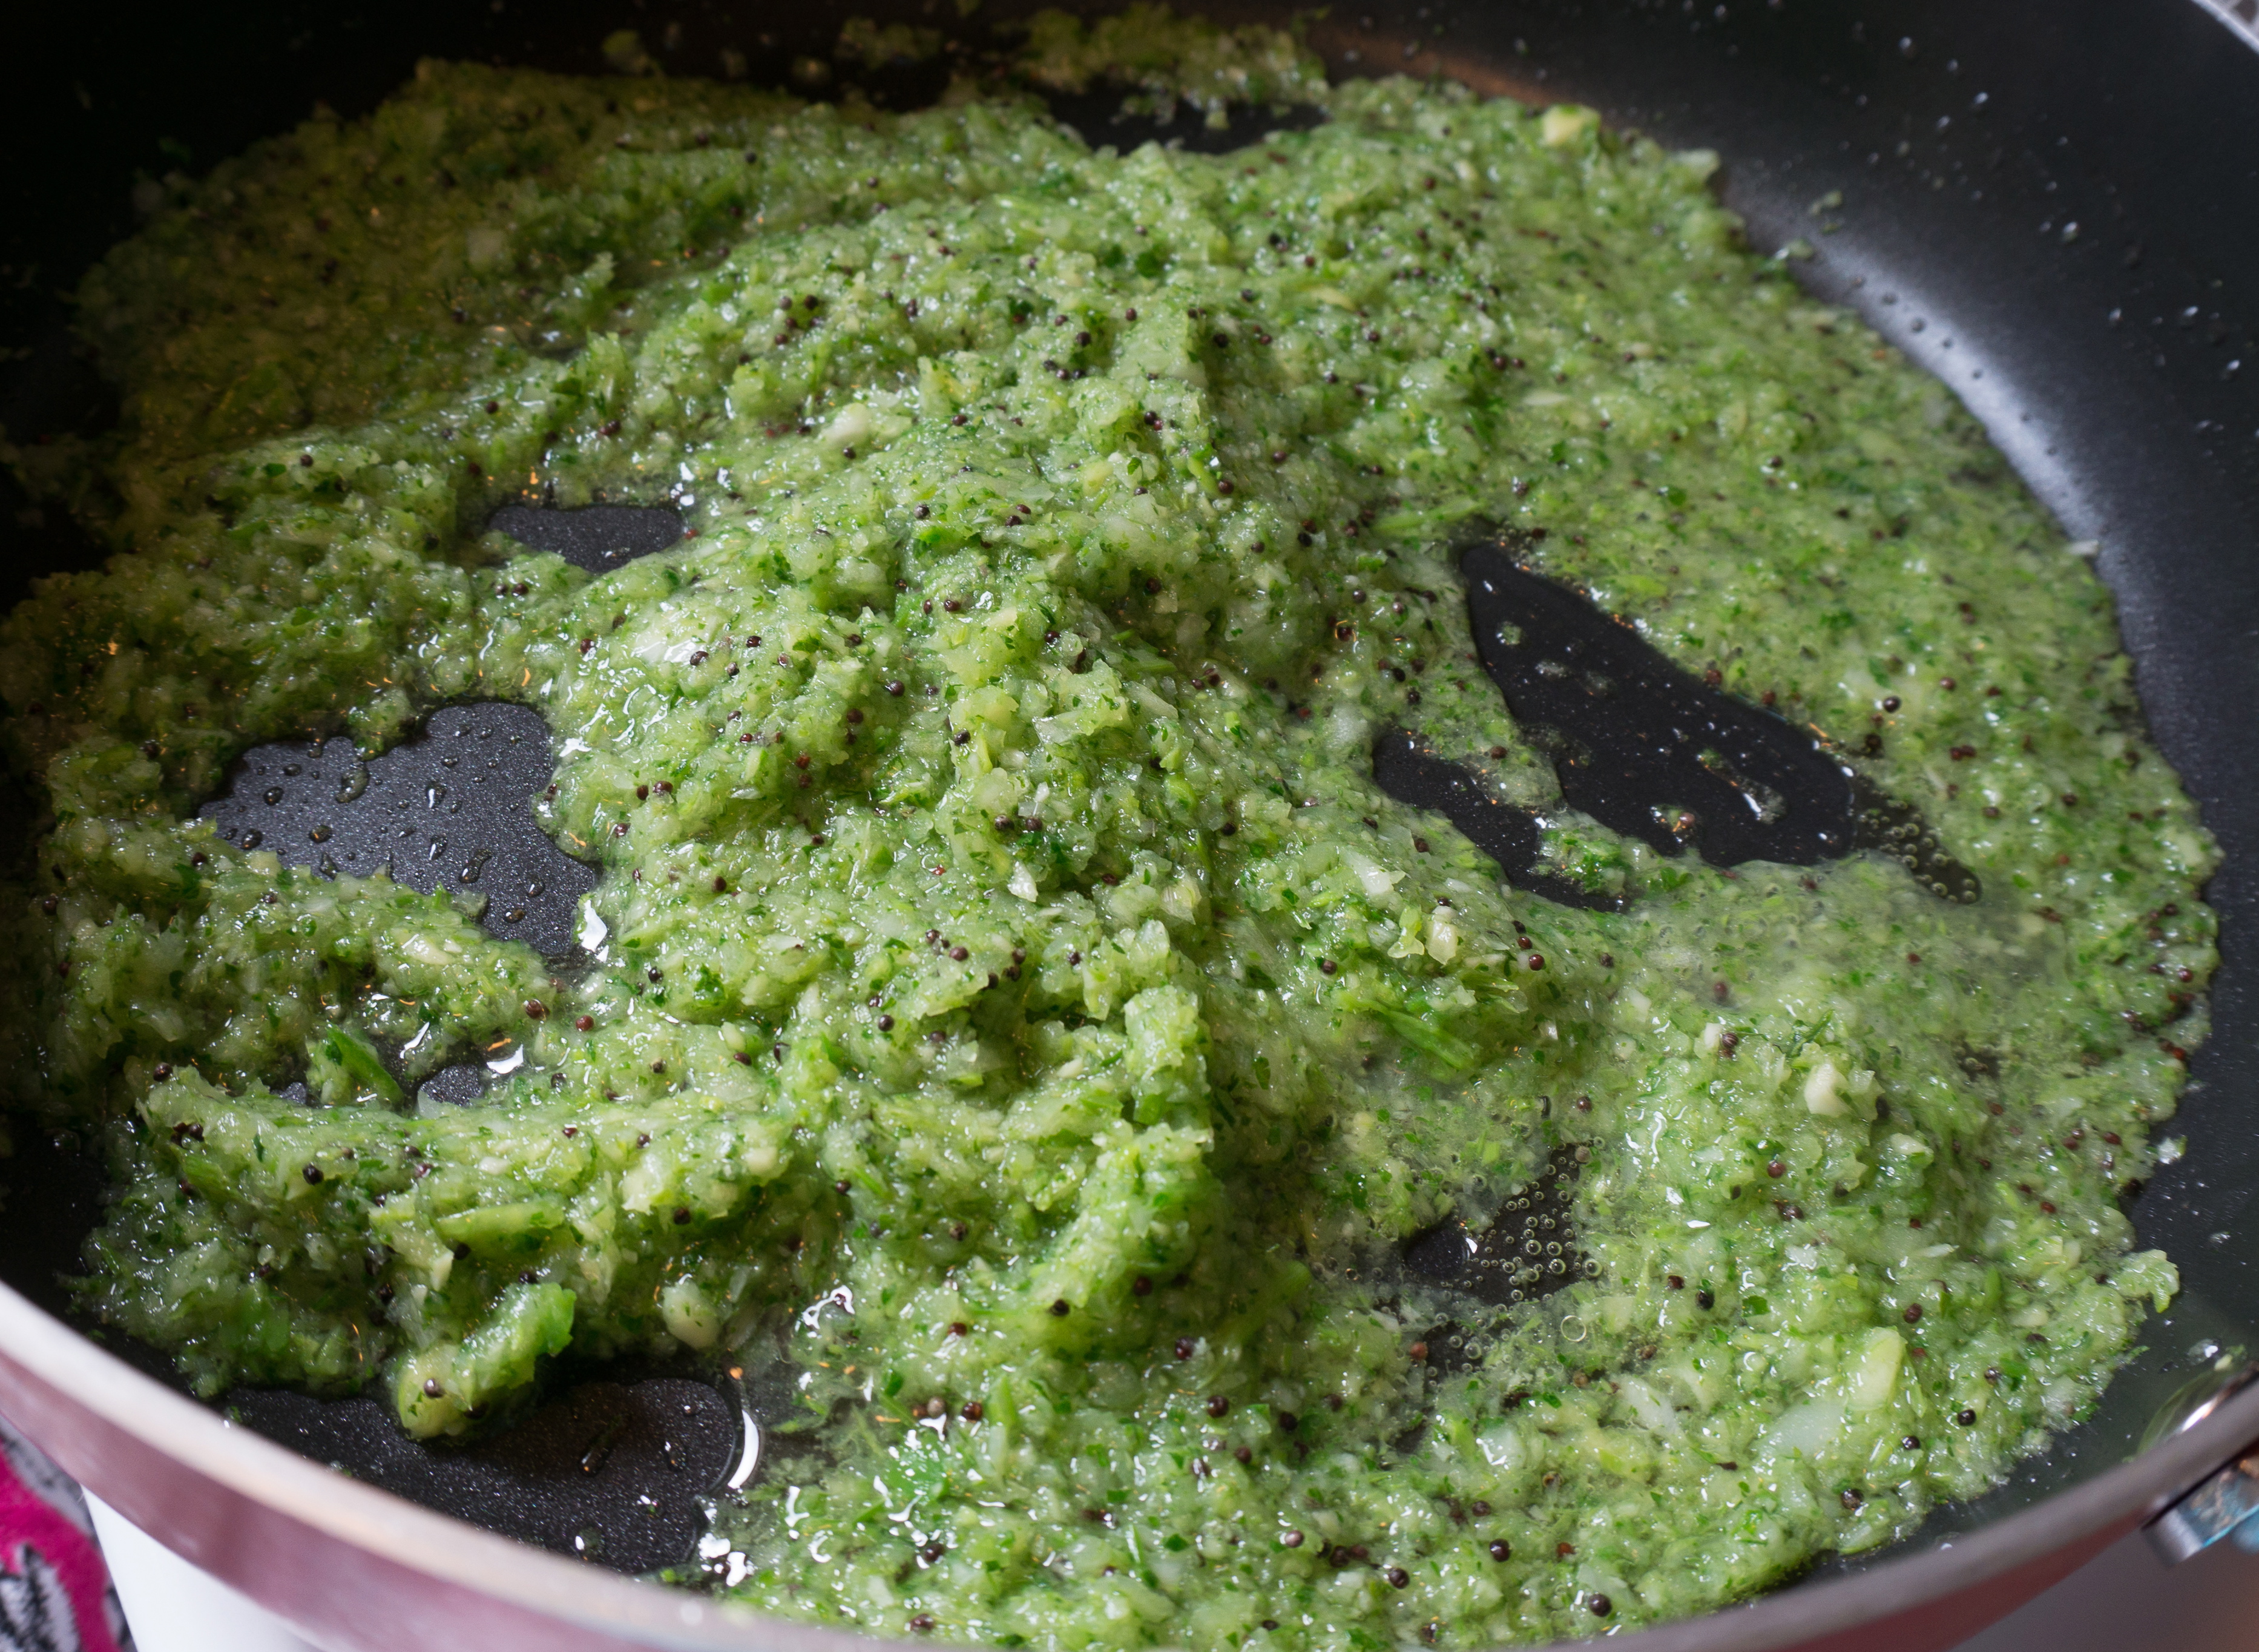
Place a large pan on medium heat and put the mustard seeds in it and wait for them to pop. They start to sound sort of like popcorn – it’s pretty fun! Then add the 4 tbsp sunflower oil and the onion mixture. This is such a flavorful mix – I’m definitely going to have to start employing it in more of my cooking.

While the onion mixture cooks, I mixed together the spices. Mix 1.5 tsp coriander, 1 tsp cumin, 0.5 tsp turmeric, and 0.25 tsp (sweet) paprika. I used regular paprika since I don’t have sweet, but all in all this is a pretty standard curry mix. The one ingredient I did not have was the curry leaves, which I read online you could substitute with basil and a dash of lemon. After the onion mix has been cooking for 10 minutes, add the spices and leaves and cook for 5 minutes.

Coriander, cumin, turmeric, paprika spice mix

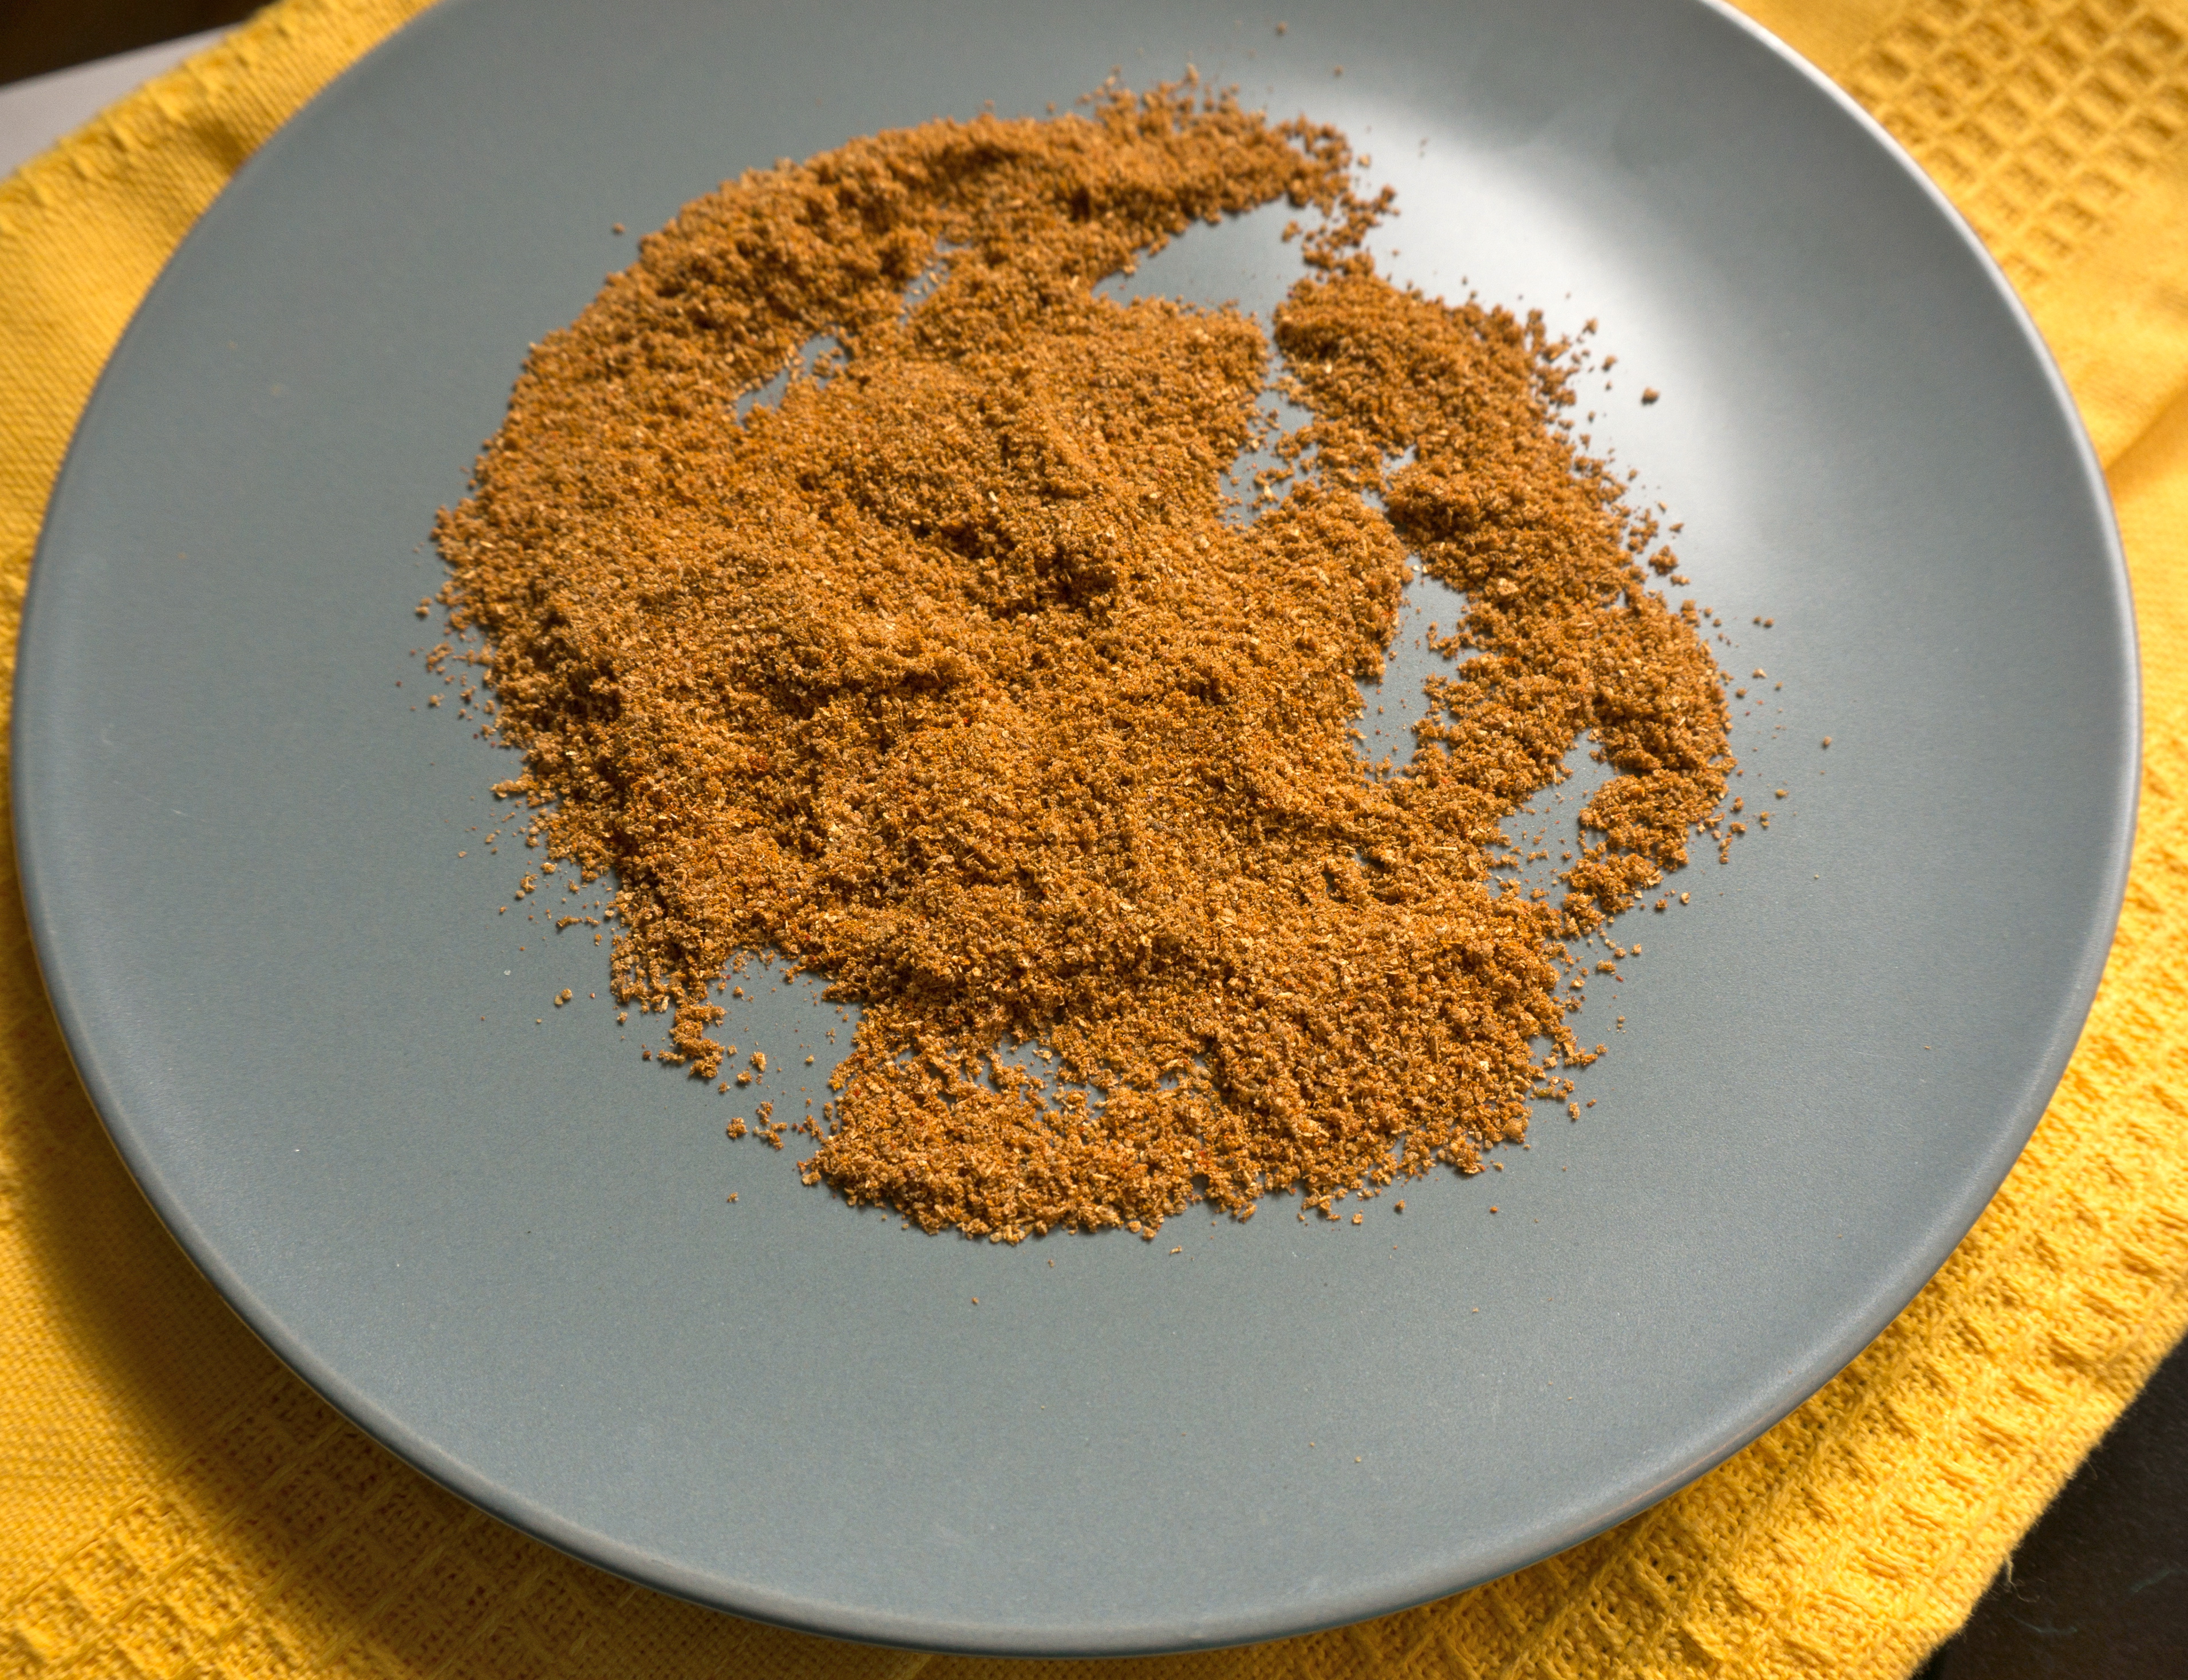
Coriander, cumin, turmeric, and paprika spice mixture.

The spices and onion mixture smelled so good while they were simmering! My whole apartment smelled amazing. Two friends dropped by my apartment to pick something up while I was cooking and commented on how good it smelled as soon as they entered the door. Between you and me, I think they were pretty jealous that they weren’t invited over for dinner!

Onion mixture with spice mix and basil leaves

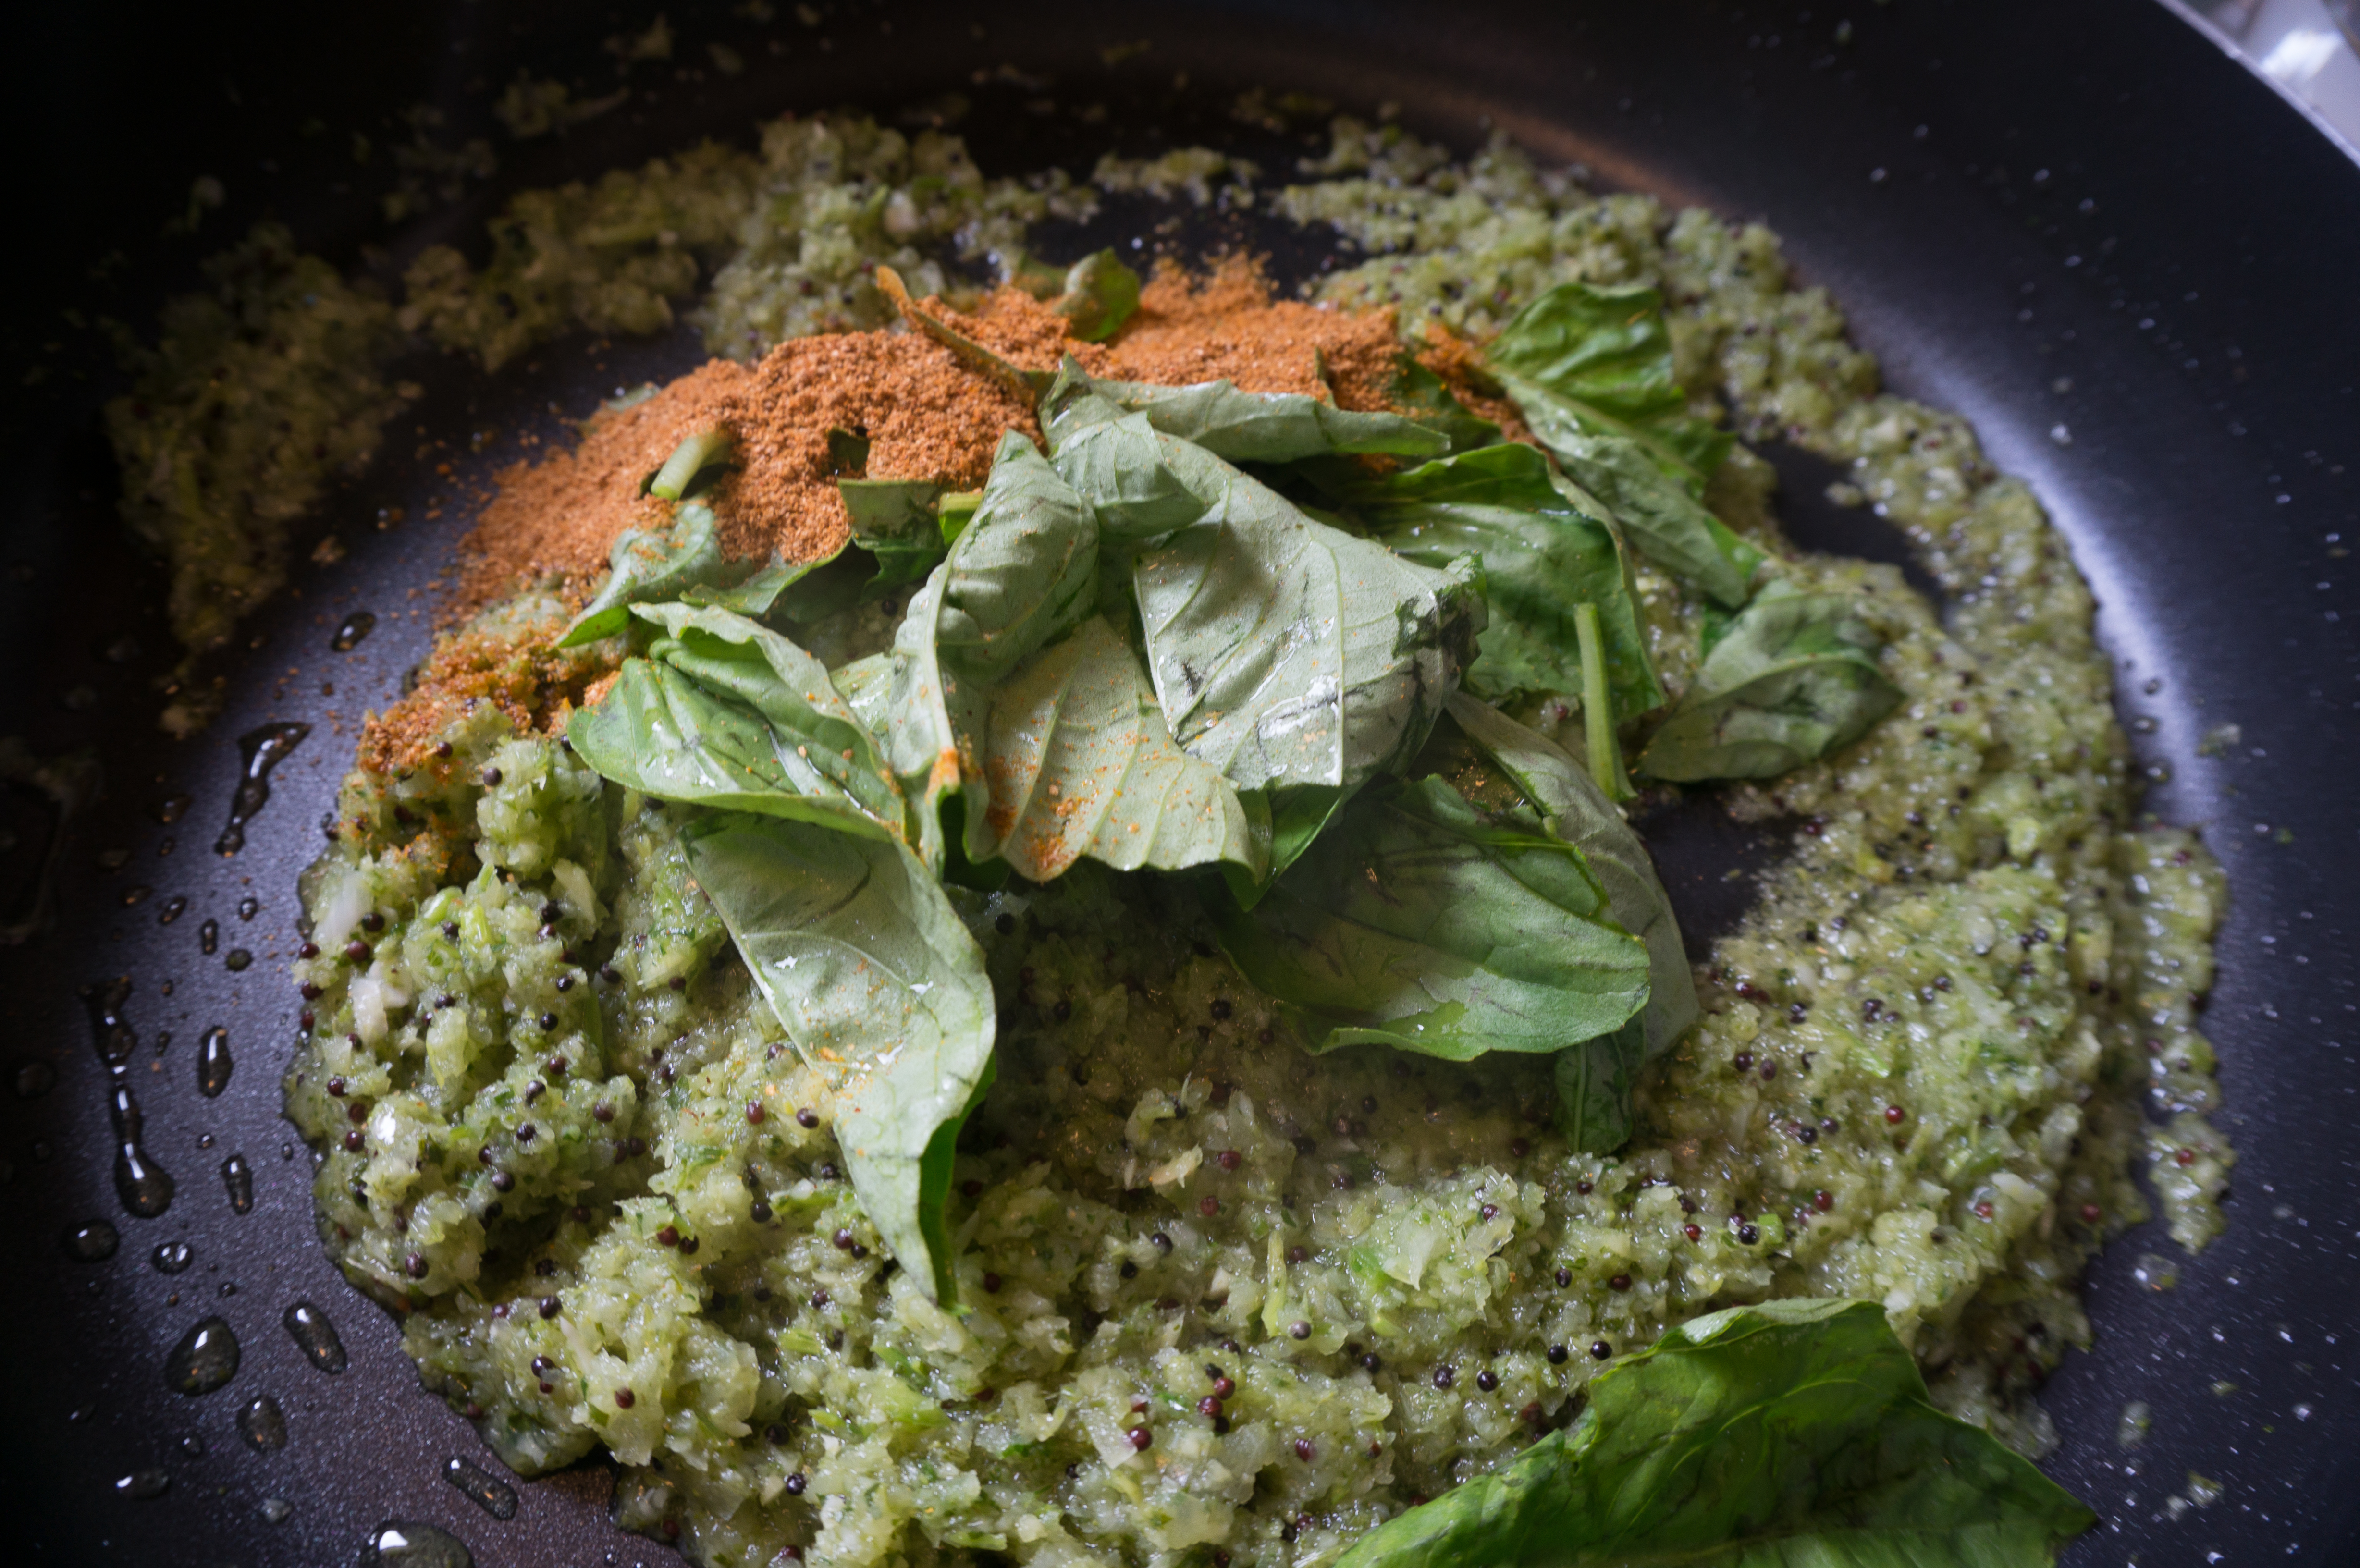
Onion mixture with spice mix and basil leaves.

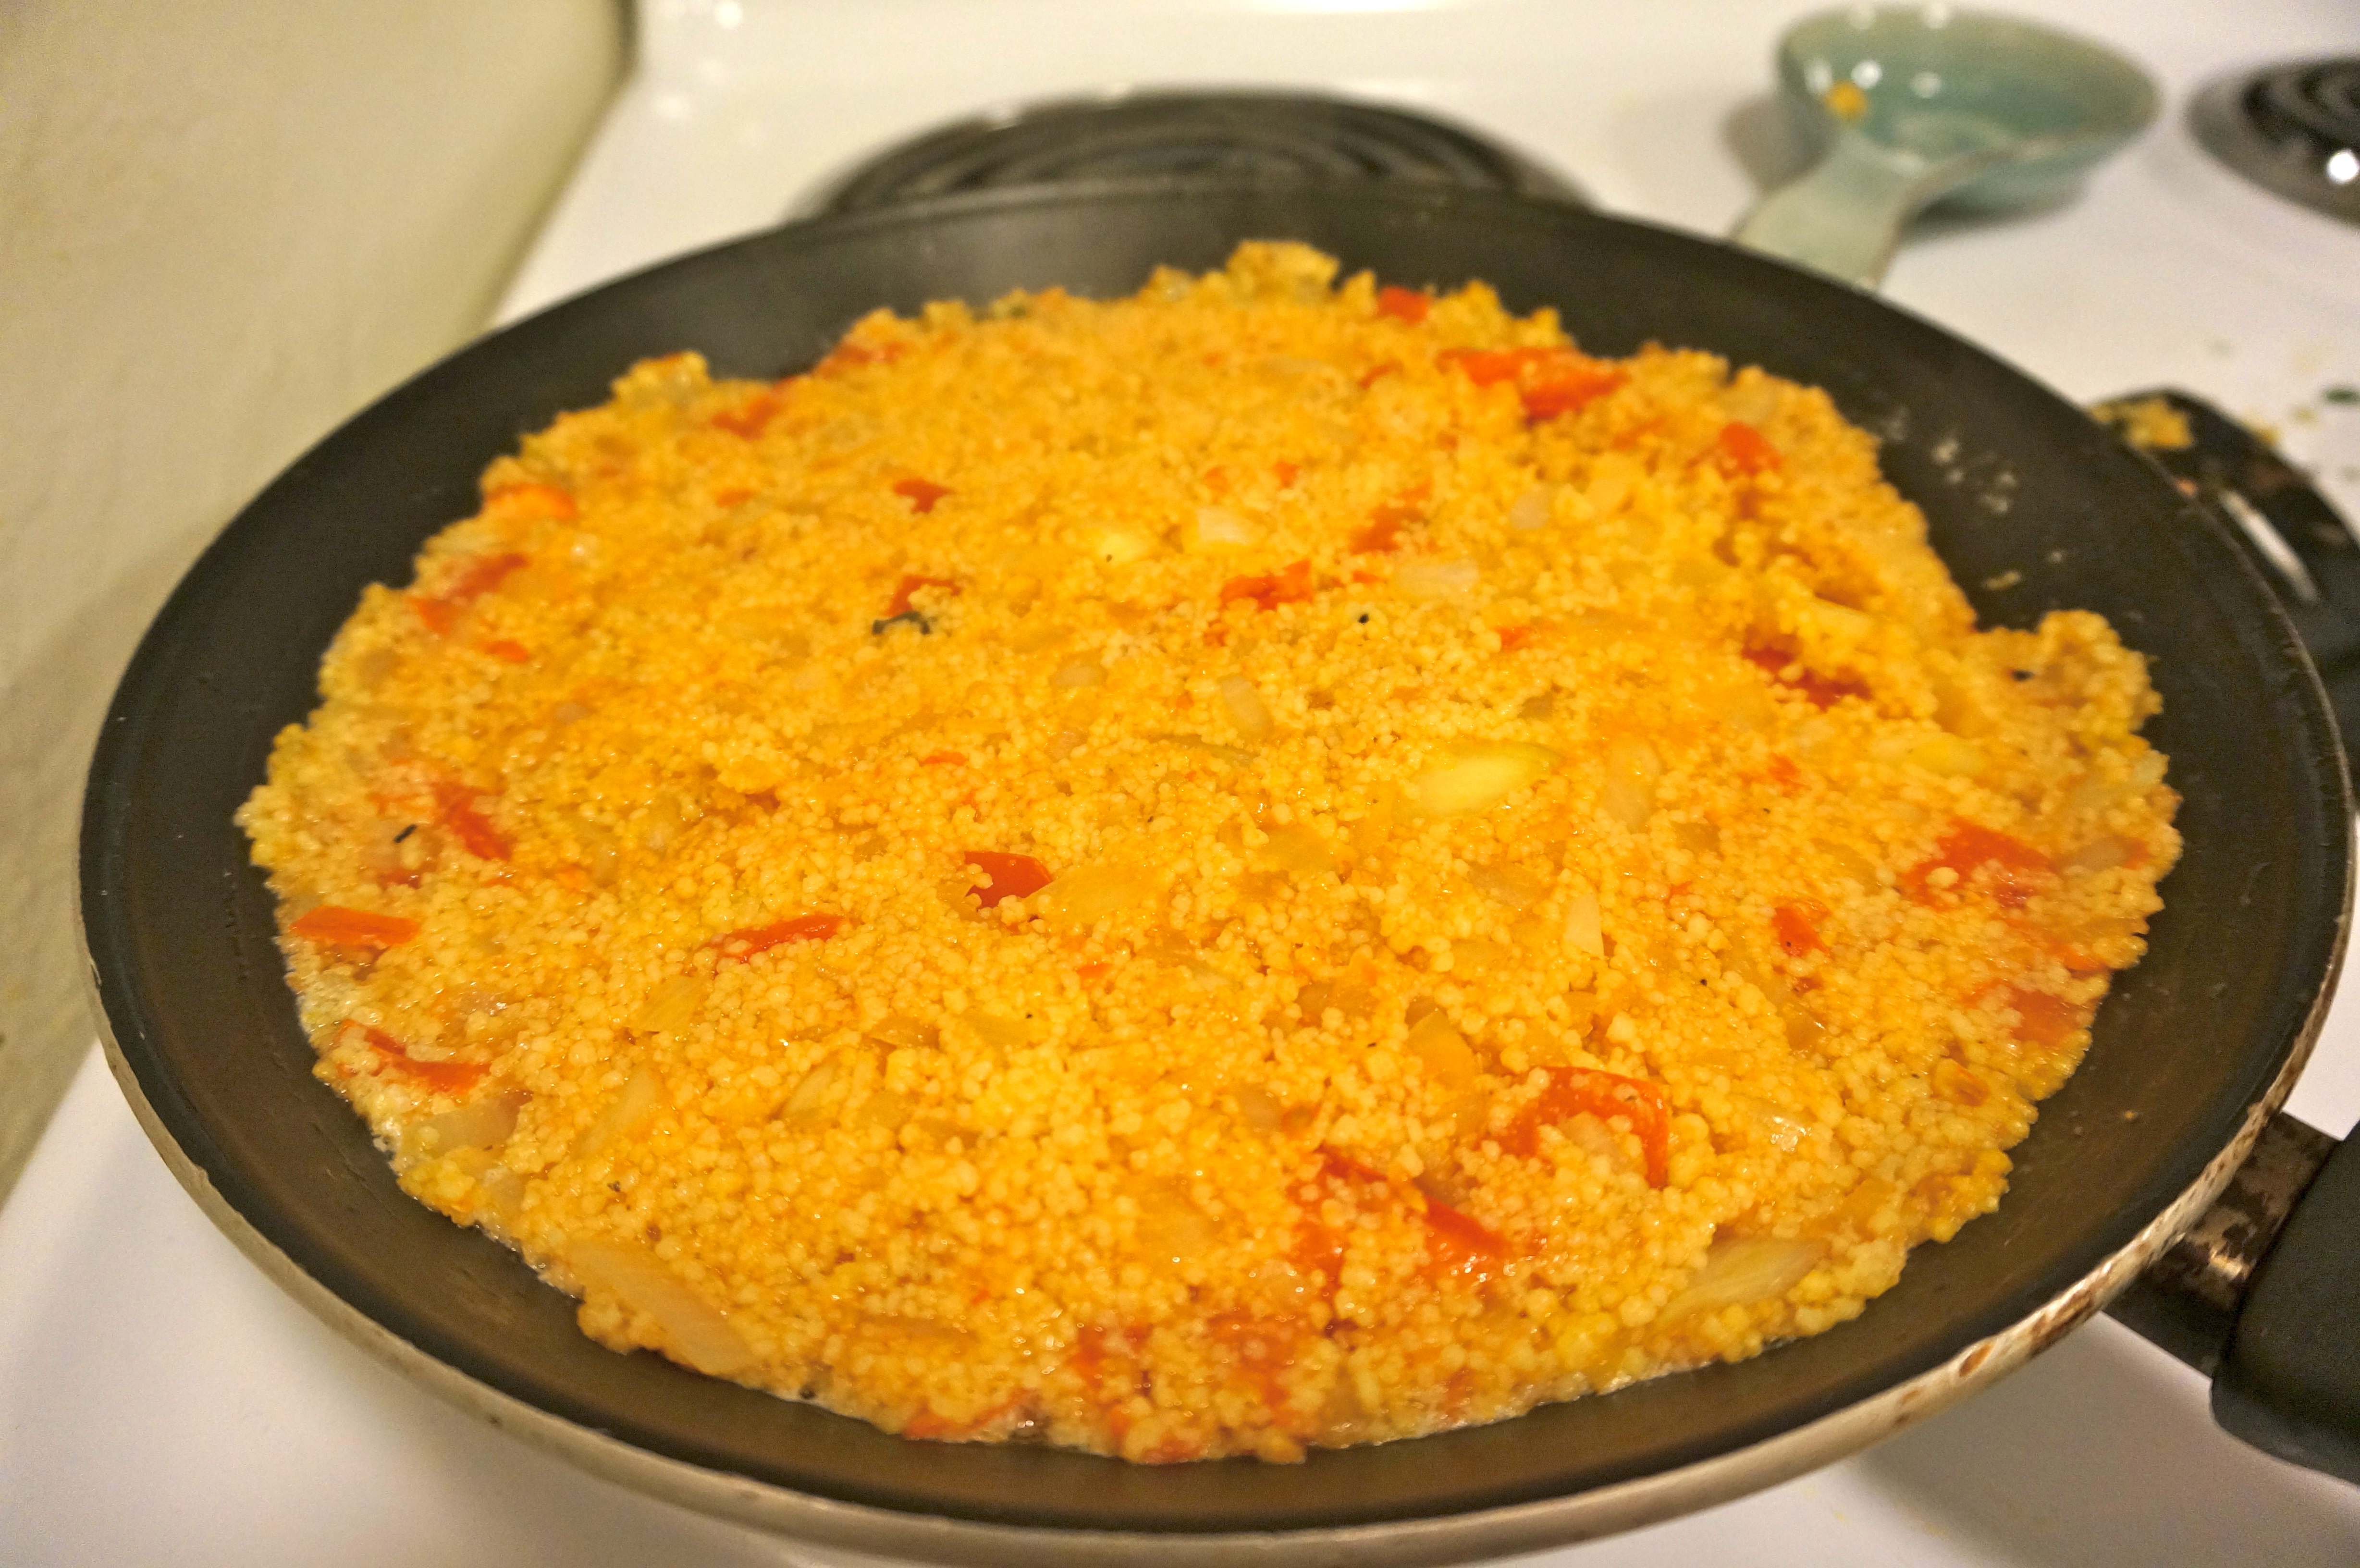
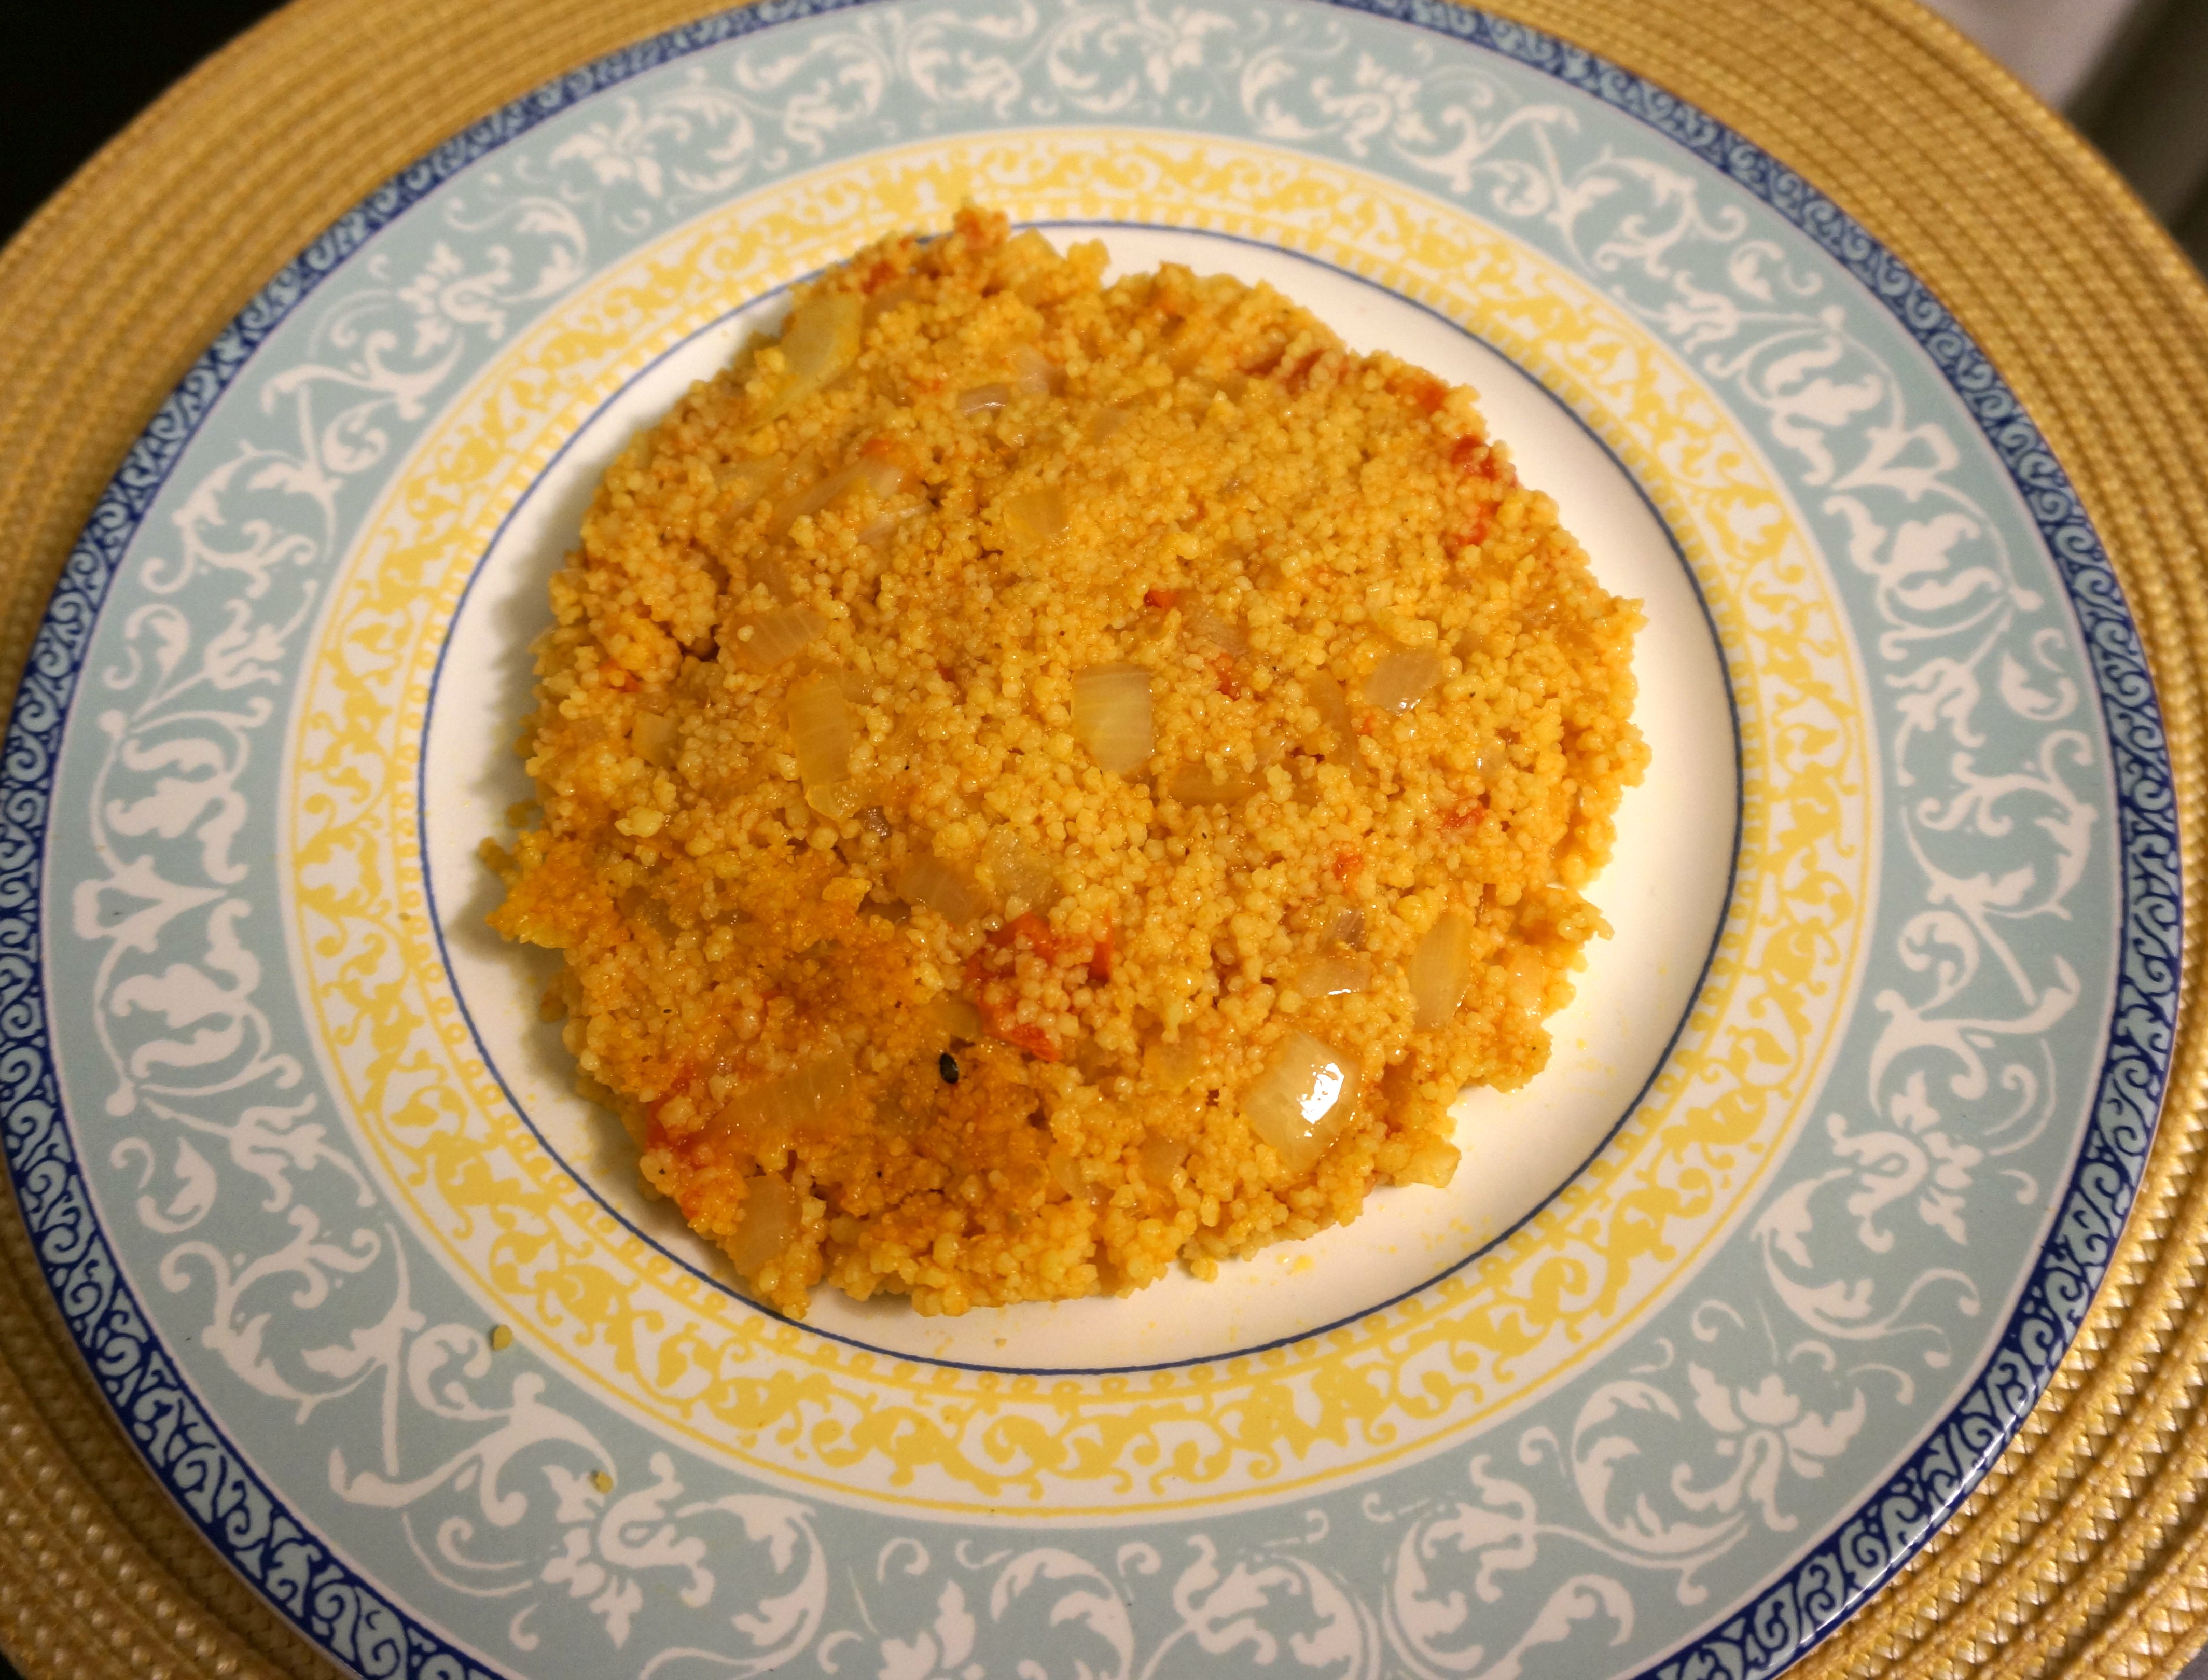
While the mixture is cooking, take the time to open up a can of peeled chopped tomatoes or to chop up some fresh tomatoes. Peeling tomatoes seemed like too much work for me so I just threw them in whole, and then I added the red lentils with the water they had been soaking in.

Spice and onion mixture with red lentils and tomatoes

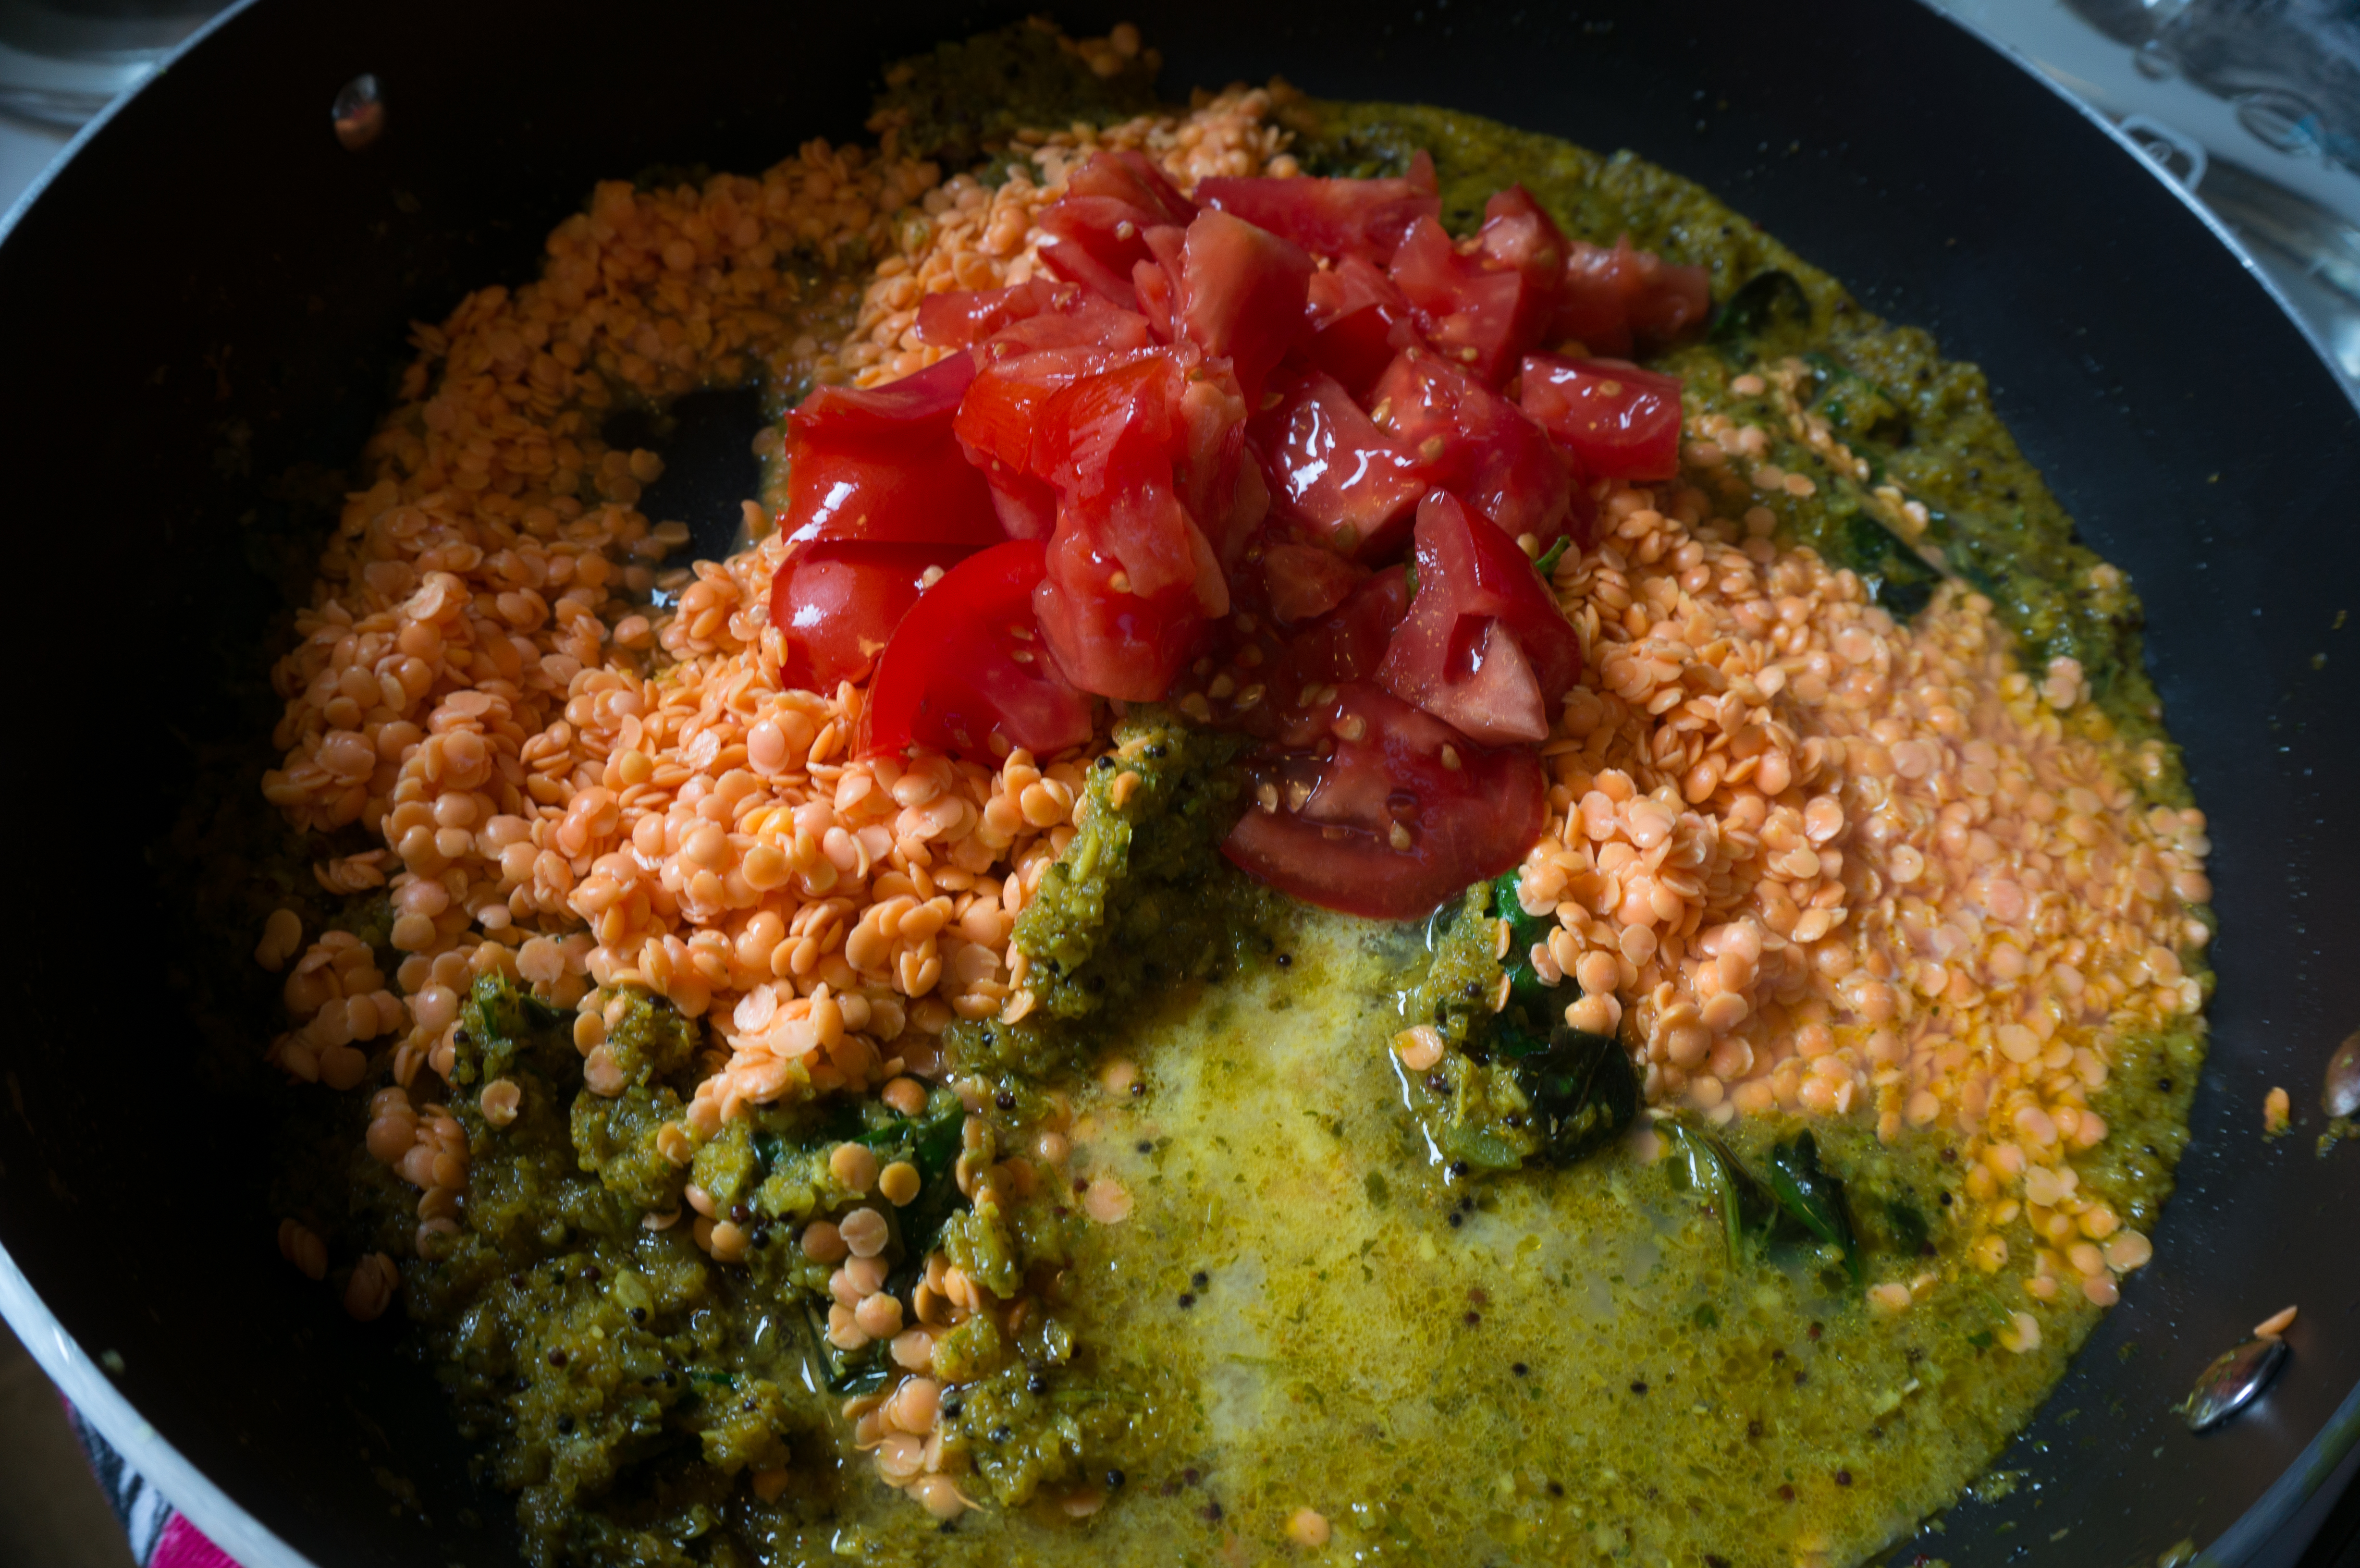
Spice and onion mixture with red lentils and tomatoes.

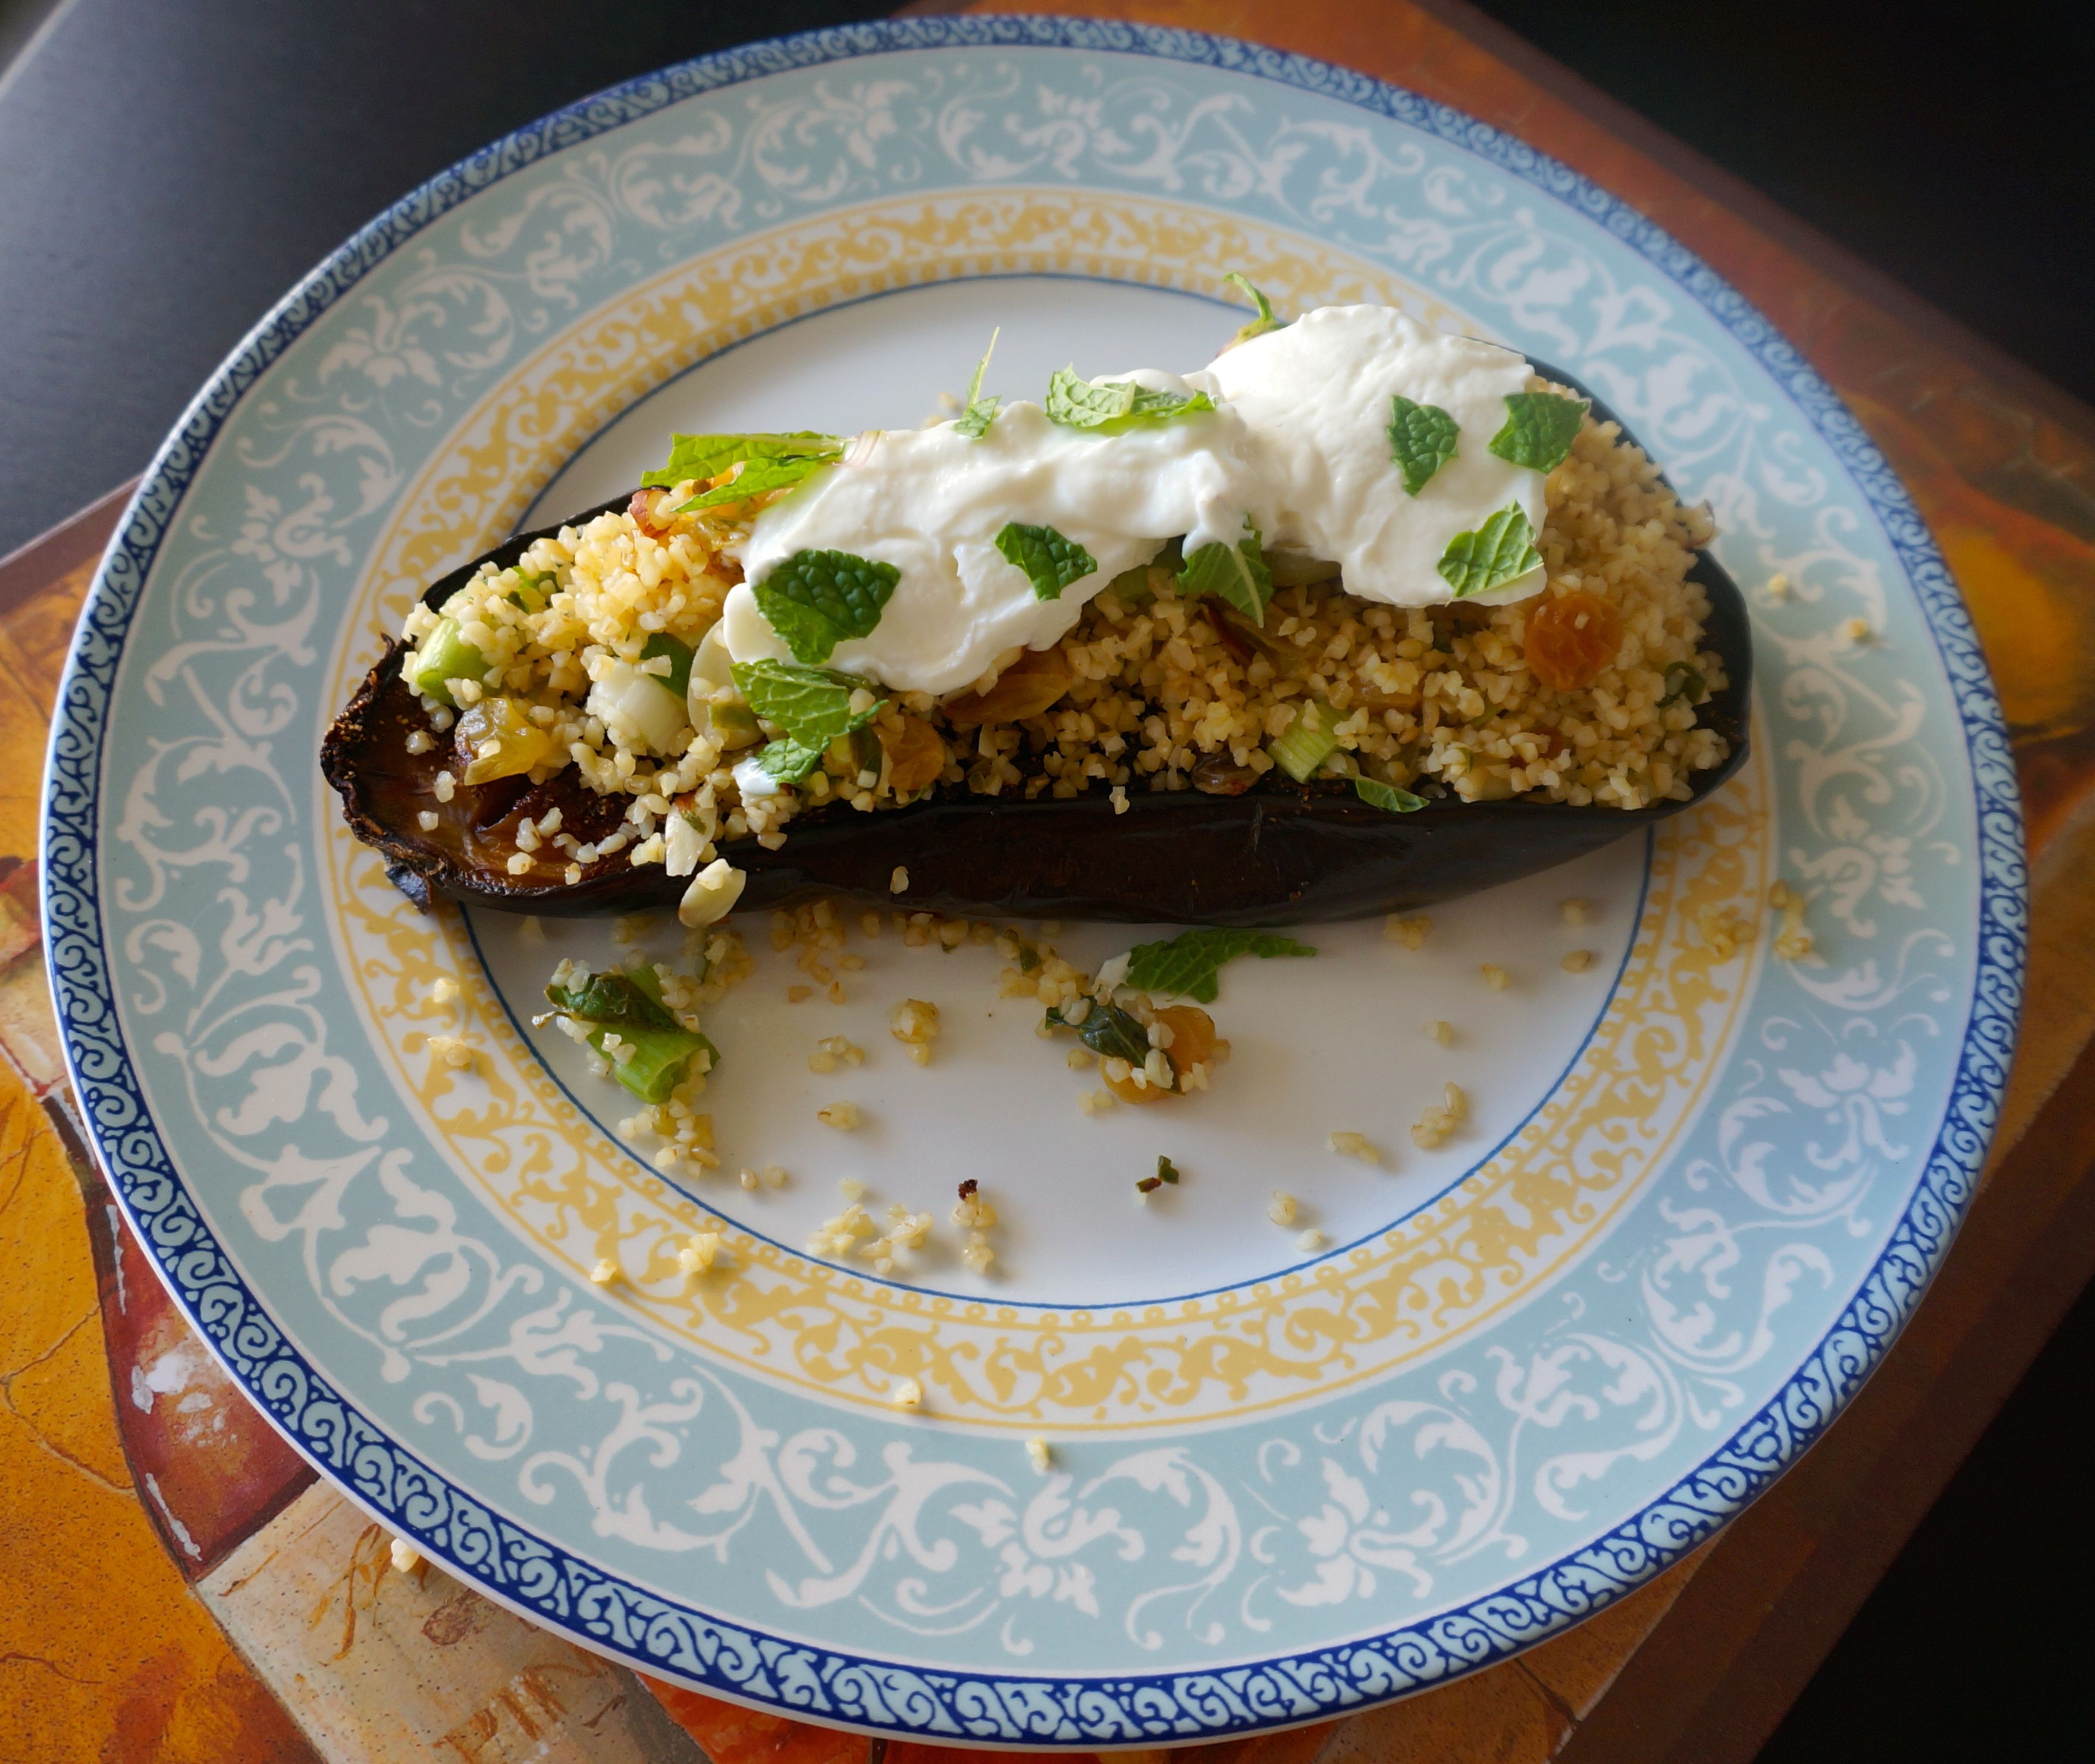
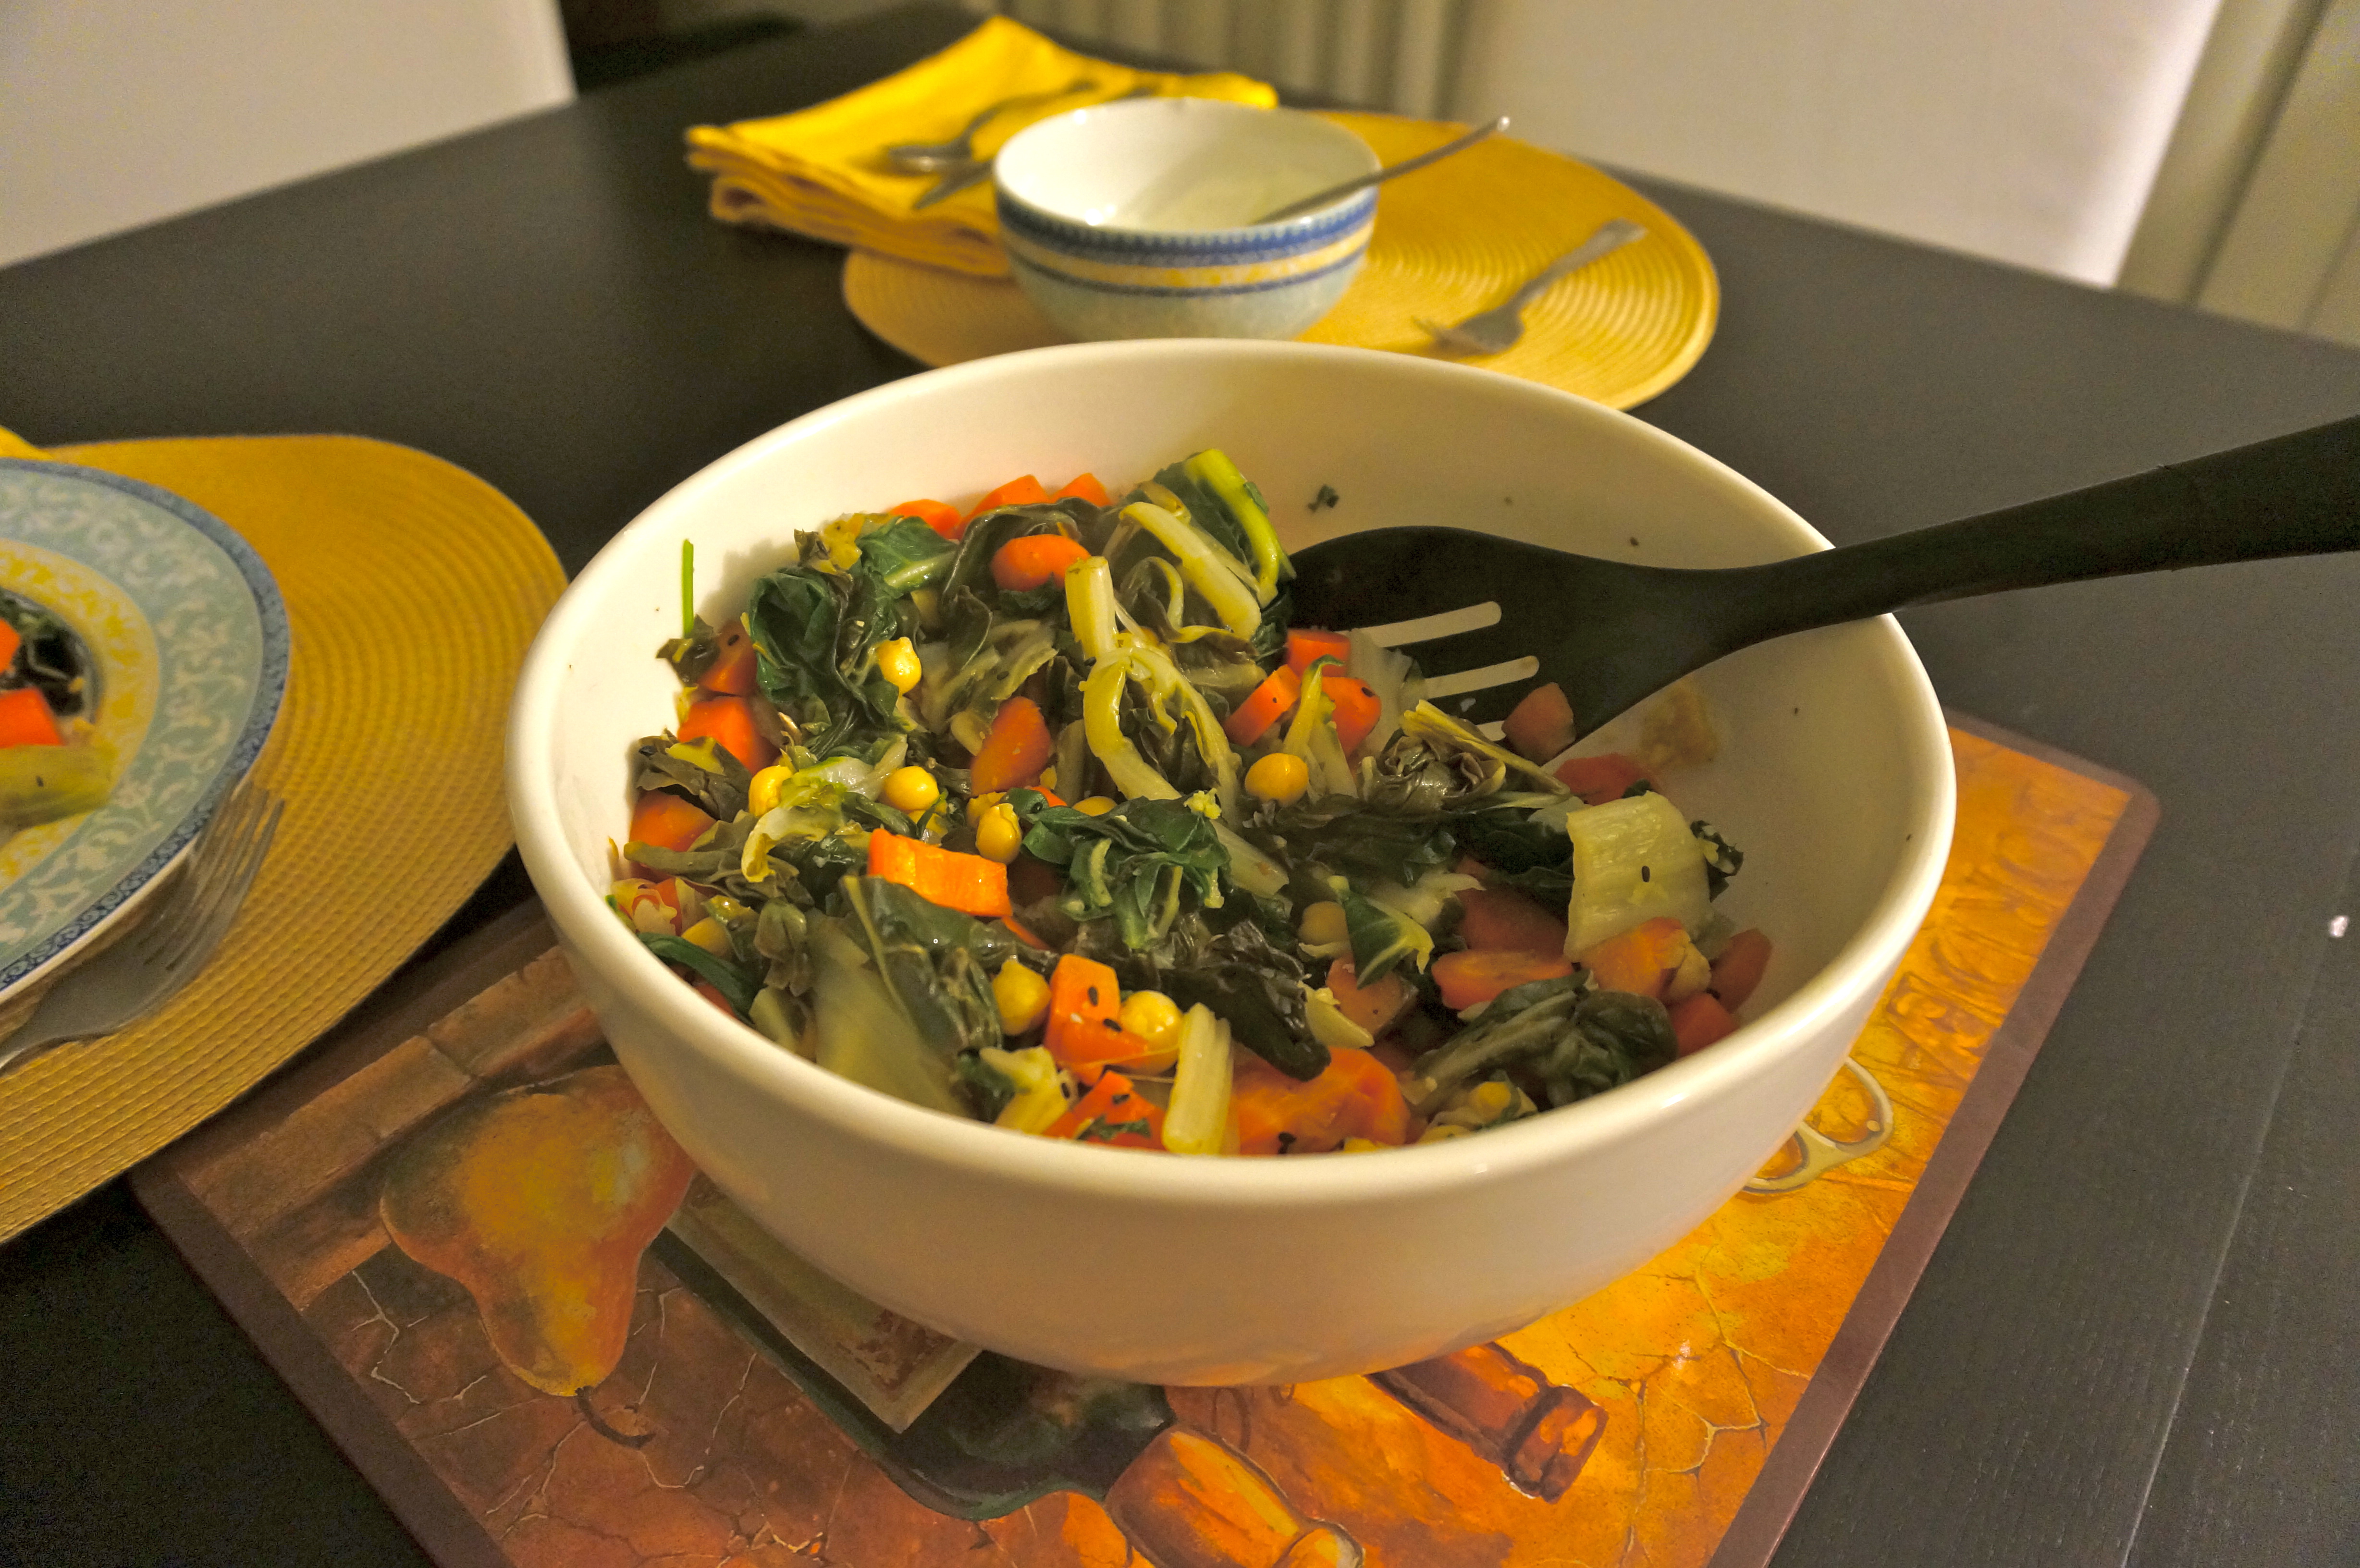
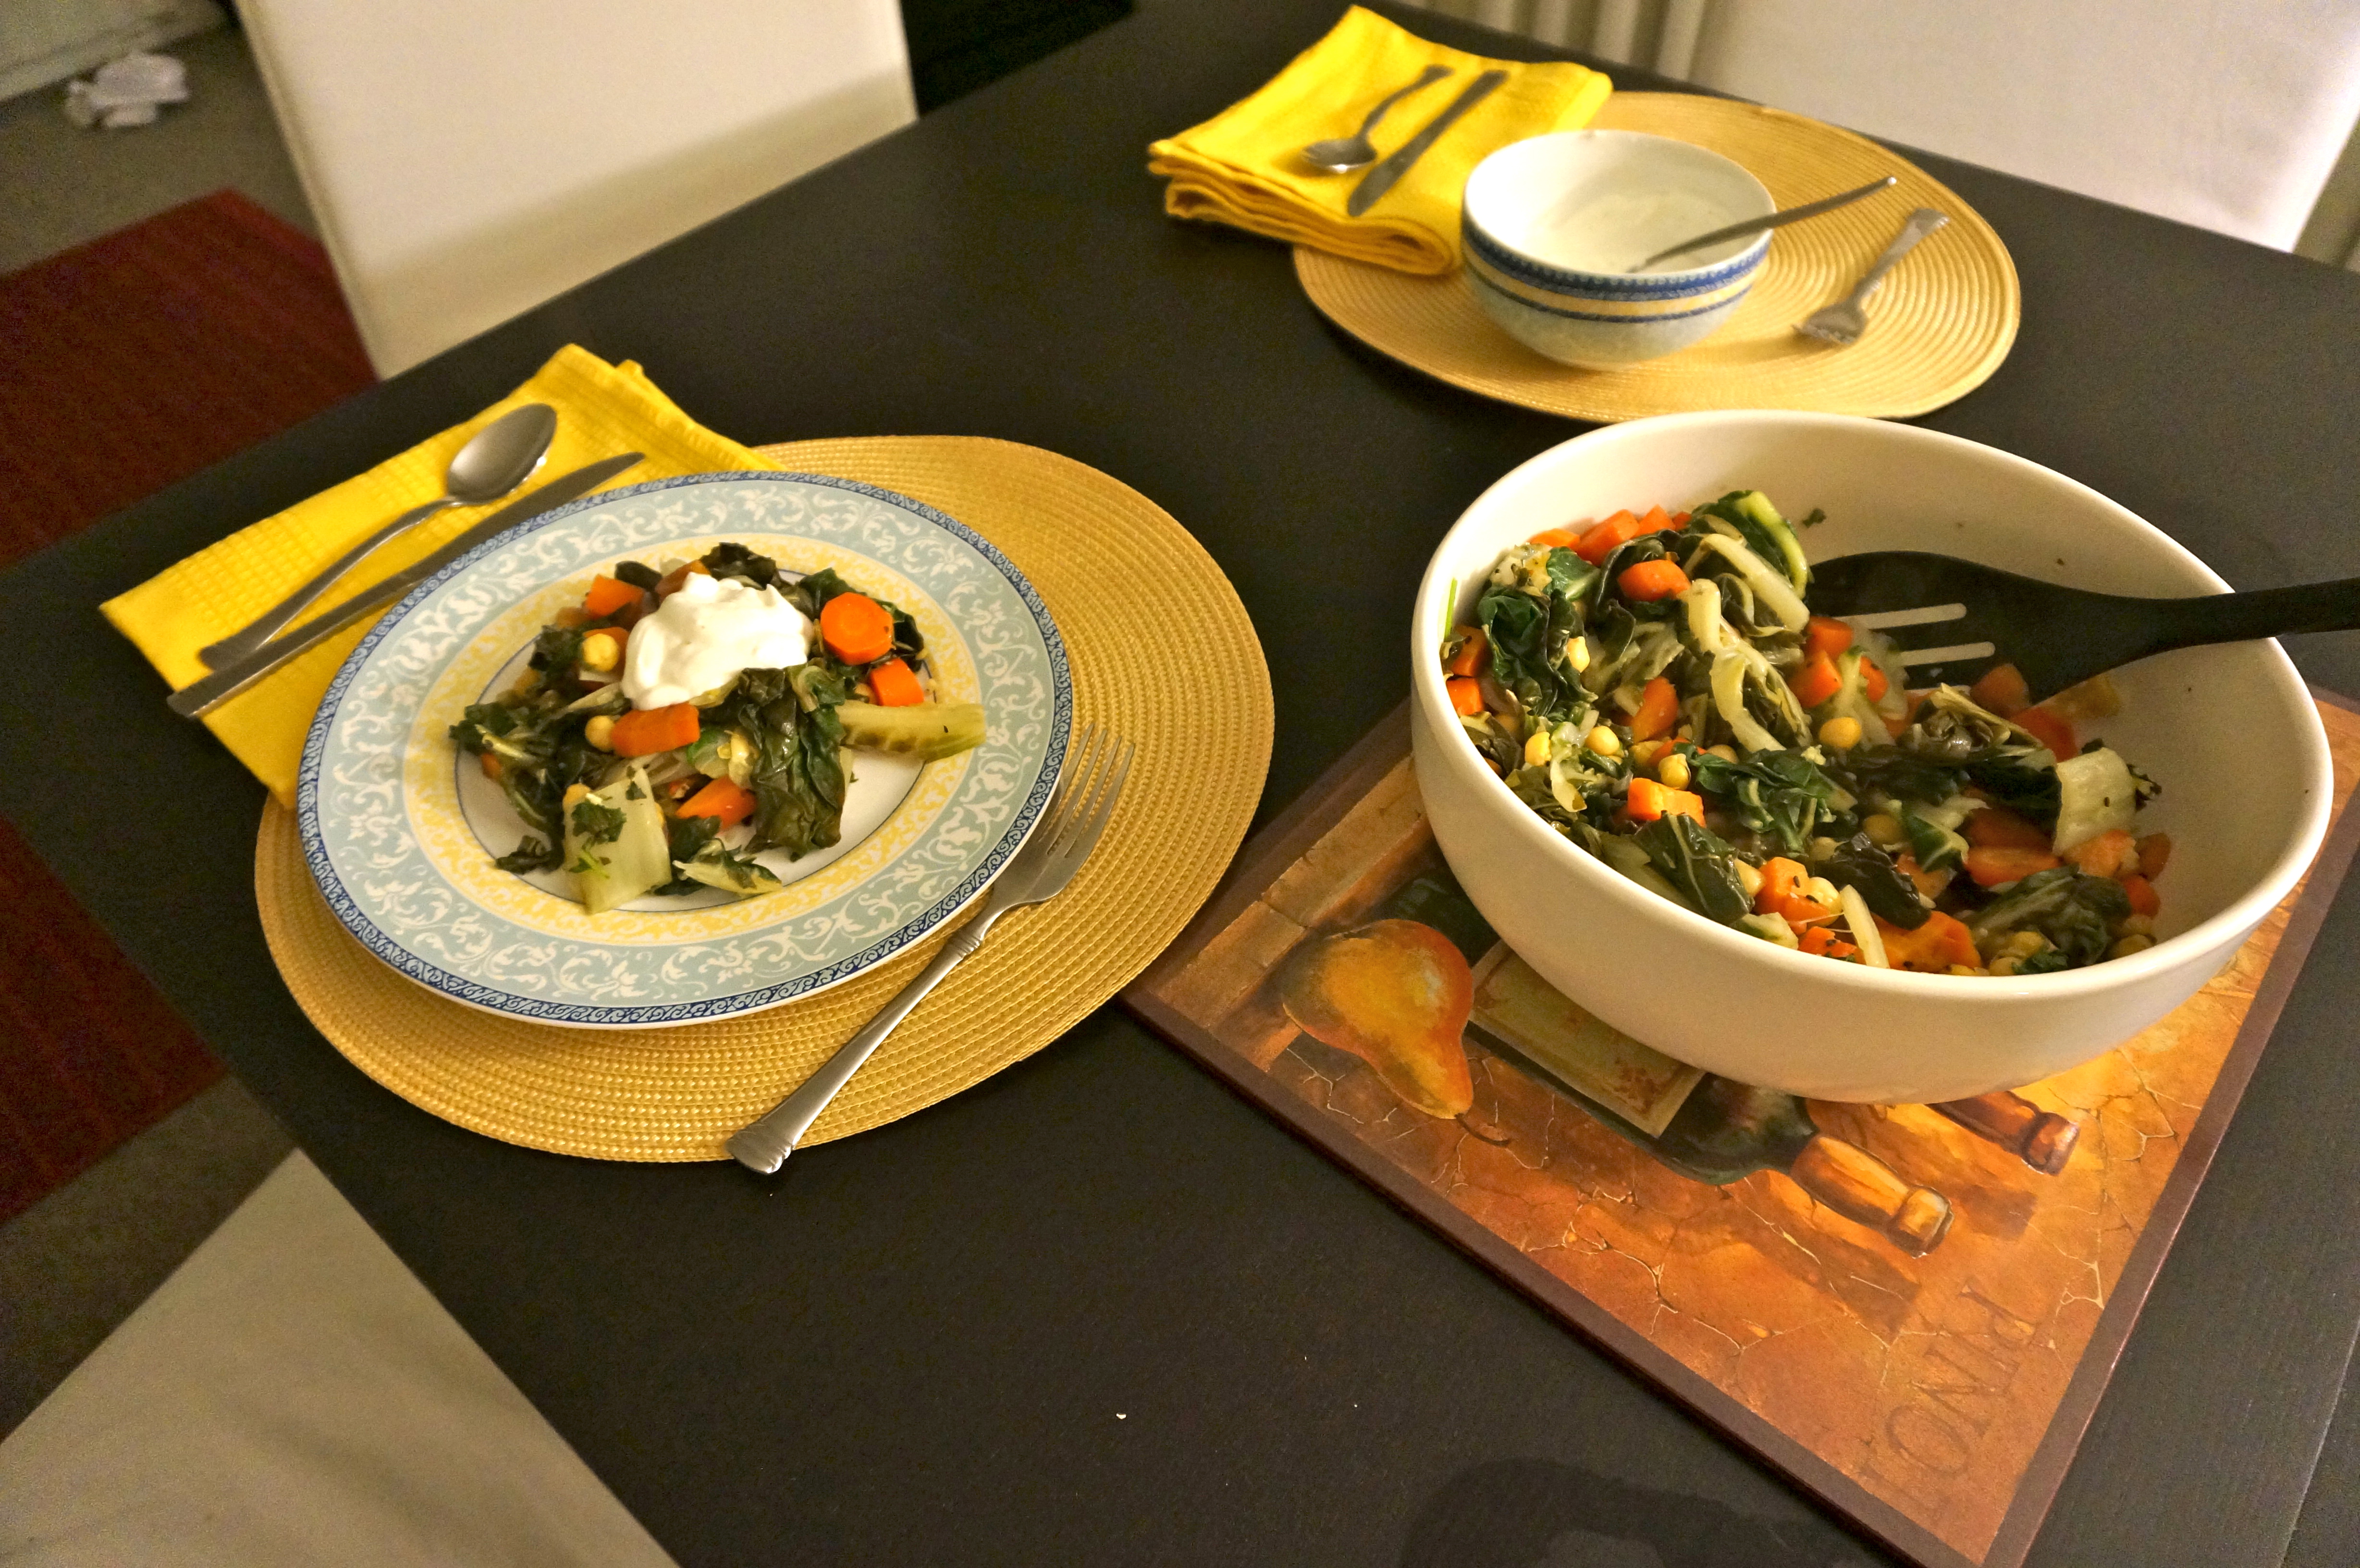
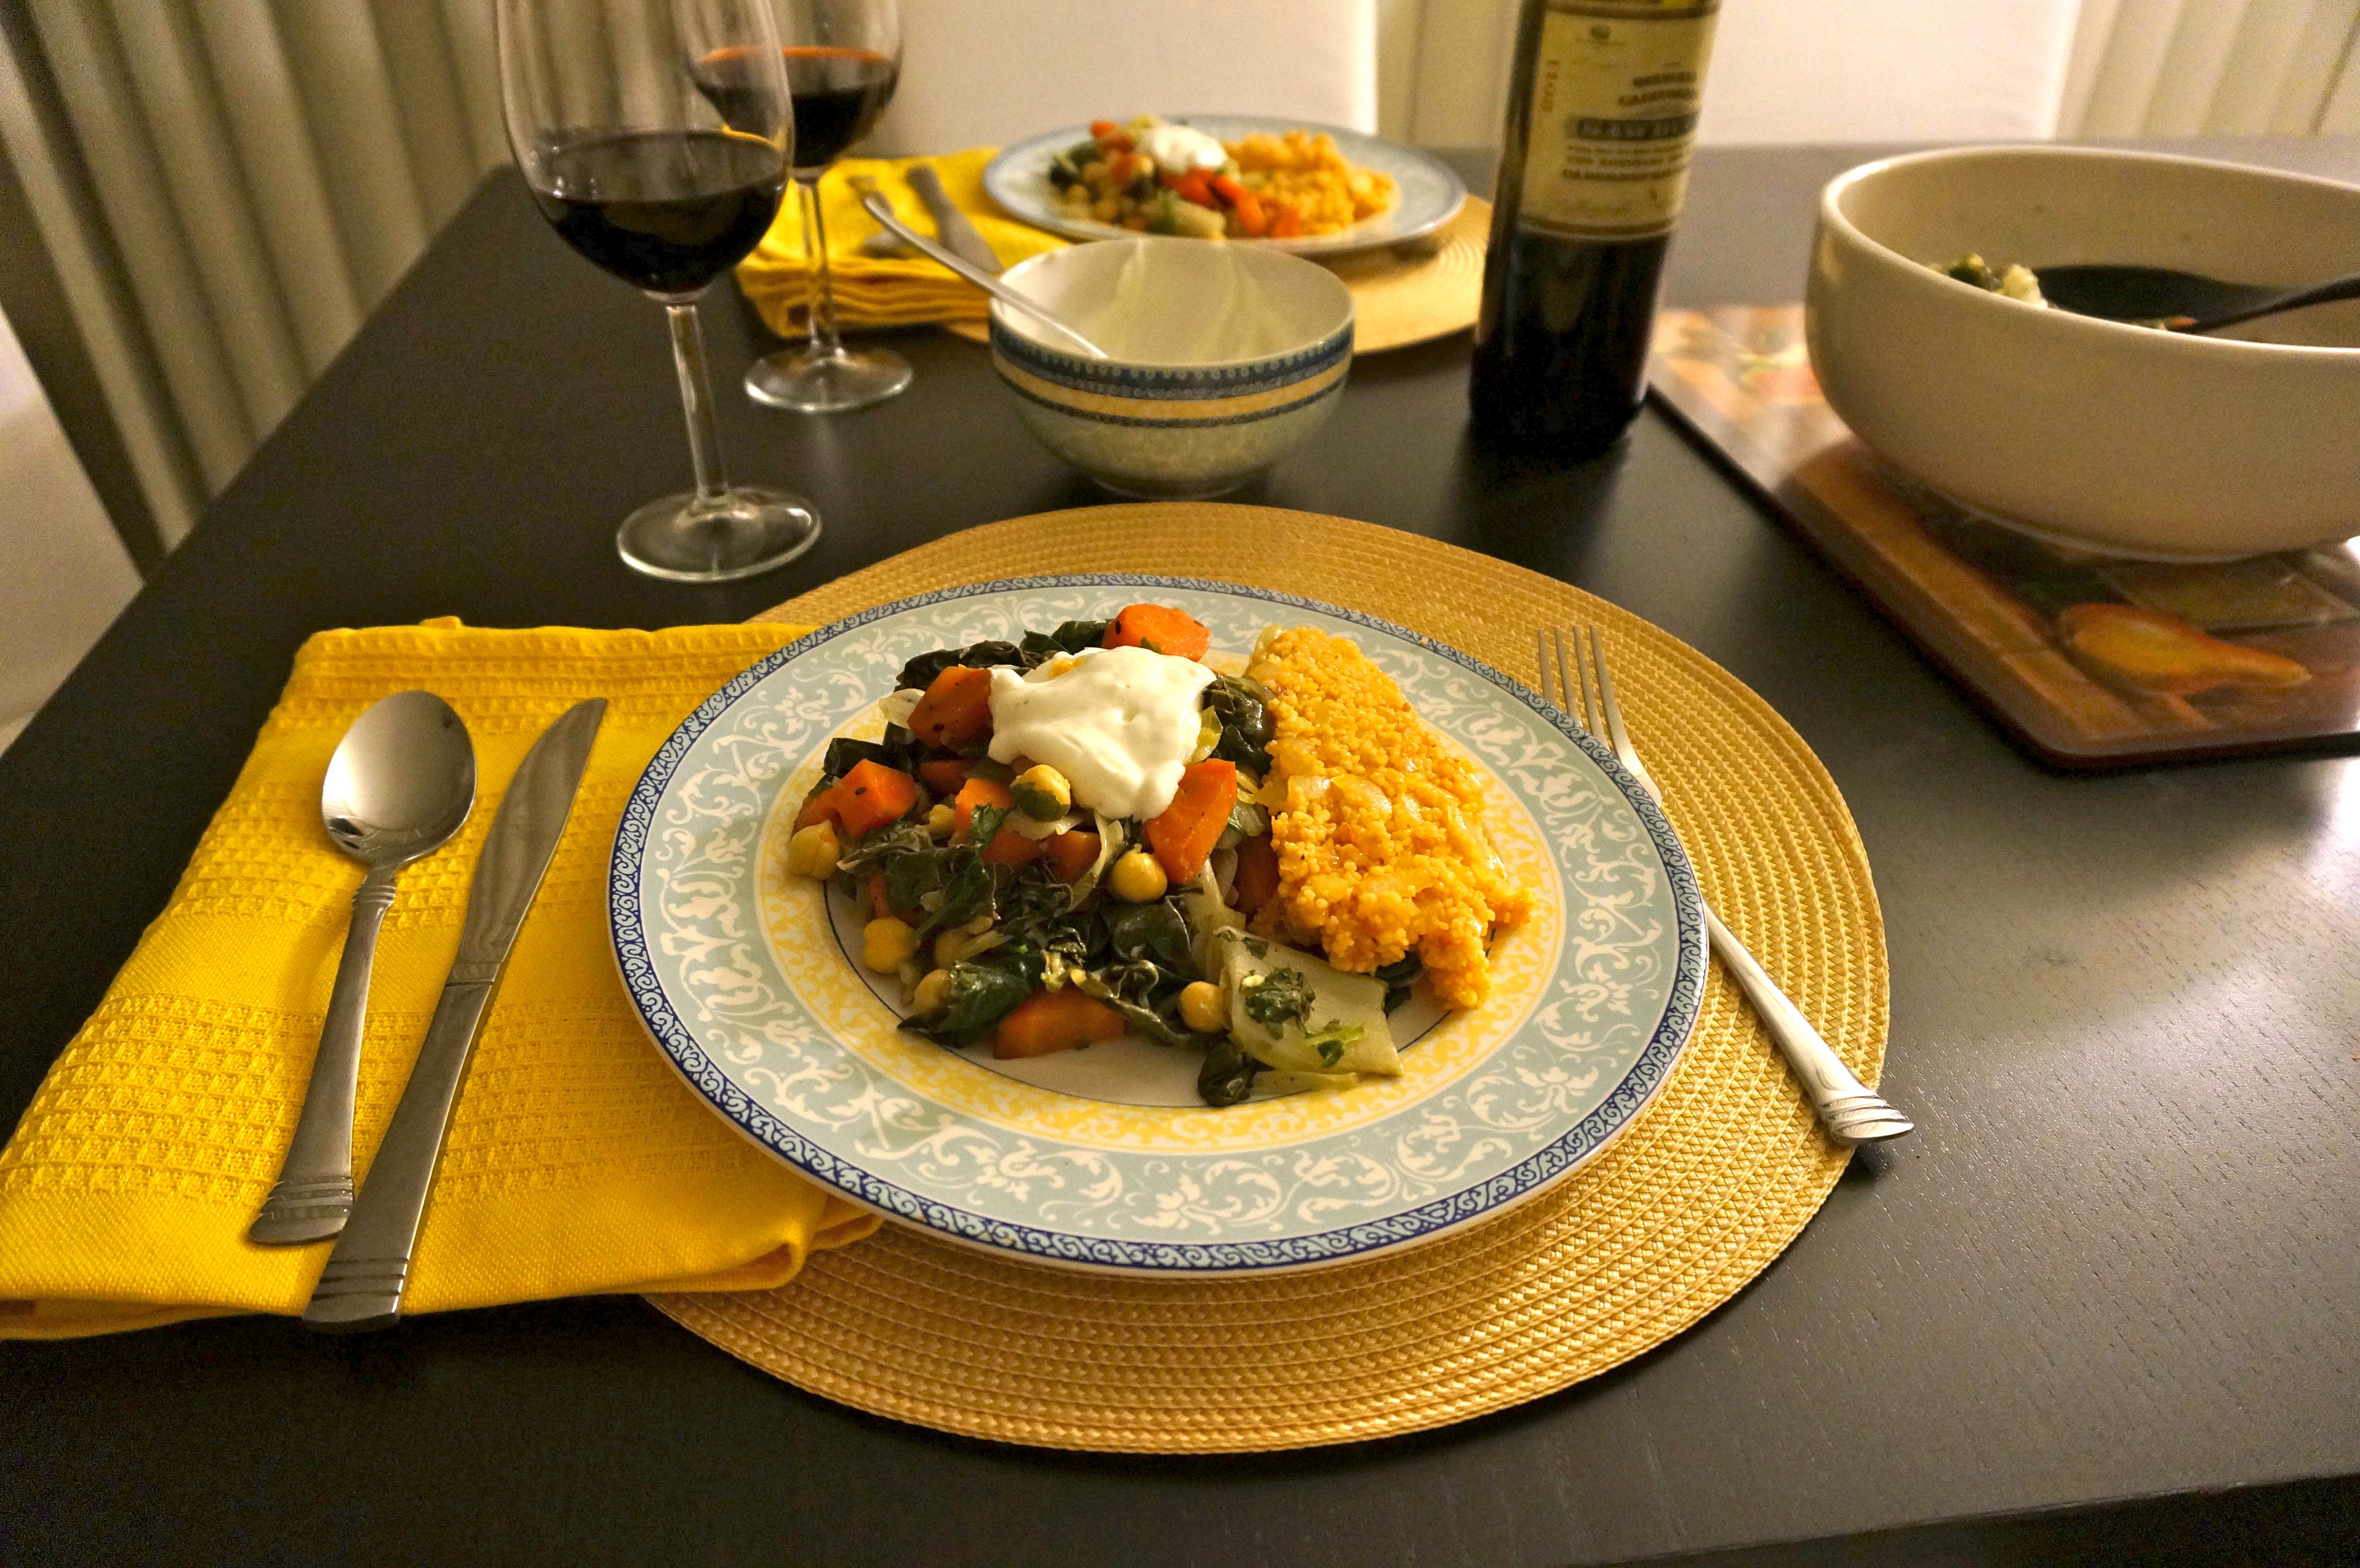
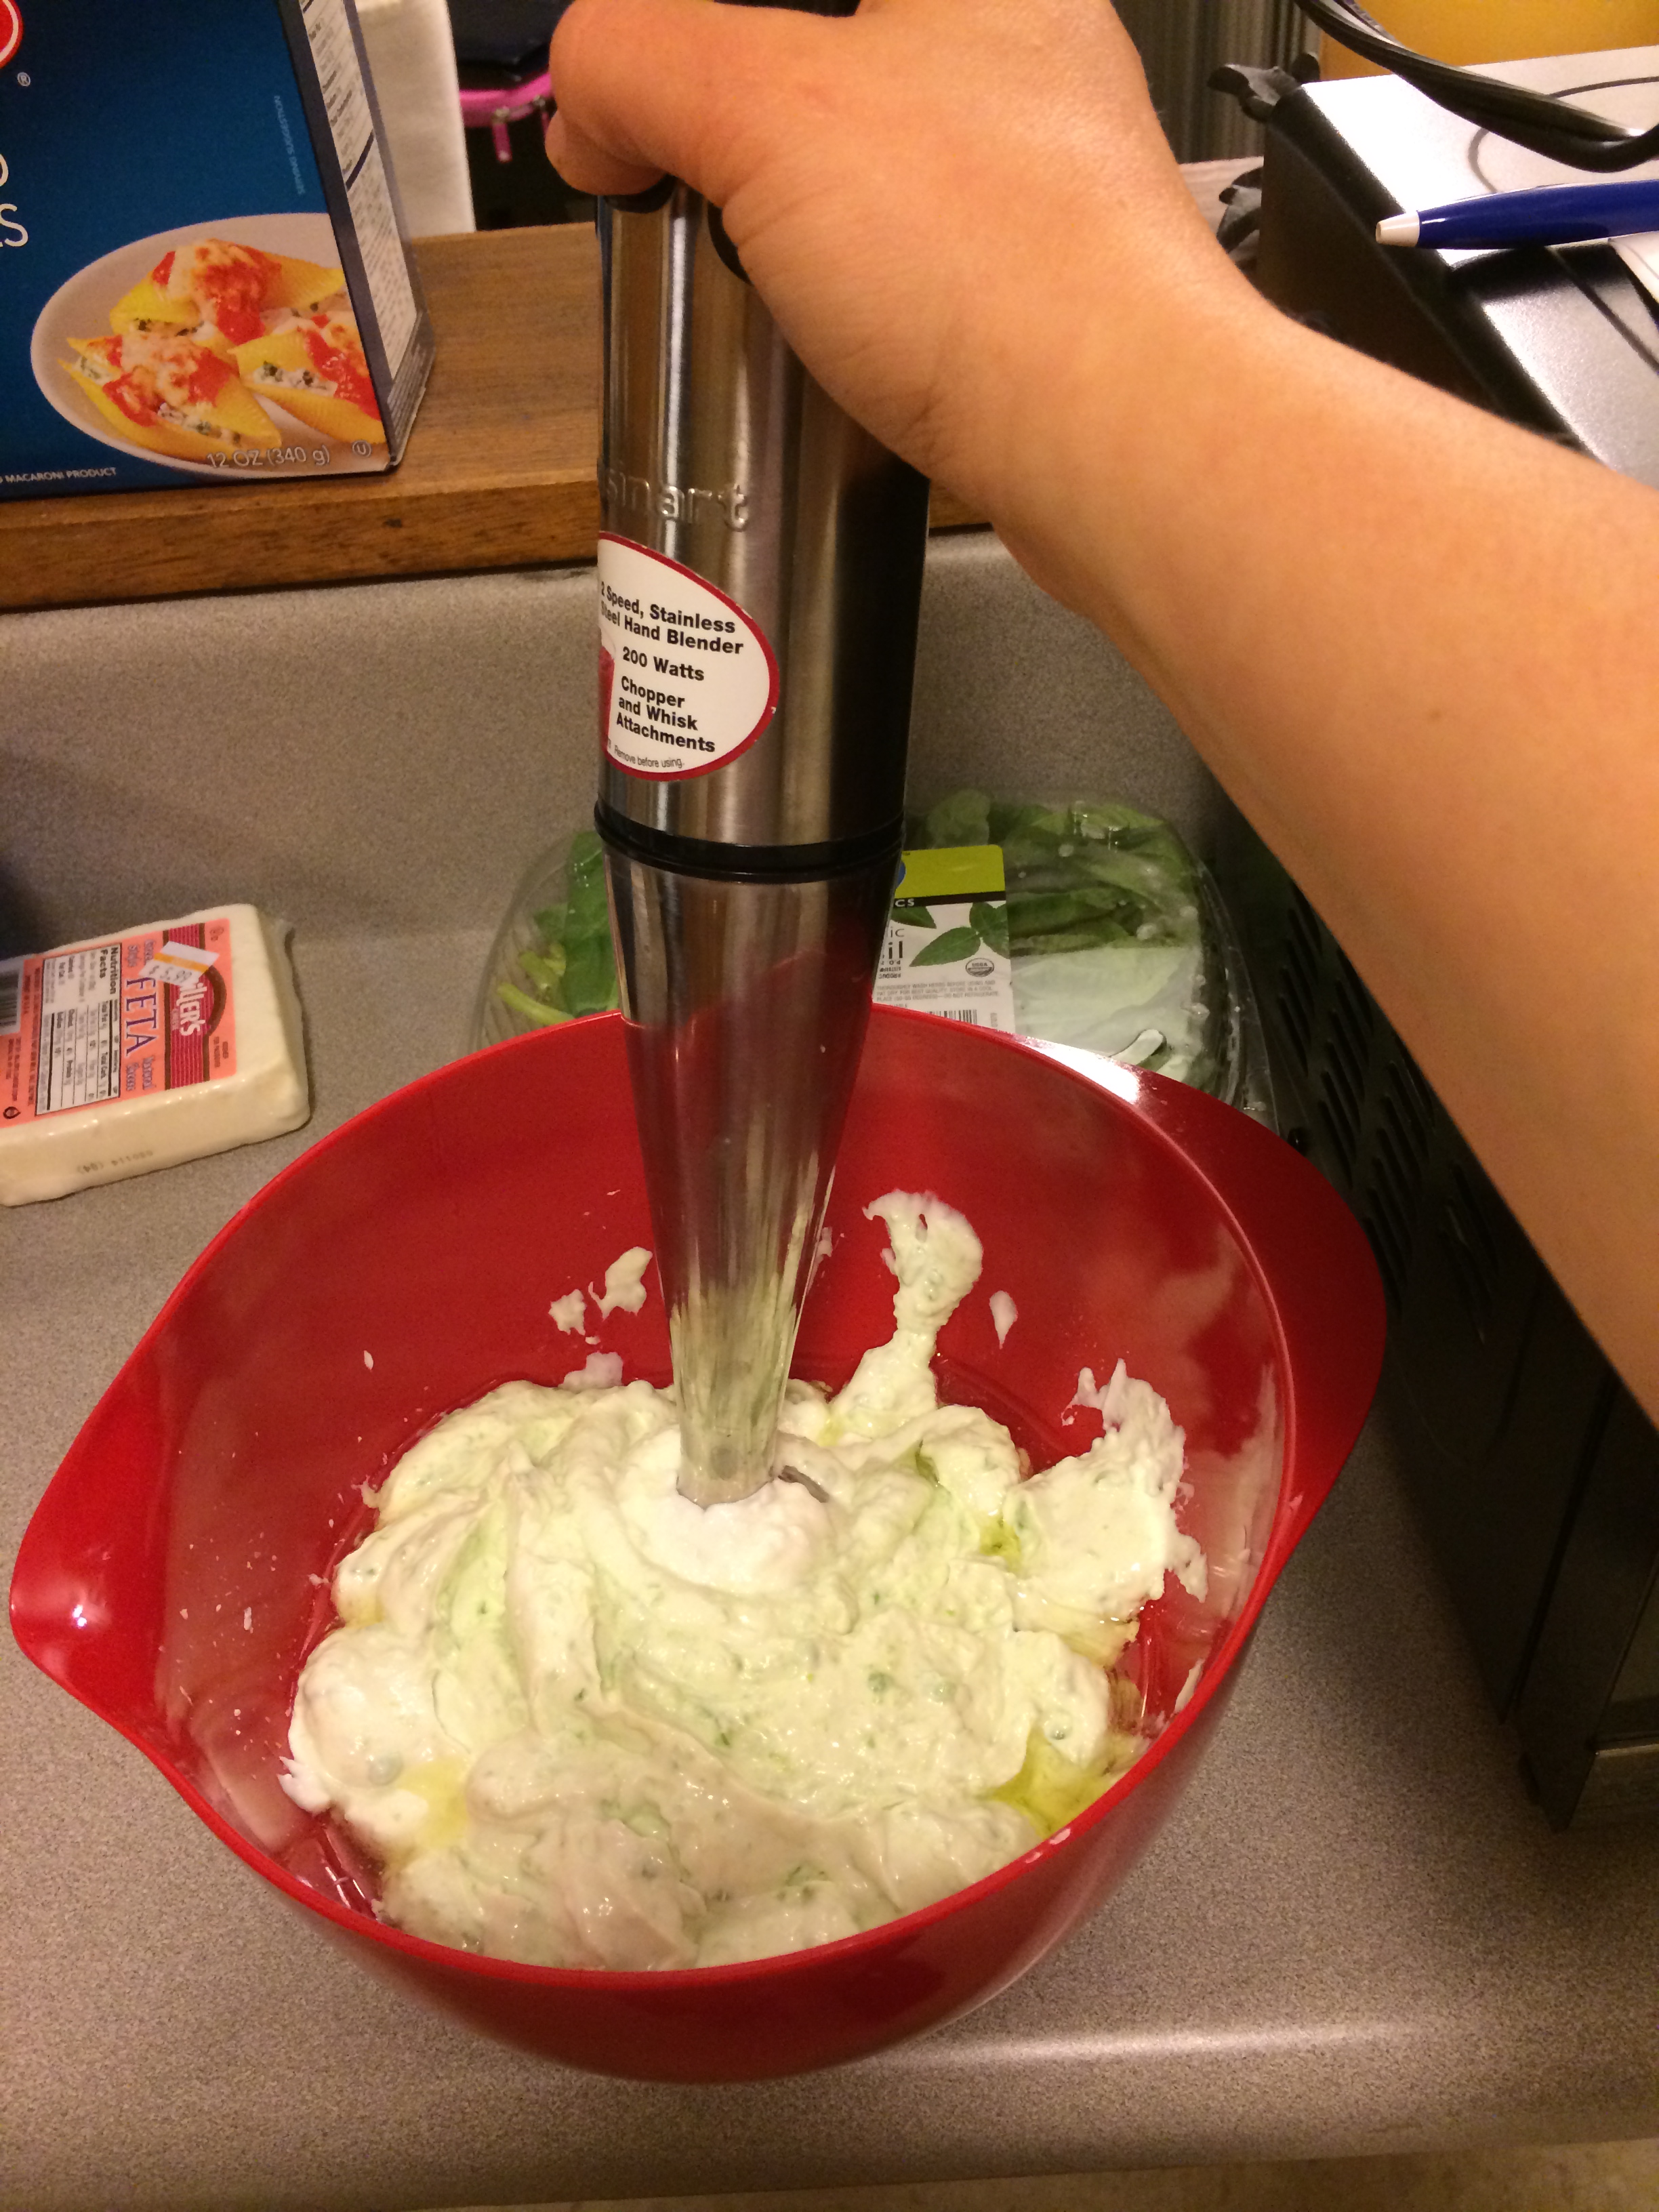
While the lentils simmer for 30 minutes, mix together the Greek yogurt with diced cucumber and olive oil. Once the lentils are cooked, stir in some butter. Ottolenghi suggests 1/3 cup unsalted butter, but I used closer to 2 tbsp. Squeeze the juice from 1 fresh lime and add that to the lentils, and mix in the chopped cilantro leaves that you had set aside earlier. Serve the lentils in bowls, and top with a dollop of the Greek yogurt mixture. While this may not be the best photogenic dish ever, I swear it tasted divine.

Curried red lentils with Greek yogurt and cucumber

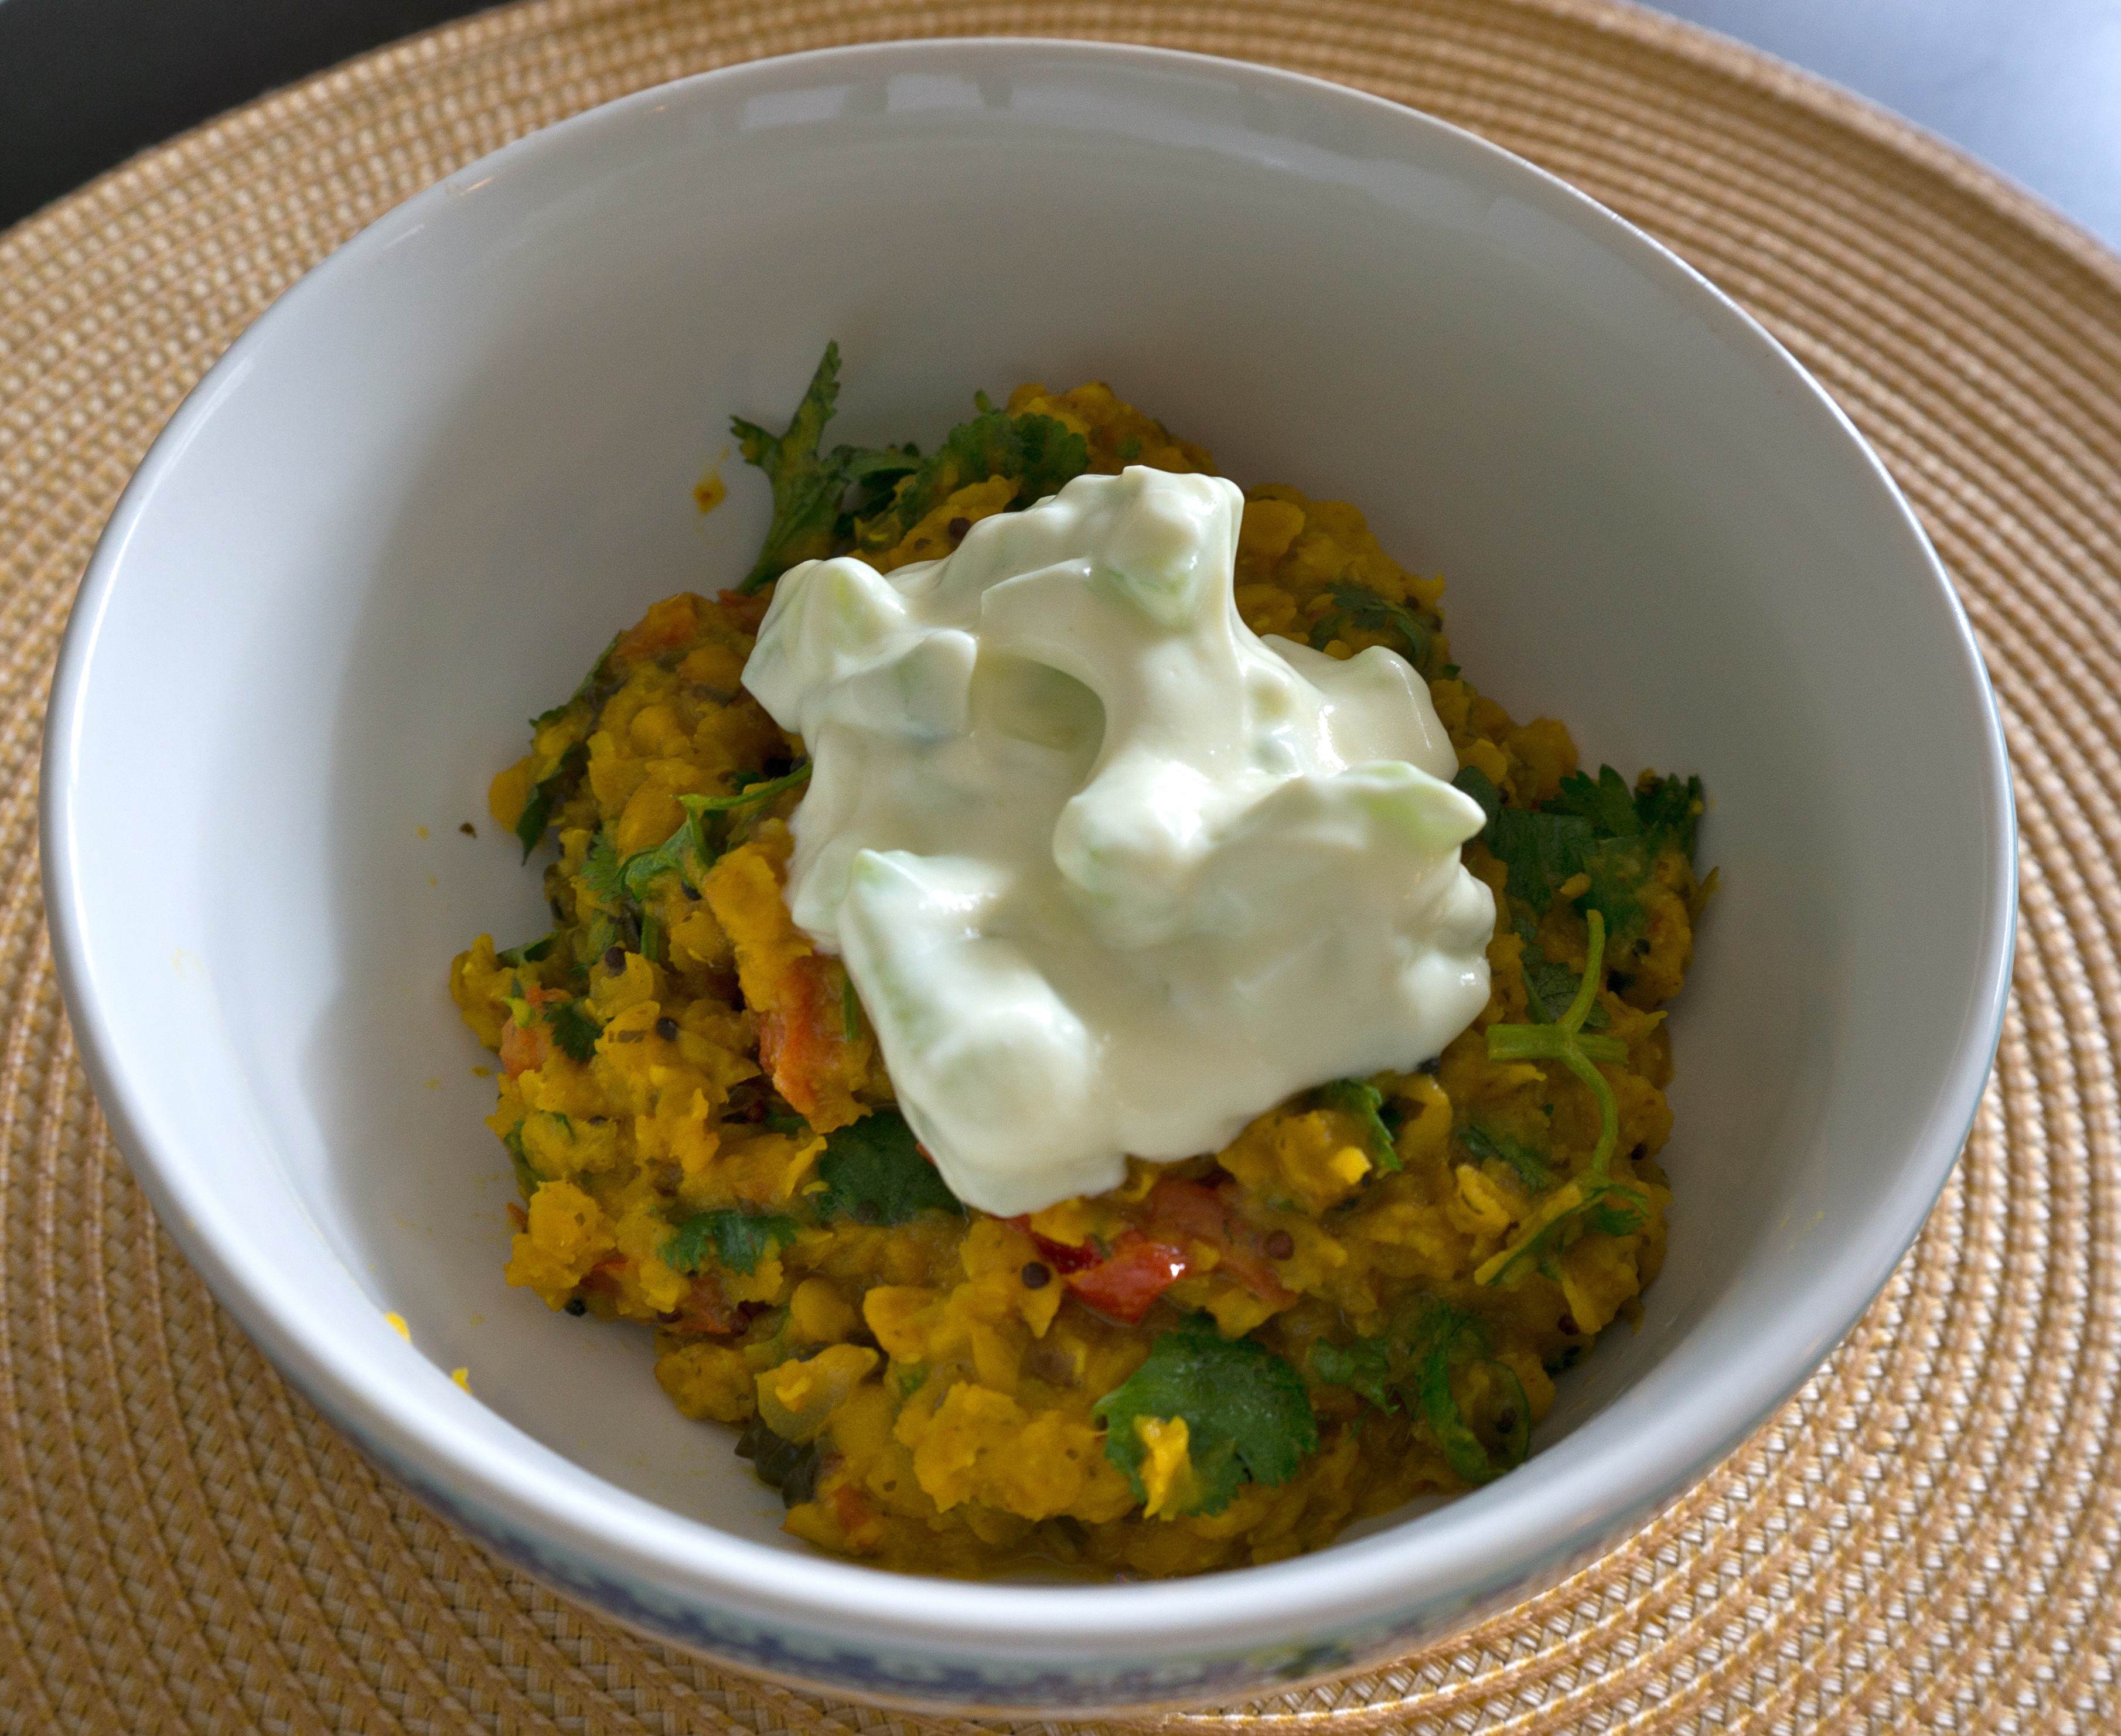
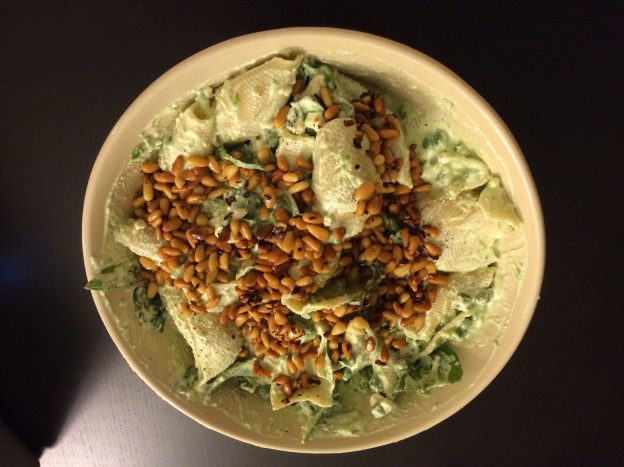
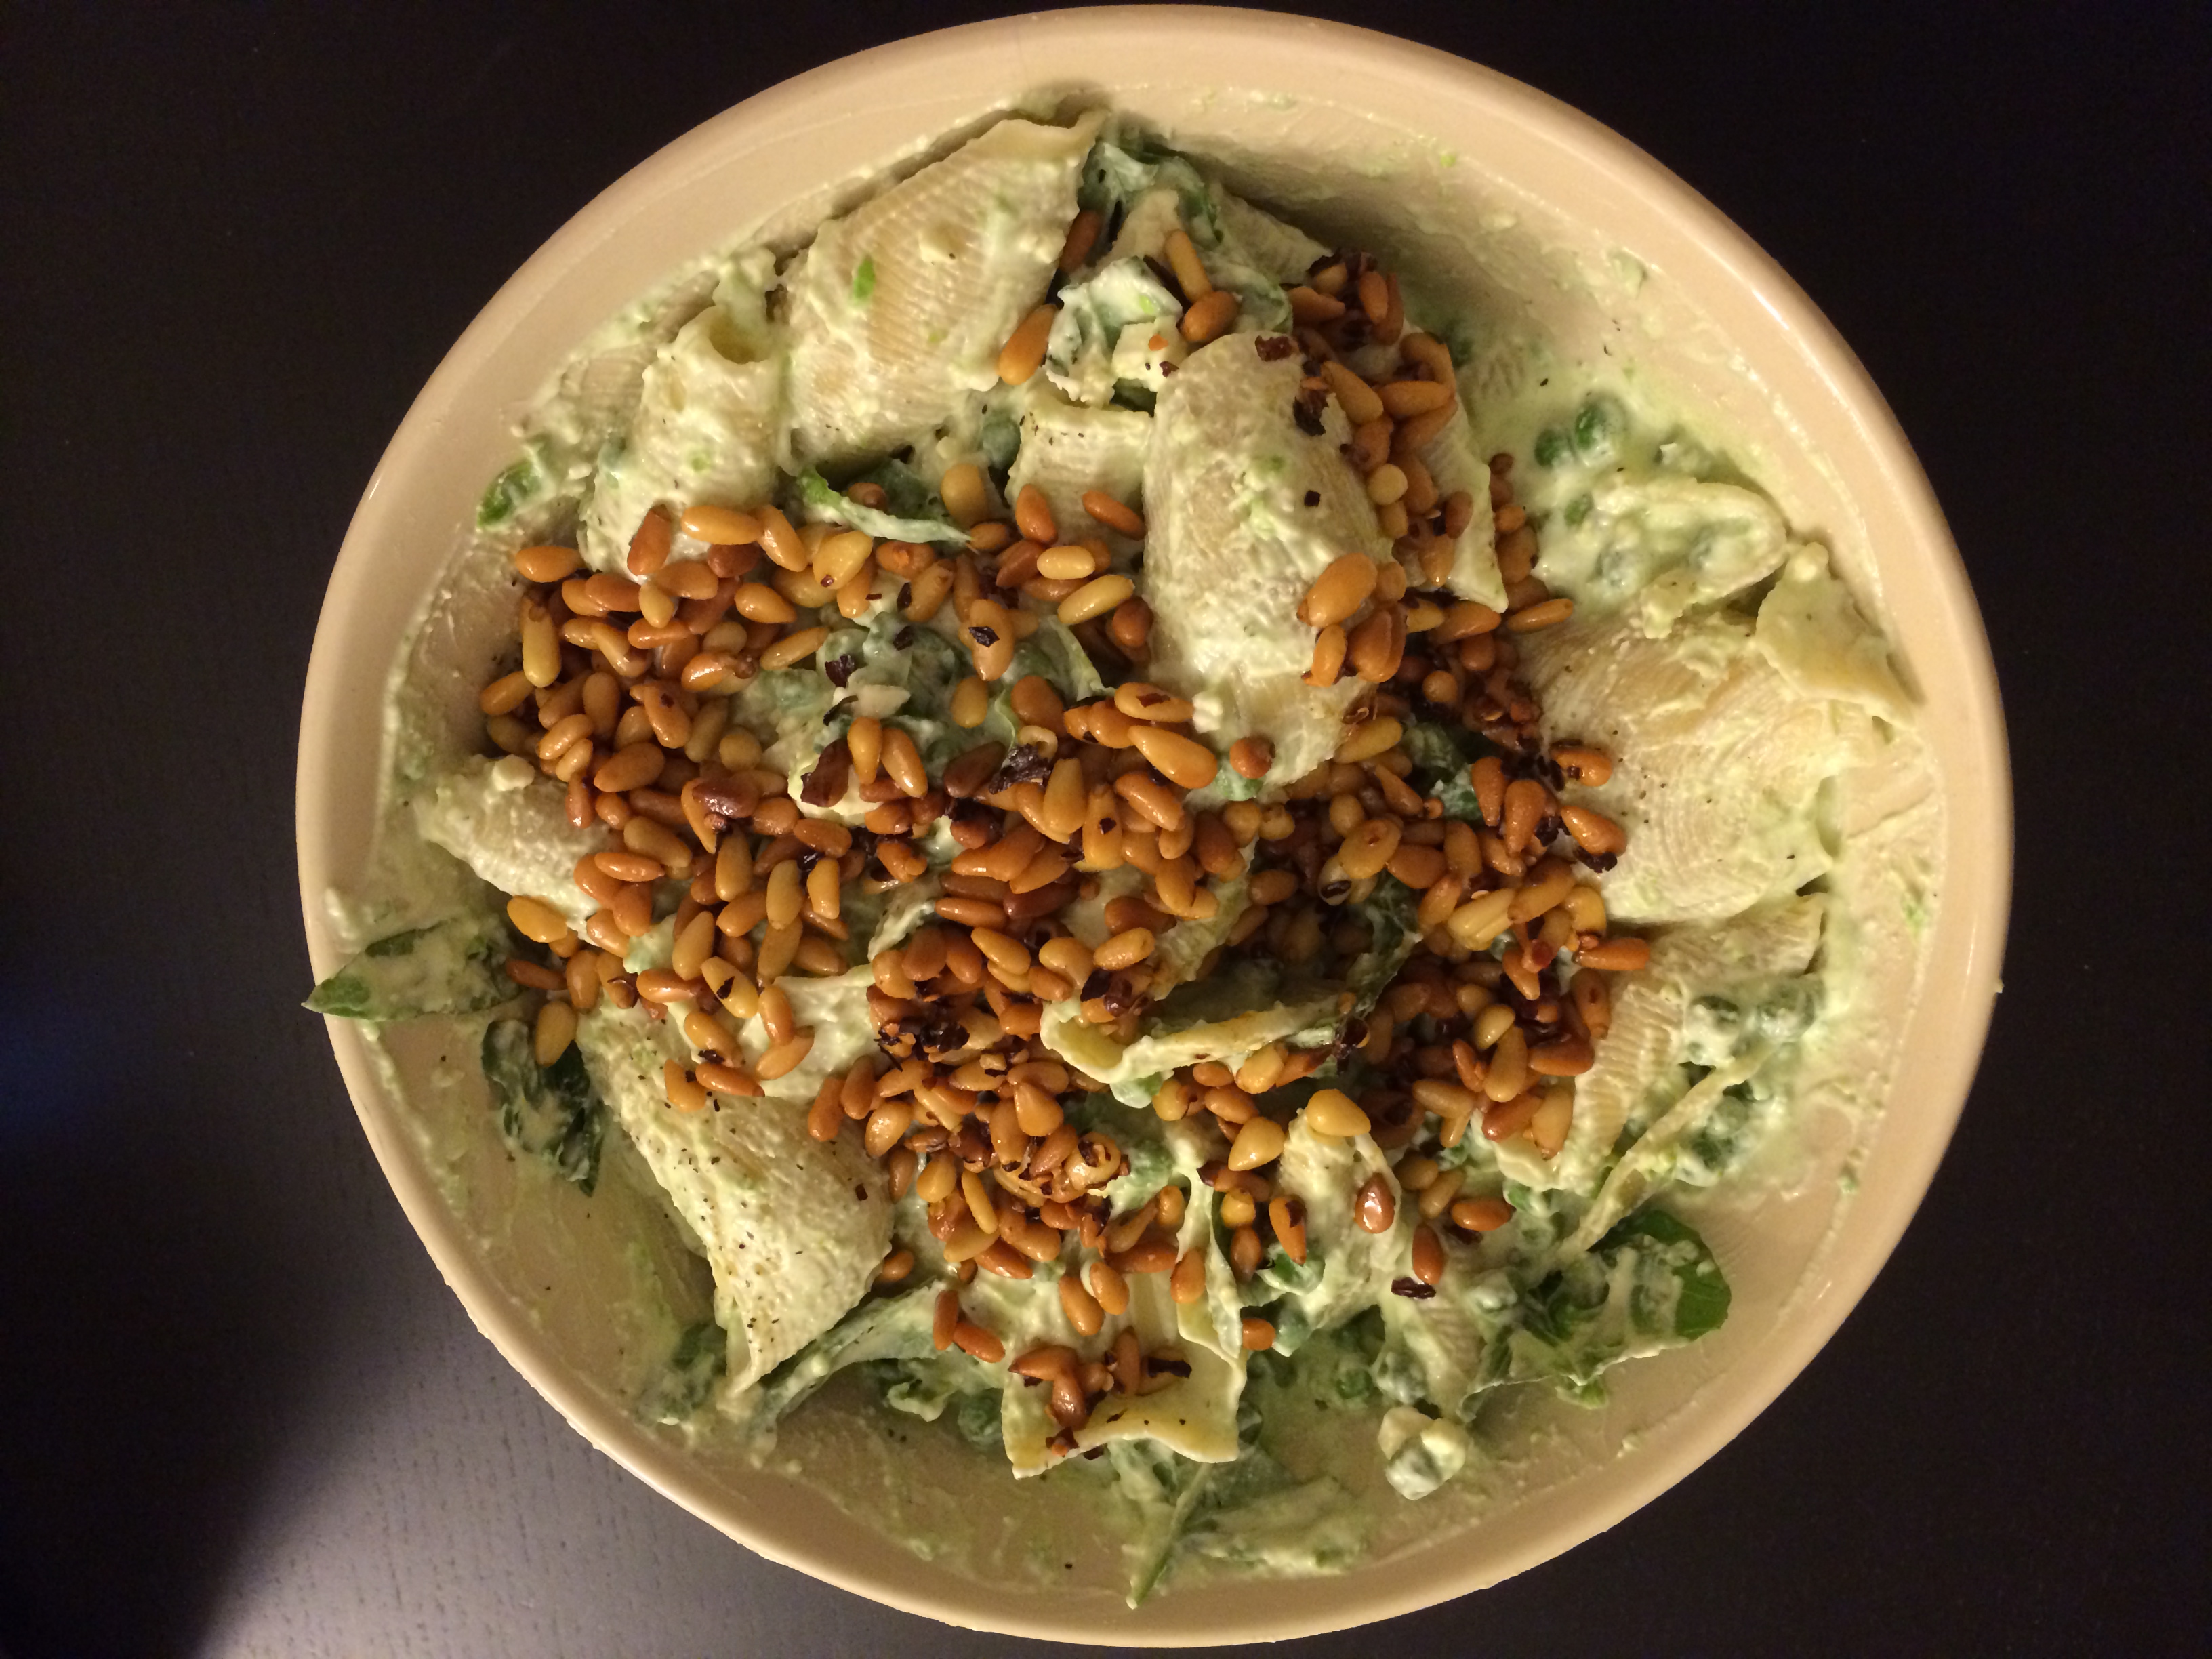
Curried red lentils with Greek yogurt and cucumber.

This is definitely going to be my new go-to for a simple and healthy mid-week dish. Especially when there are no mushrooms around!

Ingredients:

  • 1 cup split red lentils
  • 1.5 cups water
  • 1 bunch cilantro
  • 1 small onion, peeled
  • 2.5 inches fresh ginger
  • 3 garlic cloves, peeled
  • 1 mild fresh green chile
  • 1.5 tsp black mustard seeds
  • 4 tbsp sunflower oil
  • 1.5 tsp ground coriander
  • 1 tsp ground cumin
  • 0.5 tsp ground turmeric
  • 0.25 tsp sweet paprika (I don’t have sweet paprika so I used plain paprika)
  • 10 curry leaves (I didn’t have these so I used basil with a dash of lemon juice, which I read online was a good substitute)
  • 1.75 cups peeled chopped tomatoes (fresh or canned)
  • 2 tsp sugar
  • 0.25 tsp fenugreek (I didn’t have this so I used garlic salt)
  • pinch of asafetida (optional)
  • salt
  • 3/4 cup Greek yogurt
  • 3/4 finely diced cucumber
  • 1.5 tbsp olive oil
  • 1/3 cup unsalted butter (as much as you like)
  • 1.5 tbsp lime juice

Chard cakes with sorrel sauce

These chard cakes are the perfect vaguely healthy yet super decadent summer appetizer or side dish.  They are seriously so good is difficult to describe. It’s this odd sensation of something super healthy and good for you like chard, and then made a little bit sinful by deep frying it, but then it’s covered in this really fresh and light tasting sorrel sauce.  The recipe for the chard cakes is on p. 149 of Yotam Ottolenghi’s Plenty and is also featured online here.

This is how much I love swiss chard

This is how much I love swiss chard

I don’t think I’d ever cooked with swiss chard before starting this blog, but now I’ve cooked at least 4 recipes featuring it. It is just so good the way that Yotam Ottolenghi suggests making it, and it is especially well complemented by Greek yogurt, which I think has been a key ingredient in every swiss chard recipe I’ve made so far (I especially really loved the swiss chard with tahini, yogurt, and buttered pine nuts, featured here).

Here I am contending with my mountain of swiss chard

Here I am contending with my mountain of swiss chard

Unfortunately it’s summer and dry as a bone, so I don’t have any mushrooms or a mushroom lesson for you today, but I made this recipe for the first time with my friend Rachel, who is a fellow microbial ecologist and has started a blog herself teaching people about microbes – so check it out if you want to learn some microbial ecology :)

Ingredients for the sorrel sauce - Sorrel, garlic, greek yogurt, dijon mustard

Ingredients for the sorrel sauce – sorrel, garlic, Greek yogurt, dijon mustard

As for the chard cakes, the first step is to make the sorrel sauce, which requires either a food processor or a blender. I used a food blender while making it at Rachel’s house and I used an immersion blender when I made it again at home. Personally I think the immersion blender was a bit easier but either works. Make sure to start boiling the water for blanching the Swiss chard while making the sauce because the sauce doesn’t take that long to make and you might get hungry while waiting for the water to boil!

Sorrel leaves

Sorrel leaves

I don’t think I’ve ever cooked with sorrel in my life before! It grows wild all over California and my other friend Rachael, who I took mushroom hunting with me in Point Reyes, was pointing out and collecting the wild sorrel growing along the trails. Next time I will have to collect it myself in the woods, but this time I bought it from the Berkeley bowl.  Blend the sorrel leaves, Greek yogurt, garlic clove, olive oil, and Dijon mustard until smooth.

Mixing together ingredients for the sorrel sauce

Mixing together ingredients for the sorrel sauce

It makes a beautiful bright green sauce that I will have to find other uses for this week since we had a lot of extra! I think it would be good on cous cous or steak and would probably go well with grilled porcinis :)

Sorrel sauce in the immersion blender

Sorrel sauce in the immersion blender

I felt like I would totally fit in with all of the Berkeley and Oakland hipsters when Rachel gave me a mason jar to store the sorrel sauce in:

sorrelsauceinmasonjar

Sorrel sauce

Isn’t it beautifully bright green?

Sorrel sauce in mason jar

Sorrel sauce in mason jar

After the sauce is made the next step is to blanch the swiss chard. While the swiss chard is blanching, sautee pine nuts in oil. This is another repetitive theme in the Ottolenghi books and it is delicious! Pine nuts add such a nice decadent crunch to all of these dishes and they are so good toasted!

Blanched swiss chard with toasted pine nuts

Blanched swiss chard with toasted pine nuts

Next add the egg, bread crumbs, salt, pepper, and cheese. I had no idea where to find kashkaval cheese but a quick google for substitutions on my iphone while at the grocery store found me mozzarella. Rachel, who has made the recipe before and said she went out of her way to find kashkaval cheese at a specialty cheese shop, said it tasted way better with mozzarella. The mozzarella was creamy and stringy which held together the cakes very well. Then came the fun part – mixing everything together and molding the cakes with my hands! While mixing the cakes we started heating up canola oil in a pan.

Adding the mozzarella cheese

Adding the mozzarella cheese

Mixing up the chard cakes

Mixing up the chard cakes

Once the oil was hot we fried the cakes in the oil for 2-3 minutes on each side. This was pretty much my first time frying anything!

swiss chard cakes frying in oil

swiss chard cakes frying in oil

Don’t they look pretty when they start to brown?

Swiss chard cakes browning

Swiss chard cakes browning

Rachel didn’t have any paper towels but she did have leftover napkins from Halloween which we put to good use!

Chard cakes with lemon wedges and halloween napkins

Chard cakes with lemon wedges and halloween napkins

These cakes tasted super decadent and delicious. They were satisfying and surprisingly not that unhealthy tasting given they were fried in oil.

Chard cakes fried to perfection

Chard cakes fried to perfection

You have to make them yourself. Seriously, just go do it. You won’t regret it! Here is the ingredient list to help you out :)

Sorrel sauce:

  • 3 cups sorrel leaves, washed
  • 1/2 cup Greek yogurt
  • 1 garlic clove, crushed
  • 2 tbsp olive oil
  • 1/2 tsp Dijon mustard
  • salt

Cakes:

  • 1.25 lbs Swiss chard
  • 1/3 cup pine nuts
  • 1 tbsp olive oil
  • 4 oz kashkaval cheese, coarsely grated (I used mozzarella)
  • 1 egg
  • 6 tbsp dried white breadcrumbs
  • 1/4 tsp salt
  • black pepper
  • vegetable oil for frying

Marinated mushrooms with walnut and tahini yogurt, chermoula eggplant with bulgur and yogurt, and butternut squash and tahini dip

I know you’ve all been anxious to hear about the meals that I made with my mushrooms from Gourmet Mushrooms, Inc  :P No fear, here is the first installation :)  For this meal I looked to my main man Yotam Ottolenghi for inspiration and found an awesome recipe in Plenty featuring the brown clamshell mushroom. I was so inspired that I decided to make 2 other dishes to accompany it. Admittedly, this meal was a bit ambitious. It took 3 hours + to make all this stuff. There were many extended periods of roasting things in the oven and letting things marinade, so plan accordingly. The butternut squash and tahini dip is just an amazing mezze (AKA a middle eastern small plate or appetizer) that goes well as a spread for pita or carrots on any occasion. It’s really just an unexpected and spectacular dish that is sure to be a crowd pleaser. It is also relatively simple to make and makes a huge batch that presumably could be frozen or used as an appetizer at a large party. The chermoula eggplant with bulgur and yogurt is a bit of an involved recipe, but it went really well with the marinated mushrooms with tahini and walnuts dish, which was fortunately super easy to make.

The first dish I made on Saturday, was the Butternut squash and tahini dip from Jerusalem because the butternut squash needs to be roasted in the oven for over an hour. This happens to be the first dish that I made from Jerusalem back in December, and is the dish that inspired me to buy the book! This dip is seriously the bomb. Also, I was really excited to finally get an excuse to use the date syrup that I bought in Israel at the duty free store with my last shekels right before I hopped on the plane back to the US :)

datesyrup

Date syrup is an essential ingredient for the butternut squash and tahini dip

This to-die-for dip is actually pretty simple to make. Basically, you peel and chop up a huge butternut squash, cover it in 3 tbsp olive oil and 1 tsp cinnamon and 0.5 tsp salt, then roast it in the oven at 400 F for a really long time until it gets soft (70-80 min). Once it’s soft, add 0.5 cup Greek yogurt, 5 tbsp tahini, and 2 garlic cloves, crushed. Then the hard part is finding a tool to blend it with. I don’t have a food processor, but fortunately my hand held immersion blender worked really well for this. I seriously recommend buying an immersion blender. They are super useful and versatile!

butternutsquashdip

This dip is so good and really unexpected. You expect hummus and then get this sweet butternut squash concoction.  What really sets this dish apart and raises it to the next level is the addition of date syrup. It’s really not optional here; the dish simply isn’t as good without it! So find yourself a middle eastern market or fly to Israel, but get yourself some decadent date syrup to add to this dish :) Then sprinkle with white and black sesame seeds for the finishing touches. It’s really good with pita and carrots, and this week I will learn how it tastes as an accompaniment to matzah :)

The second dish I made was the Chermoula eggplant with bulgur and yogurt from Yotam Ottolenghi’s Jerusalem. Luckily, my oven was already pre-heated to 400 F from the butternut squash, so I just added the eggplant to the oven with the squash for efficiency. Before sticking them in the oven, cut the eggplants in half and cut deep criss crosses into them with a knife:

scoredeggplantangled

Scored eggplant with deep criss crosses

Next, make the chermoula by mixing together 2 crushed cloves of garlic (if you don’t have one, go out and buy yourself a garlic press, they are great!), 2 tsp cumin, 2 tsp coriander, 1 tsp chilli flakes, 1 tsp paprika, approximately half a cup of olive oil, 0.5 tsp salt and 2 tbsp of finely chopped preserved lemon peel.  So the lemon peel for me was too much of a hassle to make (it involves canning and storing the peel for over a week), and I just could not find it in any store, so I just added some lemon zest to the chermoula. Then you have to carefully spoon the chermoula over the scored eggplant halves:

scoredeggplantwchermoulaangled

Scored eggplant with chermoula

Next, leave the eggplant in the oven for a long time. It took way more than 40 minutes to get the eggplant to the desired soft texture for me. I think it’s best when it’s fully cooked through and mushy and the color changes from white to a greenish wet looking hue. For me this took closer to 50-60 minutes. My advice is to keep checking on it and better to leave it longer than risk eating undercooked eggplant, which is really not great.

While the eggplant is cooking, add 2/3 cup of boiling water to 1 cup of bulgur and soak 1/3 cup golden raisins in warm water for 10 minutes.  Next add herbs (I didn’t happen to have cilantro and some of my friends hate it so I just stuck to mint for this one), 1/3 cup halved pitted green olives, 1/3 cup slivered almonds (thank you, Berkeley bowl bulk aisle!), 3 chopped spring onions, 1.5 tbsp fresh squeezed lemon juice, and a pinch of salt to the bulgur and raisins.

bulgurwslicedalmondgreenonionsolivesetc

Bulgur with slivered almonds, golden raisins, herbs, green olives, and lemon juice

When the eggplant is fully cooked it will look something like this:

chermoulaeggplantfromtop

Add a scoop of the yummy bulgur mixture:

eggplantwithfillingcloseup


For the final touch, add a dollop of Greek yogurt and some sprigs of mint (I just got a potted mint plant and I’m so excited about it!). Isn’t that beautiful? It also served as a beautiful complement to the marinated mushrooms, which I’m sure you’ve all been patiently waiting to read about :)

chermoulaeggplantwithyogurtgood2

I found this recipe for Marinated mushrooms with walnut and tahini yogurt while perusing Yotam Ottolenghi’s Plenty and Jerusalem for recipe ideas for my mushrooms.  This sounded like a great use for my brown clamshell AKA shimeji mushrooms.  For this one you also have to do some advanced preparations, which unfortunately I did not realize until the last minute.  You need to mix up the marinade and pour it over the mushrooms and let them marinade for up to an hour before serving. Since I did not realize this at first, I only let them sit for 30 minutes before eating them for dinner because it was already so late. Luckily, they had tons of time to marinate over night and were way better the next day when I brought the majority of the mushrooms to a lab pot luck party :) The marinade consists of 1/3 cup olive oil, 1 tbsp white wine vinegar, 1 tbsp maple syrup  (I always only use pure maple syrup – I lived on a farm for 4 months in high school and we made maple syrup ourselves from maple trees and now I could never go back to the fake stuff!), juice of one lemon, and 0.5 tsp salt. After the mushrooms have marinated, add 3 cups of fava beans and 2/3 cup walnuts.  I’ve found fava beans super hard to find, so I just used the canned version. I also did not bother removing the skins, because really, who has time for that? Besides, all the nutrients are in the skins anyway :)

marinatedmushroom3

Marinated mushrooms with walnuts and fava beans

marinatedmushroomswithfavabeansandwalnut

To complete the dish, whisk together 0.5 cup Greek yogurt with 2.5 tbsp tahini, 1 small garlic clove, juice of another lemon, and some salt. Then add a dollop of that to the mushrooms and sprinkle with dill and oregano. This dish goes really well with the chermoula eggplant dish. They complement each other very nicely :)

mushroomsandeggplantdish

I cooked this huge feast on Saturday evening, and then I invited over my friend Meera to enjoy the dishes on Sunday early afternoon before I brought the rest of the mushrooms to the lab potluck party. Meera is the one who inspired me to get Jerusalem in the first place, and I love inviting her over because she always very enthusiastically enjoys all of my dishes :)  So thanks, Meera, for inspiring me to buy Yotam Ottolenghi’s books in the first place, and for enthusiastically taste testing all three of my mushroom themed feasts this week!

Chickpea saute with Greek yogurt and couscous with tomato and onion

Ok, so yes, I know you are thinking – why is this girl calling herself fungi foodie when all she cooks is middle eastern food? Well guess what everybody – it’s been raining! A lot! In Berkeley! So I’m going to go mushroom hunting this weekend :) So with any luck I will have a delicious wild mushroom recipe for next week! Yay for wild mushrooms :)

But in the meanwhile, I’m continuing on my theme of cooking healthy, delicious vegetarian recipes from Jerusalem and Plenty. This week, I cooked the chickpea saute with Greek yogurt from pg. 211 Plenty and featured online here and the couscous with tomato and onion from pg 129 of Jerusalem and featured online here.

These dishes were on the less complicated side for Yotam Ottolenghi and my trip to Berkeley Bowl for groceries was one of the easiest and shortest trips yet! Either I’m getting much better at this whole grocery shopping thing or I am indeed choosing simpler recipes :P Here are all of the lovely fresh ingredients for the chickpea saute – look at all those fresh herbs and veggies! I really need to consider getting some potted herbs!

Ingredients for the chick pea saute

Ingredients for the chick pea saute

The first step is to separate the green part from the stalks of the chards – I’m totally falling for this stuff! It’s so pretty!

Swiss chard centers

Swiss chard centers

So you blanch the chard stalks for 3 minutes in boiling water, then add the greens and blanch them for 2 more minutes, then remove from boiling water, rinse in cold water, and drain.  Then you heat up 1/3 cup olive oil in a pan – Dan was appalled at this amount of oil – but I reminded him that olive oil is good for you :) He remained unconvinced but I decided to stick to Ottolenghi’s guidelines despite Dan’s rumblings. So you peel and chop up the carrots and saute them in the olive oil, then add caraway seeds. I’d never used caraway seeds before cooking from these books but they are such a good spice! I bought them super cheap from the bulk spice section at Berkeley Bowl and I’m totally hooked.

carrots sauteeing in olive oil with caraway seeds

So after the carrots are cooked, add the blanched chard back in, add in the chick peas (yes I used canned – perhaps a faux pas but after the disaster of trying to cook fava beans from scratch, I’m sticking to canned. It’s just so much easier!), add in garlic and fresh mint and parsley.

carrots with swiss chard, chicken peas, garlic, and herbs

carrots with swiss chard, chicken peas, garlic, and herbs

Look at this ginormous bowl of vegetables!

Chick pea saute

Chick pea saute

But  the finishing touch that really completes the dish is adding the Greek yogurt sauce on top. It just makes it so much tastier! And it adds a ton of calcium and protein – win-win :)

The greek yogurt on top really takes it up a notch!

The greek yogurt on top really takes it up a notch!


chick pea saute with greek yogurt

chick pea saute with greek yogurt

So to accompany the delicious and healthy chickpea saute we made some couscous with tomatoes and onions.  The first step is to dice and sautee an onion, then add sugar and tomato puree. Then dice two tomatoes (I added 3 because I love tomatoes!) and add them to the pan.

sauteed onions with tomatoes

sauteed onions with tomatoes

In the meanwhile, add boiling vegetable stock to some couscous and leave it to sit in a bowl covered in cling wrap for 10 minutes. Once the couscous is cooked, then you mix in the tomato and onion mixture and wipe off the pan and add some butter to it. The next part gets a little bit complicated…at least for a novice like me….making the couscous crispy was no easy task! You are supposed to add butter then put the couscous back in the pan and cover it and let it steam for 12 minutes. Well, I did this and it was not quite crispy. Probably I should have let it steam for longer but we were hungry so I decided to just go for it…What followed was an EPIC FAIL where I flipped the couscous onto a dish and some of it landed on the floor but luckily most of it made it to the dish! I think I need to buy bigger dishes….

cous cous with tomatoes and onions

cous cous with tomatoes and onions

Ottolenghi has an amazing way with making vegetarian dishes that are completely satisfying and don’t make you miss meat one bit. These dishes are healthy, relatively cheap and easy, and super flavorful and fulfilling. The only complicated step that I utterly failed at was getting the couscous crispy and then flipping it over “expertly” onto a dish –  so I did not manage to get that beautiful crispy crust that they claimed makes this dish. I still think it tasted amazing, but I think I will have to practice some more with the crisping and flipping..Here is my couscous with a corner of it looking crispy…it still tasted really good without the crispy crust but I will definitely need to practice with this one..

couscous with tomatoes and onion

couscous with tomatoes and onion

Here is my completed meal :) It was a totally satisfying, healthy, flavorful, and fulfilling vegetarian middle eastern inspired meal. Thanks Ottolenghi for two more great dishes :)

Bon apetit! Healthy vegetarian mediterranean inspired meal!

Bon apetit! Healthy vegetarian mediterranean inspired meal!

Conchiglie with yogurt, peas, & chile

On Tuesday February 4, 2014, I made a dish from Jerusalem with my friend Valerie, who is nurse in San Francisco. Valerie and I met when we were 10 at jewish sleep away camp and have been friends for close to 2 decades now! It’s really nice to have an old friend around in the bay area:)

So we made conchiglie with yogurt, peas & chile from Jerusalem by Yotam Ottoleghi and Sami Tamimi pg. 111. This recipe is nice compared to other recipes in this book in that it has fewer ingredients and they are a bit easier to source.

All of the ingredients for conchiglie with yogurt, peas & chile

All of the ingredients for conchiglie with yogurt, peas & chile

One tip though if you buy frozen peas – this should be a no brainer but of course I bought all of my ingredients right before cooking and didn’t take the time to do this – let your peas thaw before you start cooking. As a graduate student I’m a bit lacking on the cooking supplies side, so I also do not have a food processor. No fear, my handy immersion blender did the trick! If you are going to buy one appliance – I highly recommend the immersion blender. They don’t take up a lot of space and have many handy attachments and can pretty much replace a blender or a food processor in your life. I imagine a blender would also work fine for this recipe. I used 0% Fage greek yogurt here and it worked out well.

blending together the greek yogurt and peas for the sauce with my handy immersion blender

blending together the greek yogurt and peas for the sauce with my handy immersion blender

This recipe is nice because it is rich and creamy but doesn’t leave you feeling heavy  – the greek yogurt is creamy but light and is filled with protein and calcium so is actually good for you. I also learned that I really need to buy or acquire a larger pot! Making 500g of pasta at once is tricky! I couldn’t find anything labeled conchiglie at Safeway, so I used Barilla big shells. They were large though and I had to cook the pasta in two batches. I also could not find Turkish chile so I just used regular red pepper flakes, and I used less feta because 8 oz seemed like a ton of feta for me! The sauteed pine nuts and chile really made the dish for me. It was really great to get that extra flavor and crunch. In the future I would probably use 1-2 cloves of garlic instead of 4, and I might add spinach or more peas to give it a bit higher vegetable to sauce ratio. My picture of course did not come out as lovely as in the book, but we enjoyed it nonetheless :) The recipe saved well and gave me several lunches throughout the week!

conchiglie with yogurt, peas & chile