Tag Archives: vegetarian

Matsutake feast

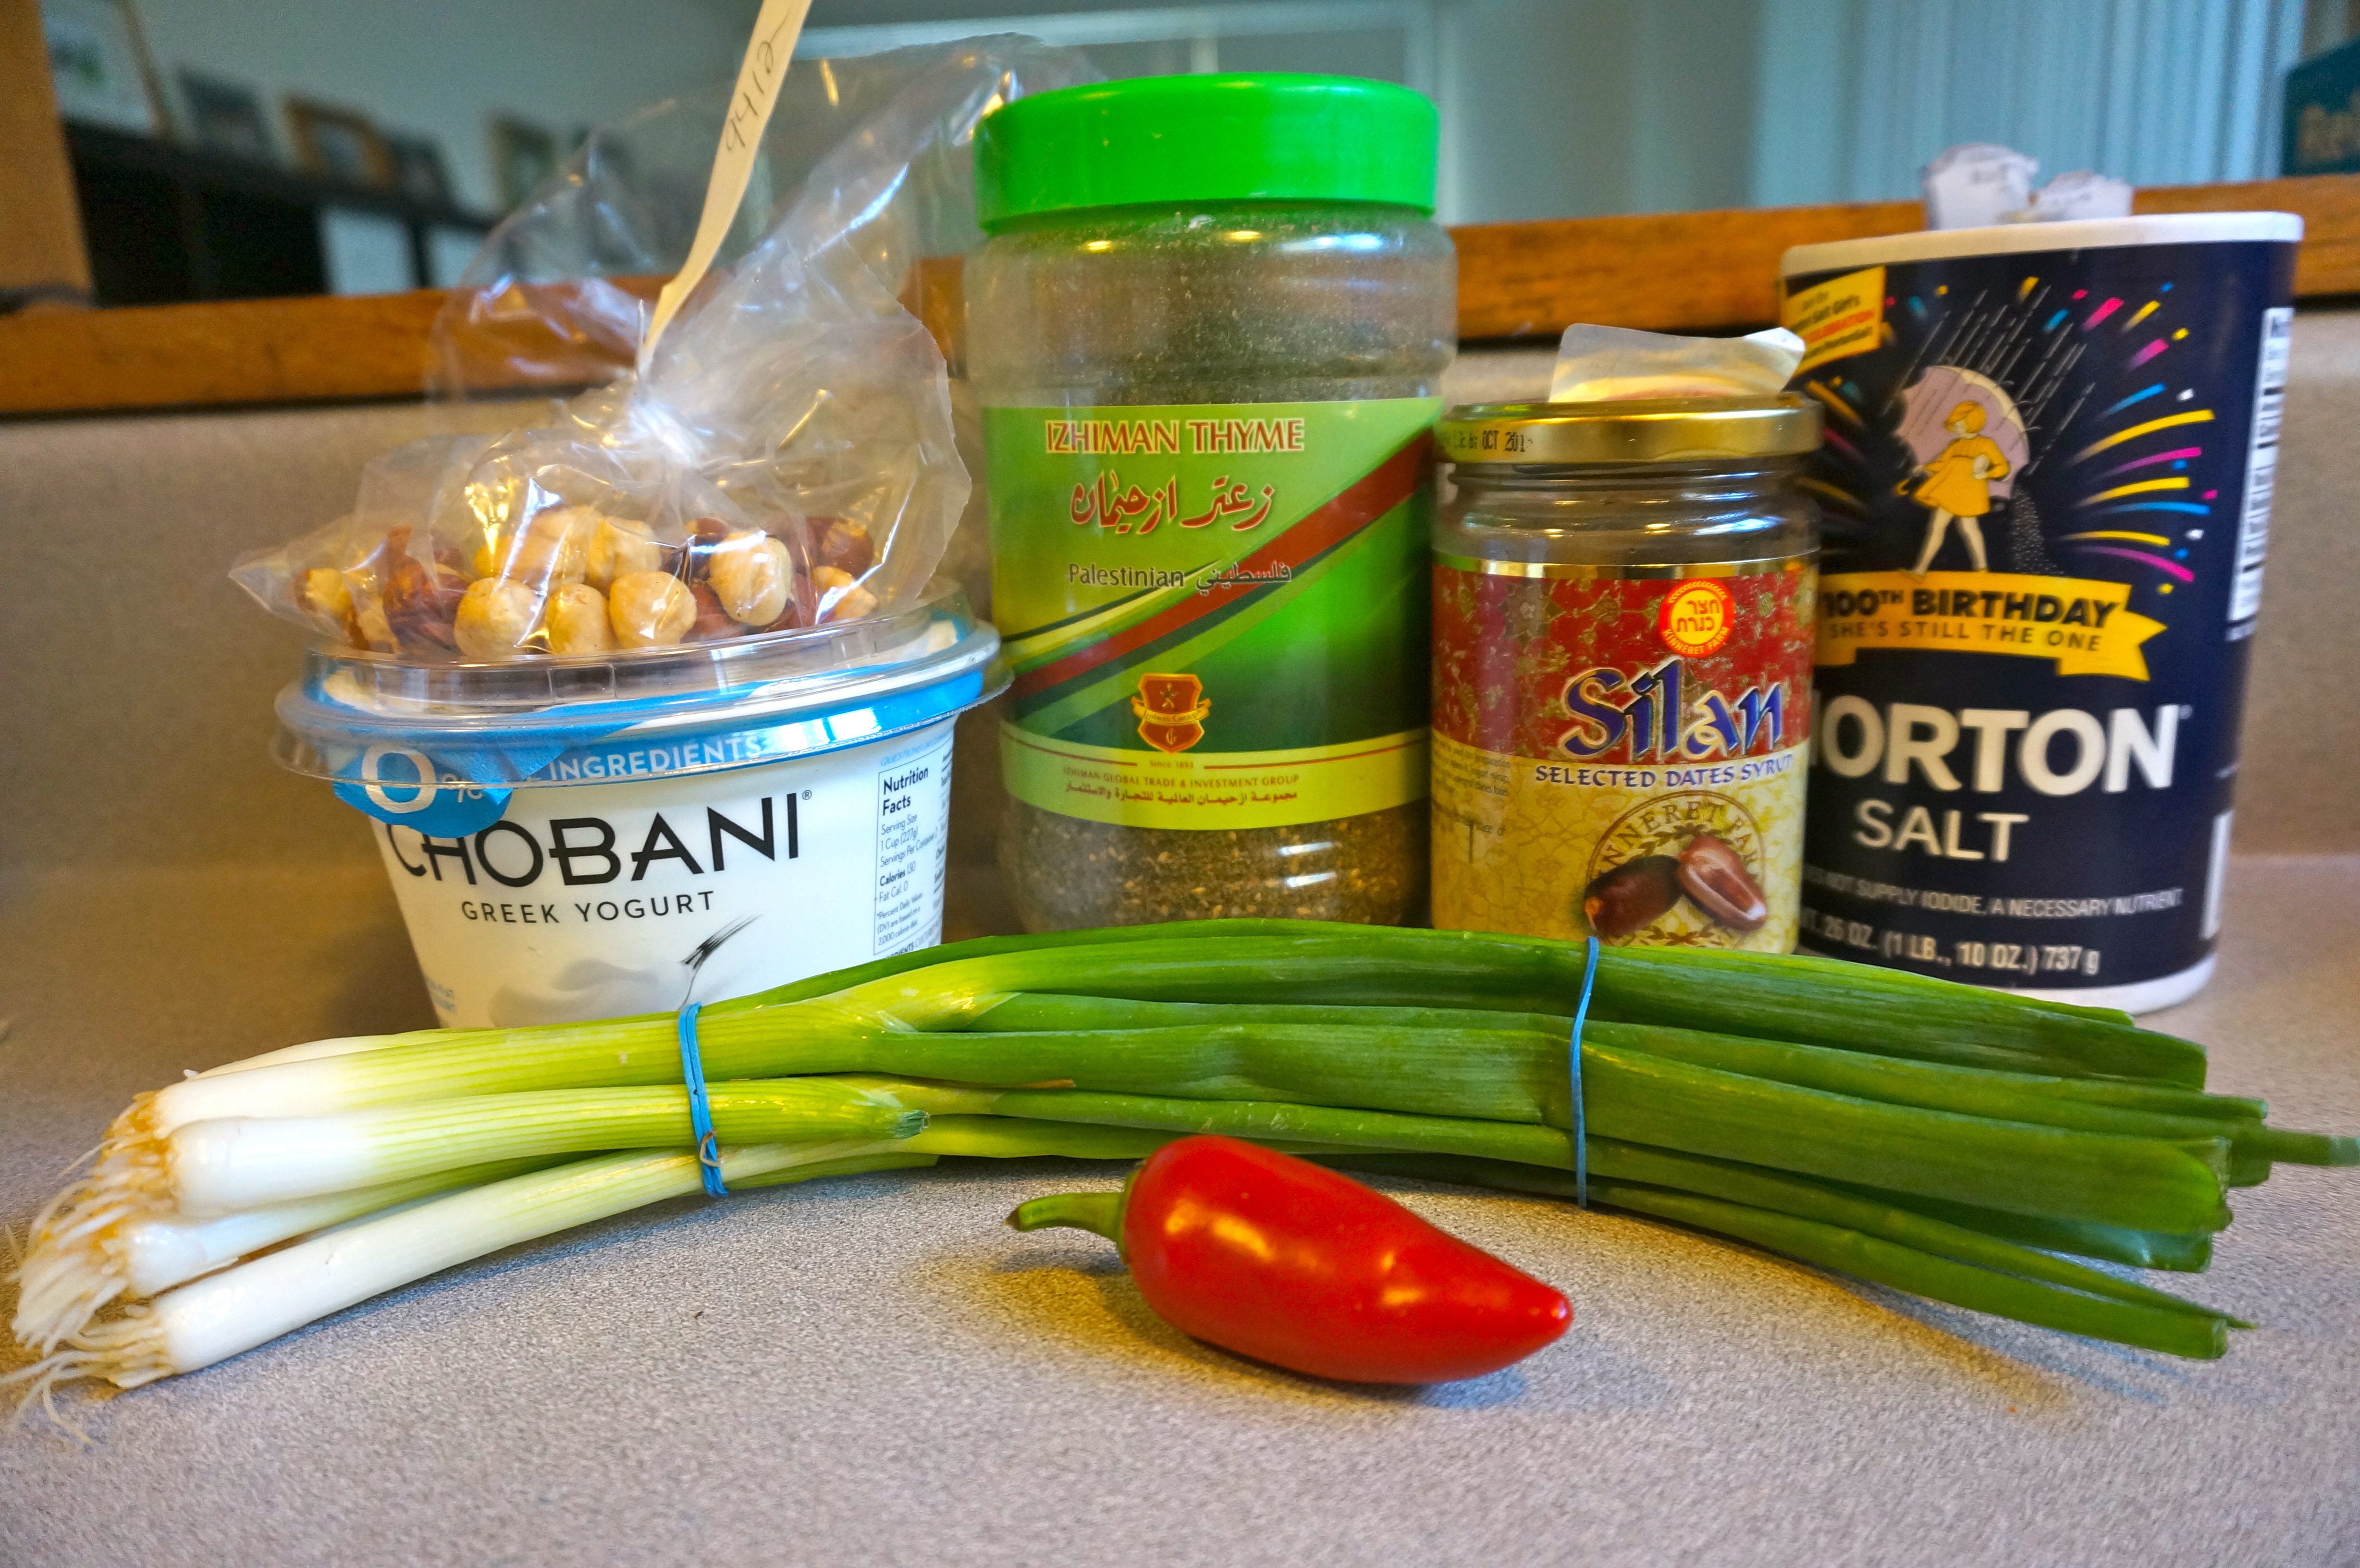
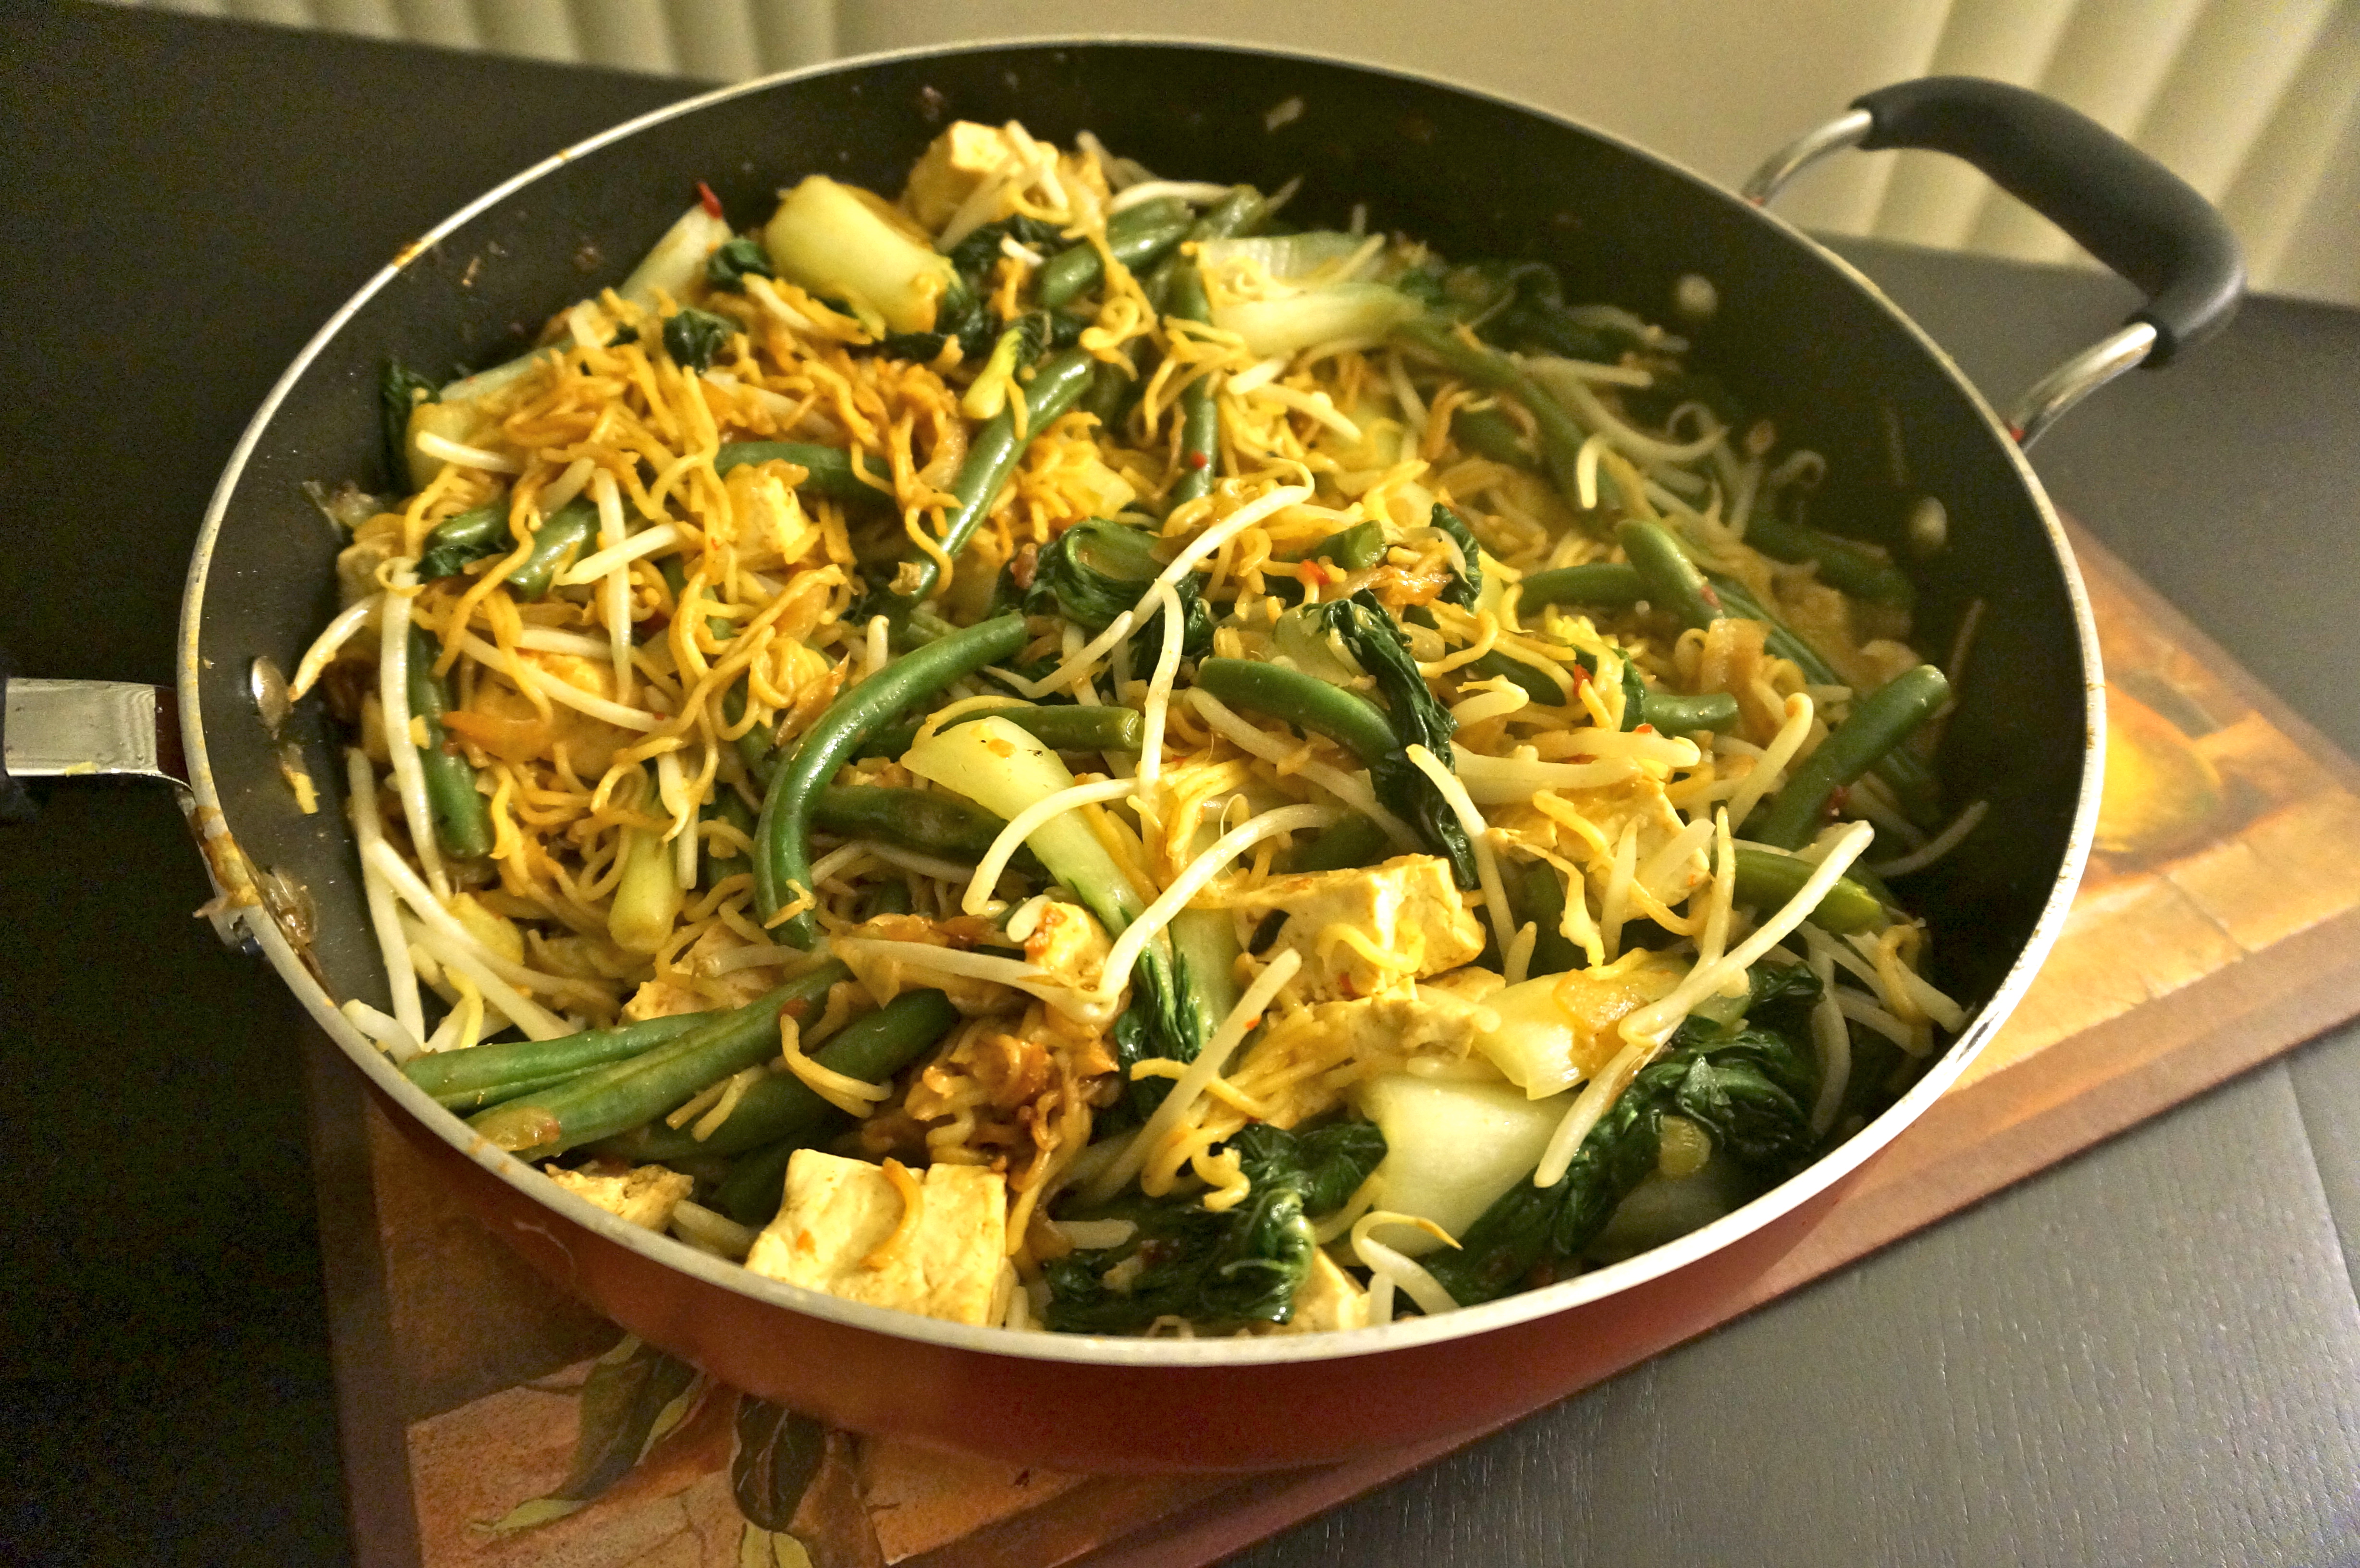
This is seriously one of the most divine meals I’ve ever made. It was SO GOOD. I decided to go for a Japanese themed feast to feature my gorgeous matsutake that I found in Oregon. I made matsutake infused rice, black pepper tofu (admittedly more Chinese than Japanese), and cucumber with smashed ginger salad served with sake and finished off with green tea mochi ice cream. OMG It was good. You are going to enjoy this post I am sure of it!

DSC06145

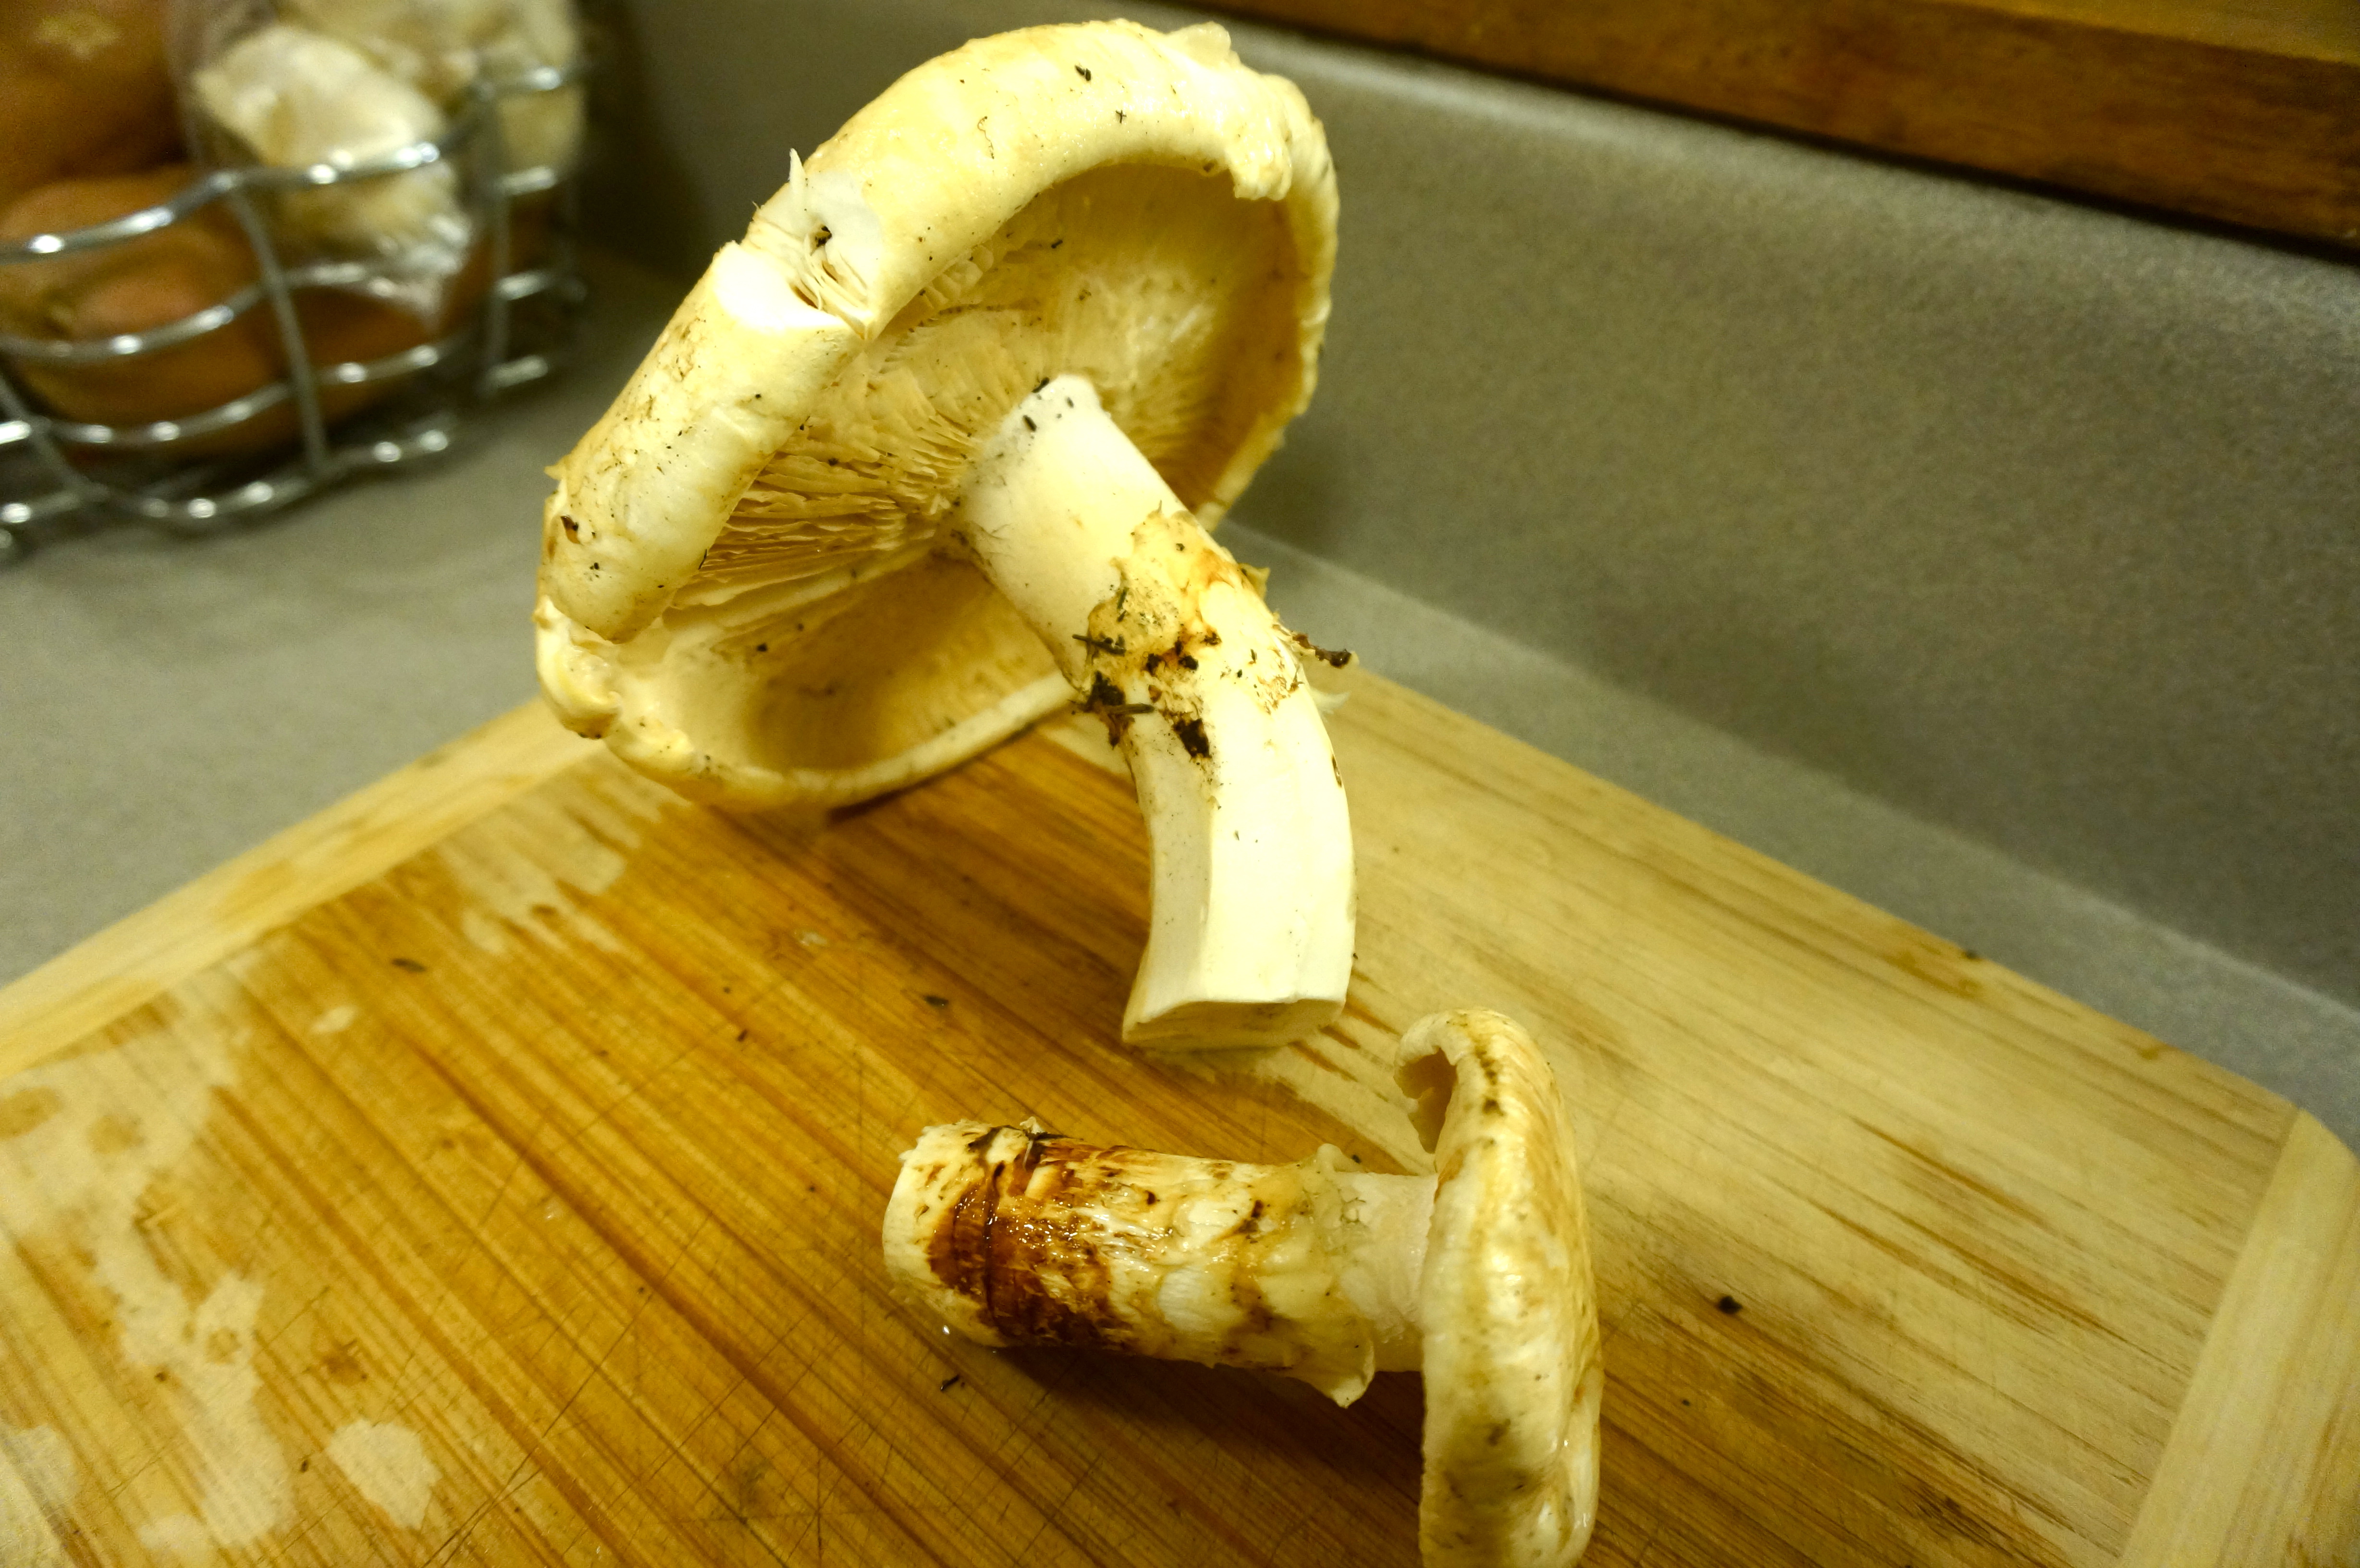
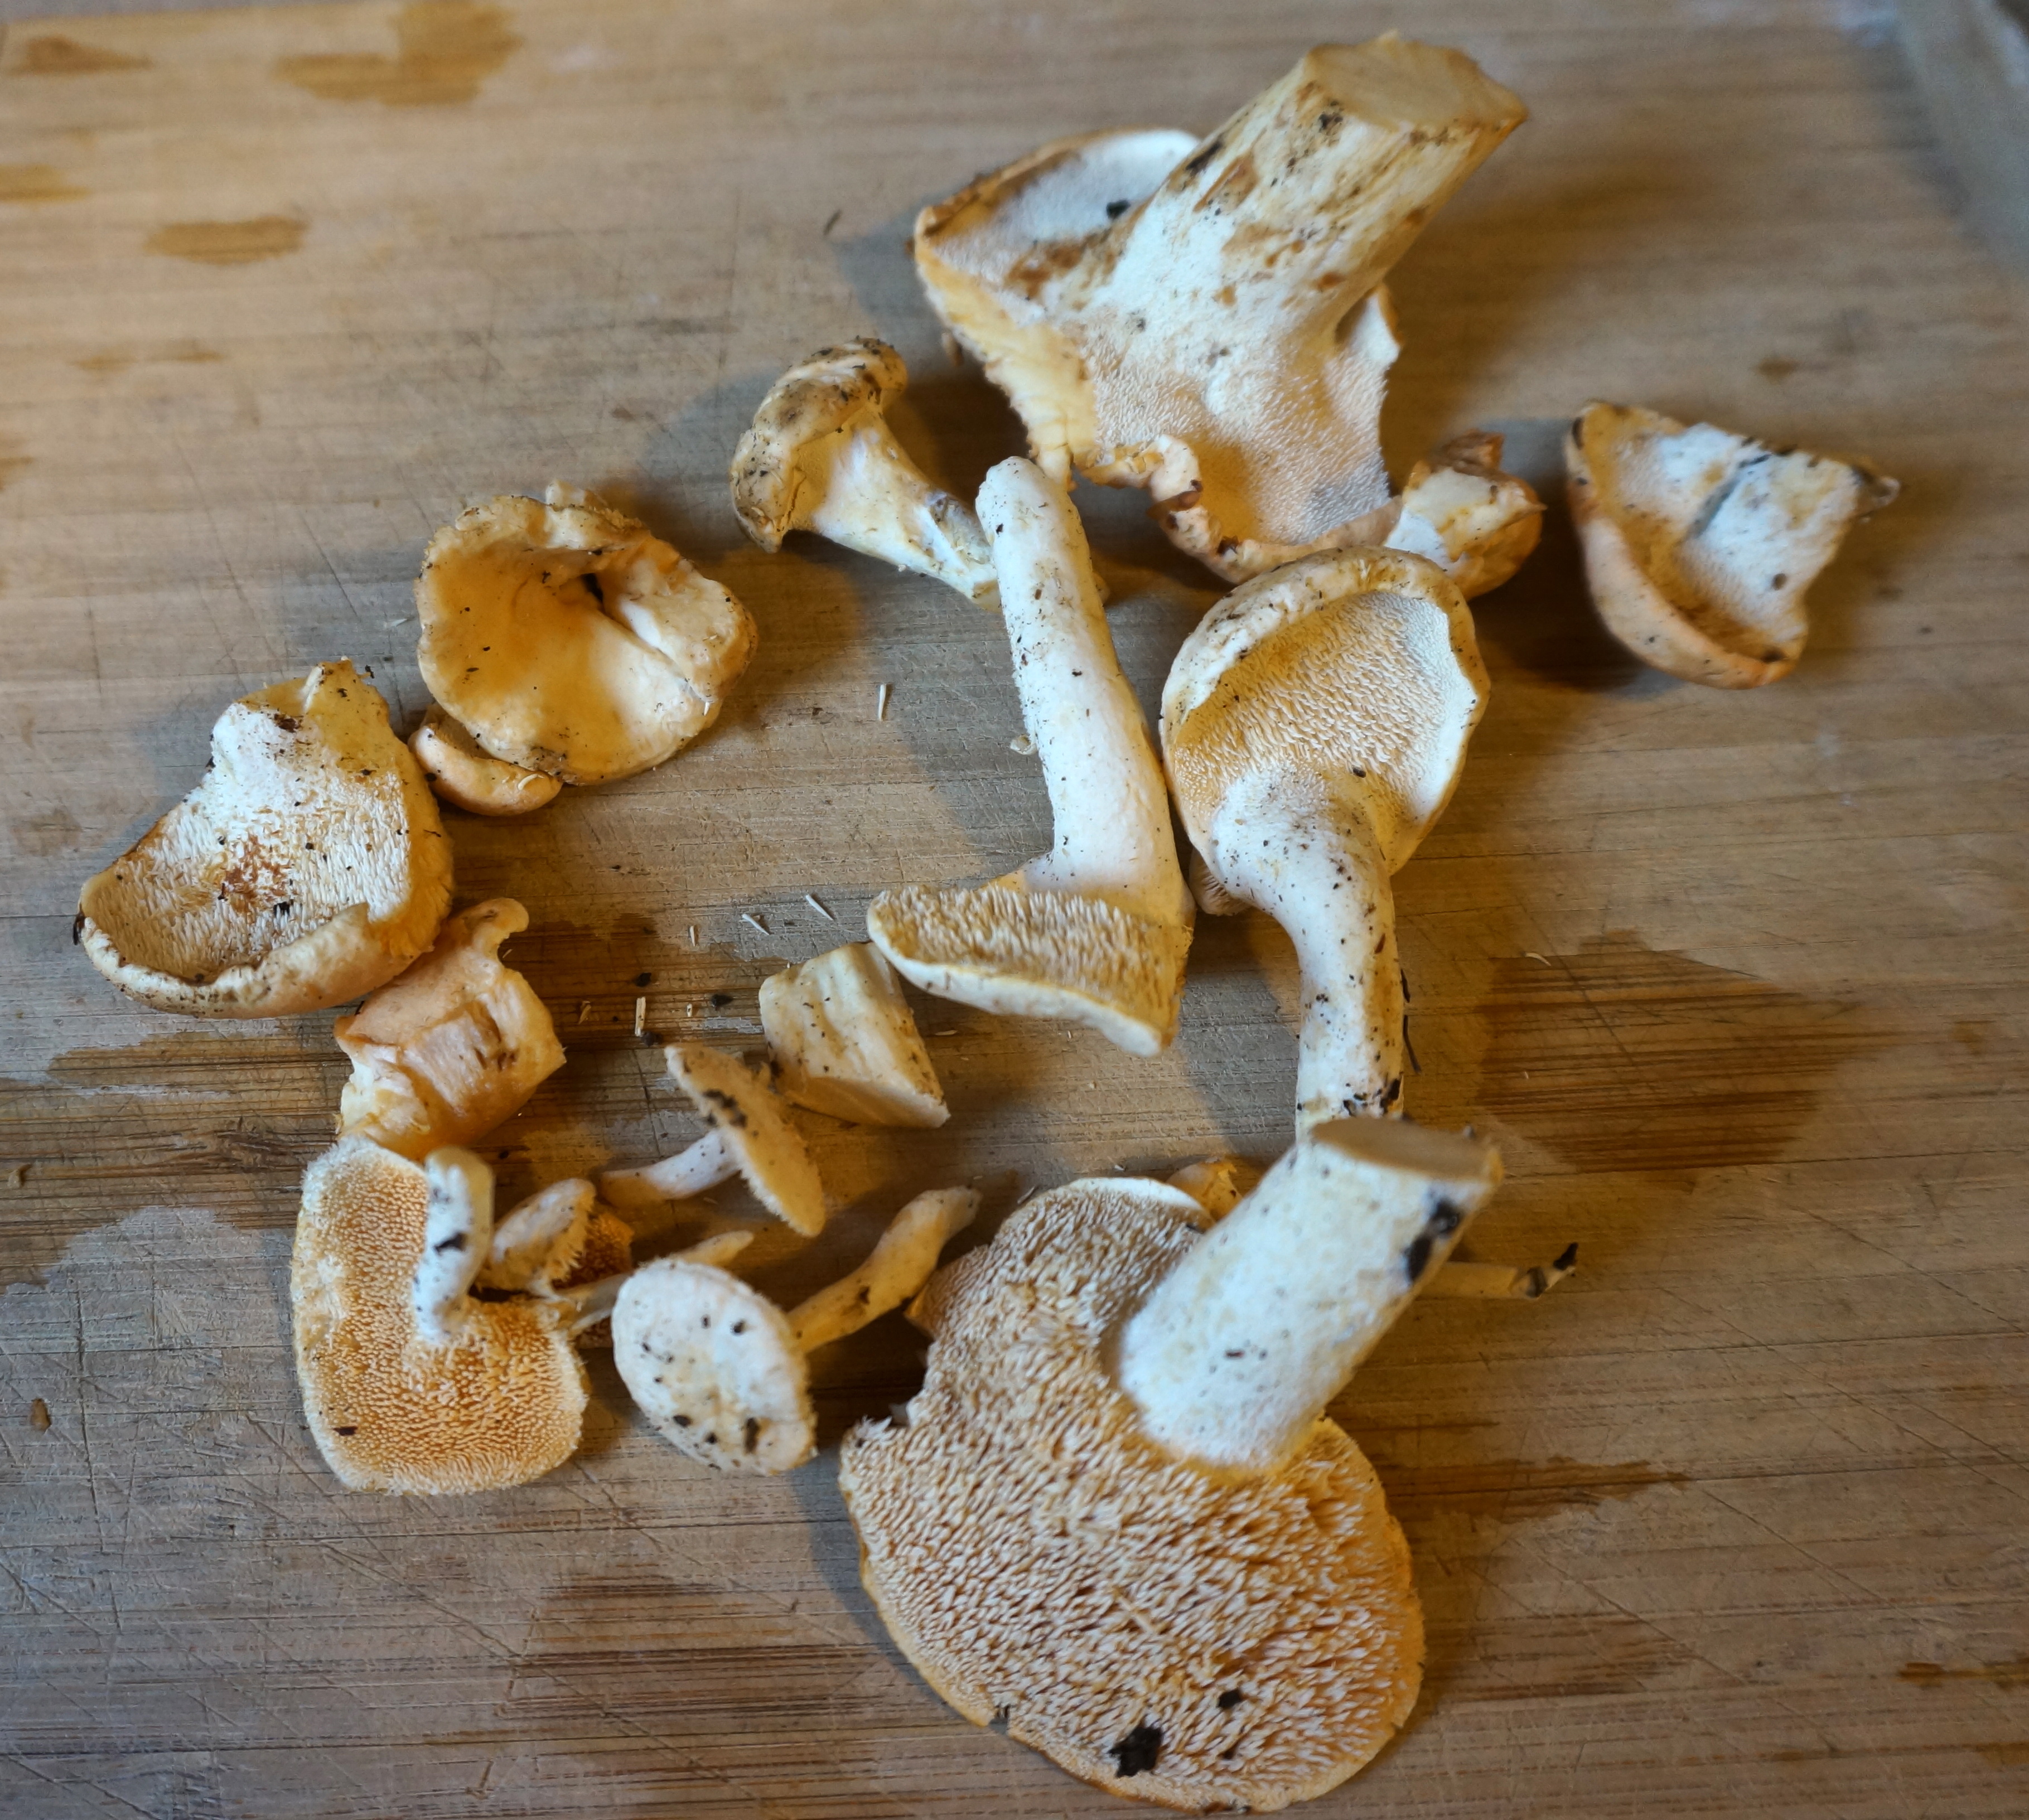
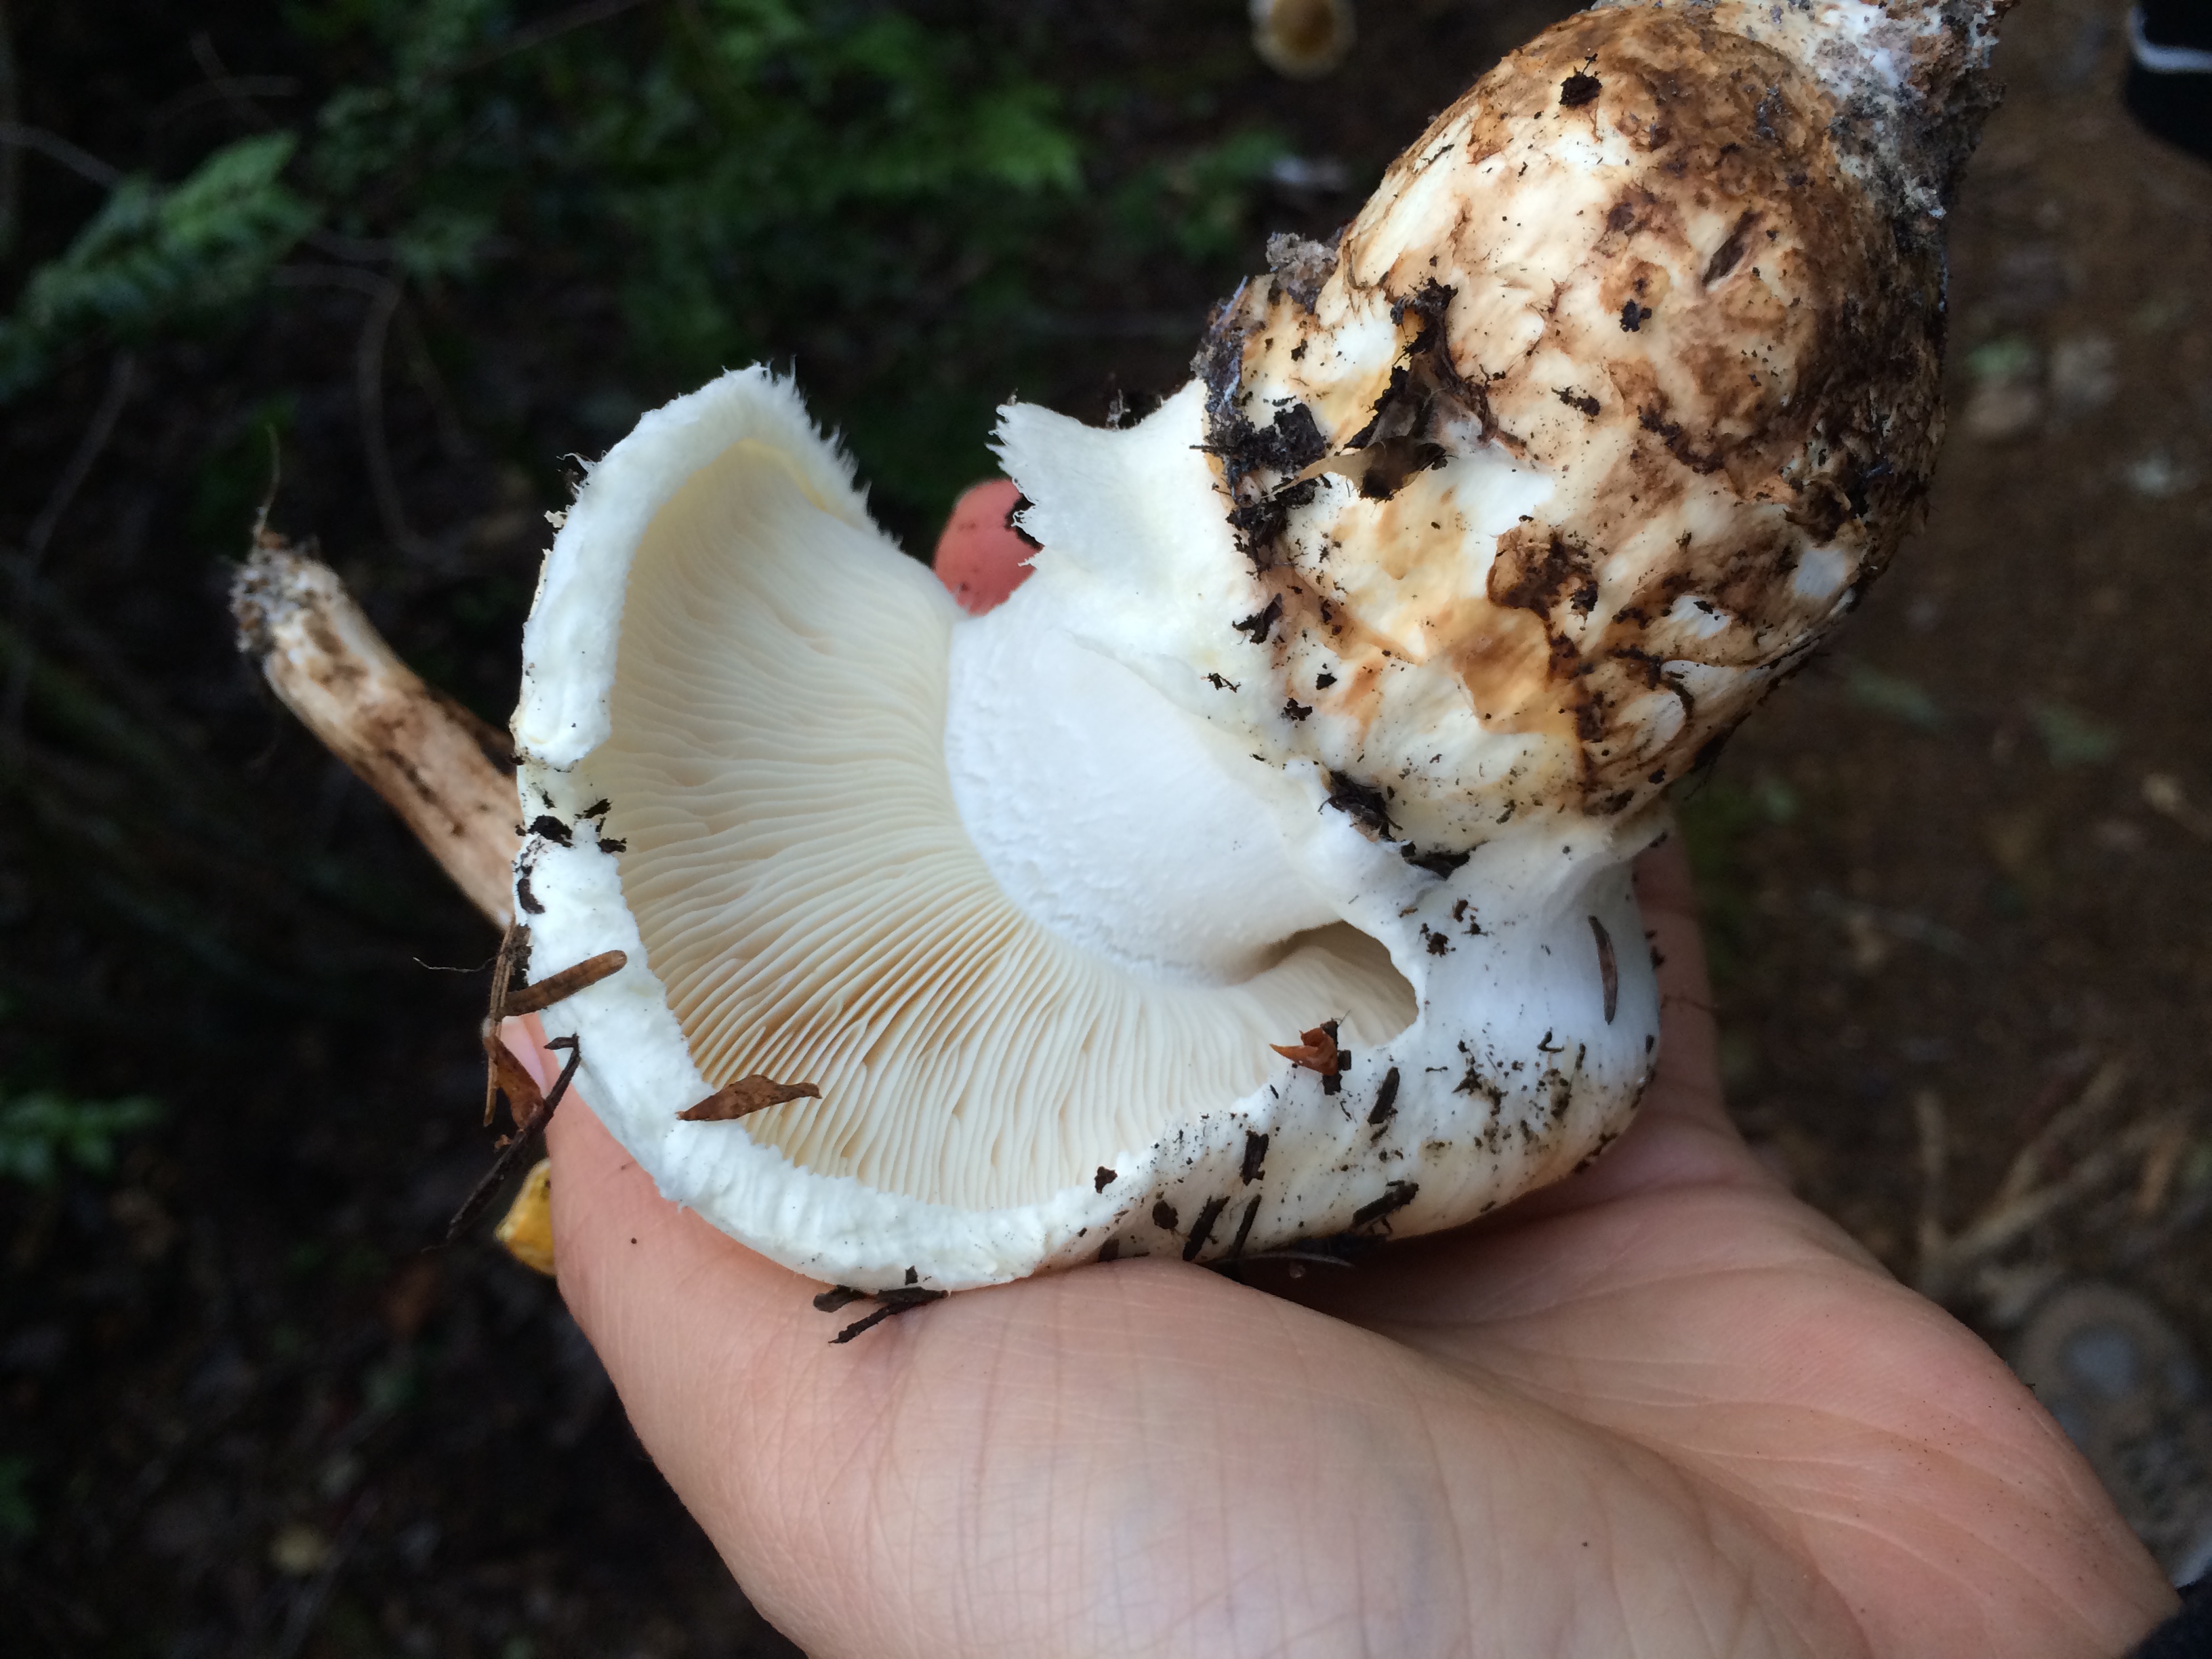
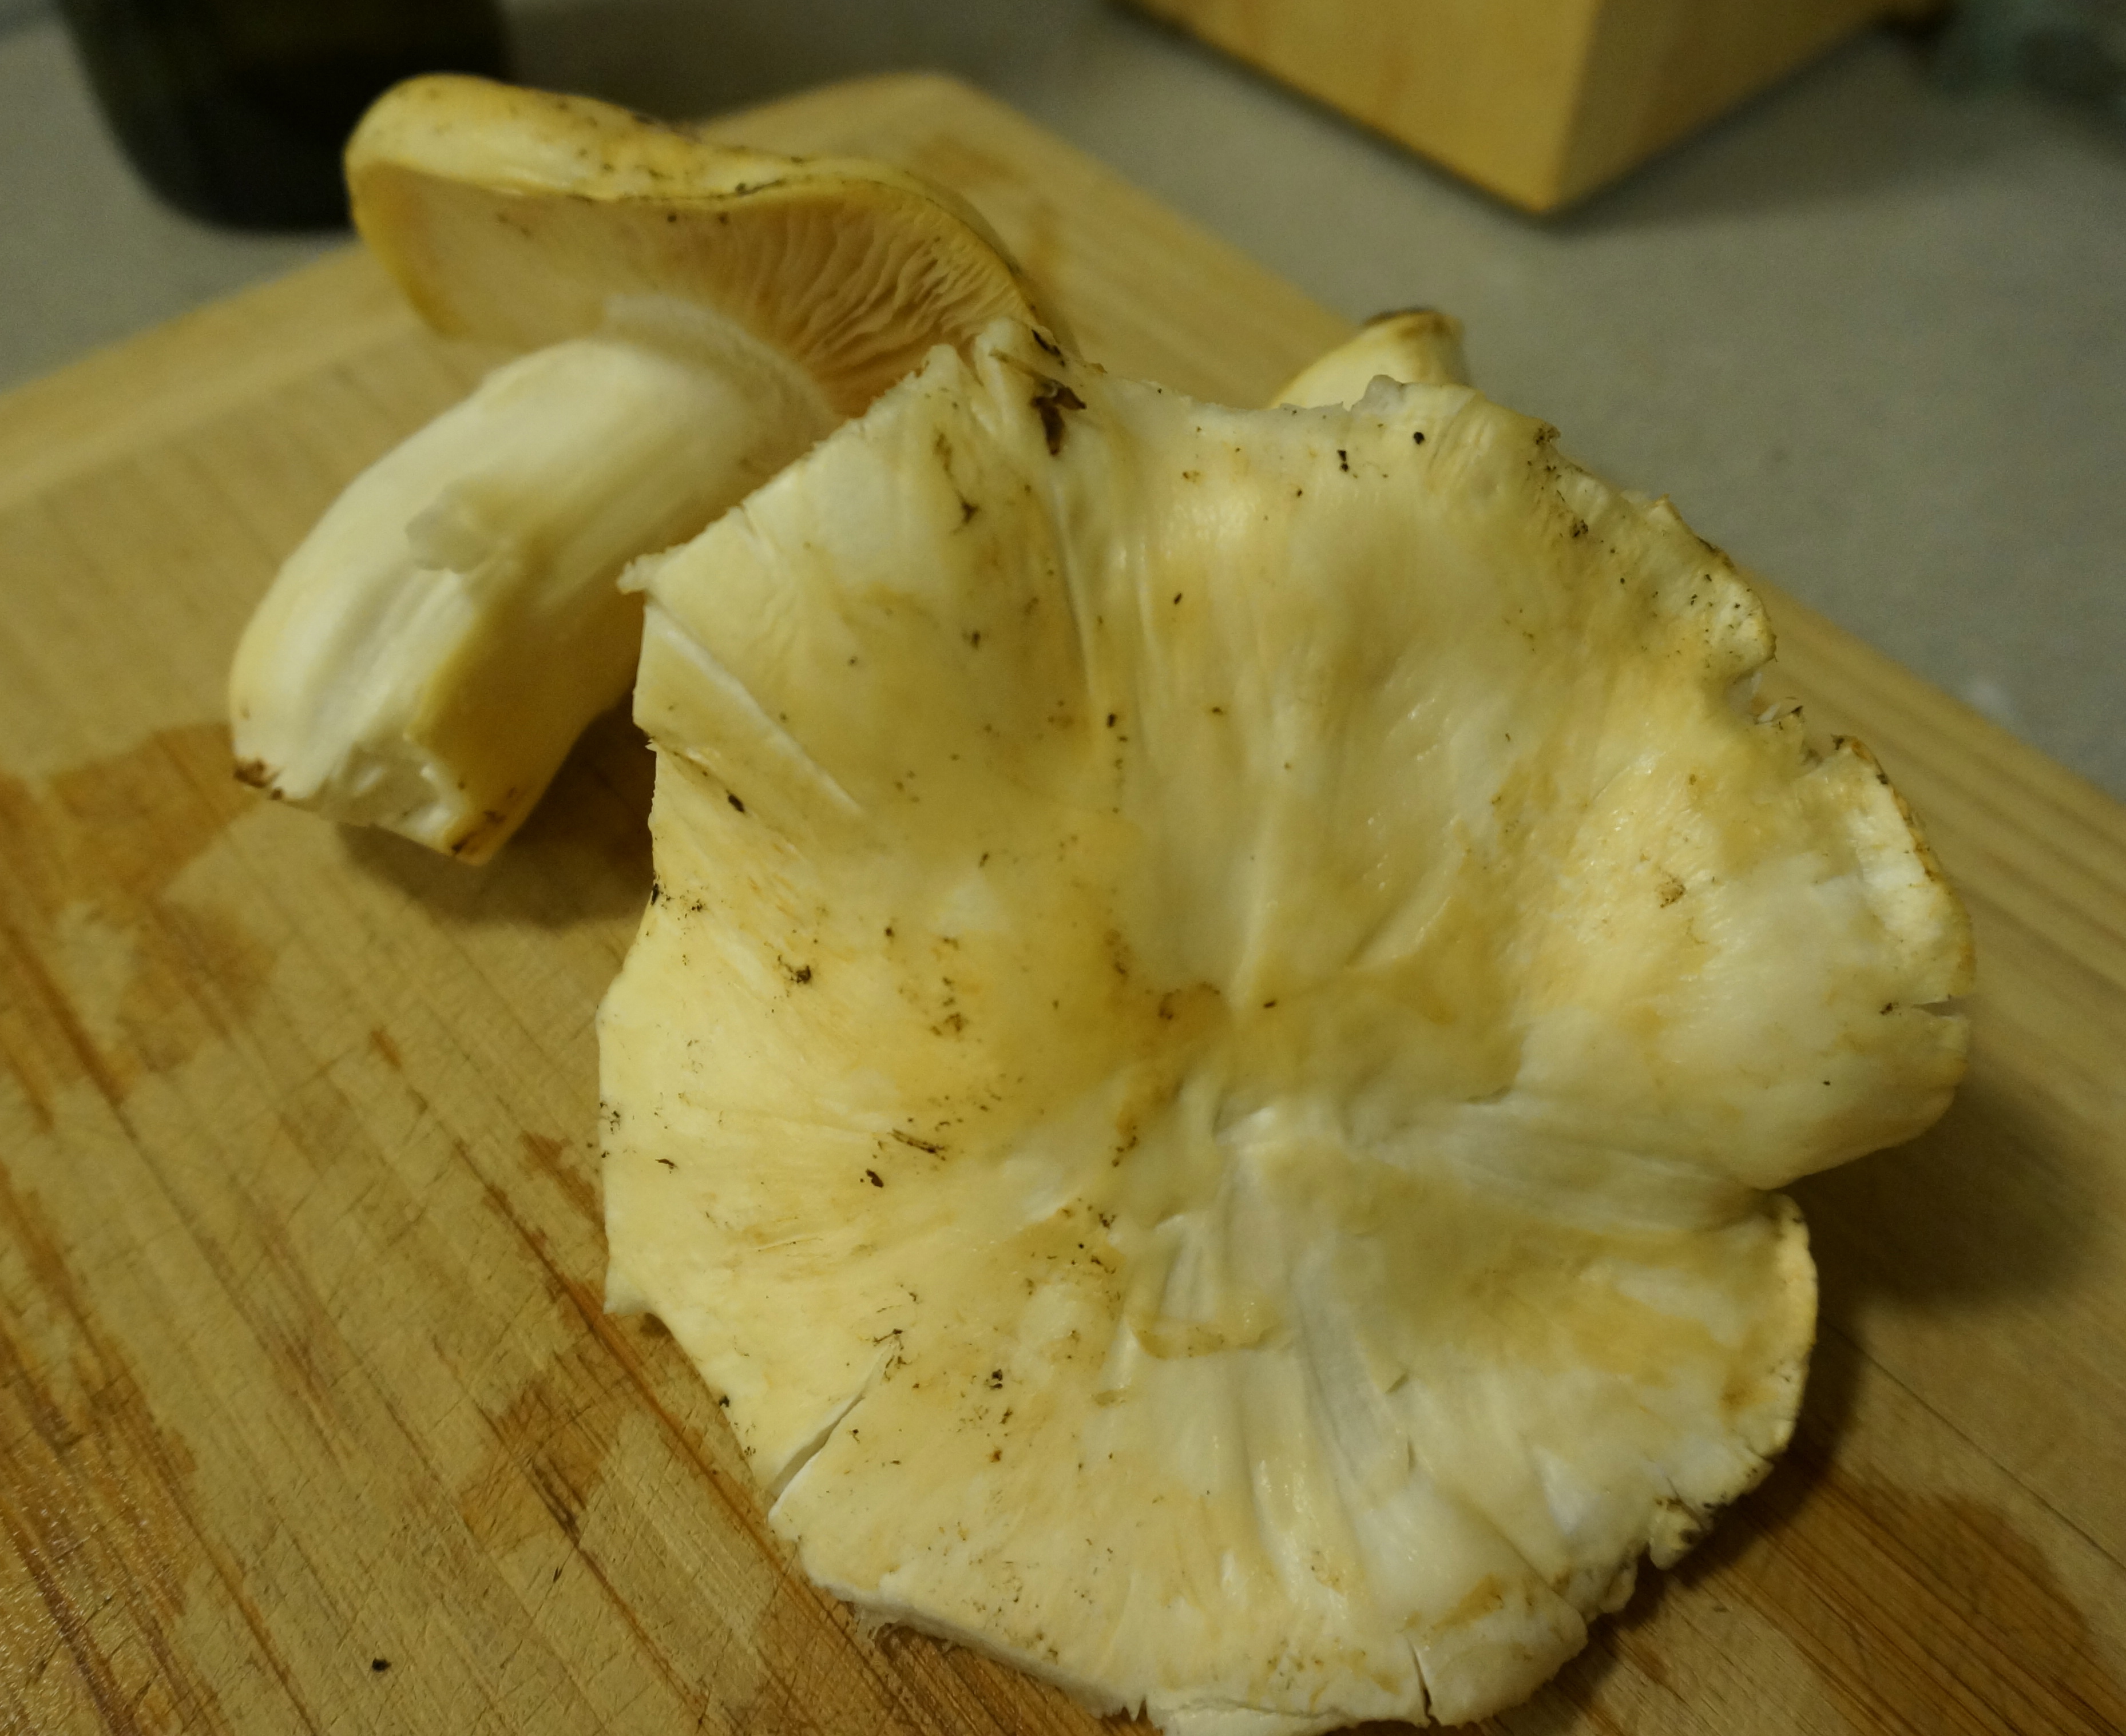
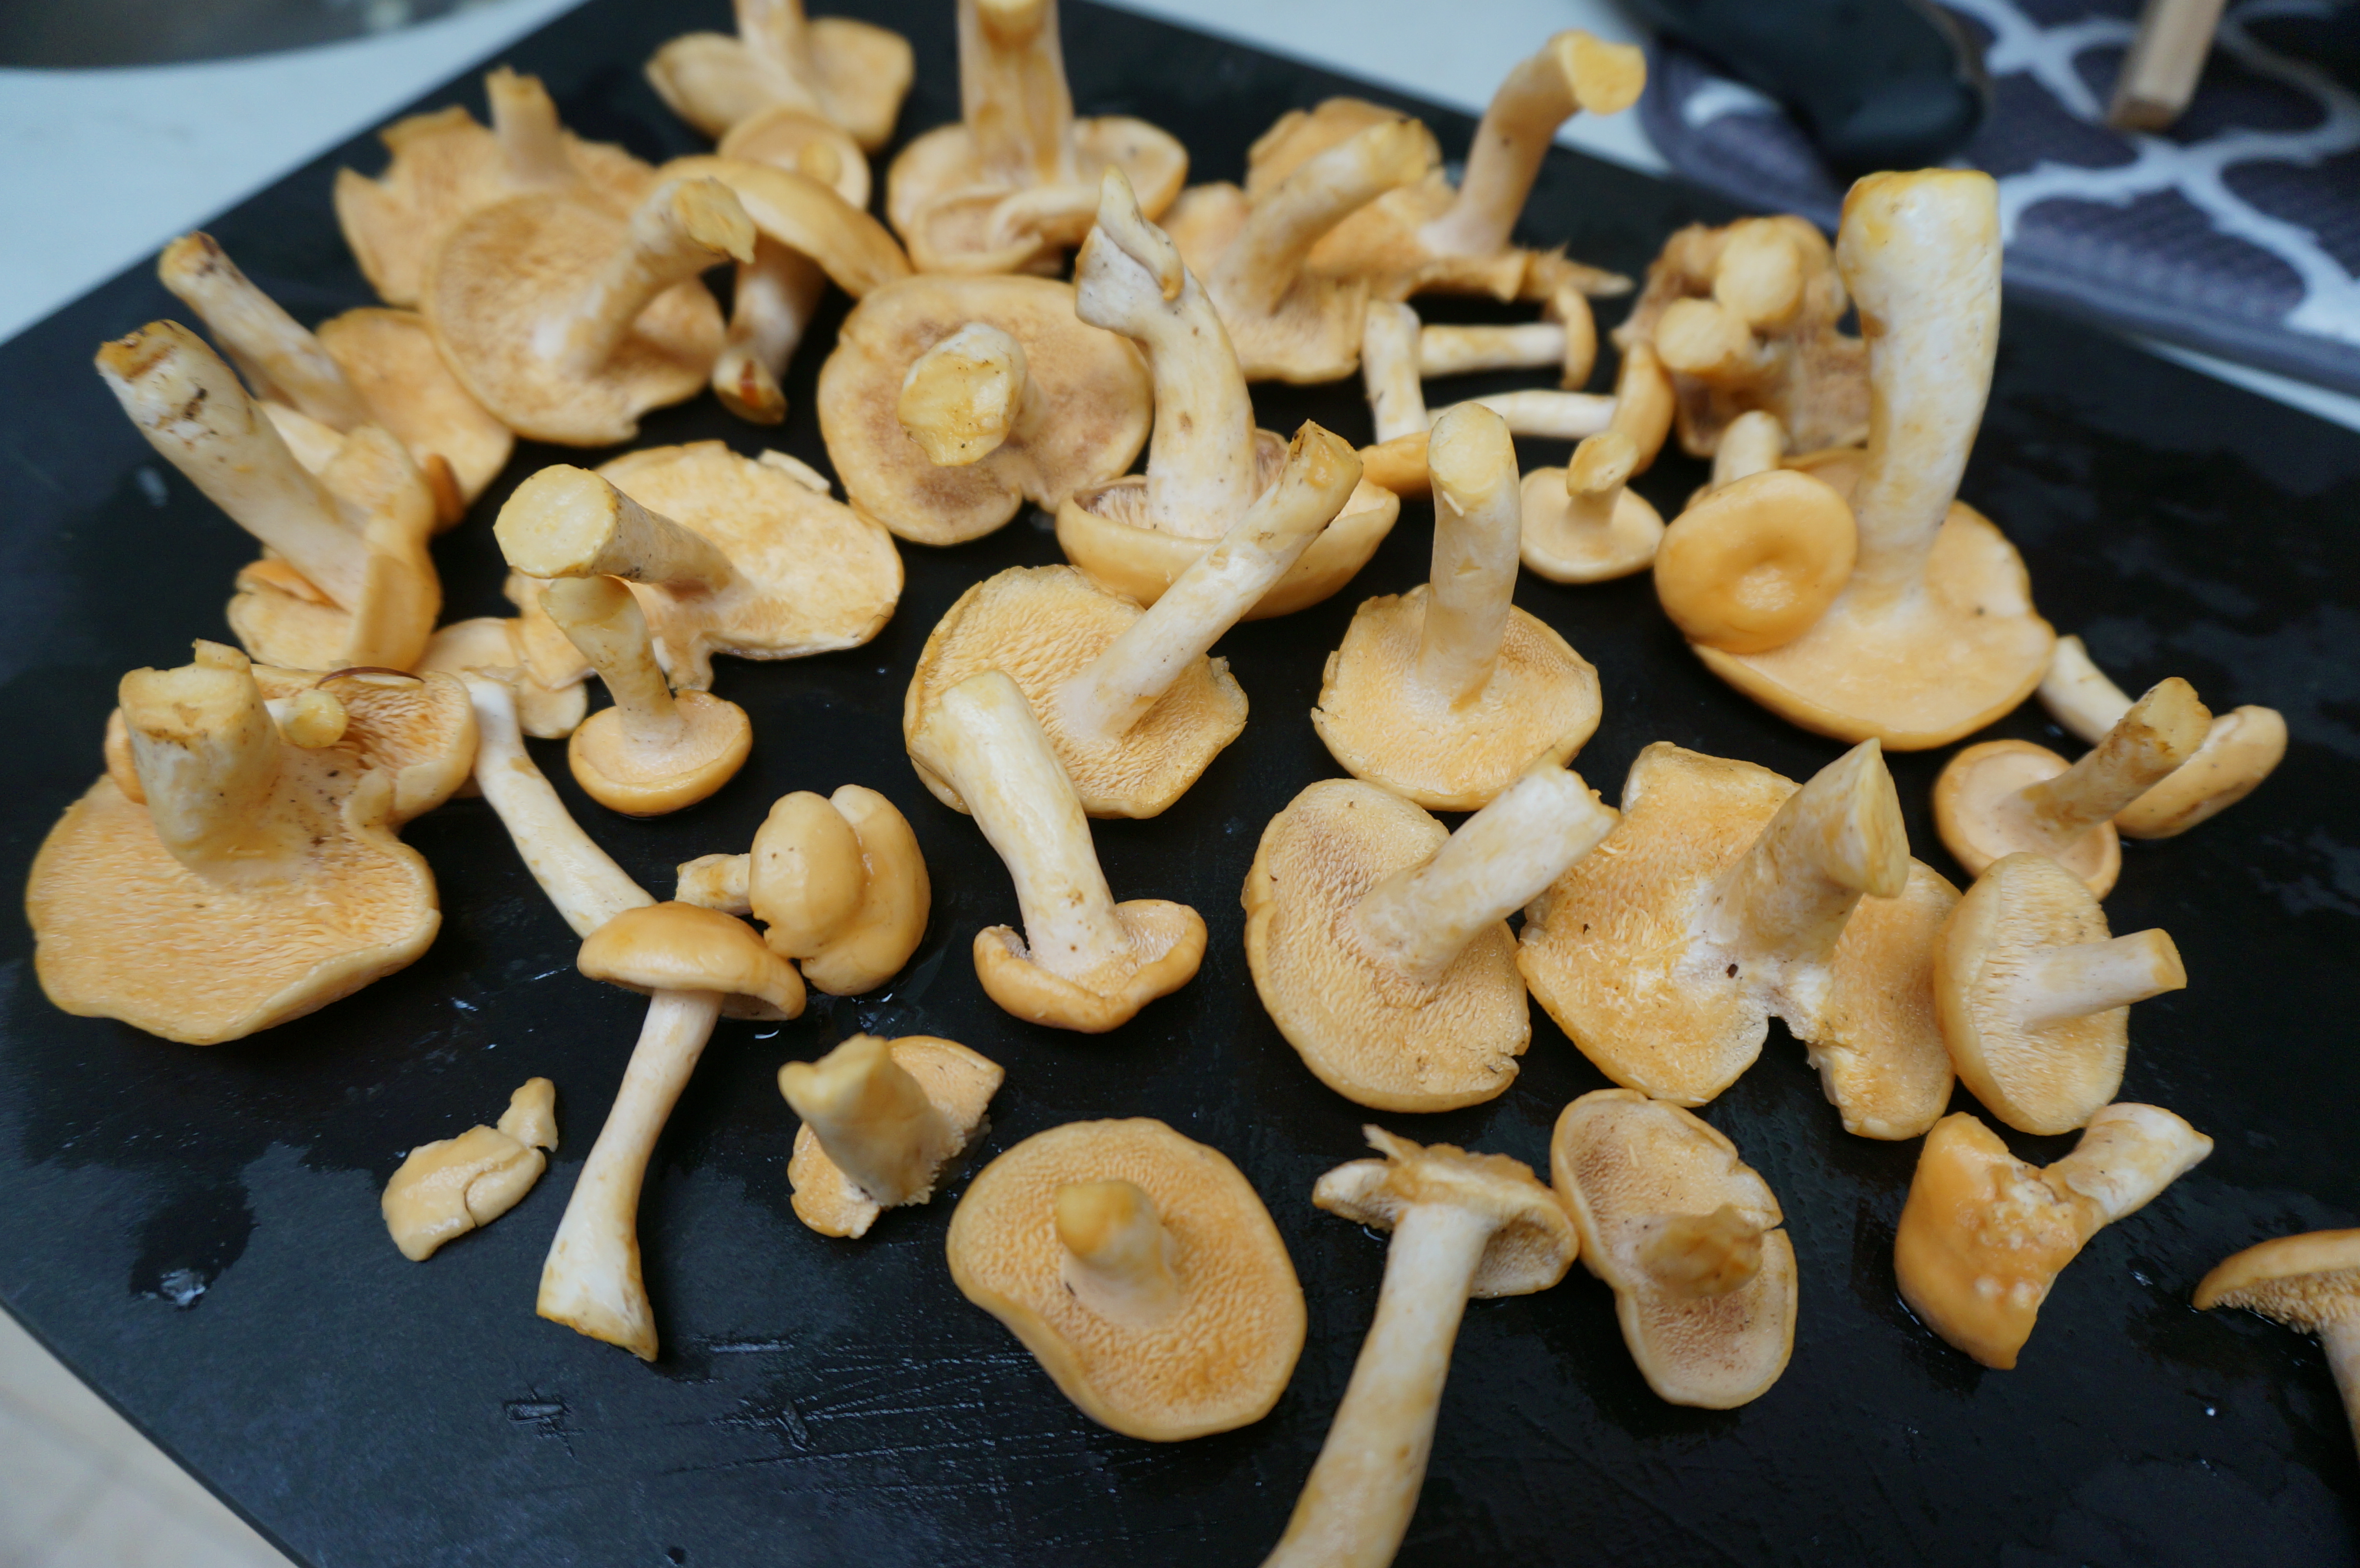
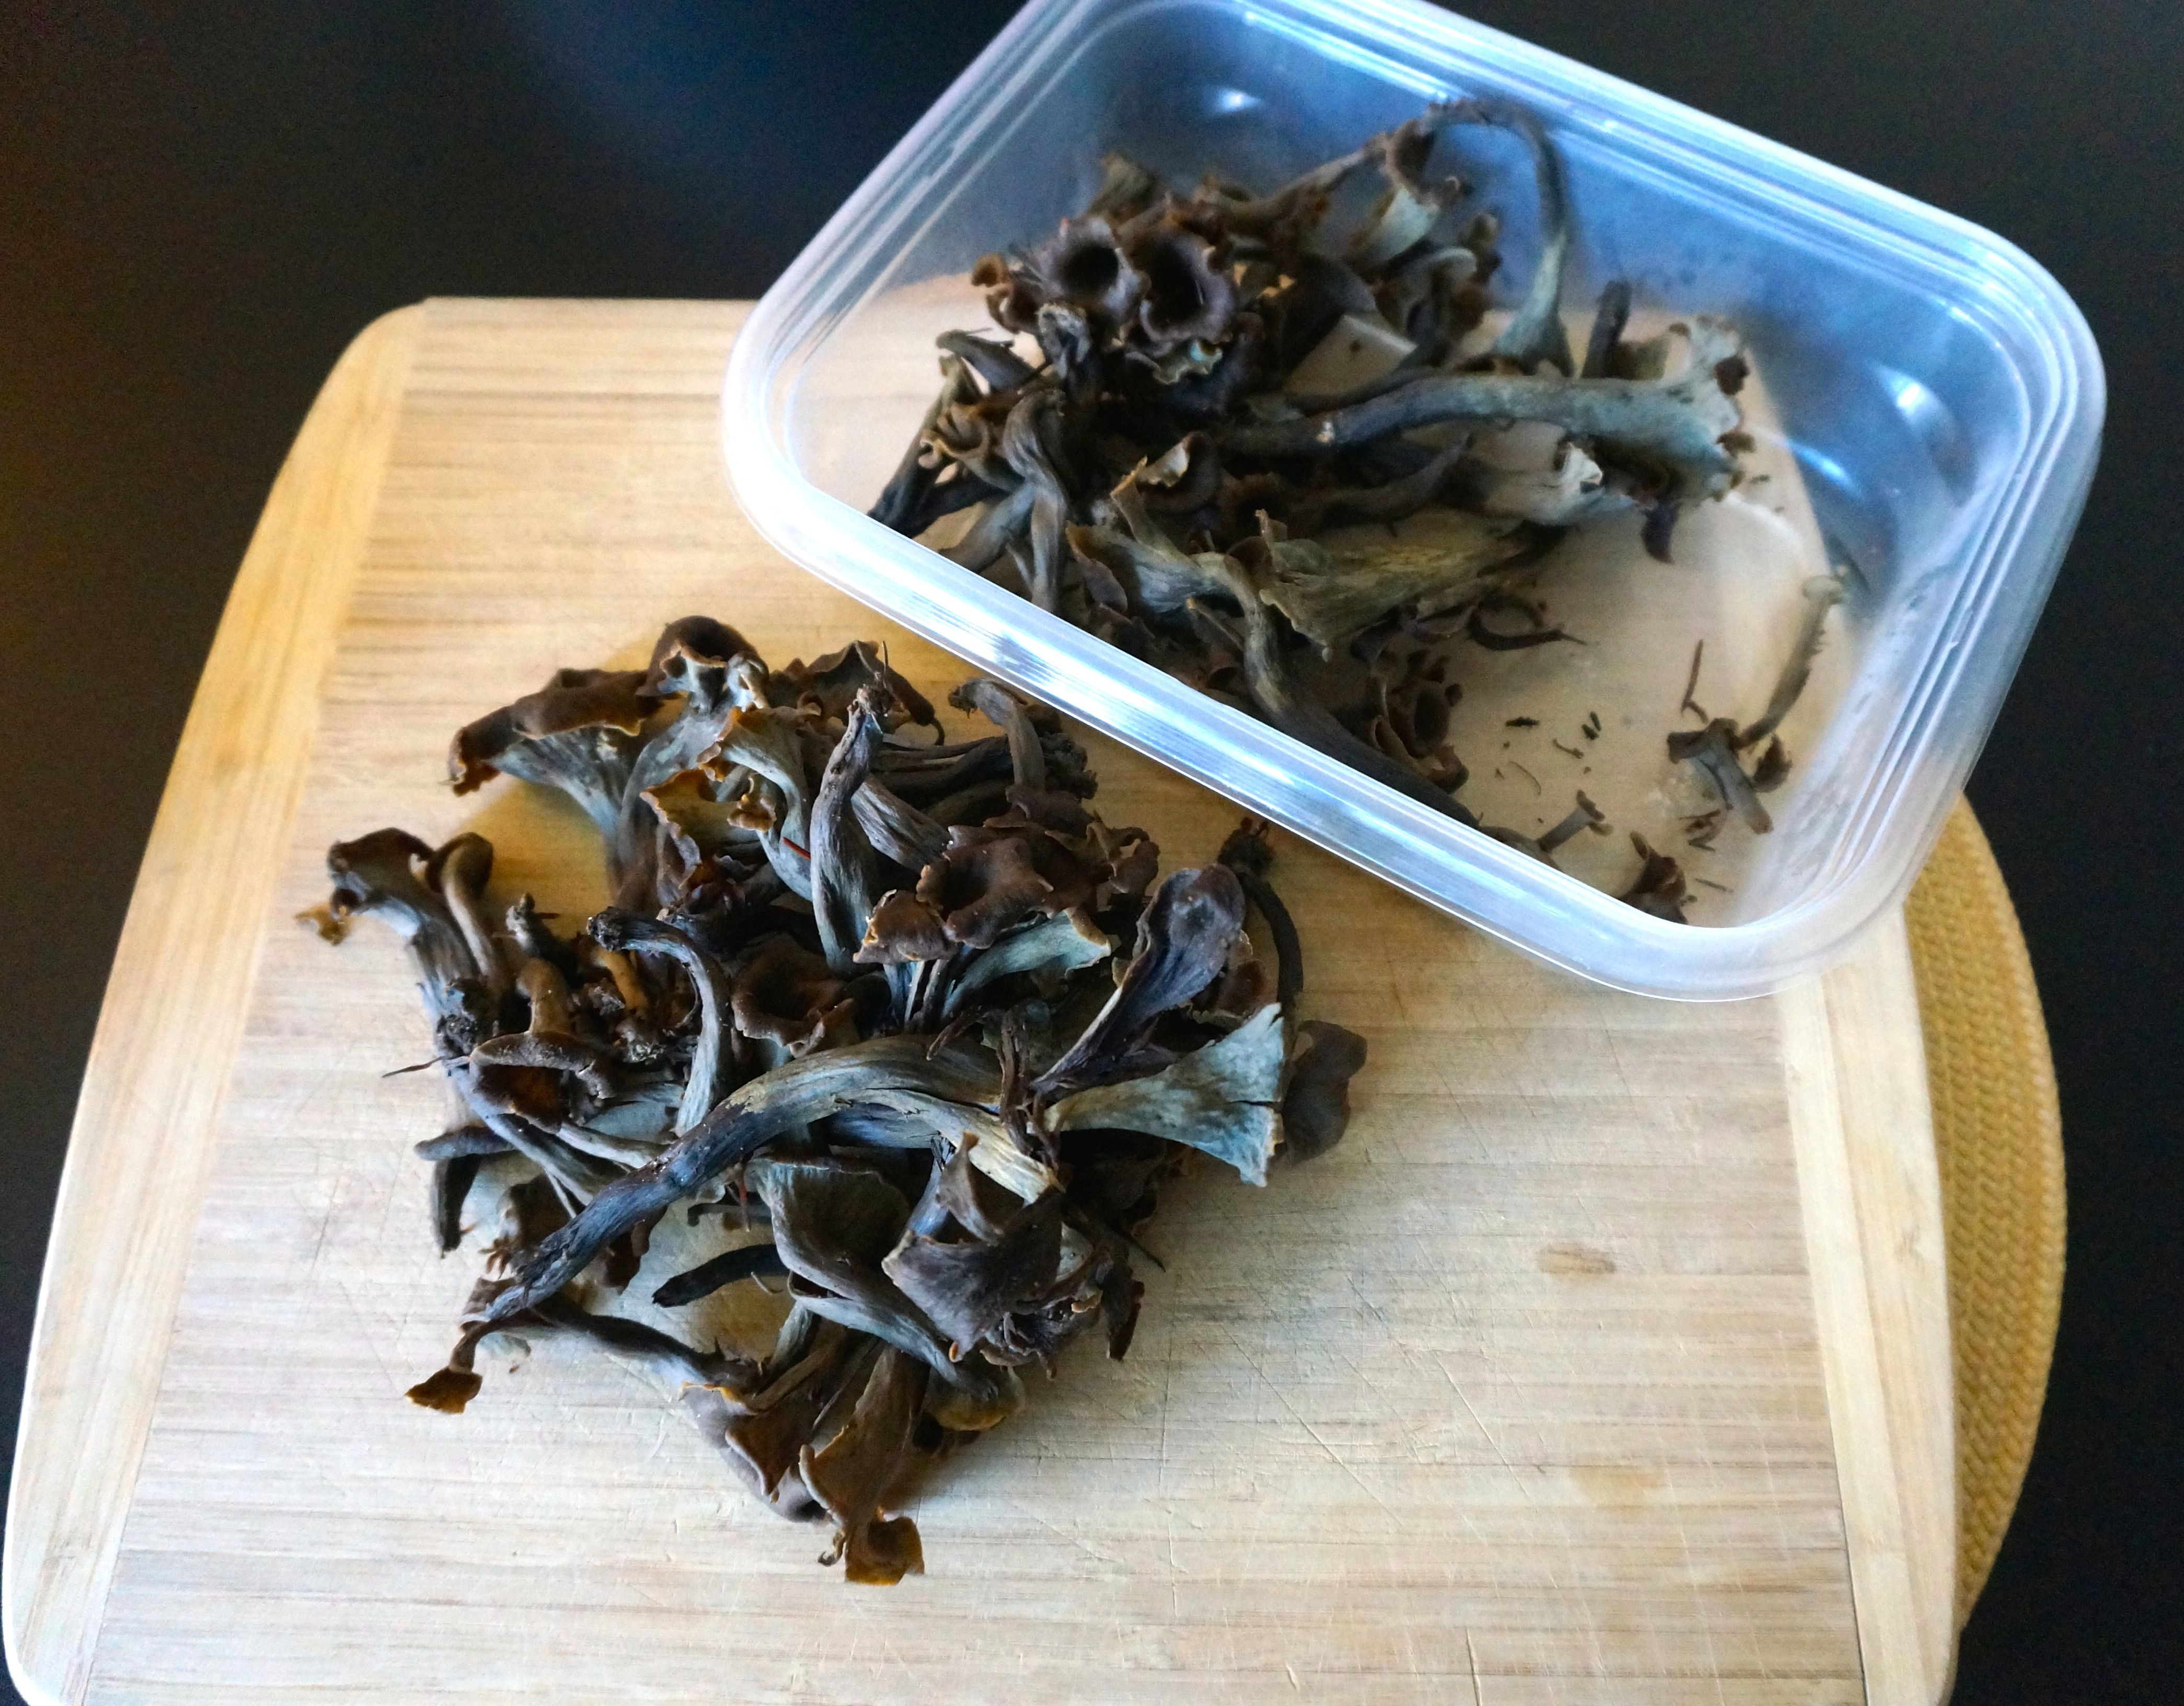
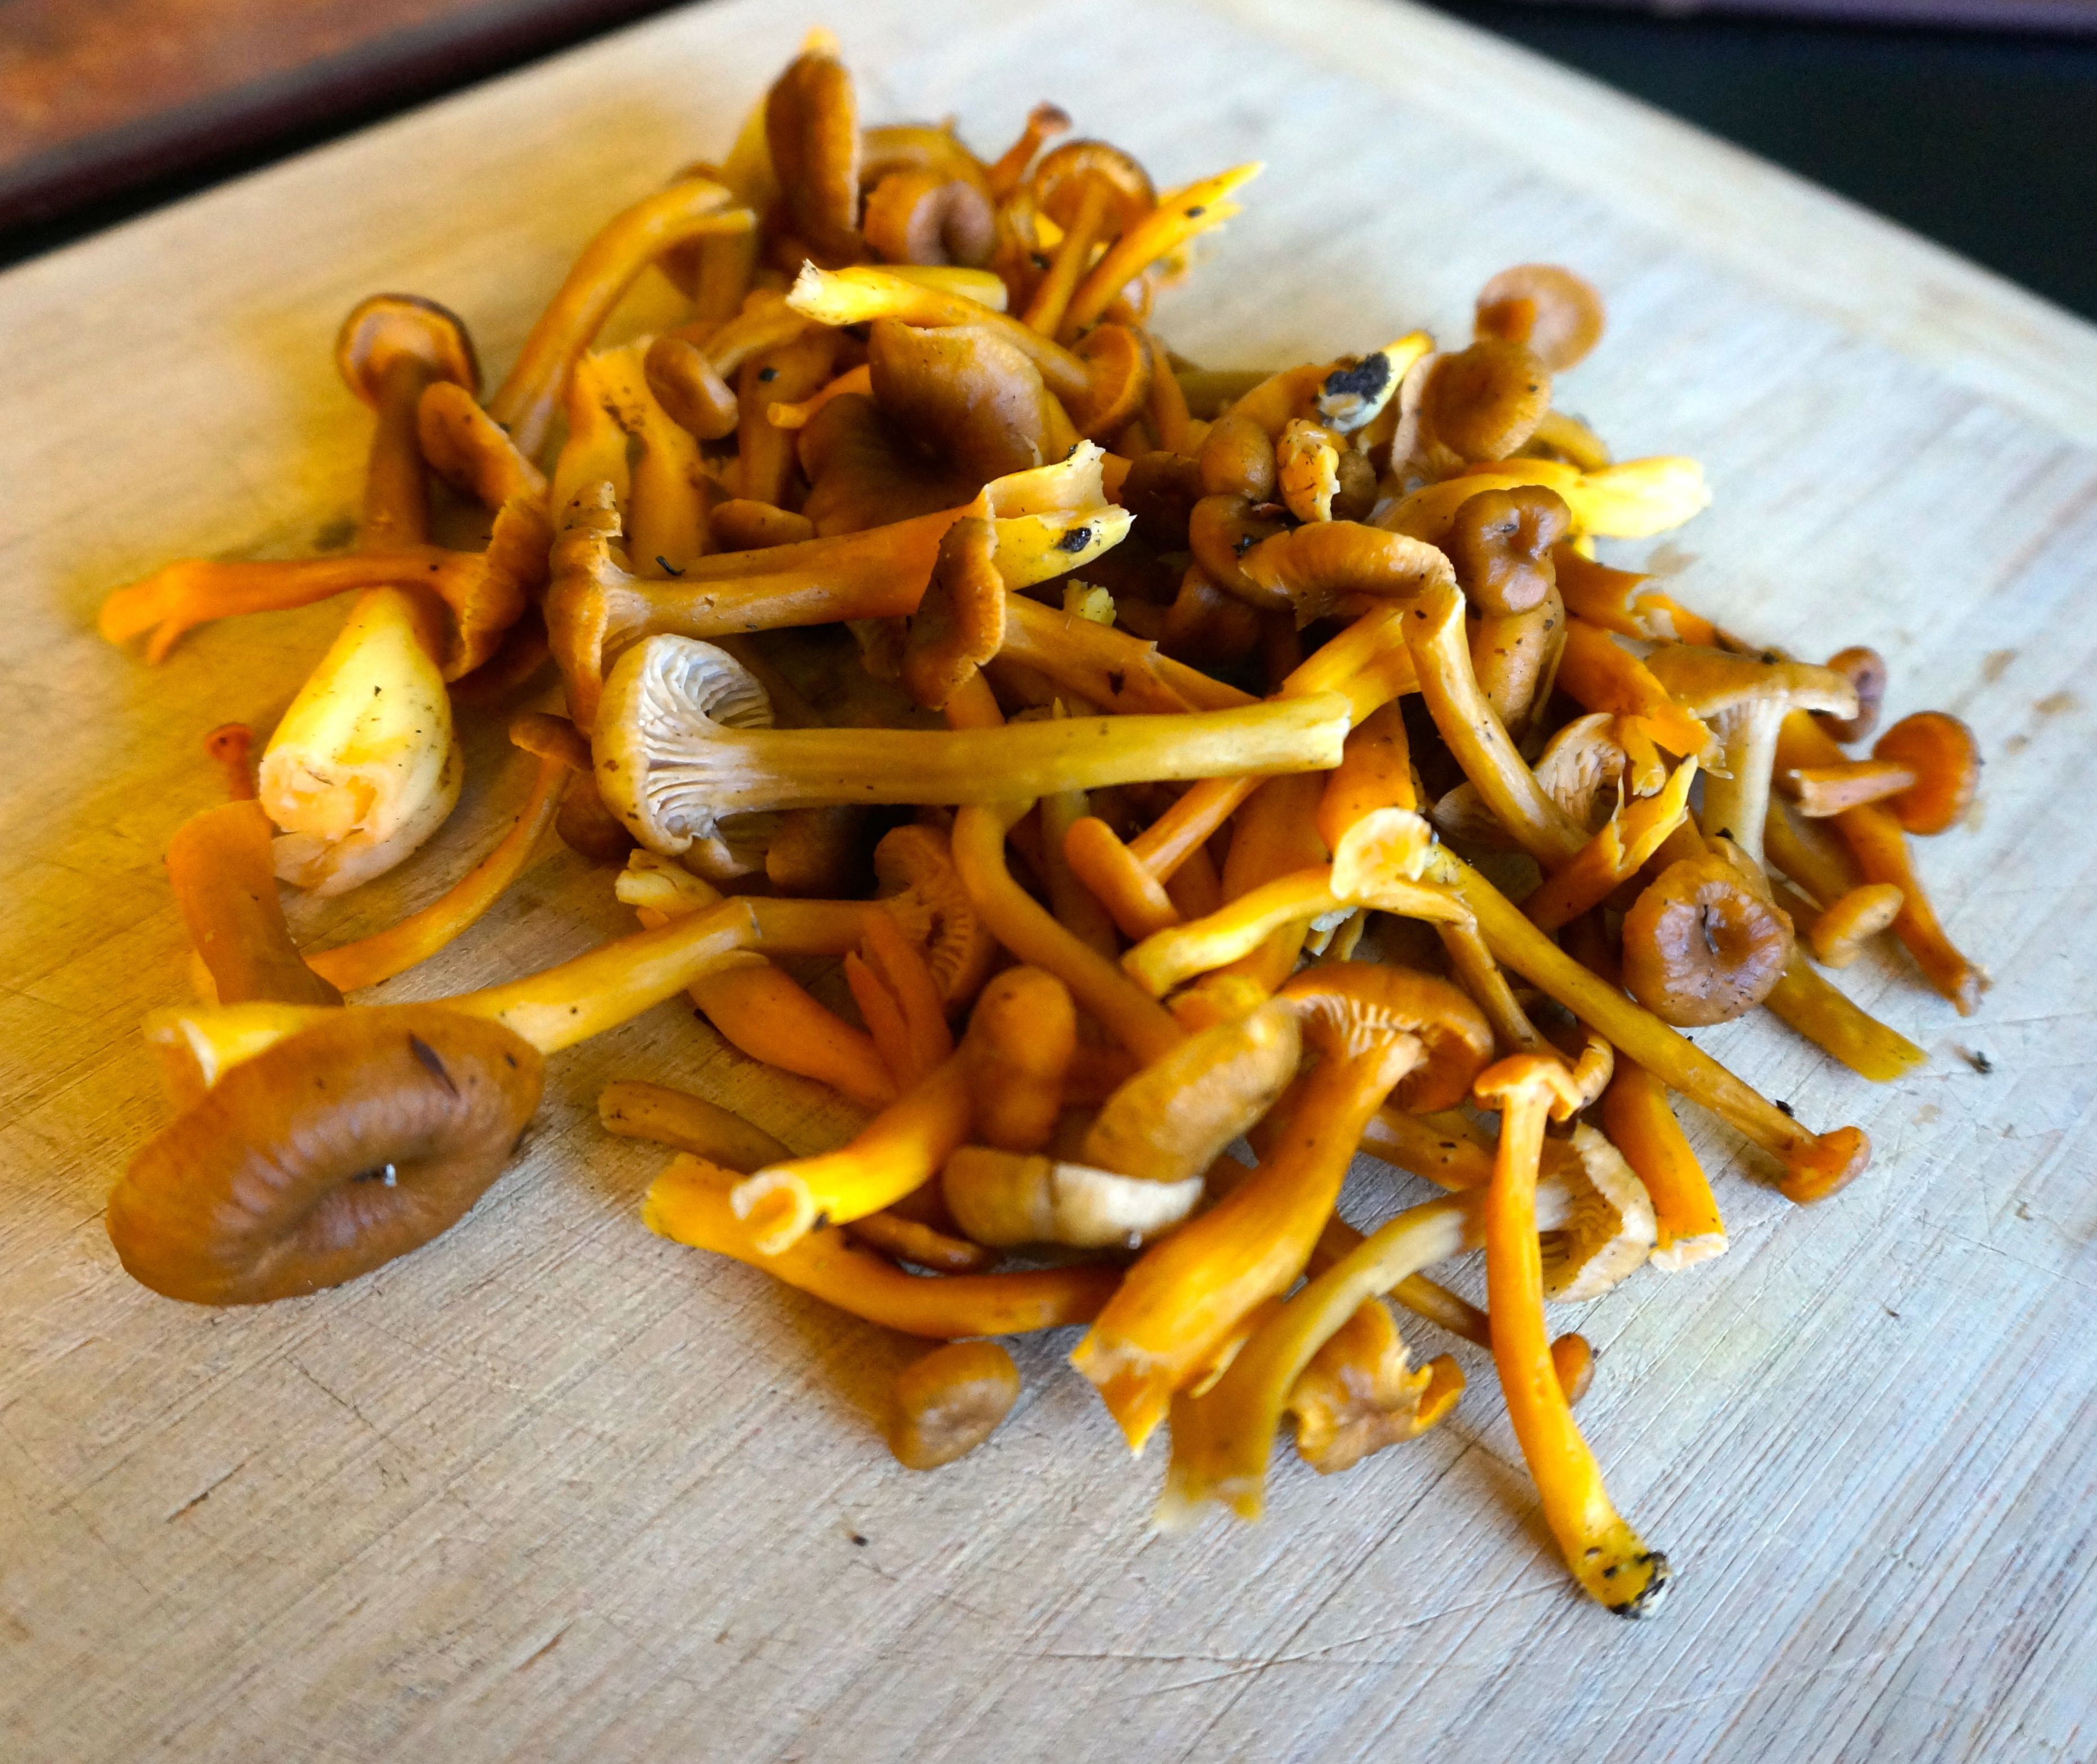
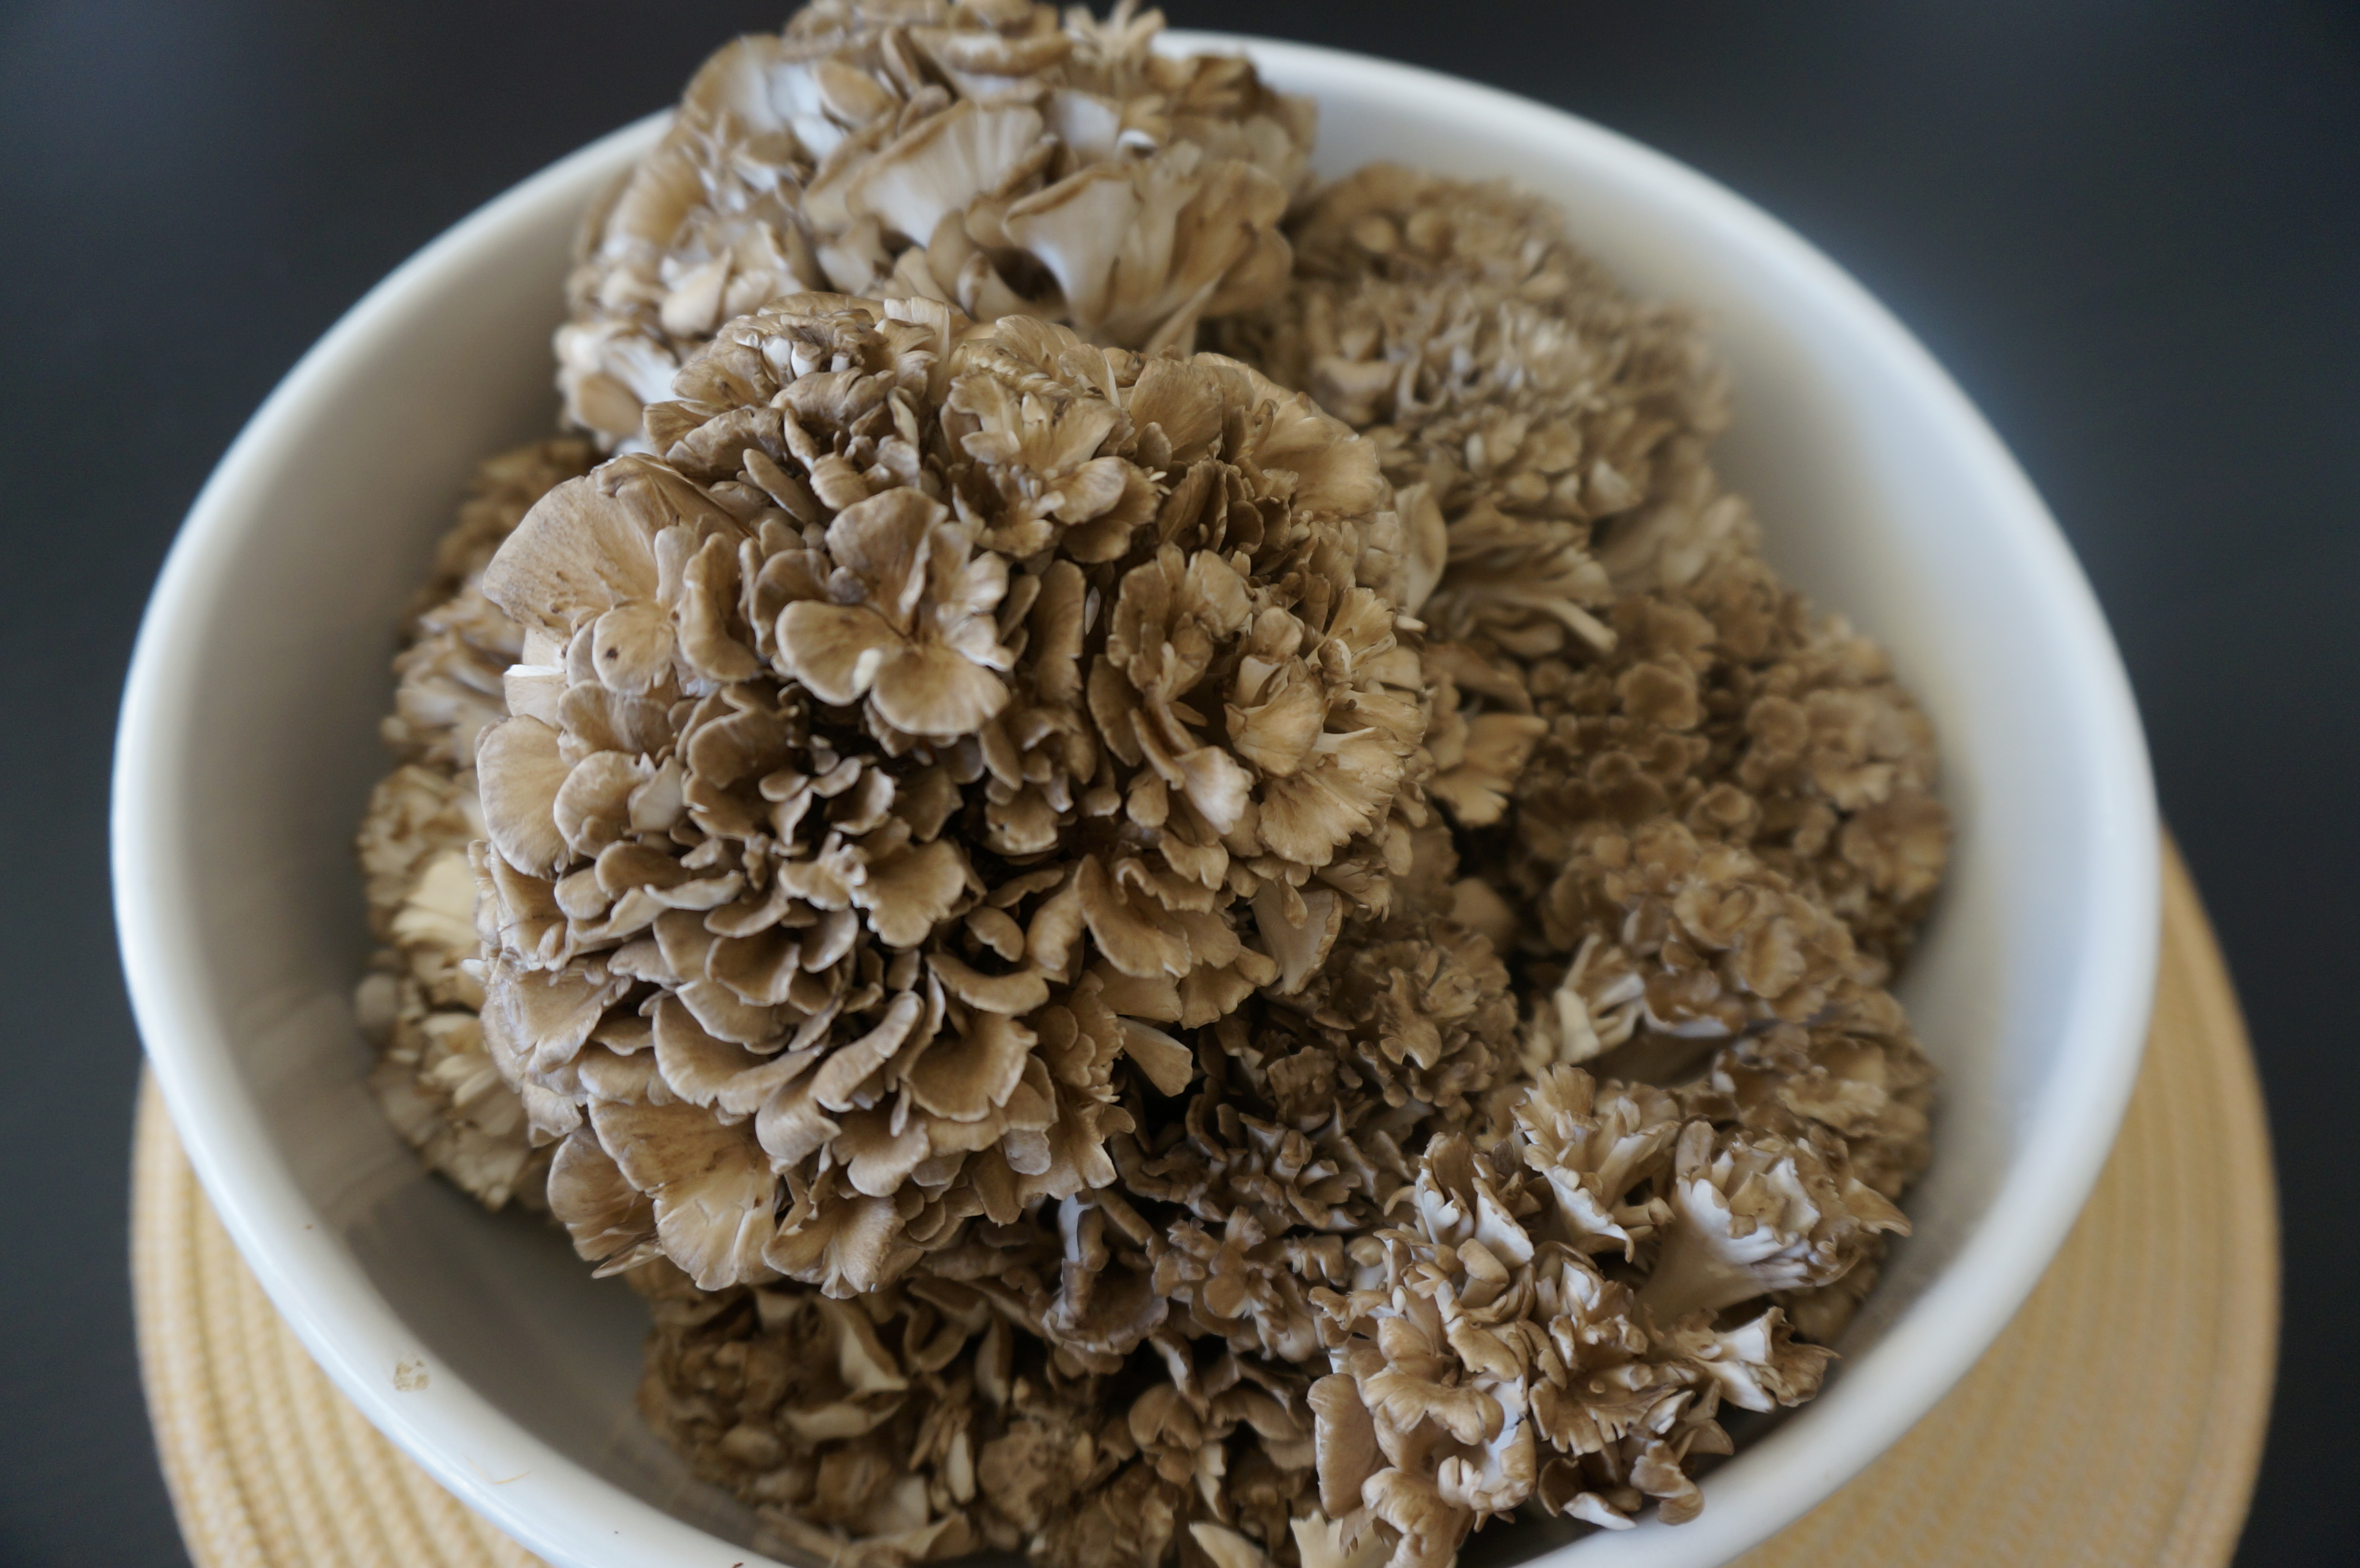
First I started off with these gorgeous giant Matsutakes that I foraged in Oregon on the coast, and miraculously they were completely clean and no bugs!

DSC06150

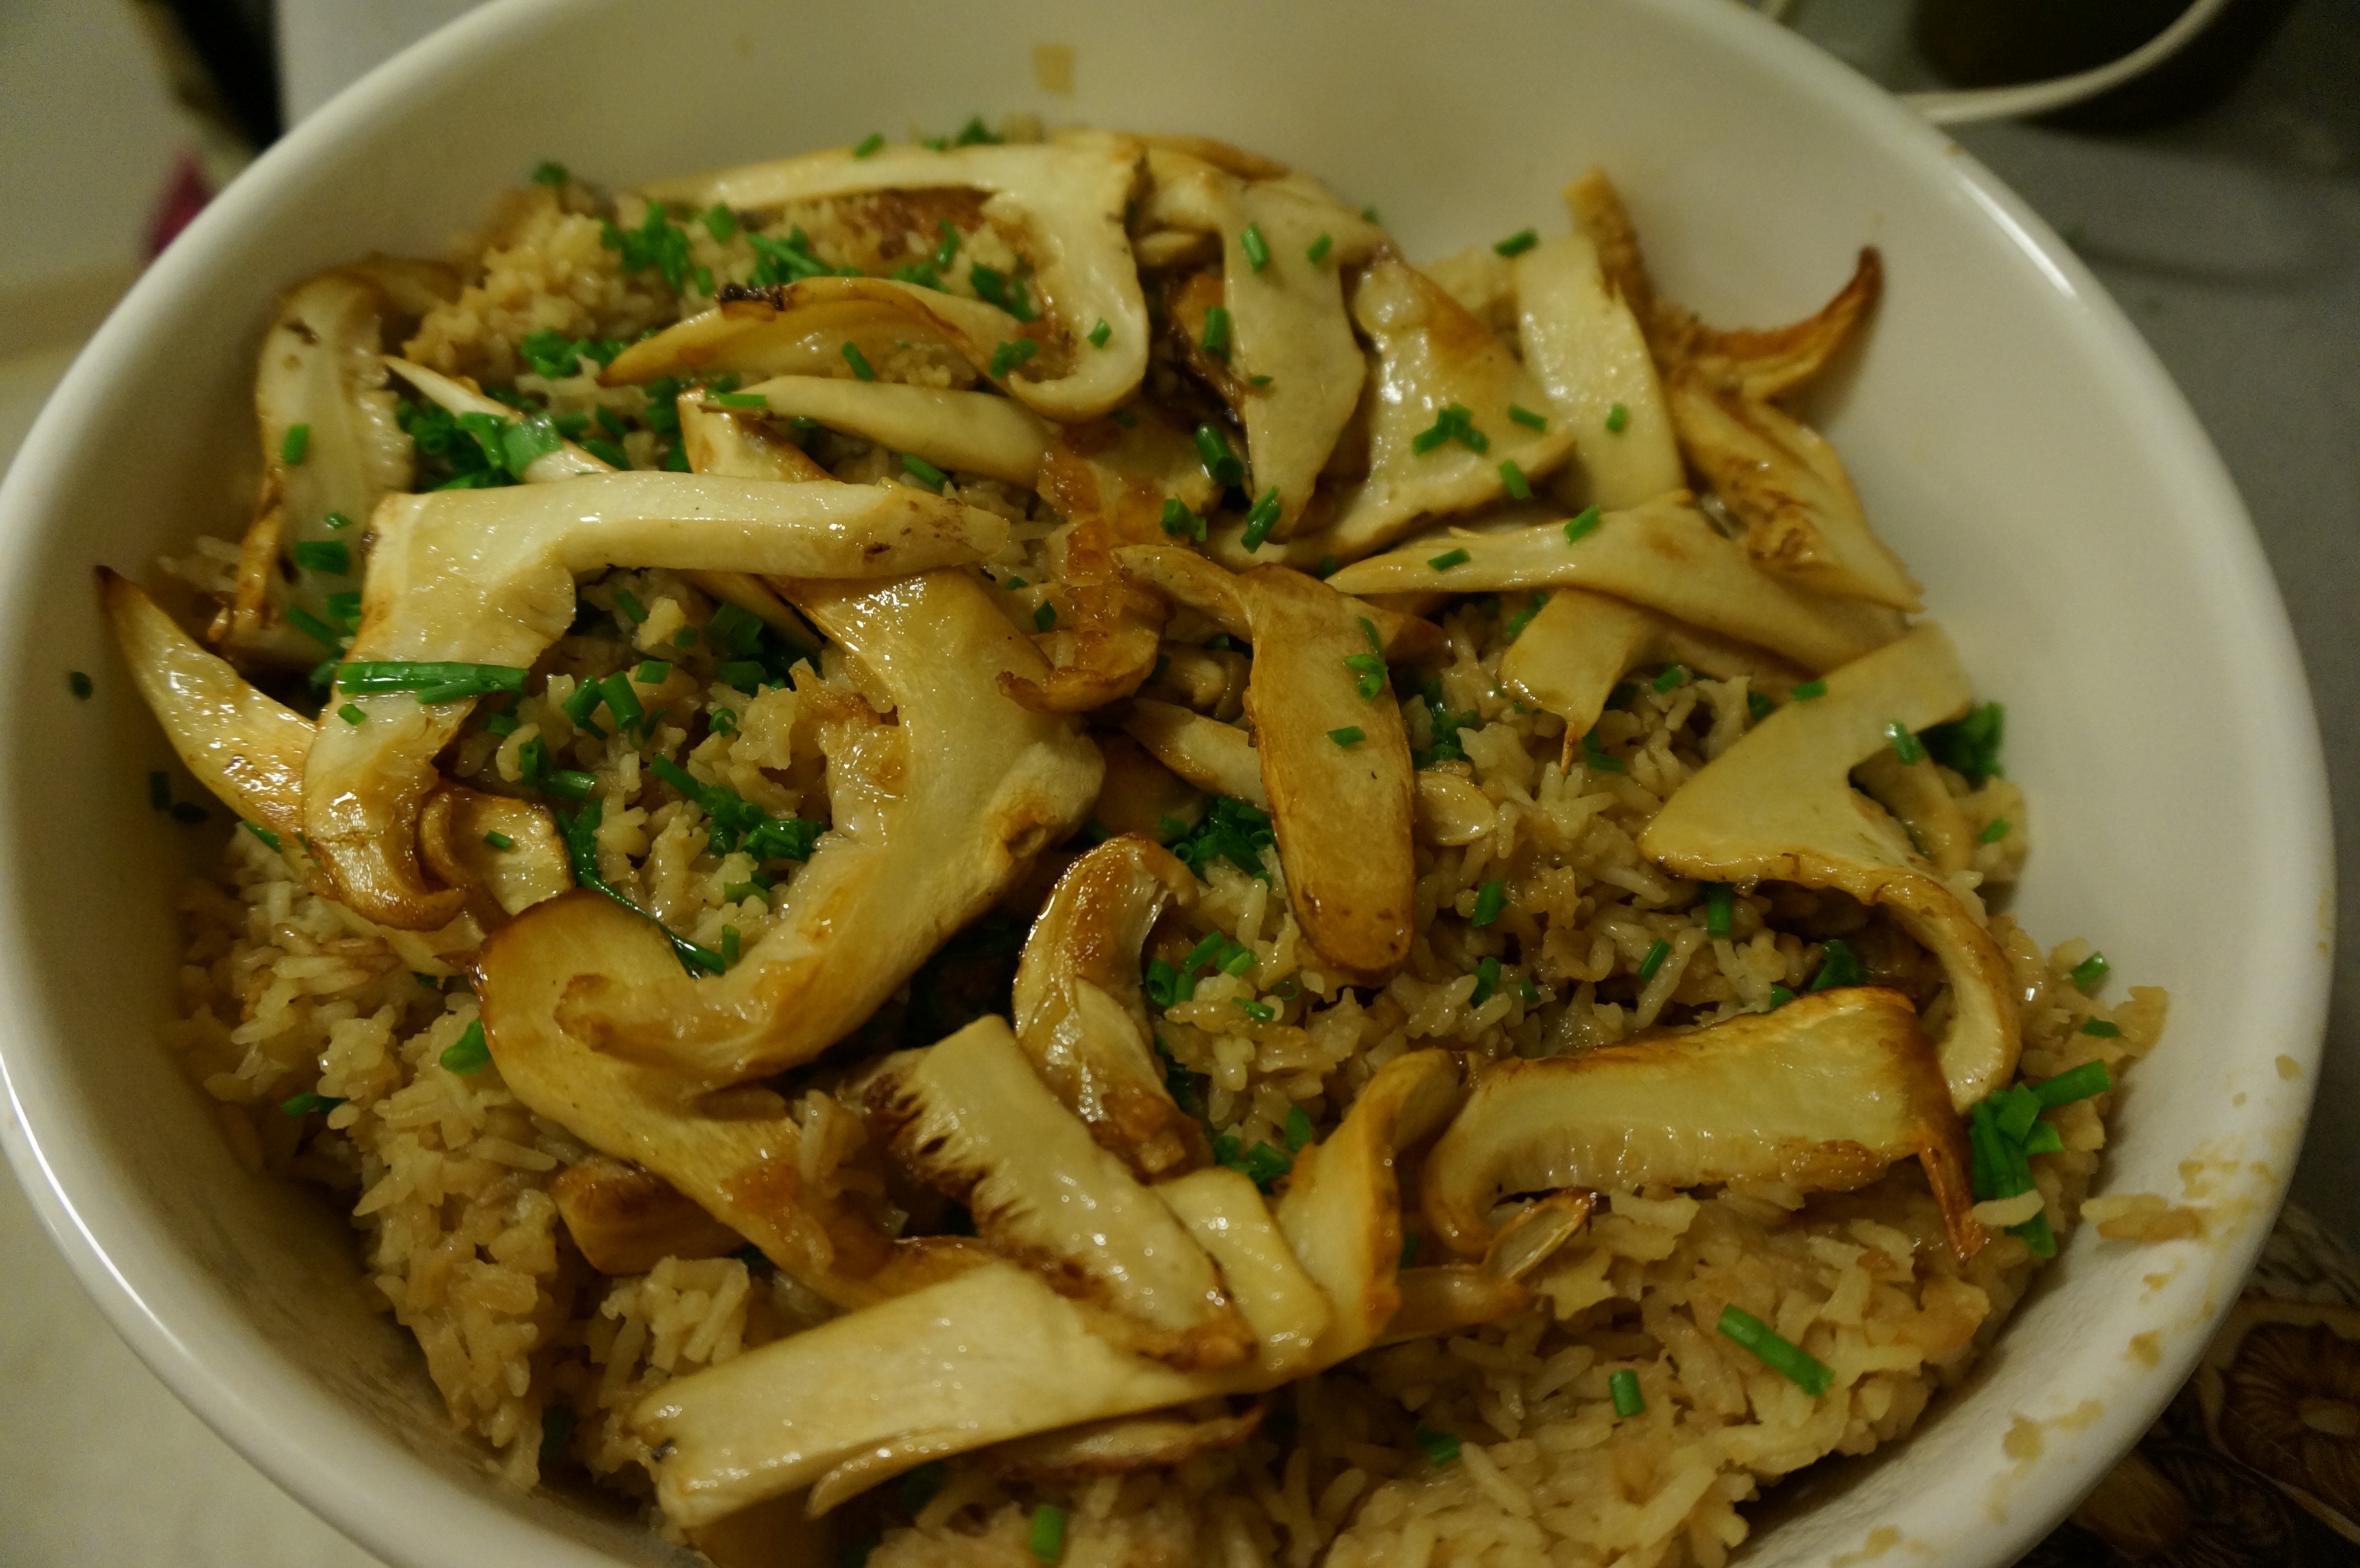
How pretty are these mushrooms?!

DSC06153


DSC06152

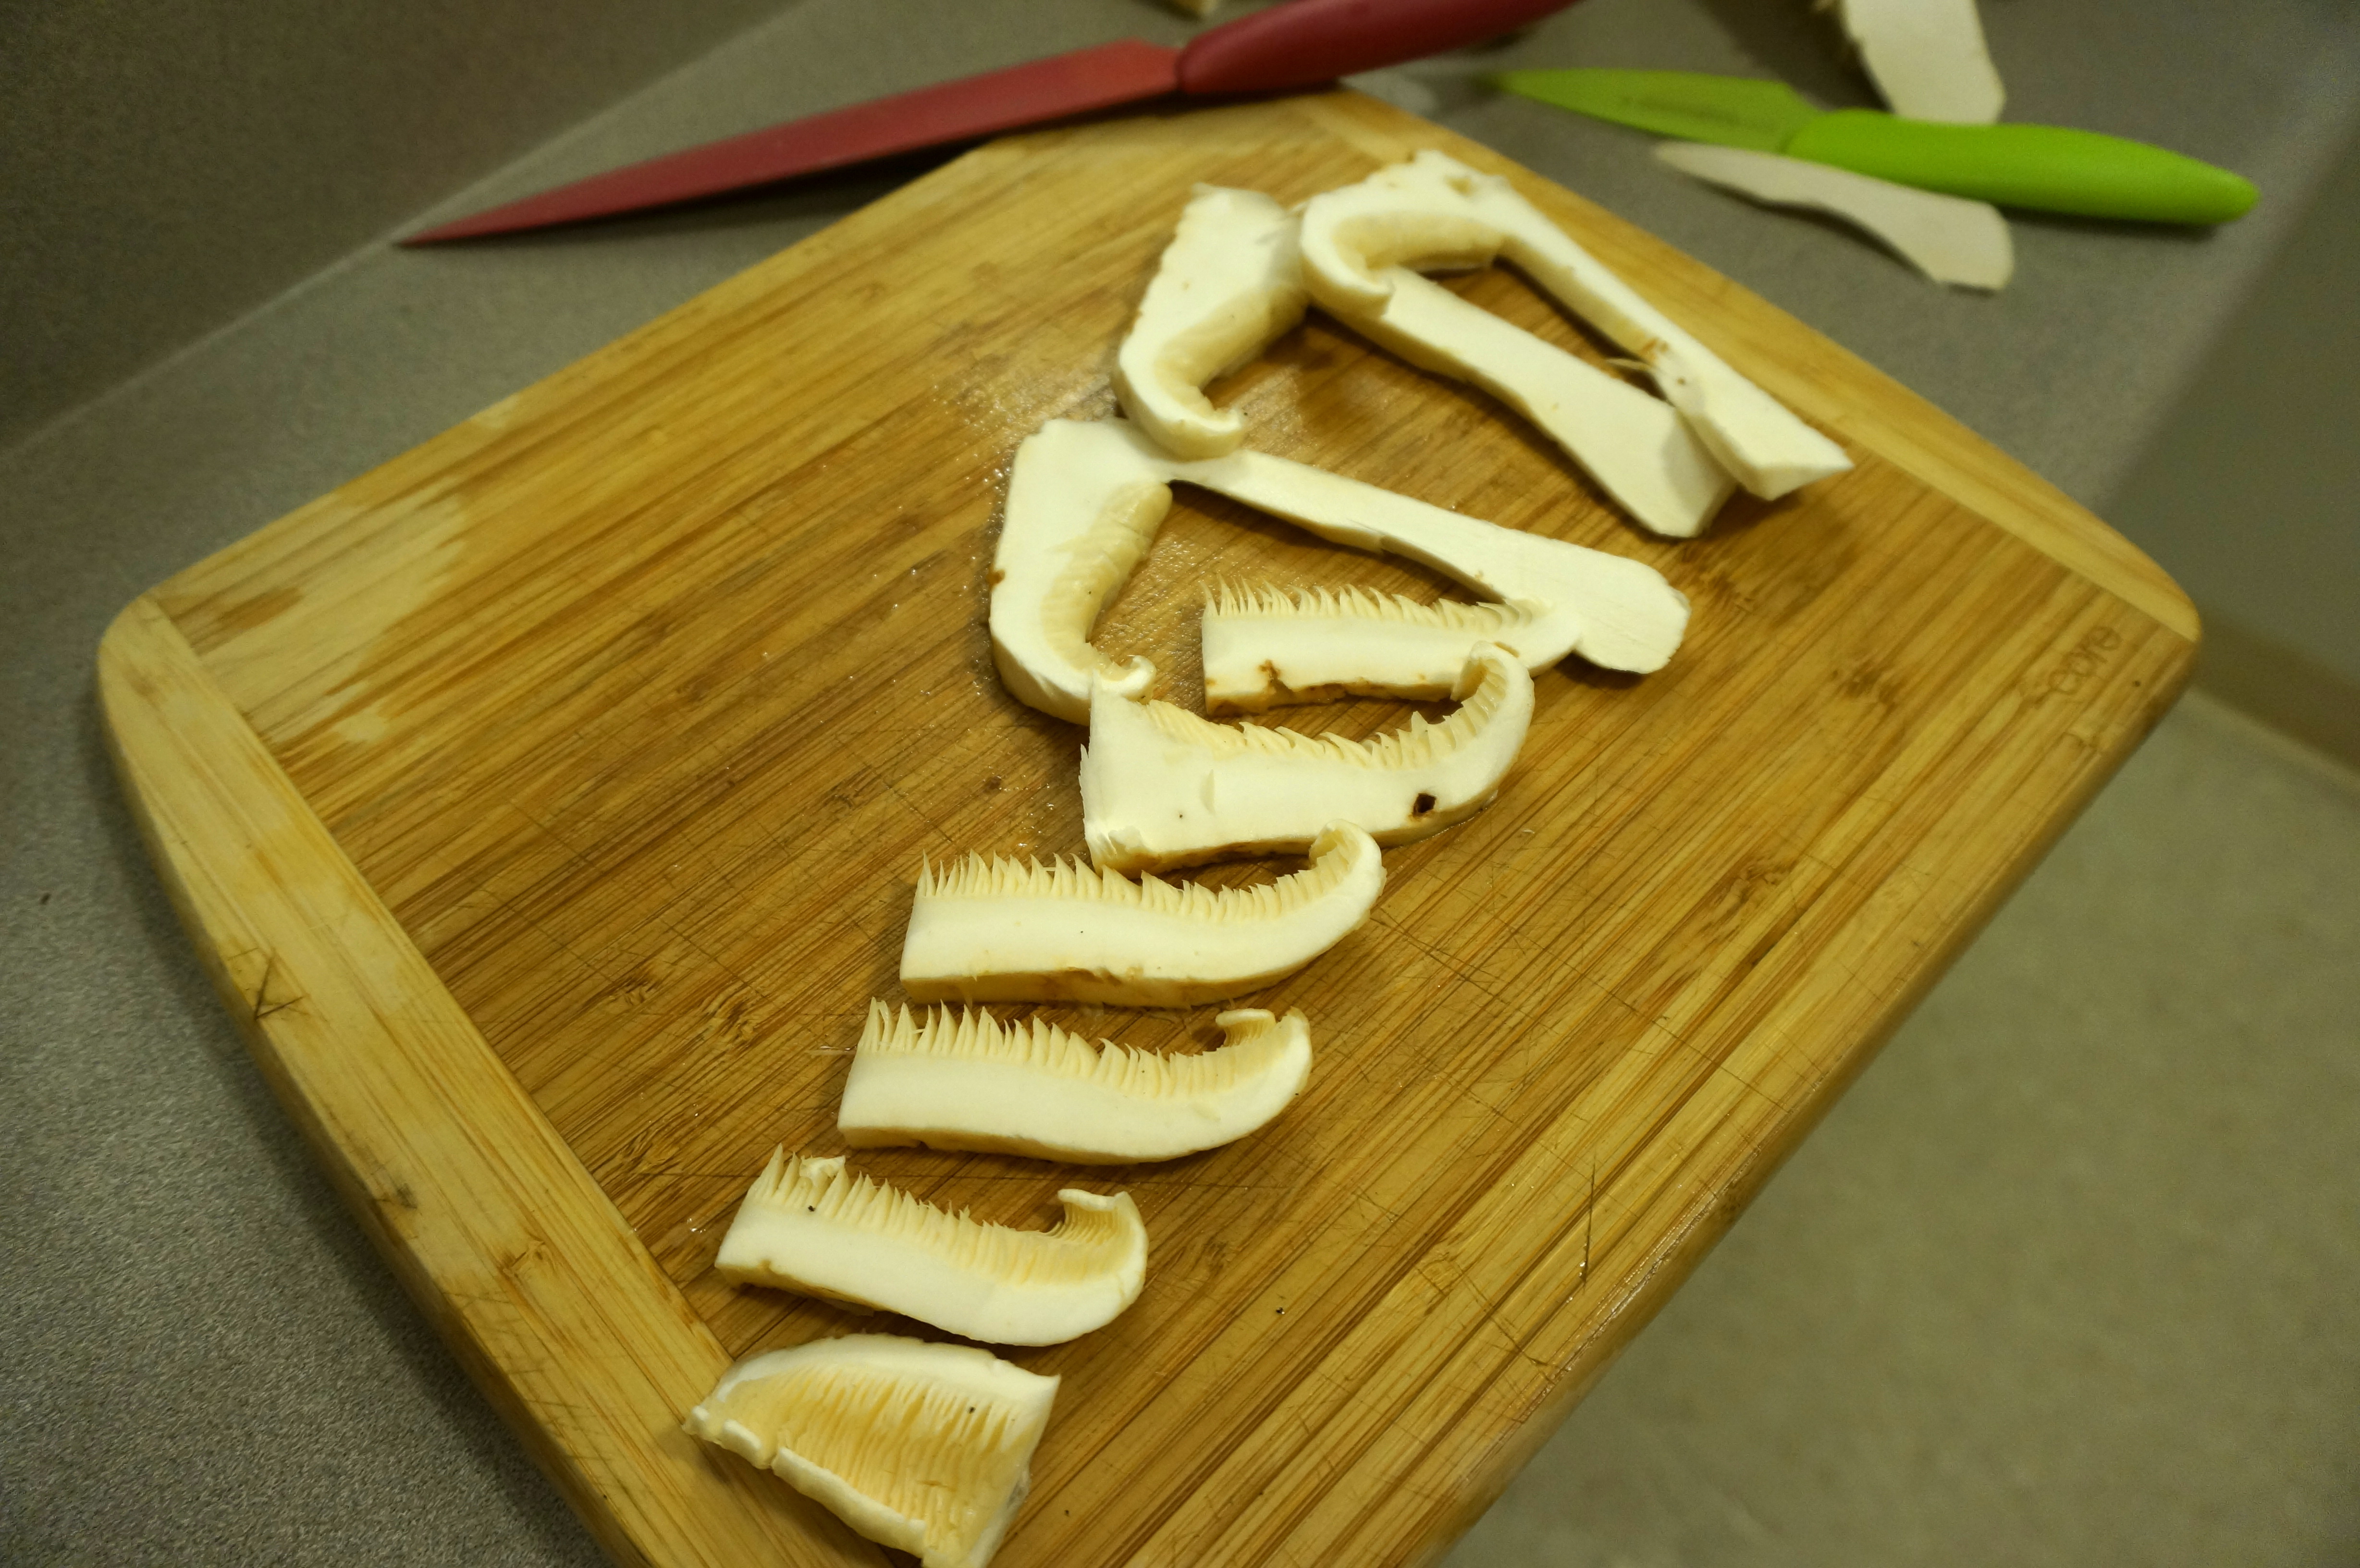
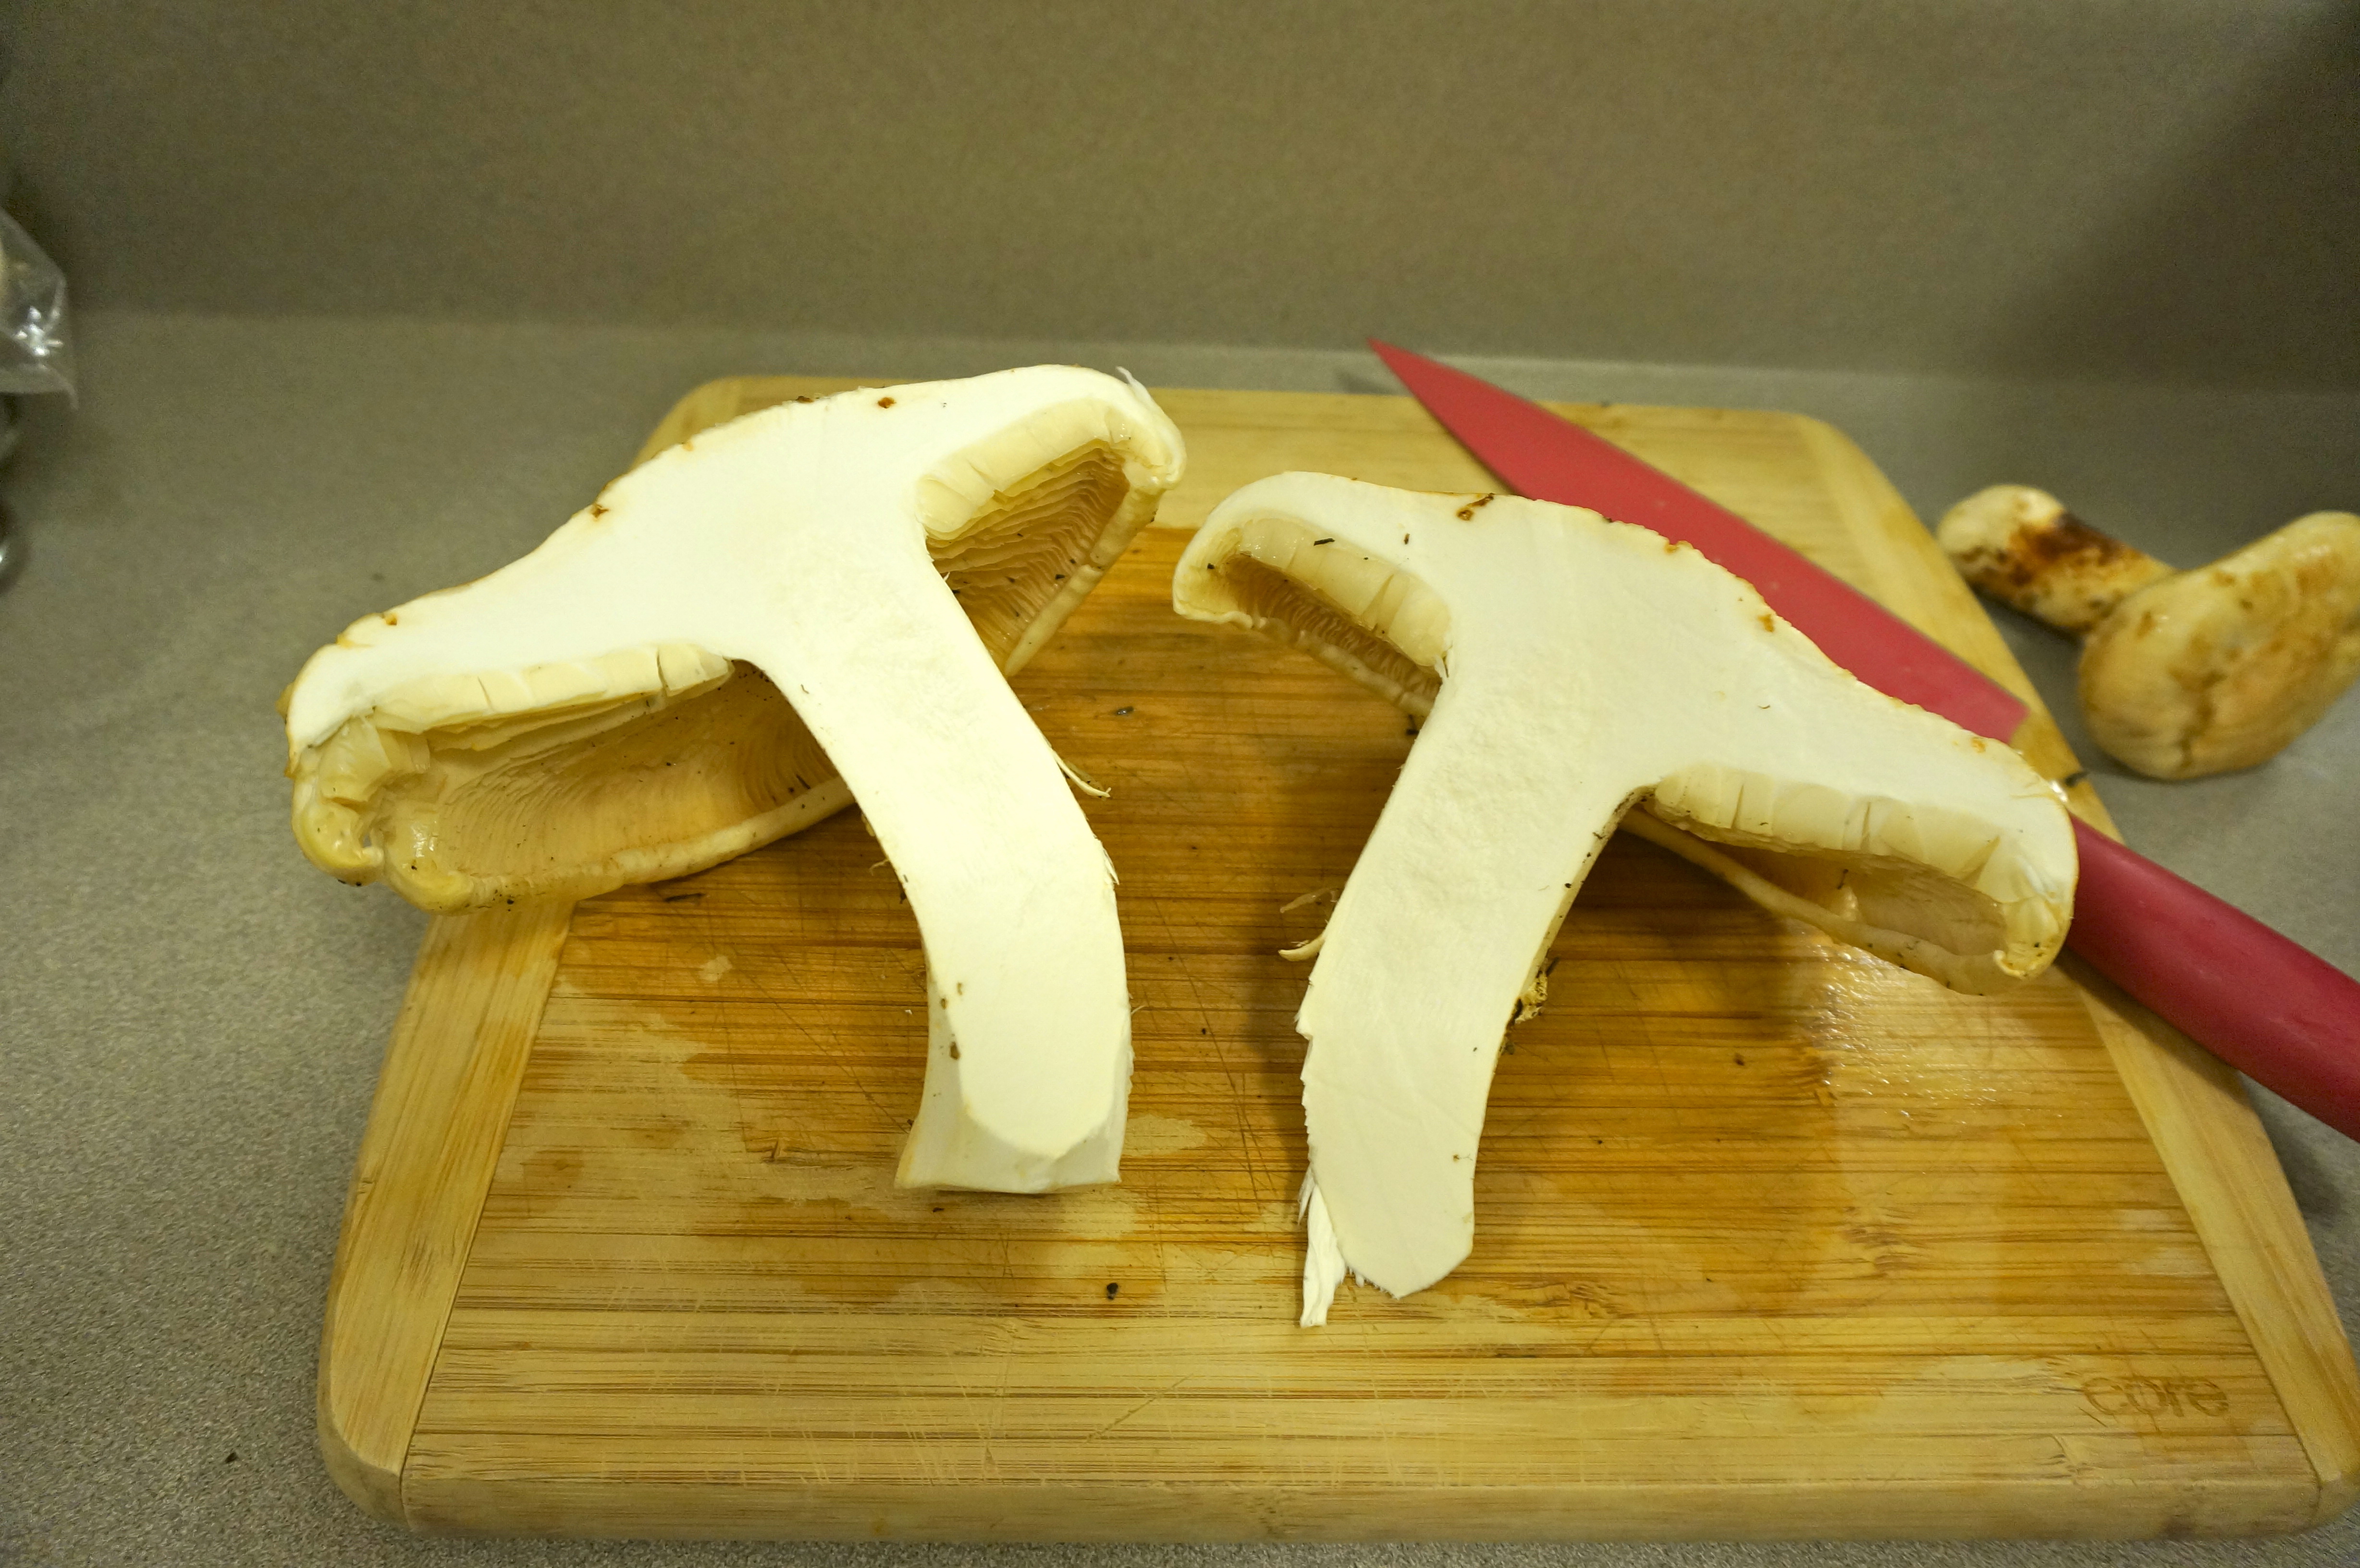
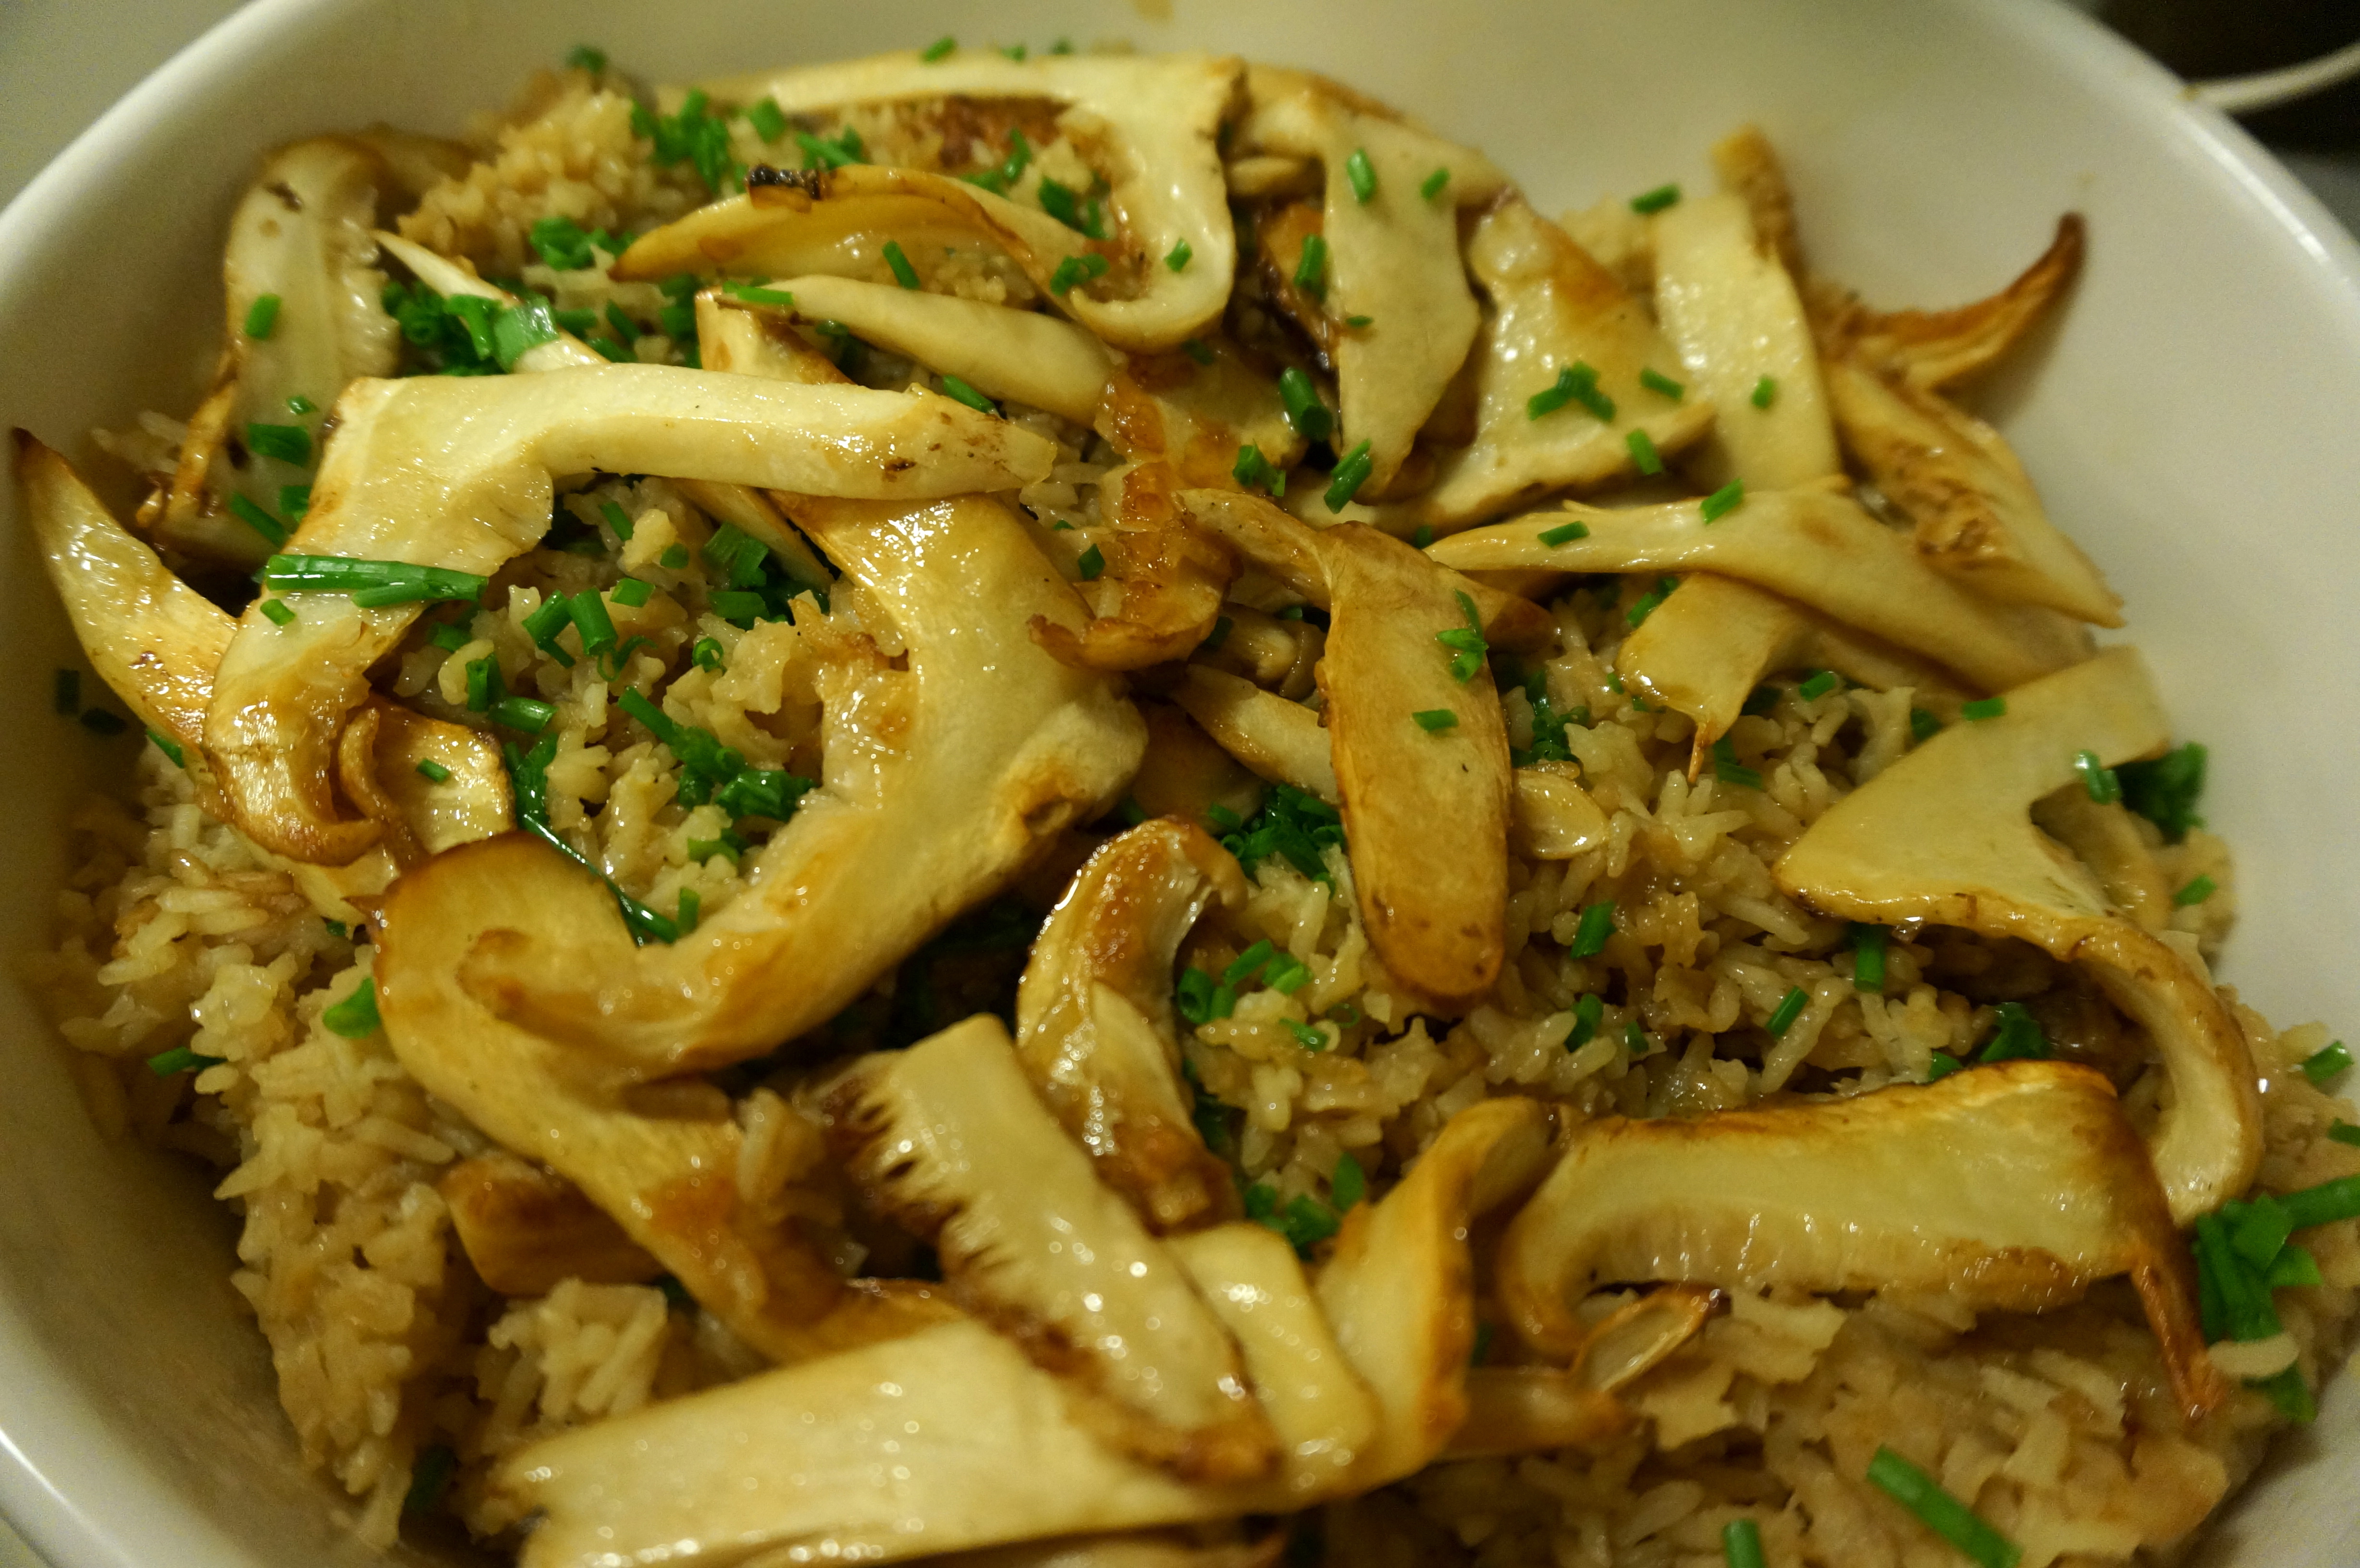
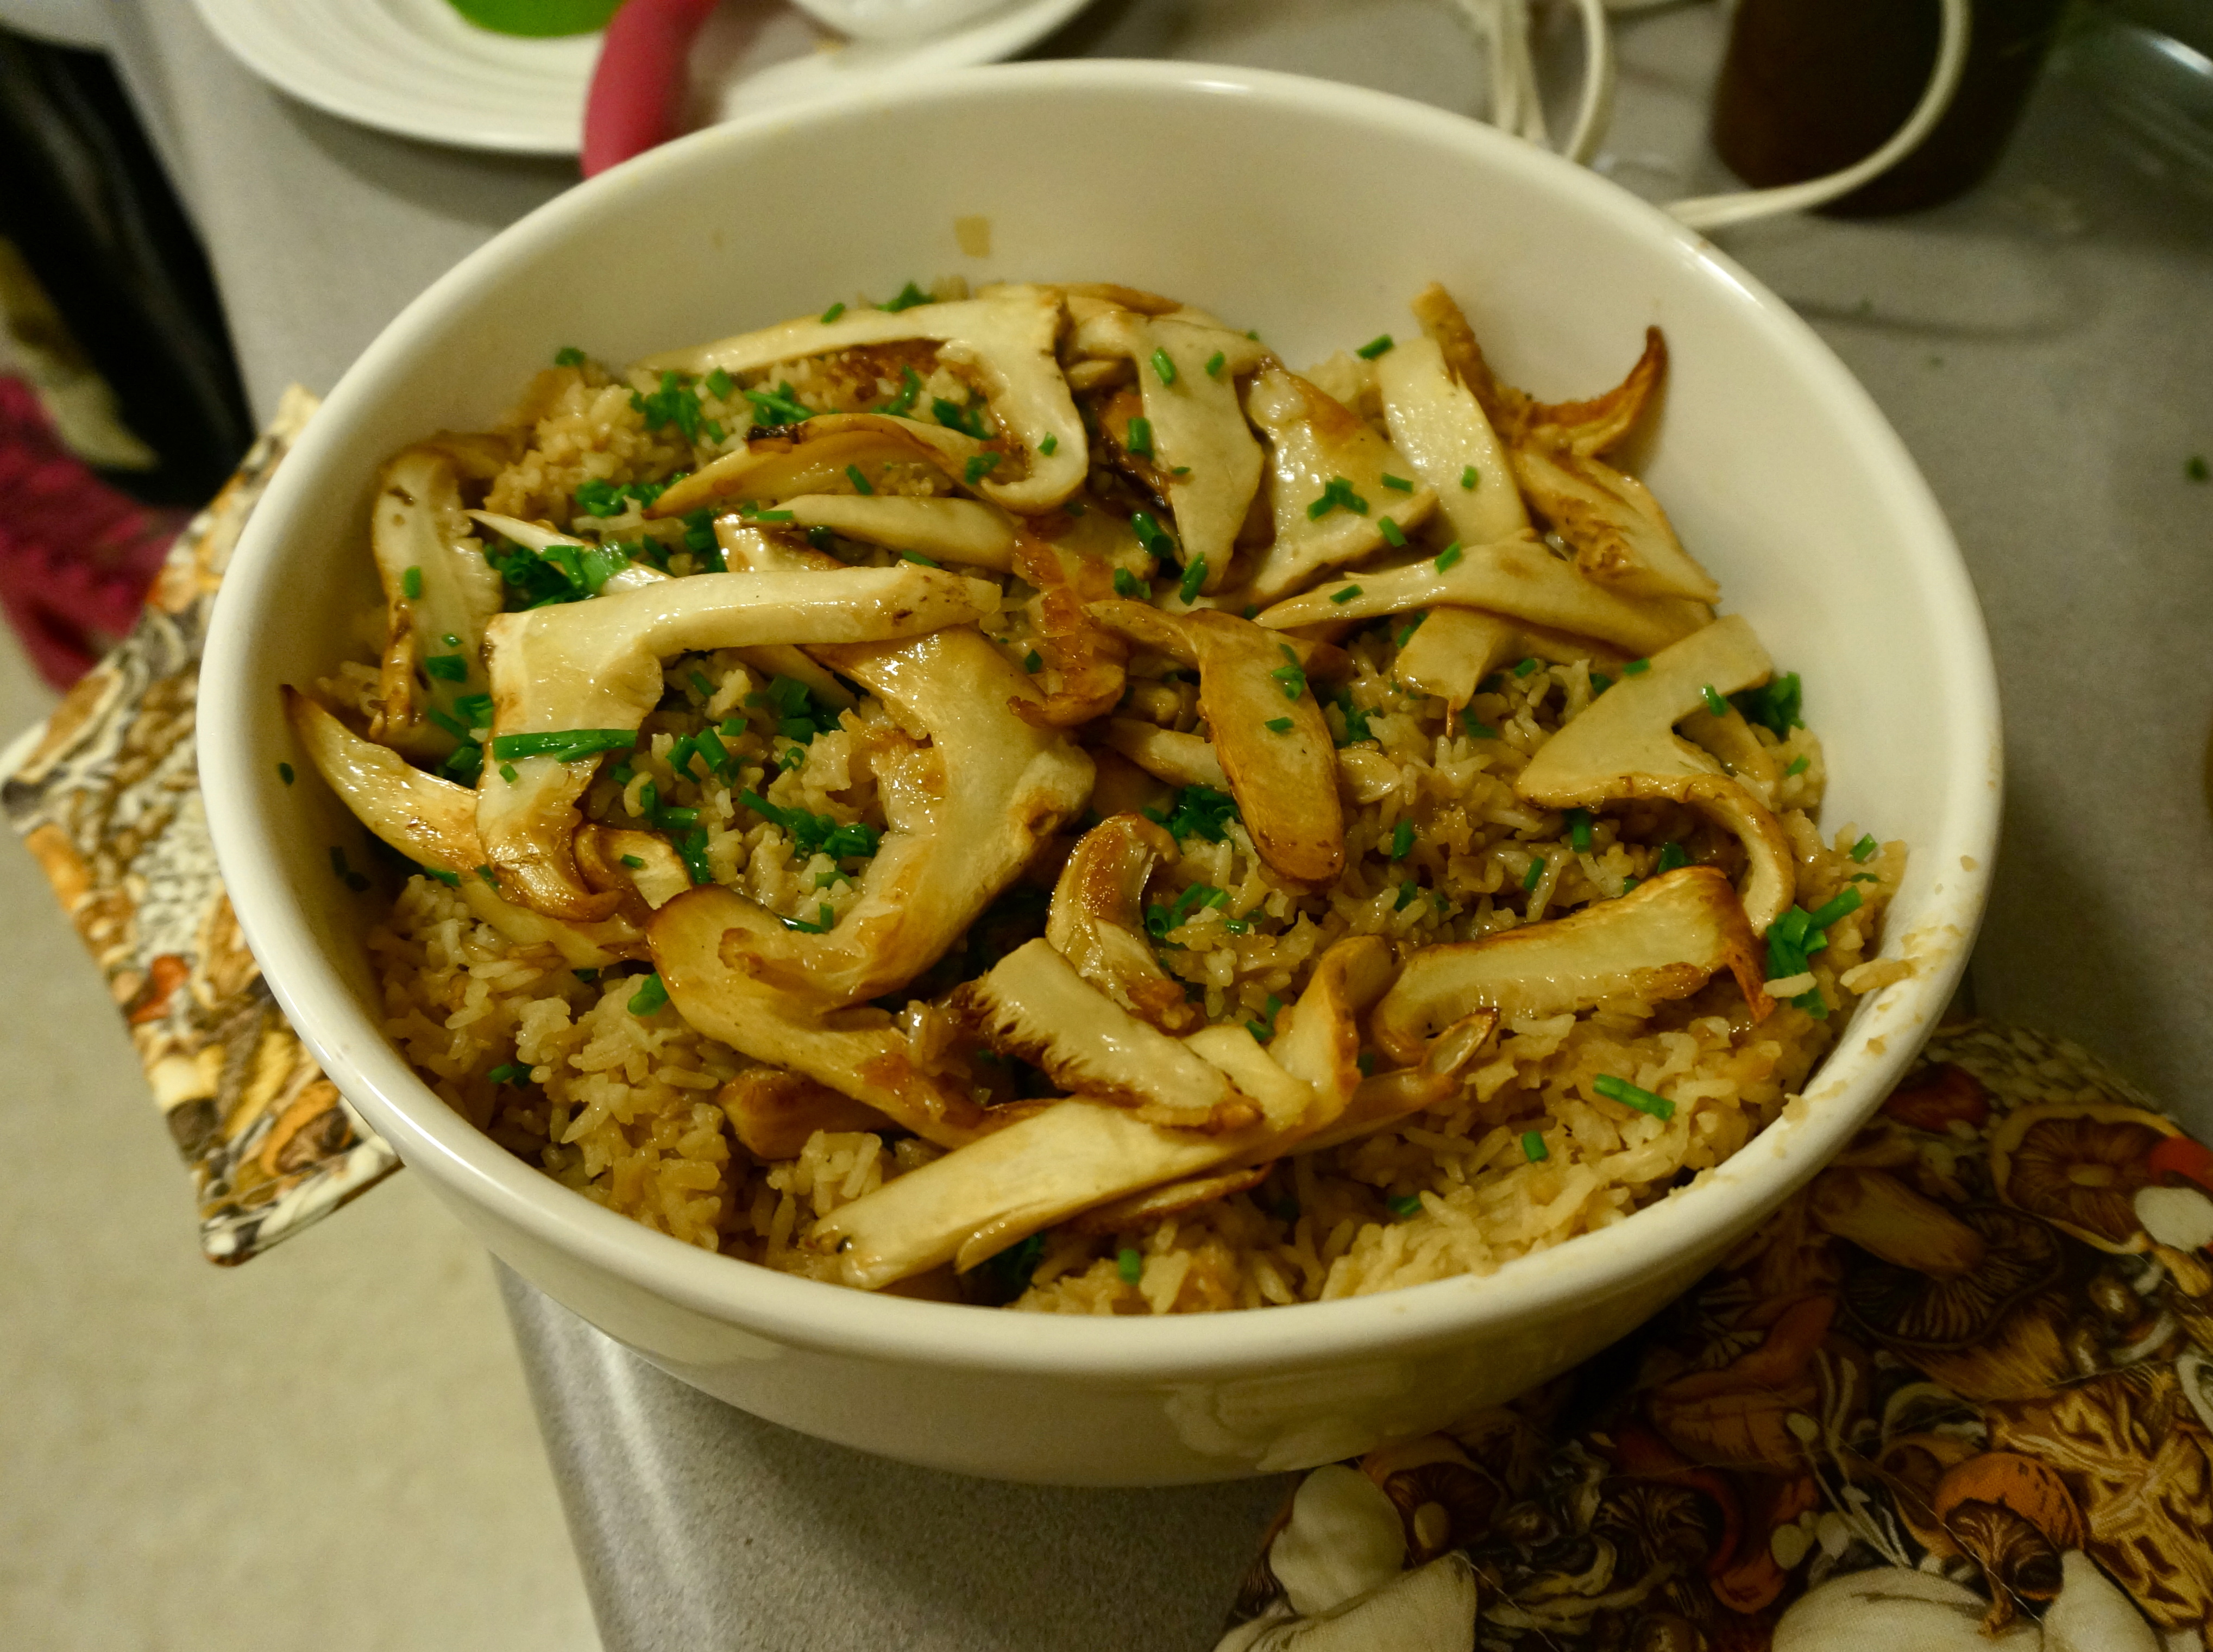
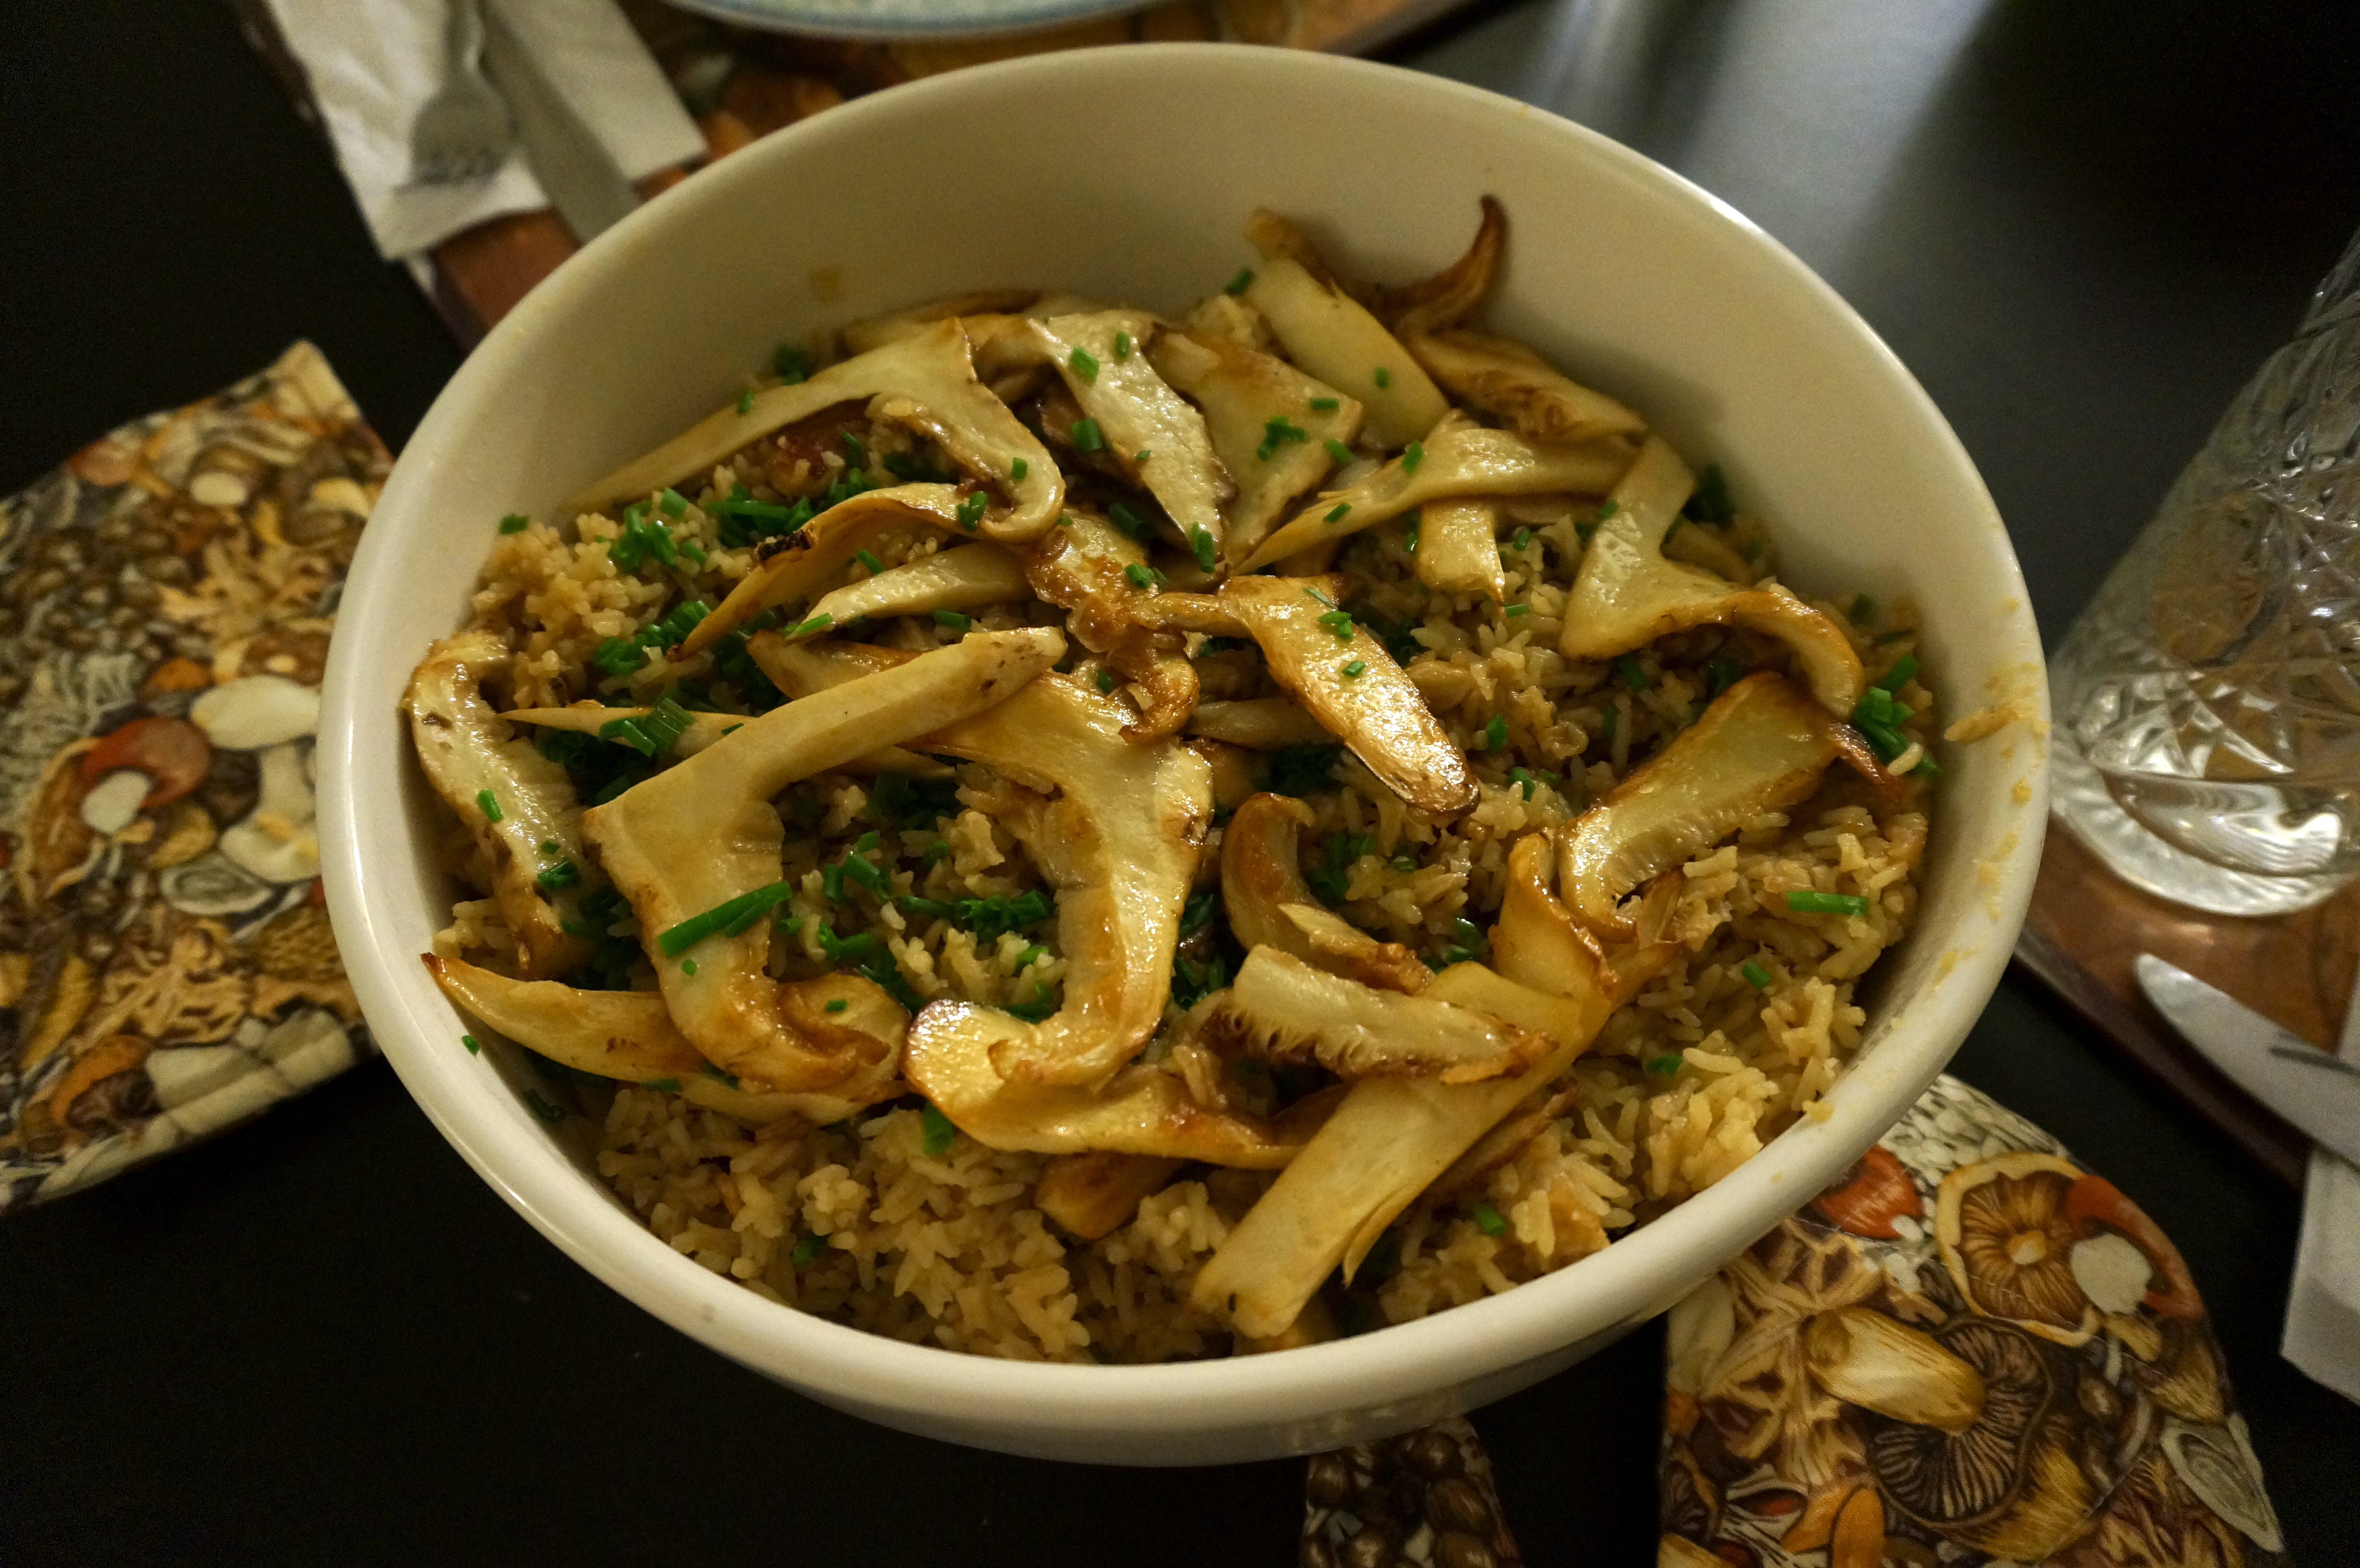
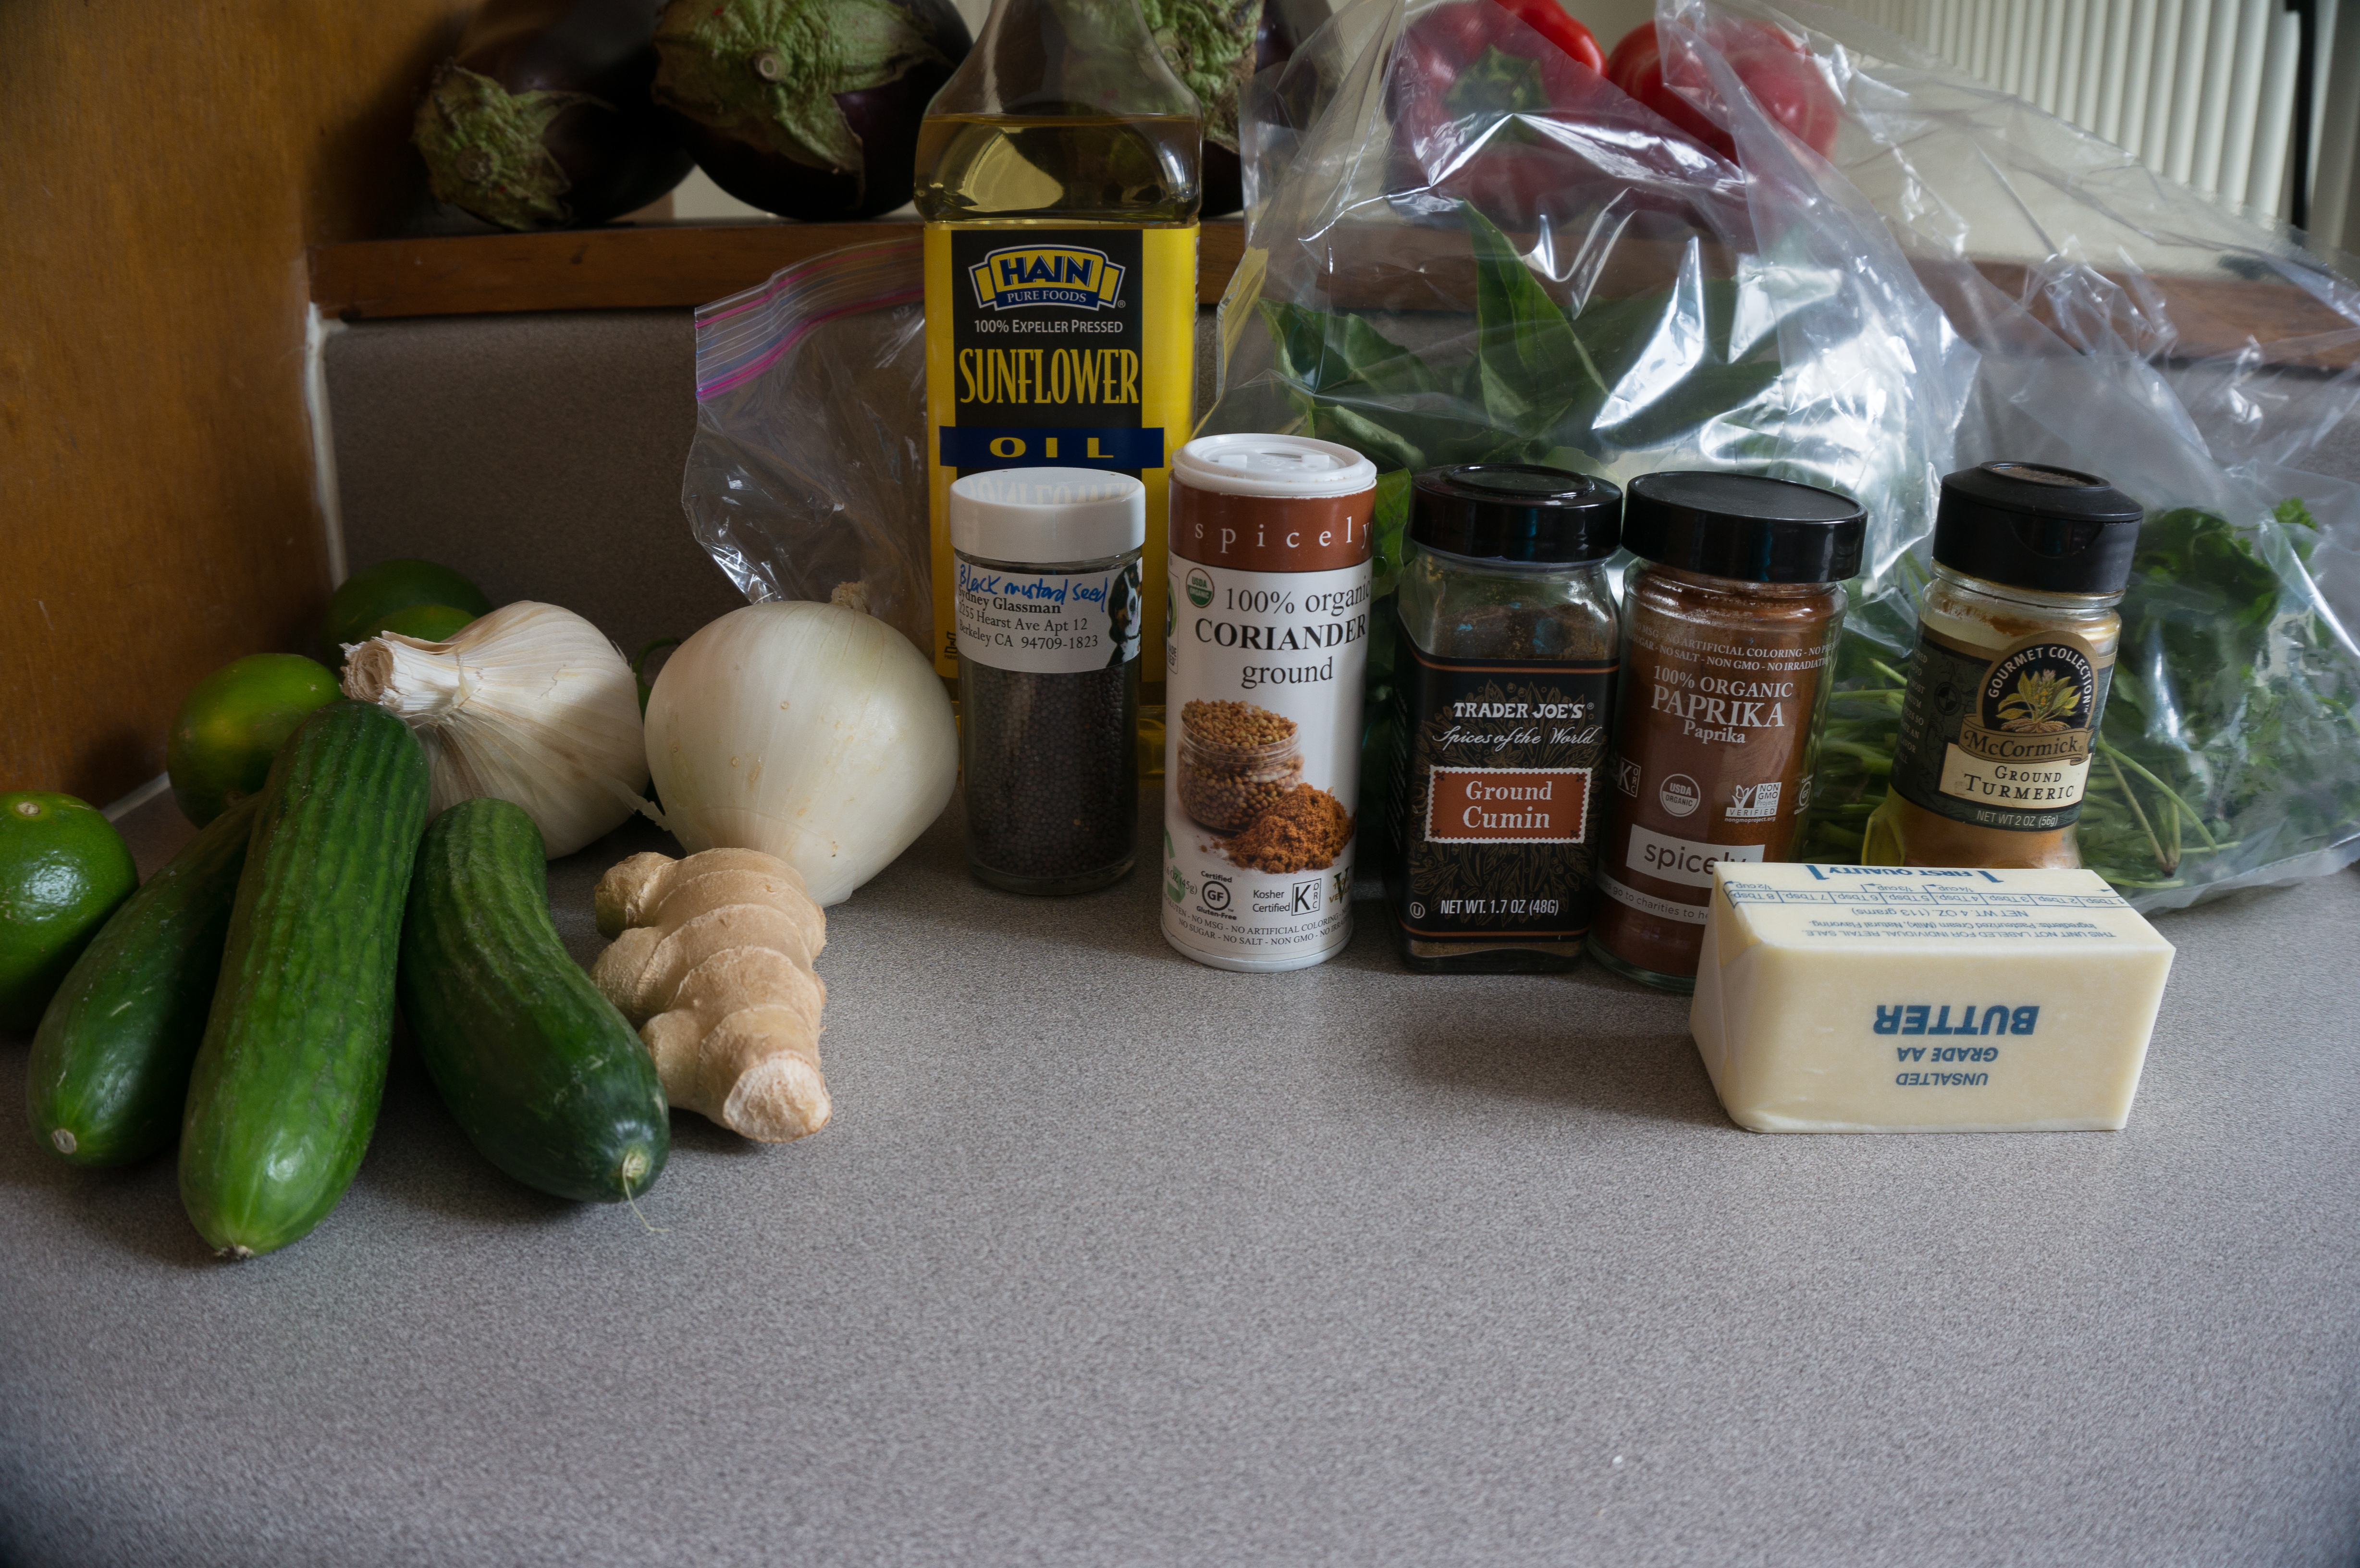
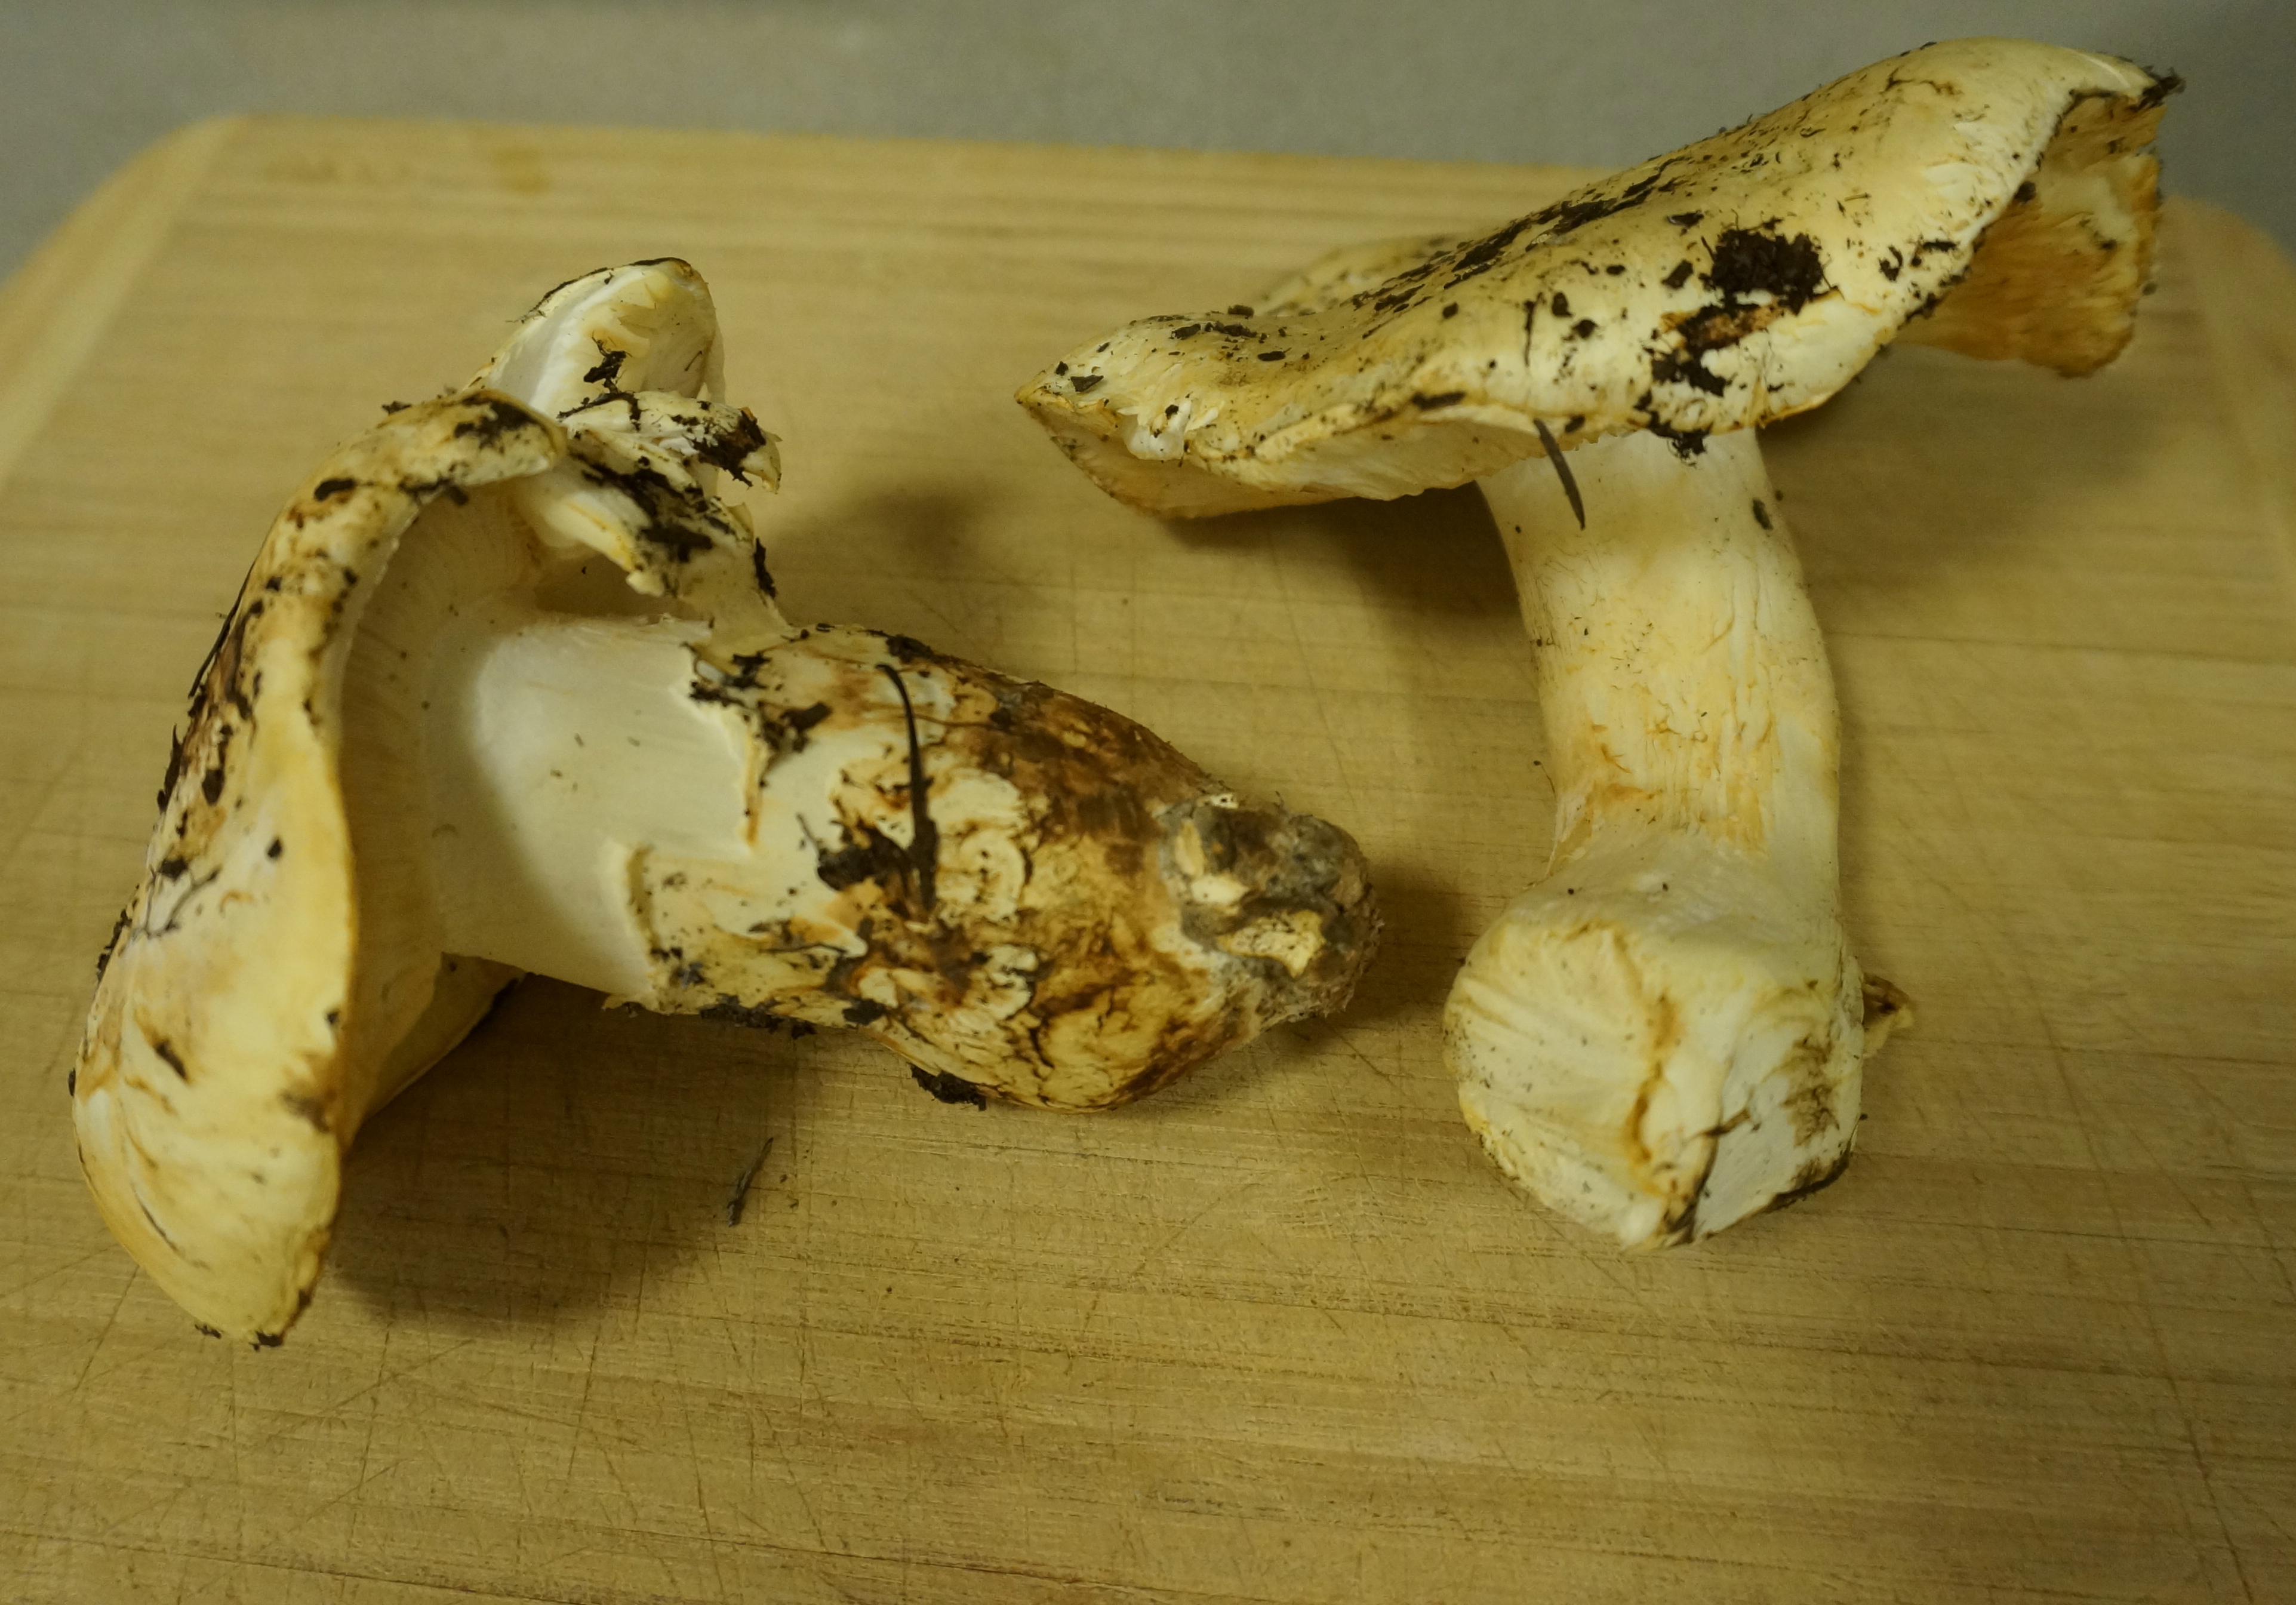
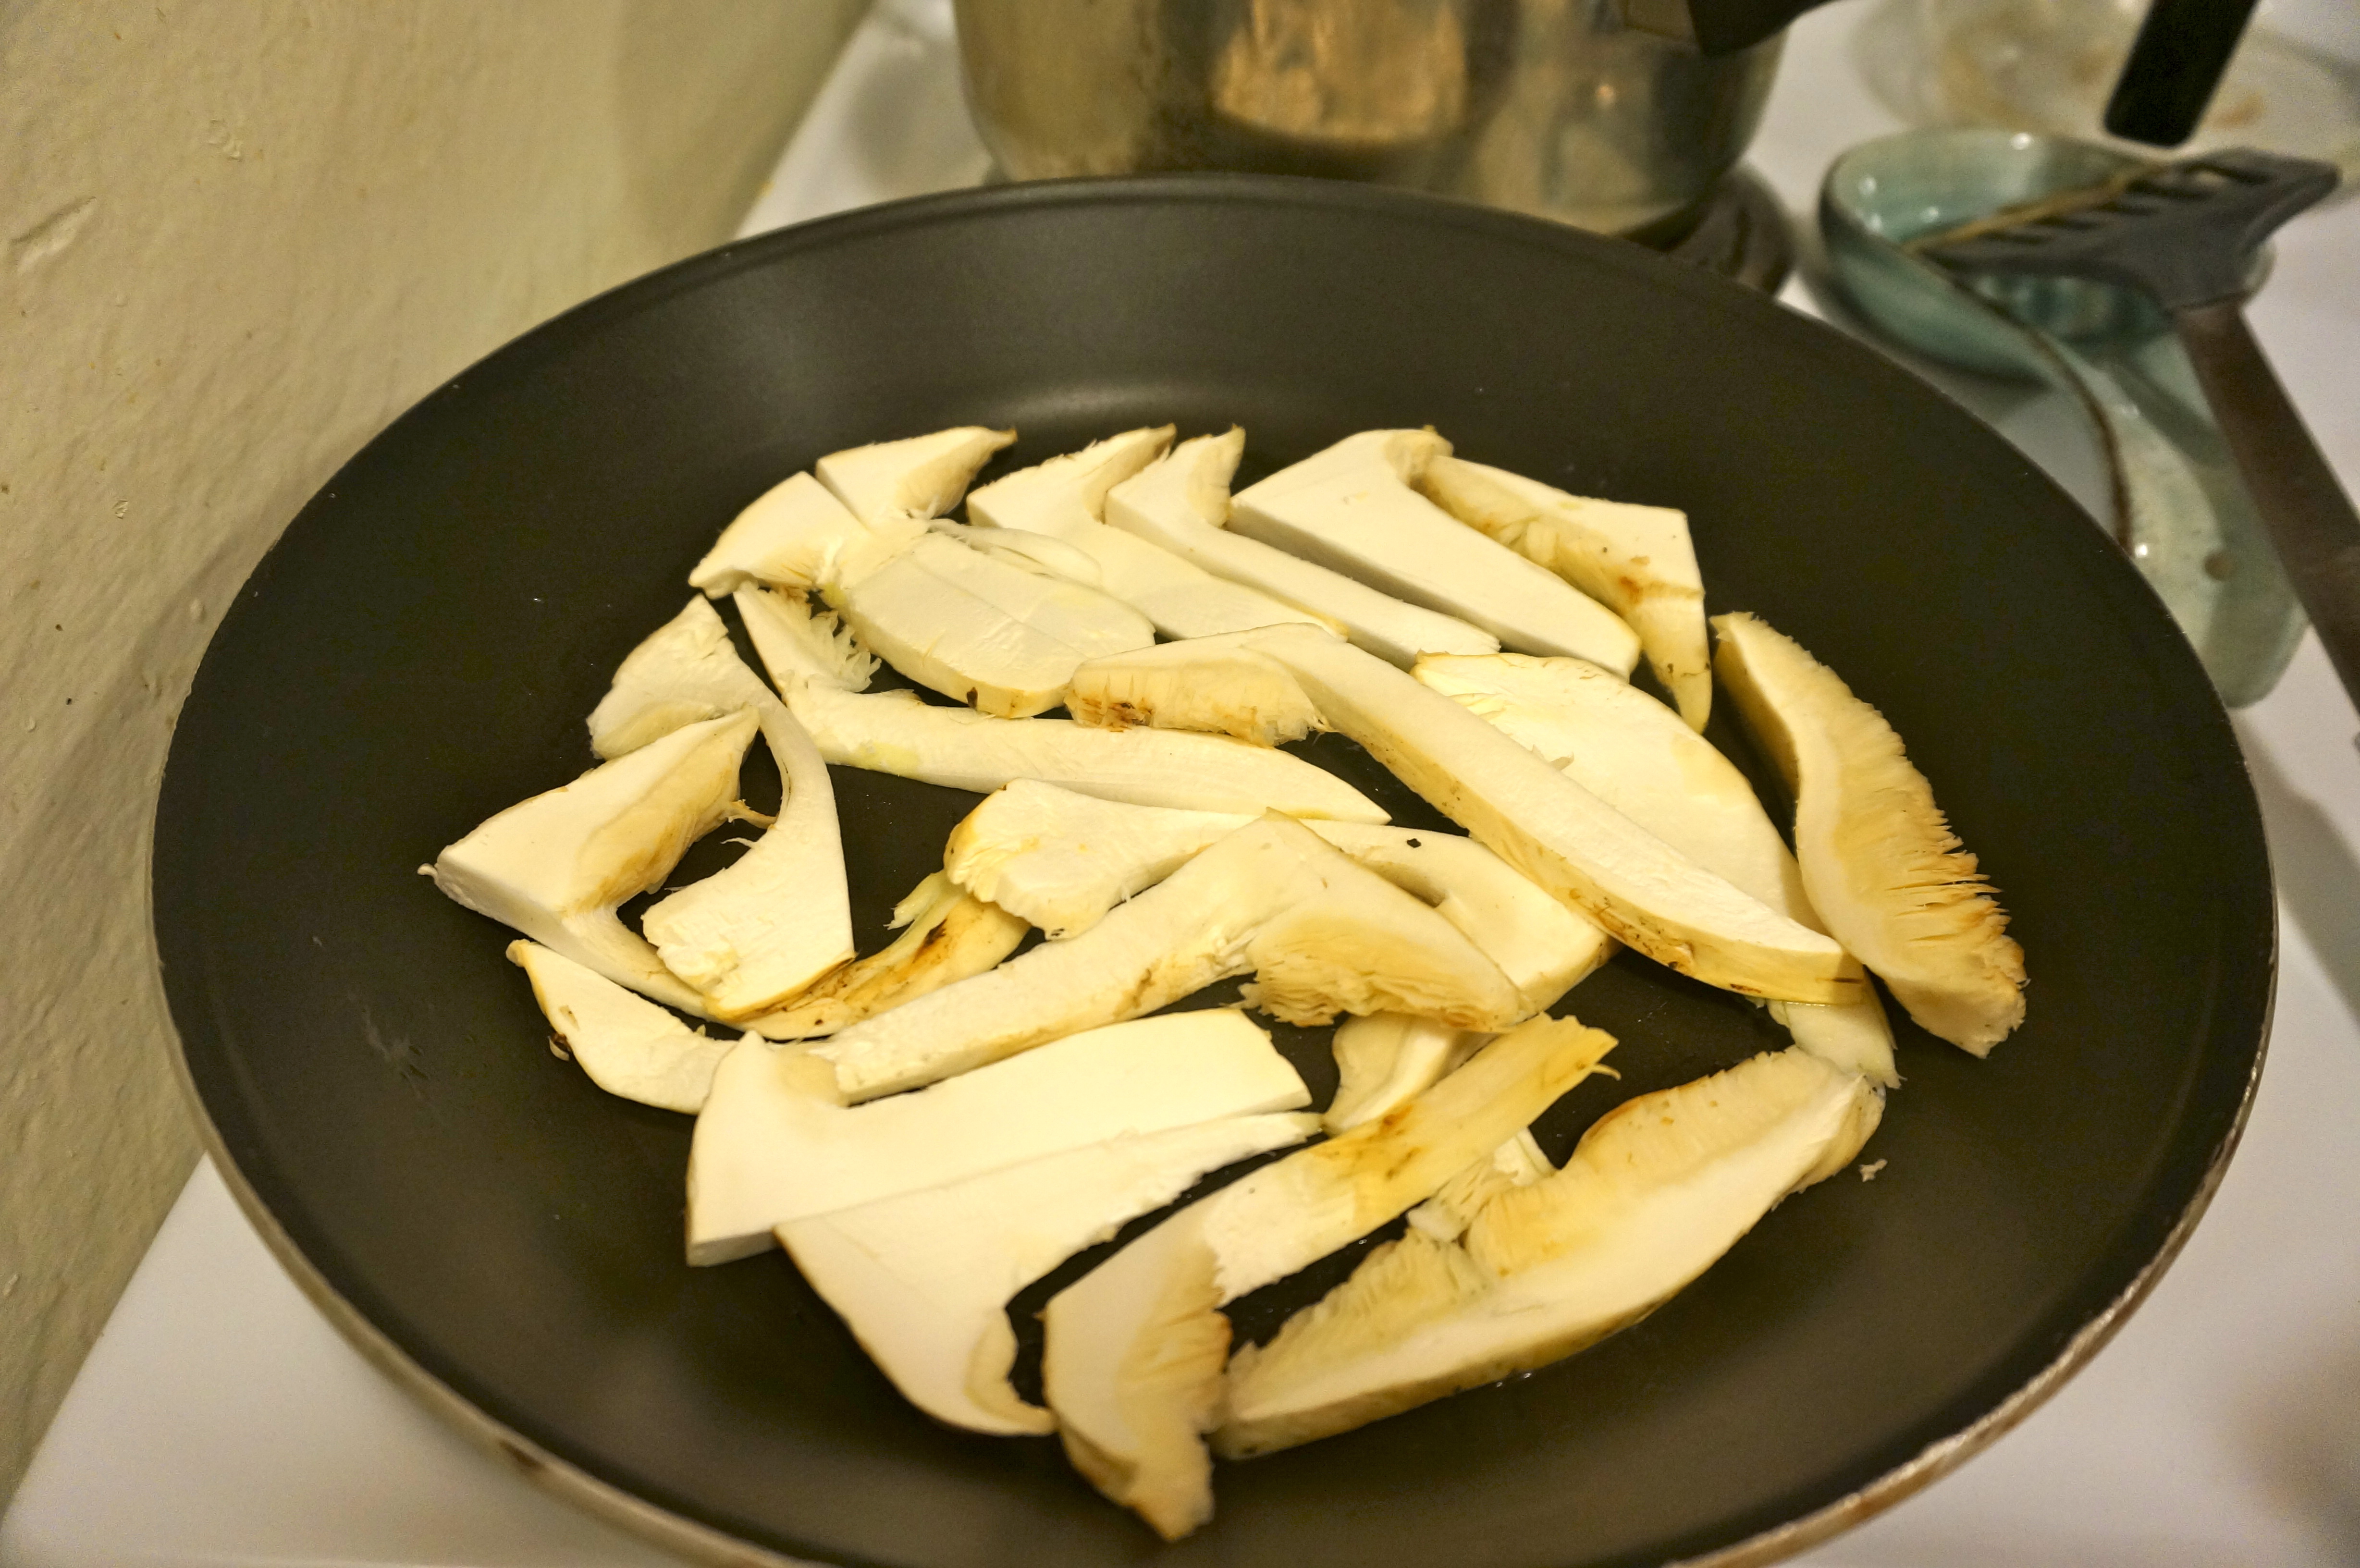
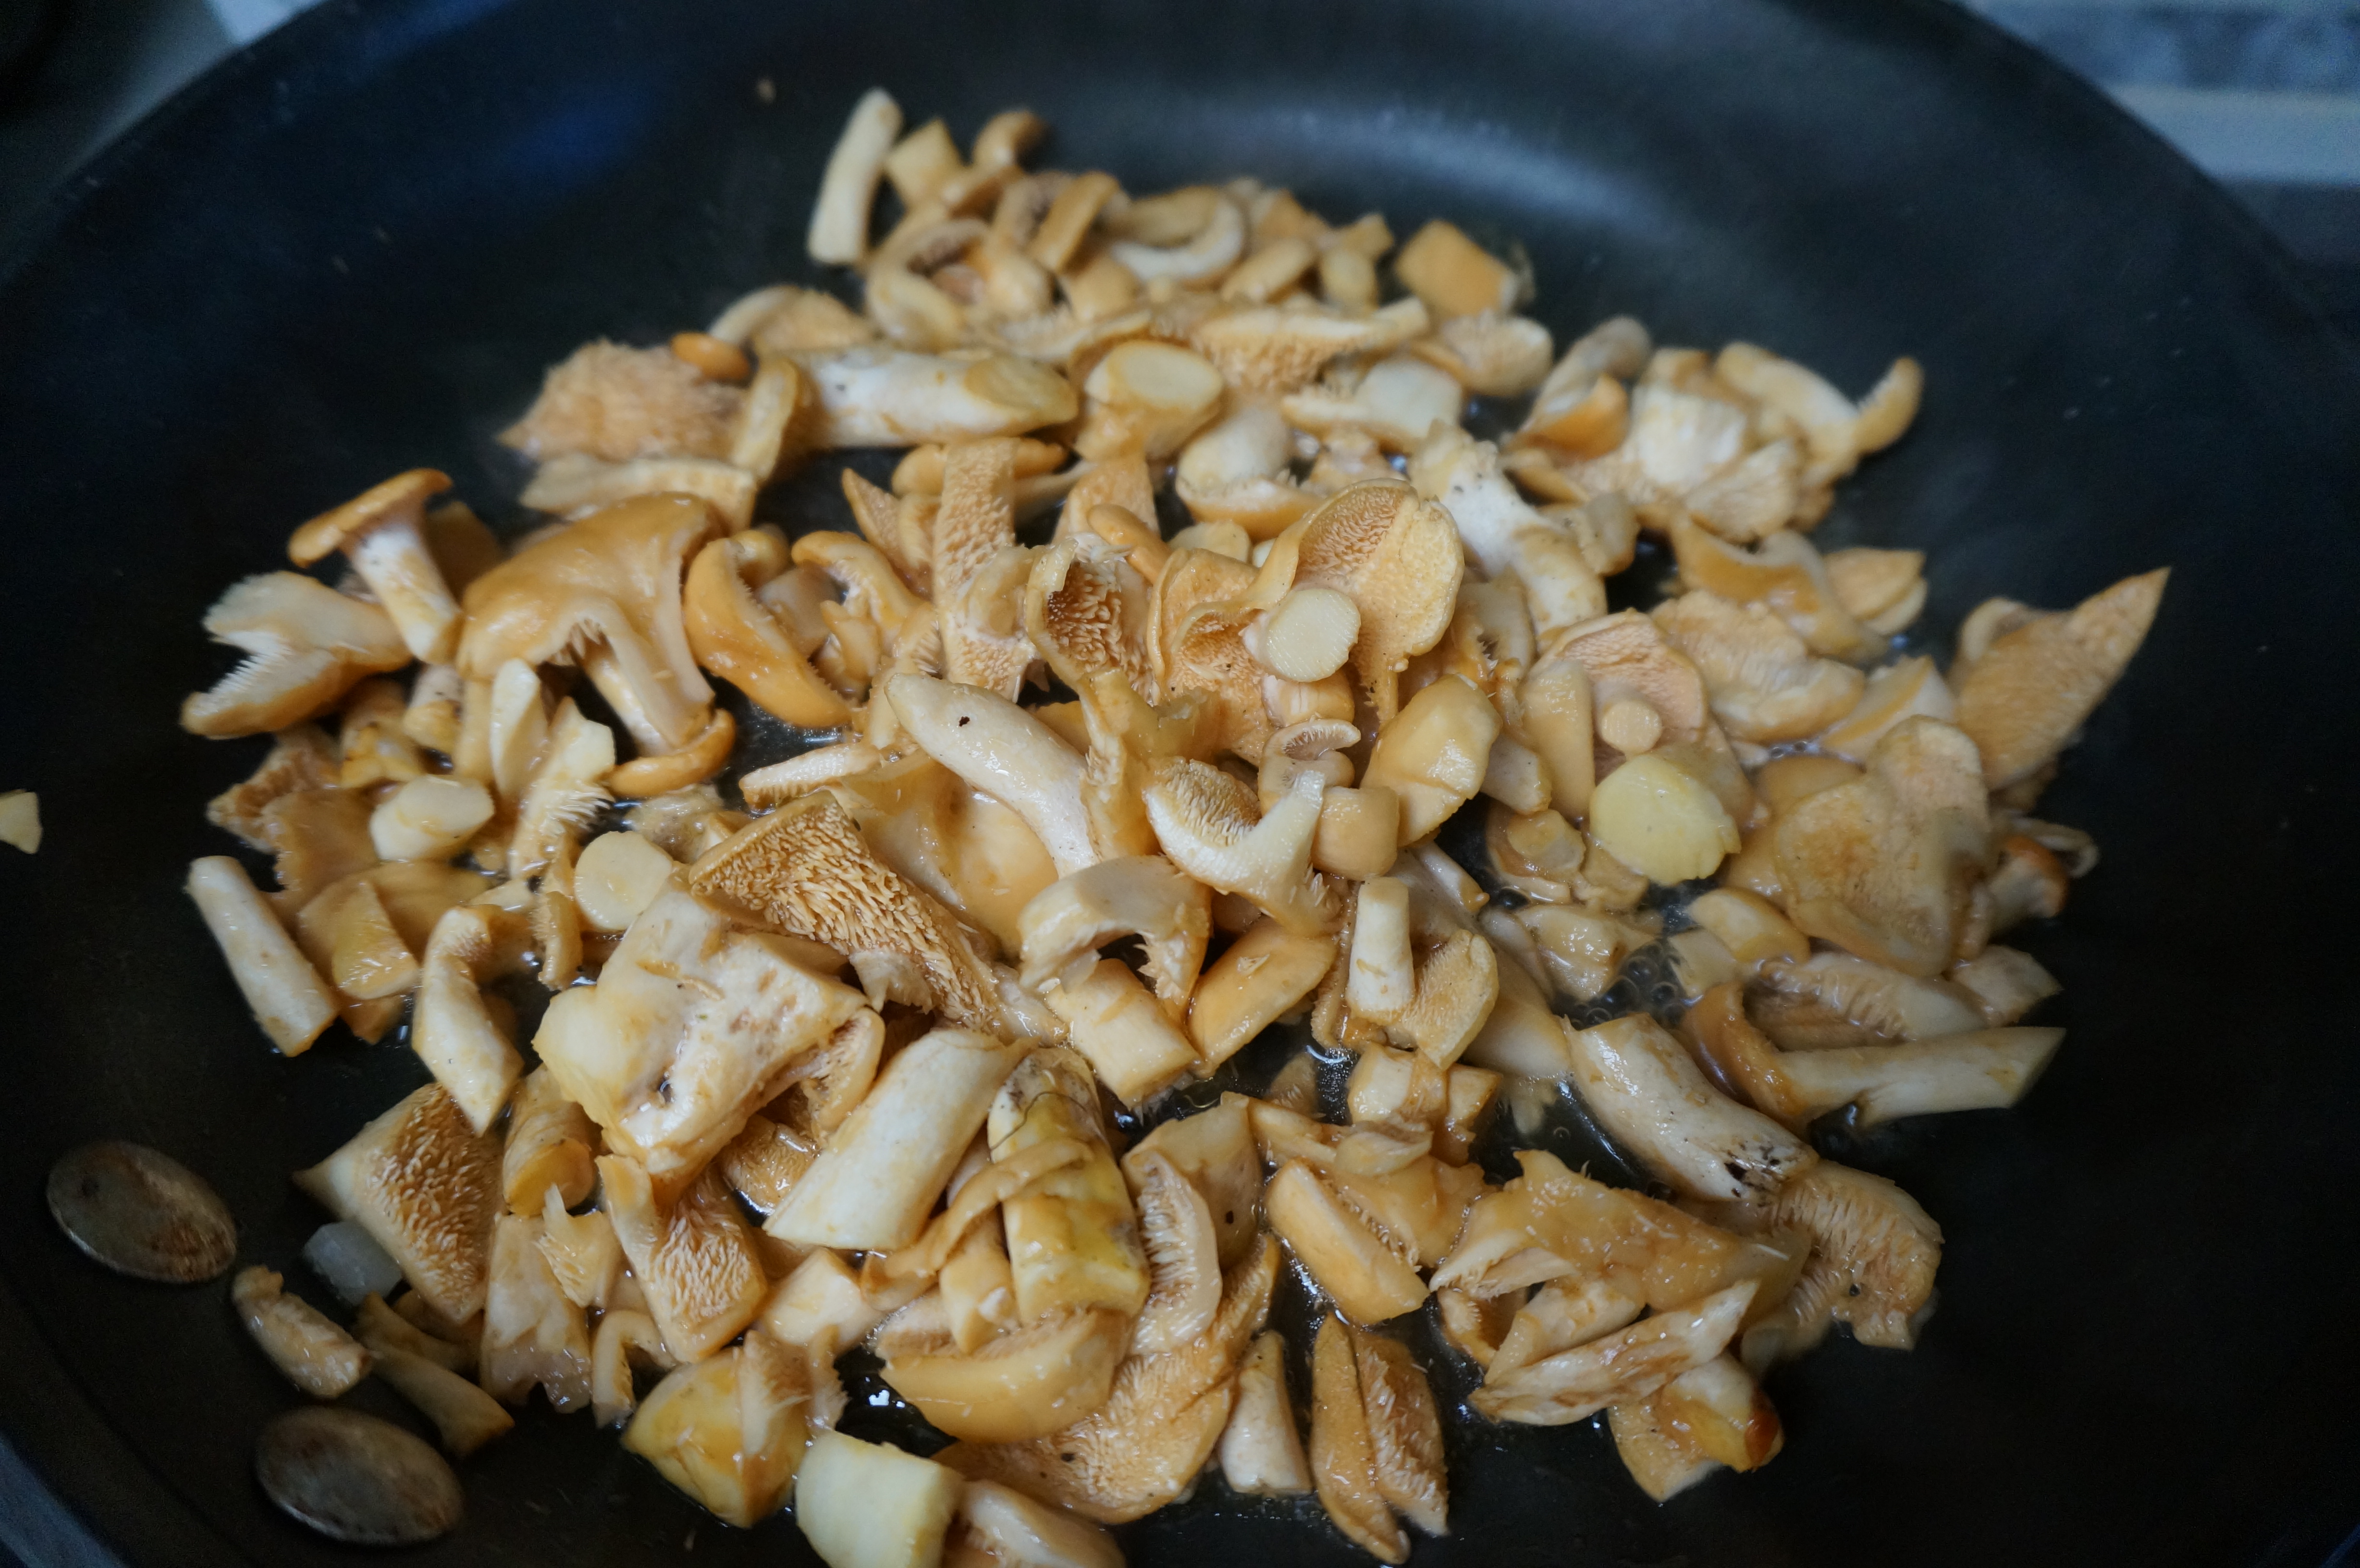
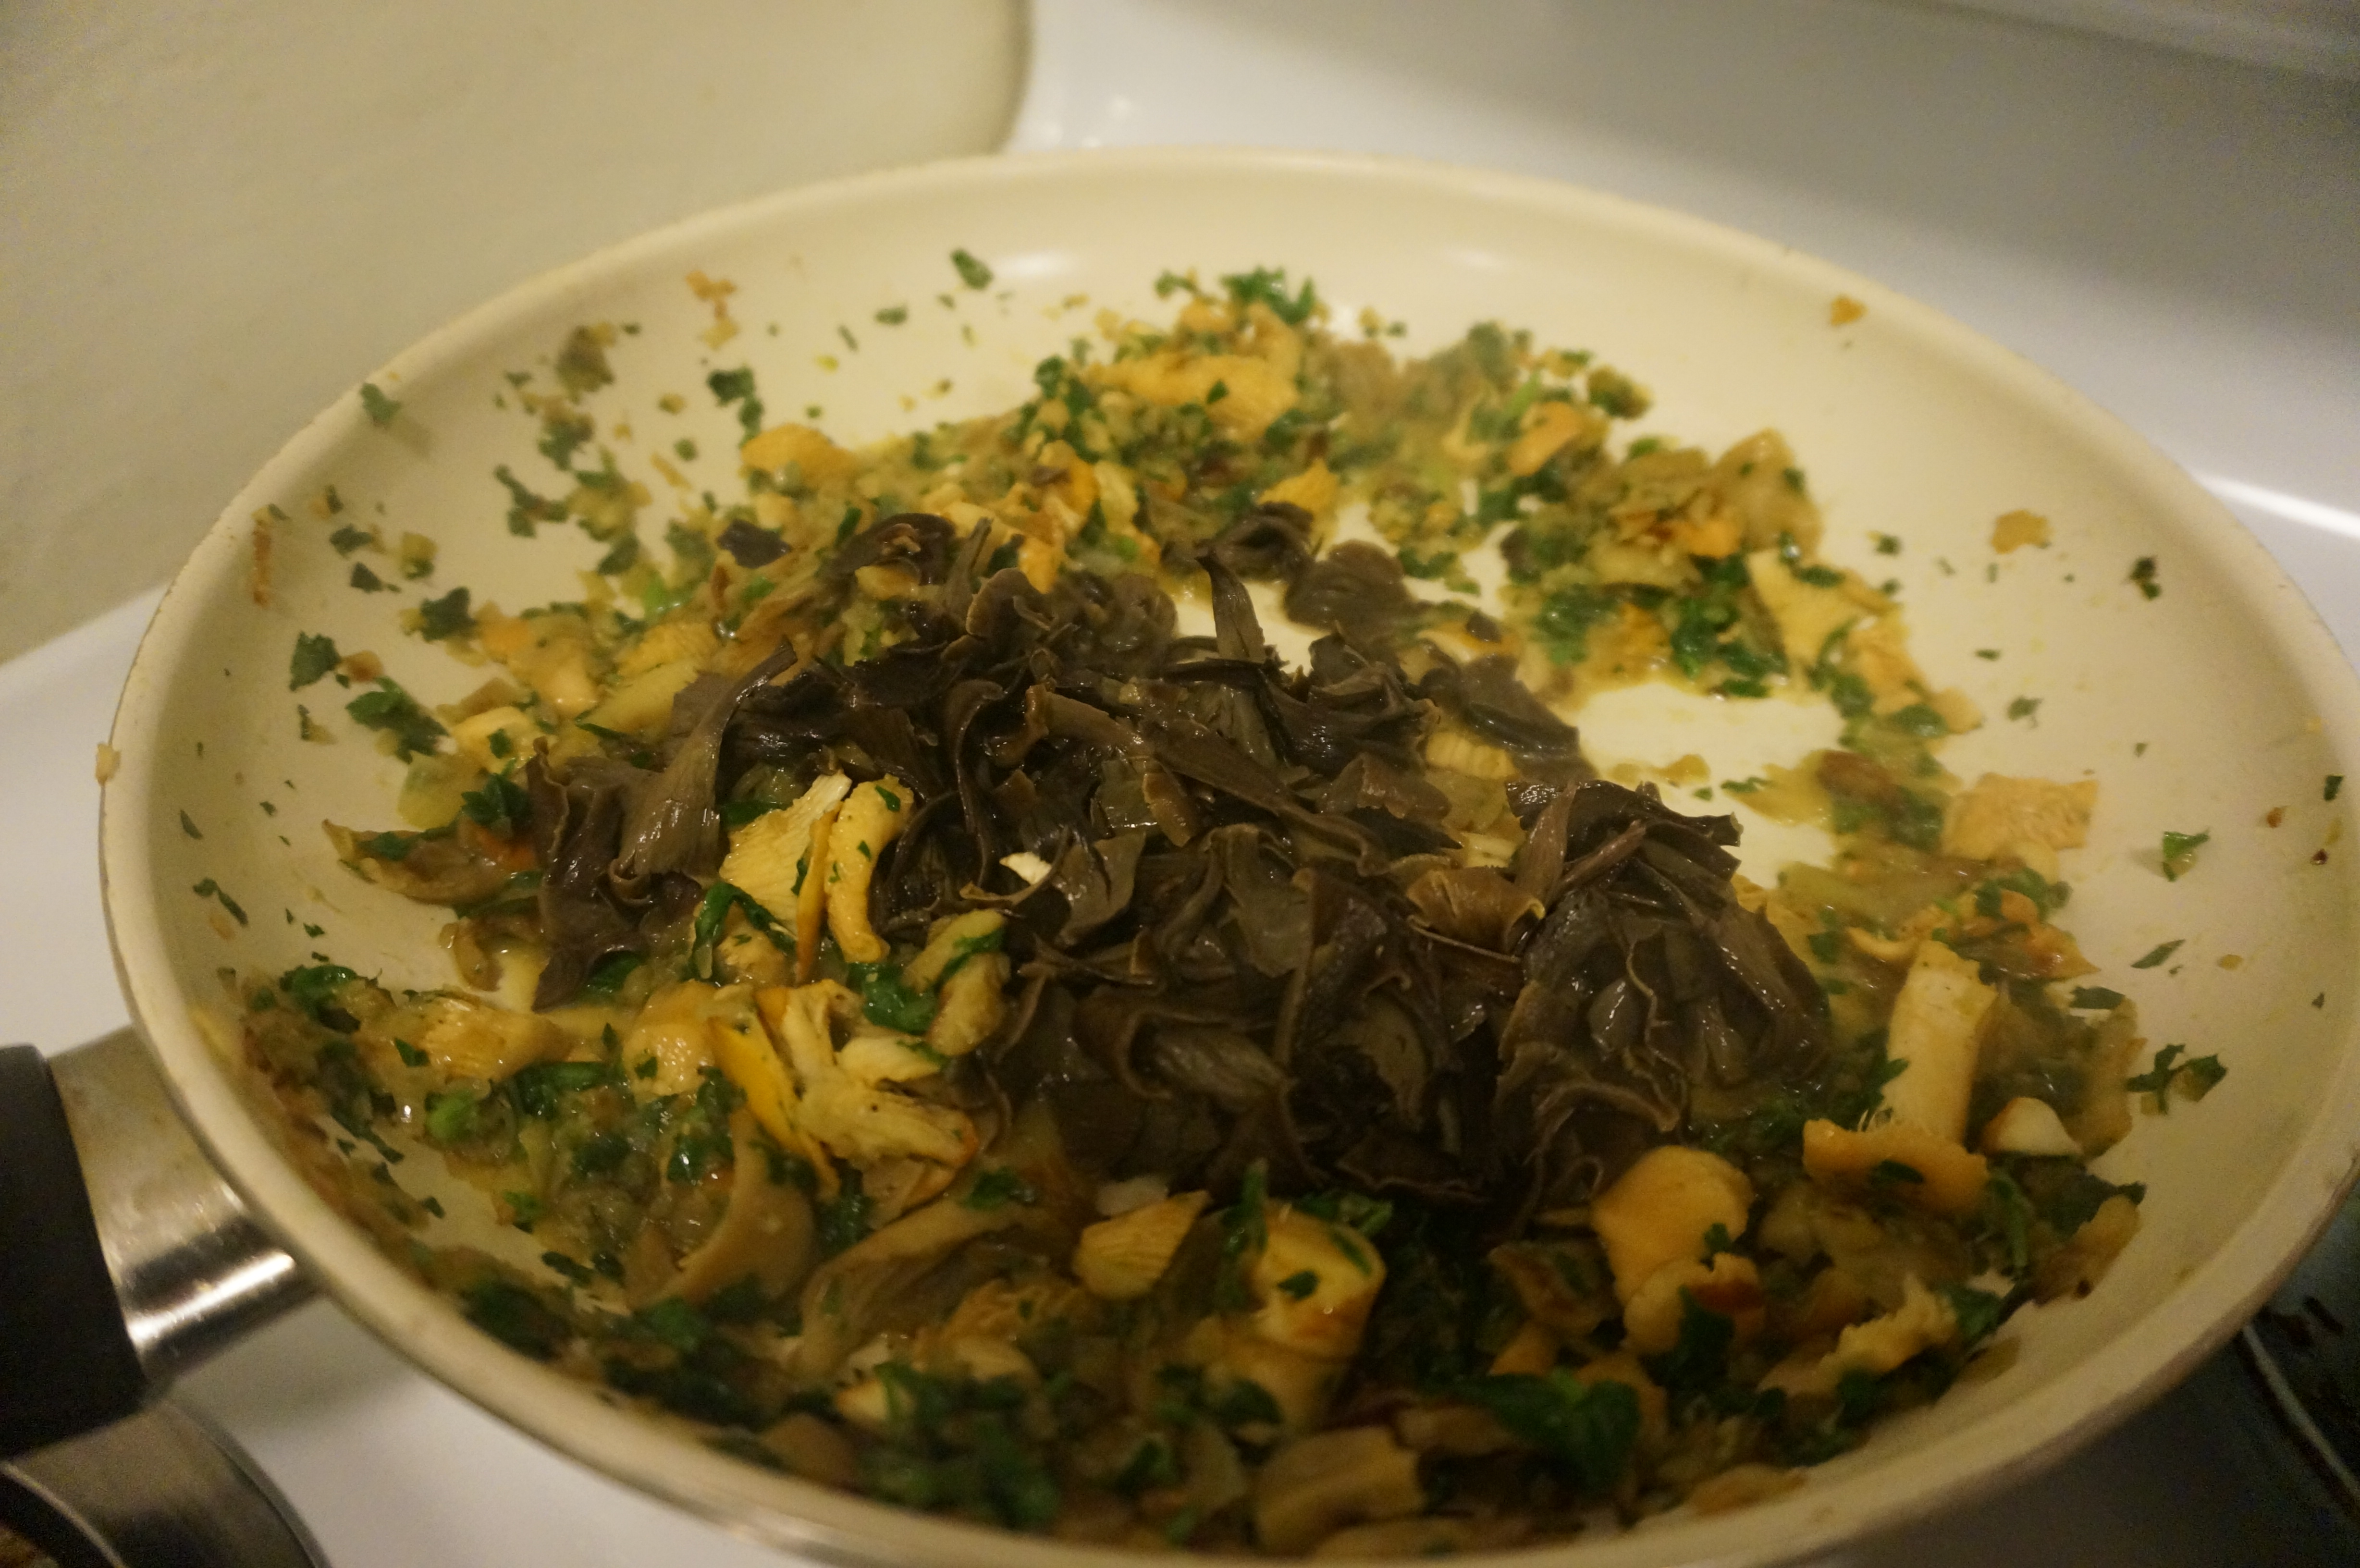
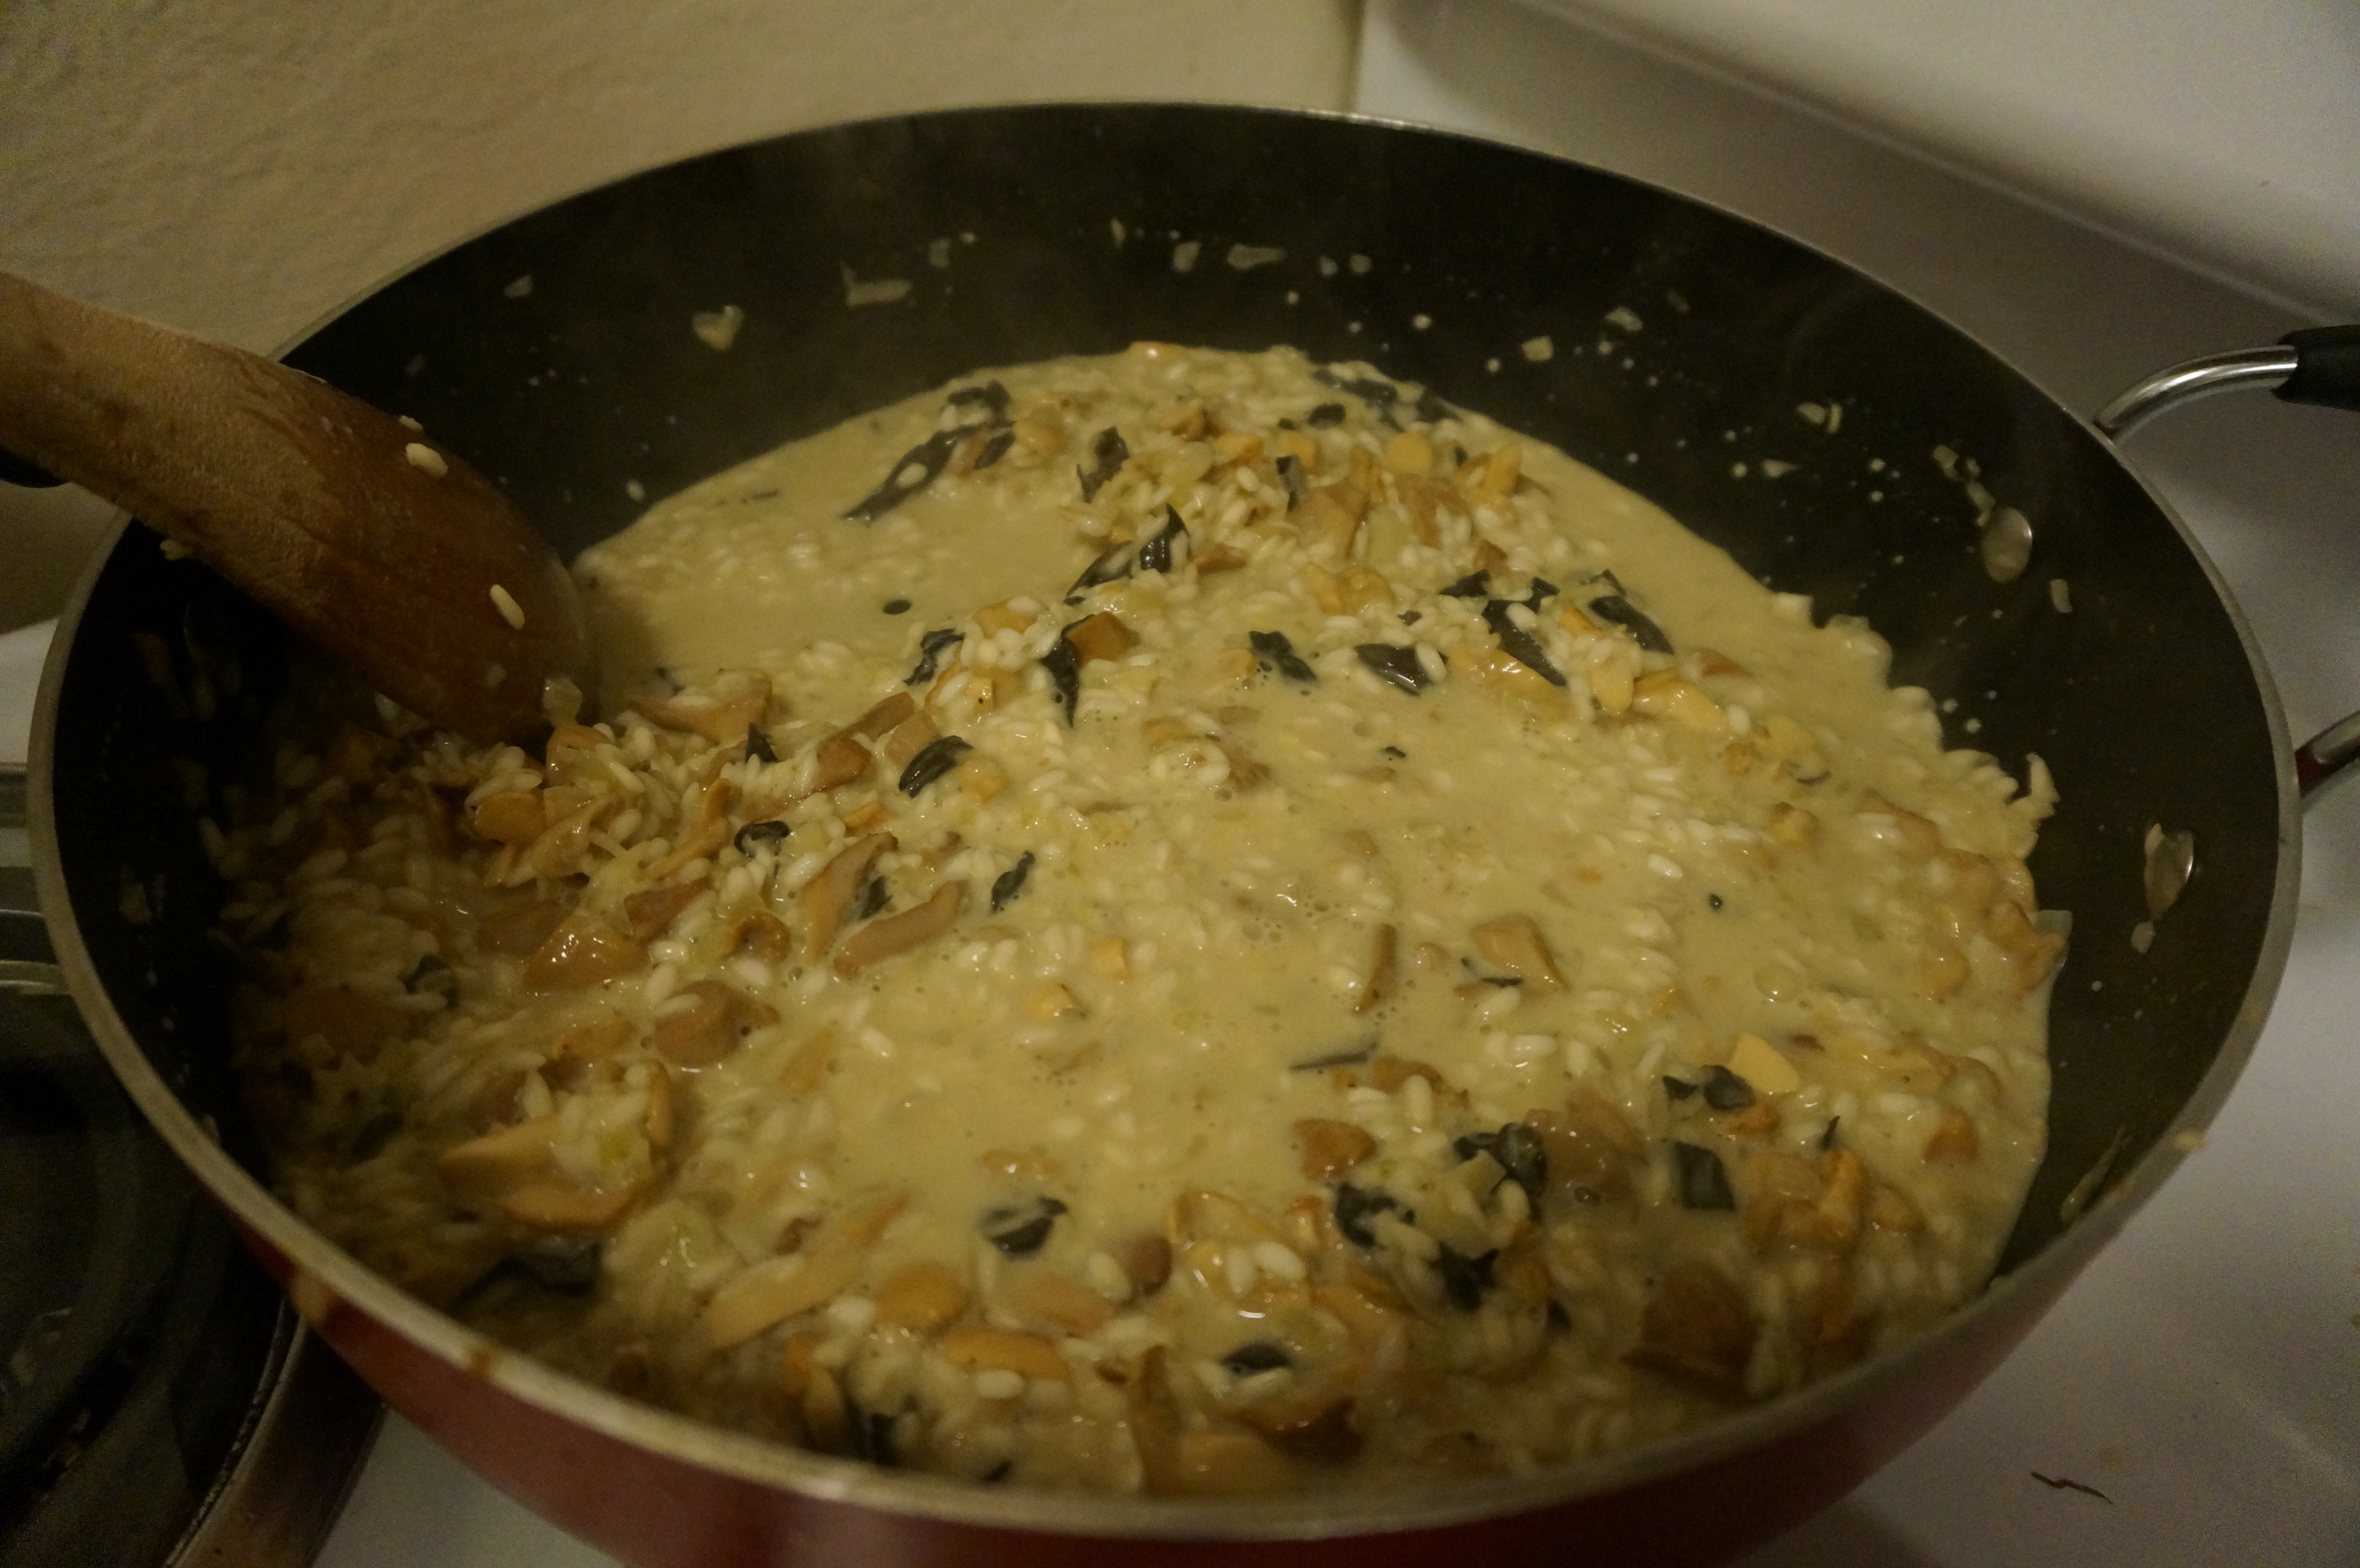
I am not super familiar with cooking Matsutakes so this time I turned to a pro for some advice and re-produced the recipe from expert forager Hank’s honest food blog and made delicious matsutake infused rice. The recipe was super simple, just chop up the matsutake and mix it with 2 tbsp sake, 2 tbsp soy sauce, 1 tbsp mirin, 1 tsp salt, and 2 cups short grain rice and put it in your rice cooker. We decided to make this recipe vegetarian so instead of adding dashi (which you should use if you want to go super authentic) we used vegetable broth and added it to the rice and mushrooms in the rice cooker until everything was covered. Then we turned on the rice cooker. Super simple! While the rice was cooking, we focused on making the tofu and cucumber ginger salad.

DSC06199

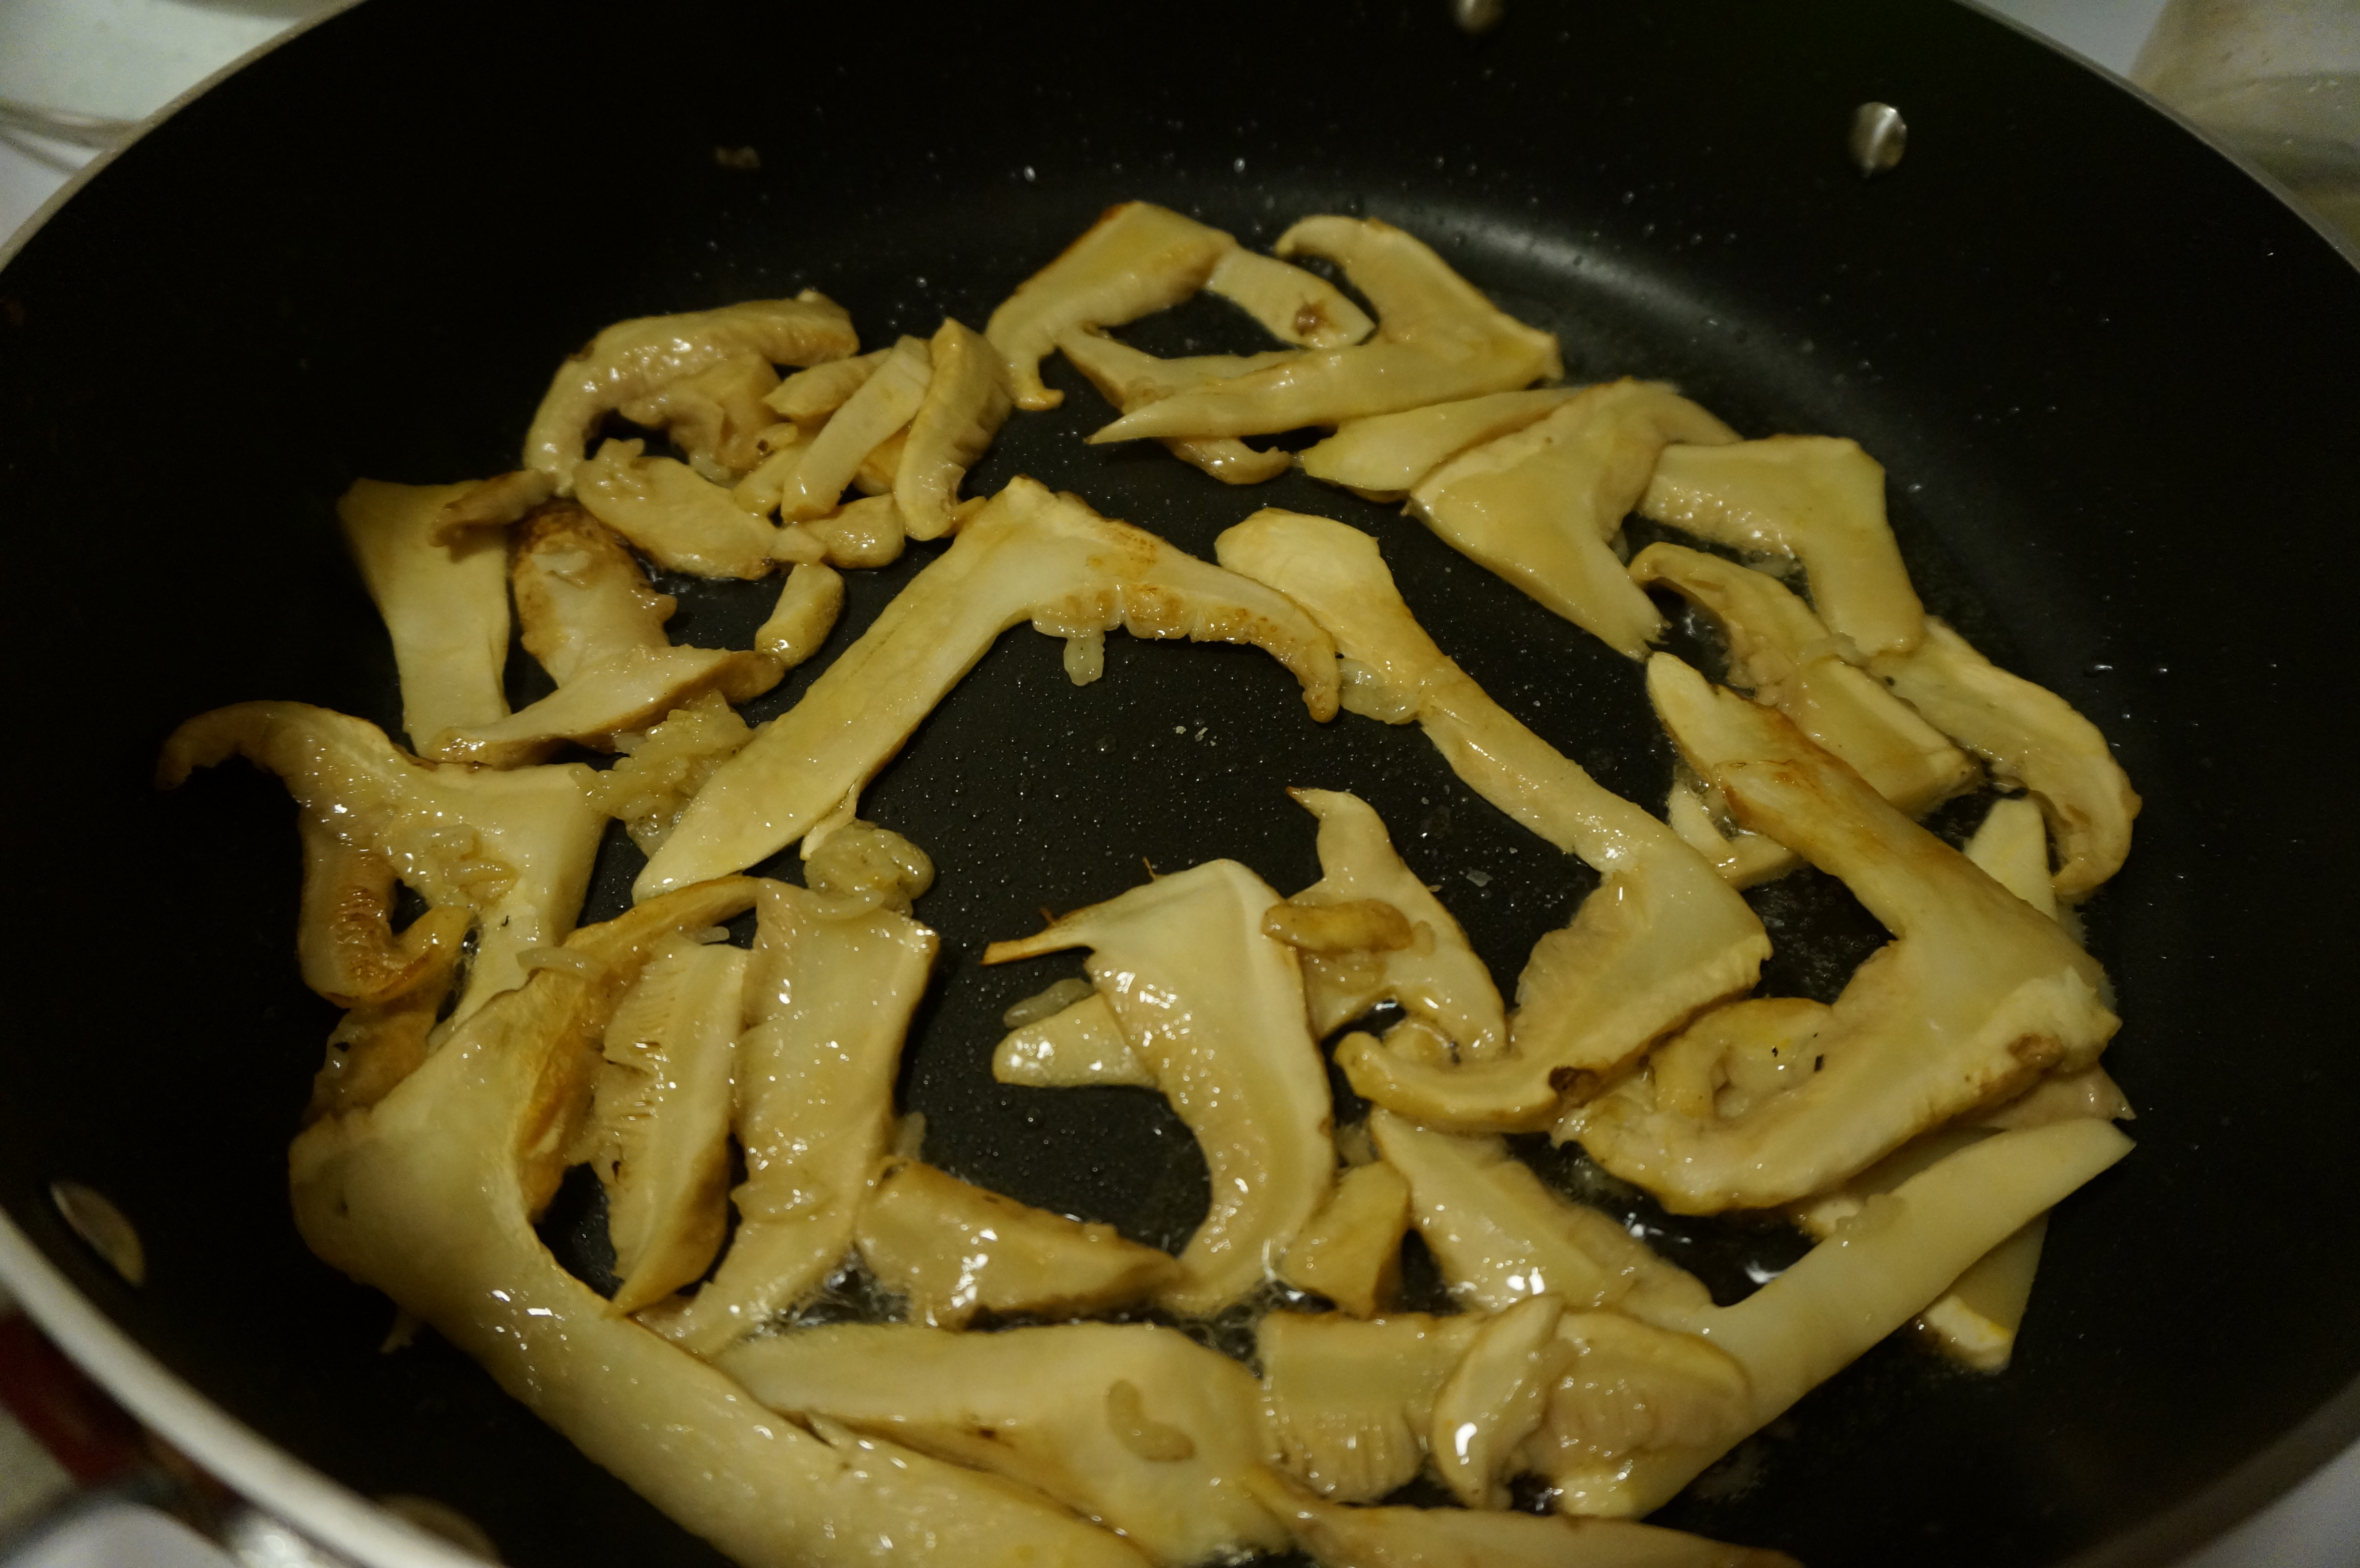
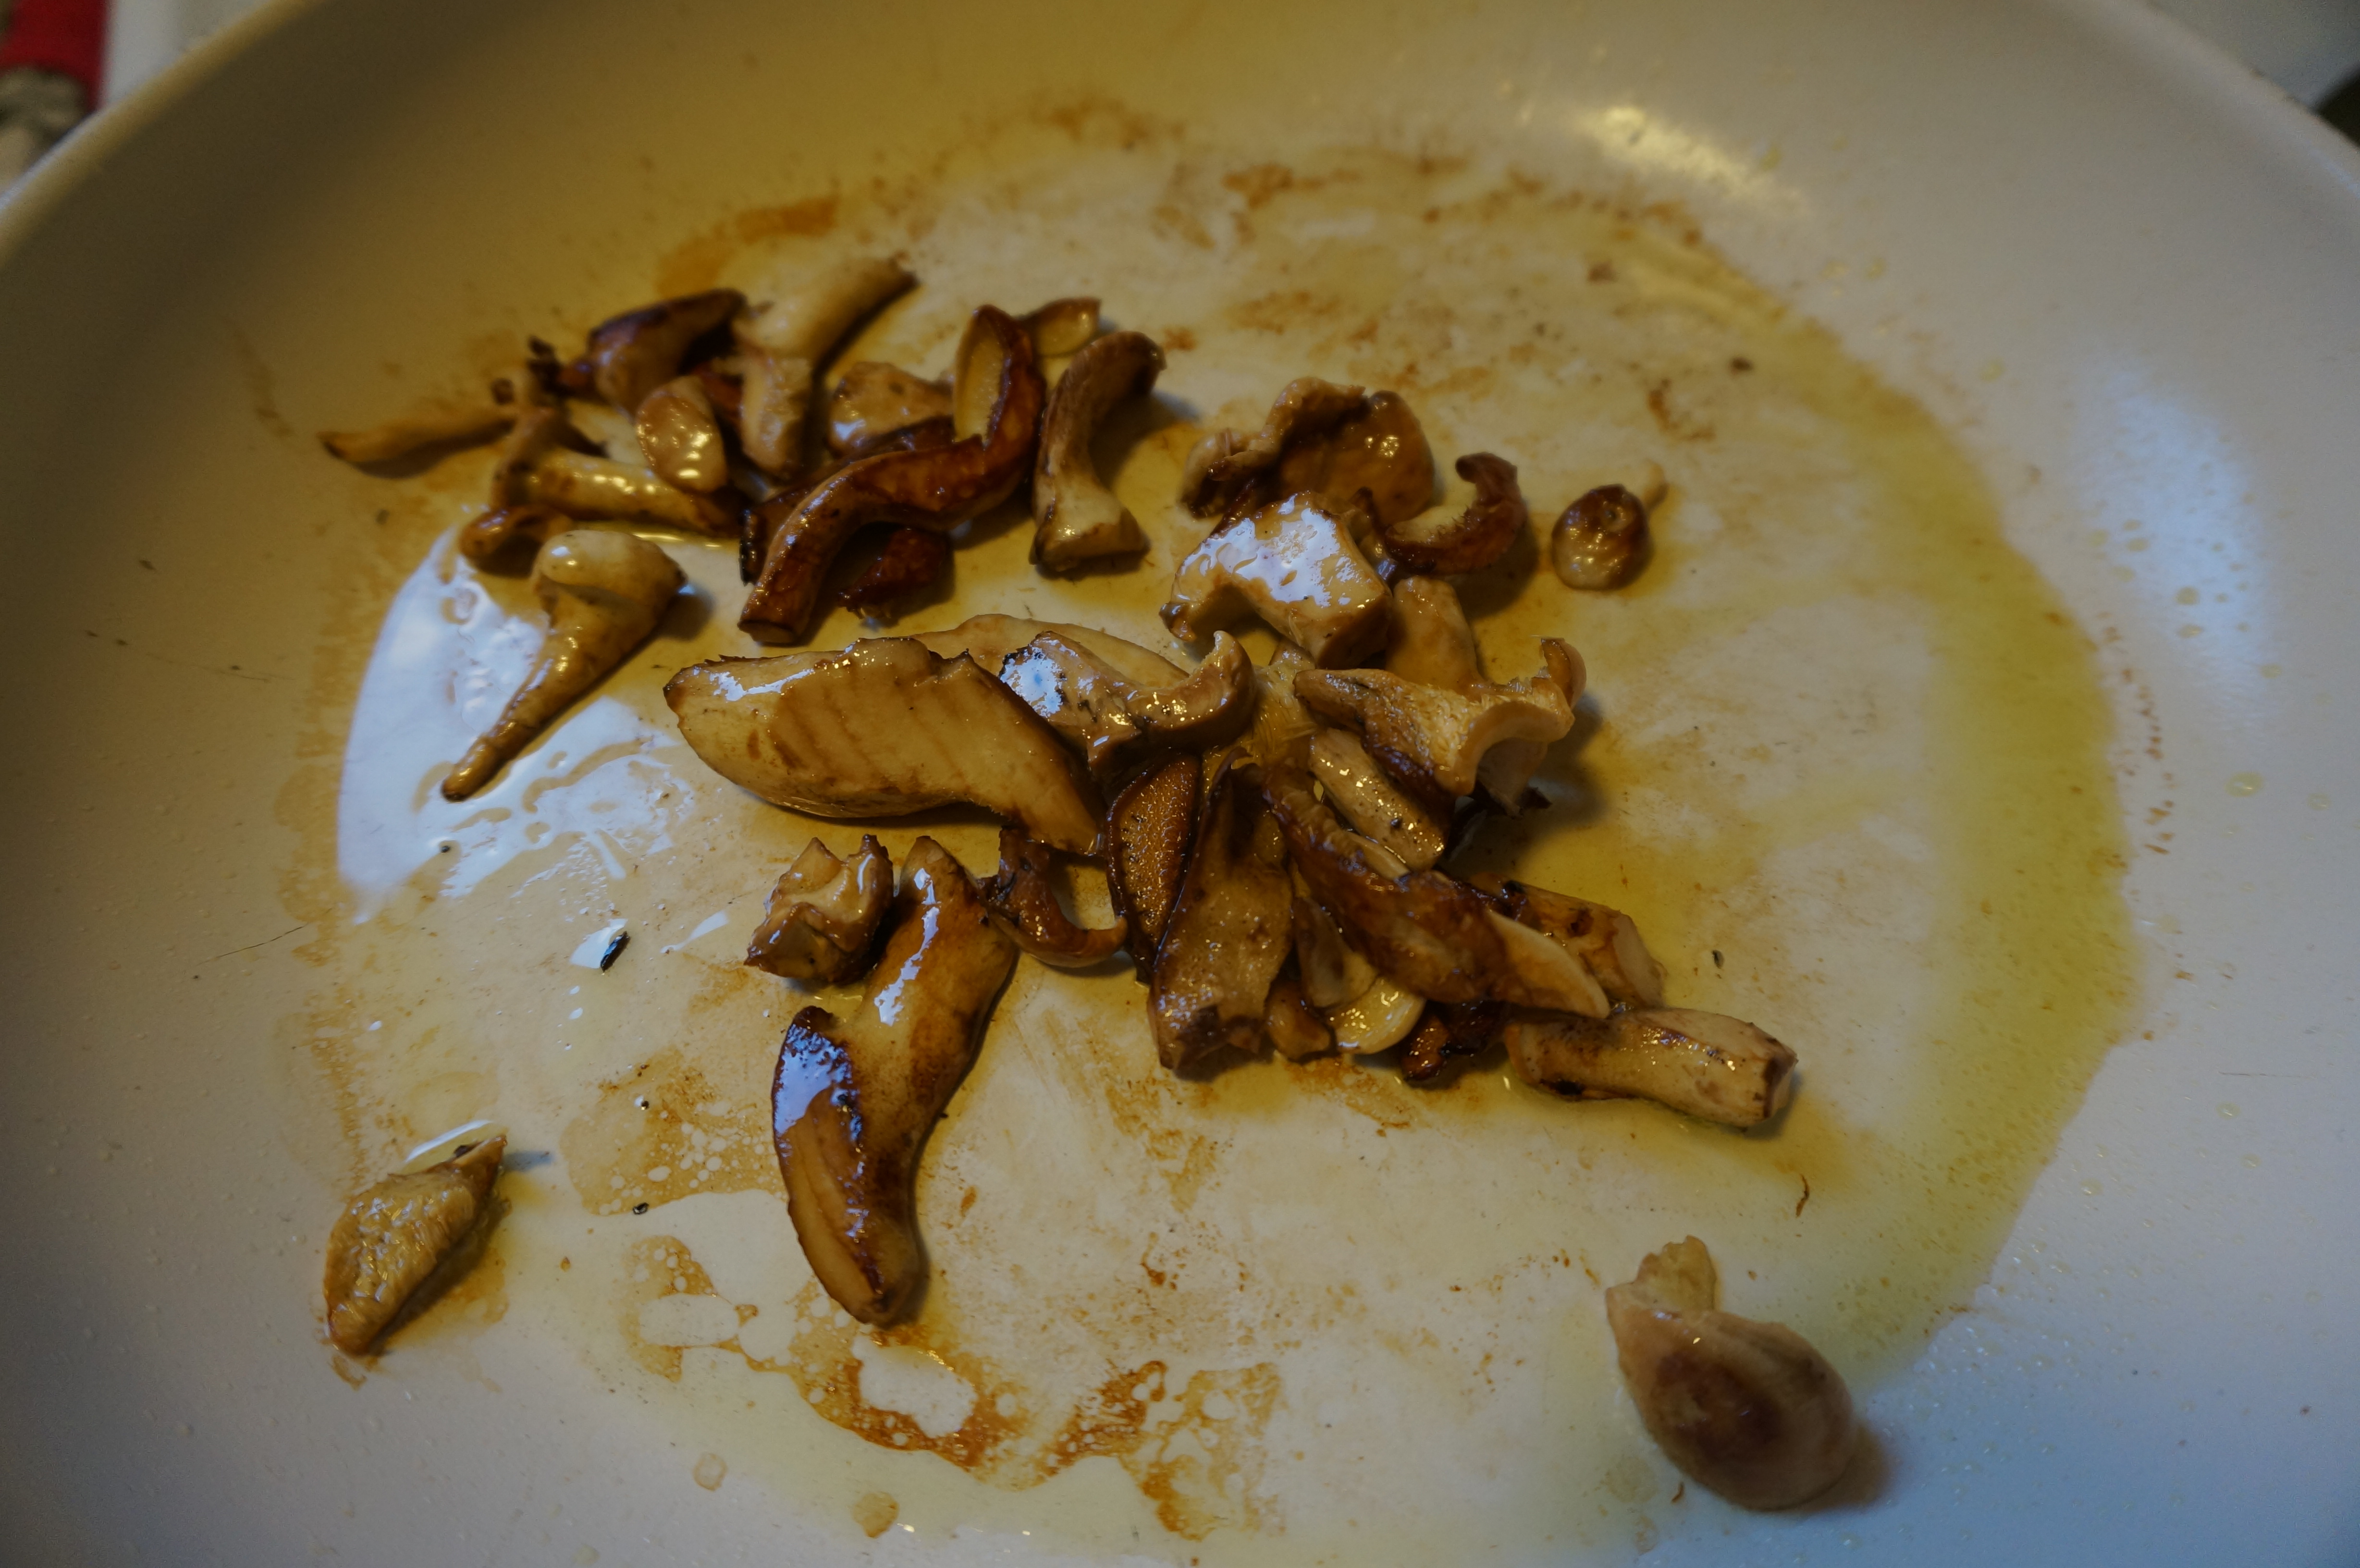
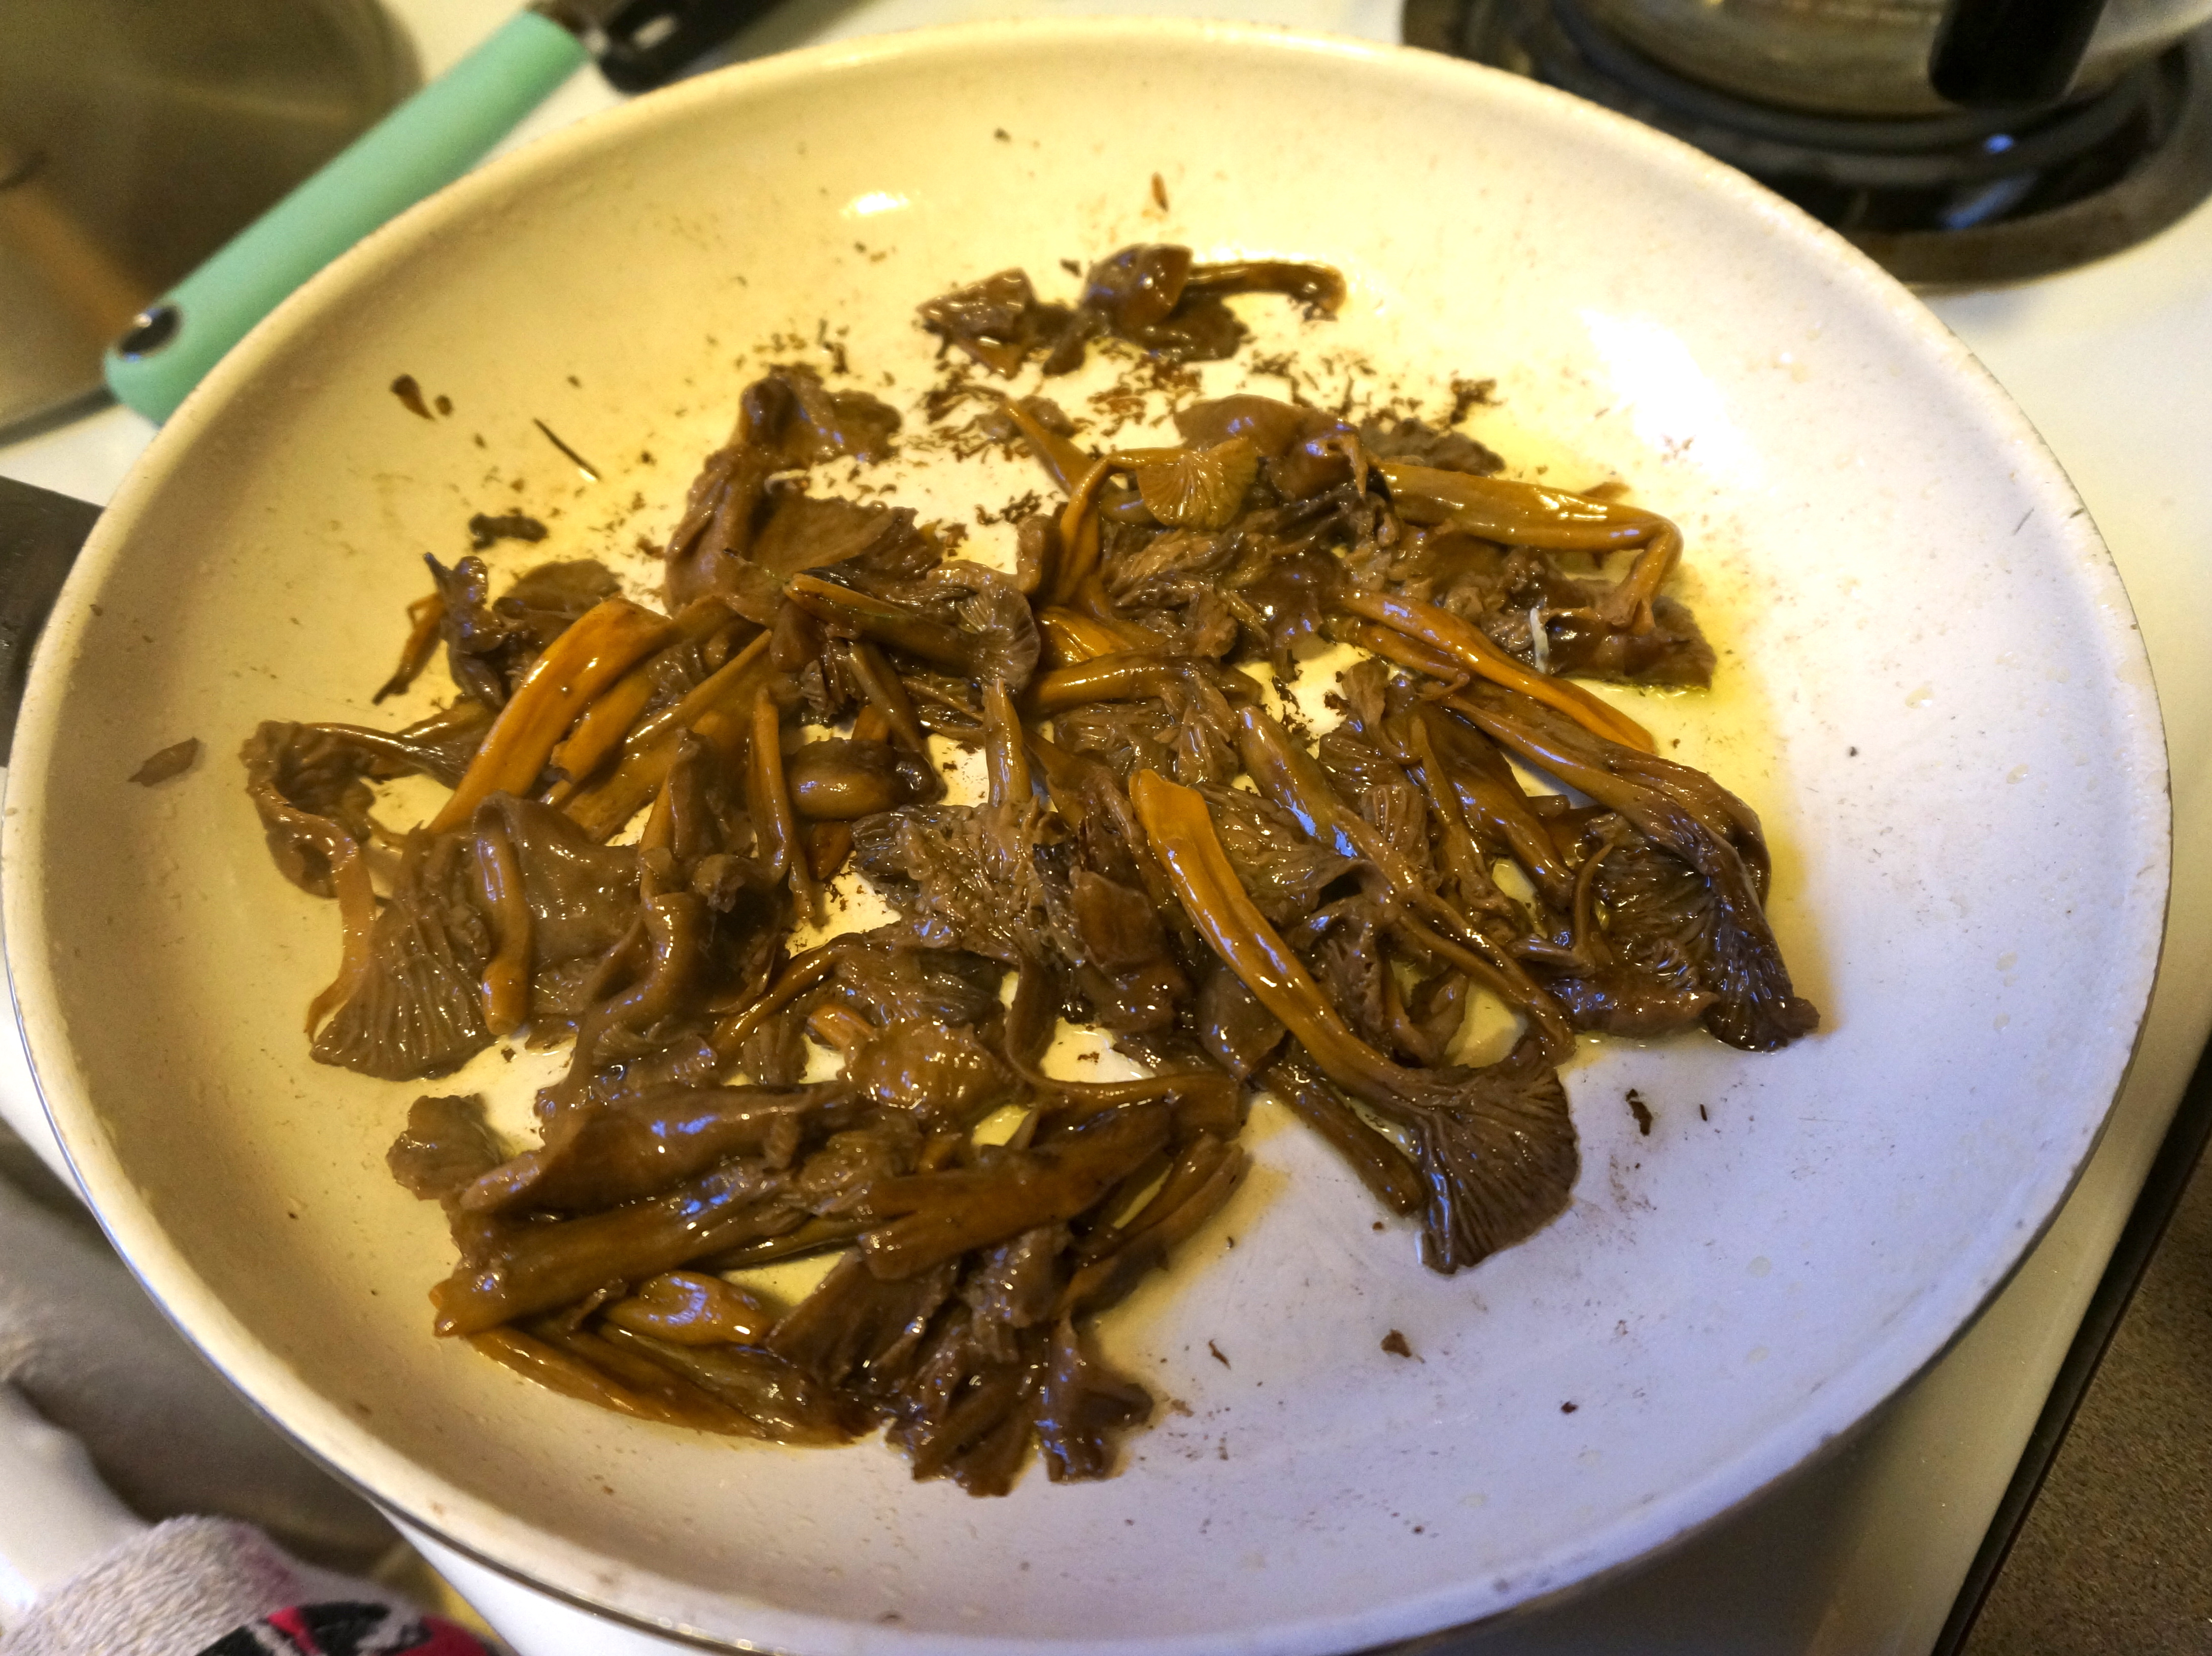
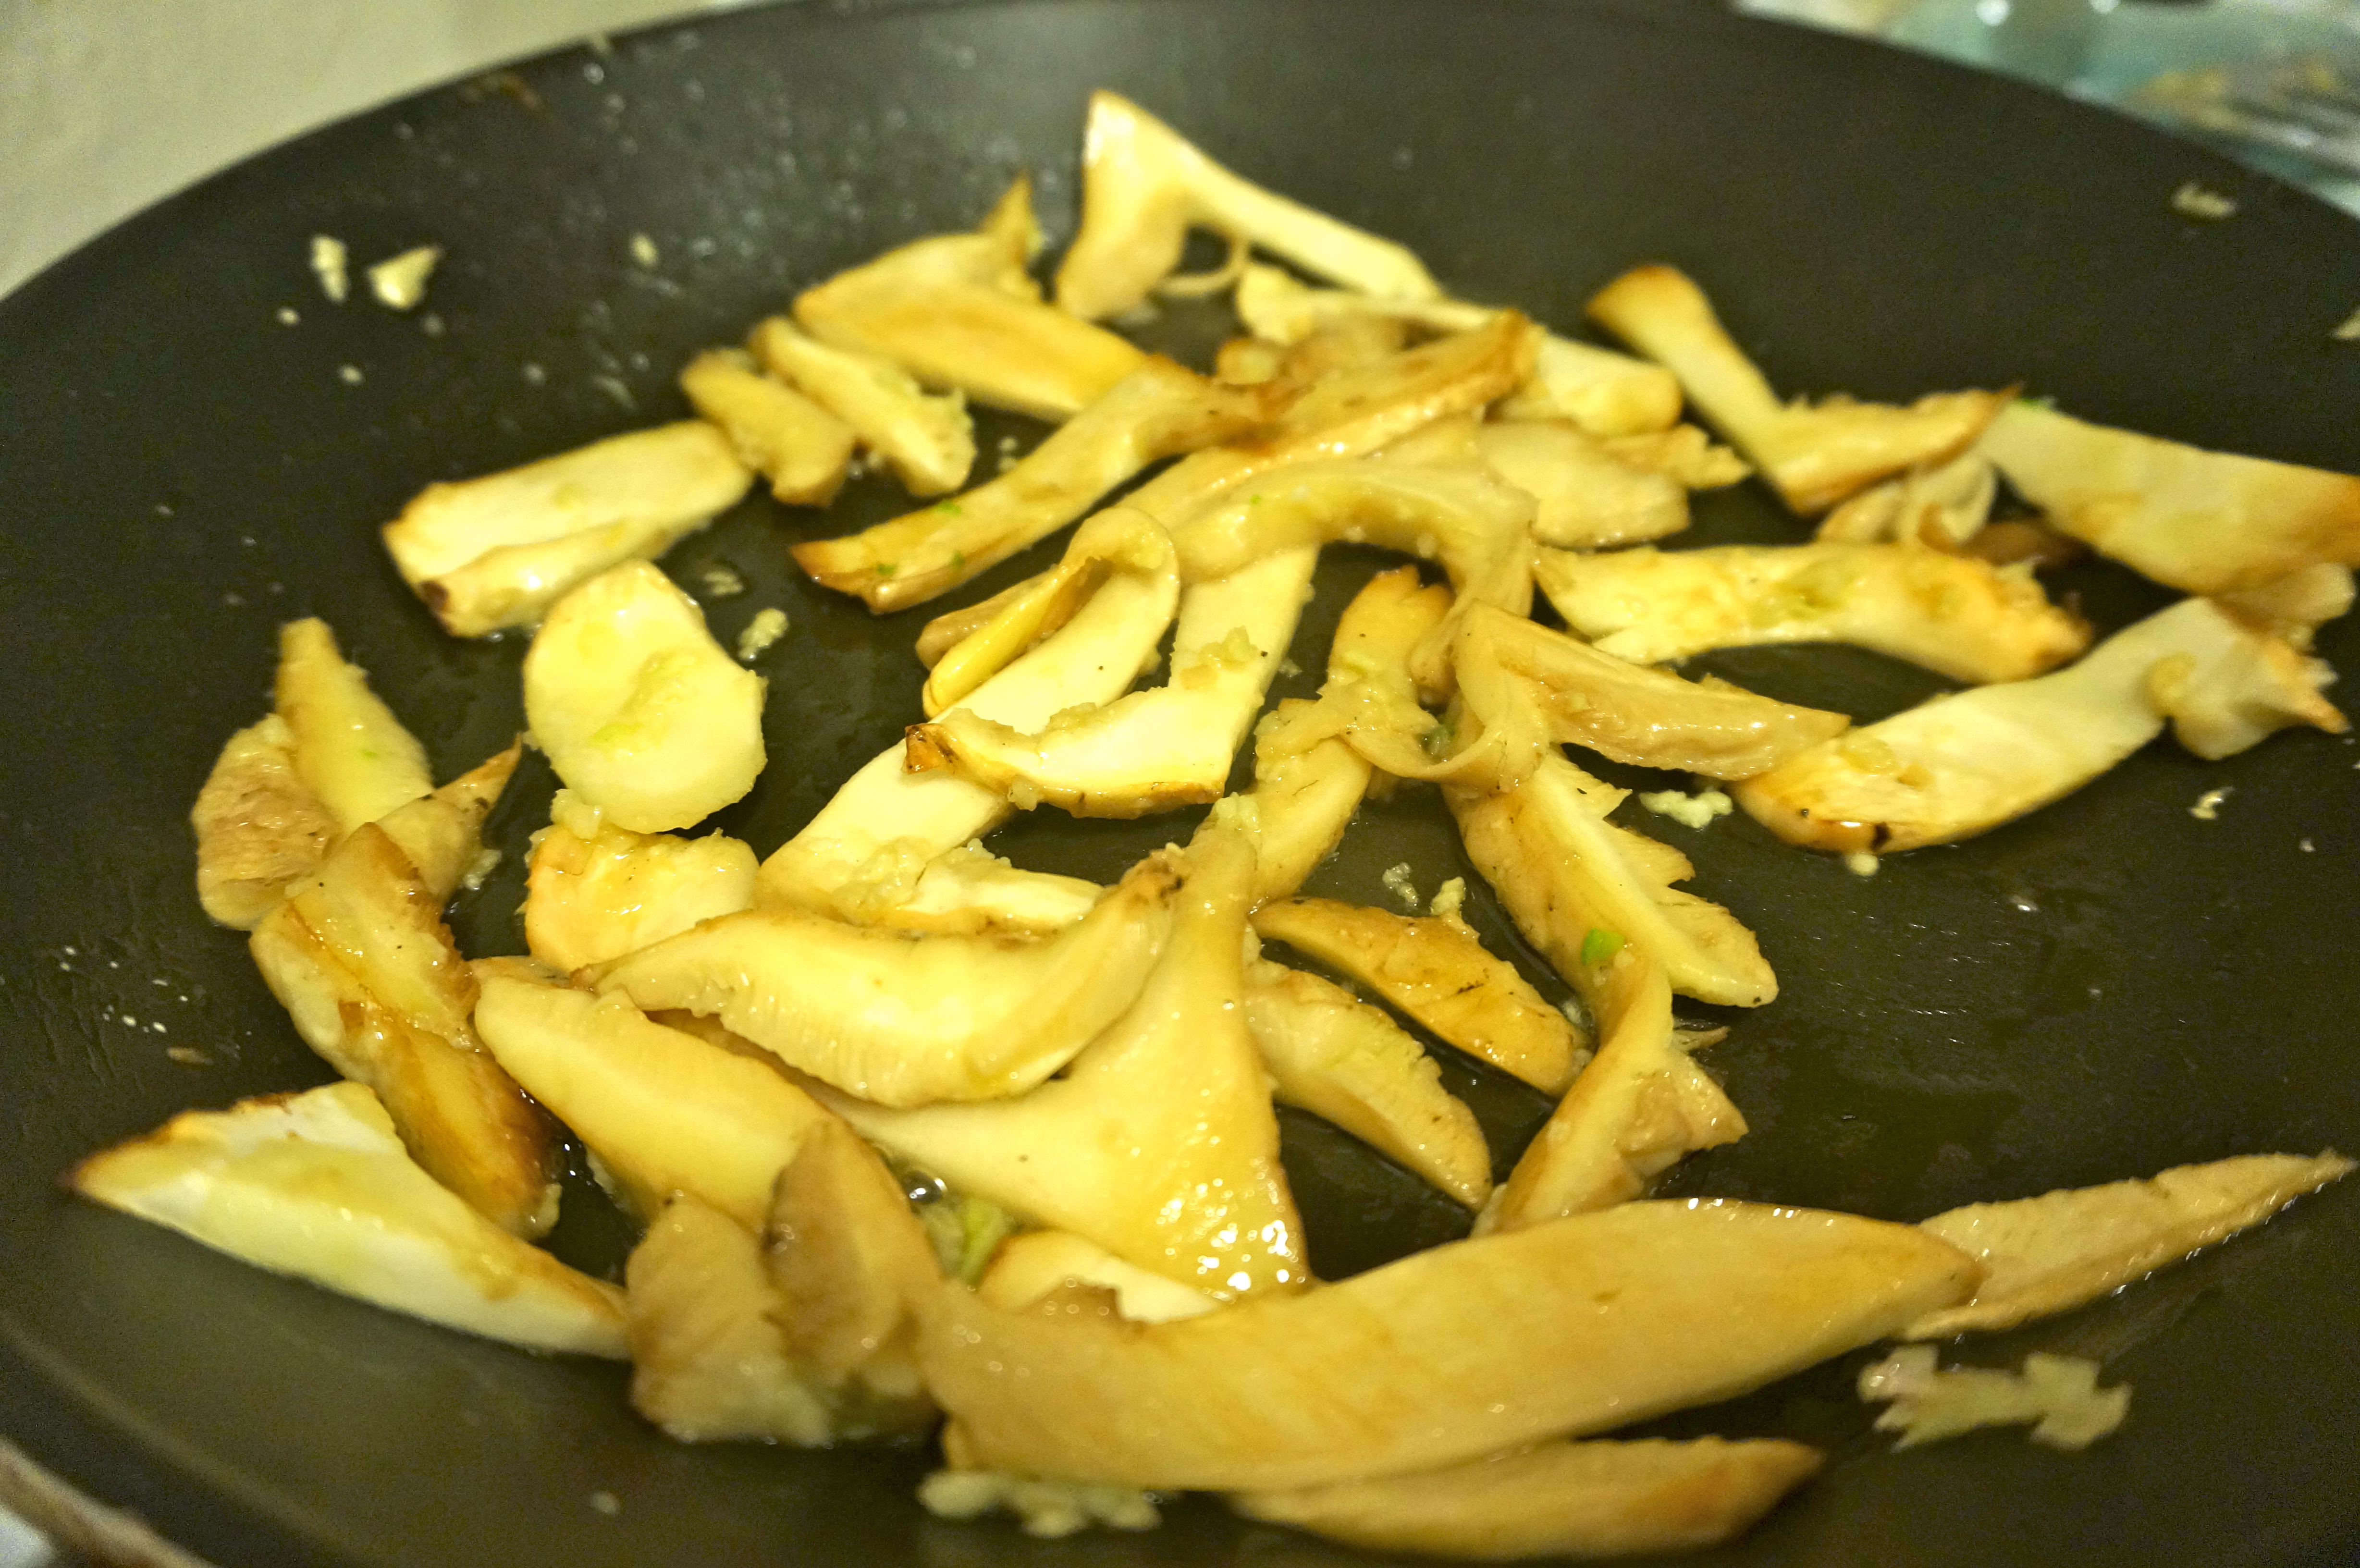
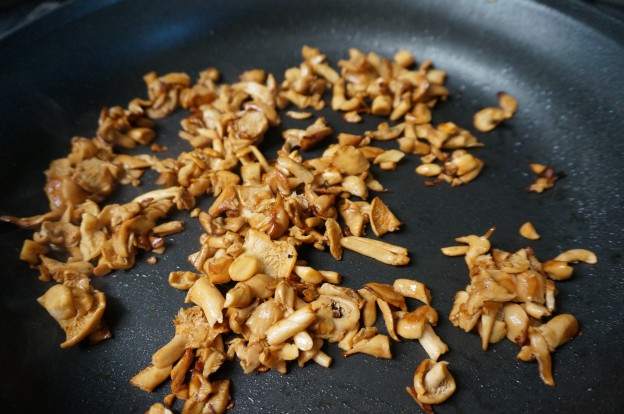
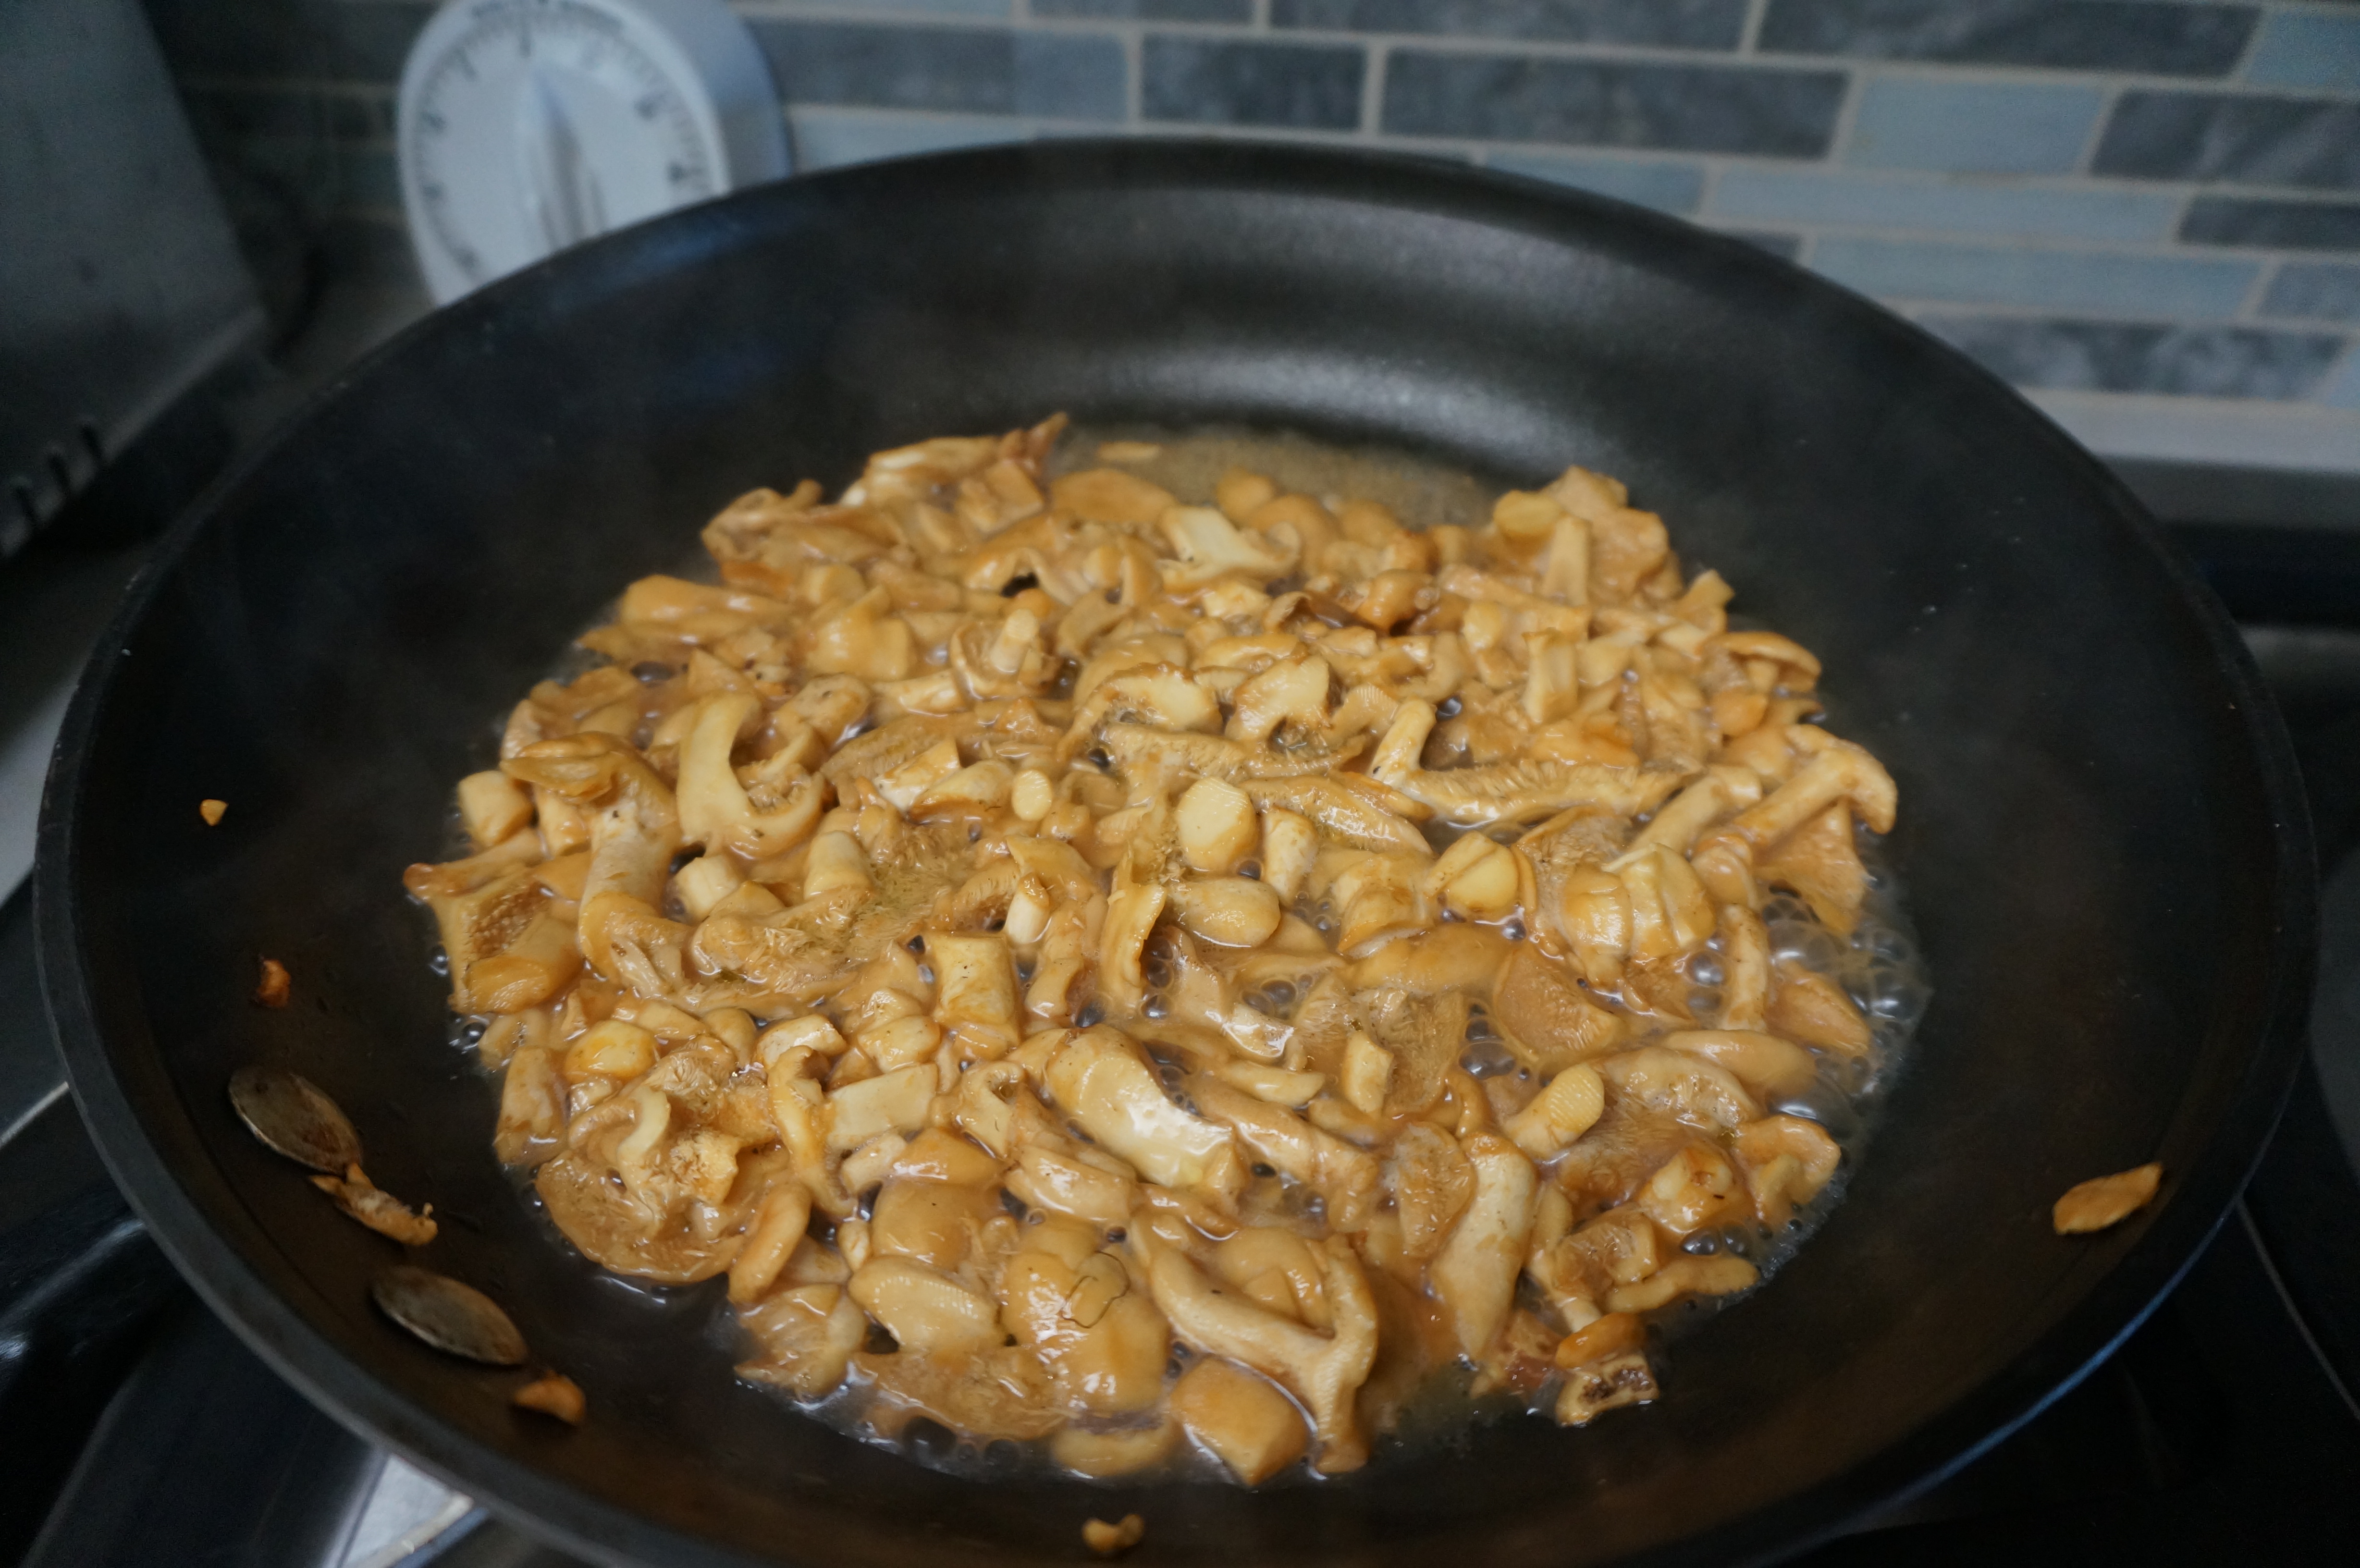
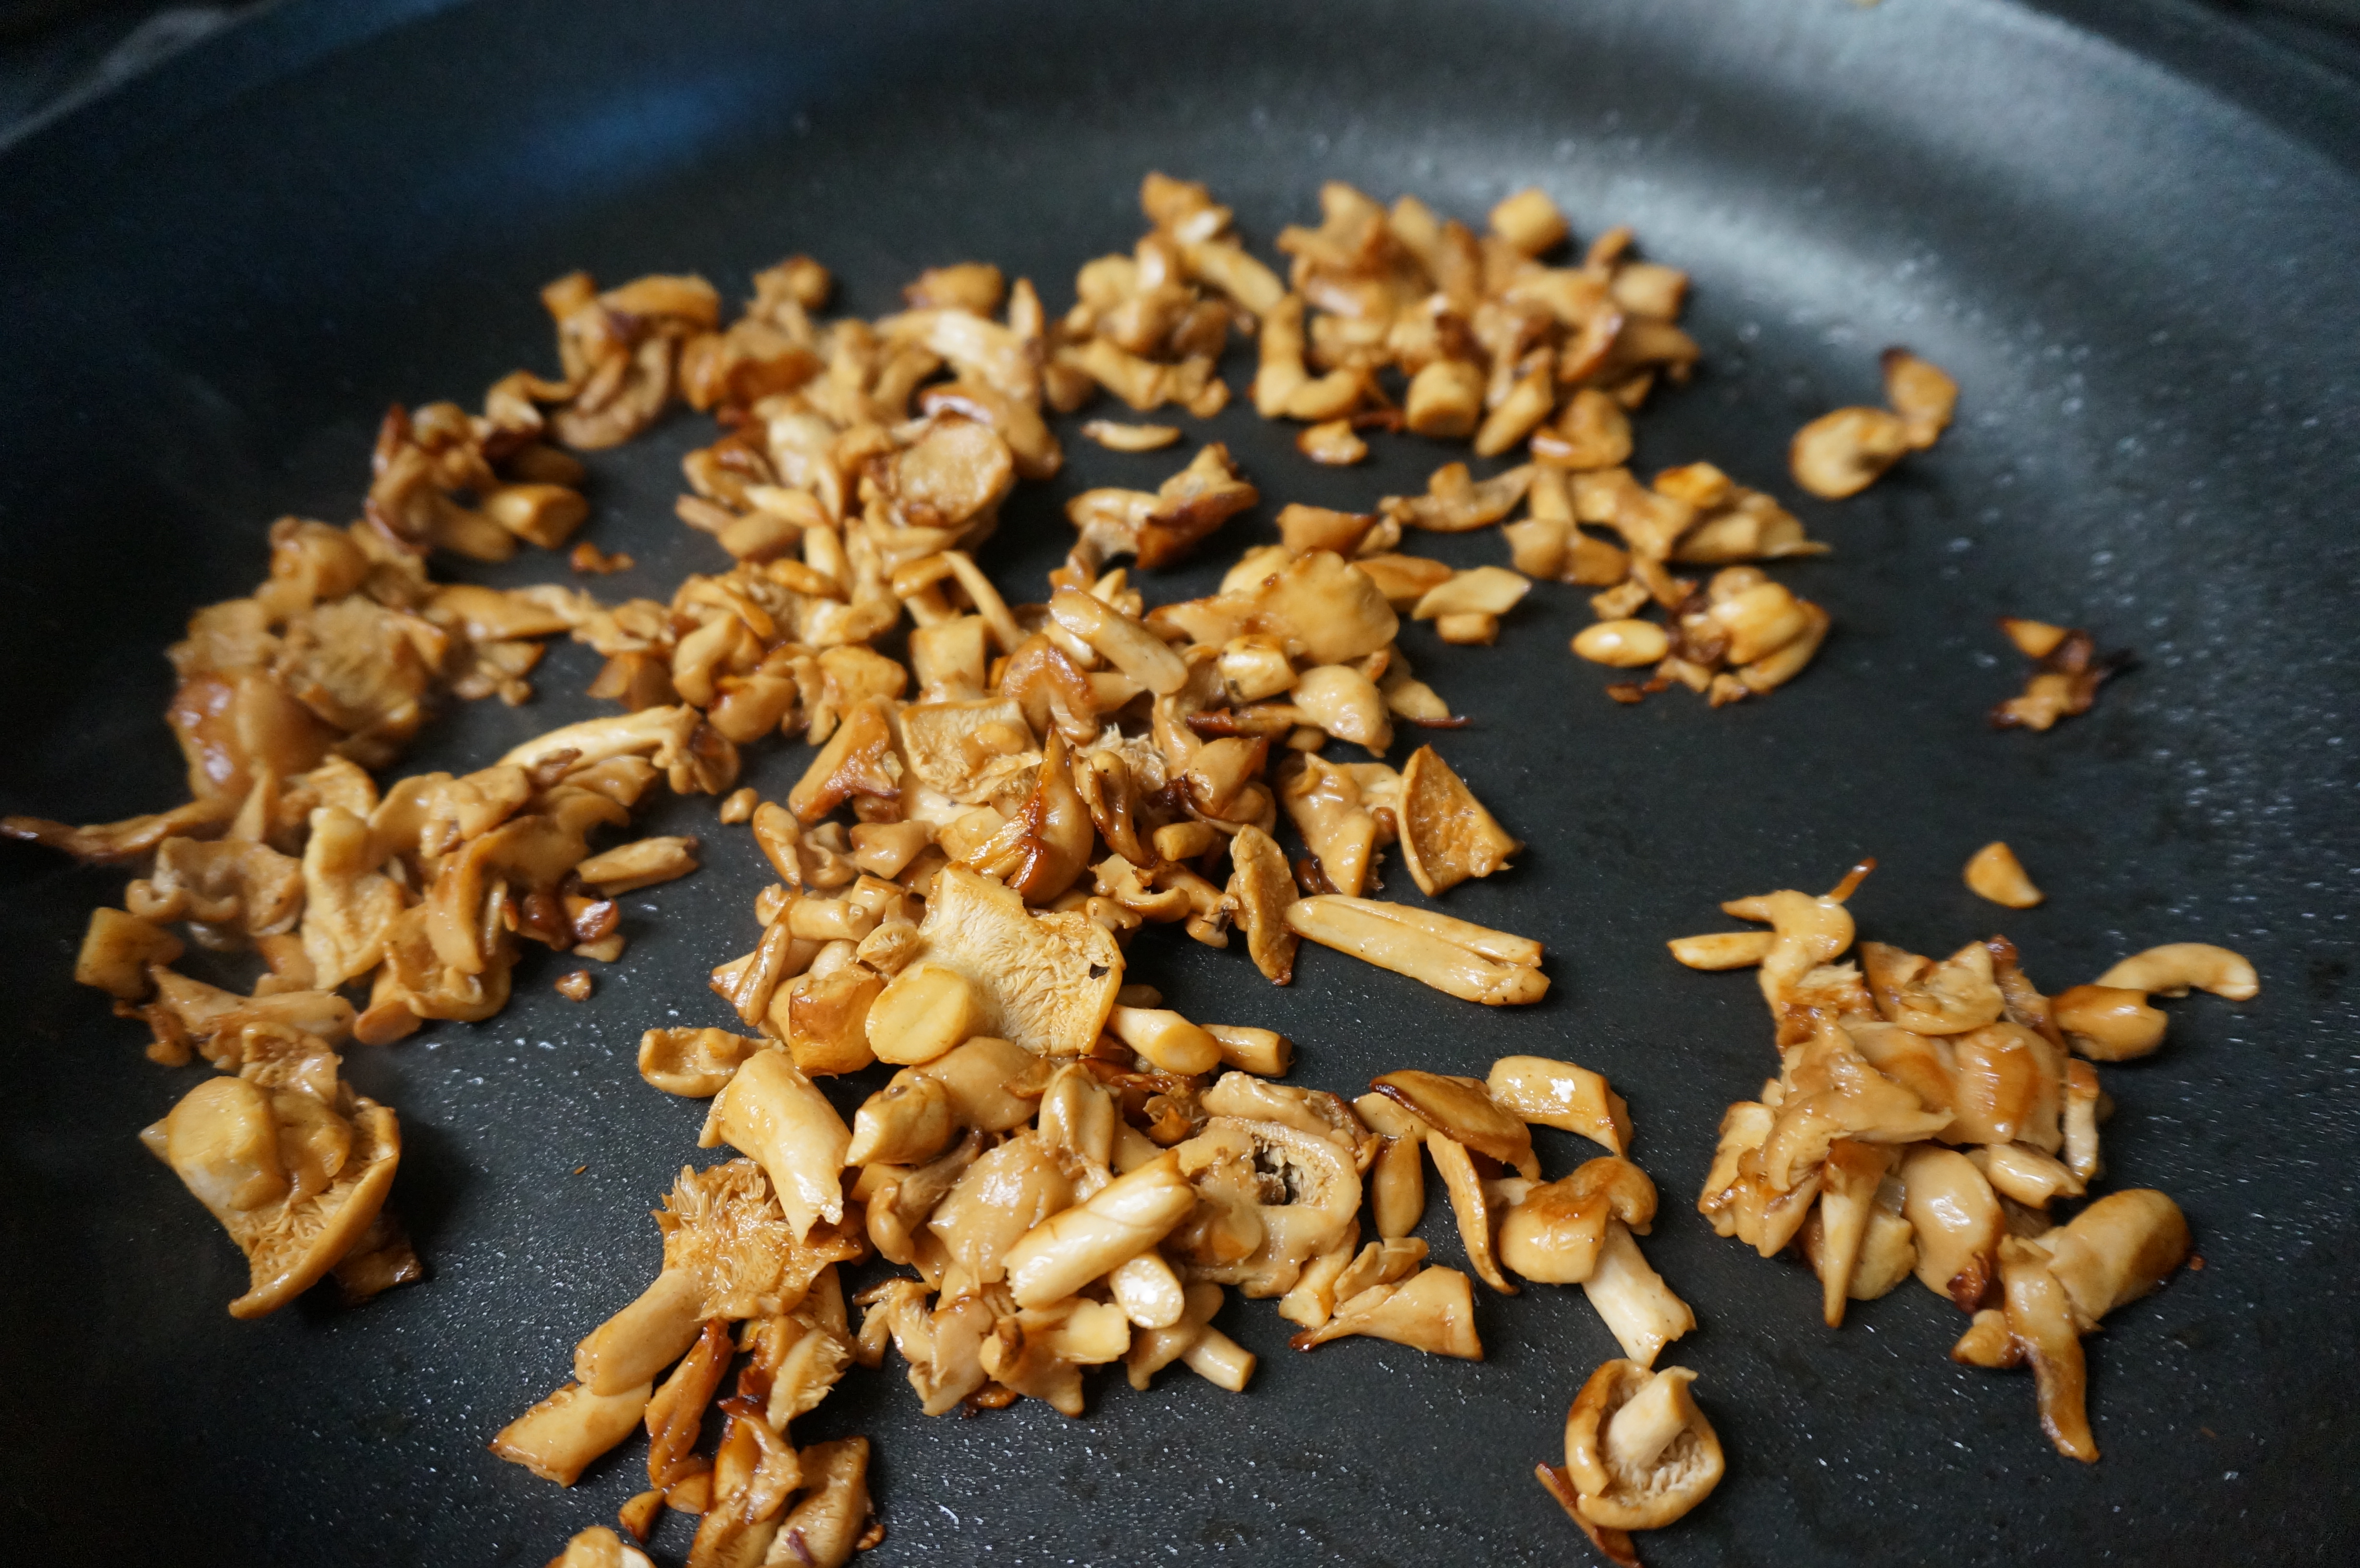
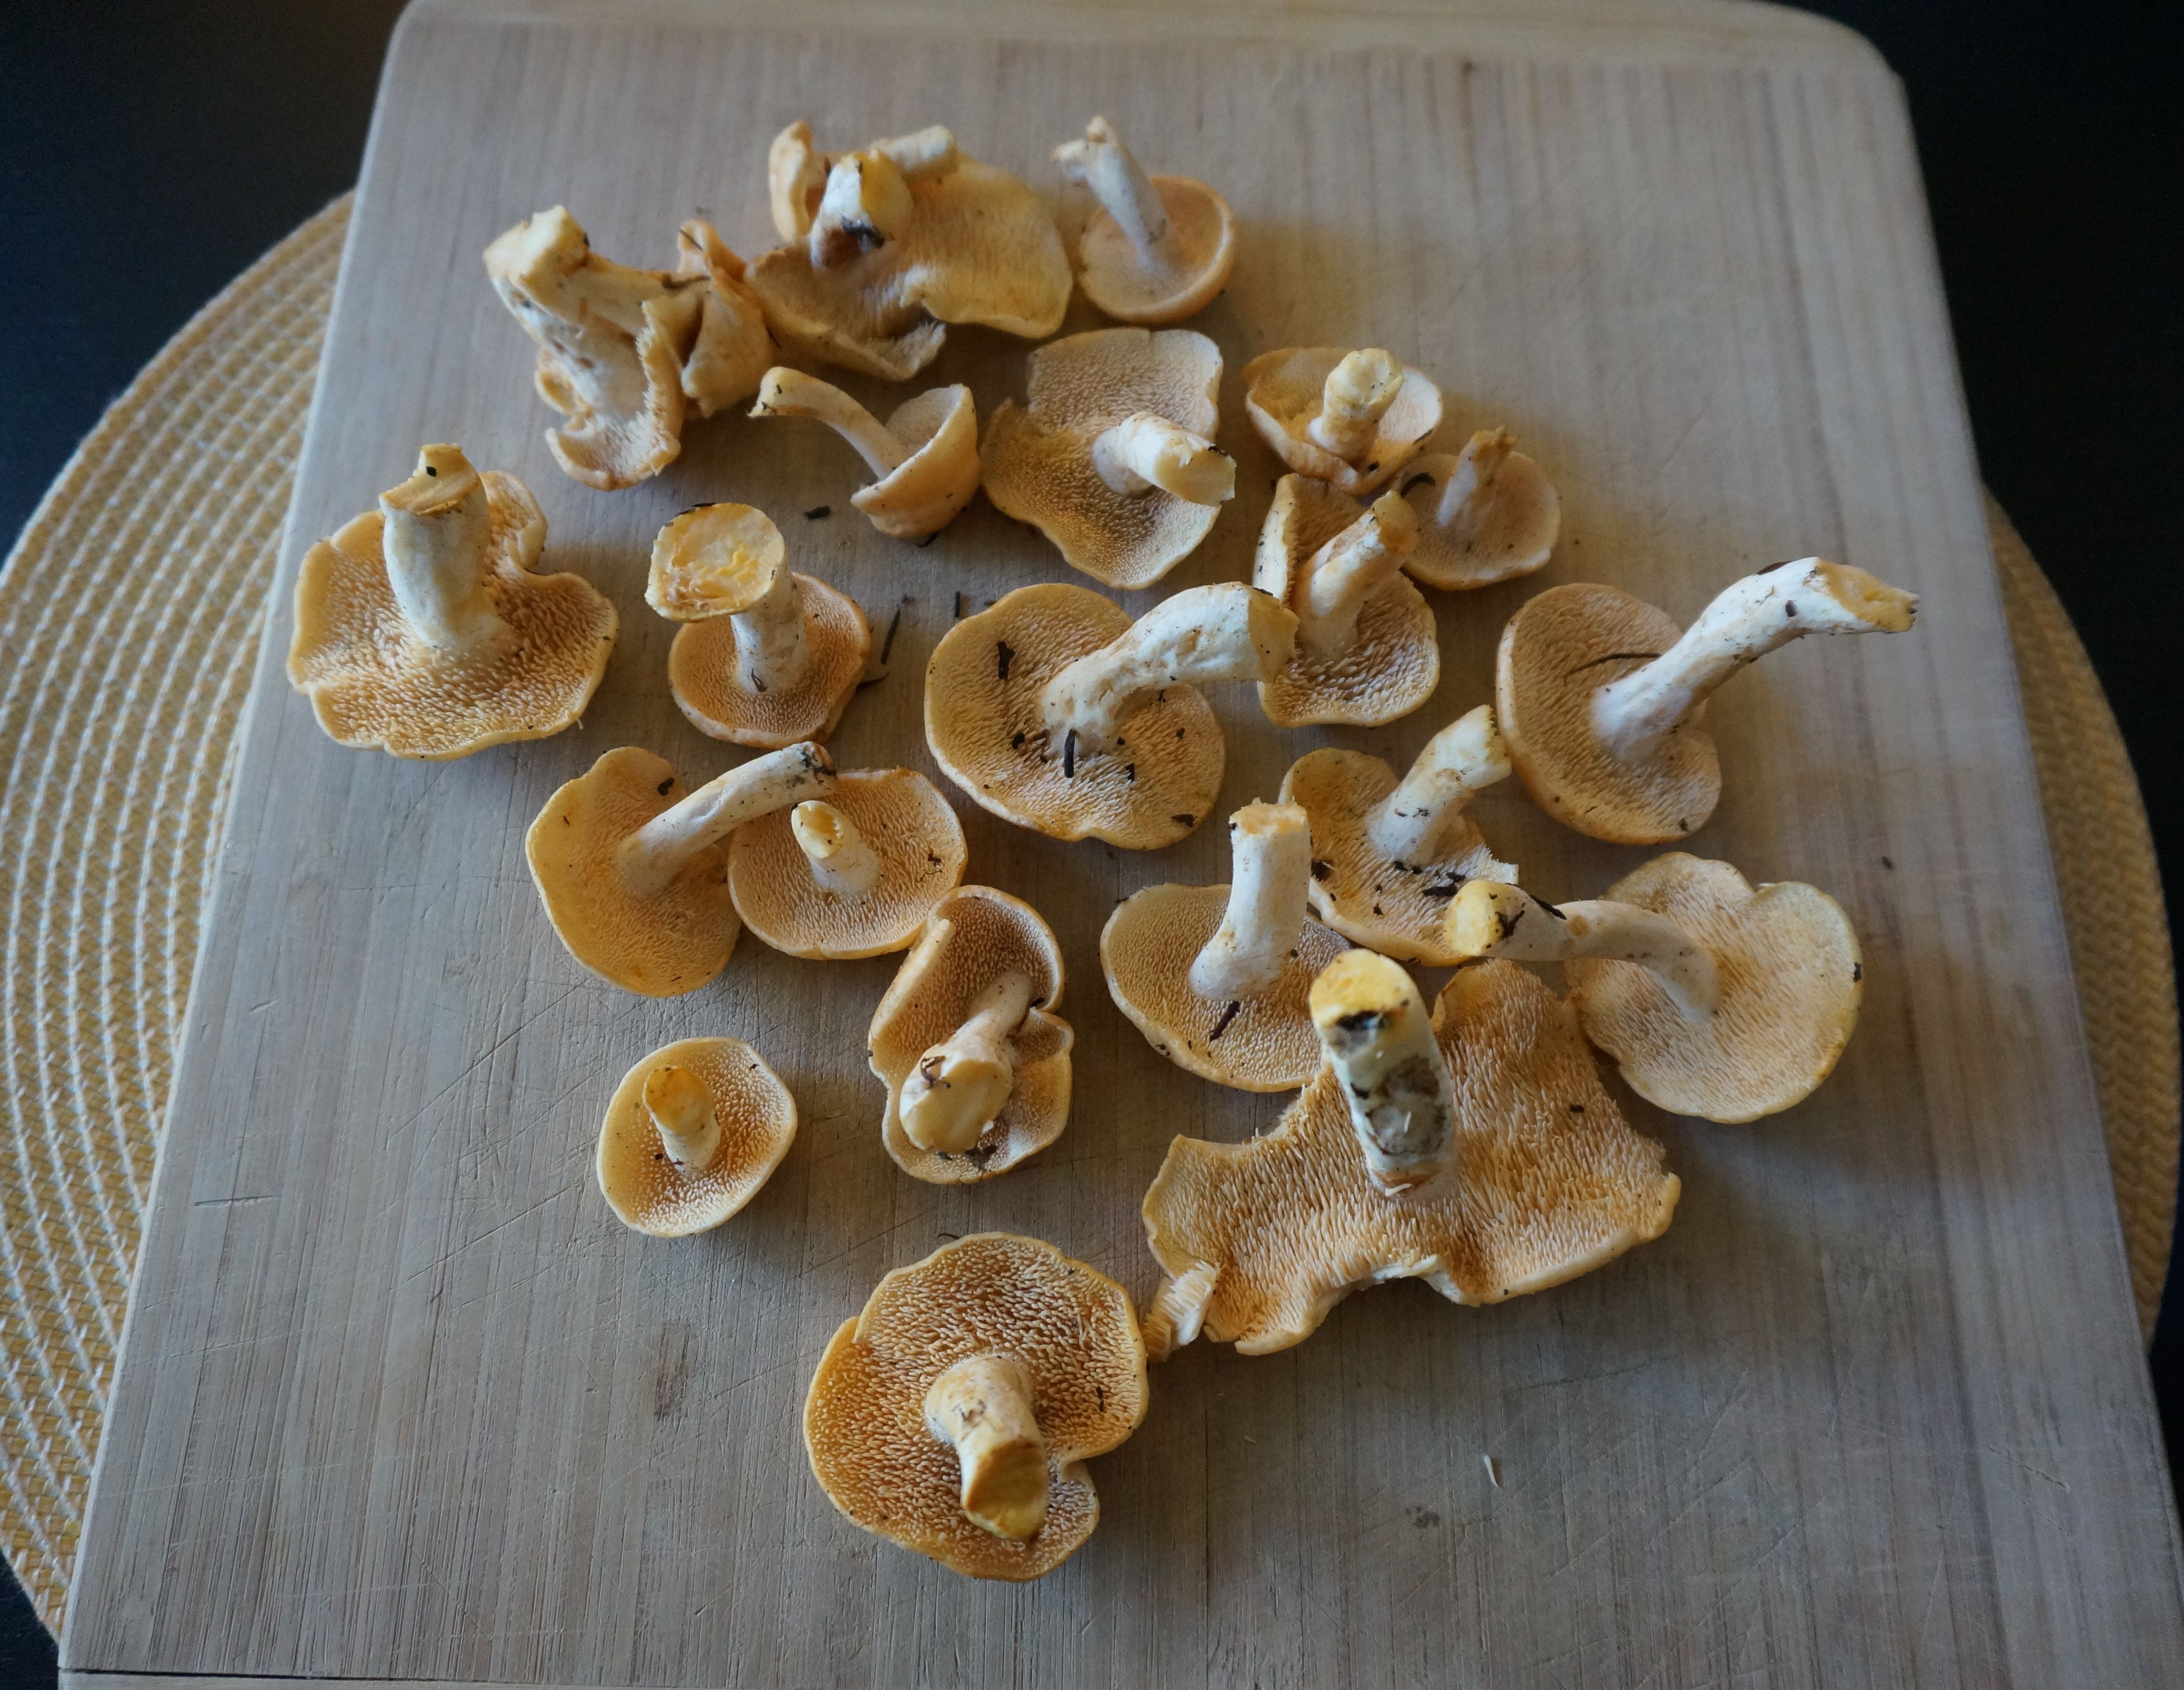
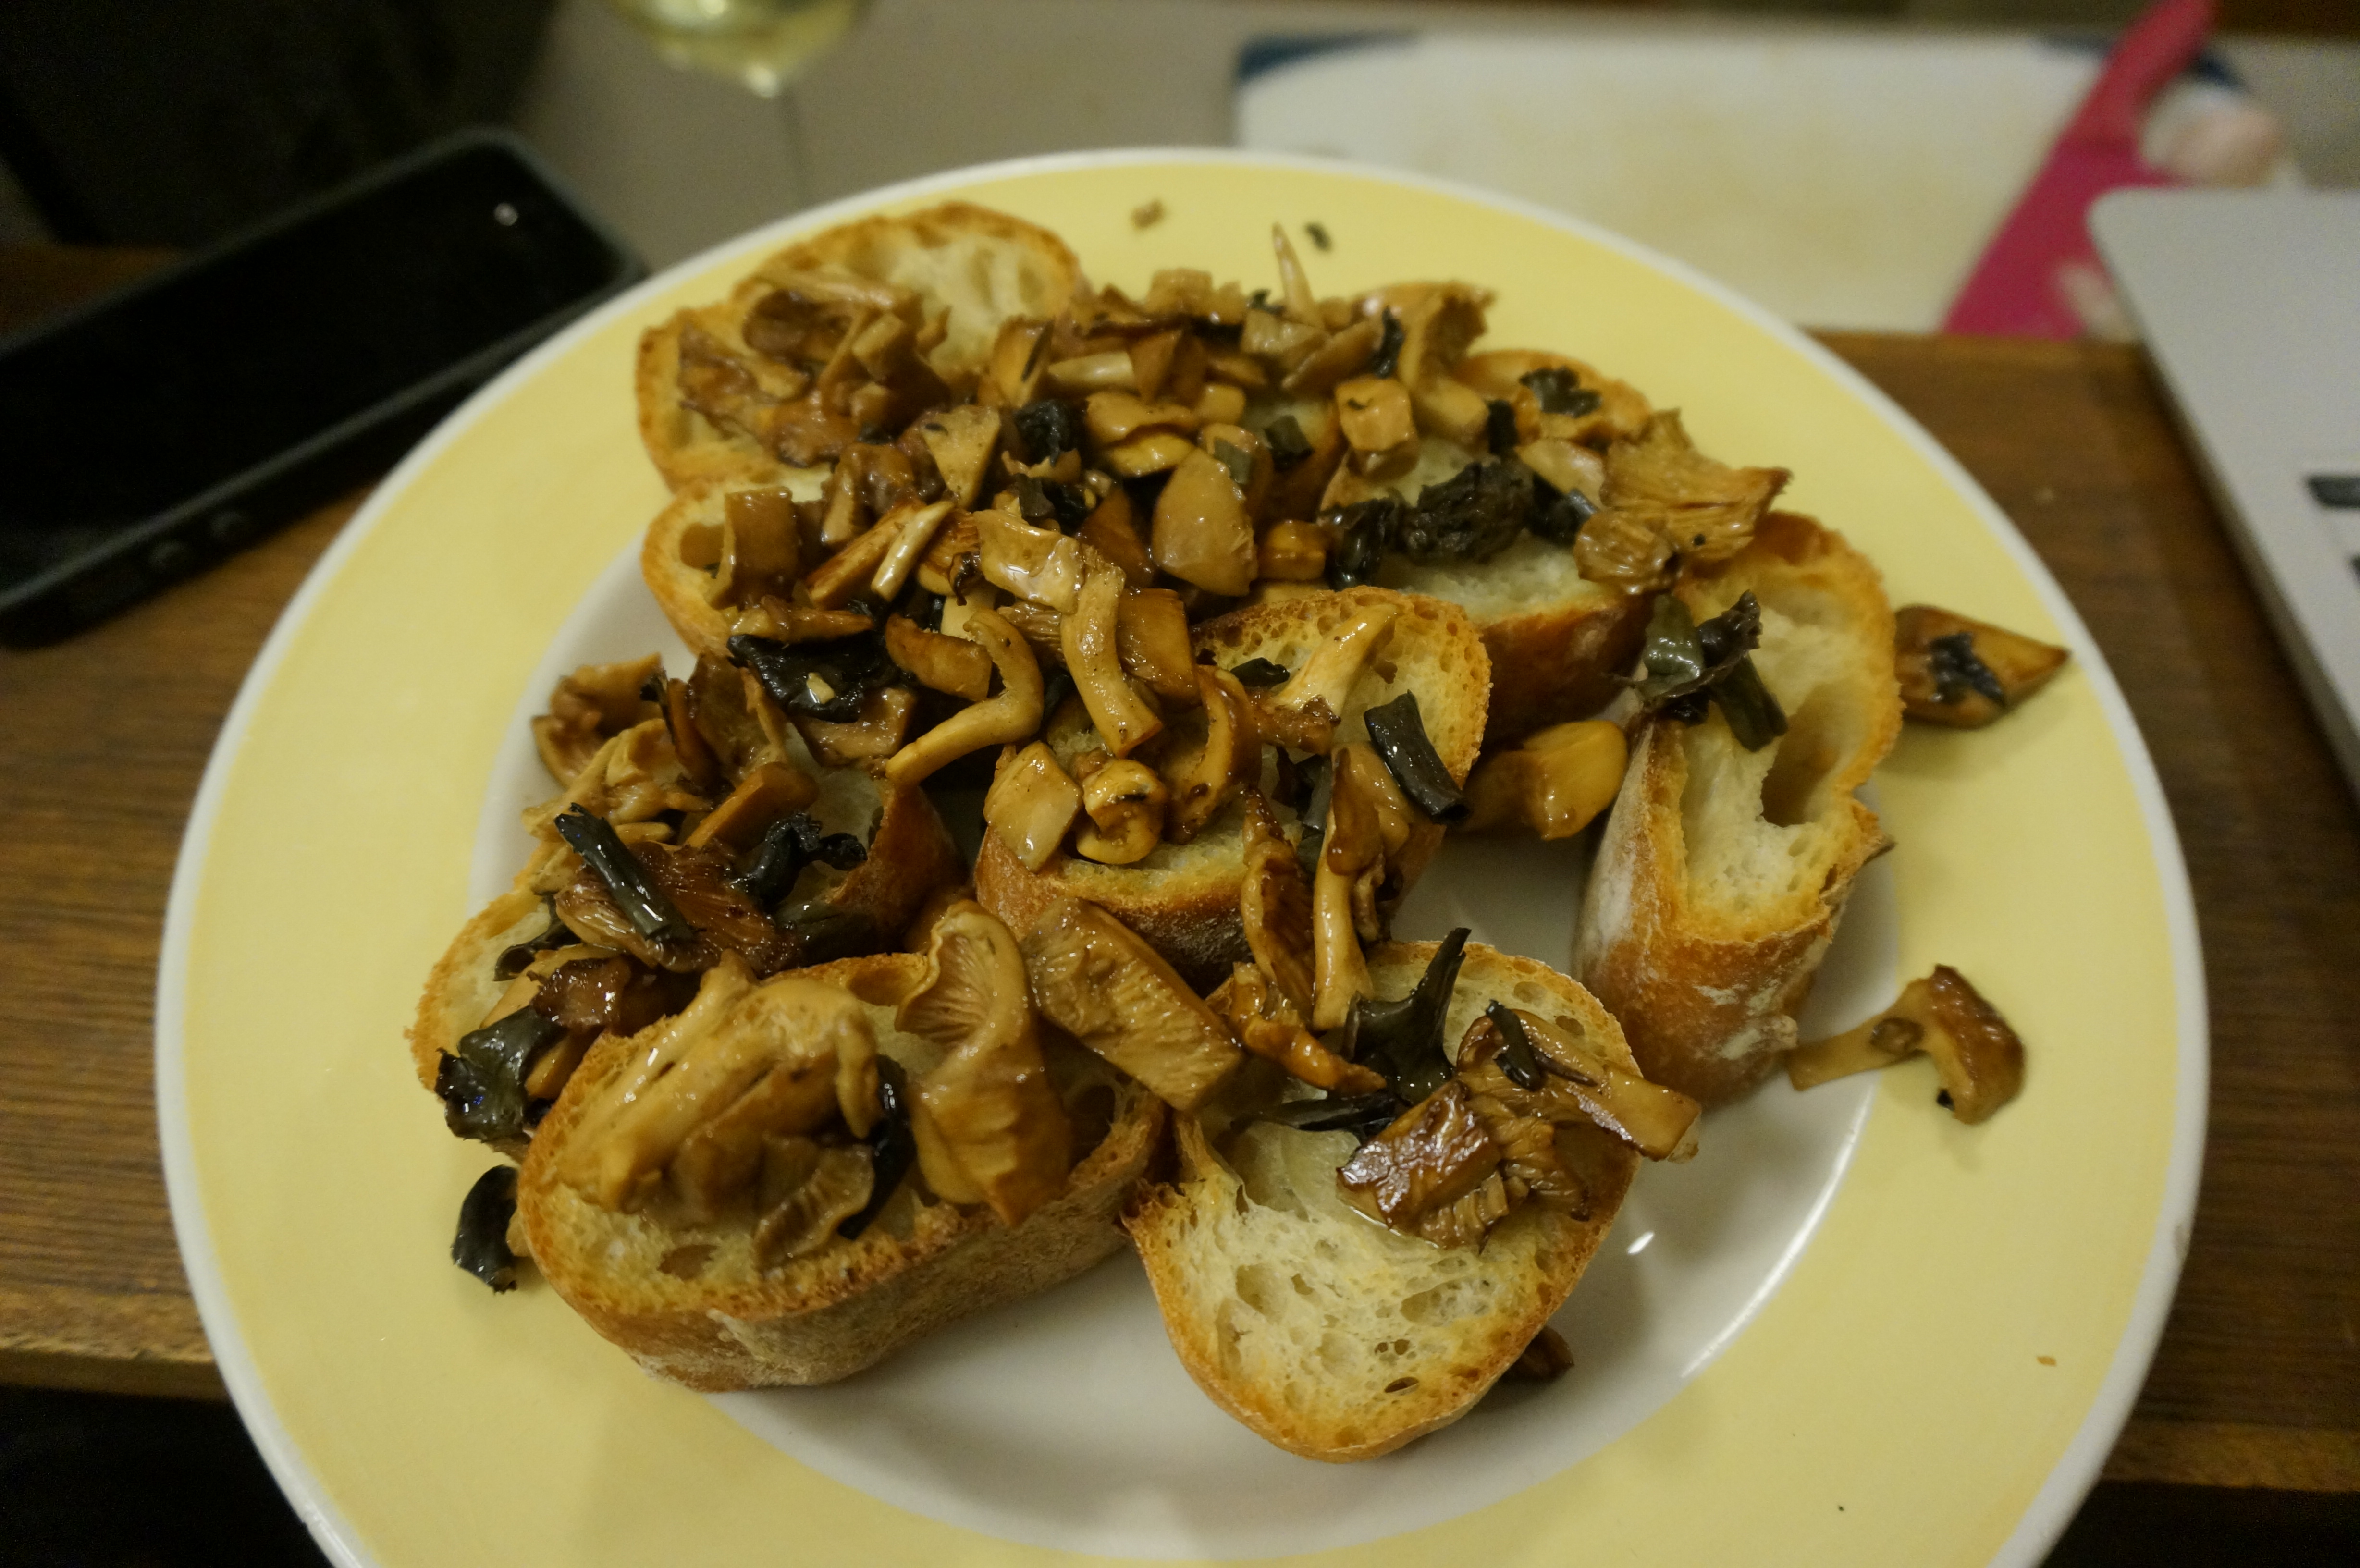
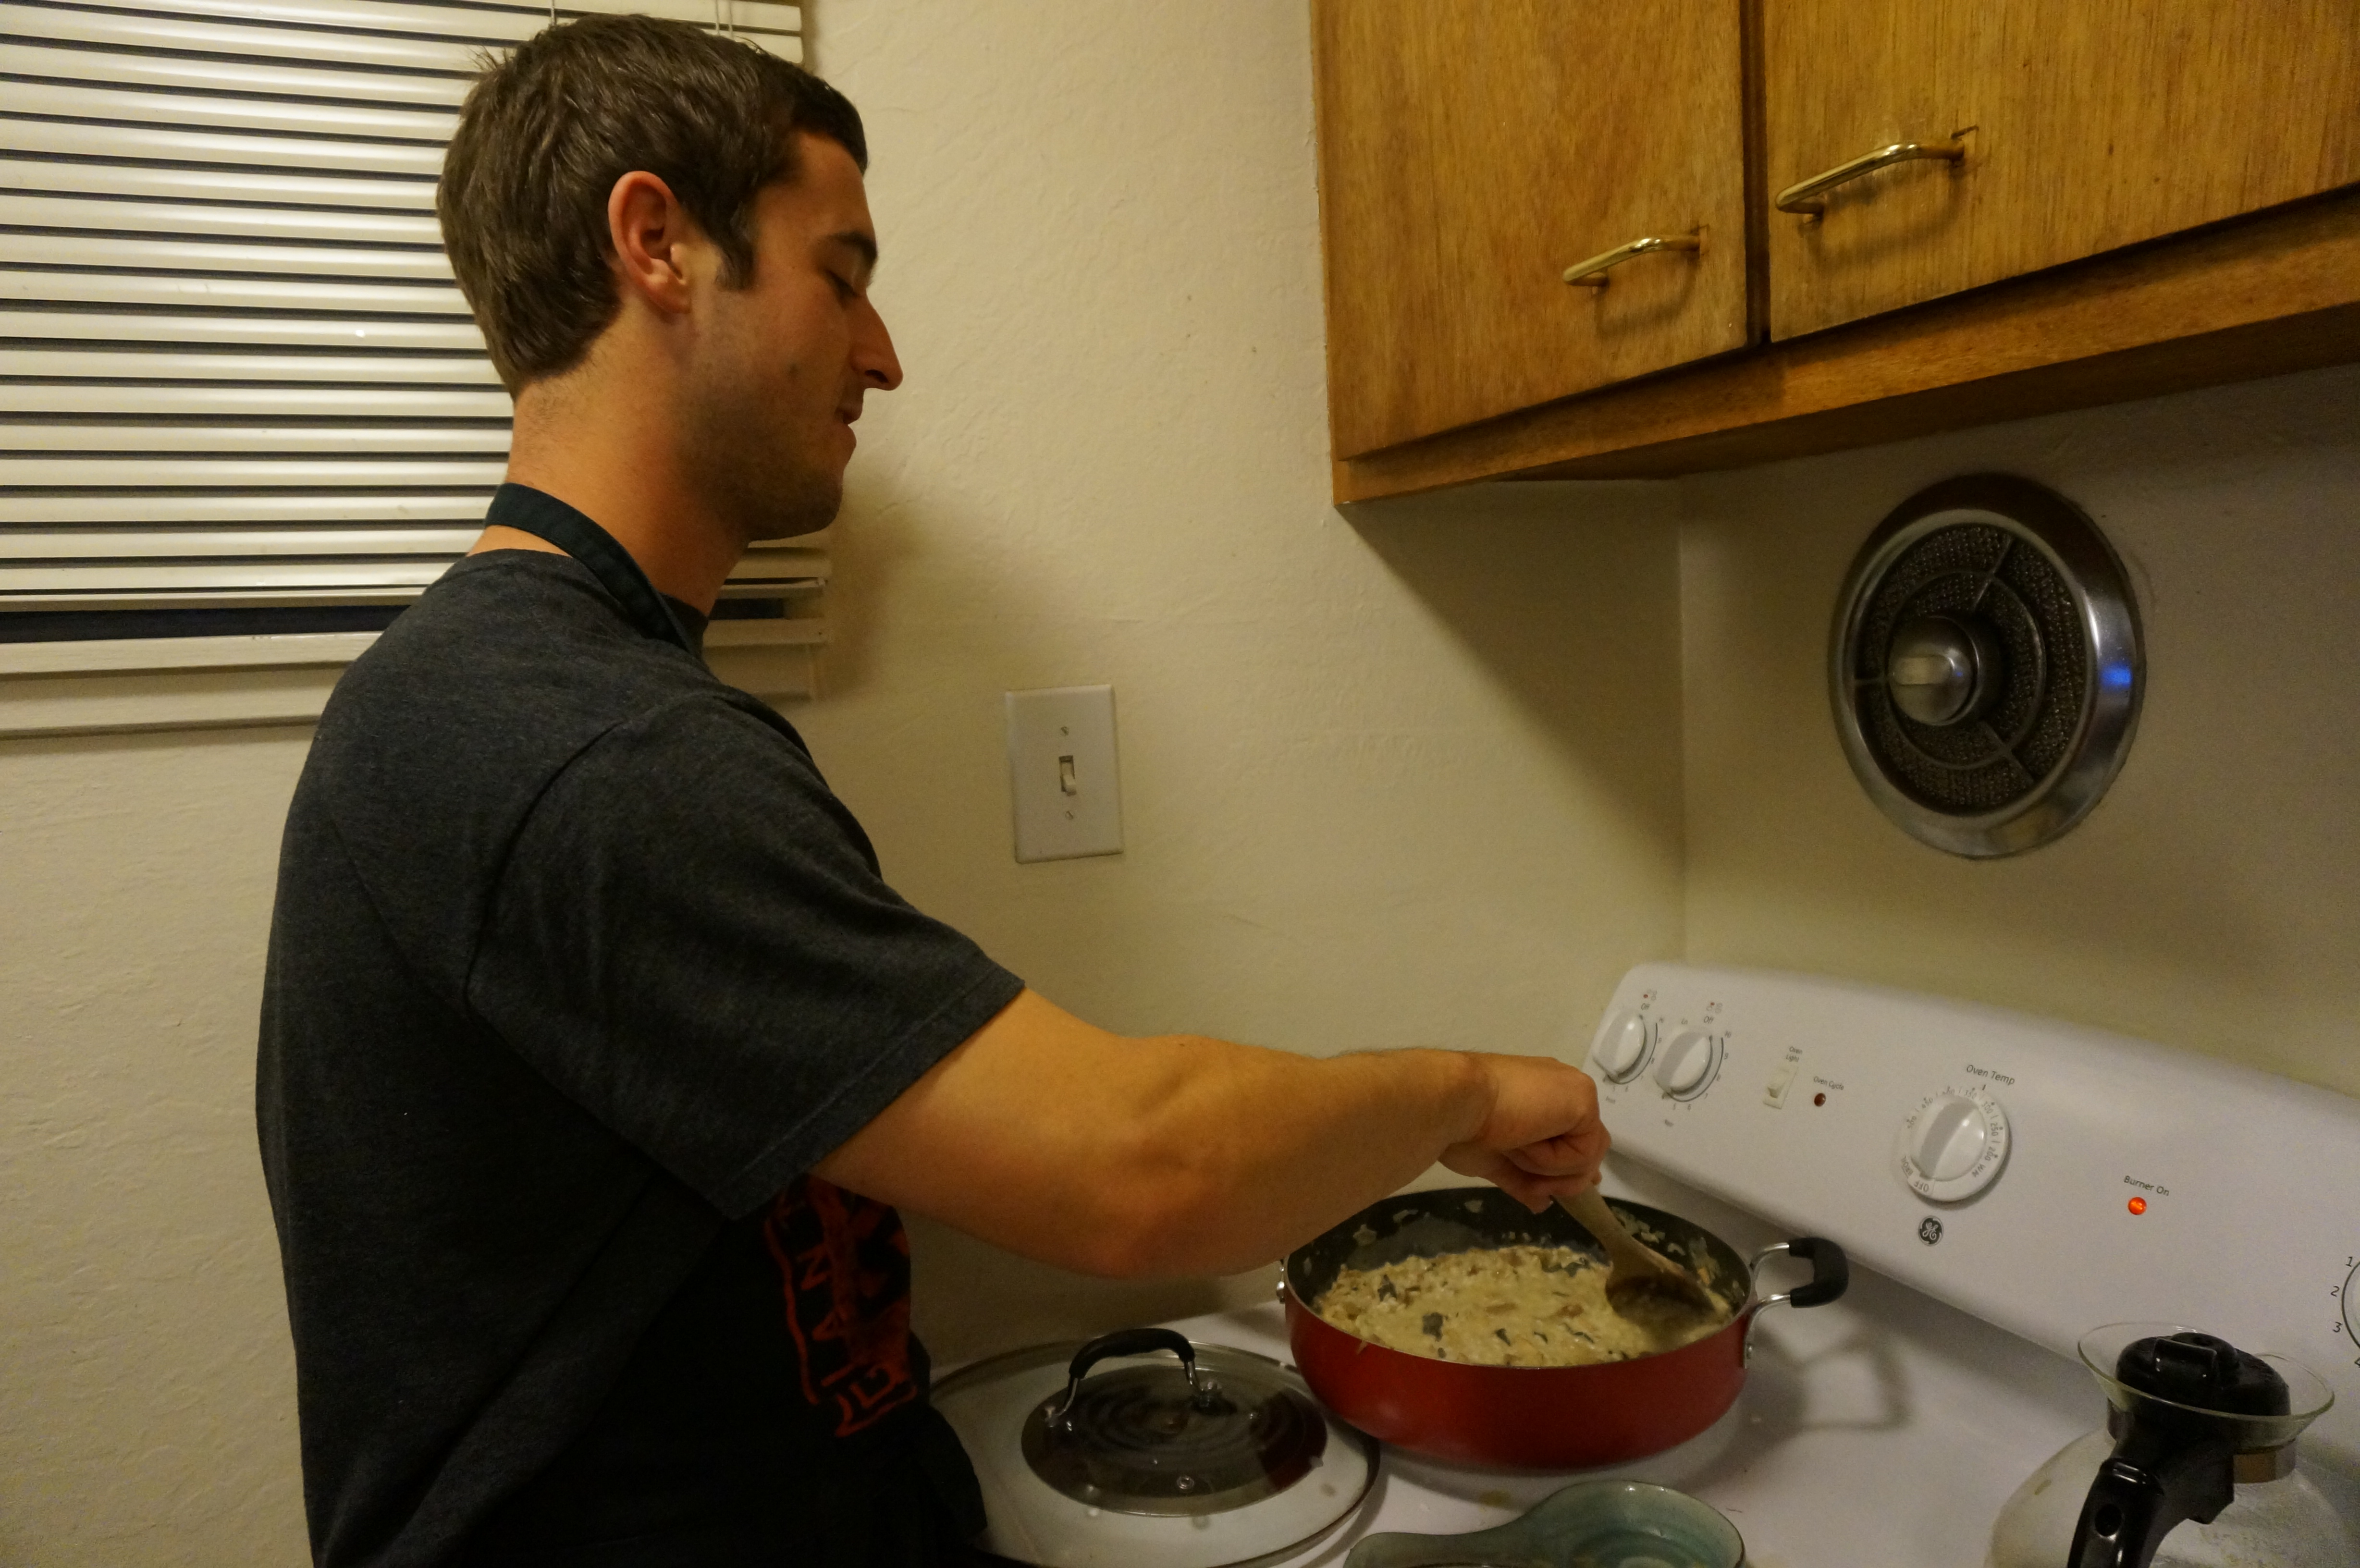
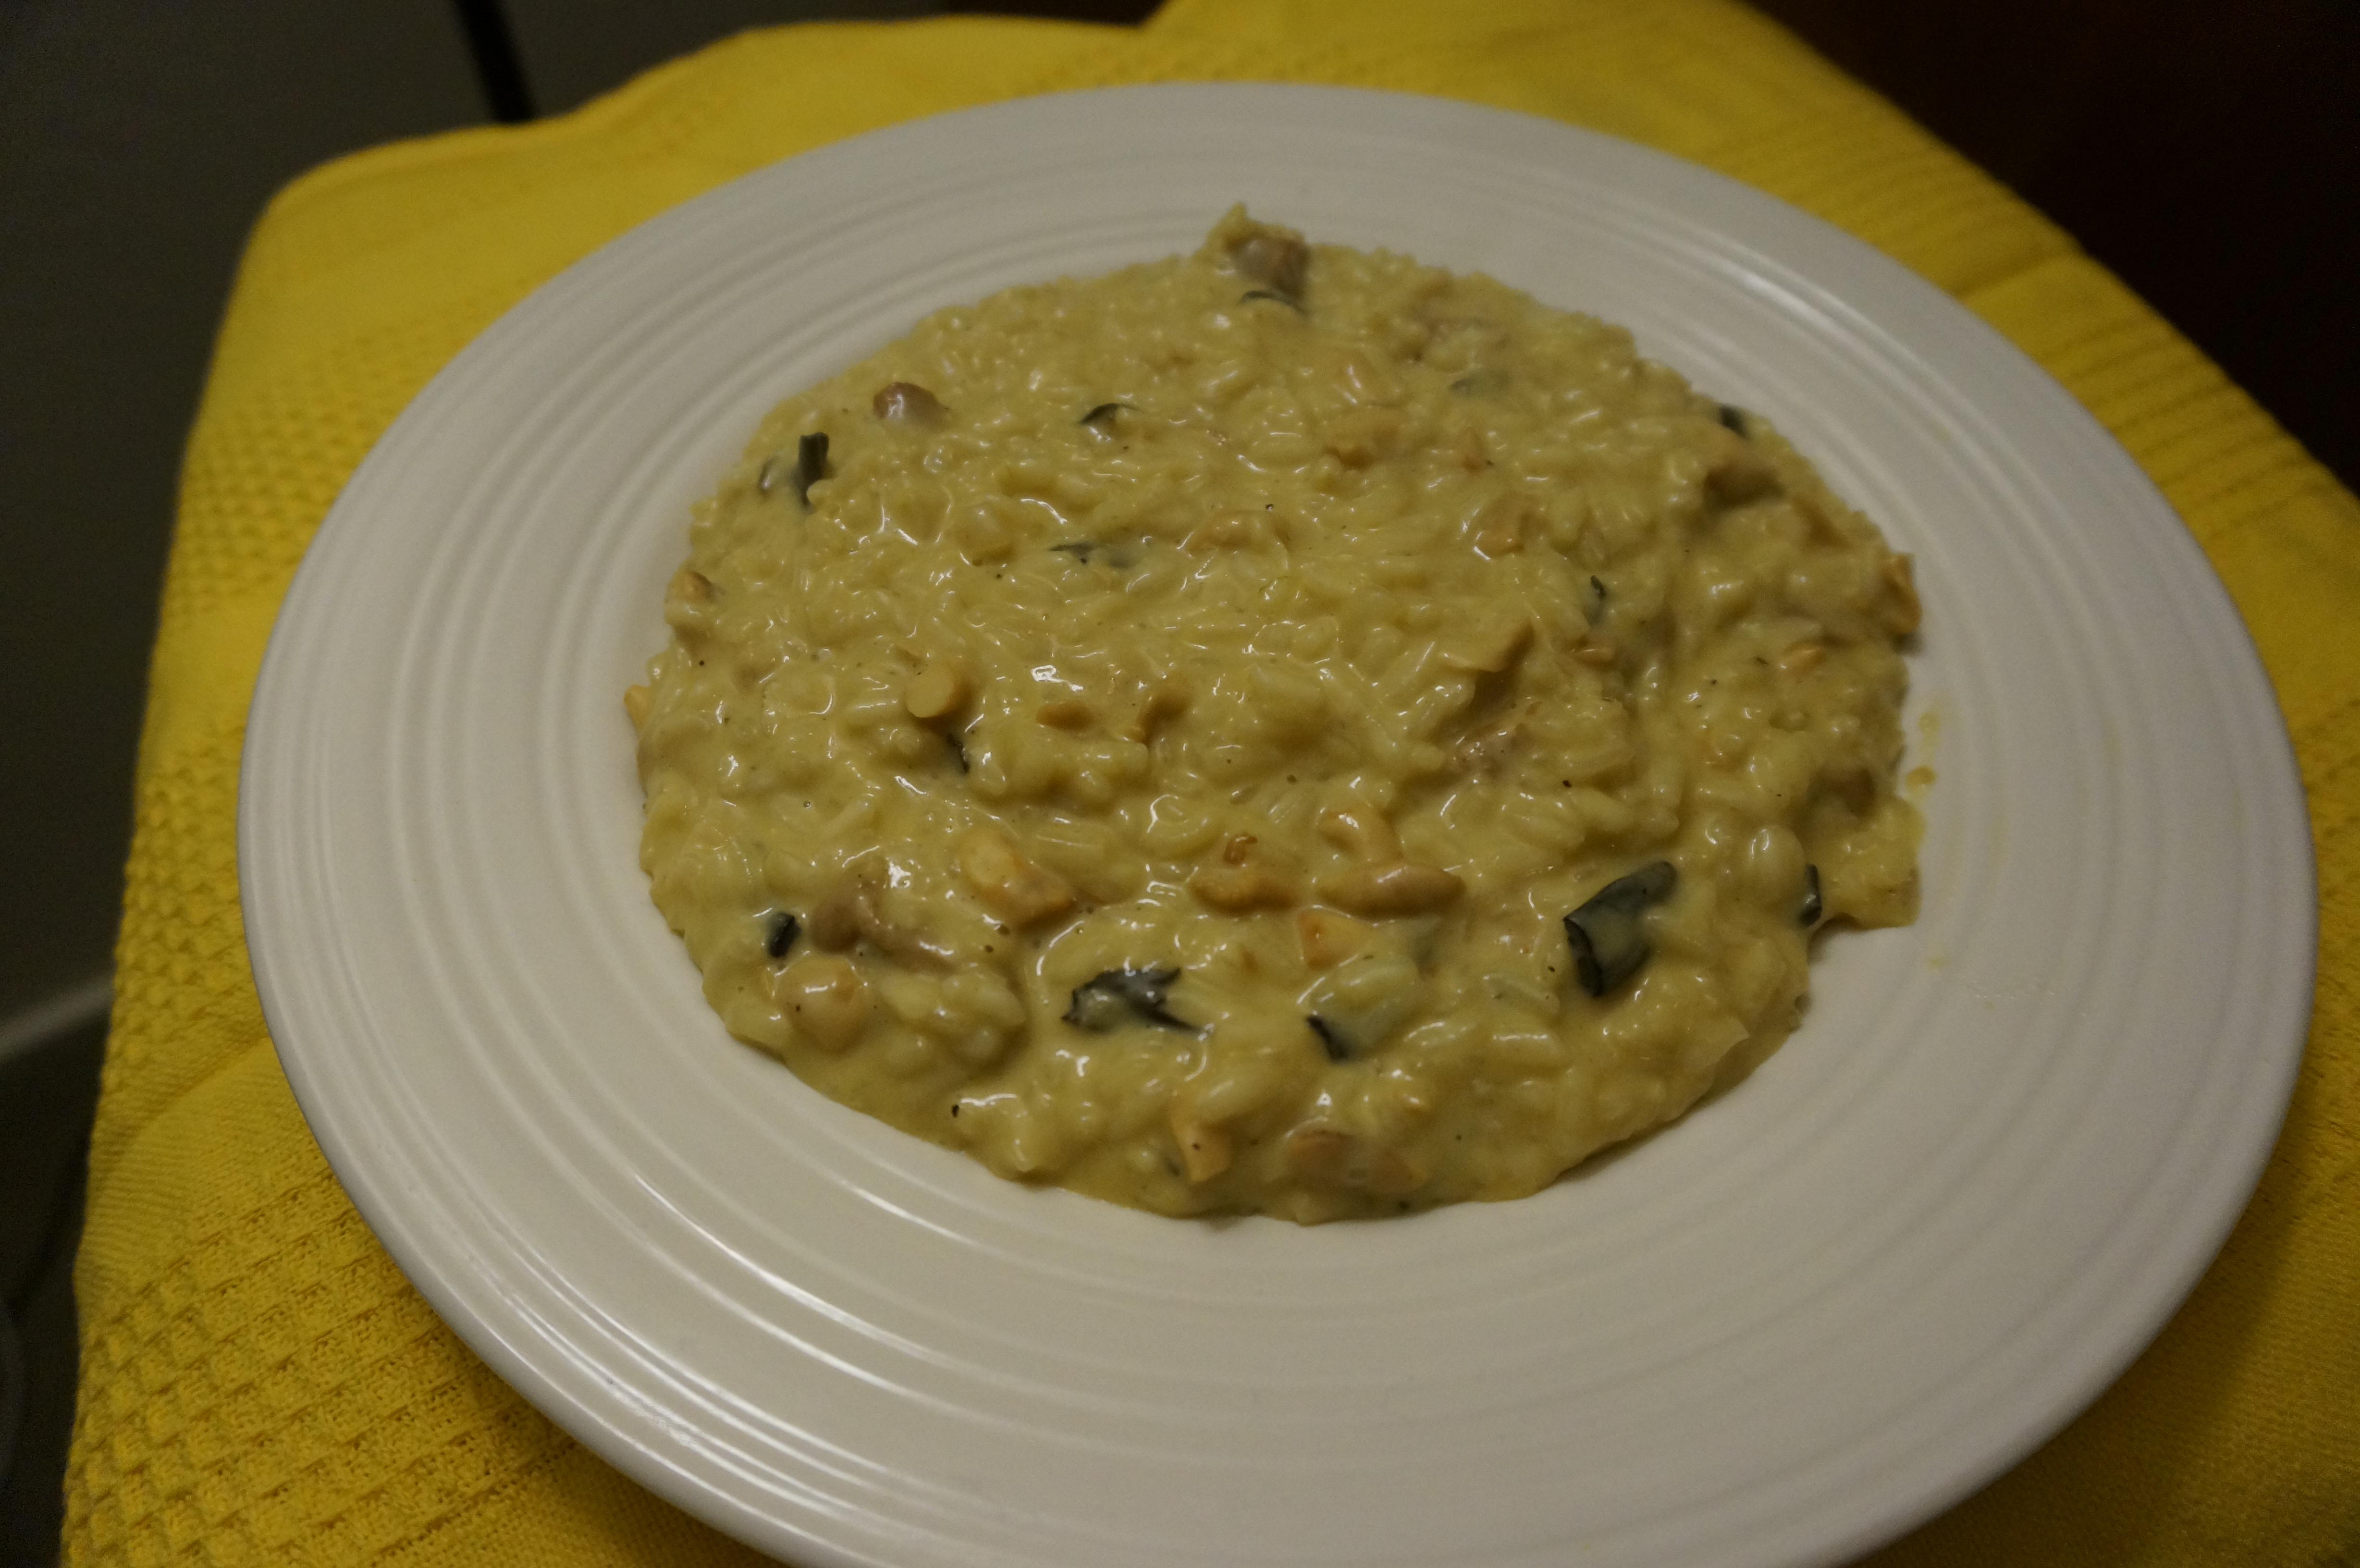
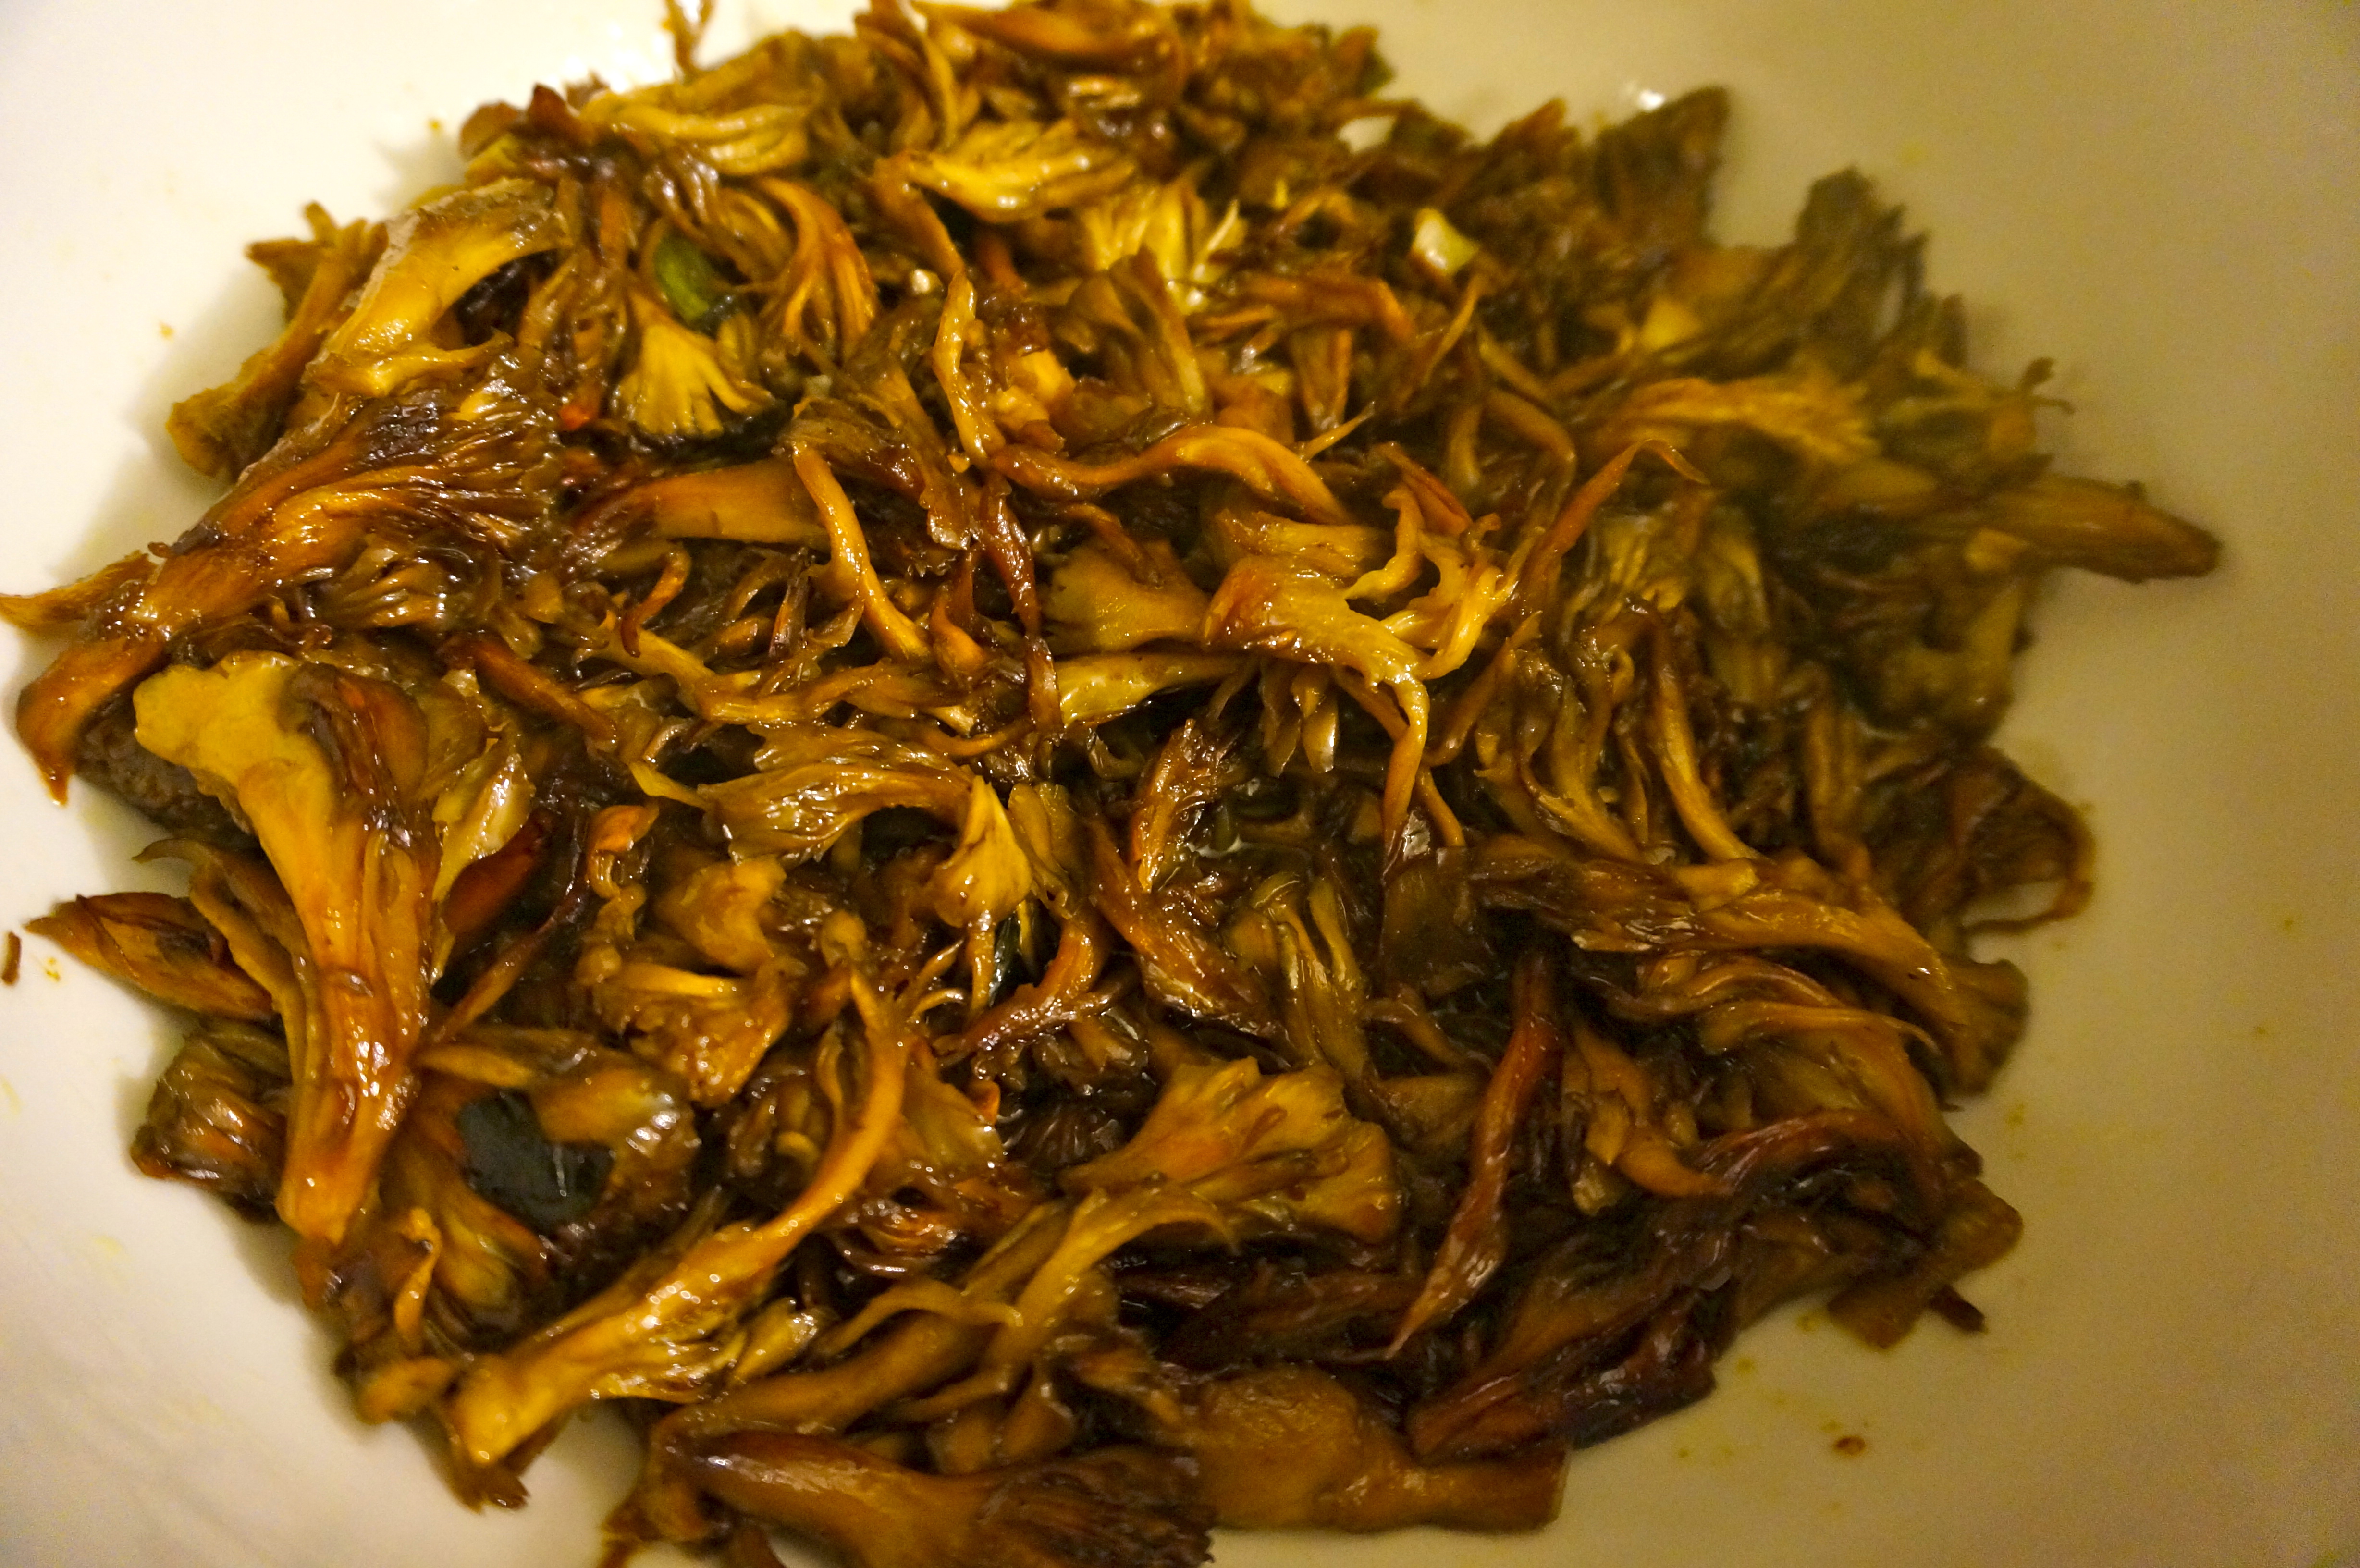
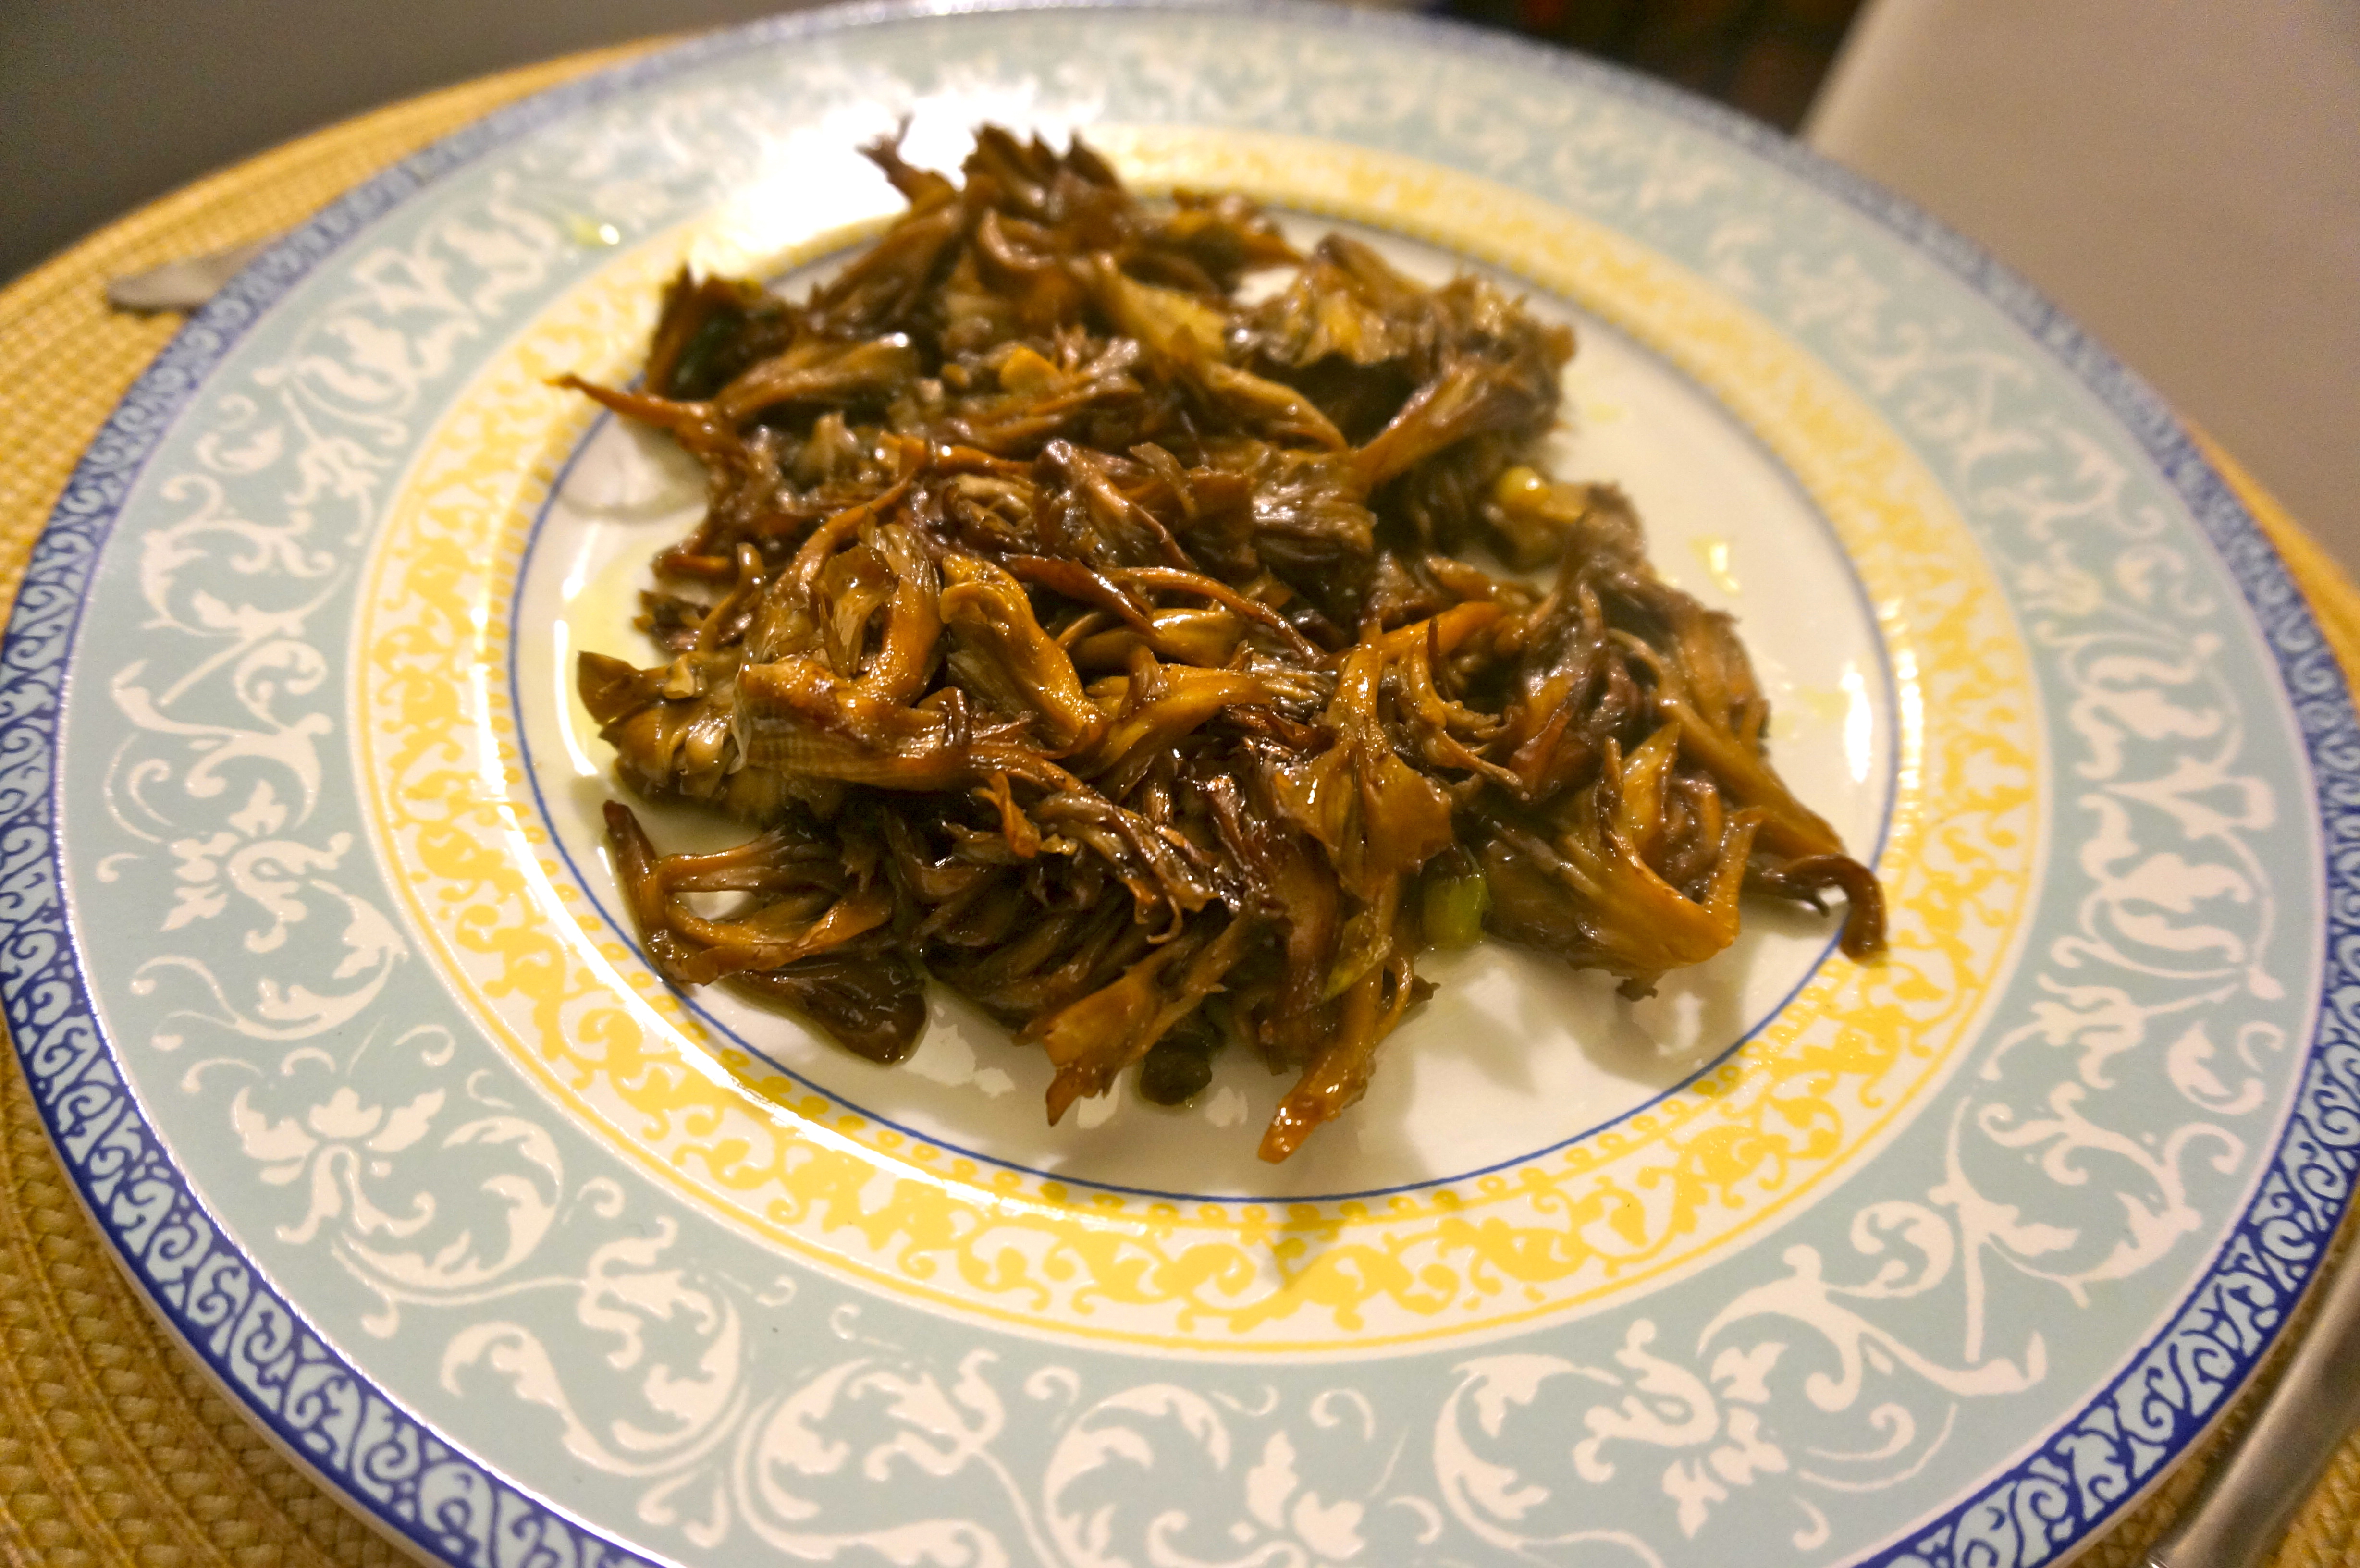
Matsutakes can taste a bit like foot (full disclosure) if not fully properly cooked, so we took some matsutakes off the top of the rice dish that were  not fully cooked and fried them in vegetable oil to make sure they were nice and browned. We added the fried mushrooms back on top of the rice and added chopped chives to the top for a pop of color and flavor. OMG doesn’t it look so yummy??

DSC06203
DSC06205 DSC06206

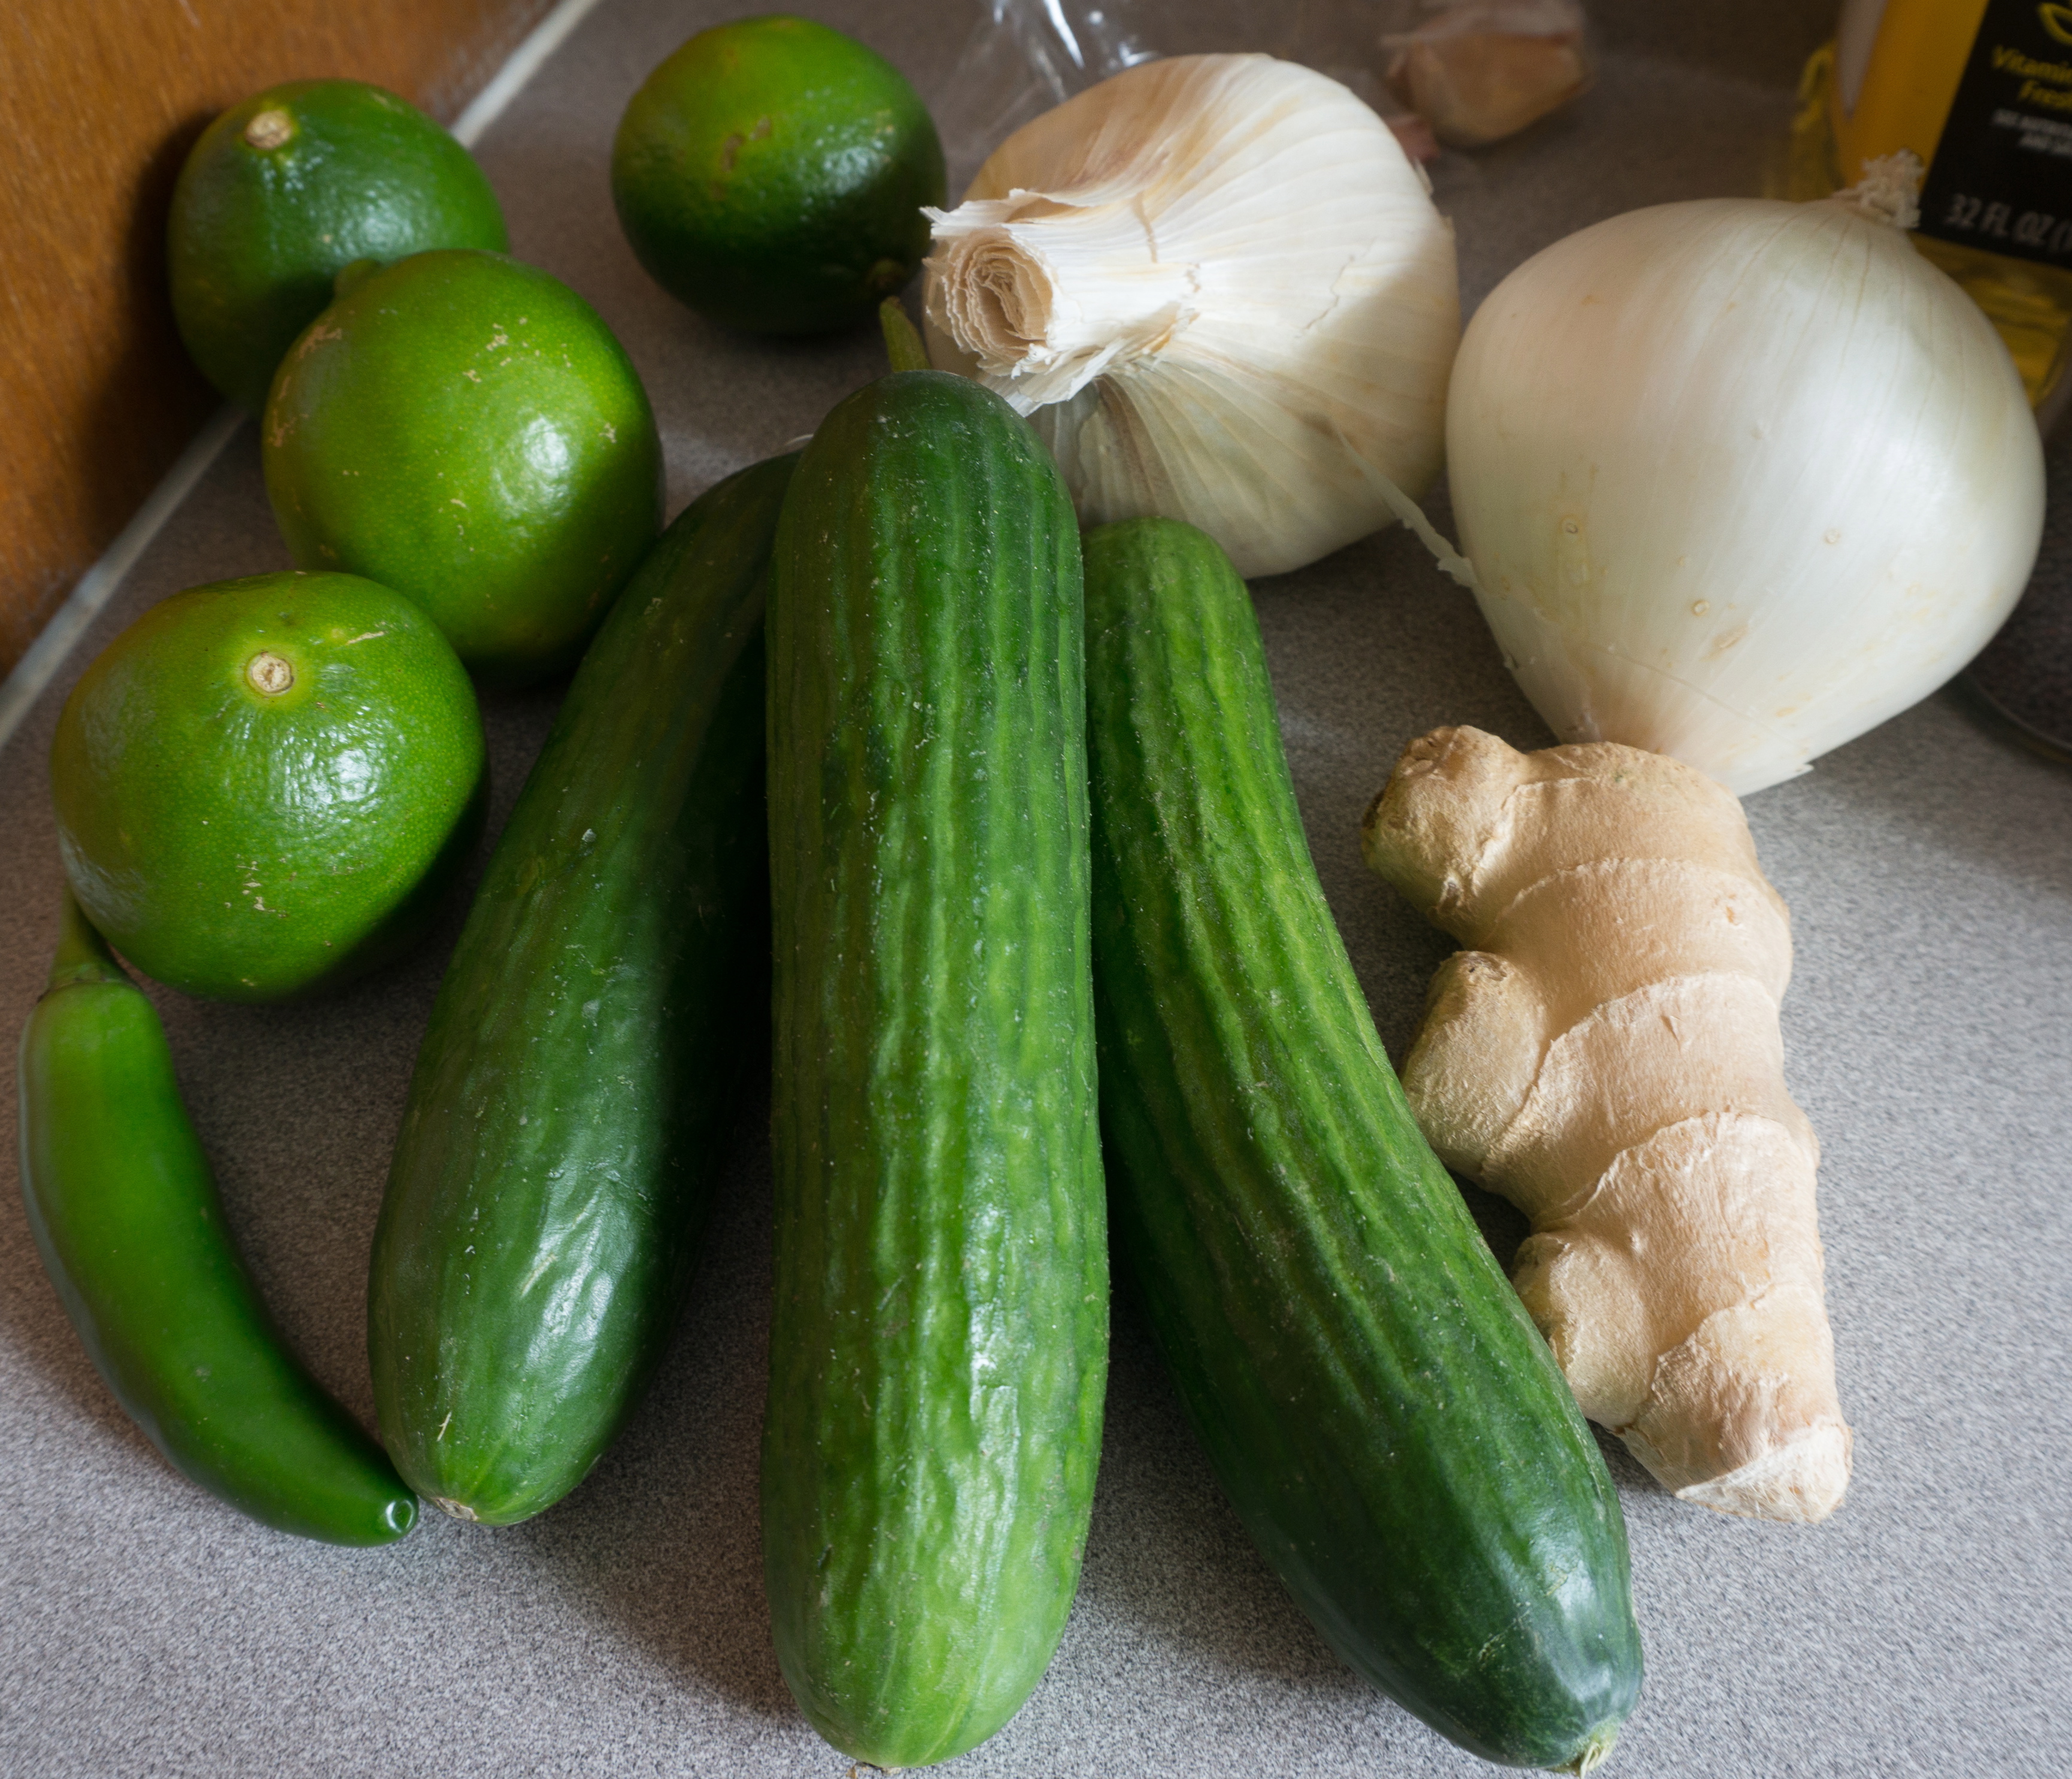
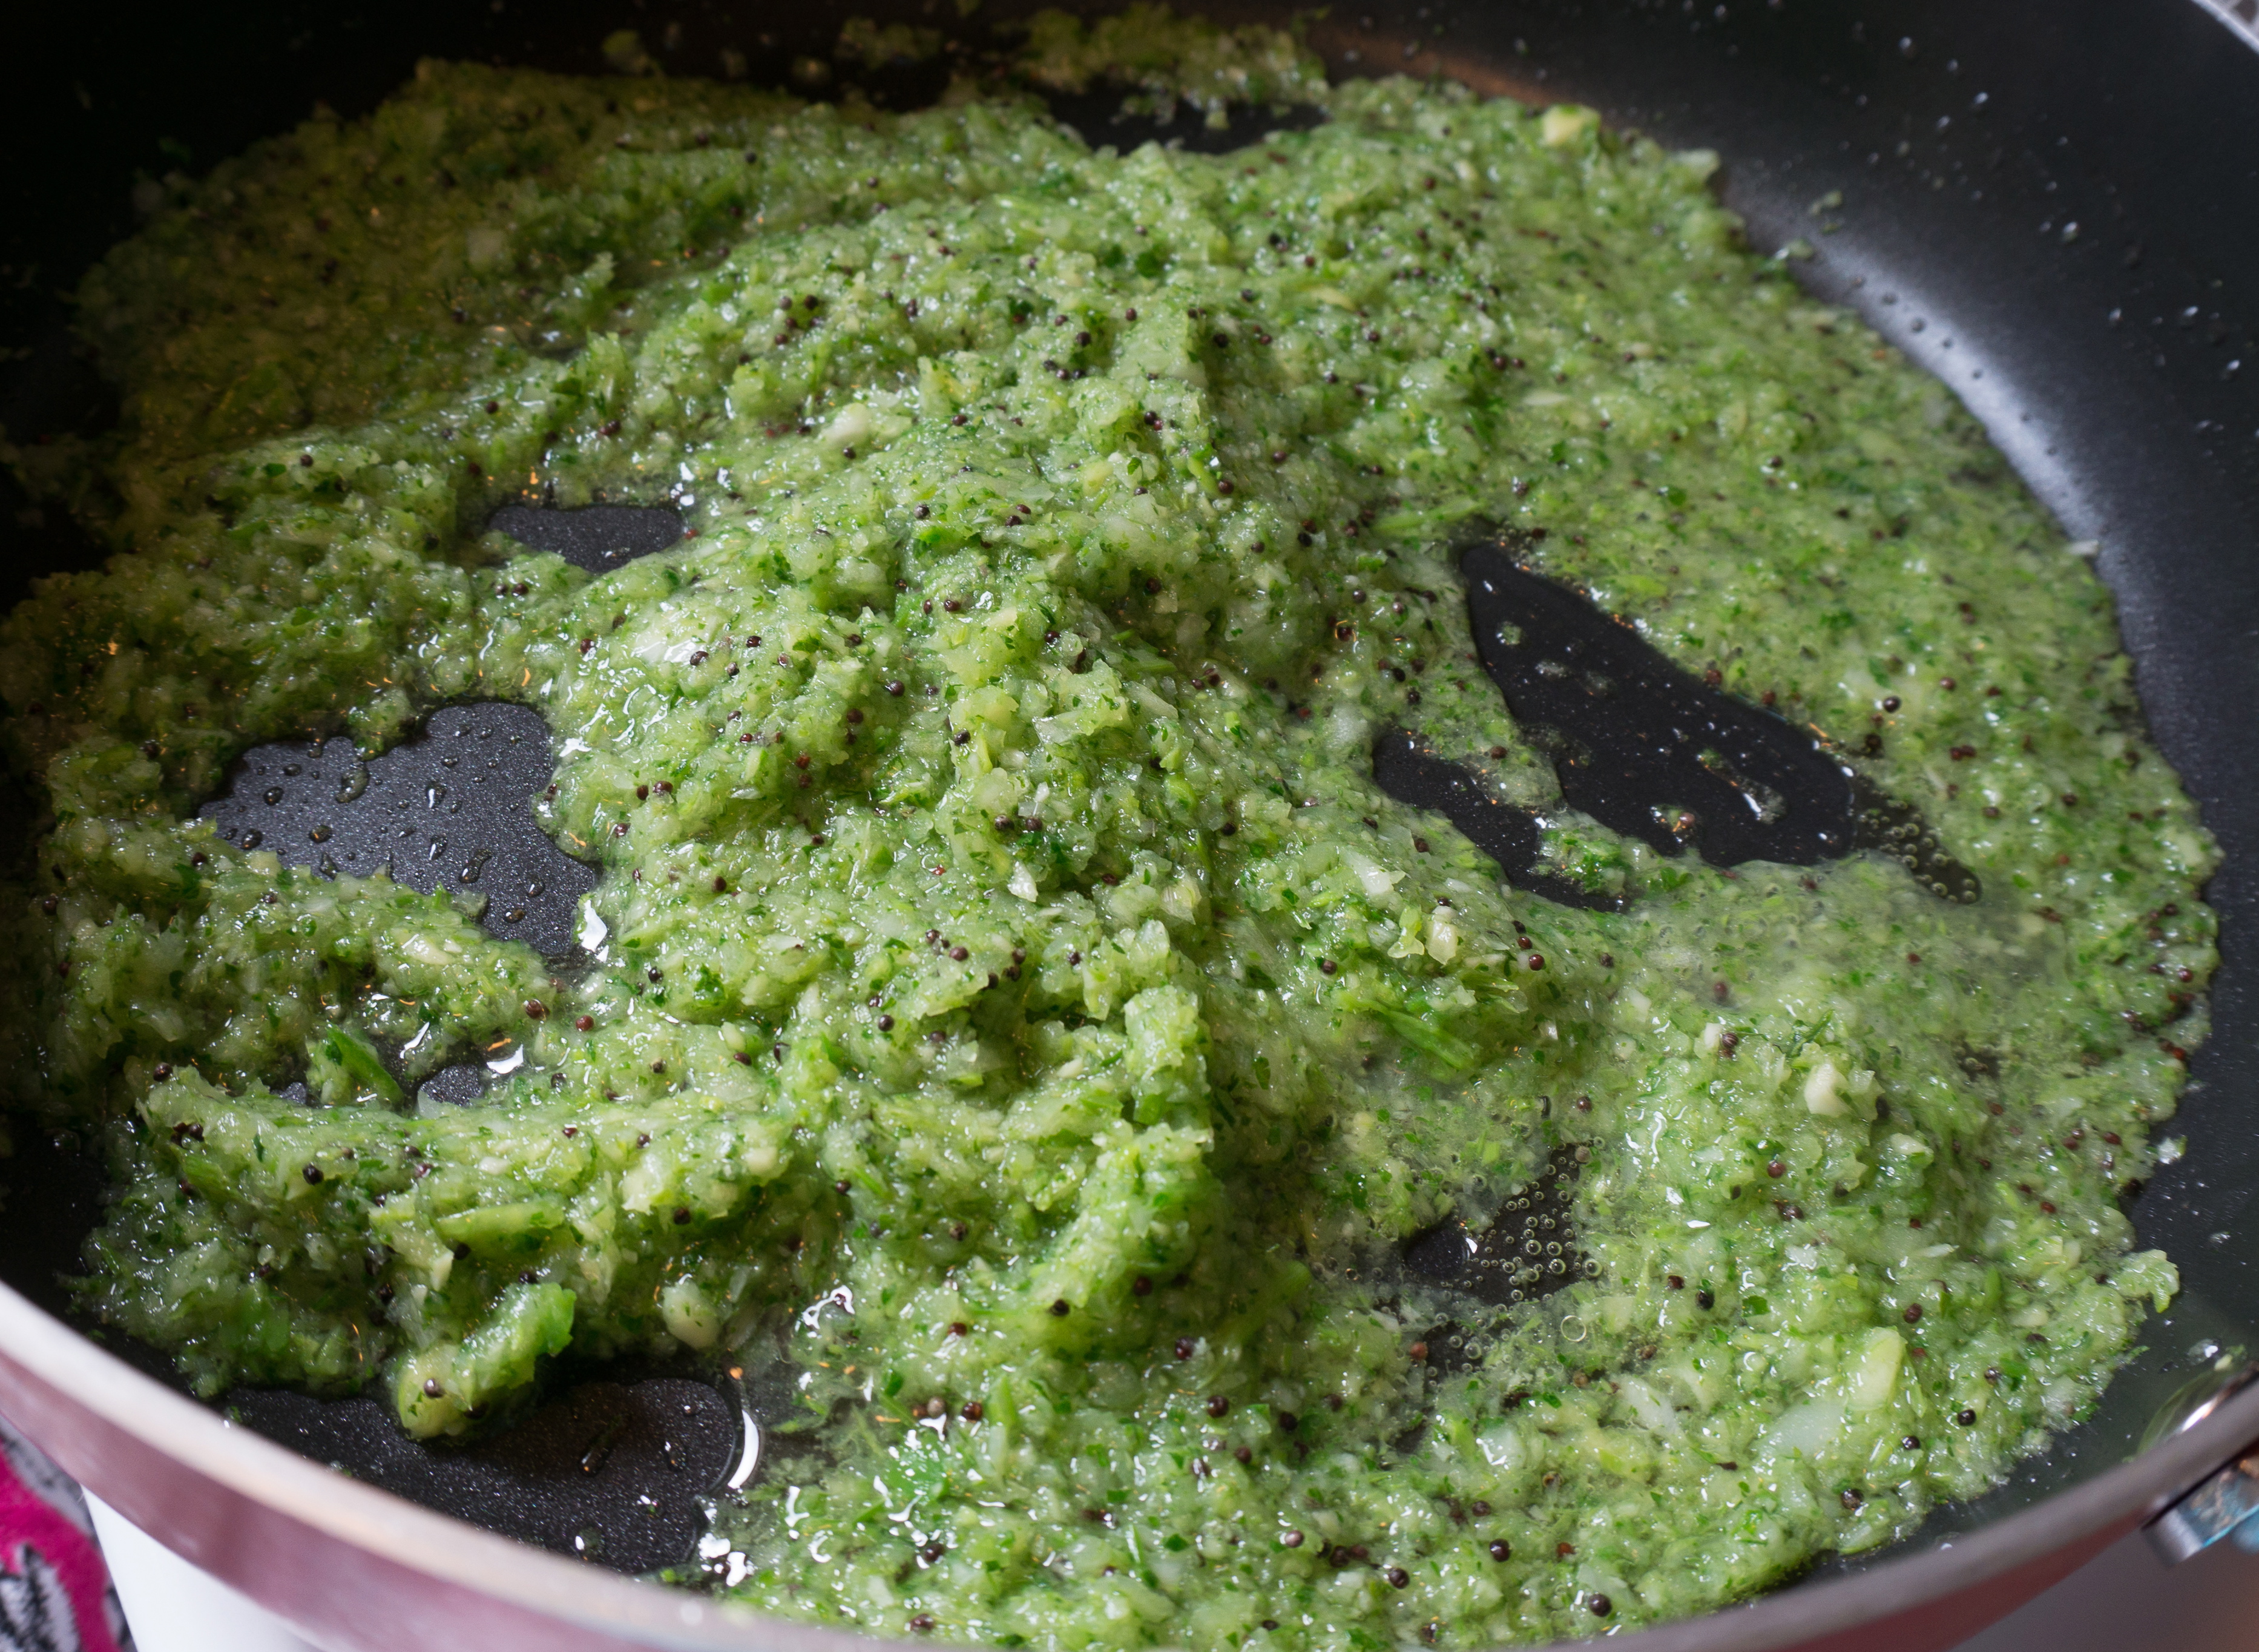
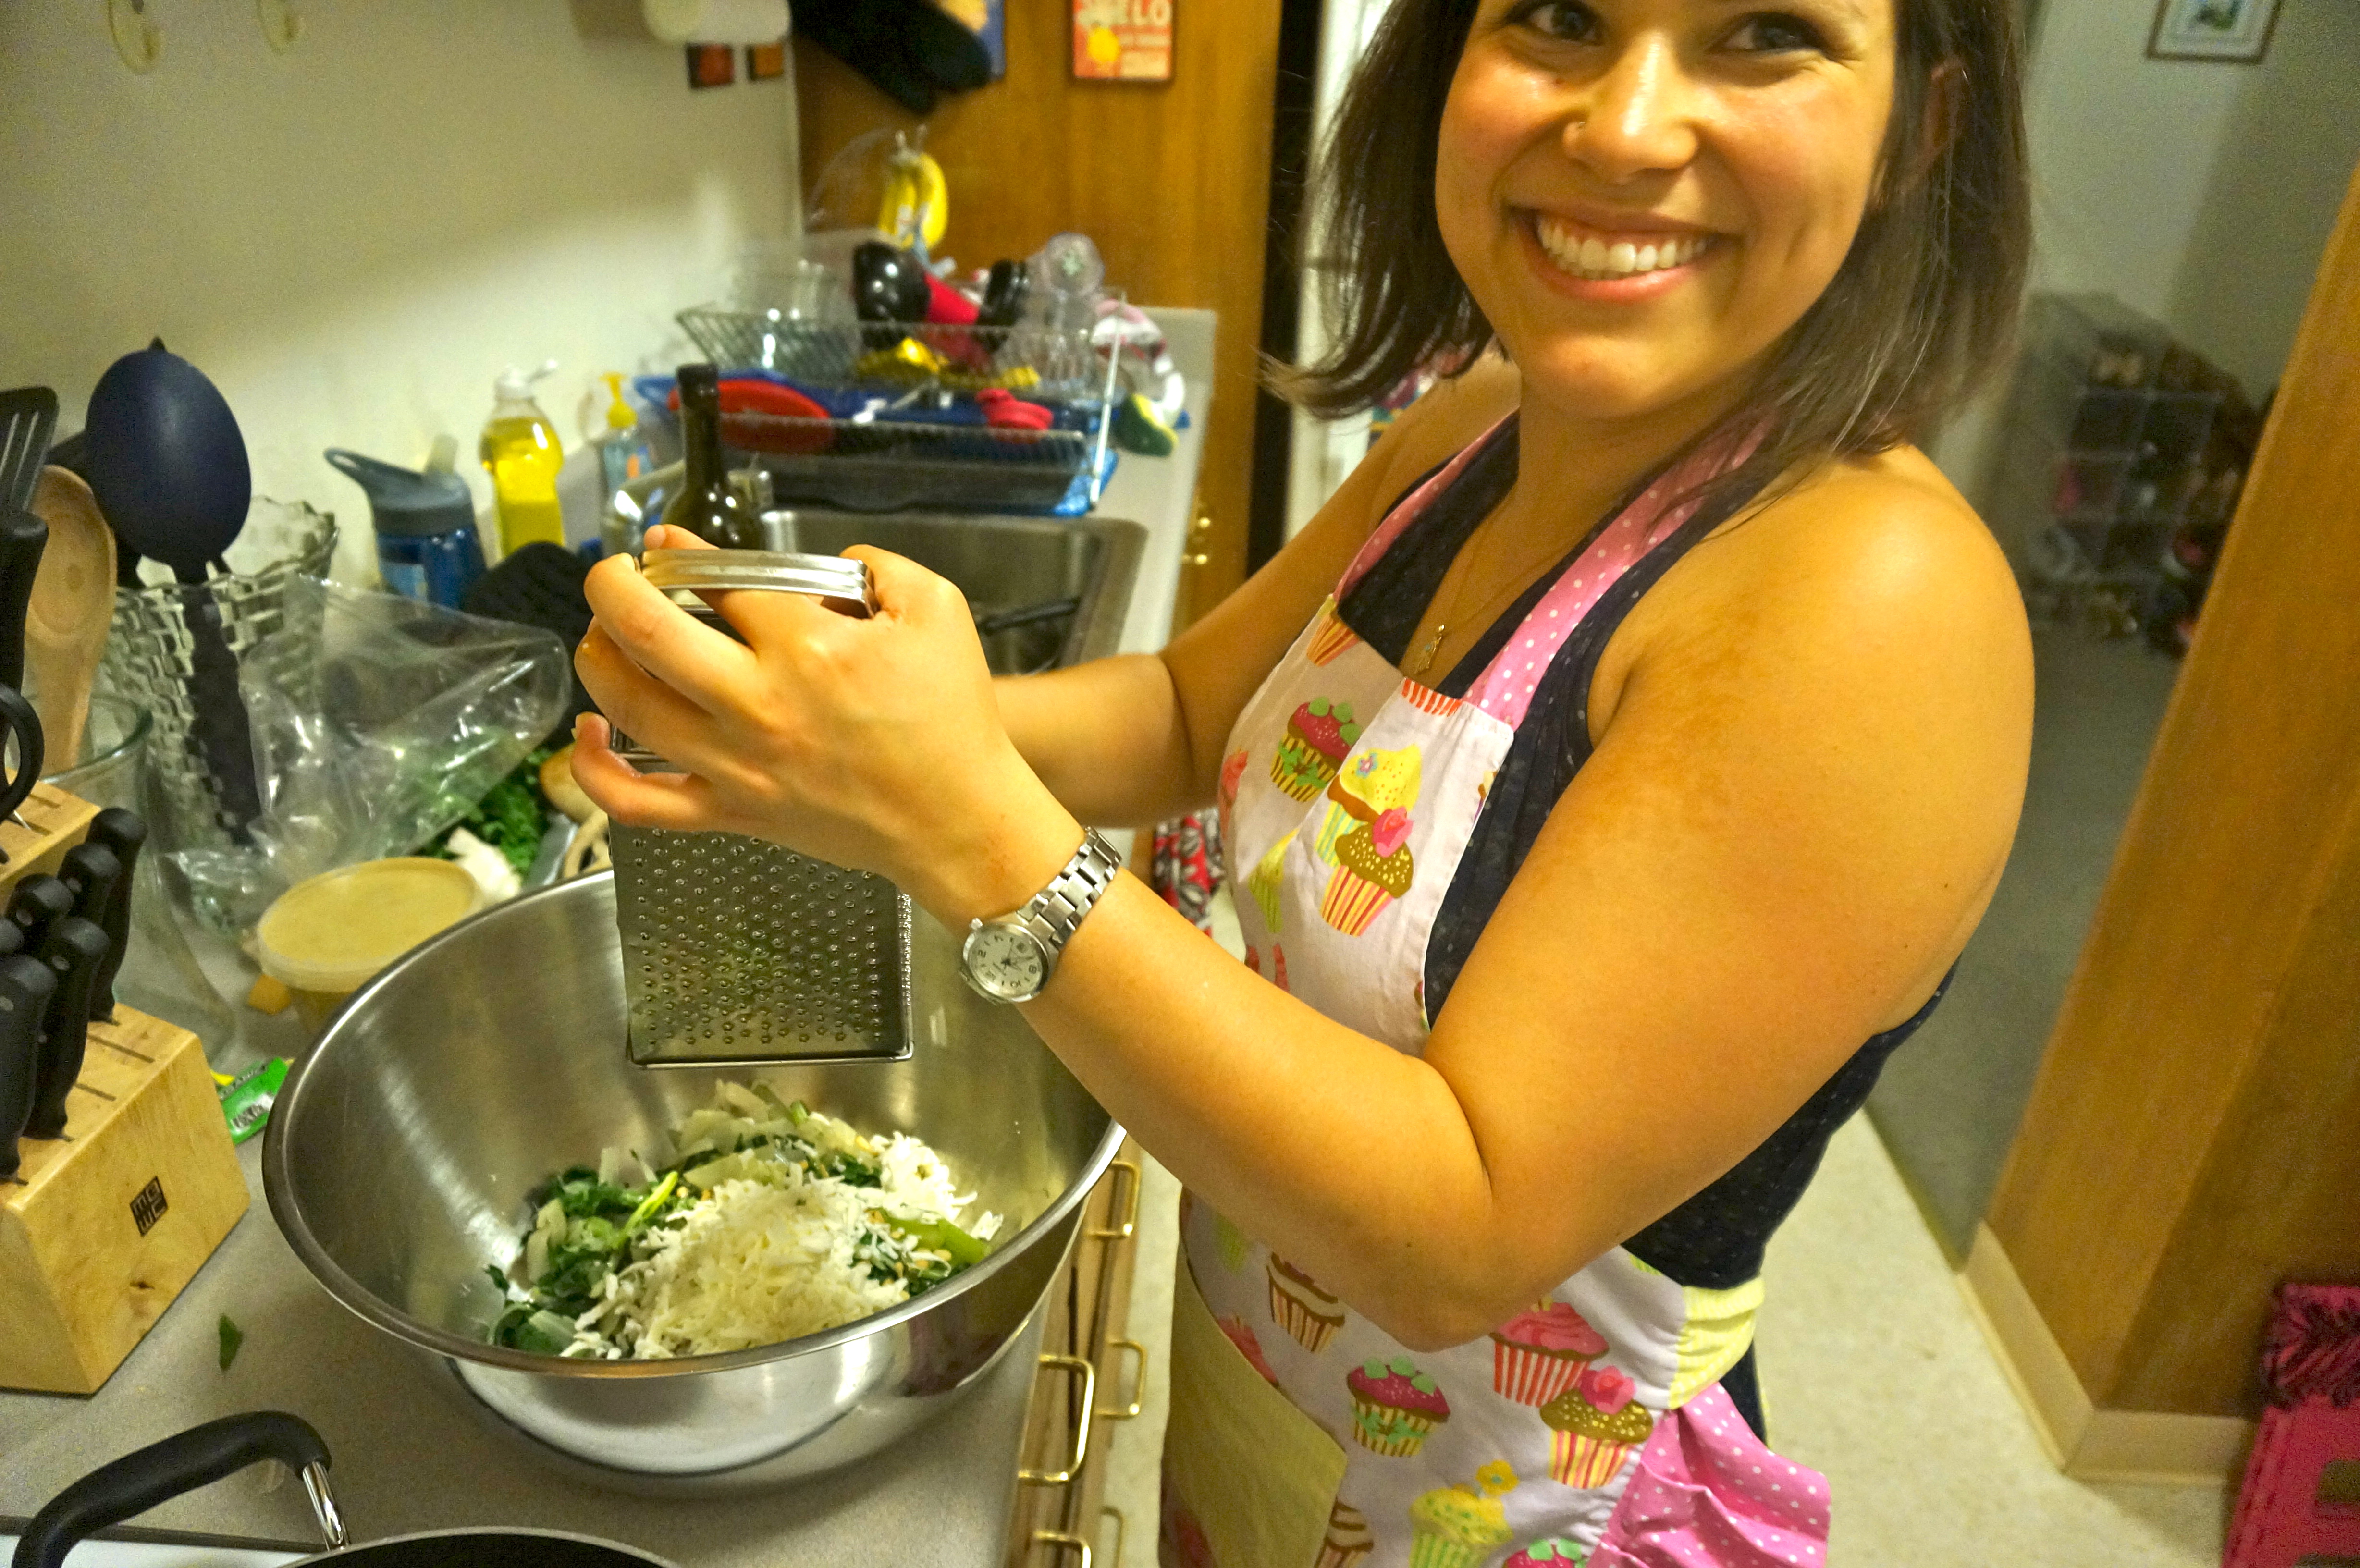
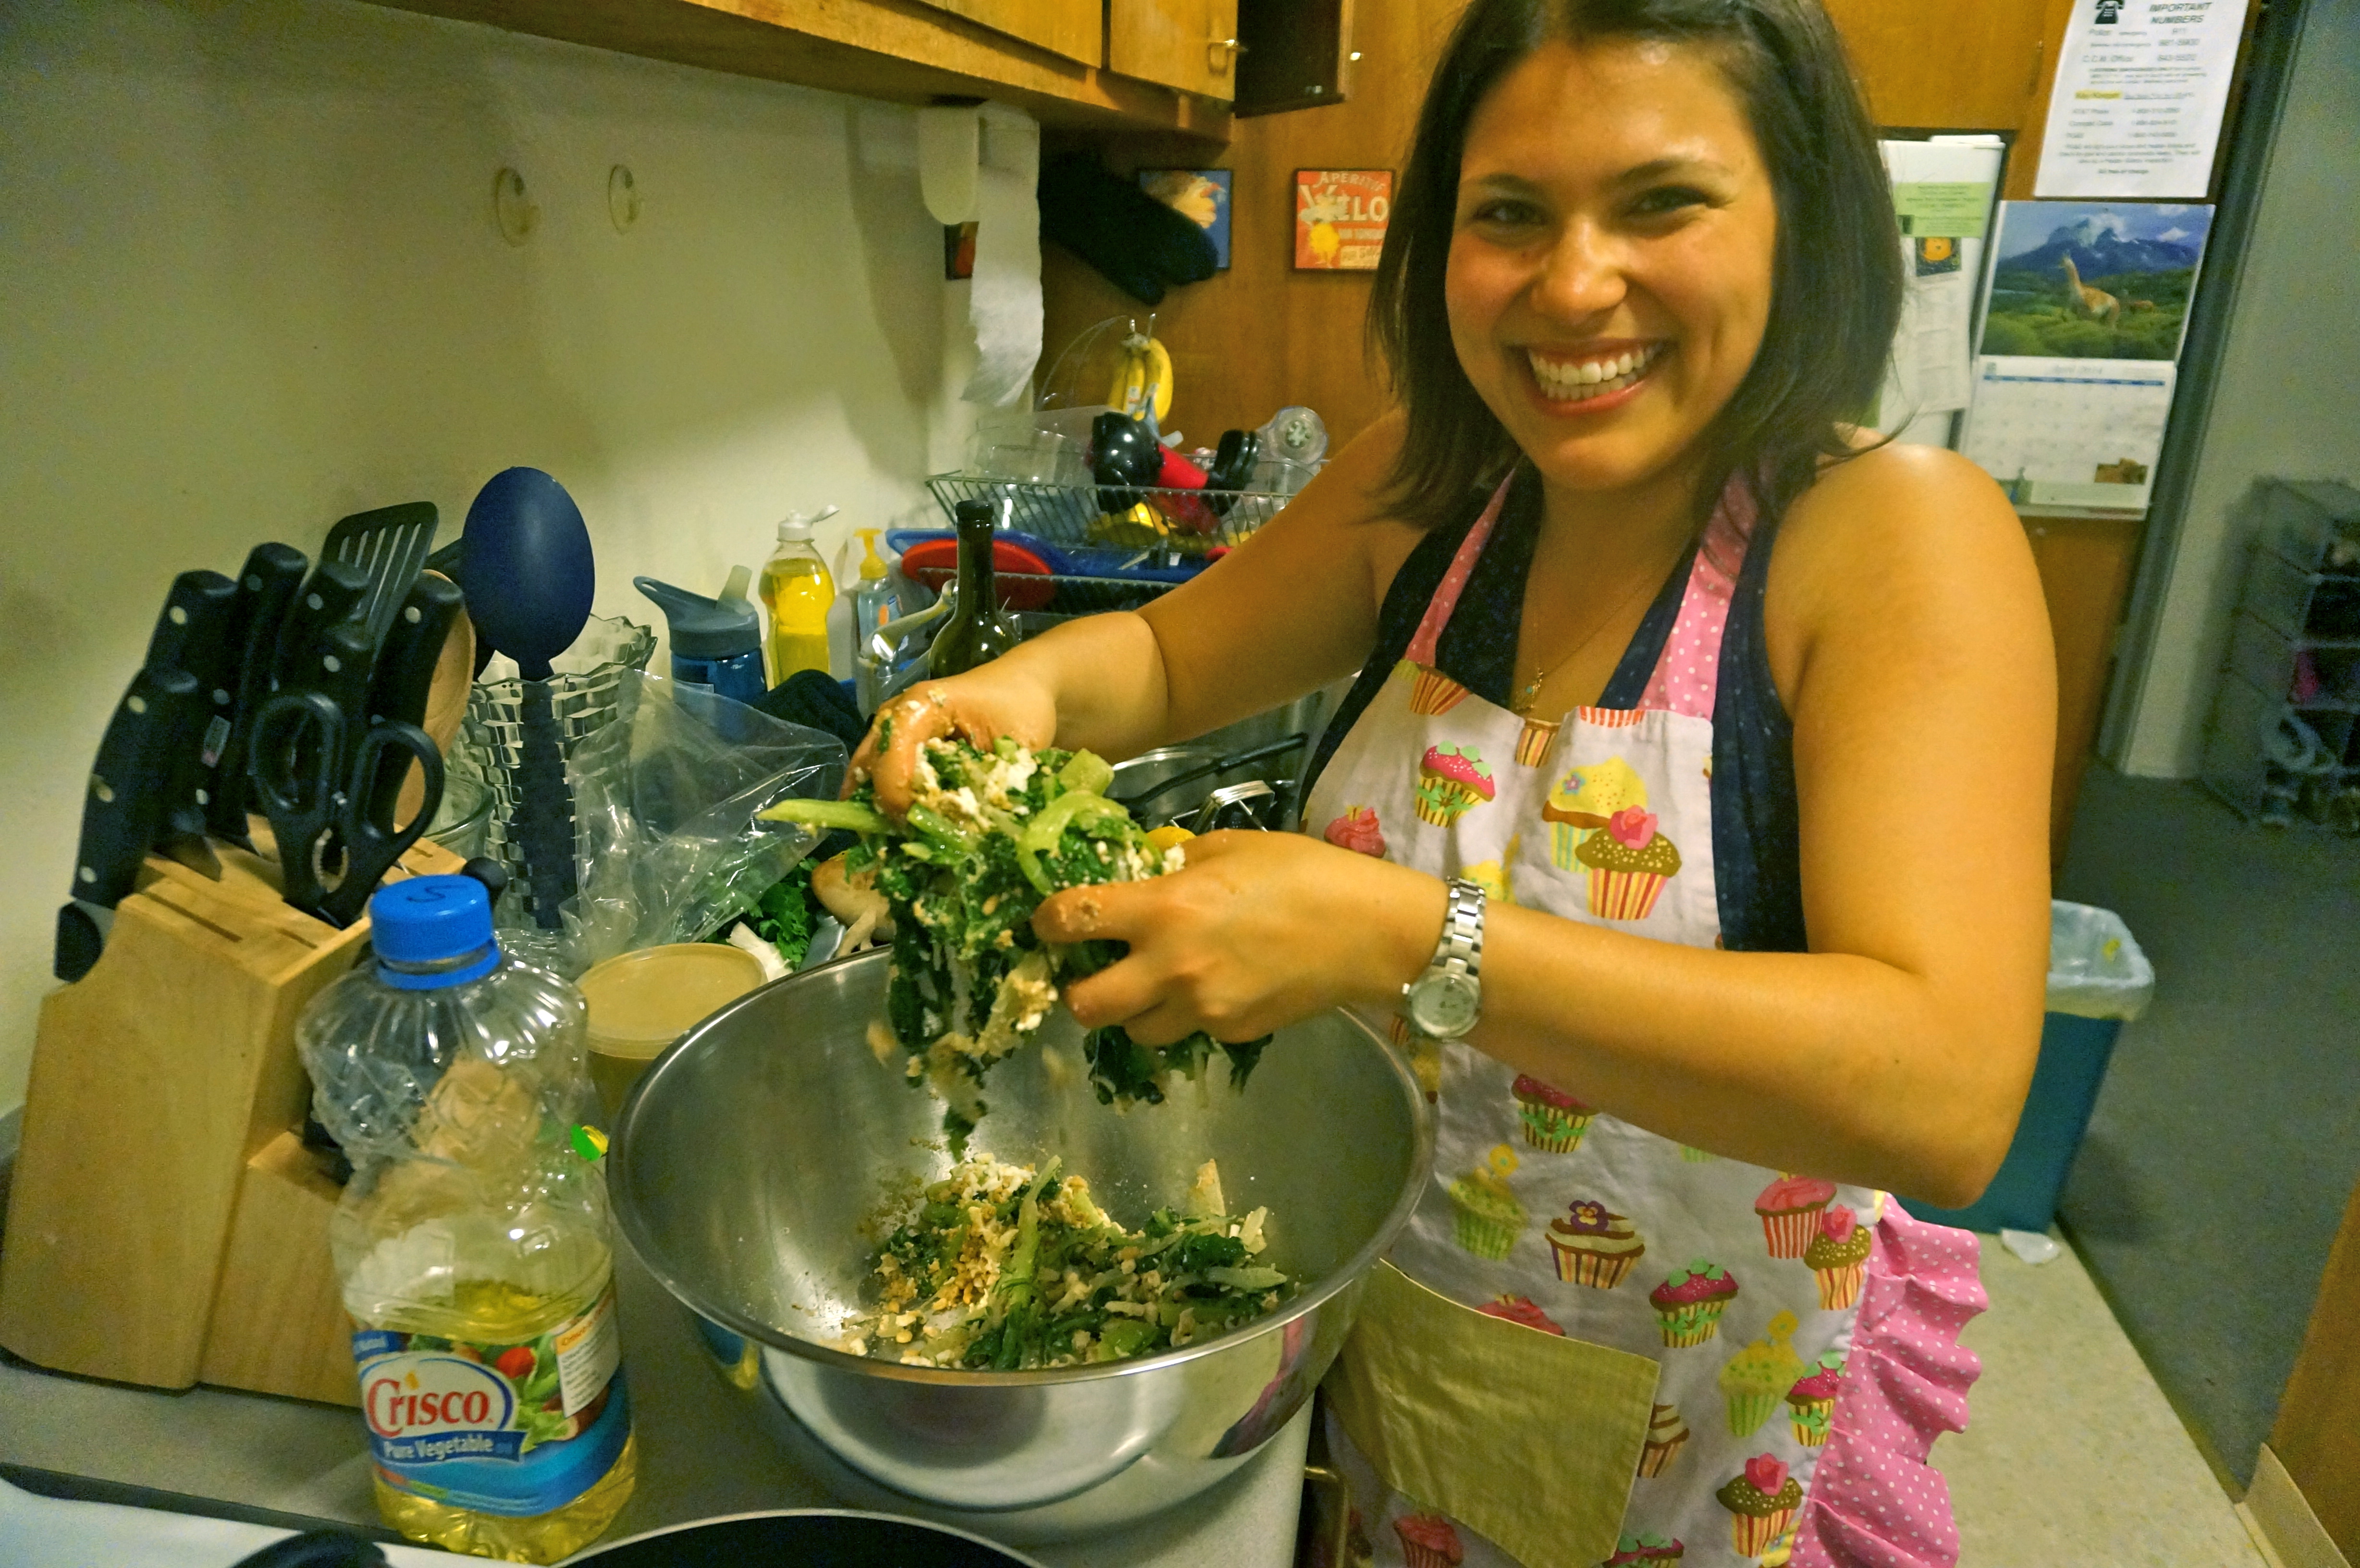
While the rice dish was cooking, I got started on the cucumber dish. It was a recipe from my number one fave Yotam Ottolenghi in his all vegetarian cook book Plenty. Mix together the dressing of 3 tbsp rice wine vinegar, 2 tsp white sugar, 2 tbsp sunflower oil, and 2 tsp sunflower oil. Pour that over a sliced red onion and let it marinate for a while. In the meanwhile, smash together some ginger with 1 tsp coarse salt.

DSC06168

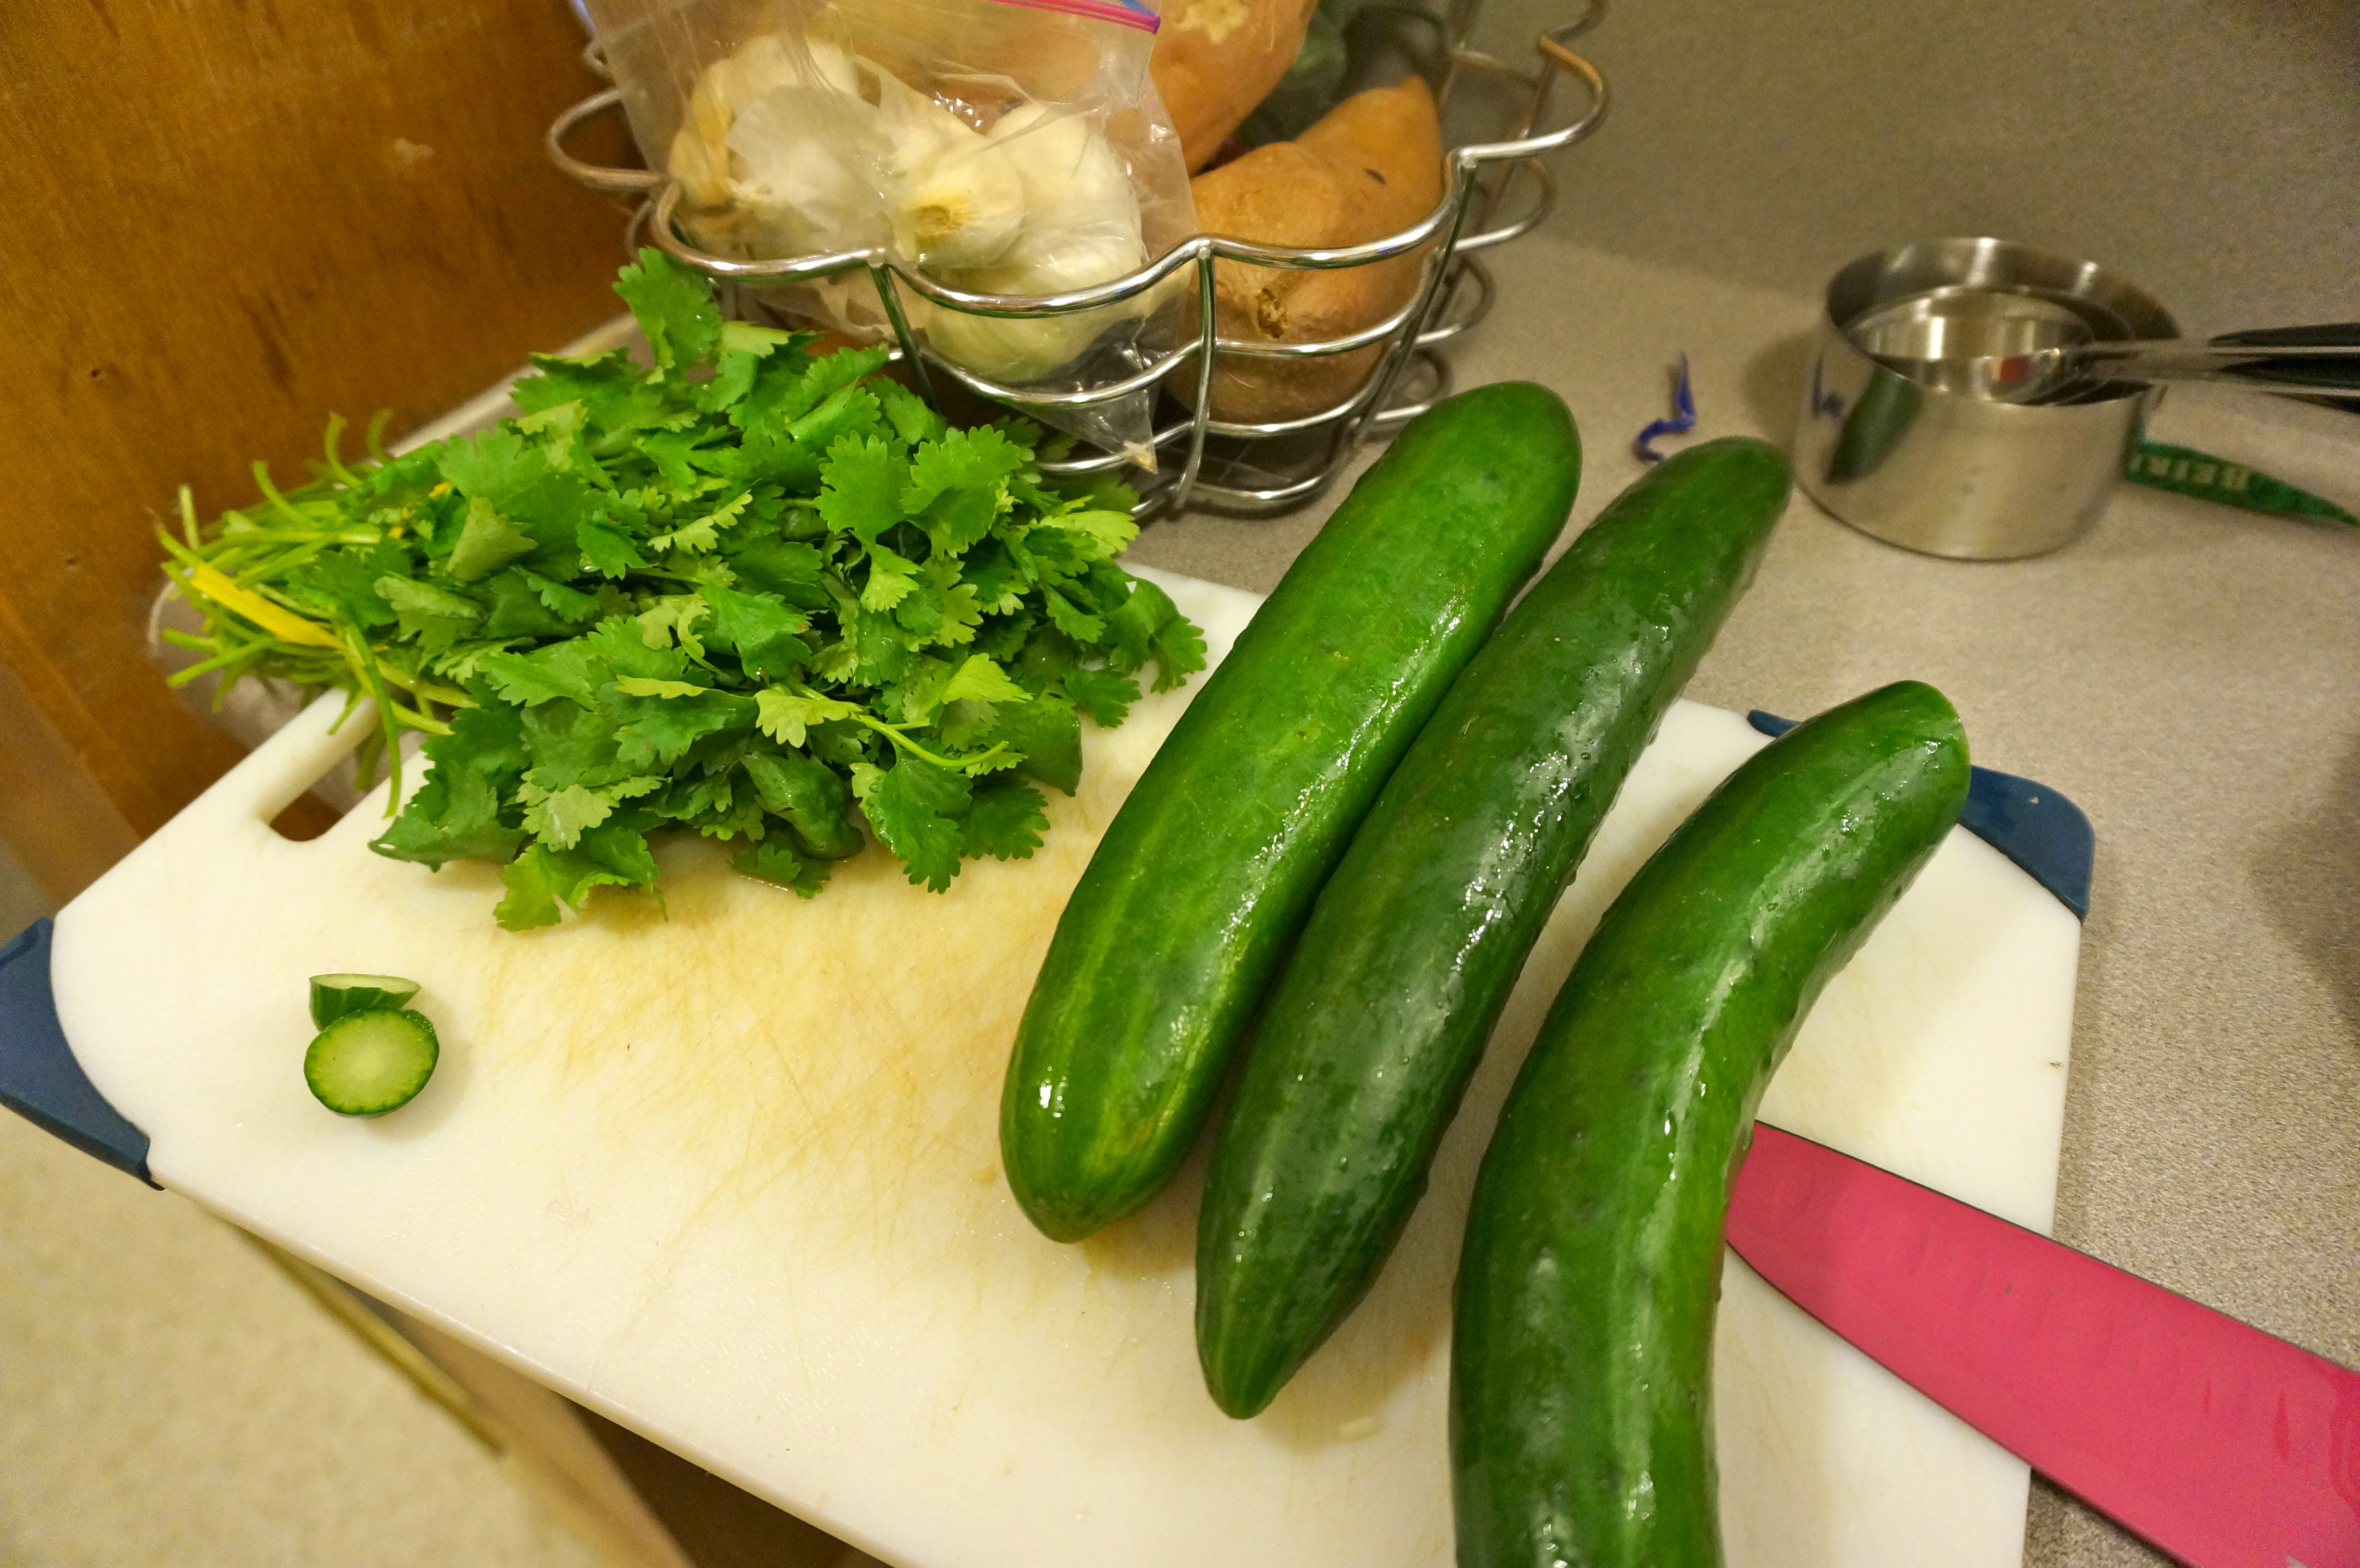
I do not have a mortar and pestle so this was a bit tricky for me. I did the best I could with the back of a wooden spoon and my bowl. Mix together the “smashed” ginger and salt with the onion and dressing. Then slice up the cumber and add it to the mix.

DSC06178

DSC06180

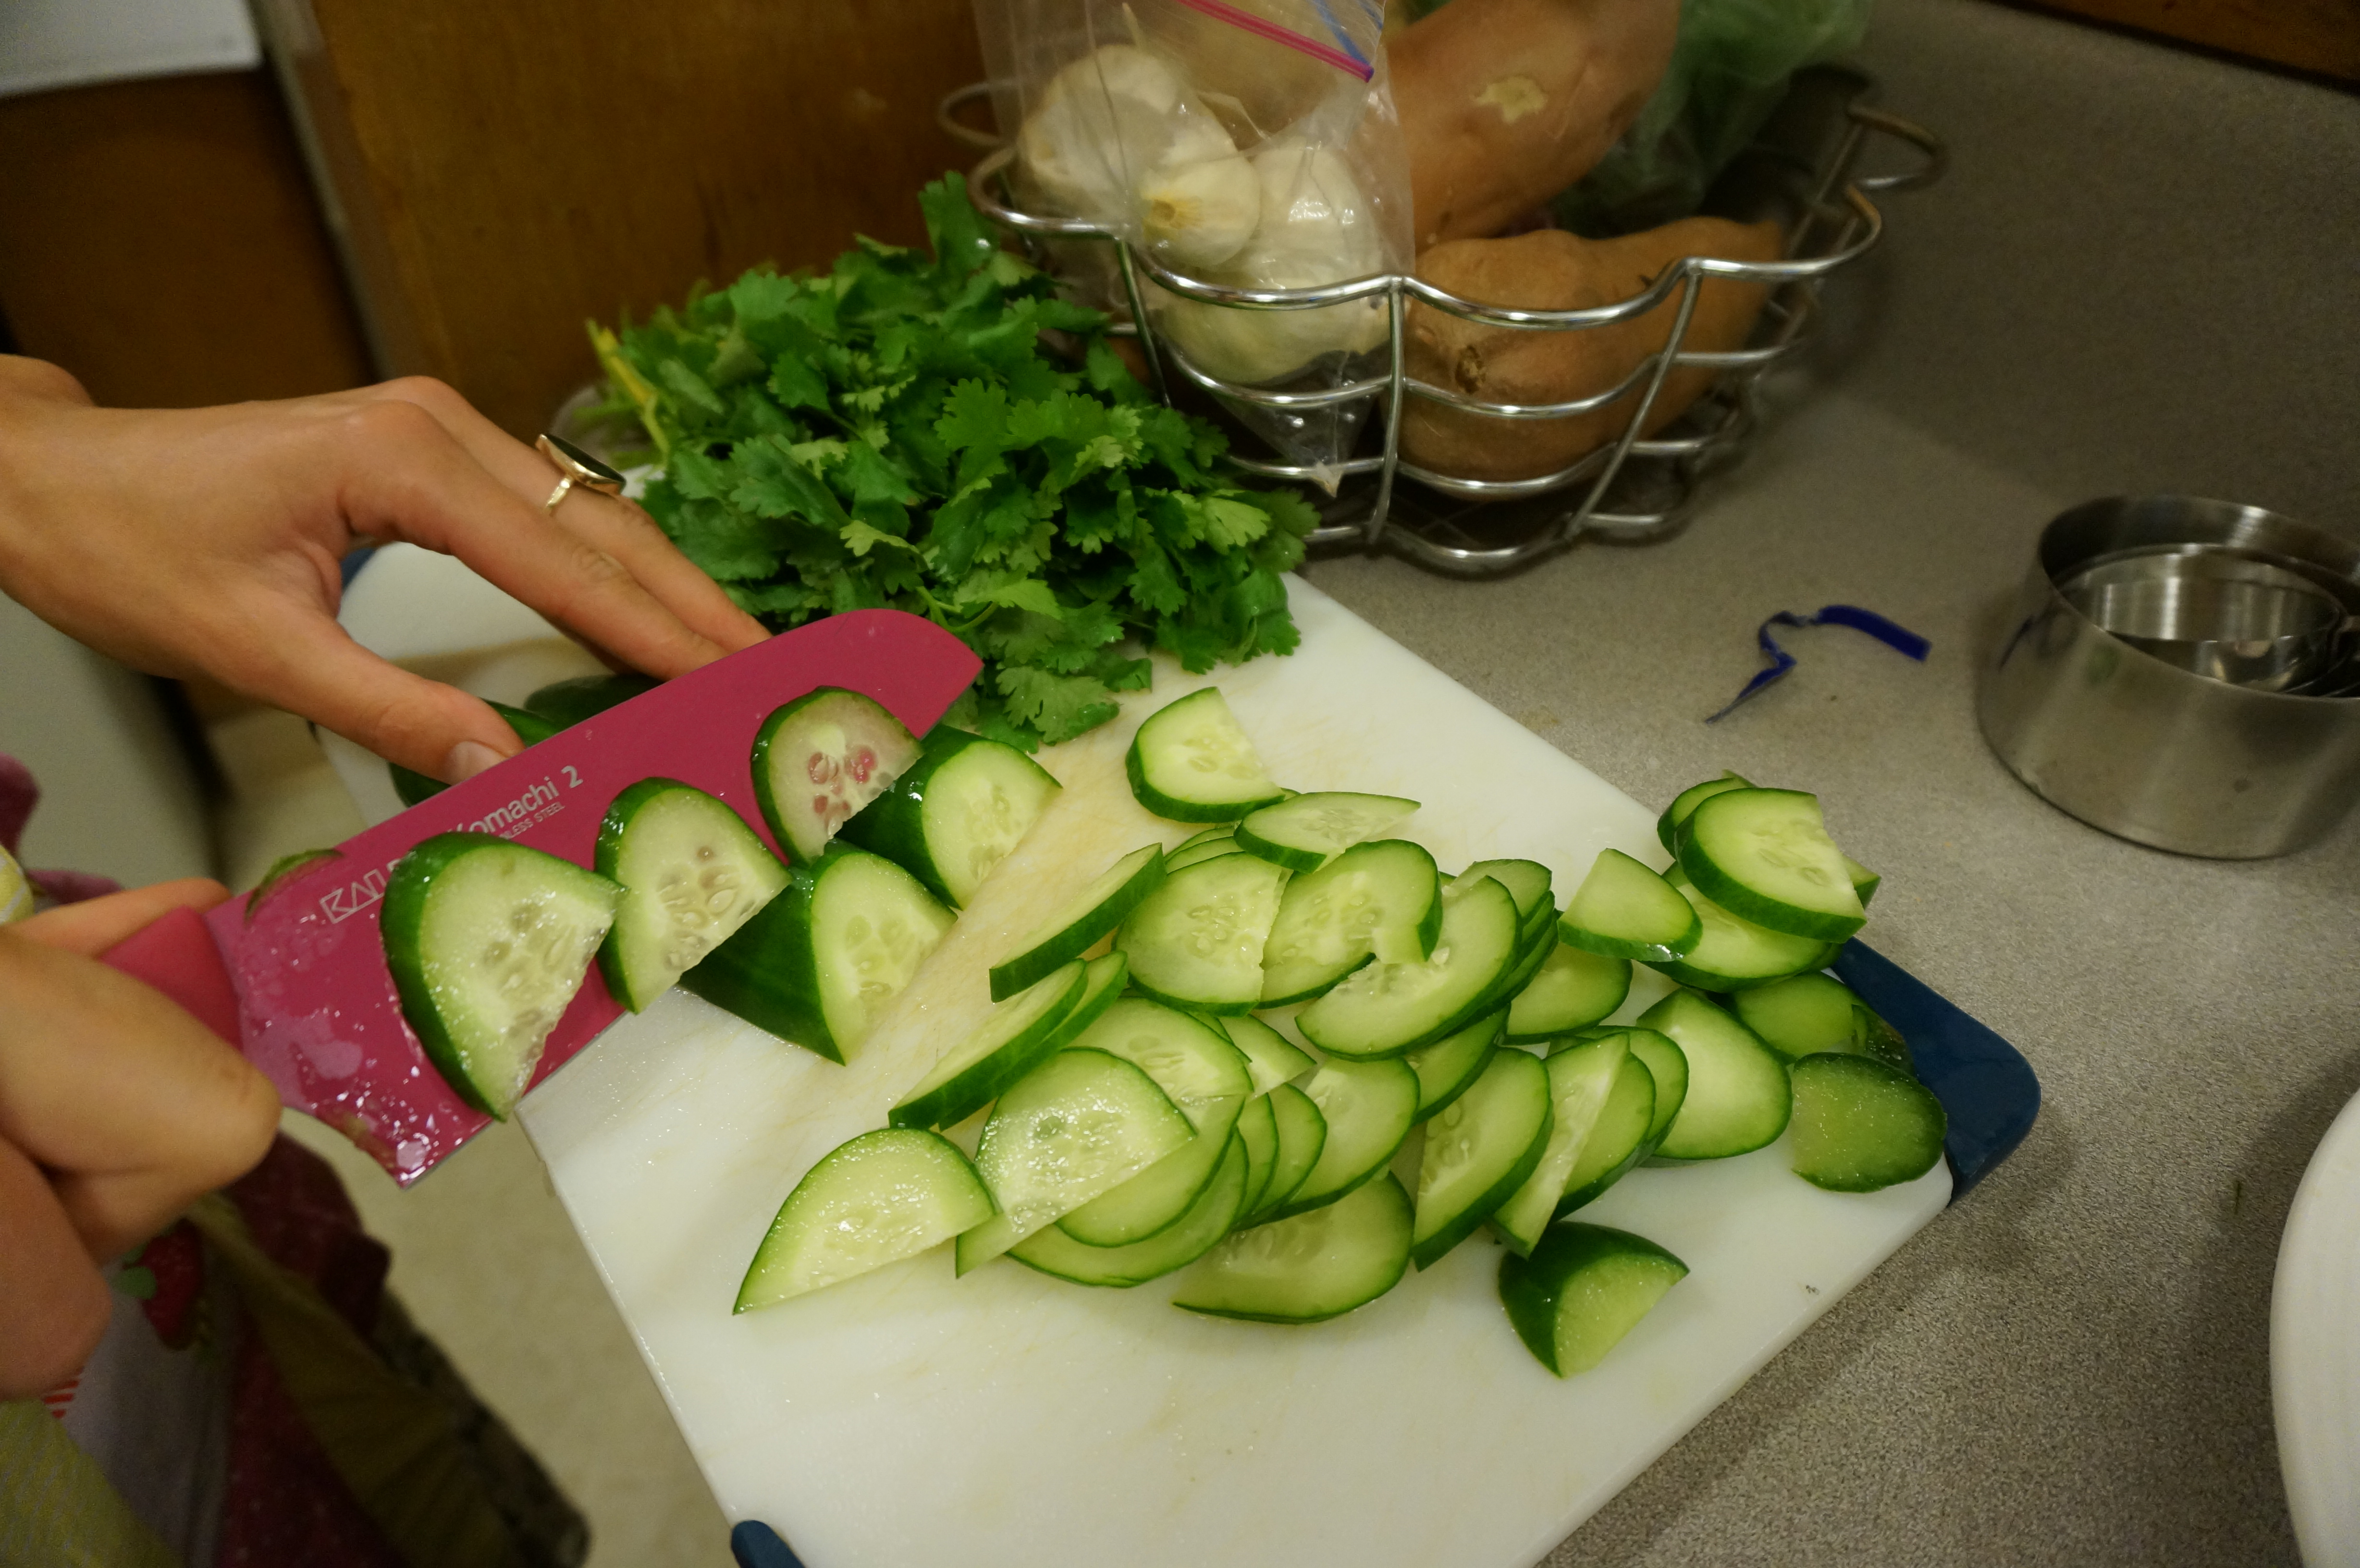
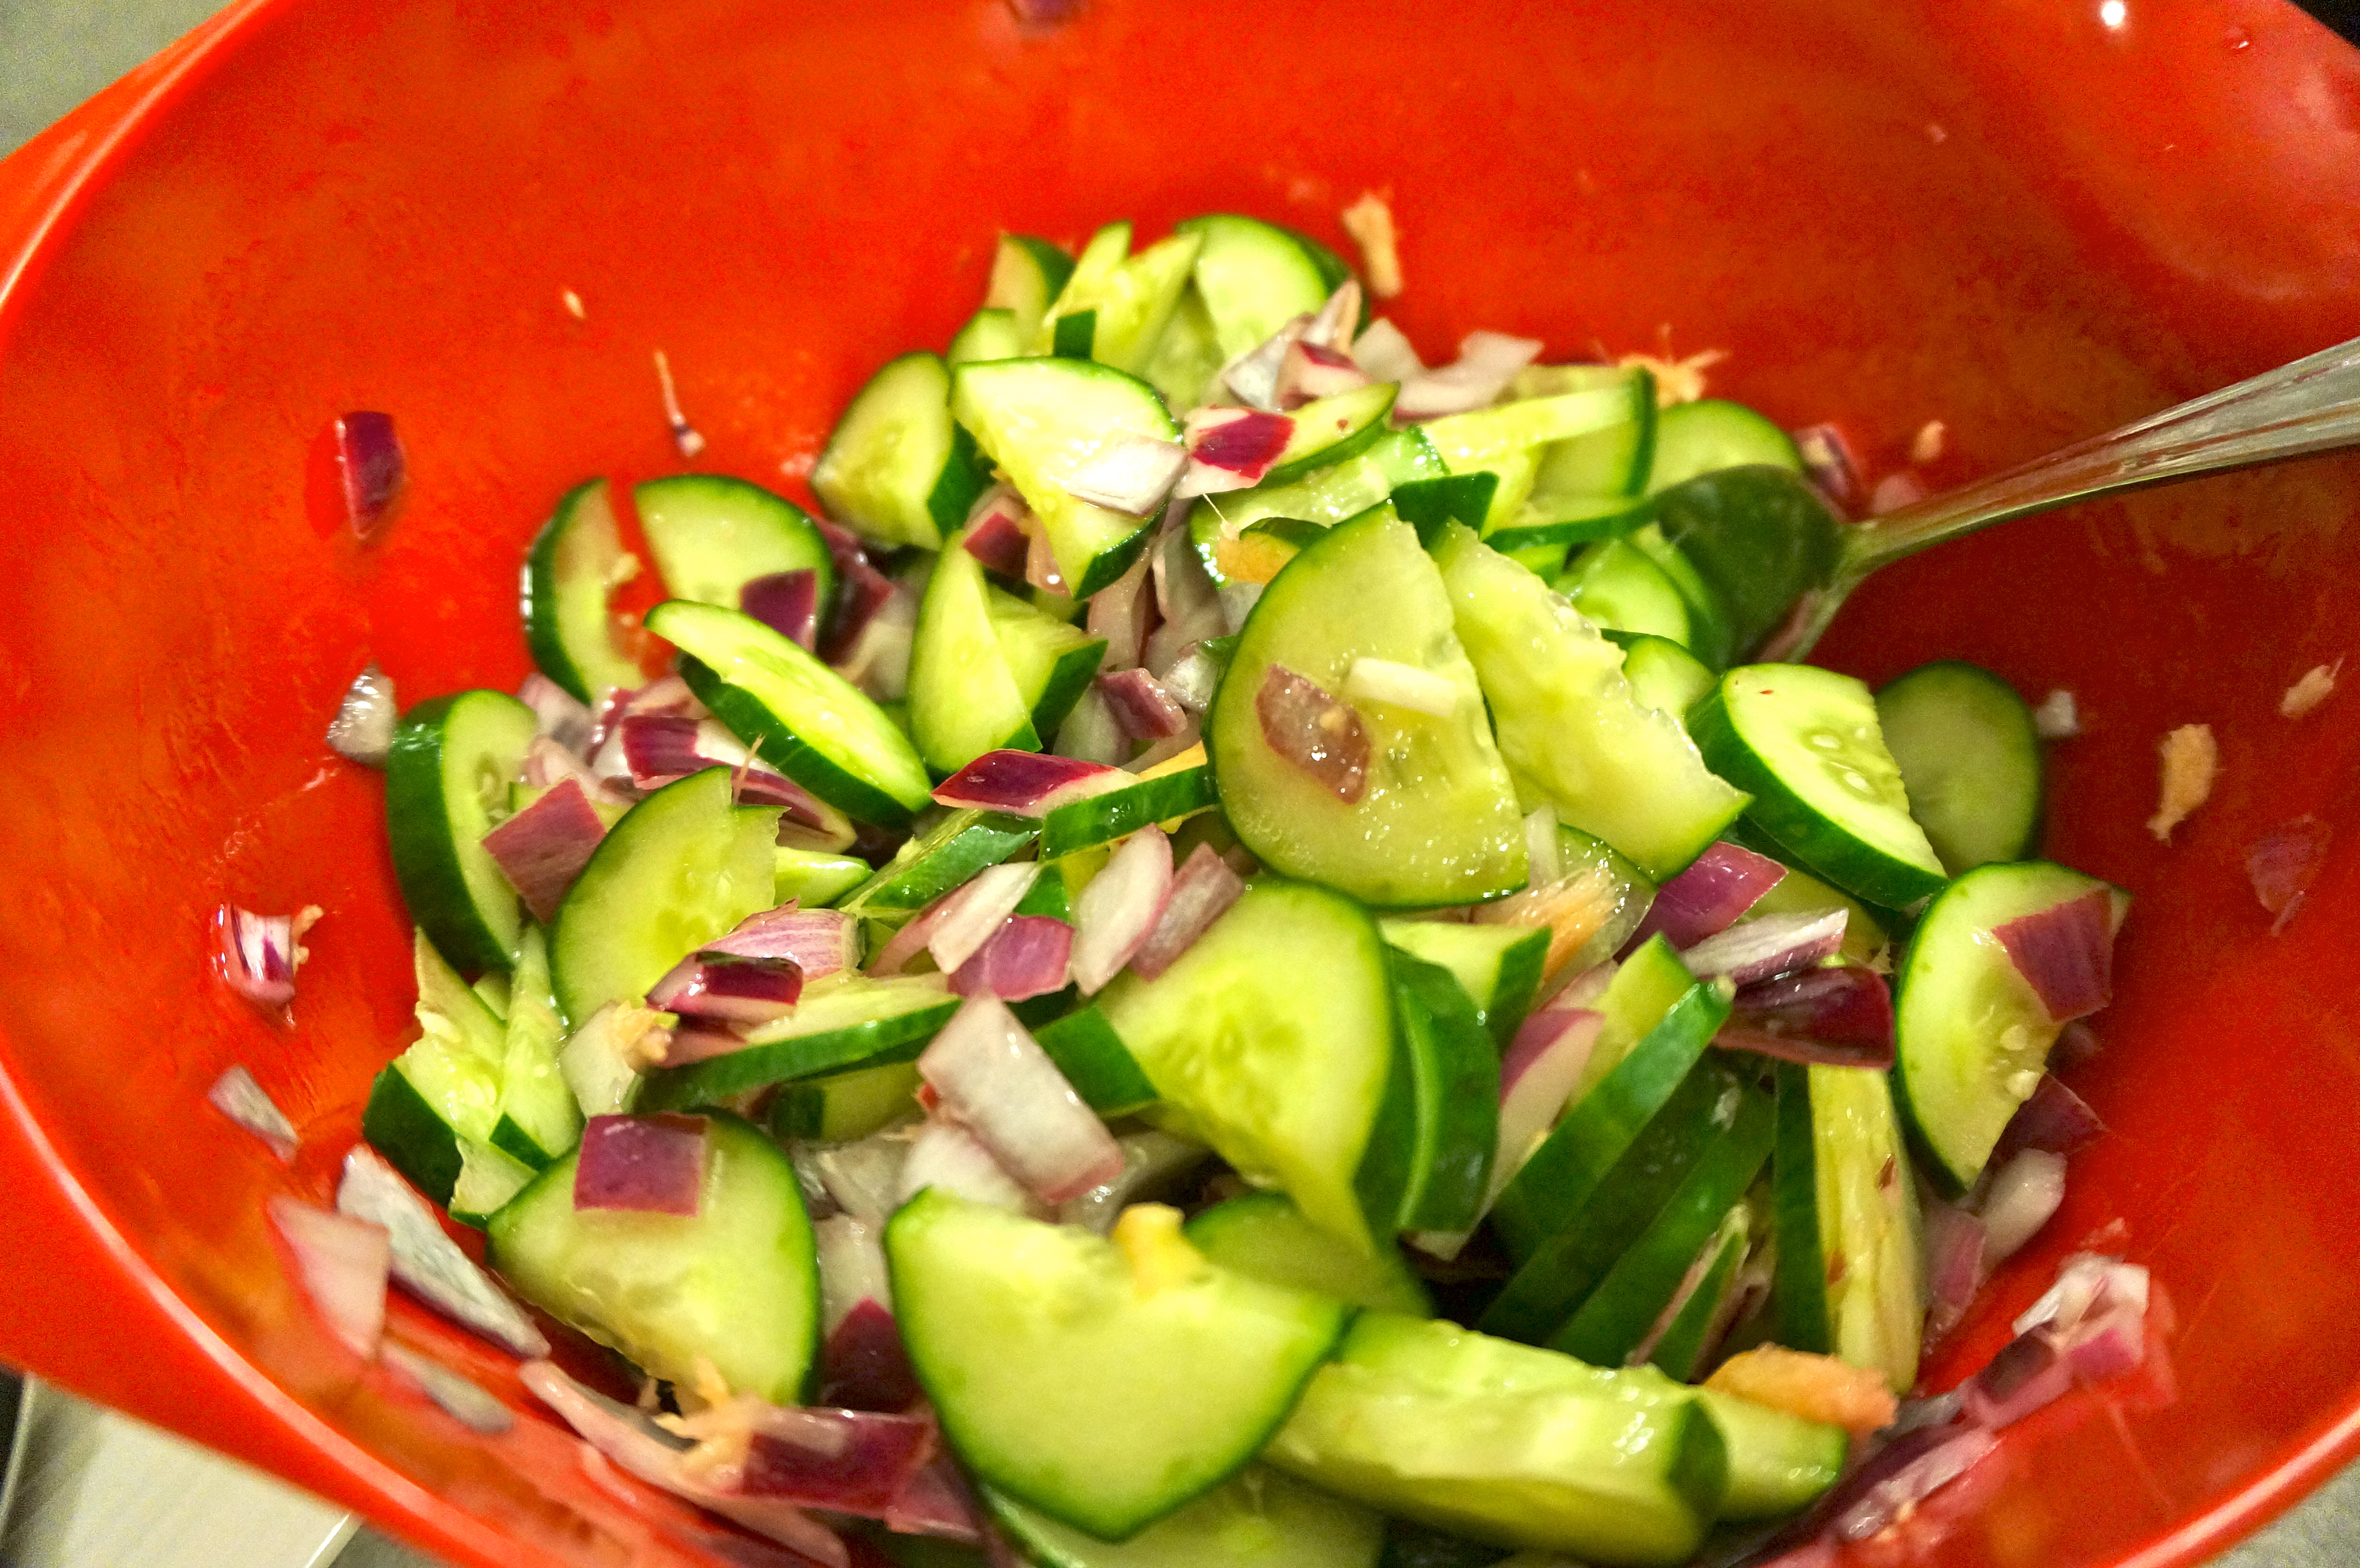
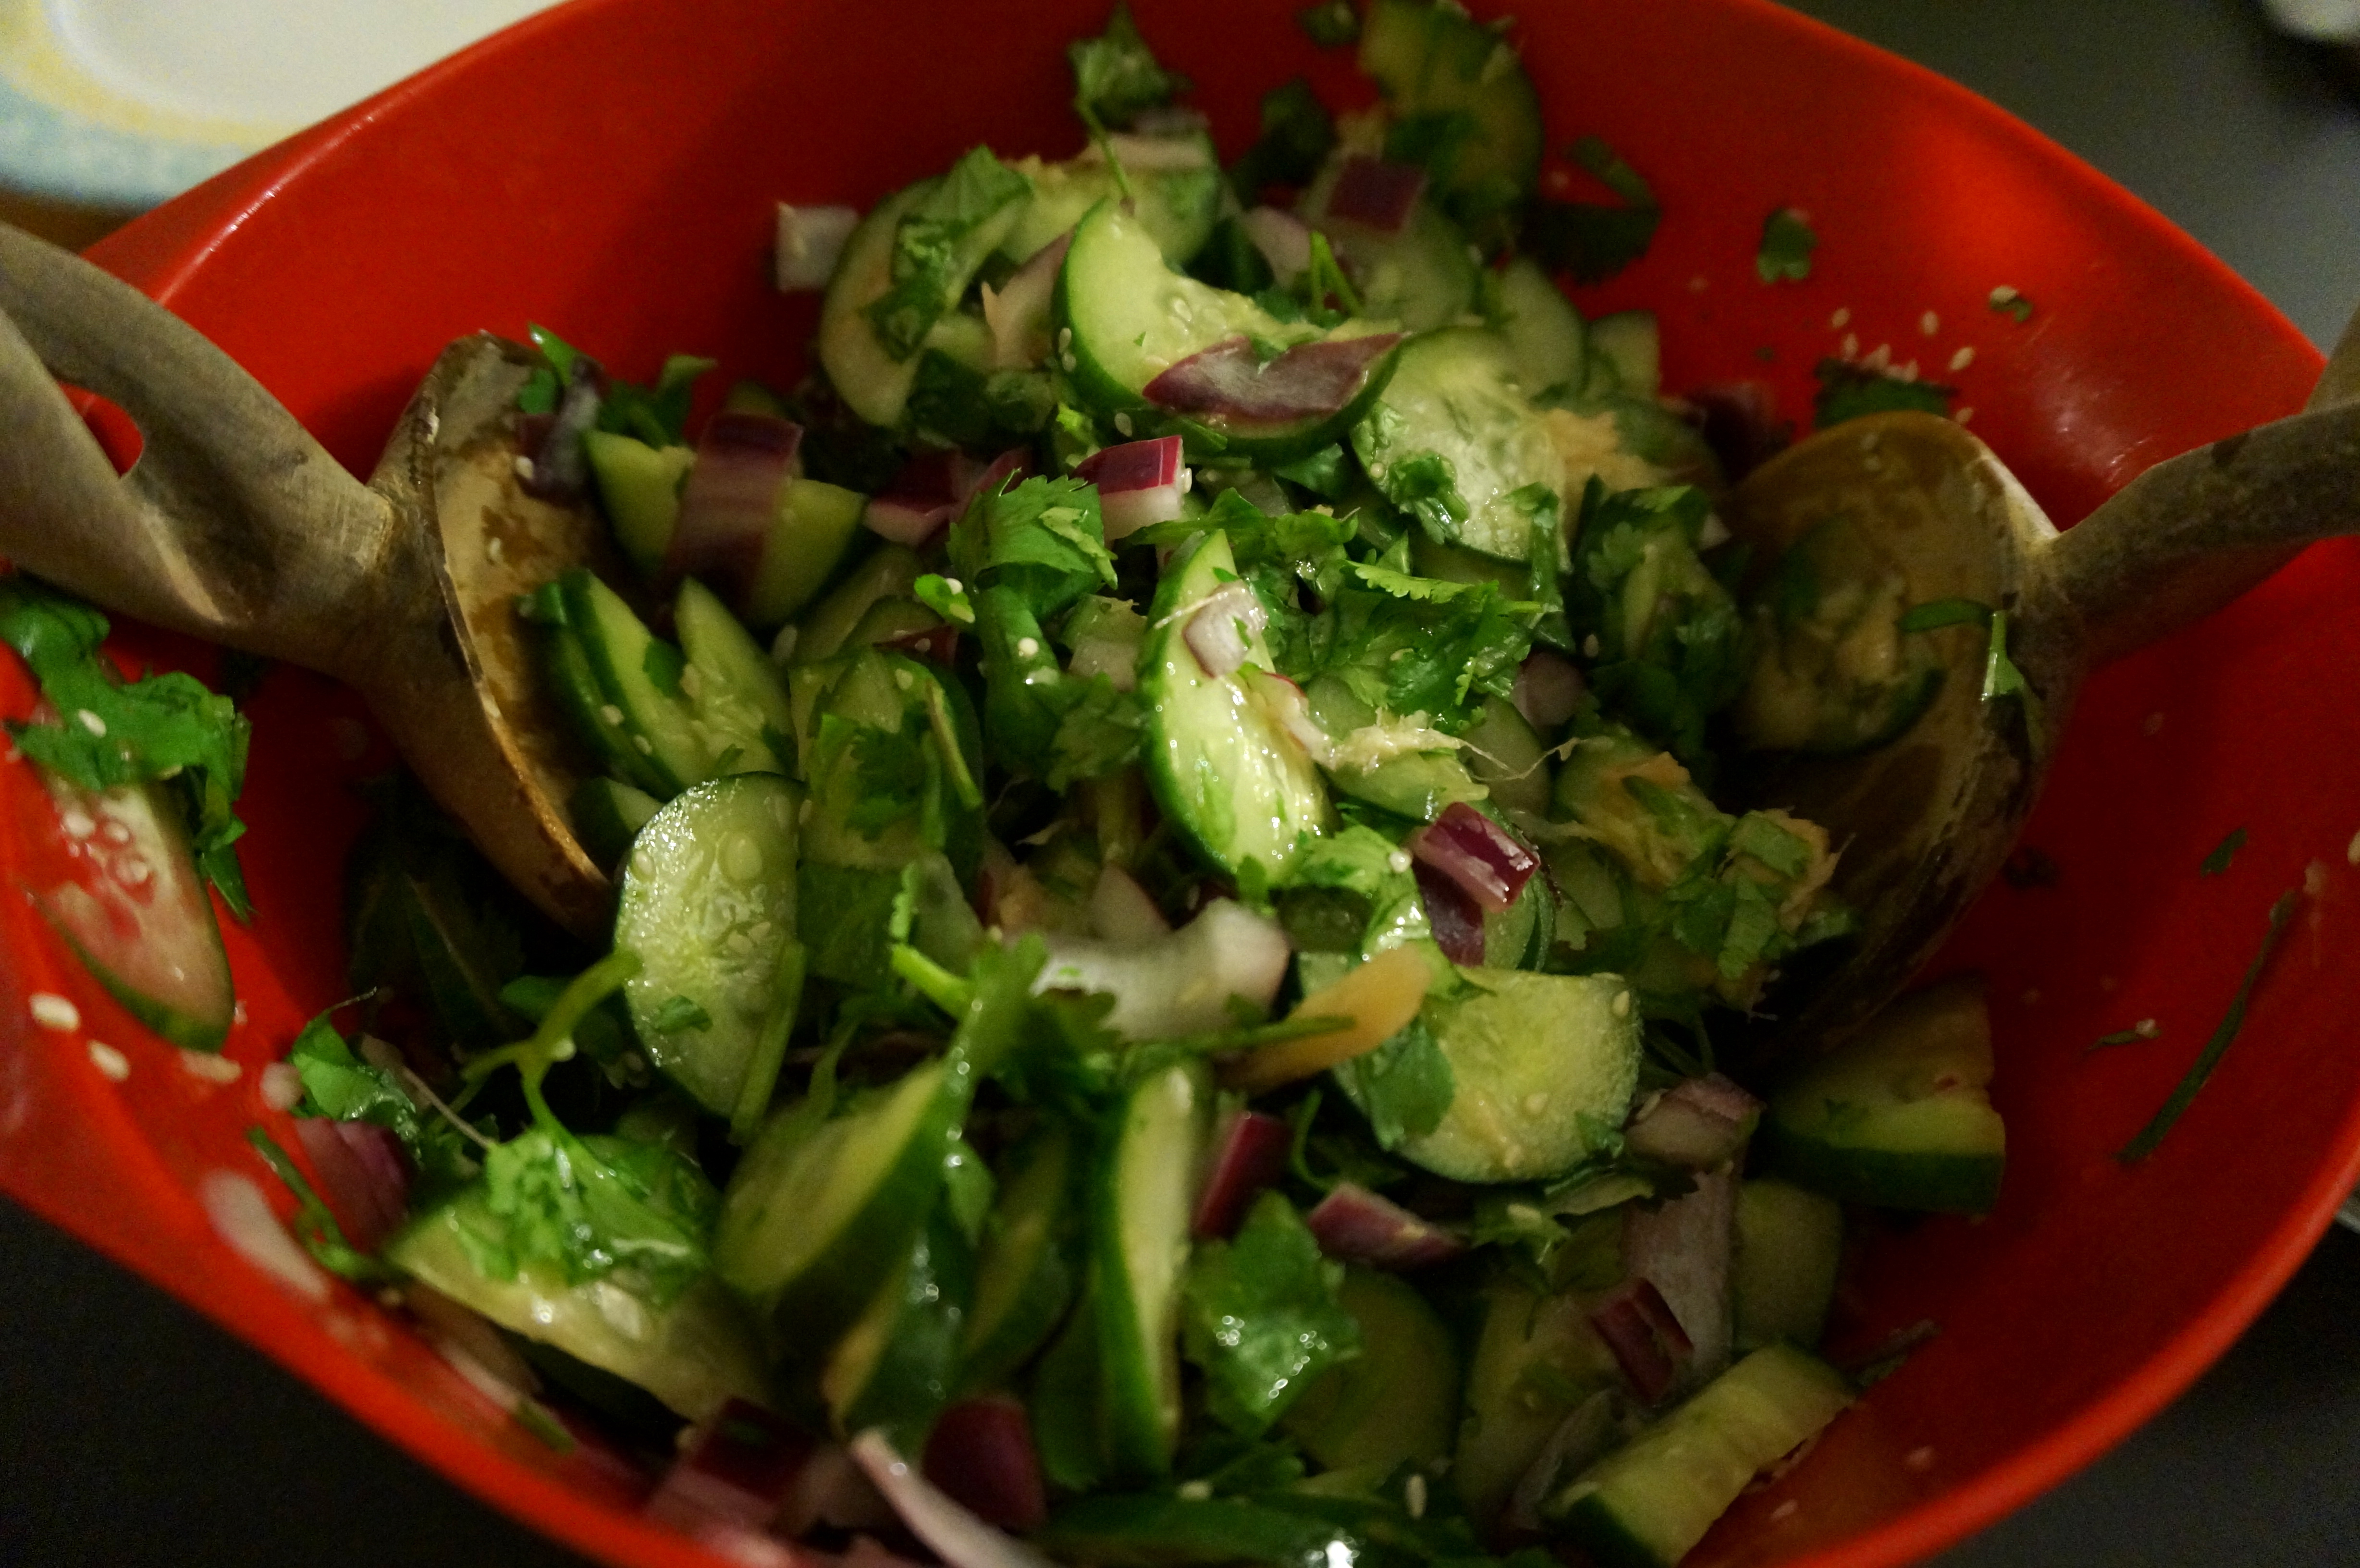
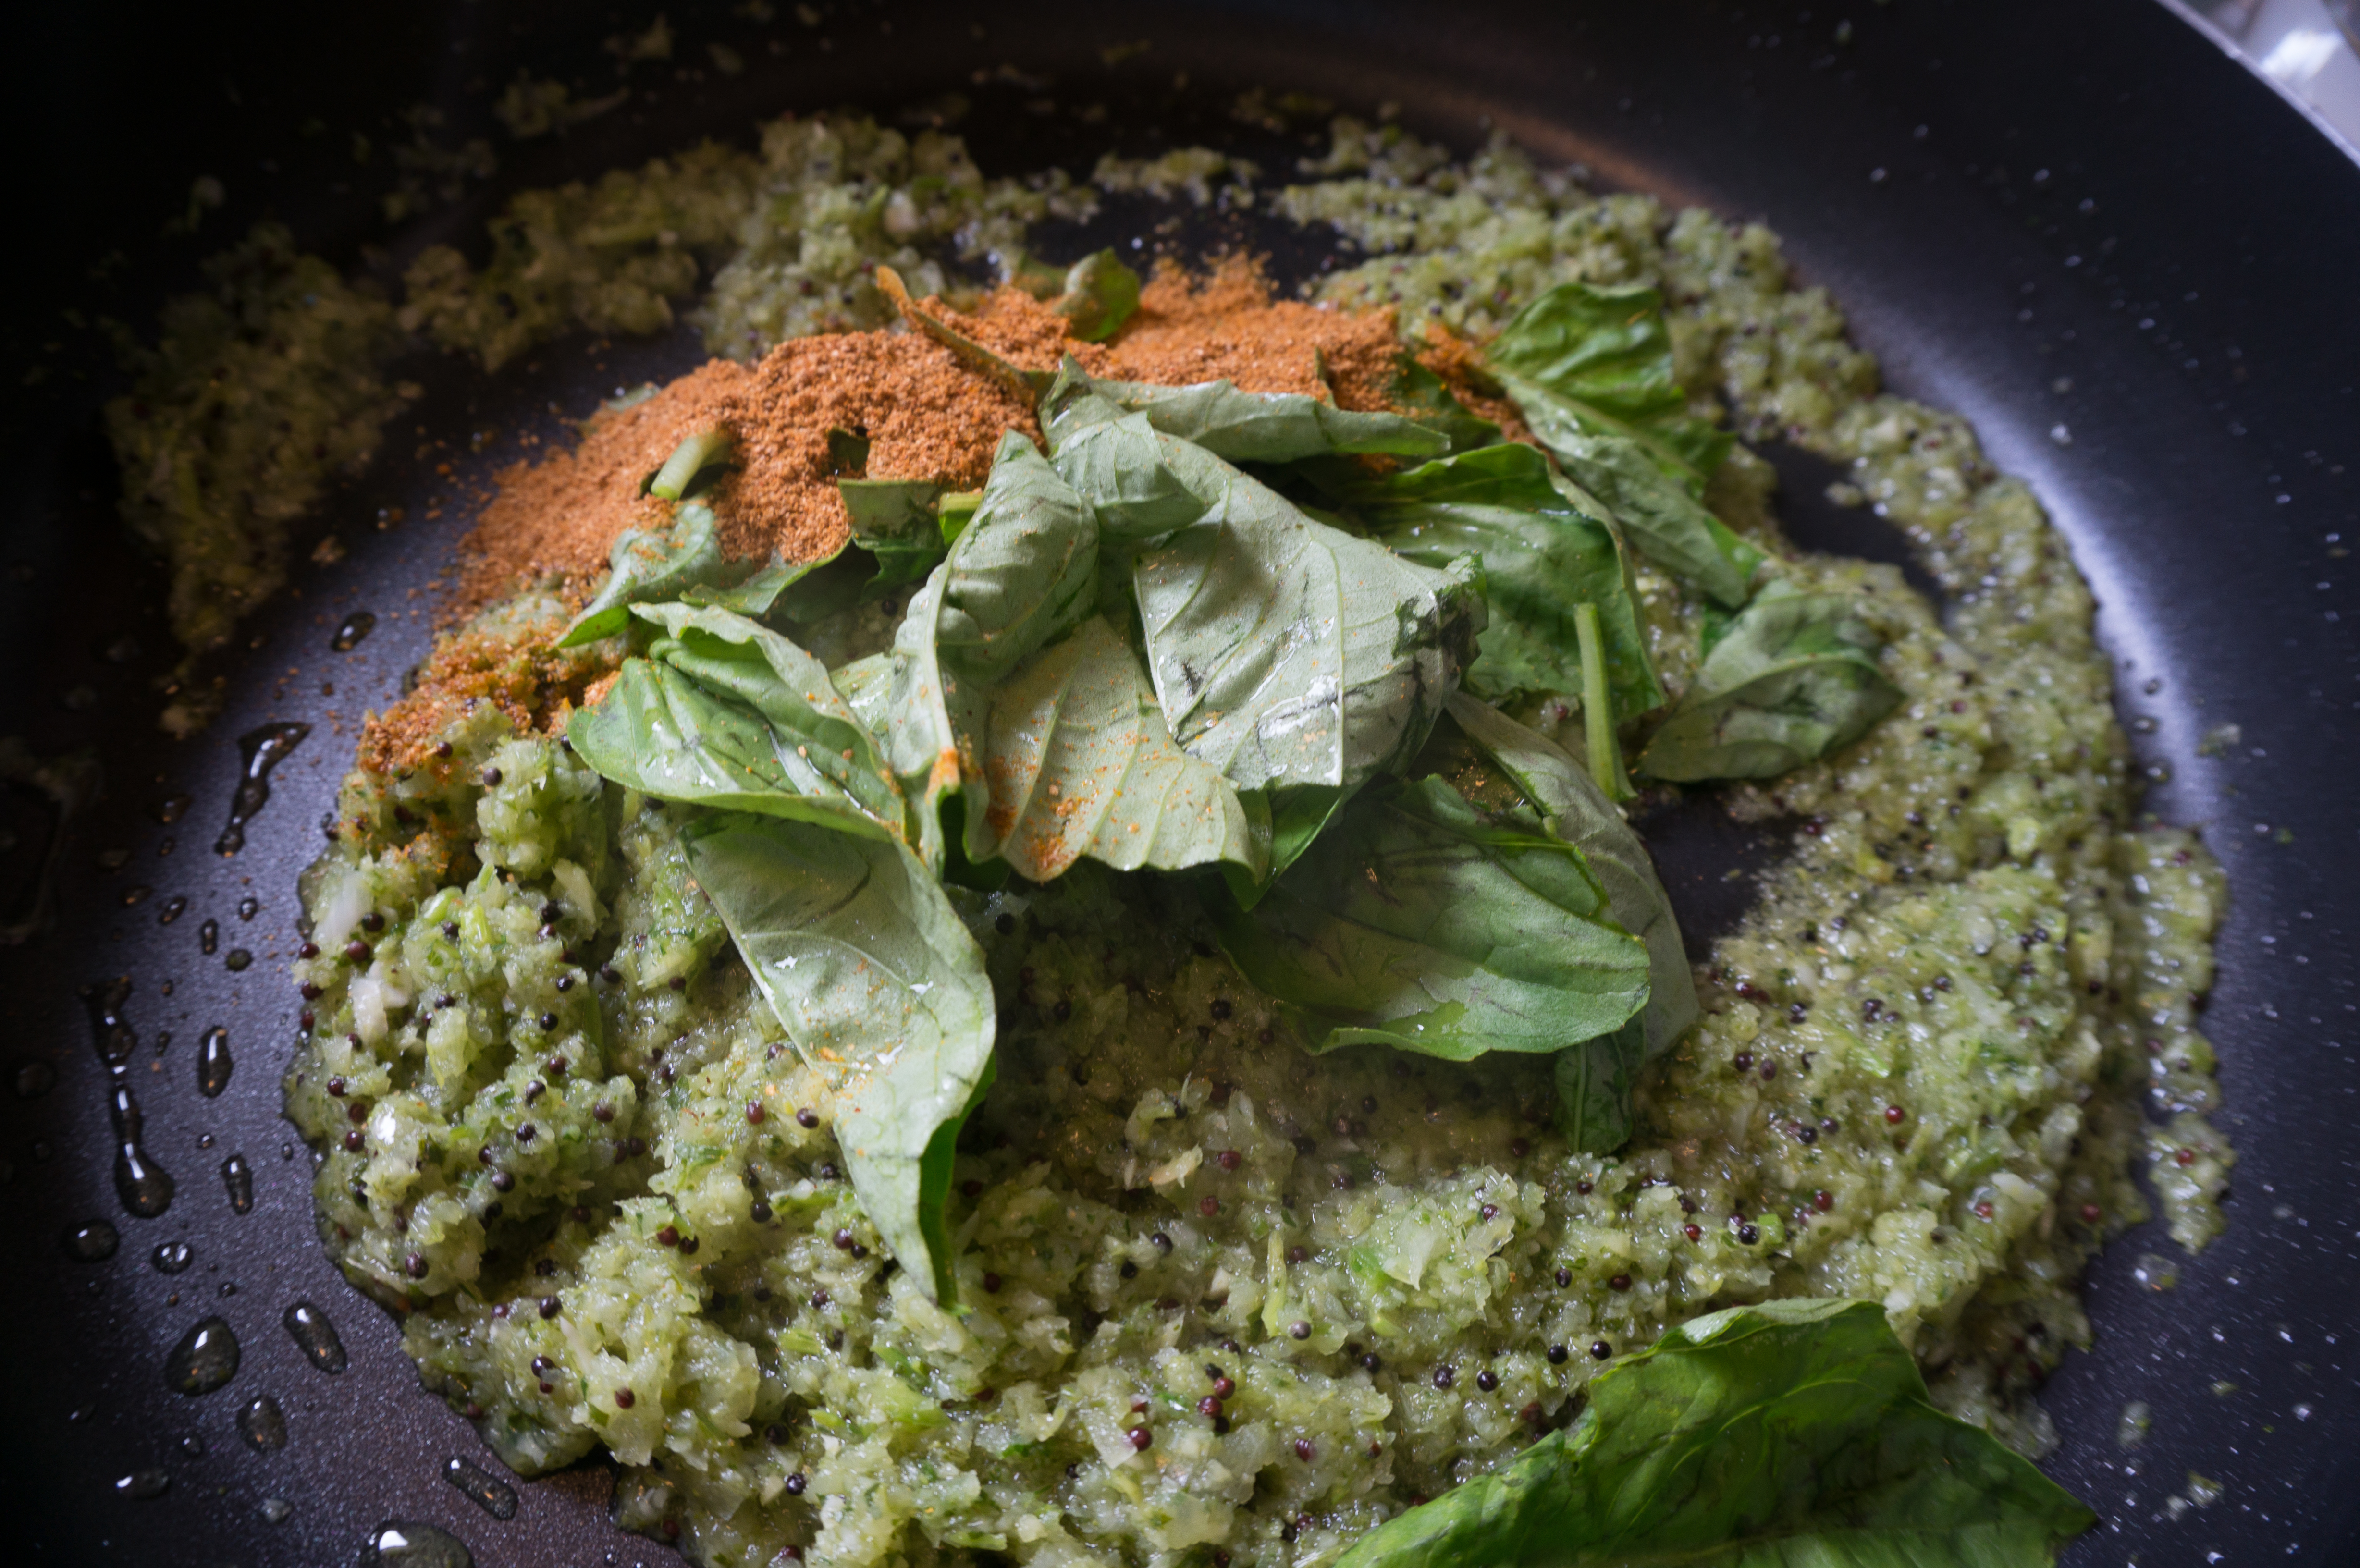
Let the cucumbers and onions marinate in the dressing while you cook the other dish. At the end garnish with cilantro and toasted sesame seeds. This dish was super refreshing and ended up being the perfect complement to the rice and spicy tofu dishes.

DSC06196

Spiced red lentils with cucumber yogurt

Up until this weekend, when we thankfully received our first rains of 2015, it hadn’t rained in Berkeley in months. With no mushrooms to inspire me, combined with the fact that I’ve been in hardcore dissertation writing mode lately, I haven’t taken as much time to cook. But I’m still a poor PhD student and cannot afford to eat out every night, so I was in search of a dish that was healthy, cheap, and easy to prepare. I turned to my old friend Yotam Ottolenghi for some inspiration, and I found this lovely lentil dish “Spiced red lentils with cucumber yogurt” on p. 221 of Plenty, which can be found online here.

Ingredients for curried red lentils

Ingredients for spiced red lentils.

I do not know why it took me so long to discover lentils. Lentils are the perfect food, especially for a PhD student low on funds such as me.  Lentils are really healthy and cheap, and when prepared correctly, can be super delicious and satisfying. Let me tell you, this dish prepares them correctly. This dish is THE BOMB.  It has flavor and spice up the wazoo. As a fair warning, there are a lot of spices involved, all of which I thankfully already own due to the spice buying investments I’ve been making over the last year. But trust me, this dish is so worth it.  You have to soak the lentils in water for 30 minutes prior to cooking, and since I already had the lentils, I placed them in water before heading out to the Berkeley Bowl to grocery shop, so they had ample time to soak.

Limes, cucumbers, ginger, garlic, and onion

Limes, cucumbers, ginger, garlic, and onion for the curried lentils.

Upon returning from the Berkeley Bowl, I started by making the chopped onion mix. I cut off the stalks of the cilantro and roughly chopped the leaves and set those aside. Then I stuck the cilantro stalks in my food processor, followed by a finely diced onion.

Onion mixture in the food processor

Onion, garlic, ginger, green chile, and cilantro in the food processor.

Then I added 3 peeled garlic cloves, 2.5 inches peeled ginger, and a fresh chile. I used a serrano chile, which I removed the seeds from, but presumably any green chile would work.  This mix is a flavor powerhouse. It smelled so fresh and delicious.

curriedlentils-09-2

This onion, garlic, cilantro, chile mixture was a flavor POWERHOUSE. It smelled so good!

Place a large pan on medium heat and put the mustard seeds in it and wait for them to pop. They start to sound sort of like popcorn – it’s pretty fun! Then add the 4 tbsp sunflower oil and the onion mixture. This is such a flavorful mix – I’m definitely going to have to start employing it in more of my cooking.

While the onion mixture cooks, I mixed together the spices. Mix 1.5 tsp coriander, 1 tsp cumin, 0.5 tsp turmeric, and 0.25 tsp (sweet) paprika. I used regular paprika since I don’t have sweet, but all in all this is a pretty standard curry mix. The one ingredient I did not have was the curry leaves, which I read online you could substitute with basil and a dash of lemon. After the onion mix has been cooking for 10 minutes, add the spices and leaves and cook for 5 minutes.

Coriander, cumin, turmeric, paprika spice mix

Coriander, cumin, turmeric, and paprika spice mixture.

The spices and onion mixture smelled so good while they were simmering! My whole apartment smelled amazing. Two friends dropped by my apartment to pick something up while I was cooking and commented on how good it smelled as soon as they entered the door. Between you and me, I think they were pretty jealous that they weren’t invited over for dinner!

Onion mixture with spice mix and basil leaves

Onion mixture with spice mix and basil leaves.

While the mixture is cooking, take the time to open up a can of peeled chopped tomatoes or to chop up some fresh tomatoes. Peeling tomatoes seemed like too much work for me so I just threw them in whole, and then I added the red lentils with the water they had been soaking in.

Spice and onion mixture with red lentils and tomatoes

Spice and onion mixture with red lentils and tomatoes.

While the lentils simmer for 30 minutes, mix together the Greek yogurt with diced cucumber and olive oil. Once the lentils are cooked, stir in some butter. Ottolenghi suggests 1/3 cup unsalted butter, but I used closer to 2 tbsp. Squeeze the juice from 1 fresh lime and add that to the lentils, and mix in the chopped cilantro leaves that you had set aside earlier. Serve the lentils in bowls, and top with a dollop of the Greek yogurt mixture. While this may not be the best photogenic dish ever, I swear it tasted divine.

Curried red lentils with Greek yogurt and cucumber

Curried red lentils with Greek yogurt and cucumber.

This is definitely going to be my new go-to for a simple and healthy mid-week dish. Especially when there are no mushrooms around!

Ingredients:

  • 1 cup split red lentils
  • 1.5 cups water
  • 1 bunch cilantro
  • 1 small onion, peeled
  • 2.5 inches fresh ginger
  • 3 garlic cloves, peeled
  • 1 mild fresh green chile
  • 1.5 tsp black mustard seeds
  • 4 tbsp sunflower oil
  • 1.5 tsp ground coriander
  • 1 tsp ground cumin
  • 0.5 tsp ground turmeric
  • 0.25 tsp sweet paprika (I don’t have sweet paprika so I used plain paprika)
  • 10 curry leaves (I didn’t have these so I used basil with a dash of lemon juice, which I read online was a good substitute)
  • 1.75 cups peeled chopped tomatoes (fresh or canned)
  • 2 tsp sugar
  • 0.25 tsp fenugreek (I didn’t have this so I used garlic salt)
  • pinch of asafetida (optional)
  • salt
  • 3/4 cup Greek yogurt
  • 3/4 finely diced cucumber
  • 1.5 tbsp olive oil
  • 1/3 cup unsalted butter (as much as you like)
  • 1.5 tbsp lime juice

Pesto pasta with yellowfoot chanterelles and hedgehog mushrooms

I’d been wanting to go back to Humboldt and Del Norte Counties ever since I visited them for the first time last year. MLK weekend gave the perfect opportunity to make the long drive north. Hiking through the majestic giant redwood forests made me feel like I took a giant leap back in time; I wouldn’t be surprised if a T-Rex came rambling around the next corner.

Majestic giant redwoods in Redwood National Park

Majestic giant redwoods in Redwood National Park

Humboldt is truly spectacular. The towns of Eureka and Arcata are charming, friendly, and have fantastic food. Humboldt County gets an average of 55 inches of precipitation per year, which is nearly double the precipitation of Berkeley at 25.4 inches of rain per year. This means good things for mushrooms! People really appreciate foraged food up there, and I ate a delicious wild mushroom casserole at this cozy gem in Eureka, Brick and Fire Bistro. Usually when I mushroom hunt I just use the Berkeley Mycology baskets that I borrow from lab. But in Arcata they were selling beautiful mushroom baskets, and I finally got one my very own!

My very own mushroom basket!

My very own mushroom basket!

I was lucky to get some insider tips on some legal places to mushroom hunt, and here we are foraging in one of those special spots. Isn’t it spectacular?

Taking a walk through 'mushroom heaven' in Humboldt

Taking a walk through ‘mushroom heaven’ in Humboldt

We found some some awesomely giant yellow foot chanterelles, which were at least double in size beyond what I’ve ever found before. Must be all that rain they get in Humboldt!

DSC05653

Giant yellow foot chanterelles

I also found some adorable hedgehog mushrooms, which if you’ve read my previous blog posts, you might remember are distinguished because they have teeth instead of gills.

Hedgehog mushrooms have teeth!

Hedgehog mushrooms have teeth!

Now what to cook with my gorgeous mushrooms? I’ve already made lasagna, polenta, frittata, risotto, and pizza featuring wild mushrooms. This time I wanted to make something simple and filling but that would highlight the delicious prized edible mushrooms. I always clean my mushrooms and start cooking them first before starting with the rest of the meal because it is important that they are cooked well, and of course I view them as the centerpiece of the dish :) This time I decided to try making a quick pesto pasta to serve as a bed for the mushrooms.

Browned hedgehog mushrooms.

Browned hedgehog mushrooms.

The trick with cooking mushrooms is that it is really important to just leave them alone after you put them in the hot pan that has been coated with oil or butter. They need time to just hang out and do their thing. It takes a while for all of the excess water to boil off  – it never ceases to amaze me how much mushrooms can shrink down! Then it takes a while for them to get that nice brown color and crispiness that makes them taste so good. So trust me when I tell you to relax and go do something else while the mushrooms are in the sauté pan, and let them get nice and brown before you start mixing them up with your spatula. At the very end you can add salt and then set them aside.

Yellow foot chanterelles

Yellow foot chanterelles

While the mushrooms were browning, I got started on the pesto. Having never made a pesto sauce before, I turned to the internet and found a great recipe here. Why have I never made pesto from scratch before? It is so easy! It is so much more vibrant and fresh tasting when you make it at home and the ingredients are very simple. It is also very easy to modify if you have a specific nut or cheese allergy. The recipe I used suggests using walnuts as an alternative to pine nuts, and I’ve also heard of people replacing the pine nuts with almonds.

Ingredients for the pesto: olive oil, garlic, basil, pine nuts, parmesan cheese.

Ingredients for the pesto: olive oil, garlic, basil, pine nuts, parmesan cheese.

The ingredients for pesto are simple: olive oil, parmesan cheese, garlic, basil, and pine nuts. The first step is to wash the basil leaves and place them into a food processor with the pine nuts and pulse them a few times.

Pine nuts and basil in the food processor

Pine nuts and basil in the food processor

Next, add the garlic cloves and freshly grated Parmesan cheese.

Basil, pine nuts, and garlic.

Basil, pine nuts, and garlic.

Basil, pine nuts, garlic, and Parmesan

Basil, pine nuts, garlic, and Parmesan cheese.

Next, pulse several more times until well mixed. Then slowly start streaming in olive oil as the food processor is mixing the rest of the ingredients. I would say the amount of olive oil you add is up to you depending on how chunky you like your pesto. Prior to making the pesto, which is really quick and only takes 5-10 minutes total, I had boiled some water and made some pasta. Once the pesto was finished, I mixed it in with the pasta and added a few extra pine nuts and some shredded Parmesan cheese on top.

Home made pesto mixed with  pasta topped with extra pine nuts and Parmesan.

Home made pesto mixed with pasta topped with extra pine nuts and Parmesan.

To me, the point of the pasta was really only to play a supporting role to the freshly foraged mushrooms, so I loaded lots of crispy sautéed mushrooms on top.

Pesto pasta with hedgehog and yellow foot chanterelles on top.

Pesto pasta with hedgehog and yellow foot chanterelles on top.

DSC05678

Simple pesto pasta to accompany freshly foraged hedgehog and yellow foot chanterelles.

It turned out deliciously. Patrick was obsessed with the pesto and scarfed down all of the excess pesto that wasn’t used for the pasta by spooning it onto pieces of baguette. For me, I cannot wait to get back to Humboldt and hike in the redwoods and forage for mushrooms again. For Patrick, he cannot wait for me to make the next batch of home made pesto!

Wild mushroom pizza with my first Matsutake!

The other weekend I went hiking in Marin County. It’s been pretty dry the last couple weeks, so I was expecting a beautiful hike and lots of waterfalls but I did not have my hopes up for good mushrooms. Much to my joyful surprise, I found tons of mushroom diversity on the hike and I even found the prized Matsutake for the first time. Matsutake is very popular in Japanese cuisine, and apparently the Japanese Matsutake can fetch as much as $100 per mushroom. The American version typically sells for significantly less at $20-35/lb, but still, it’s a pricey mushroom. So when Patrick looked down and saw a big whitish mushroom sticking out from under the huckleberry bushes and asked me what it was, I was super excited when the revelation of what exactly I was holding onto dawned on me.

IMG_9085

My first ever Matsutake!

Matsutake goes by multiple scientific names but going into the vagaries of scientific naming conventions is beyond the scope of this blog. Suffice it to say that it is a white mushroom that tends to stain brown on the stem, has a very thick white ring around the stem called an annulus, and has a very distinctive smell. David Arora describes the “unique spicy odor” as a “provocative compromise between ‘red hots’ and dirty socks” in Mushrooms Demystified. My friend Melina says it smells like “jock strap and cinnamon red hots.” I personally have always thought of it as smelling like an old gym, so the thought of eating it never particularly appealed to me. However, given that so many people love it so much and are willing to pay $$, I was very intrigued to try it when I finally found one of my own.

The American Matsutake: Tricholoma magnivelare

The American Matsutake (Tricholoma magnivelare)

Since it is a very special mushroom with a distinctive smell and flavor, you can’t just sauté it in butter or olive oil and add it to anything like you can with a chanterelle or porcini. I found some great tips and recipes on “Cooking the Magnificent Matsutake” from the forager and blogger extraordinaire Hank Shaw. However, the recipe that I ultimately decided to go with came from my friend and fellow mycology PhD student Roo, who suggested that I make a Matsutake pizza. There were definitely times when the mushroom was in the sauté pan with the garlic, and I smelled garlic with an undertone of funk; I was a bit scared of what I was getting myself into. I must say though, Roo was quite right about his recipe. The Matsutake pizza was delicious!

Pizza dough rising

Pizza dough rising

The recipe is quite simple. Start with a homemade dough and sprinkle with olive oil. Then, add the sautéed mushrooms with a bit of onion and garlic, and a sprinkle of good quality mozzarella. Bake in the oven at highest heat for 5-10 minutes, then top with good parmesan after it is cooked.

Max happily rolling out the pizza dough

Max, a fellow mycology PhD student, happily rolling out the pizza dough

I’ve never made pizza before, so I found this simple pizza dough recipe online, and enlisted help from my friends. Since I was a bit afraid that I would not enjoy the Matsutake and its particular ‘funk’, we also made a classic margherita and a vegetarian pizza.

Matsutakes

Matsutakes

The first step of course was to clean off the dirt from the Matsutakes, then to cut them up and sauté them.

Matsutakes cleaned up

Matsutakes cleaned up

Mushrooms cleaned and sliced in the sauté pan:

Matsutakes cleaned and sliced in the pan

Matsutakes cleaned and sliced in the pan

I let the Matsutakes sit in the sauté pan for a long time. We rolled out the dough and made the first two pizzas while they cooked. Eventually, I added several cloves of garlic to add some flavor.

DSC05580

Matsutakes sautéd in olive oil with a bit of garlic – they are starting to get brown and beautiful!

Once the mushrooms were browned, Max rolled out the dough onto a baking sheet. Unfortunately, I do not have a pizza stone, so a baking sheet had to do. Be careful to sprinkle flower to the pan before adding the dough.

Max rolling out the pizza dough onto the baking pan

Max rolling out the pizza dough onto the baking pan

Next, we sprinkled with olive oil and added the sautéd Matsutakes with some onions and garlic:

DSC05611

Starting to look pretty good, right?

After that, we added some mozzarella balls to the pizza:

DSC05614

Home made pizza dough, sprinkled with olive oil, sautéd Matsutakes, onions, garlic, and mozzarella

We baked it in my oven at 500 degrees F for approximately 7 minutes.

DSC05630


Here are my friends patiently sitting at the table with the cooked Margherita and vegetarian pizza, looking stoked to sample the pizza buffet:

Simone and Max looking super excited to try the pizza!

Simone and Max looking super excited to try the pizza!

Margherita pizza

Margherita pizza

And the pièce de résistance, the Matsutake pizza!

Final product: home made Matsutake pizza with mozzarella and parmesan reggiano sprinkled on top

Final product: home made Matsutake pizza with mozzarella and Parmesan Reggiano sprinkled on top

Thanks friends for helping me bake and eat all of this delicious pizza!

Simone, Max, and Patrick, being good sports while I take pictures of everything before they can eat it

Simone, Max, and Patrick, being good sports while I take pictures of everything before they can eat it

Here is a plate loaded up with salad and all 3 pizzas:

Plate loaded down with salad and all 3 pizzas

Plate loaded down with salad and all 3 pizzas

Despite my trepidation at the funky smell, the Matsutake pizza was my favorite in the end. The funky flavor comes through more strongly when the mushroom is not thoroughly cooked, but the well-cooked sautéed mushrooms permeate a delicious flavor without being too funky. Perhaps one day, I will get to the point where I am all about that funk and want to use the Matsutake mushrooms raw. For now, though, cooking them in a pizza was the perfect entryway to this mushroom. Thanks, Roo!

Puréed beets with yogurt and za’atar and butternut squash and tahini dip

These are the dishes that started my love affair with Yotam Ottolenghi and inspired me to start writing this blog. Last year at Christmas, Meera’s roommate invited me to their house and she made these dishes. Quite frankly, they blew my mind.

Puréed beets with yogurt and za'atar

Puréed beets with yogurt and za’atar

A year later, when I was invited to Christmas dinner at Patrick’s house, I made these dishes again. It was a commemoration of the past year, going back to where it all started. I’ve come a long way in the last year in terms of my cooking. As my sister Reva likes to say, a year ago I barely knew how to open a can. She exaggerates, but it’s true – I’m much more comfortable in the kitchen now than I was then! Of course, another exciting thing about this year is that it’s been raining a ton in Berkeley this past month, and there are mushrooms galore! This fungi foodie is very happy about that :)

Here I am super excited to be picking mushrooms on Berkeley's campus this year

Here I am super excited to be picking mushrooms on Berkeley’s campus this month

I’ve already blogged about the butternut squash and tahini dip, in a previous post. Briefly, peel and chop a large butternut squash into chunks, sprinkle with cinnamon, salt, and olive oil, and roast in the oven for 70 minutes. Next, put it in the blender with greek yogurt, tahini, and garlic. When ready to serve, sprinkle with black and white sesame seeds and date syrup. That’s it! I got my date syrup at the airport in Tel Aviv right before I hopped on the plane back to San Francisco, but I imagine you could find it at any Middle Eastern specialty store. Don’t forget the date syrup – it makes the dip pop! The date syrup is also necessary for the beet dip, which is a savory contrast to this sweet spread.

Butternut squash and tahini dip before date syrup is added

Butternut squash and tahini dip before date syrup is added

While I personally prefer the sweeter butternut squash and tahini spread, the beet dip seemed to be a bigger hit with the men at the party. I’ve been on a bit of a beet kick lately. I’ve even been adding them to my morning smoothies! The first step of this dish is to roast 2 lbs of beets in the oven at 400 degrees F for a very very long time. Ottolenghi suggests roasting them for about an hour, but I had to roast them for nearly 1.5 hours to get them to the point where a knife can easily slide into the beet. In the meanwhile, assemble the rest of the ingredients, as pictured below. I found this recipe on pg. 53 of Jerusalem, but it was also featured online here.

Ingredients for the beet dip: hazelnuts, green onions, red chili, Greek yogurt, za'atar, date syrup, salt.

Ingredients for the beet dip: hazelnuts, green onions, red chili, Greek yogurt, za’atar, date syrup, salt

Once the beets are soft enough, take them out of the oven and let them cool. Then peel them with your fingers and cut them into pieces and place them in the blender. This part is really really messy so arm yourself with reinforcements. Patrick was a great help with peeling the beets :) Blend them with 2 cloves of garlic, 1 small red chile, and 1 cup Greek yogurt.

Greek yogurt, seeded and chopped red chile, garlic

Greek yogurt, seeded and chopped red chile, garlic

Blending in the beets

Blending in the beets

Once the yogurt, chile, garlic, and beets are blended, place them in a bowl.

Beets are so pretty!

Beets are so pretty!

Next spoon in 3 tbsp olive oil, 1.5 tbsp date syrup, 1 tbsp za’atar, and 1 tsp salt.

Puréed beets with olive oil, za'atar, date syrup, and salt.

Puréed beets with olive oil, za’atar, date syrup, and salt

Mix with a spoon. Then chop up 2 tbsp of roasted hazelnuts, and slice two green onions, and spread them on top. Ottolenghi also calls for 2 oz of goat’s cheese on top, but I am not a huge fan of goat’s cheese, so I refrained.

Beet dip with roasted hazelnuts and green onion garnish

Beet dip with roasted hazelnuts and green onion garnish

Both dips are unexpected and delicious, and are great with pita, crackers, carrots, jicama, or peppers. Middle Eastern mezze on Christmas, a new tradition?


Hedgehog and chanterelle wild mushroom frittata

Thanks to all of this wonderful rain, the hunting is finally good for mushrooms! I was super lucky at the annual Mendocino mushroom foray and this time I found the mother lode of hedgehog mushrooms :) Hedgehogs are related to chanterelles and many of my mushroom hunting friends like them even more than their beloved cousins.  The scientific name is Hydnum umbilicatum, but they are called hedgehogs because they have spiny teeth instead of gills !

Check out the spiny teeth on un the underside of these beautiful hedgehog mushrooms!

Check out the spiny teeth on un the underside of these beautiful hedgehog mushrooms!

I’ve never found so many choice edibles in one spot before. I was very excited to bring some home to Los Angeles over Thanksgiving break! On that Friday morning, I went to my friend Lauren’s house to share my mushrooms with friends and enjoy a post-Thanksgiving day breakfast.  With all of these gorgeous mushrooms, I decided to make a frittata. A frittata is a simple, baked egg dish where you can basically add any ingredients you want (any vegetable you have lying around, meat, cheese, herbs, you name it!), and then you throw it in the oven. Since I’ve been so mushroom deprived until now, I decided to keep it simple and keep mushrooms front and center in this dish. I caramelized a white and red onion to add some flavor, but that was the only other ingredient besides mushrooms and eggs (and salt and pepper of course!).

Hedgehog mushrooms cleaned and cut in a heated pan

Hedgehog mushrooms cleaned and cut in a heated pan

I kept the stems on the mushrooms but cut off the dirt off from the tip. I then rinsed them under water in a colander. Some people will tell you never to wash mushrooms because they soak up all the water and get soggy, but it’s really hard to get off all that dirt if you don’t rinse them in a colander, and if you cook them in the pan long enough all the water will boil off. I heated up a pan on medium heat, added oil, then added the cleaned and roughly chopped hedgehogs.

Hedgehogs starting to cook and giving off a lot of water

Hedgehogs starting to cook and giving off a lot of water

Mushrooms are something like 80-90% water, so they will cook down a lot. Good thing I had so many :) It will take a while for all of the water to boil off, but be patient and let them cook for a long time until they start to brown.

Beautifully browning hedgehogs

Beautifully browning hedgehogs

Kinda crazy how much they cook down, huh? Notice the nice brown color that they are starting to get – keep sautéing them and mixing them with a spatula for a few more minutes. We also chopped up the last of my yellowfoot chanterelles and added those to the mix.

Whisking together the onions, mushrooms, and eggs for the frittata

Whisking together the onions, mushrooms, and eggs for the frittata

I cracked about 10 eggs and added them to a big mixing bowl with the onions and the mushrooms. I mixed well with the whisk, added some salt and pepper, and put the mixture into Lauren’s lovely baking dish.

Frittata mixture ready to go into the oven!

Frittata mixture ready to go into the oven!

Baking a frittata is not an exact science. It really depends on the oven and the size of the frittata. I suggest setting the oven to around 400 degrees and checking it every 5-10 minutes. I had preheated Lauren’s oven to 400 degrees prior to cooking, but the frittata took a lot longer to cook than expected. After 10 minutes it was still completely liquid! What can I say, I’m still learning :P I ended up cooking the frittata for about 30 minutes – it was a really big and the baking dish was heavy and thick. There is no rule of thumb as to how long it will take – but expect 10-30 minutes depending on your dish, oven, and the size of the frittata. Luckily, when it finally came out it was beautiful :)

Me showing off my wild mushroom frittata with mushrooms that I foraged myself :)

Me showing off my wild mushroom frittata with mushrooms that I foraged myself :)

Here are my friends enjoying the frittata in Lauren’s lovely apartment:

Sara, Sarah, and Lauren enjoying the frittata with bagels

Sara, Sarah, and Lauren enjoying the frittata with bagels

What is better than mushrooms and friends? Not much! Here is a closer look at the gorgeous hedgehog and chanterelle frittata:

Hedgehog and chanterelle wild mushroom frittata

Hedgehog and chanterelle wild mushroom frittata

Black trumpet, hedgehog, and chanterelle wild mushroom risotto

Last weekend I went mushroom hunting in Mendocino with the UC Berkeley, UC Davis, and SF State mycology classes. It was AWESOME. The mushrooms were out in abundance. After such a dry and disappointing mushroom hunting season last year, I was stoked to say the least.

Yay for mushrooms!!!

Yay for mushrooms!!!

I was so excited to finally find mushrooms after so much terrible dry weather things got a little extreme…

Me with the mushroom-fever-crazy-eyes

Me with the mushroom-fever-crazy-eyes

I found black trumpets (Craterellus cornucopioides) for the first time ever! They really blend in with the redwood duff so it is hard to find them:

Can you see the black trumpet mushrooms in this photo?

Can you see the black trumpet mushrooms in this photo?

I climbed up a super steep slope to find these but it was totally worth it :) I’ve never collected these mushrooms before and I got a pretty good amount of them:

Black trumpet mushrooms that I collected from the redwood tanoak forests in Mendocino

Black trumpet mushrooms that I collected from the redwood tanoak forests in Mendocino

In addition to black trumpets and oak and golden chanterelles (Cantharellus californicus and formosus), I found a bunch of yellow foot chanterelles (Craterellus tubaeformis), which were out very early this year. Usually, they don’t start coming out until December or January, but I’m not complaining!

yellowfoot AKA winter chanterelles

yellowfoot AKA winter chanterelles

The mushrooms that I found in the greatest abundance were hedgehog mushrooms (Hydnum umbilicatum). I’ve never found so many in my life.

Bowl of hedgehog bounty

Bowl of hedgehog bounty

These are a really good edible, so I was very excited to find so many! They are also a good mushroom for an amateur since they are very difficult to misidentify. They call them the hedgehog mushroom because instead of gills they have teeth. Can you see the teeth in this photo?

Can you see the teeth? That's why they call it the hedgehog

Can you see the teeth? That’s why they call it the hedgehog

With all of my beautiful mushrooms, I decided to invite over some friends and make a wild mushroom risotto. I sauteéd up some of the chanterelles, hedgehogs, and black trumpets in olive oil and put them on baguette toasts for everyone to eat as an appetizer while the risotto was cooking.

wild mushrooms (chanterelles, hedgehogs, black trumpets) on toast

Wild mushrooms (chanterelles, hedgehogs, black trumpets) on toast

I have only cooked risotto once or twice before, so I turned to Google for help with finding a recipe. I decided to base my recipe of off this mushroom risotto. Risotto is actually rather easy to make. All you need to do is sauté up some onions and garlic and whatever vegetables you like, then add 1 cup of arborio rice, and slowly add liquids while stirring continuously. Whether you decide to add milk, cream, vegetable or chicken stock is completely up to you! I started out with sautéing 3-4 chopped shallots and a few cloves of garlic in oil. I added a bit of minced celery, chopped parsley, salt, and pepper. Then I added a bunch of hedgehogs, black trumpets, and golden chanterelles to the pan. I used a lot more mushrooms than was recommended, but in my opinion they are the best part :)

Shallots, garlic, parsley, celery, hedgehogs, chanterelles, and black trumpets sauteeing

Shallots, garlic, parsley, celery, hedgehogs, chanterelles, and black trumpets sautéing

After the mushrooms are sautéed, you add milk and cream to the mixture. I decided to increase the size of the recipe to make sure I had enough risotto for all of my friends, so I added 1.5 cups of milk and 3/8 cups heavy cream. The recipe called for whole milk but I found that skim milk still made a very creamy and delicious risotto and was slightly healthier – but you can use whatever you’d like! Next I added 1.5 cups of arborio rice.  After adding the rice you start to add stock/broth one cup at a time. I used vegetable broth because one of my friends is a vegetarian, but you can use whatever kind of stock you want. This is what the risotto looks like when you first start to cook it:

risotto cooking

Risotto cooking

Risotto requires a lot of stirring. I’m talking like 25-45 minutes of non-stop stirring. You are supposed to stir continuously and add the broth one cup at a time as it absorbs. There is no magic number for how long it takes, you just cook it until it’s done. Make sure you invite a lot of friends over to help you stir :)

Meera being a good friend and helping me stir the risotto

Meera being a good friend and helping me stir the risotto

Stirring is tiring stuff. Patrick takes over the stirring for a while.

Stirring is tiring stuff. Patrick takes over the stirring for a while.

Taste test the risotto to tell if it’s done cooking. It should be creamy but still a little bit al dente. This recipe took about 4 cups of vegetable broth and 45 minutes of stirring. At this point, we added the cheese. The recipe calls for grated Parmesan – we decided to use a mix of Parmesan Stravecchio and Reggiano. I skipped adding the butter because I thought it was rich enough.

Finally the stirring is done!

Finally, the stirring is done!

I was concerned my risotto looked a bit drab but luckily Kari was there to suggest that I sprinkle parsley on top to color it up. It worked beautifully :)

Wild mushroom risotto with parsley sprinkled on top

Wild mushroom risotto with parsley sprinkled on top

I served the risotto with a giant vegetable salad. It was a nice light accompaniment to the rich risotto and made us feel slightly healthier :)

wild mushroom risotto served with salad

Wild mushroom risotto served with salad

And of course the most important part of any meal is having good friends to share it with! Thanks to all my friends who came over and helped me cook this delicious wild mushroom feast!

Gavin, Patrick, Meera, and Kari helping me eat the risotto

Gavin, Patrick, Meera, and Kari helping me eat the risotto

Bon appétit!

Me showing off my wild mushroom risotto and my awesome mushroom apron

Me showing off my wild mushroom risotto and my awesome mushroom apron


Ingredient list (to make 5 generous servings):

  • 4 shallots
  • 3 garlic cloves
  • 0.5 cup parsley
  • 1 celery stalk
  • salt and pepper to taste
  • 4 cups vegetable or chicken stock
  • 1.5 cups skim or whole milk
  • 3/8 cup heavy cream
  • 1.5 cups arborio rice
  • 1-2 cups grated cheese of your choice (Parmesan-like)

Fattoush, watermelon salad, and shakshuka Middle Eastern feast

As you know Thursday night I decided to go all out and make a fabulous Middle Eastern feast with Stav, the Israeli graduate student who has been visiting my lab at Berkeley. You’ve already read about the challah and the dessert that we made for the feast, but here I’m going to tell you about all the food that we made while we waited for the challah to rise and the malabi to set.

Middle Eastern feast

Middle Eastern feast of shakshuka, fattoush, and watermelon and feta salad

After finishing up work in the lab on Thursday I took Stav to the Berkeley Bowl to buy ingredients for our feast. This was Stav’s first trip to the Berkeley bowl, which was super exciting for me because you know how much I LOVE Berkeley Bowl. I especially love taking people there for the first time and watching them experience its greatness.  If you haven’t been there yet, hit me up and I will take you there. Trust me, you will not be disappointed! It is truly the greatest grocery store that I have ever been to, and no I am not in anyway being paid to say that. Berkeley Bowl has so much amazing produce and especially this time of year with all of the wonderful stone fruit and melons in season, I am easily distracted from my shopping list. Right when we walked in I saw watermelons on sale and I had to have them.  I had made this delightful watermelon and feta salad from Yotam Ottolenghi earlier this summer and felt inspired to make it again.

DSC02446

Na’ama’s fattoush and watermelon and feta salad for a perfect light and healthy meal that captures the flavors of summer super well!

If you are short on time and want to make something that is healthy, flavorful, satisfying, perfectly captures the flavors of summer, and involves no cooking whatsoever, make Ottolenghi’s fattoush and watermelon and feta salad. If you haven’t tried mixing sweet juicy watermelon with salty feta and fresh basil for this delicious savory salad, go out and make it right now while it is in season and you still have the chance. I promise you will not regret it!

Watermelon and feta salad with basil and olive oil

Watermelon and feta salad with basil and olive oil

The watermelon salad is so simple and easy you don’t even have to measure anything out. Just chop up a watermelon, tear up some basil, thinly slice some red onion, crumble up some feta, and add a dash of olive oil and mix it all together. I swear Ottolenghi is a flavor genius coming up with this stuff. Feta and watermelon is truly a winning combination but adding the basil and the red onion and olive oil is nothing short of magic. You may think I’m being hyperbolic here but really it is such a great fresh summery salad.

Claire enjoying some watermelon while I make the fattoush

Claire enjoying some watermelon while I make the fattoush

After getting side tracked with the unplanned but oh so delicious watermelon salad, I made my favorite fattoush salad from Ottolenghi’s Jerusalem which I’ve featured in a previous post.   This is another dish that I just can’t get enough of. The fattoush and watermelon salad went together really well and just screamed summer. Our plates were bursting with flavorful fresh herbs, juicy tomatoes and watermelon, and delicious pita with creamy buttermilk. Everything tasted so healthy and light but incredibly satisfying.

Chopped up carrots from my CSA box for the shakshuka

Chopped up carrots from my CSA box for the shakshuka

After we made the fattoush and watermelon and feta salad, we got started on the shakshuka, which is an Israeli egg dish with a base of tomatoes and red peppers. Tom and I ate it every morning at the breakfast buffet at our hotel in Israel, but you can also eat it for lunch or dinner. I was intimidated at first to make shakshuka because it sounds so fancy and exotic, but Stav made it seem simple and said that you can pretty much throw any vegetable that you have wilting in your fridge into it. It is the Israeli version of everything but the kitchen sink! stew. Traditional shakshuka starts with a base of tomatoes and red peppers, but you can get creative with it from there. We chopped up onions and garlic sauteed them in oil until soft. We cleaned and chopped up 2 red peppers and a small red chile pepper and added those to the onions and garlic. I had some semi soft carrots in my fridge left over from my CSA basket from the week before so we chopped up those and added them in.  I had a can of whole peeeled tomatoes left over from a soup I had made over the weekend, so we cut up those along with 3 fresh tomatoes and added those to the pan. We set the heat on high and let the vegetables cook for 10-15 minutes.

Here's what it looks like to make a hole in the vegetable sauce and plant a whole egg in it

Here’s what it looks like to make a hole in the vegetable sauce and plant a whole egg in it

Once the vegetables were cooked, we added a small can of tomato paste, some cumin, paprika, and some red zhoug which is a spice mixture based on chiles and coriander and garlic that I bought in Israel. You can add any sort of spicy spice at this point- I happened to have zhoug which we added or you could add harissa or if you just have chile flakes that would work too. Let this simmer for another 5-10 minutes and add some salt and pepper. Once the sauce it cooked, make little holes with a spoon and break a whole egg in it. Then put the heat on low and cover and let cook for 10 minutes.

Shakshuka with the eggs cooking

Shakshuka with a tomato, red pepper, chile pepper, and carrot base and eggs simmering

Shakshuka goes great with pita or challah and can also be accompanied by an Israeli cheese called labneh or plain Greek yogurt. It was spicy and savory and the eggs came out perfect. Claire, another one of my graduate student friends, who I went on this awesome trip to the redwoods with, came over to join us for our feast after spending hours washing redwood roots in the lab. The three of us were practically shrieking with delight while eating the fantastic fresh tasting fattoush and watermelon salads which went really well with the shakshuka. The challah that we had baked was delicious dipped into the shakshuka. All in all, it was a successful fun filled evening filled with delicious food and wonderful fungi loving ladies.

Claire looking super stoked to be eating the shakshuka

Claire looking super stoked to be eating the shakshuka

DSC02408

Fattoush, watermelon salad, and shakshuka Middle Eastern feast

Chard cakes with sorrel sauce

These chard cakes are the perfect vaguely healthy yet super decadent summer appetizer or side dish.  They are seriously so good is difficult to describe. It’s this odd sensation of something super healthy and good for you like chard, and then made a little bit sinful by deep frying it, but then it’s covered in this really fresh and light tasting sorrel sauce.  The recipe for the chard cakes is on p. 149 of Yotam Ottolenghi’s Plenty and is also featured online here.

This is how much I love swiss chard

This is how much I love swiss chard

I don’t think I’d ever cooked with swiss chard before starting this blog, but now I’ve cooked at least 4 recipes featuring it. It is just so good the way that Yotam Ottolenghi suggests making it, and it is especially well complemented by Greek yogurt, which I think has been a key ingredient in every swiss chard recipe I’ve made so far (I especially really loved the swiss chard with tahini, yogurt, and buttered pine nuts, featured here).

Here I am contending with my mountain of swiss chard

Here I am contending with my mountain of swiss chard

Unfortunately it’s summer and dry as a bone, so I don’t have any mushrooms or a mushroom lesson for you today, but I made this recipe for the first time with my friend Rachel, who is a fellow microbial ecologist and has started a blog herself teaching people about microbes – so check it out if you want to learn some microbial ecology :)

Ingredients for the sorrel sauce - Sorrel, garlic, greek yogurt, dijon mustard

Ingredients for the sorrel sauce – sorrel, garlic, Greek yogurt, dijon mustard

As for the chard cakes, the first step is to make the sorrel sauce, which requires either a food processor or a blender. I used a food blender while making it at Rachel’s house and I used an immersion blender when I made it again at home. Personally I think the immersion blender was a bit easier but either works. Make sure to start boiling the water for blanching the Swiss chard while making the sauce because the sauce doesn’t take that long to make and you might get hungry while waiting for the water to boil!

Sorrel leaves

Sorrel leaves

I don’t think I’ve ever cooked with sorrel in my life before! It grows wild all over California and my other friend Rachael, who I took mushroom hunting with me in Point Reyes, was pointing out and collecting the wild sorrel growing along the trails. Next time I will have to collect it myself in the woods, but this time I bought it from the Berkeley bowl.  Blend the sorrel leaves, Greek yogurt, garlic clove, olive oil, and Dijon mustard until smooth.

Mixing together ingredients for the sorrel sauce

Mixing together ingredients for the sorrel sauce

It makes a beautiful bright green sauce that I will have to find other uses for this week since we had a lot of extra! I think it would be good on cous cous or steak and would probably go well with grilled porcinis :)

Sorrel sauce in the immersion blender

Sorrel sauce in the immersion blender

I felt like I would totally fit in with all of the Berkeley and Oakland hipsters when Rachel gave me a mason jar to store the sorrel sauce in:

sorrelsauceinmasonjar

Sorrel sauce

Isn’t it beautifully bright green?

Sorrel sauce in mason jar

Sorrel sauce in mason jar

After the sauce is made the next step is to blanch the swiss chard. While the swiss chard is blanching, sautee pine nuts in oil. This is another repetitive theme in the Ottolenghi books and it is delicious! Pine nuts add such a nice decadent crunch to all of these dishes and they are so good toasted!

Blanched swiss chard with toasted pine nuts

Blanched swiss chard with toasted pine nuts

Next add the egg, bread crumbs, salt, pepper, and cheese. I had no idea where to find kashkaval cheese but a quick google for substitutions on my iphone while at the grocery store found me mozzarella. Rachel, who has made the recipe before and said she went out of her way to find kashkaval cheese at a specialty cheese shop, said it tasted way better with mozzarella. The mozzarella was creamy and stringy which held together the cakes very well. Then came the fun part – mixing everything together and molding the cakes with my hands! While mixing the cakes we started heating up canola oil in a pan.

Adding the mozzarella cheese

Adding the mozzarella cheese

Mixing up the chard cakes

Mixing up the chard cakes

Once the oil was hot we fried the cakes in the oil for 2-3 minutes on each side. This was pretty much my first time frying anything!

swiss chard cakes frying in oil

swiss chard cakes frying in oil

Don’t they look pretty when they start to brown?

Swiss chard cakes browning

Swiss chard cakes browning

Rachel didn’t have any paper towels but she did have leftover napkins from Halloween which we put to good use!

Chard cakes with lemon wedges and halloween napkins

Chard cakes with lemon wedges and halloween napkins

These cakes tasted super decadent and delicious. They were satisfying and surprisingly not that unhealthy tasting given they were fried in oil.

Chard cakes fried to perfection

Chard cakes fried to perfection

You have to make them yourself. Seriously, just go do it. You won’t regret it! Here is the ingredient list to help you out :)

Sorrel sauce:

  • 3 cups sorrel leaves, washed
  • 1/2 cup Greek yogurt
  • 1 garlic clove, crushed
  • 2 tbsp olive oil
  • 1/2 tsp Dijon mustard
  • salt

Cakes:

  • 1.25 lbs Swiss chard
  • 1/3 cup pine nuts
  • 1 tbsp olive oil
  • 4 oz kashkaval cheese, coarsely grated (I used mozzarella)
  • 1 egg
  • 6 tbsp dried white breadcrumbs
  • 1/4 tsp salt
  • black pepper
  • vegetable oil for frying

Barbecued maitake and mee goreng

Maitake frondosa, known to some as ‘hen of the woods’ is a saprotropic fungus that makes a living by eating decaying wood.   While that may not sound incredibly appetizing, this ecology makes them fairly easy to cultivate and to produce reliably for consumption. This is lucky for me since they are not native to California and I can’t easily forage for them!  Since they are not native California mushrooms, I had never cooked these beautiful and intriguing mushrooms before, and I did not quite know what to do with them. Luckily, Justin Reyes from Gourmet Mushrooms, Inc suggested a delicious marinade inspired by this youtube video from chef Louisa Safia of LucidFood, which turned out to be quite the crowd pleaser. It was so popular in fact, that my friends Meera and Judy asked me for the recipe immediately after the dinner, and Meera went home and tried it out the next day!

Maitake Frondosa

Maitake Frondosa or ‘hen of the woods’

The first step is to make the marinade the night before you want to cook the mushrooms and let them soak it up overnight in the fridge.  Unfortunately, I only realized this last minute and found myself mixing up the marinade at midnight the evening before I cooked these mushrooms, but hopefully you can be smarter and plan ahead – trust me, this marinade is worth it!

Marinated maitake

Marinated maitake

Here are the ingredients for the marinade:

  • 1 cup olive oil
  • 1/2 cup soy sauce
  • 2 scallions, green and white parts
  • 3 cloves garlic, crushed and peeled
  • 2 Tbsp honey
  • 2 Tbsp white wine
  • Salt and fresh ground pepper
  • 3 lbs Maitake Frondosa

Blend the olive oil, whole pieces of scallion whites, whole garlic cloves, honey, 2 Tbsp wine, salt and fresh ground black pepper in blender. My handy dandy immersion blender worked great for this :) Then you either need to find a giant zip lock bag or a bowl and pour the sauce over the mushrooms and let them soak it up in the fridge over night. Save half a cup of the marinade for the reduction sauce the next day. While this recipe suggest barbecuing the mushrooms or using a cast iron skillet, I unfortunately had neither so I just used a big pan to saute them up. Don’t worry -they still tasted great! Just make sure to leave them alone and let them cook for a really long time until they start to get brown and crispy. While they are cooking, you can make the reduction sauce by adding 3 Tbsp of white wine to the reserved 1/2 cup of marinade and reducing it to a simmer after you’ve brought it to a boil. When the mushrooms are nice and crispy you can spread the reduction sauce on them and it tastes so good!

Barbecued maitake

Barbequed maitake

I decided that this meaty mushroom  would make a great accompaniment to the vegetarian mee goreng from Plenty, which I featured in this post.  Mee goreng is a Malaysian street food that is super healthy and super simple, and takes only a few minutes to stir fry up after all the vegetables have been chopped and prepared.

Mee goreng

Mee goreng

Ottolenghi suggests serving the mee goreng with shredded lettuce, fried shallots, lemon wedges, and a Malaysian spicy chili sauce called sambal oelek. Fortunately I was able to find sambal oelek  at Berkeley bowl, but it looks like it is super easy to buy online!

Mee goreng with lettuce, lemon wedges, sambal oelek, and fried shallots

Mee goreng with lettuce, lemon wedges, Sambal oelek, and fried shallots

Here is my plate all loaded up with mee goreng:

DSC00866

Here is the mee goreng served as suggested with the shredded lettuce, lemon wedges, fried shallots, and sambal oelek on top:

DSC00871

It went really well with the maitake mushrooms and my friends Judy and Meera gratefully gobbled it up. They were both super fun to cook for and claimed that these dishes induced euphoria and it was hands down one of the best meals they’d eaten that year.  This meal was probably the easiest and simplest of my three Gourmet Mushrooms Inc. feasts. It was also probably the most delectable! Don’t you just love when that happens?

Mee goreng with bbqed maitake

Mee goreng with BBQed maitake