I’d been wanting to go back to Humboldt and Del Norte Counties ever since I visited them for the first time last year. MLK weekend gave the perfect opportunity to make the long drive north. Hiking through the majestic giant redwood forests made me feel like I took a giant leap back in time; I wouldn’t be surprised if a T-Rex came rambling around the next corner.
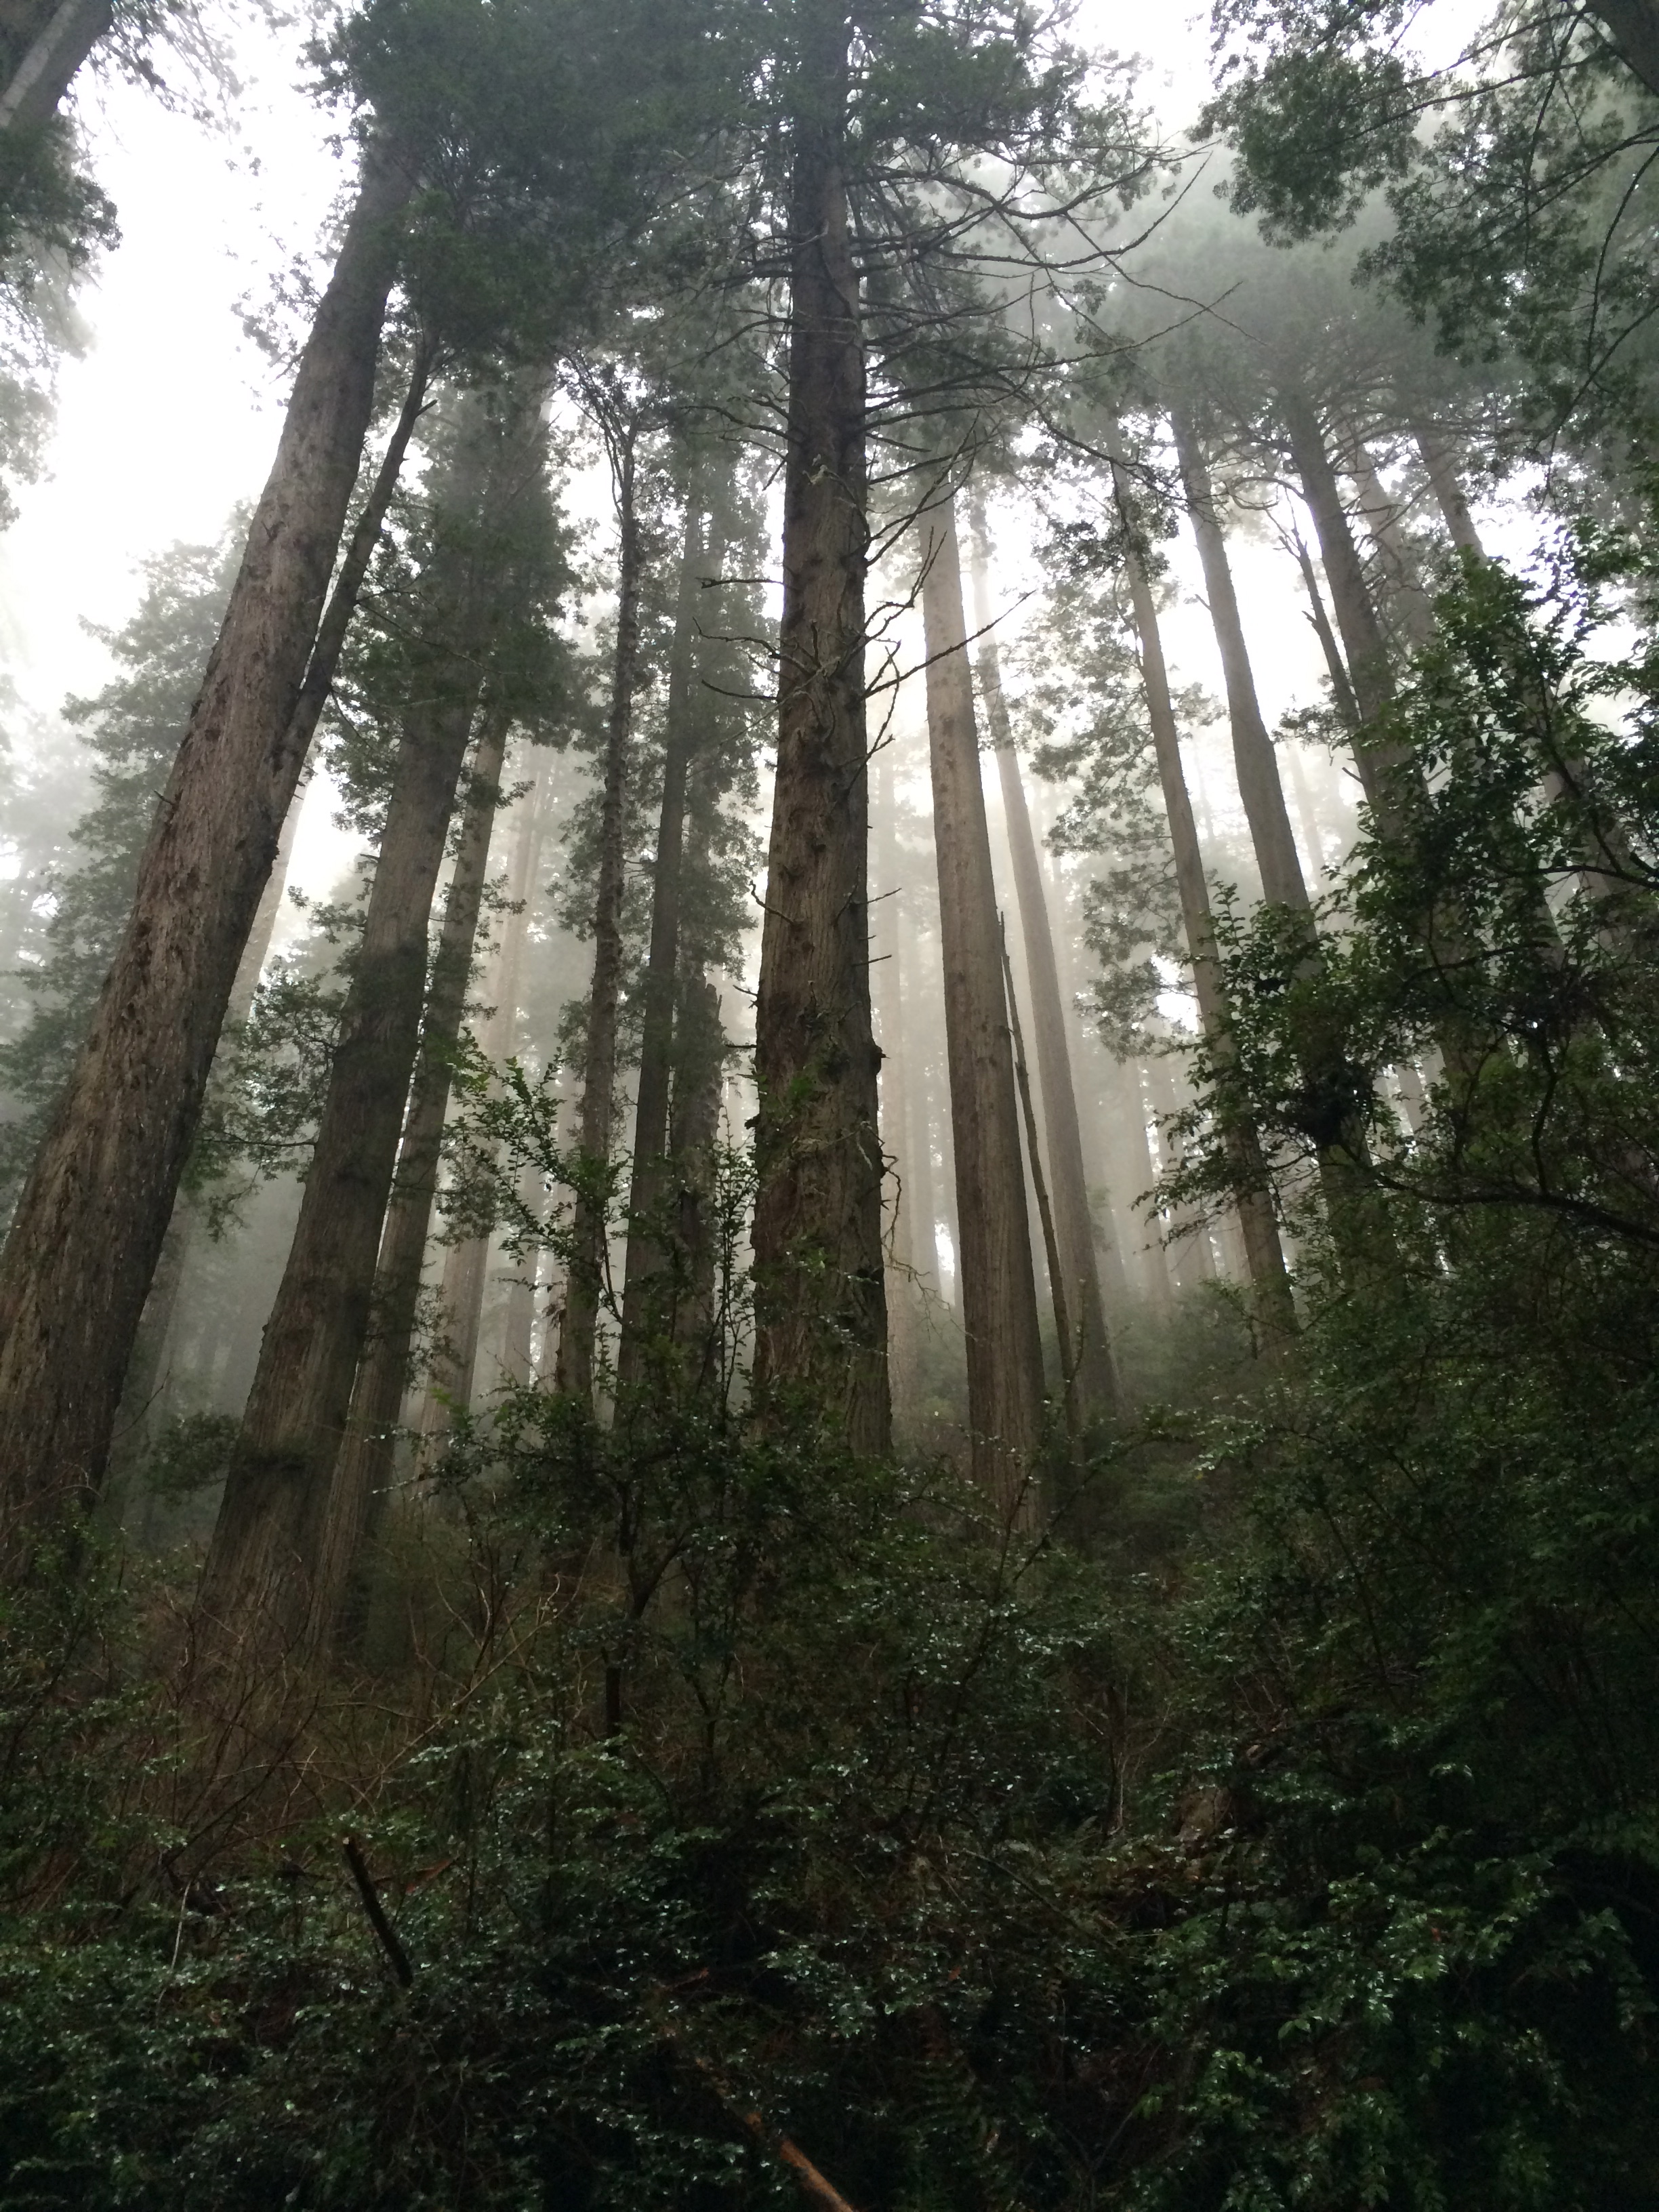
Majestic giant redwoods in Redwood National Park
Humboldt is truly spectacular. The towns of Eureka and Arcata are charming, friendly, and have fantastic food. Humboldt County gets an average of 55 inches of precipitation per year, which is nearly double the precipitation of Berkeley at 25.4 inches of rain per year. This means good things for mushrooms! People really appreciate foraged food up there, and I ate a delicious wild mushroom casserole at this cozy gem in Eureka, Brick and Fire Bistro. Usually when I mushroom hunt I just use the Berkeley Mycology baskets that I borrow from lab. But in Arcata they were selling beautiful mushroom baskets, and I finally got one my very own!
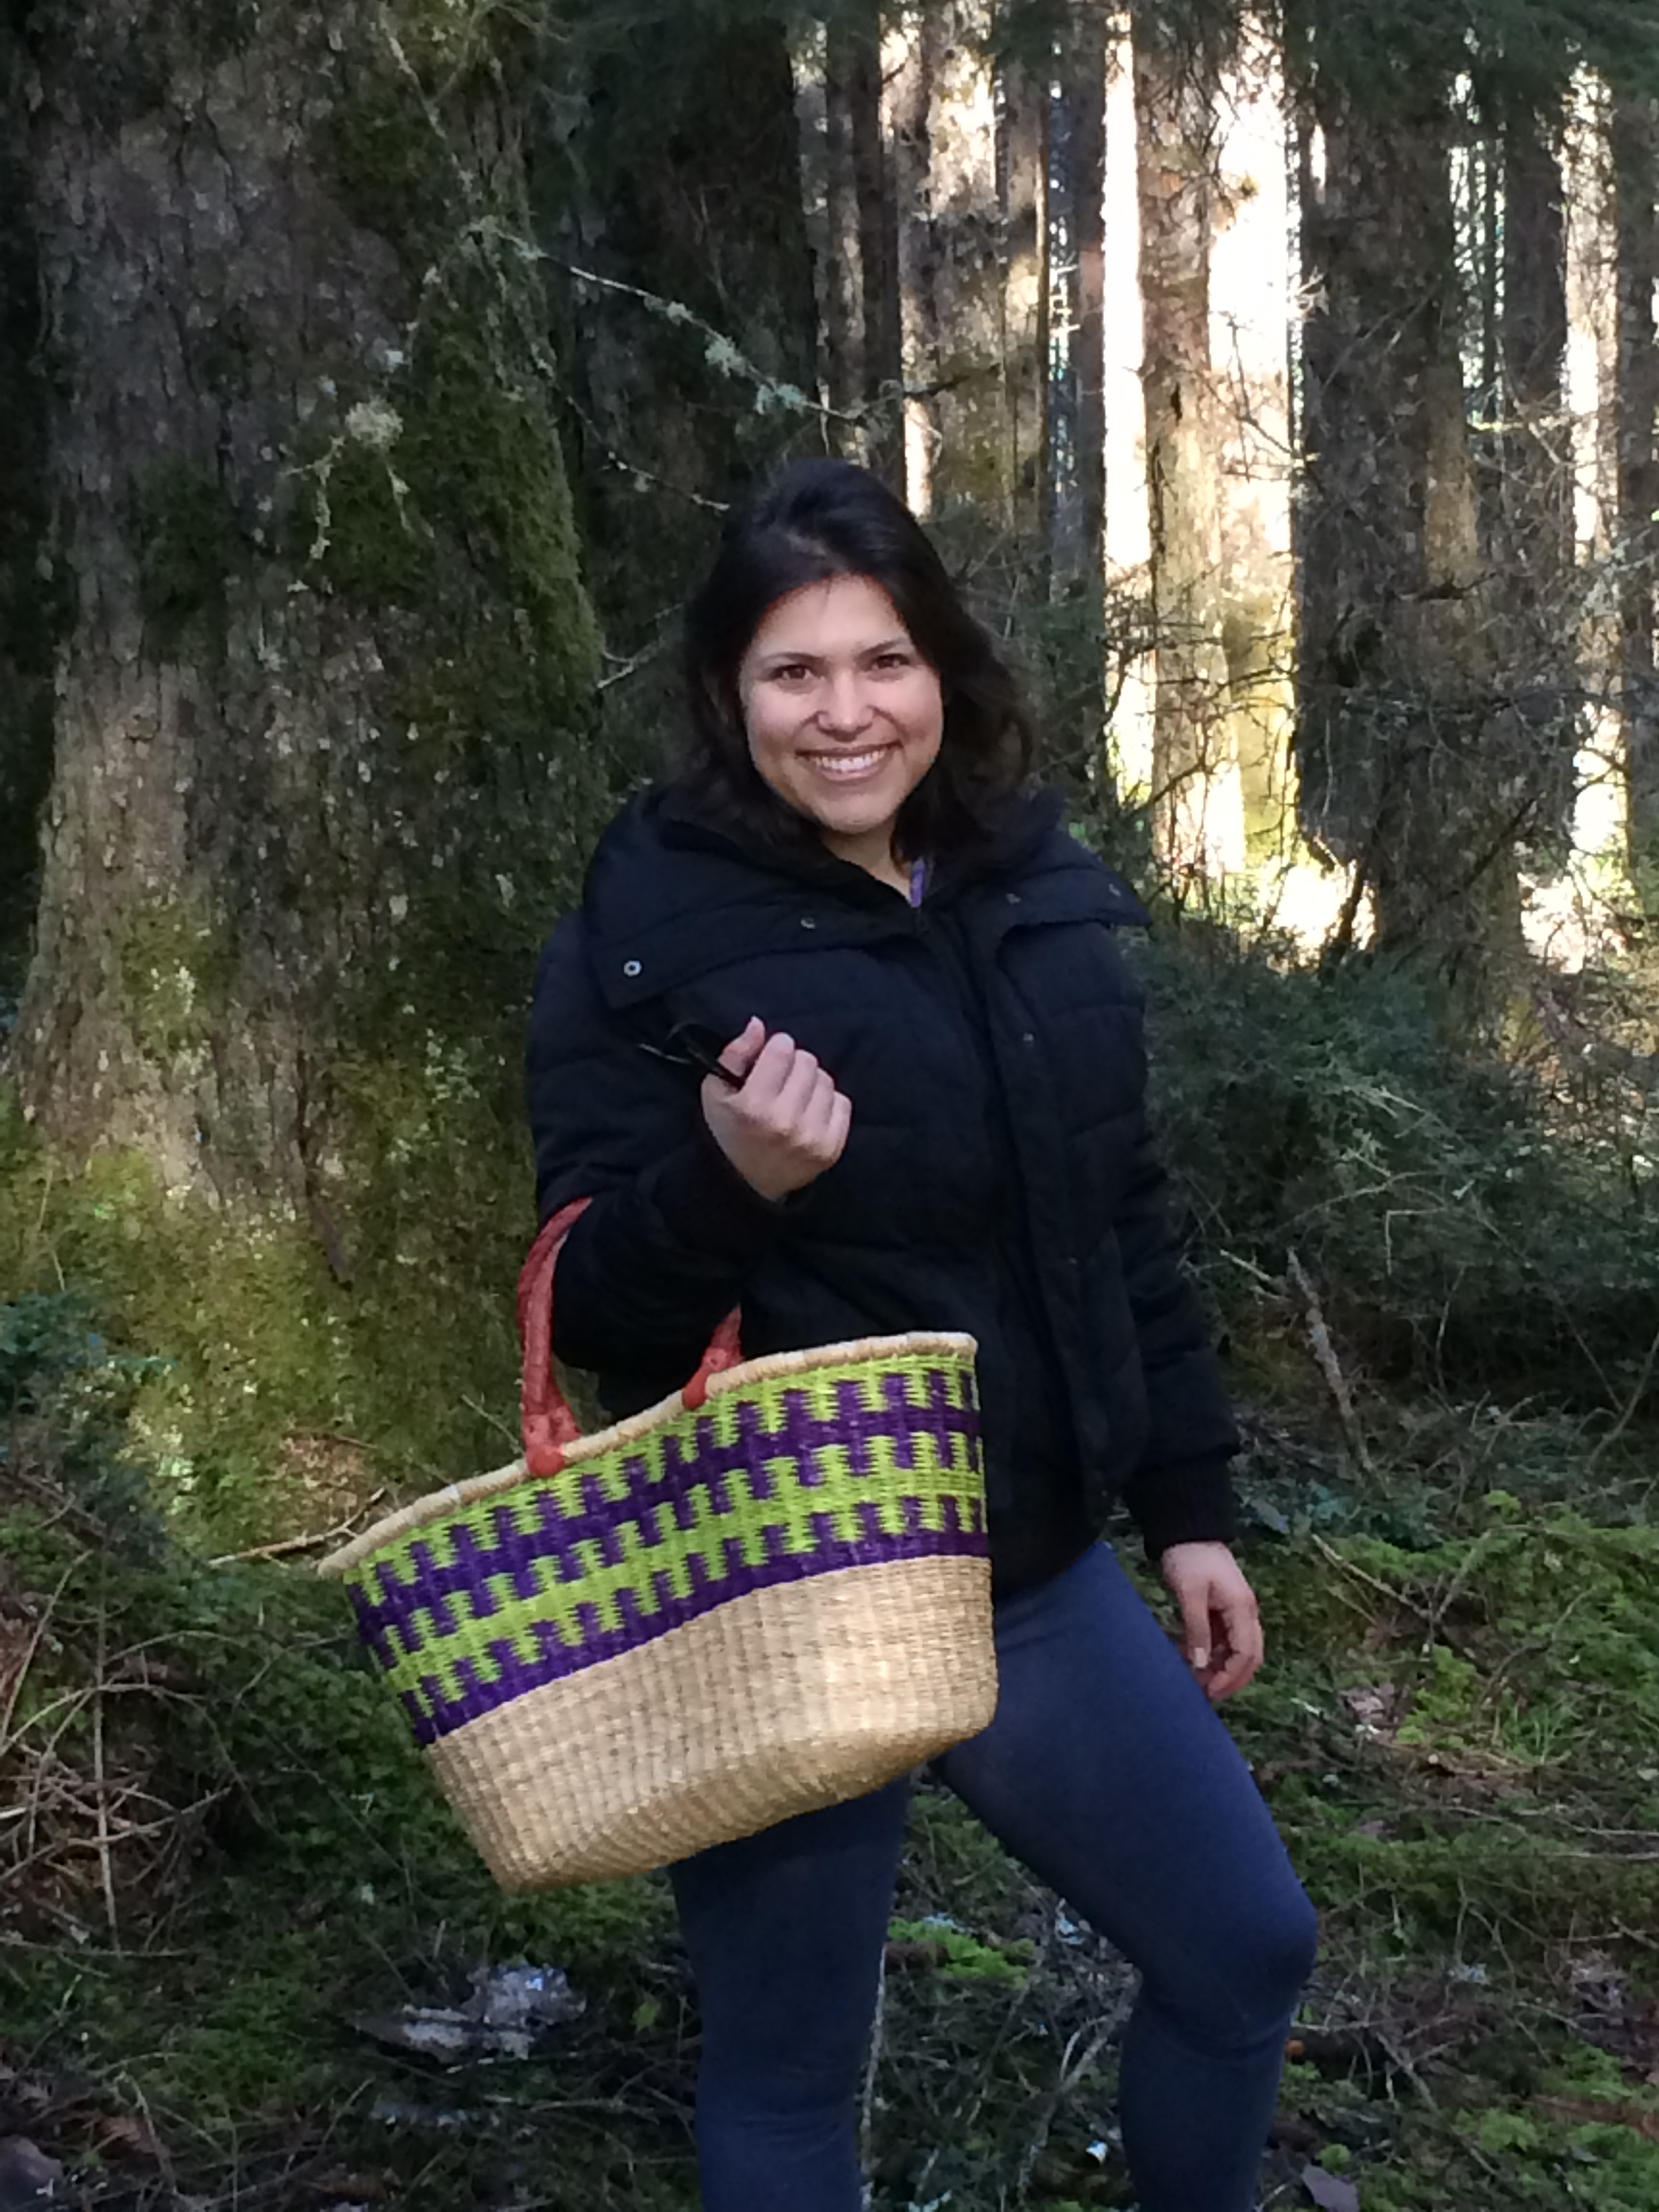
My very own mushroom basket!
I was lucky to get some insider tips on some legal places to mushroom hunt, and here we are foraging in one of those special spots. Isn’t it spectacular?
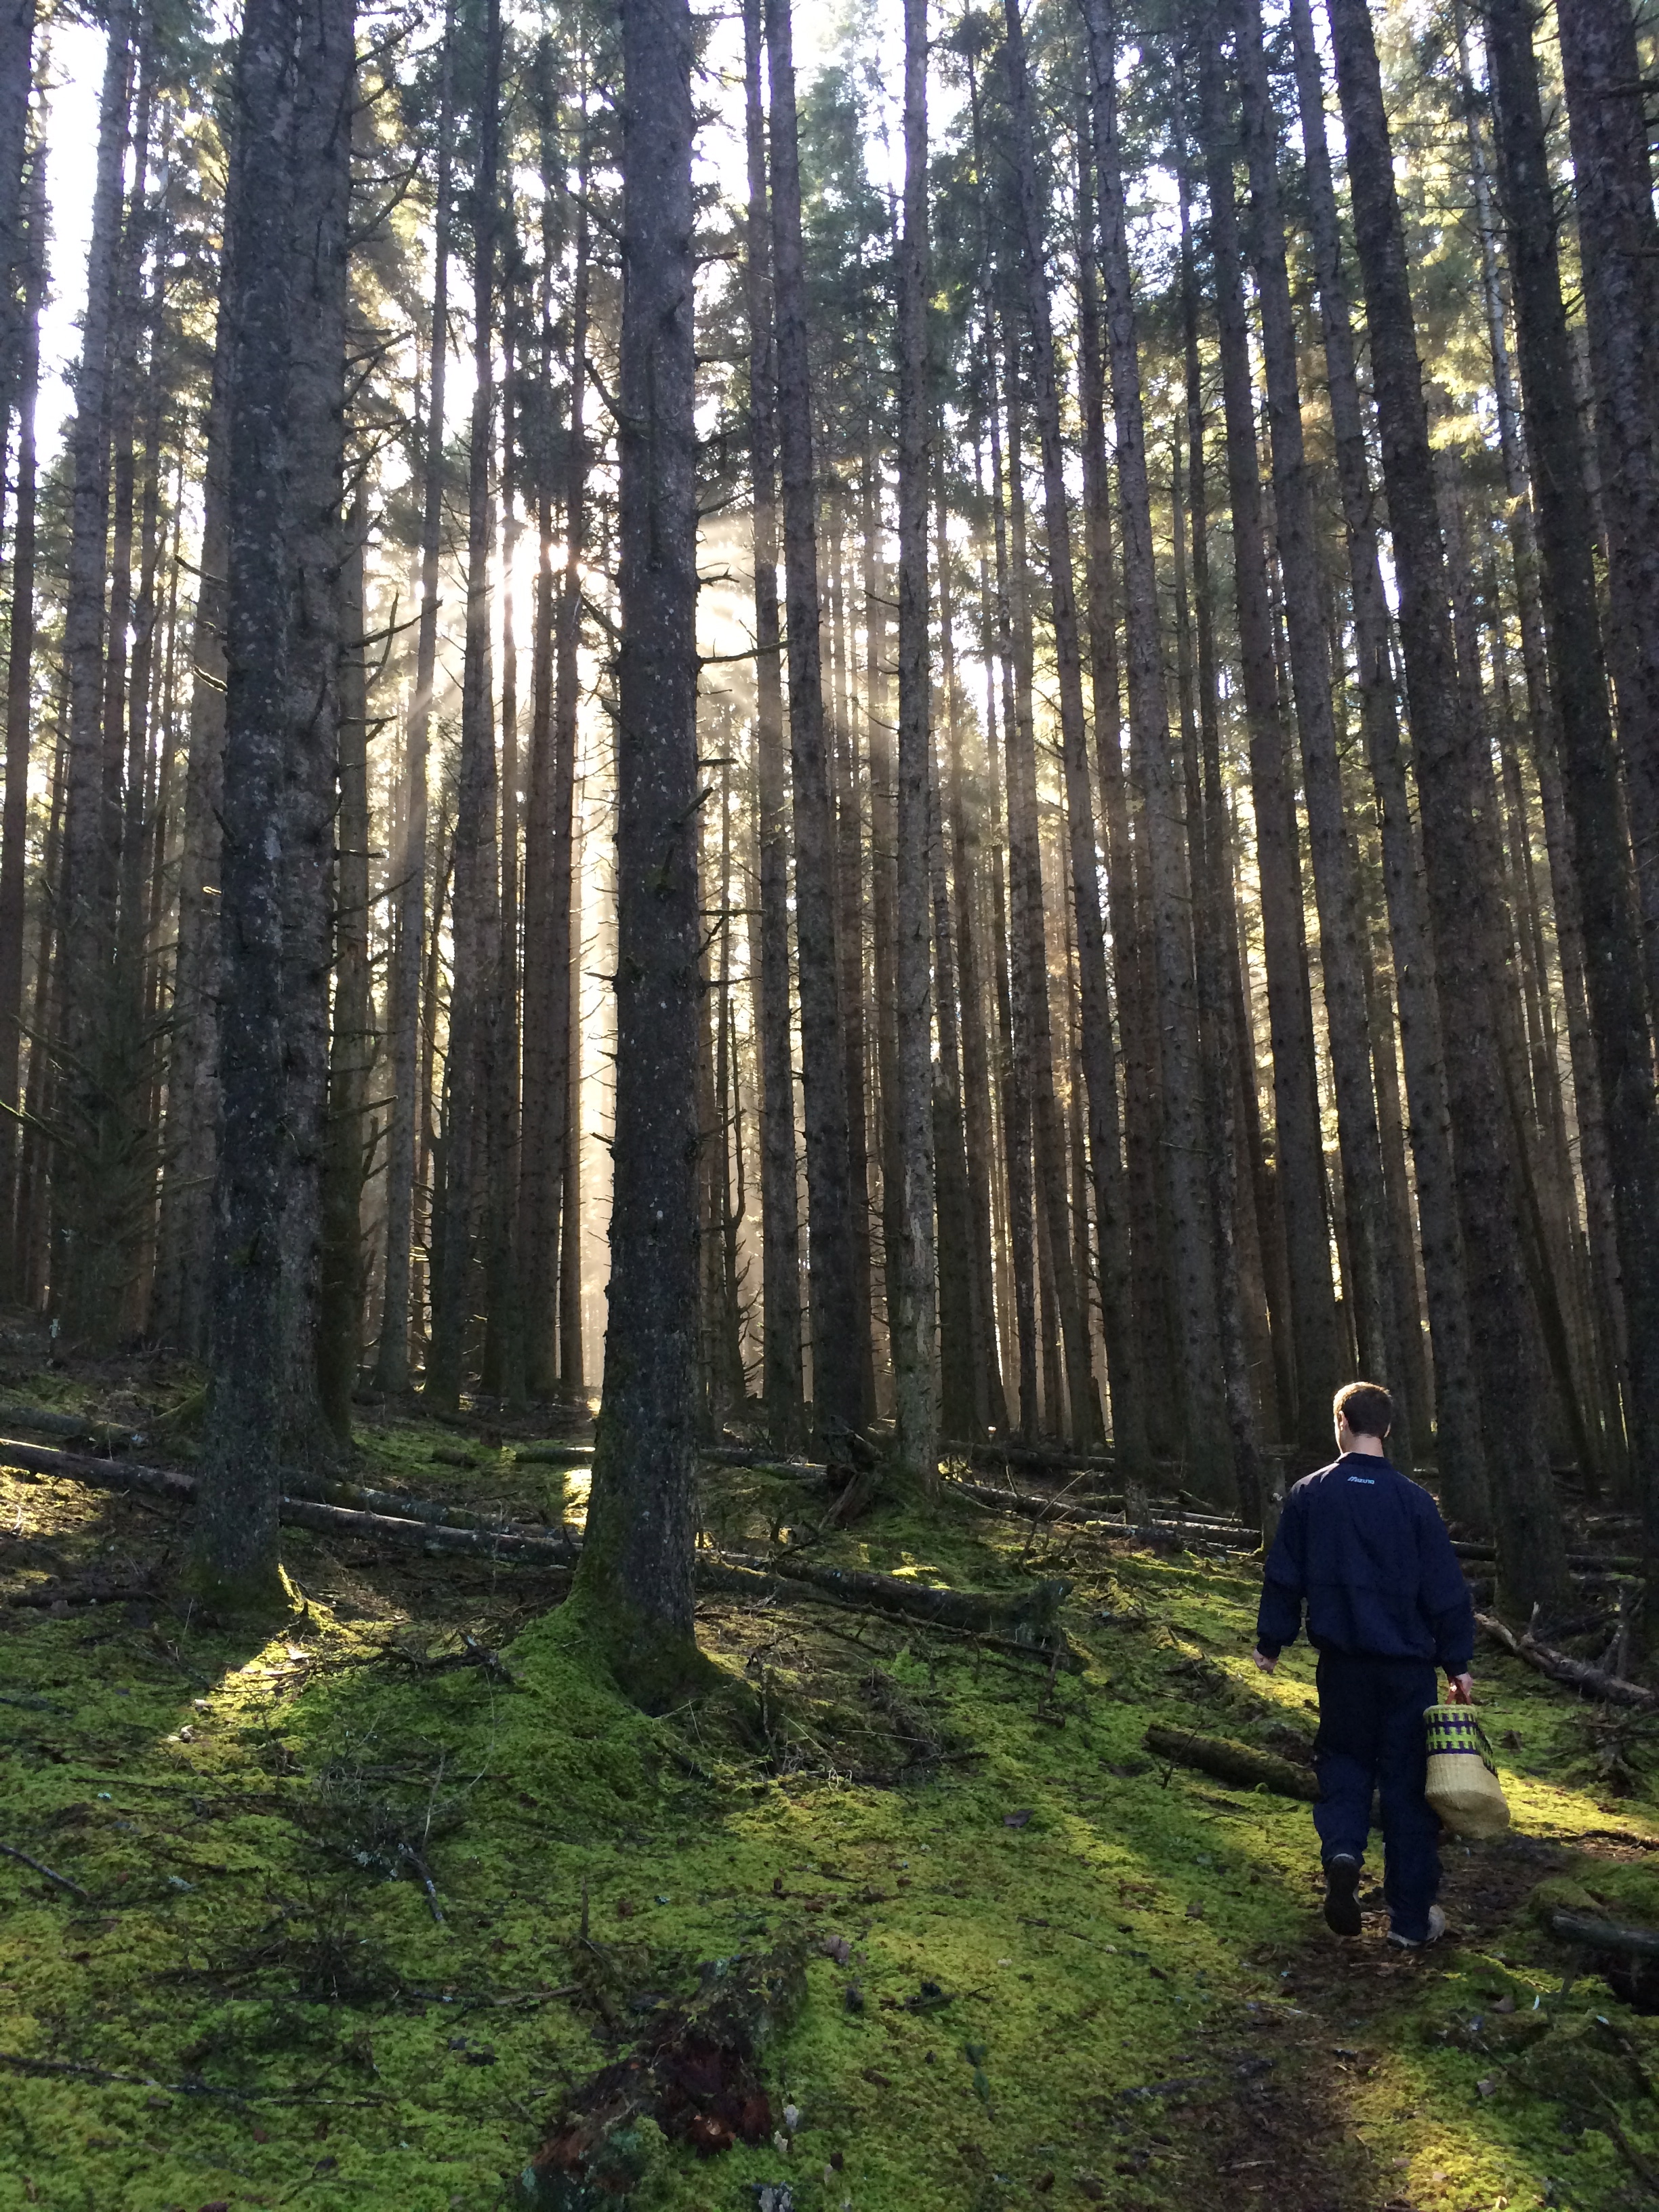
Taking a walk through ‘mushroom heaven’ in Humboldt
We found some some awesomely giant yellow foot chanterelles, which were at least double in size beyond what I’ve ever found before. Must be all that rain they get in Humboldt!

Giant yellow foot chanterelles
I also found some adorable hedgehog mushrooms, which if you’ve read my previous blog posts, you might remember are distinguished because they have teeth instead of gills.
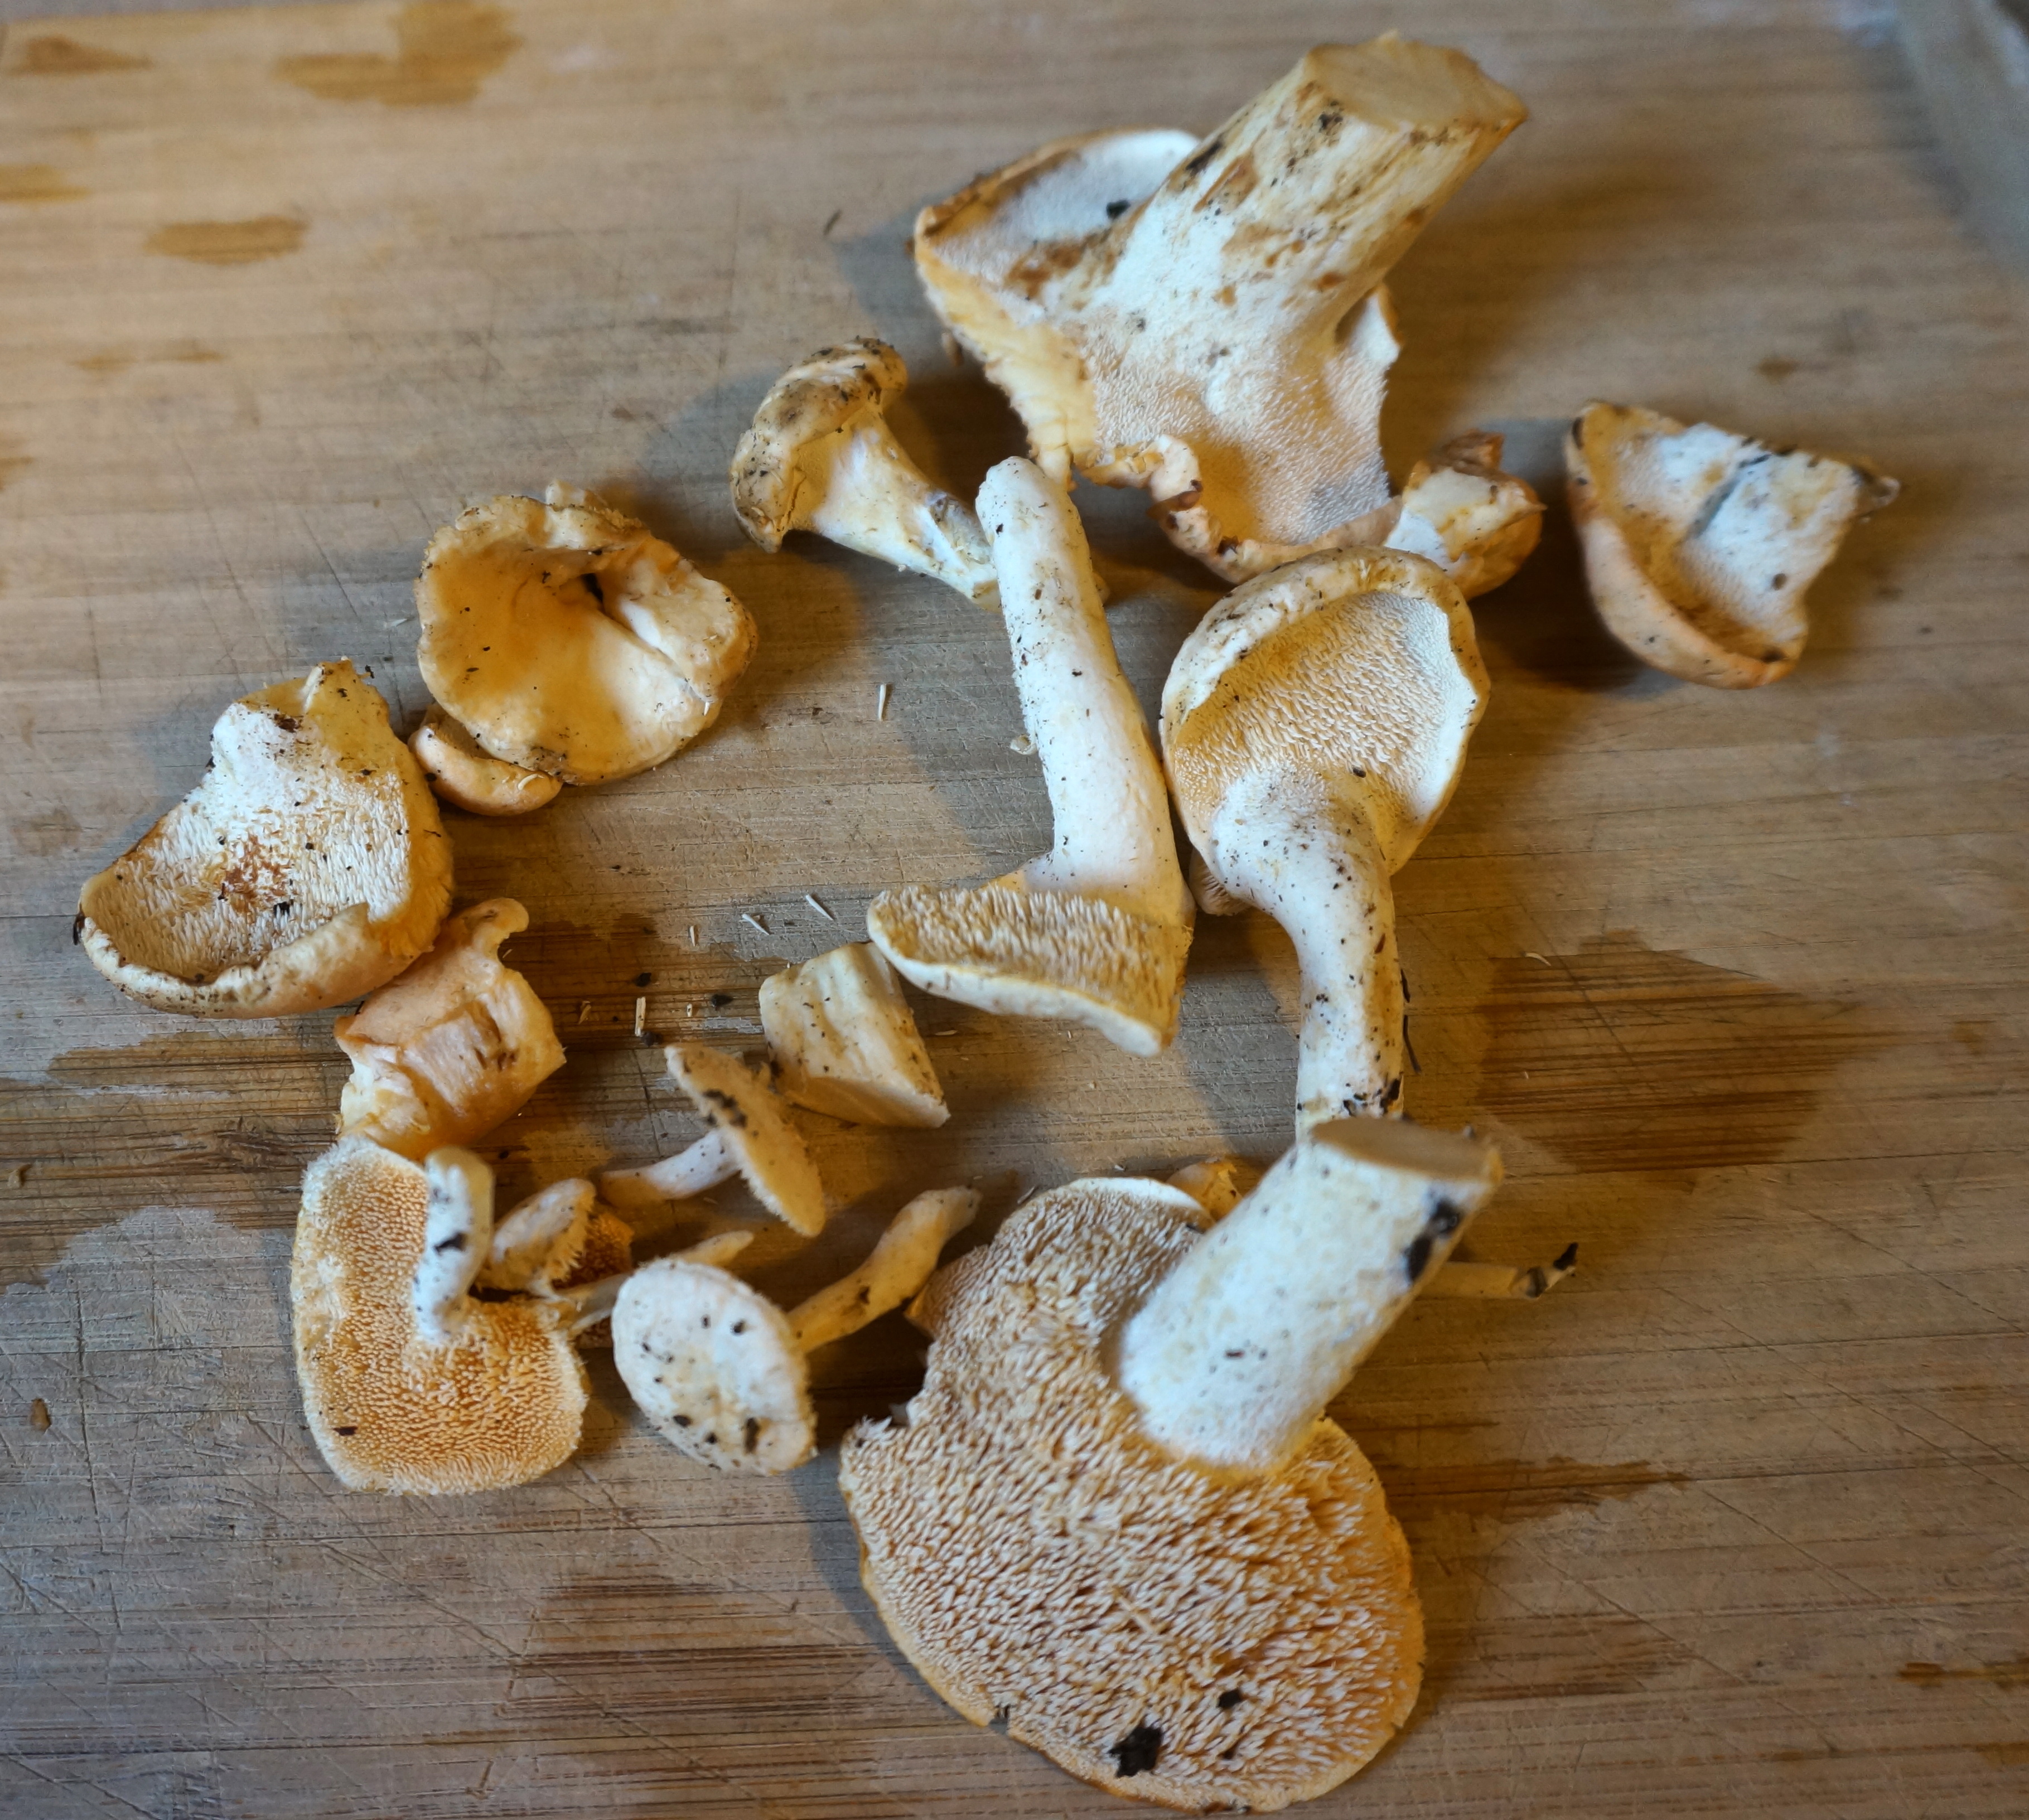
Hedgehog mushrooms have teeth!
Now what to cook with my gorgeous mushrooms? I’ve already made lasagna, polenta, frittata, risotto, and pizza featuring wild mushrooms. This time I wanted to make something simple and filling but that would highlight the delicious prized edible mushrooms. I always clean my mushrooms and start cooking them first before starting with the rest of the meal because it is important that they are cooked well, and of course I view them as the centerpiece of the dish :) This time I decided to try making a quick pesto pasta to serve as a bed for the mushrooms.
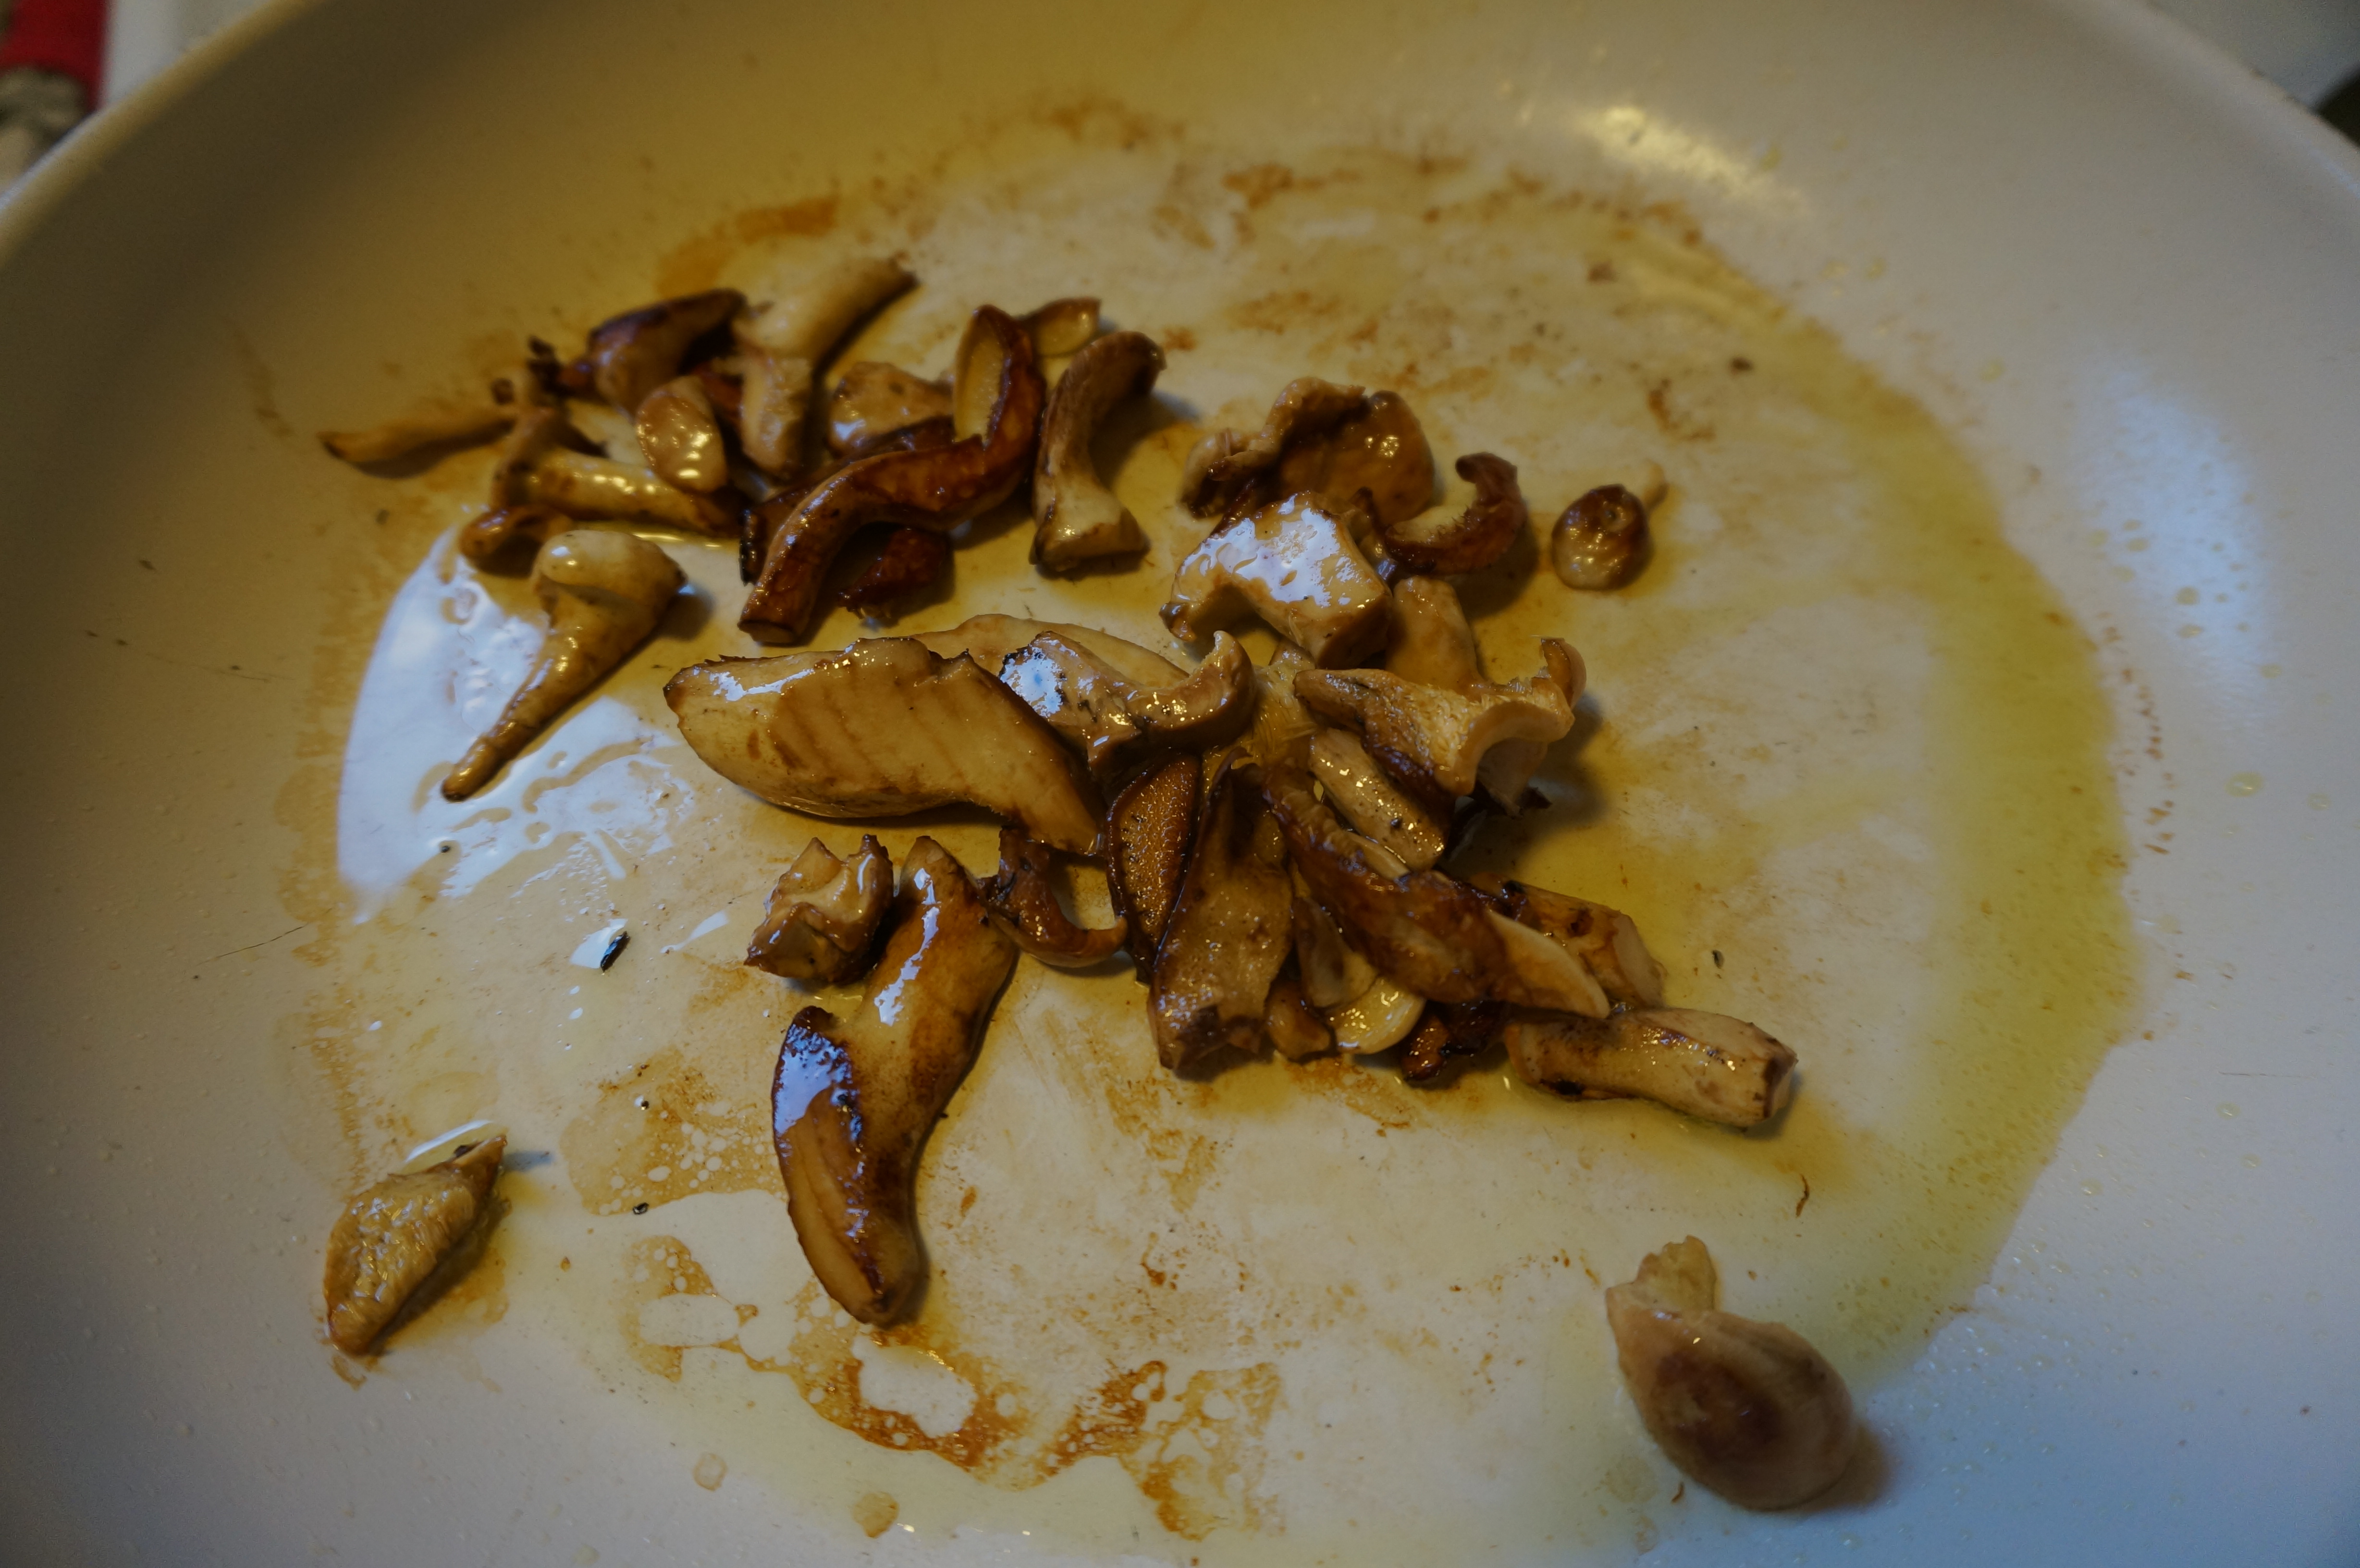
Browned hedgehog mushrooms.
The trick with cooking mushrooms is that it is really important to just leave them alone after you put them in the hot pan that has been coated with oil or butter. They need time to just hang out and do their thing. It takes a while for all of the excess water to boil off – it never ceases to amaze me how much mushrooms can shrink down! Then it takes a while for them to get that nice brown color and crispiness that makes them taste so good. So trust me when I tell you to relax and go do something else while the mushrooms are in the sauté pan, and let them get nice and brown before you start mixing them up with your spatula. At the very end you can add salt and then set them aside.
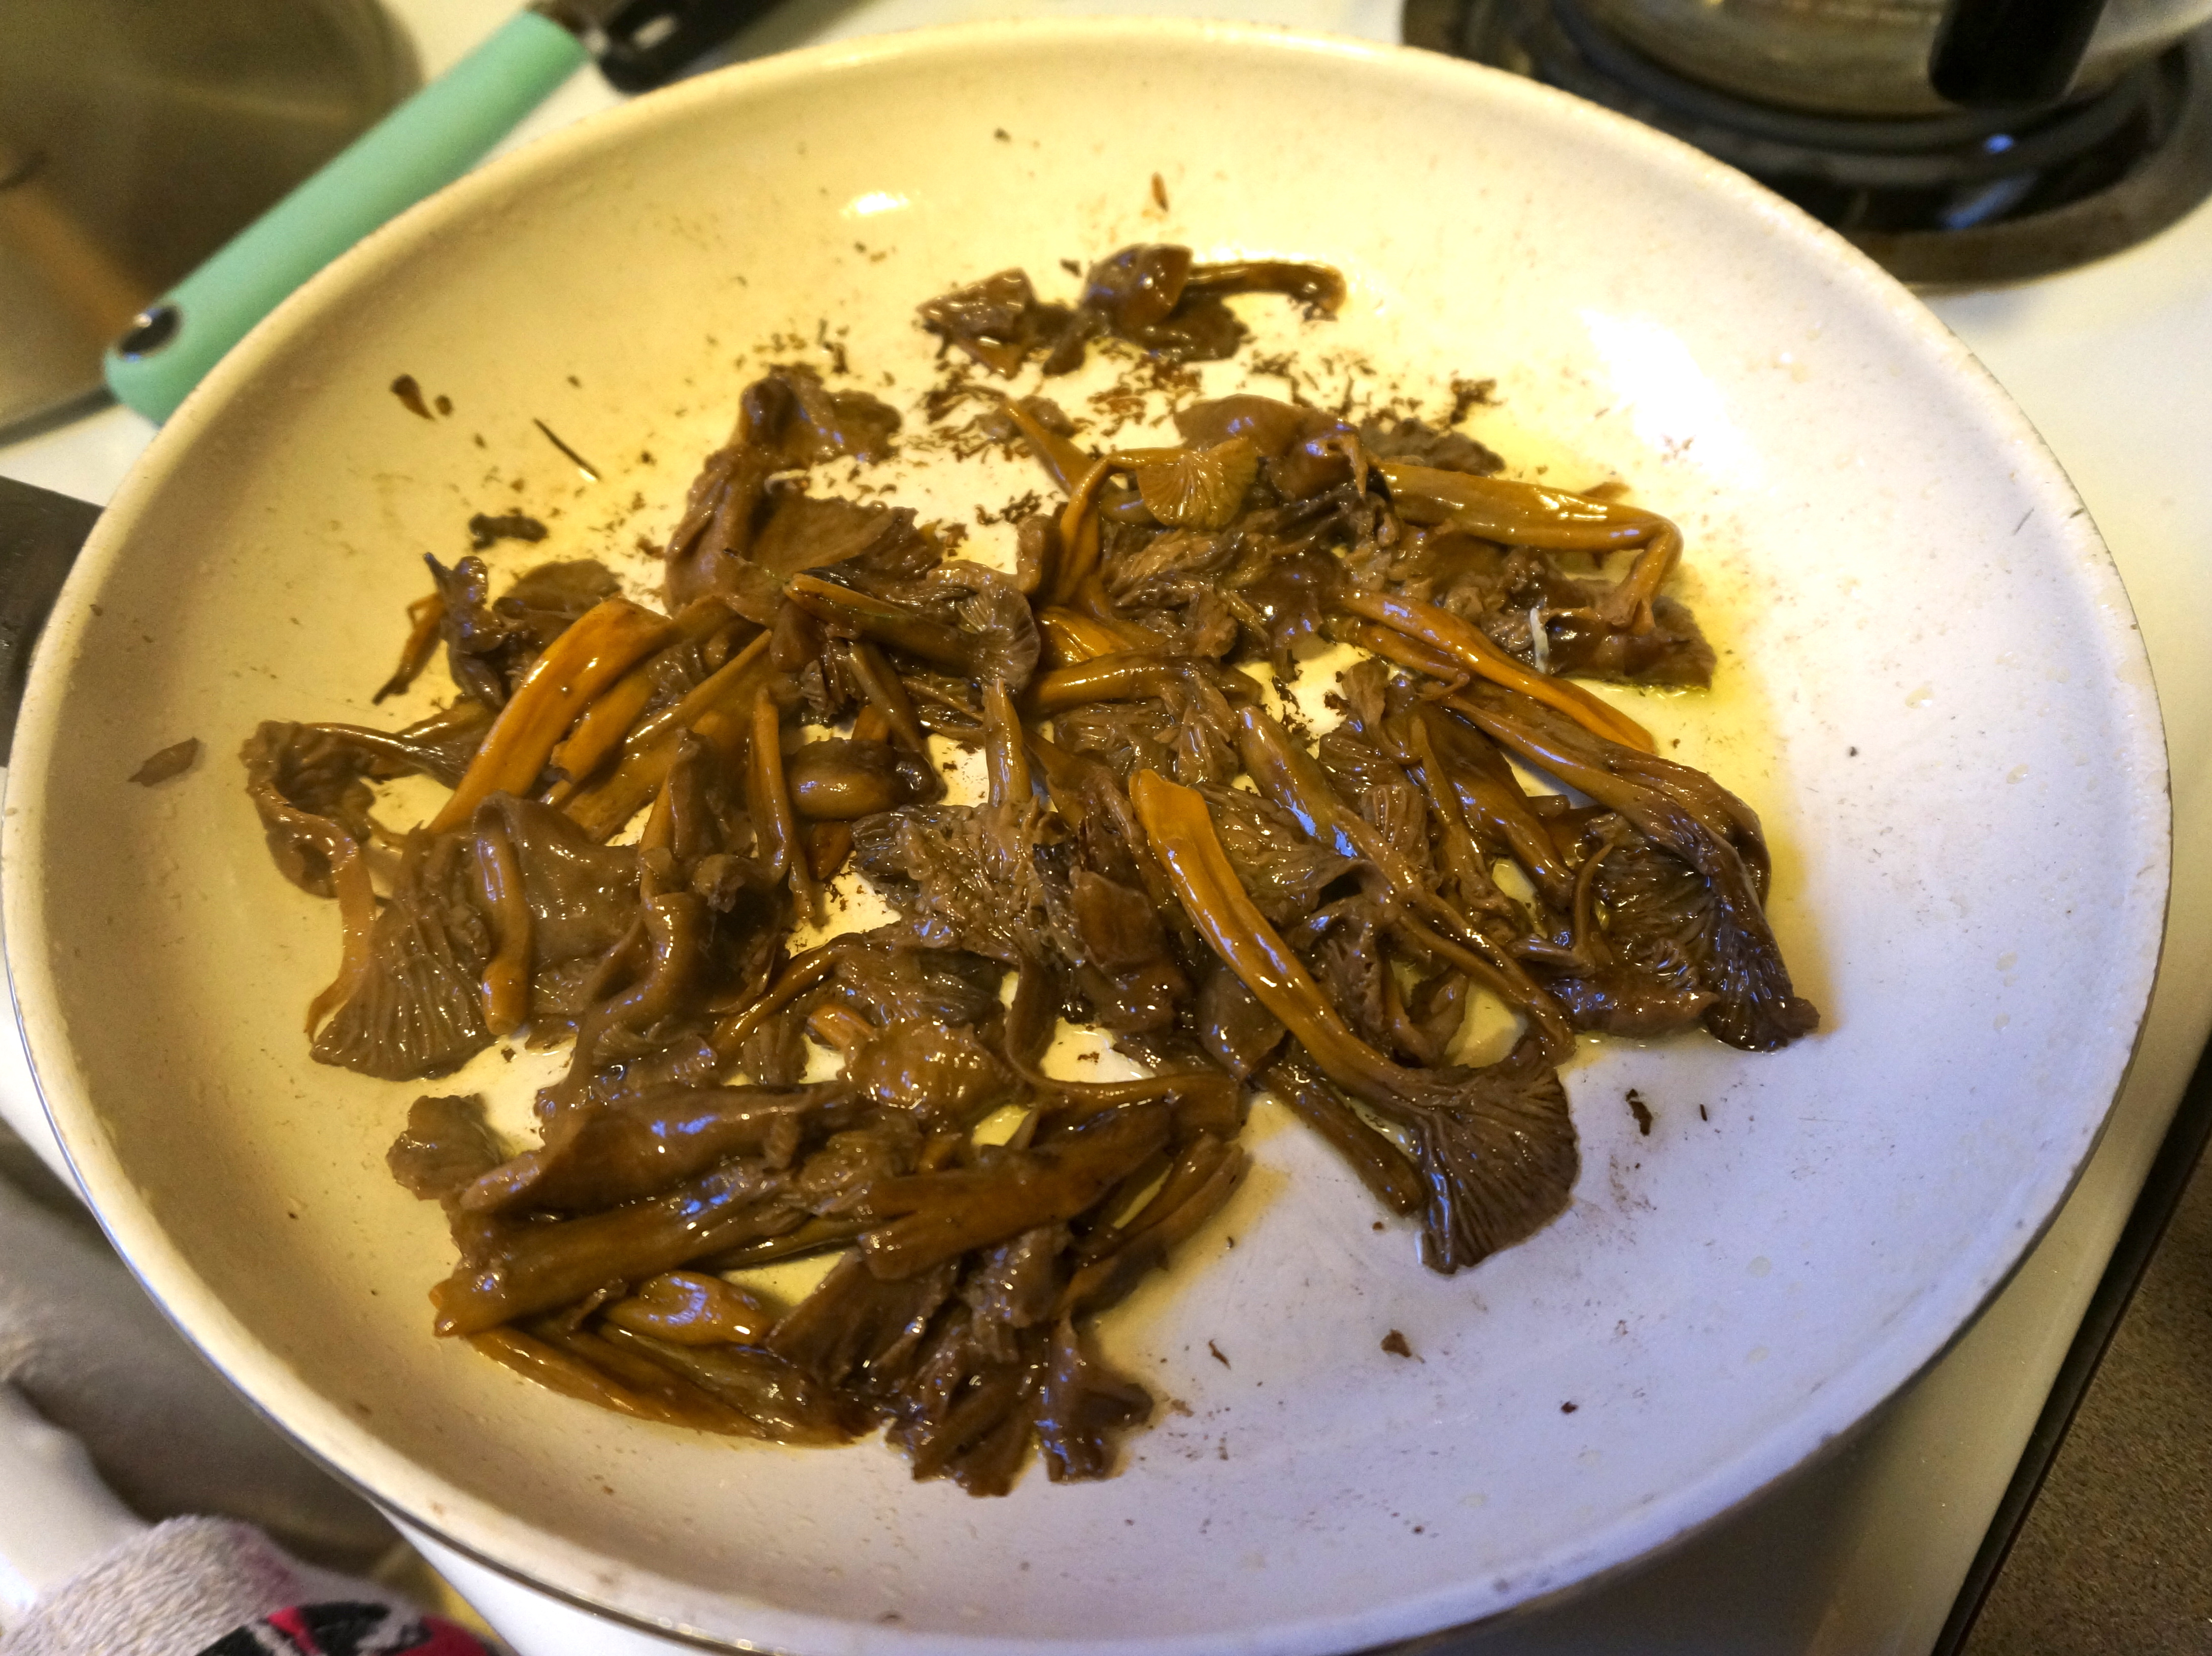
Yellow foot chanterelles
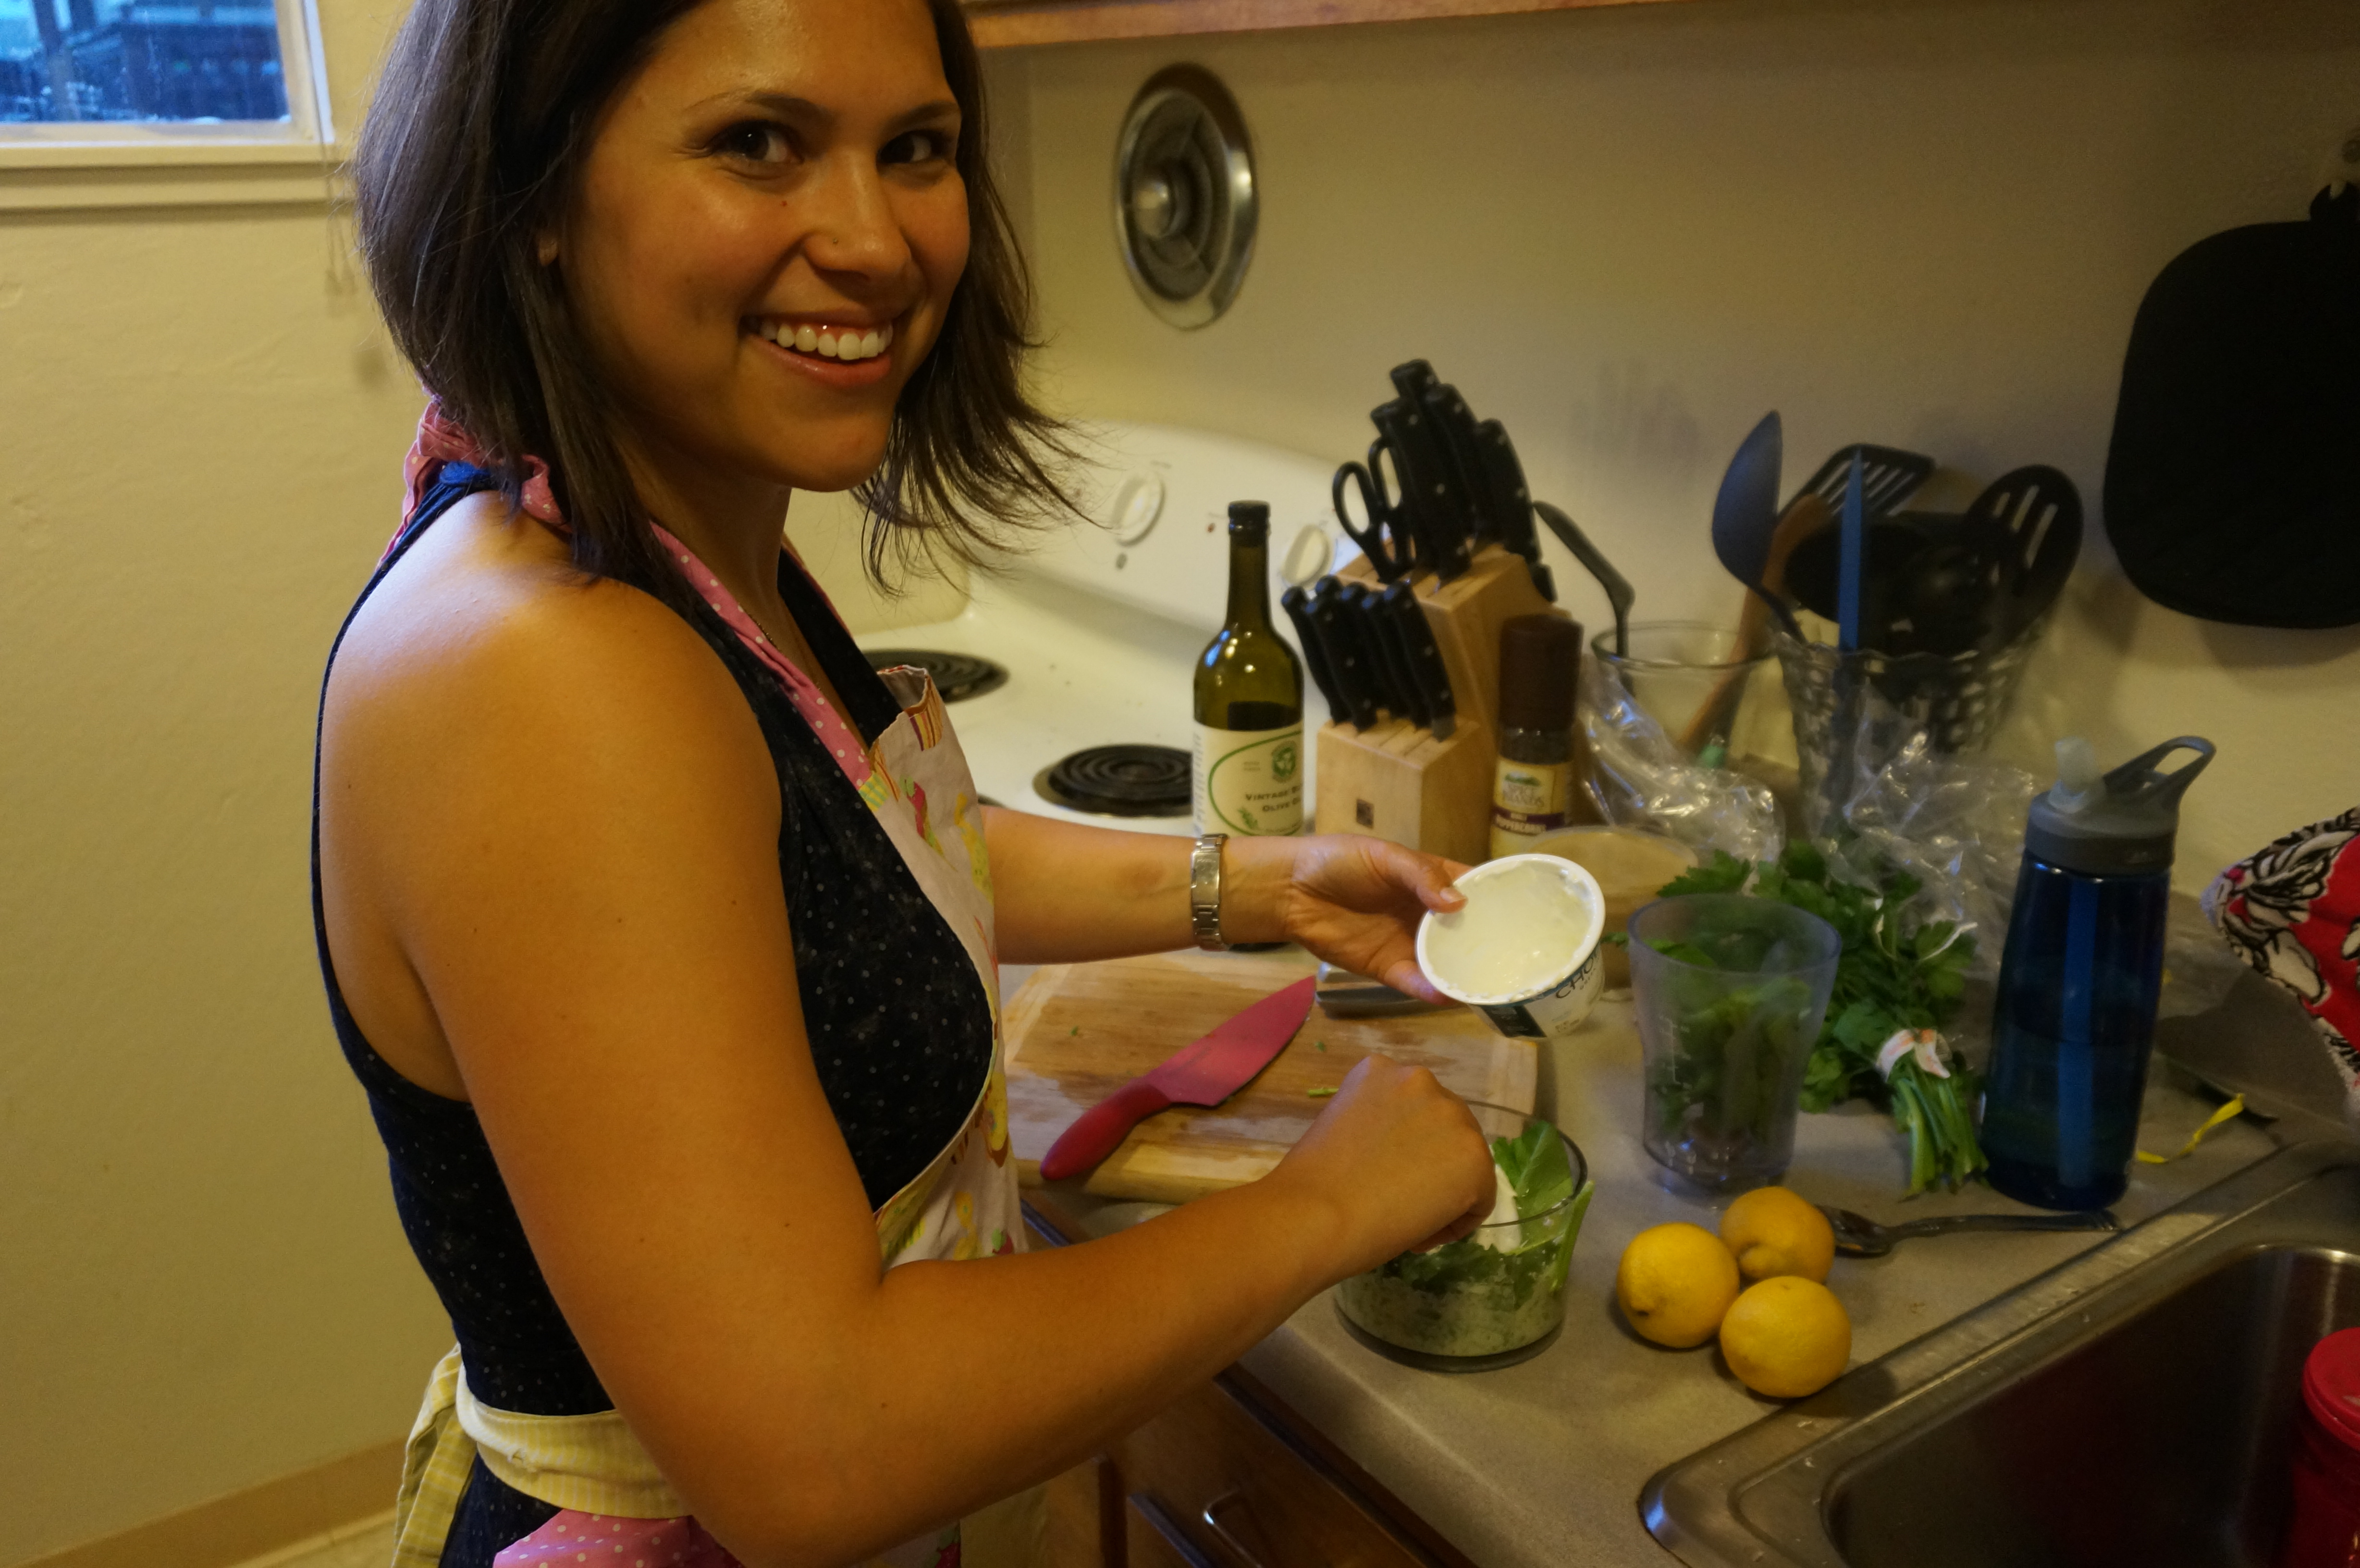
While the mushrooms were browning, I got started on the pesto. Having never made a pesto sauce before, I turned to the internet and found a great recipe here. Why have I never made pesto from scratch before? It is so easy! It is so much more vibrant and fresh tasting when you make it at home and the ingredients are very simple. It is also very easy to modify if you have a specific nut or cheese allergy. The recipe I used suggests using walnuts as an alternative to pine nuts, and I’ve also heard of people replacing the pine nuts with almonds.
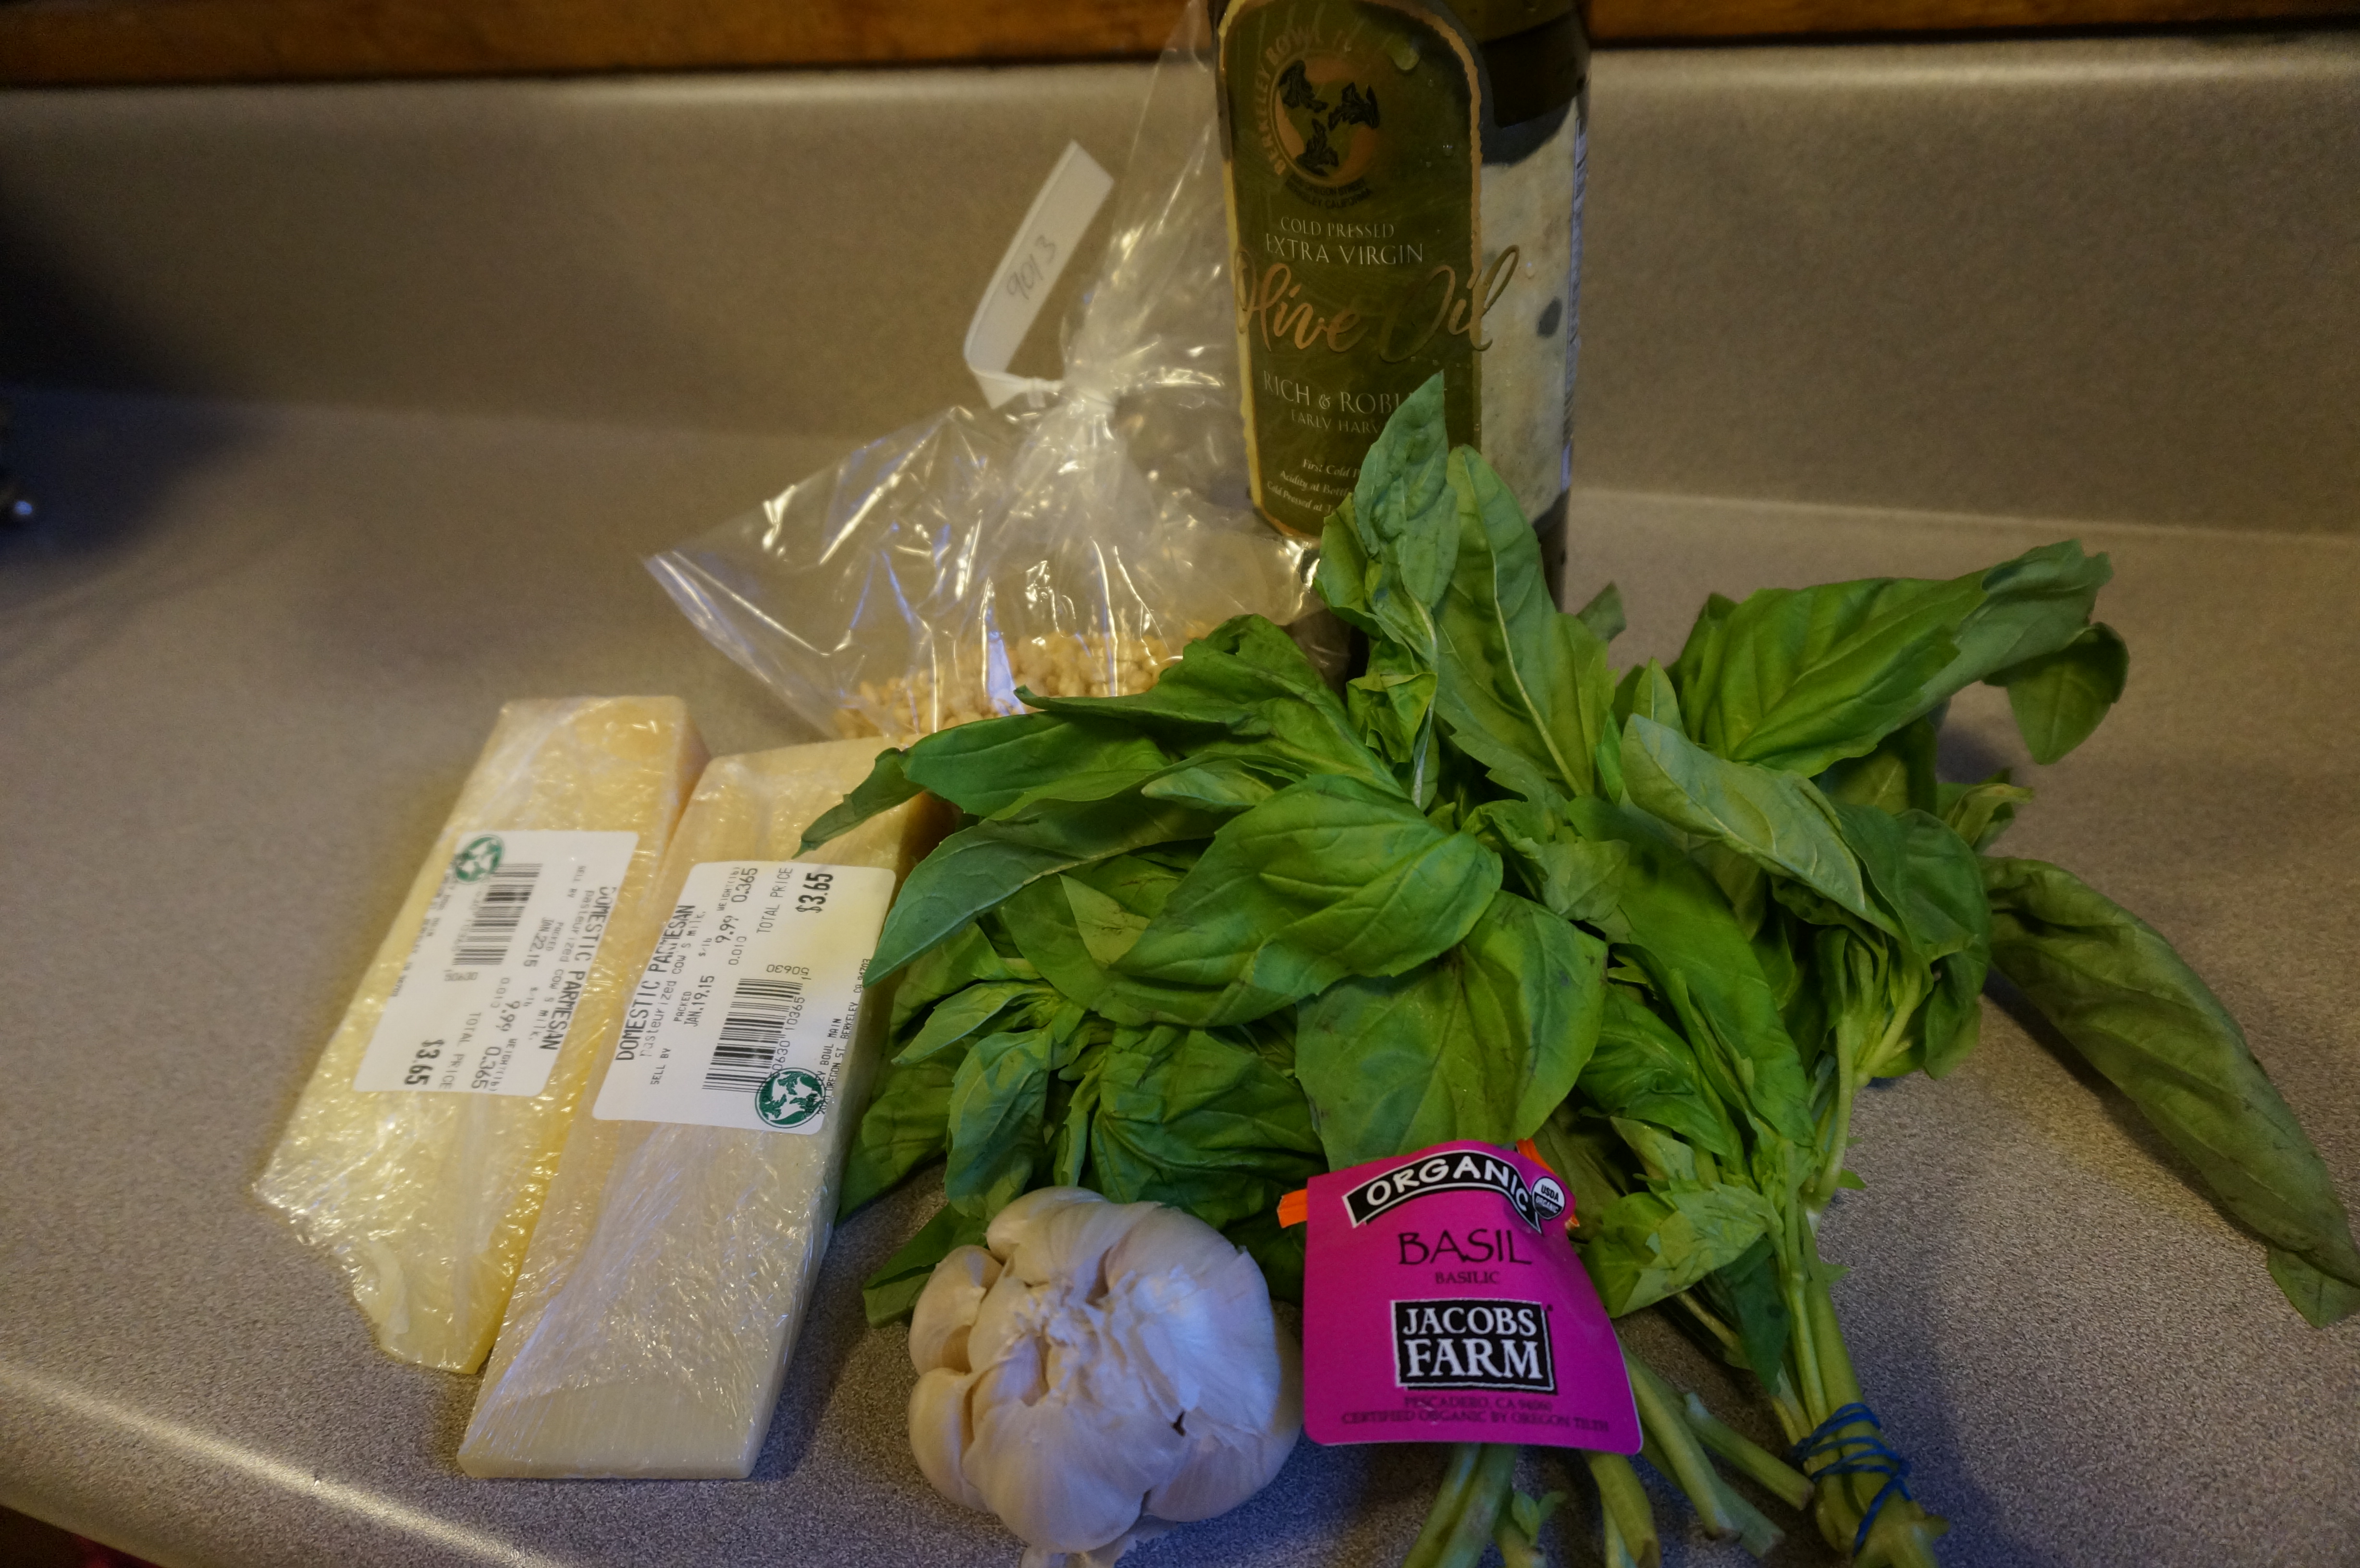
Ingredients for the pesto: olive oil, garlic, basil, pine nuts, parmesan cheese.
The ingredients for pesto are simple: olive oil, parmesan cheese, garlic, basil, and pine nuts. The first step is to wash the basil leaves and place them into a food processor with the pine nuts and pulse them a few times.
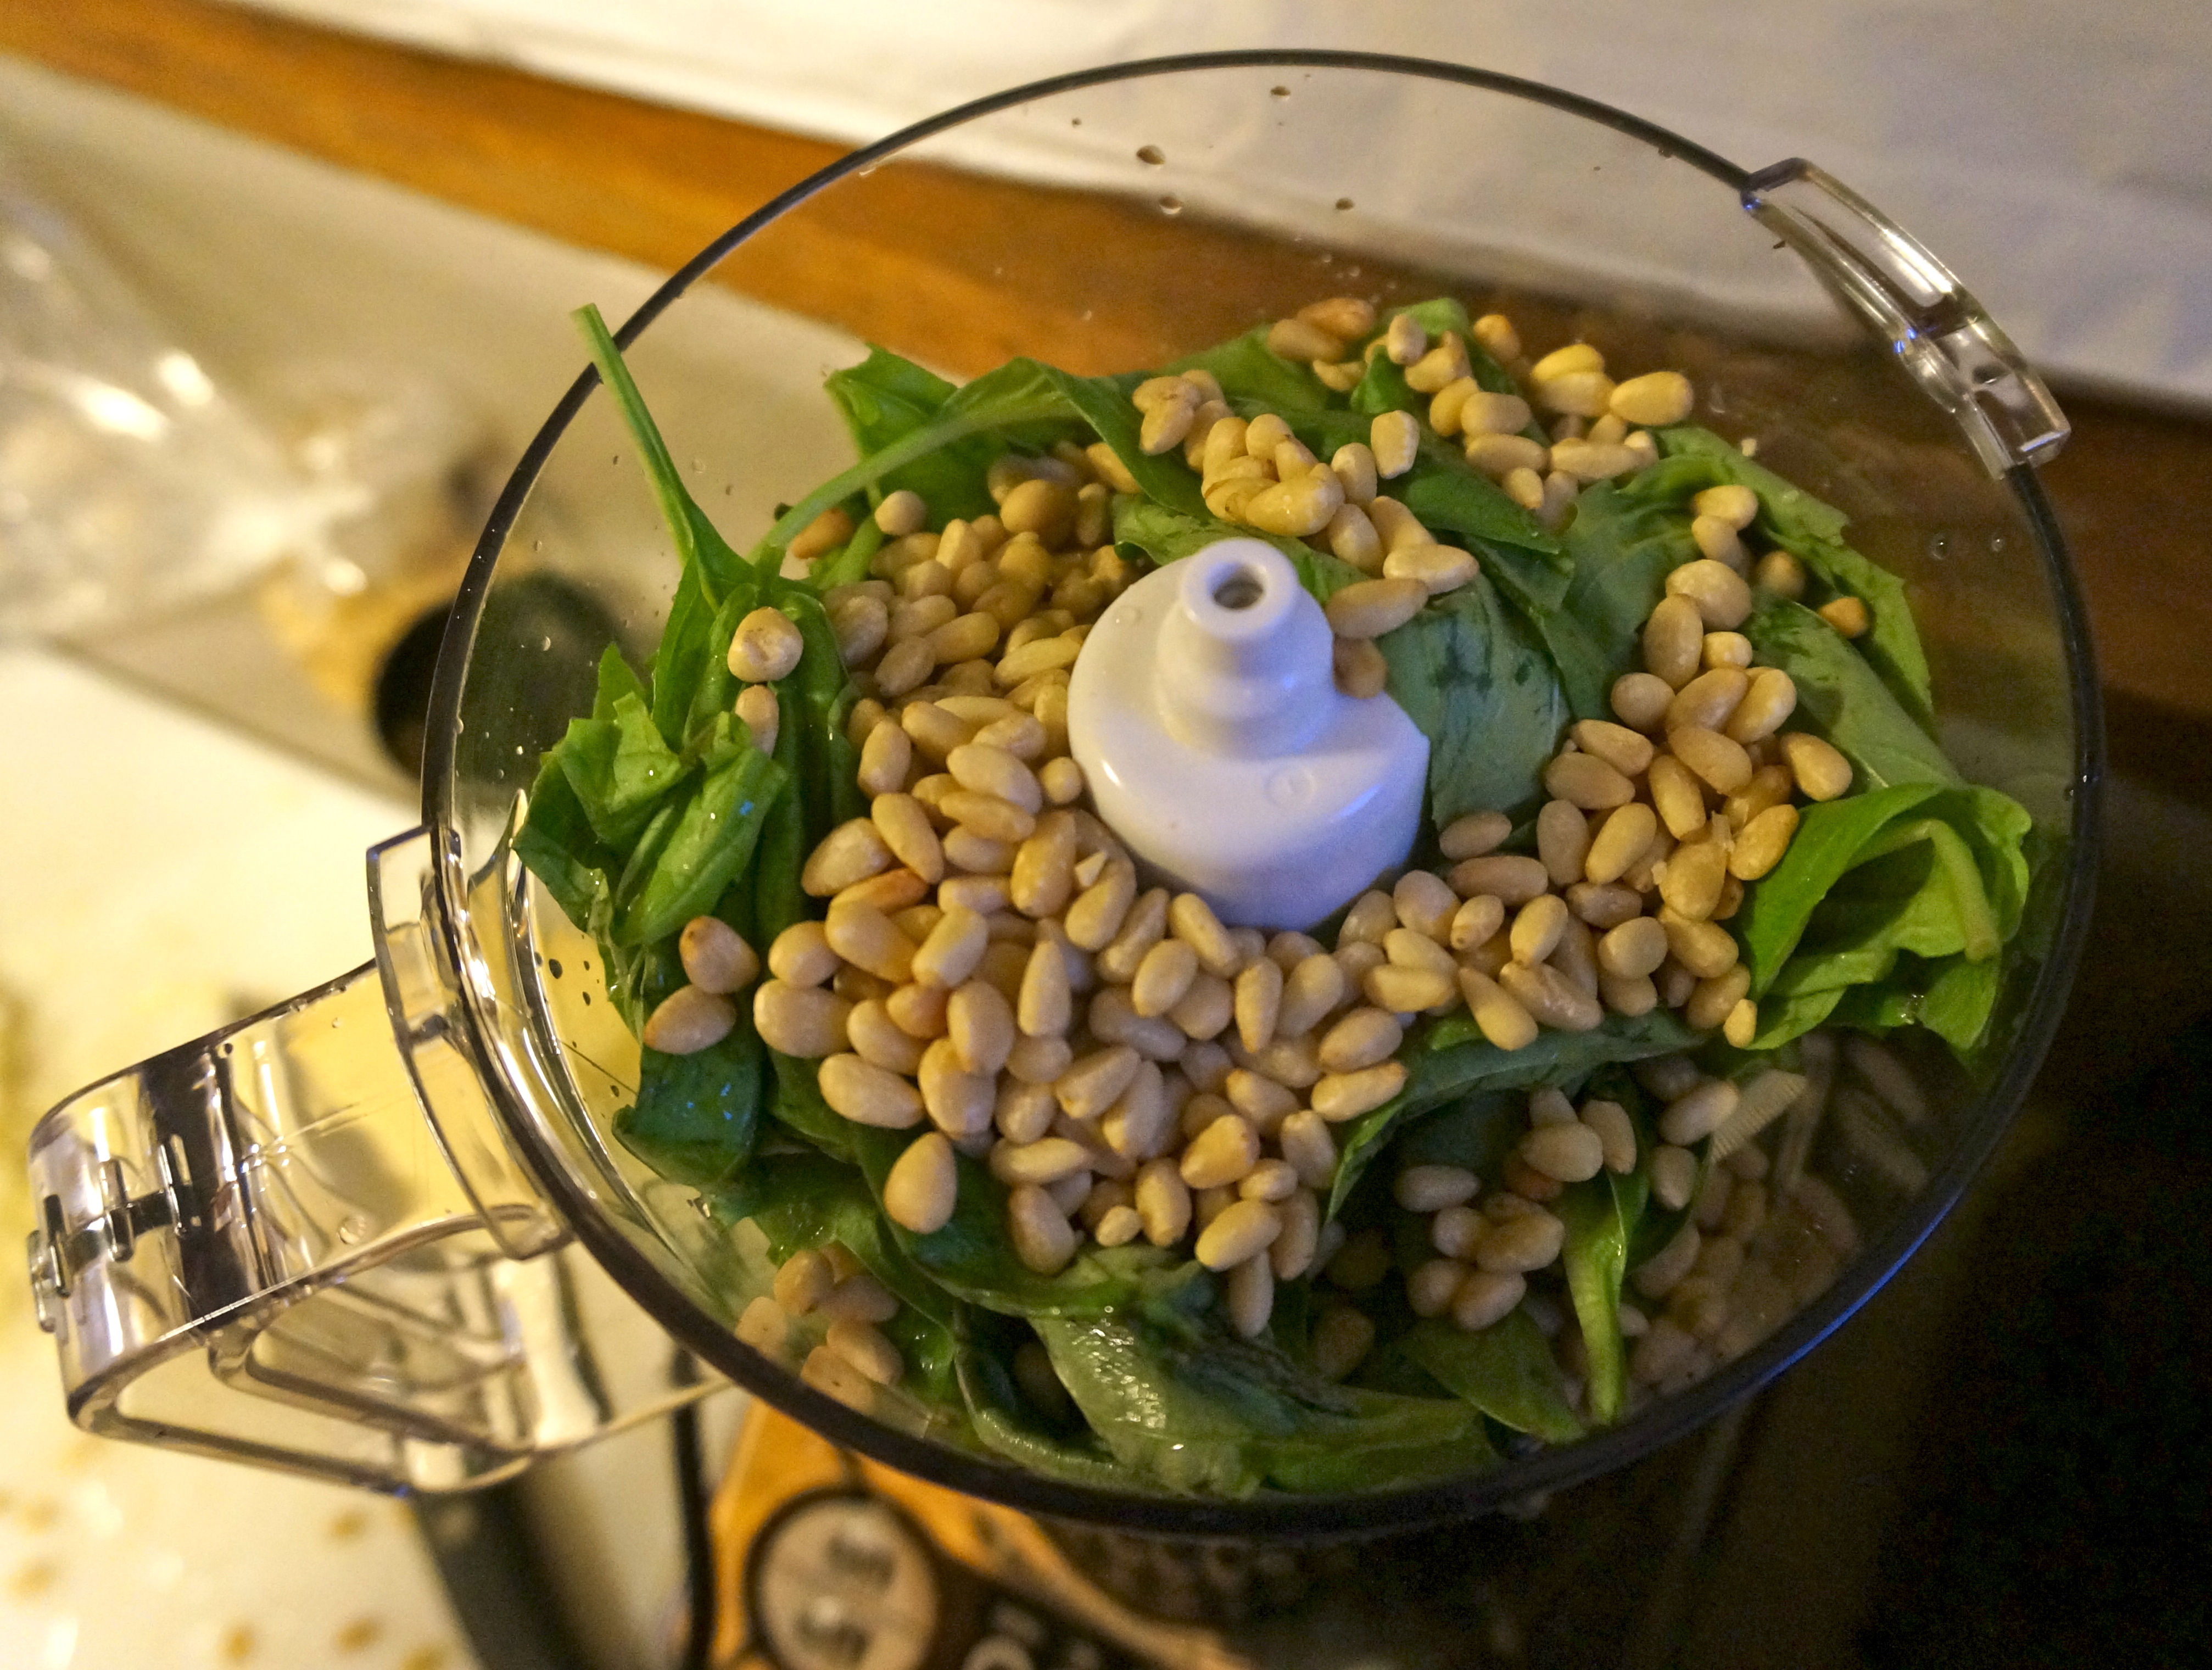
Pine nuts and basil in the food processor
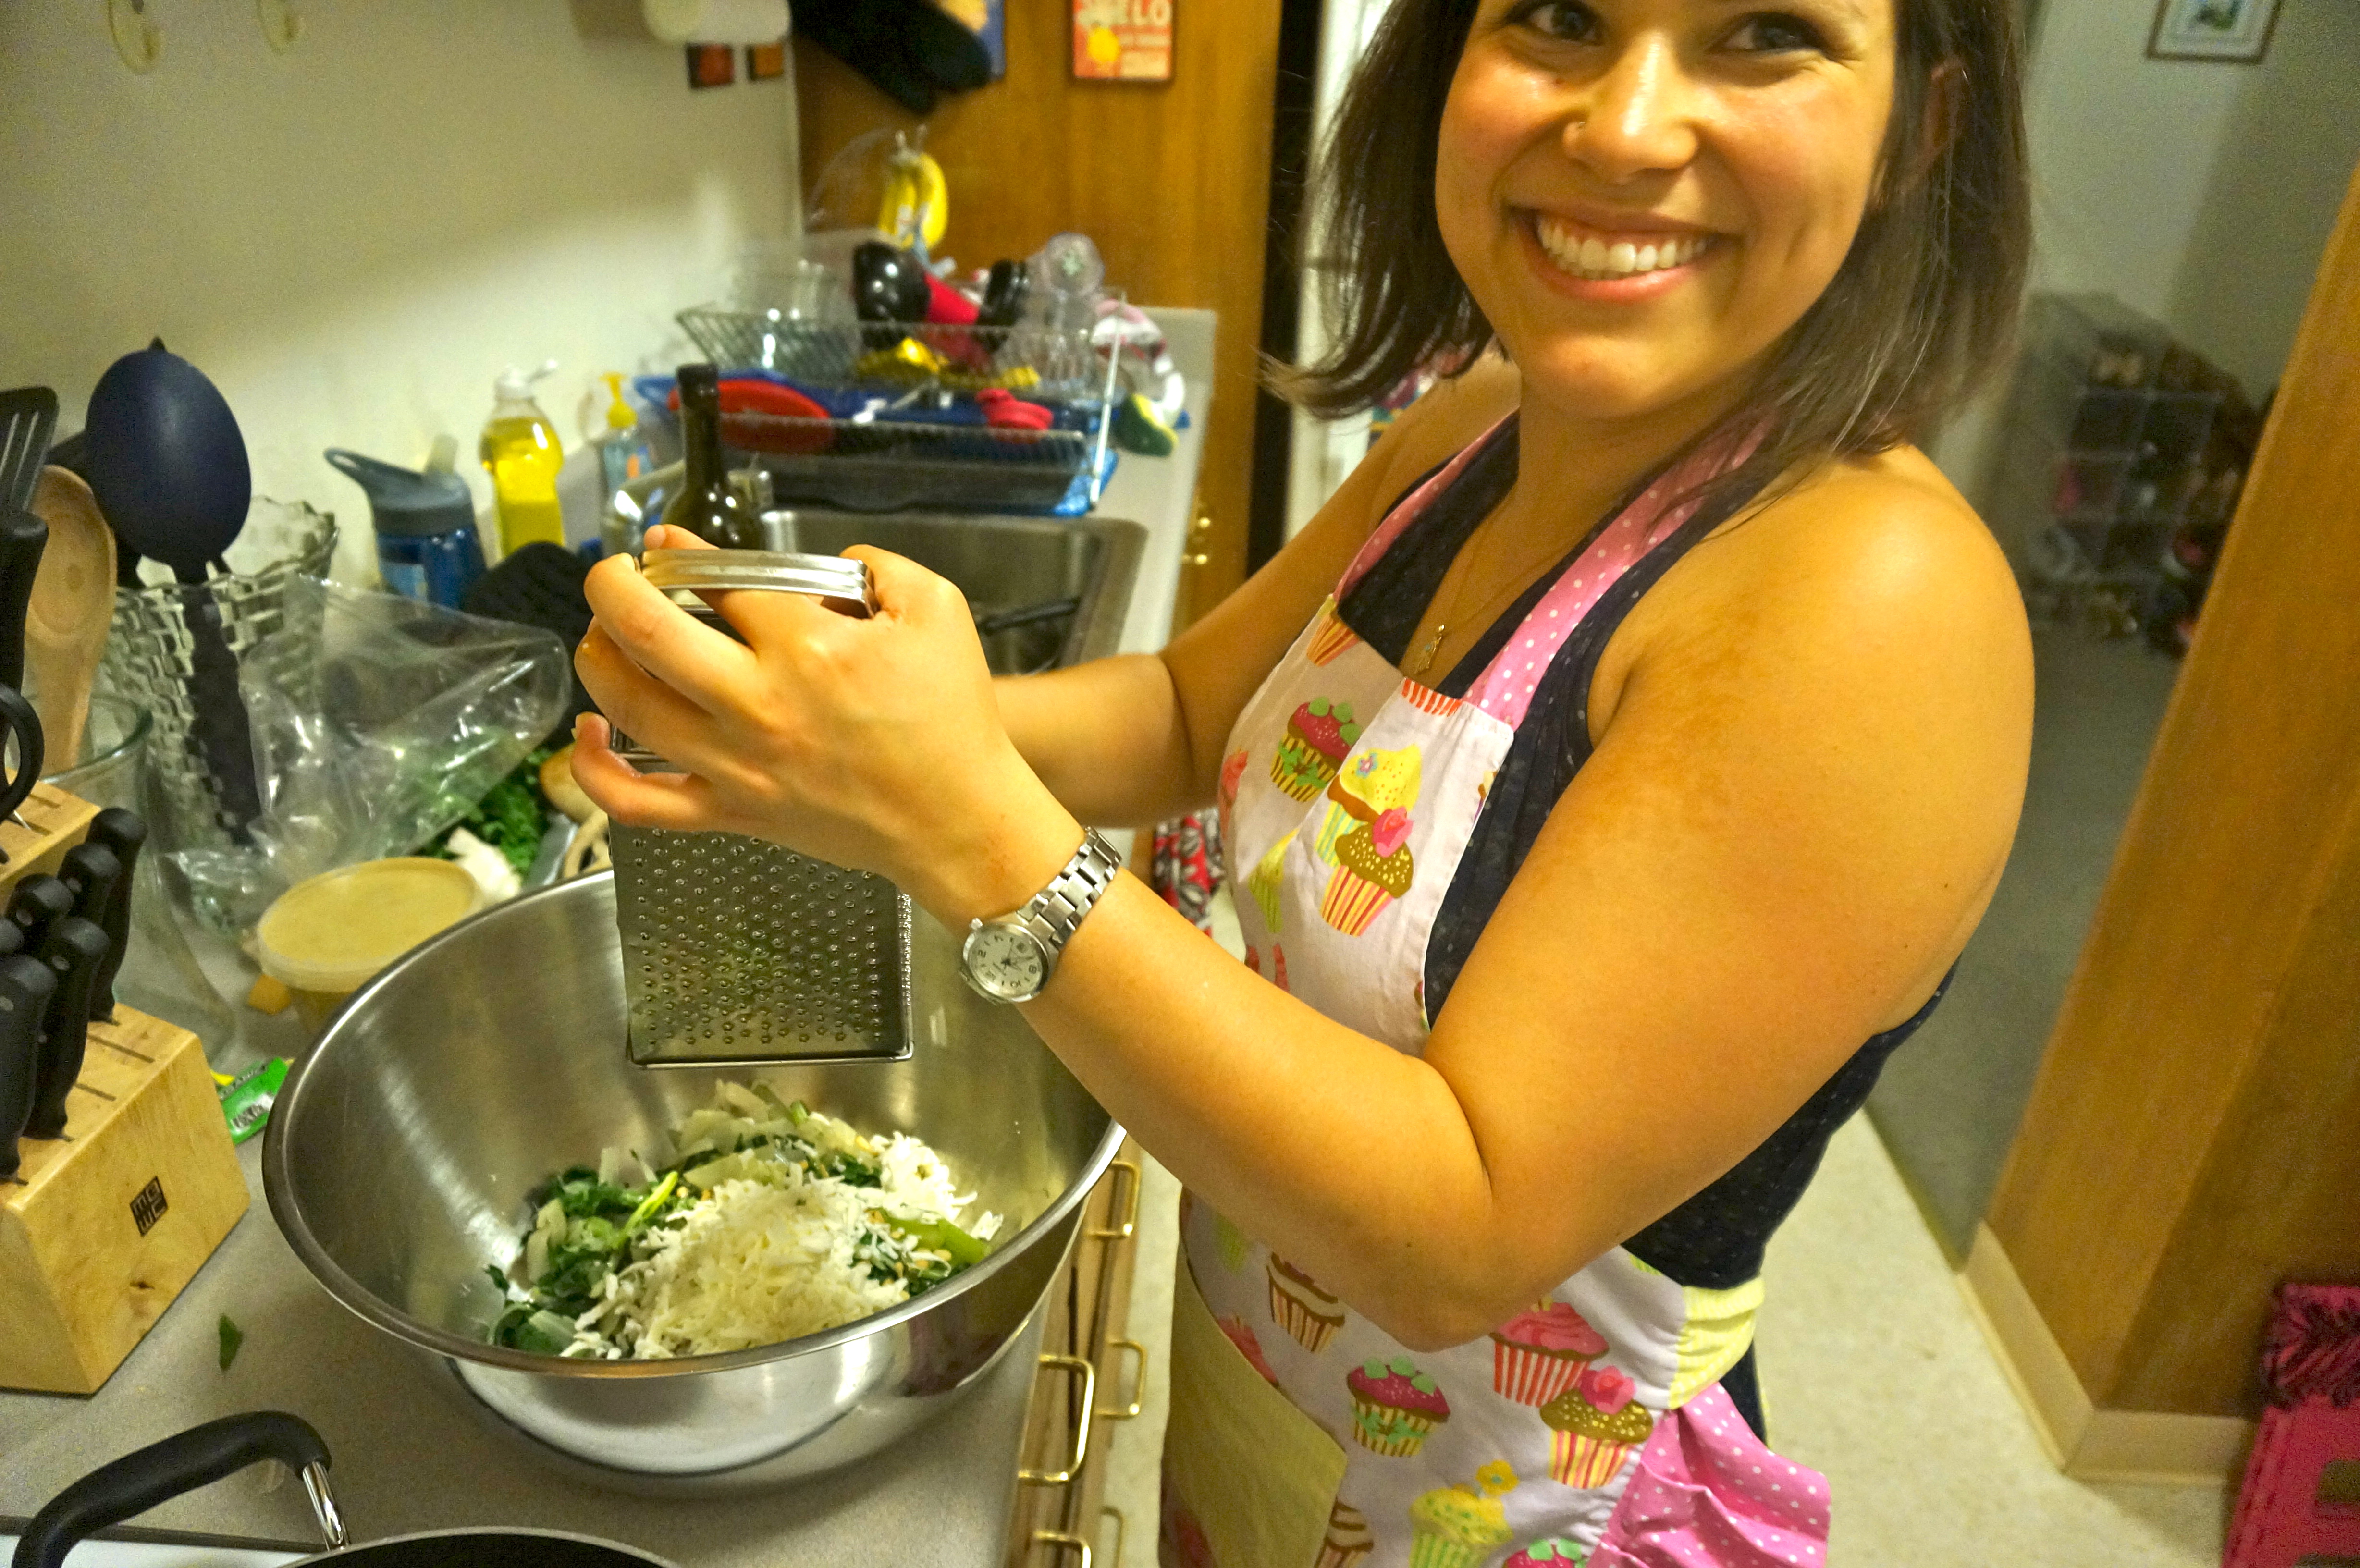
Next, add the garlic cloves and freshly grated Parmesan cheese.
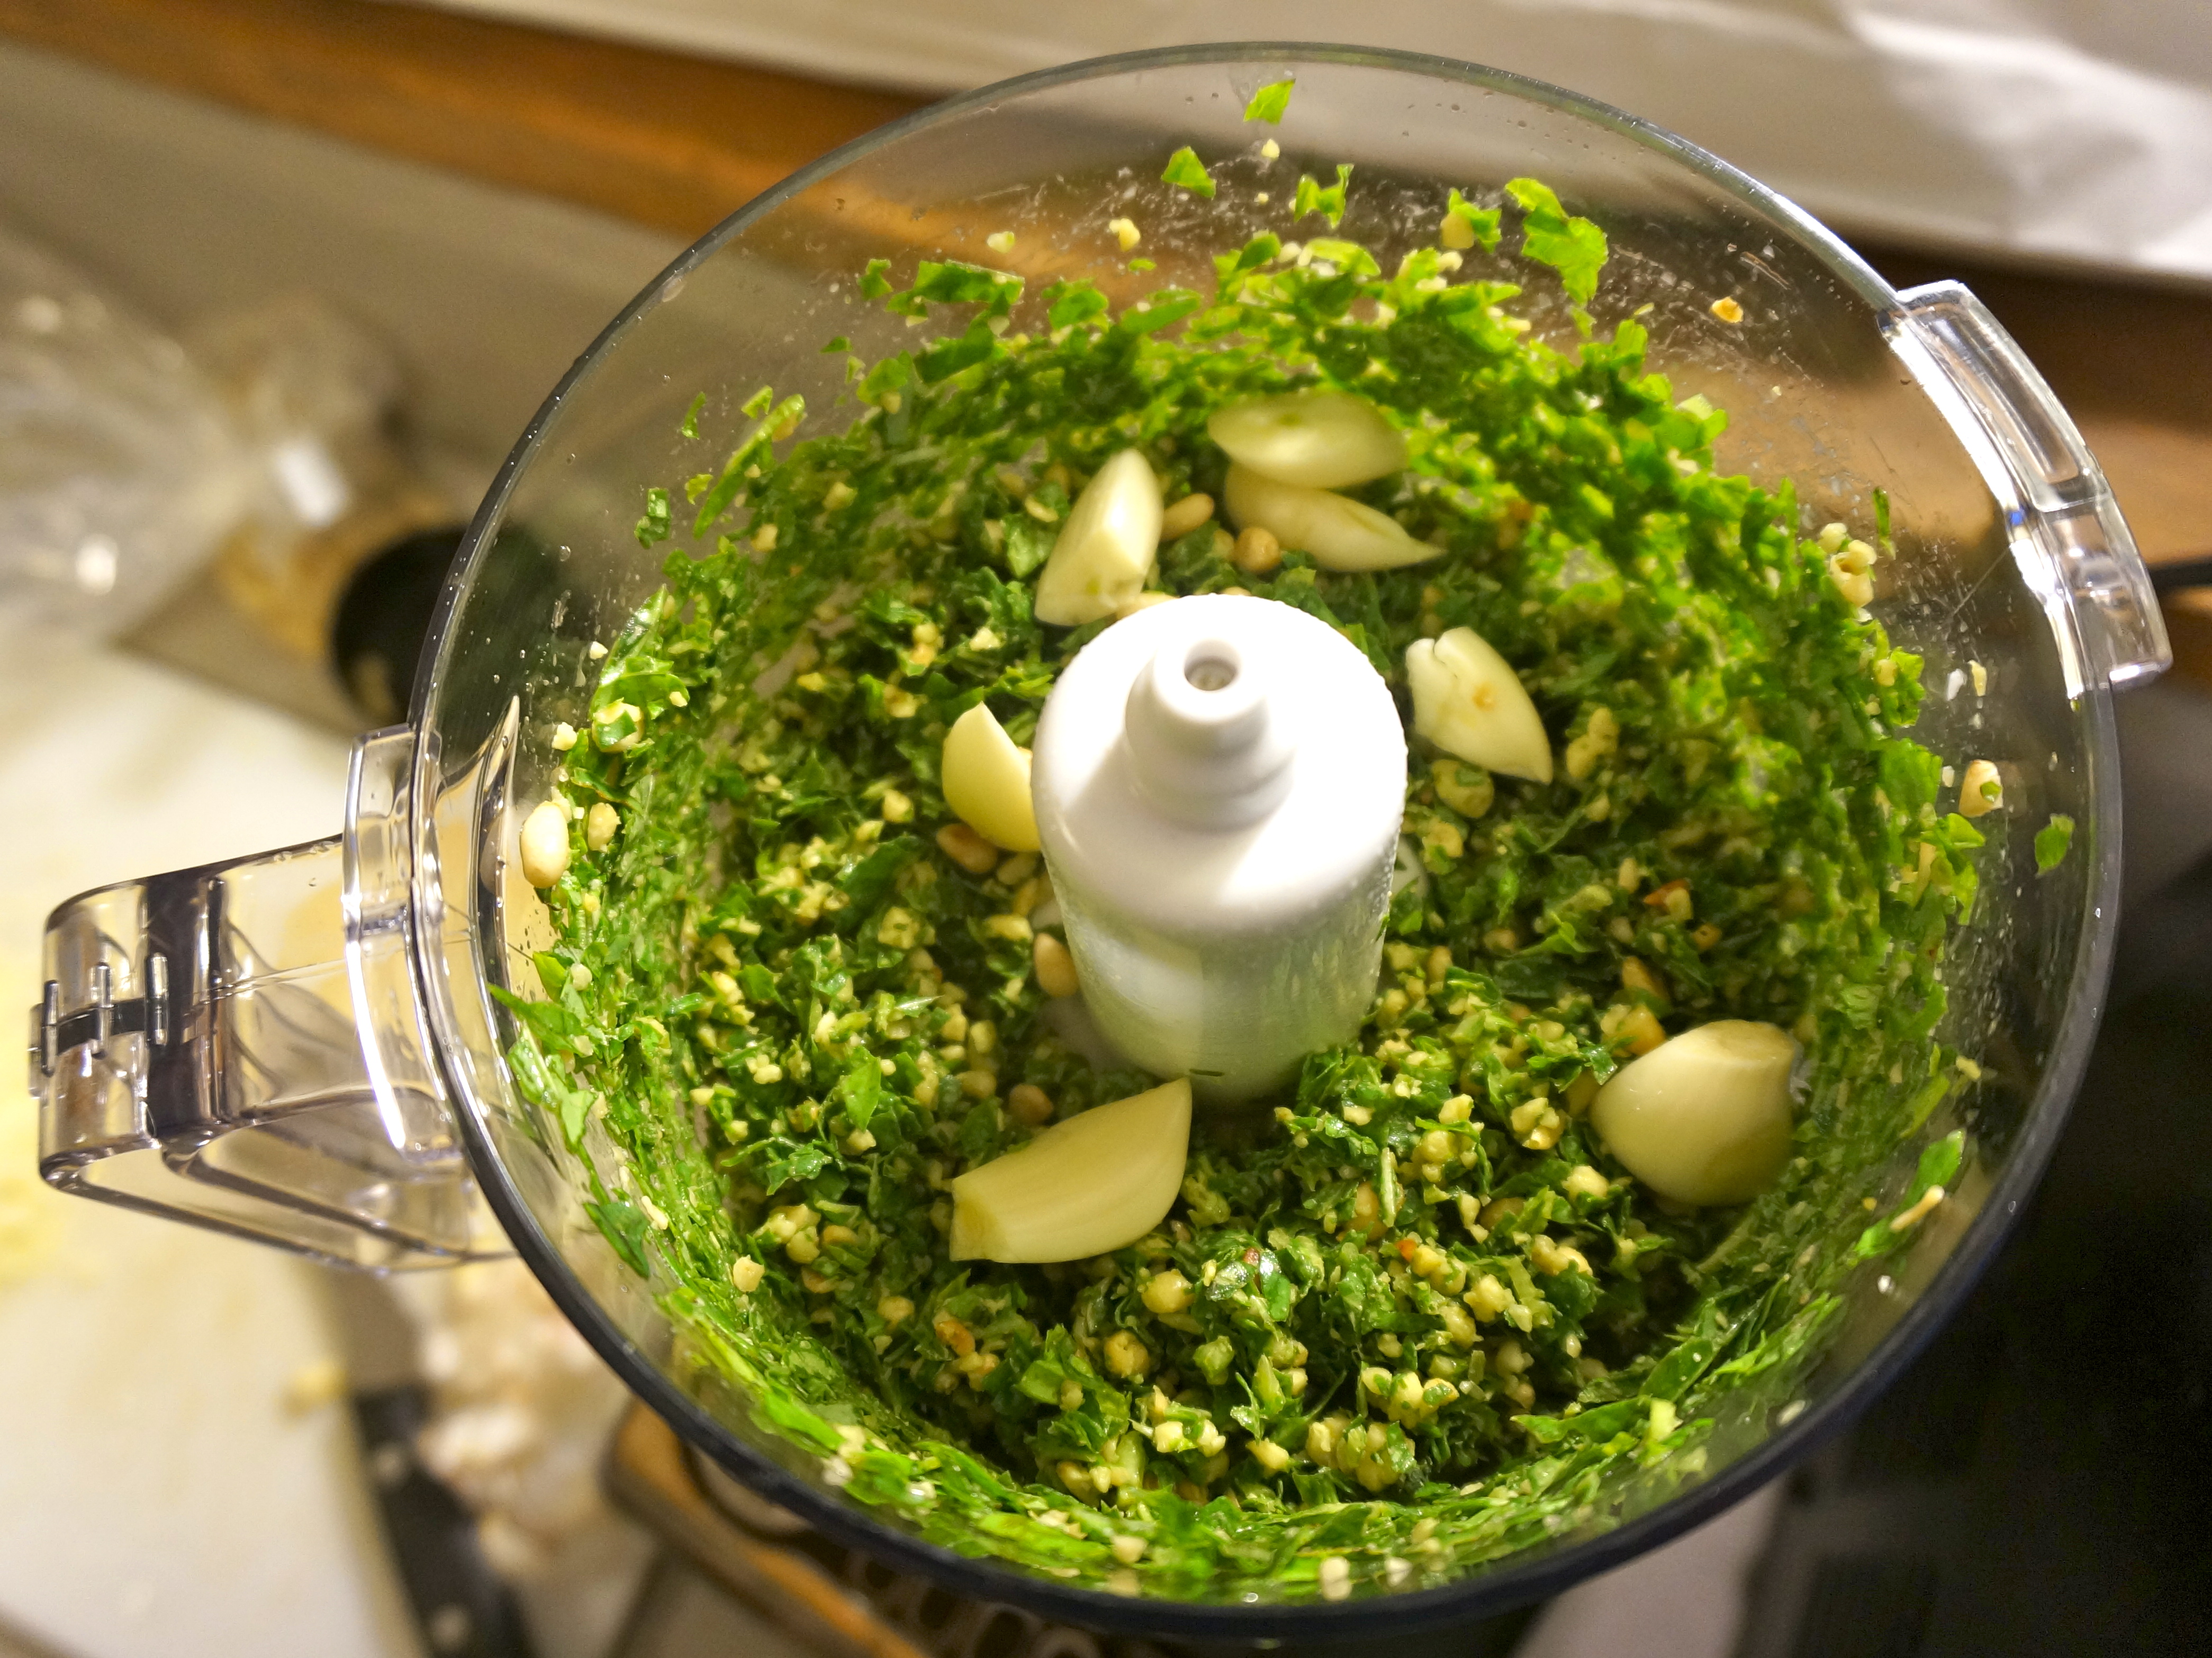
Basil, pine nuts, and garlic.
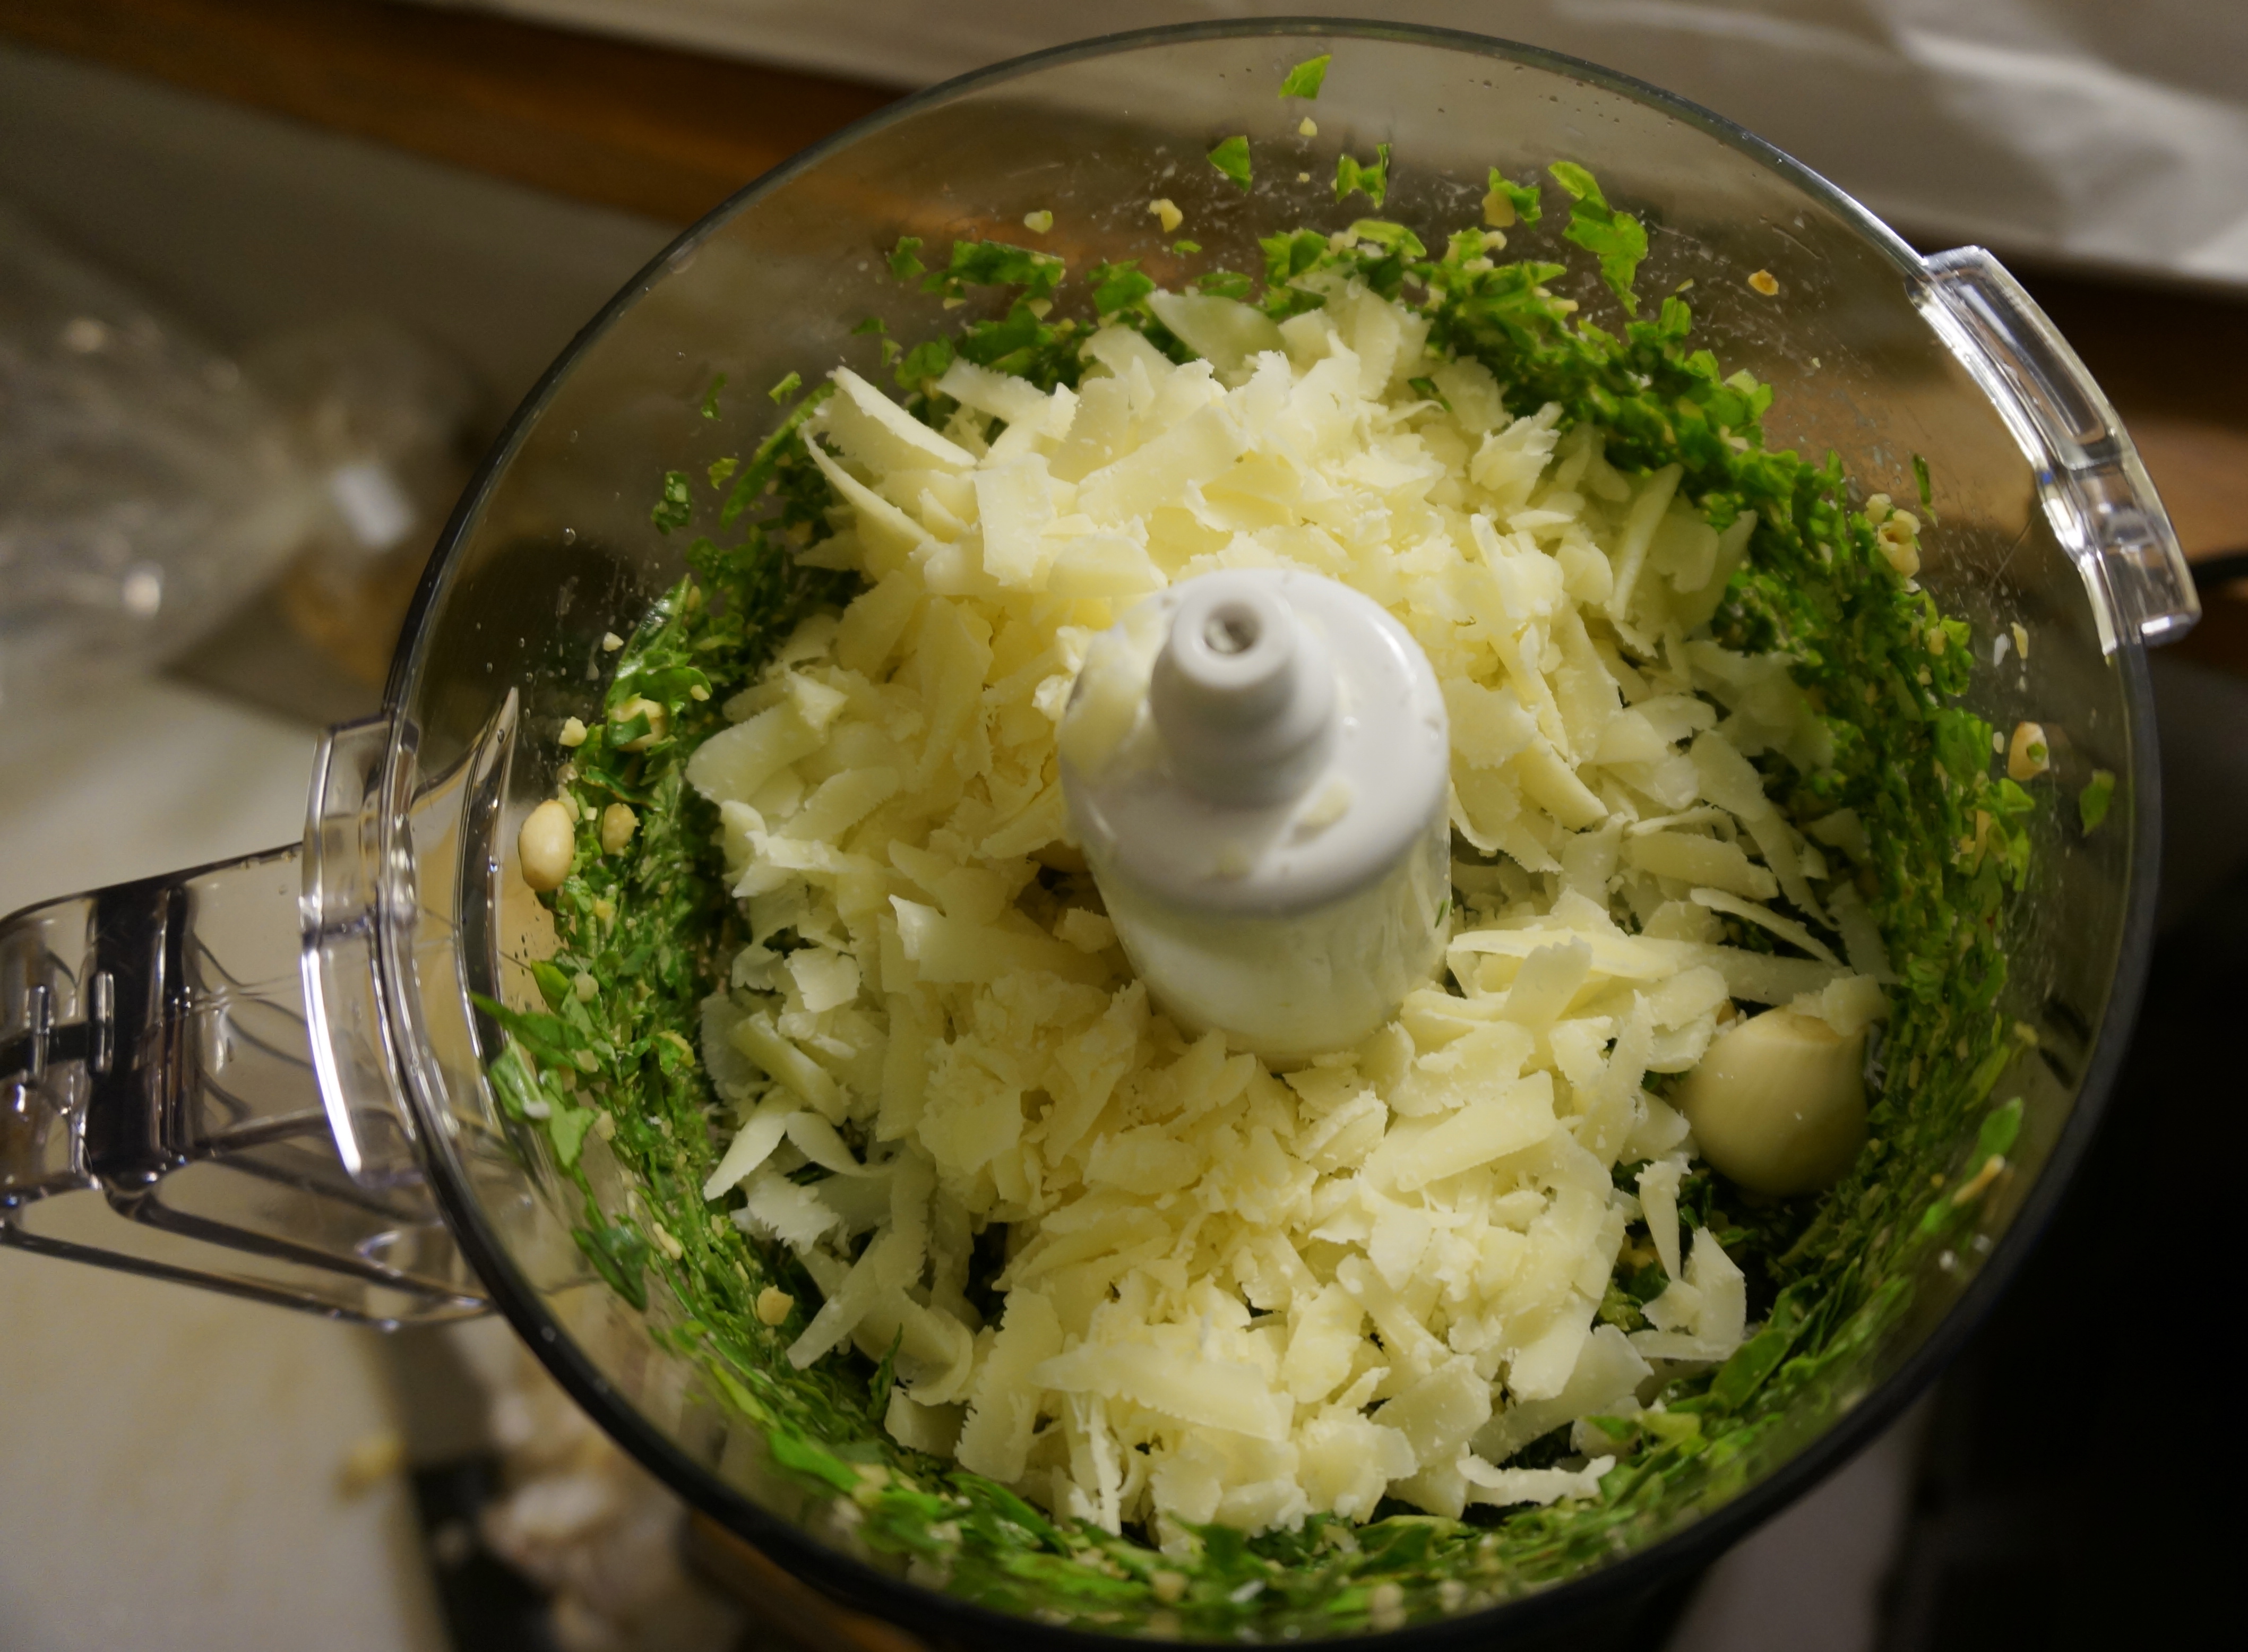
Basil, pine nuts, garlic, and Parmesan cheese.
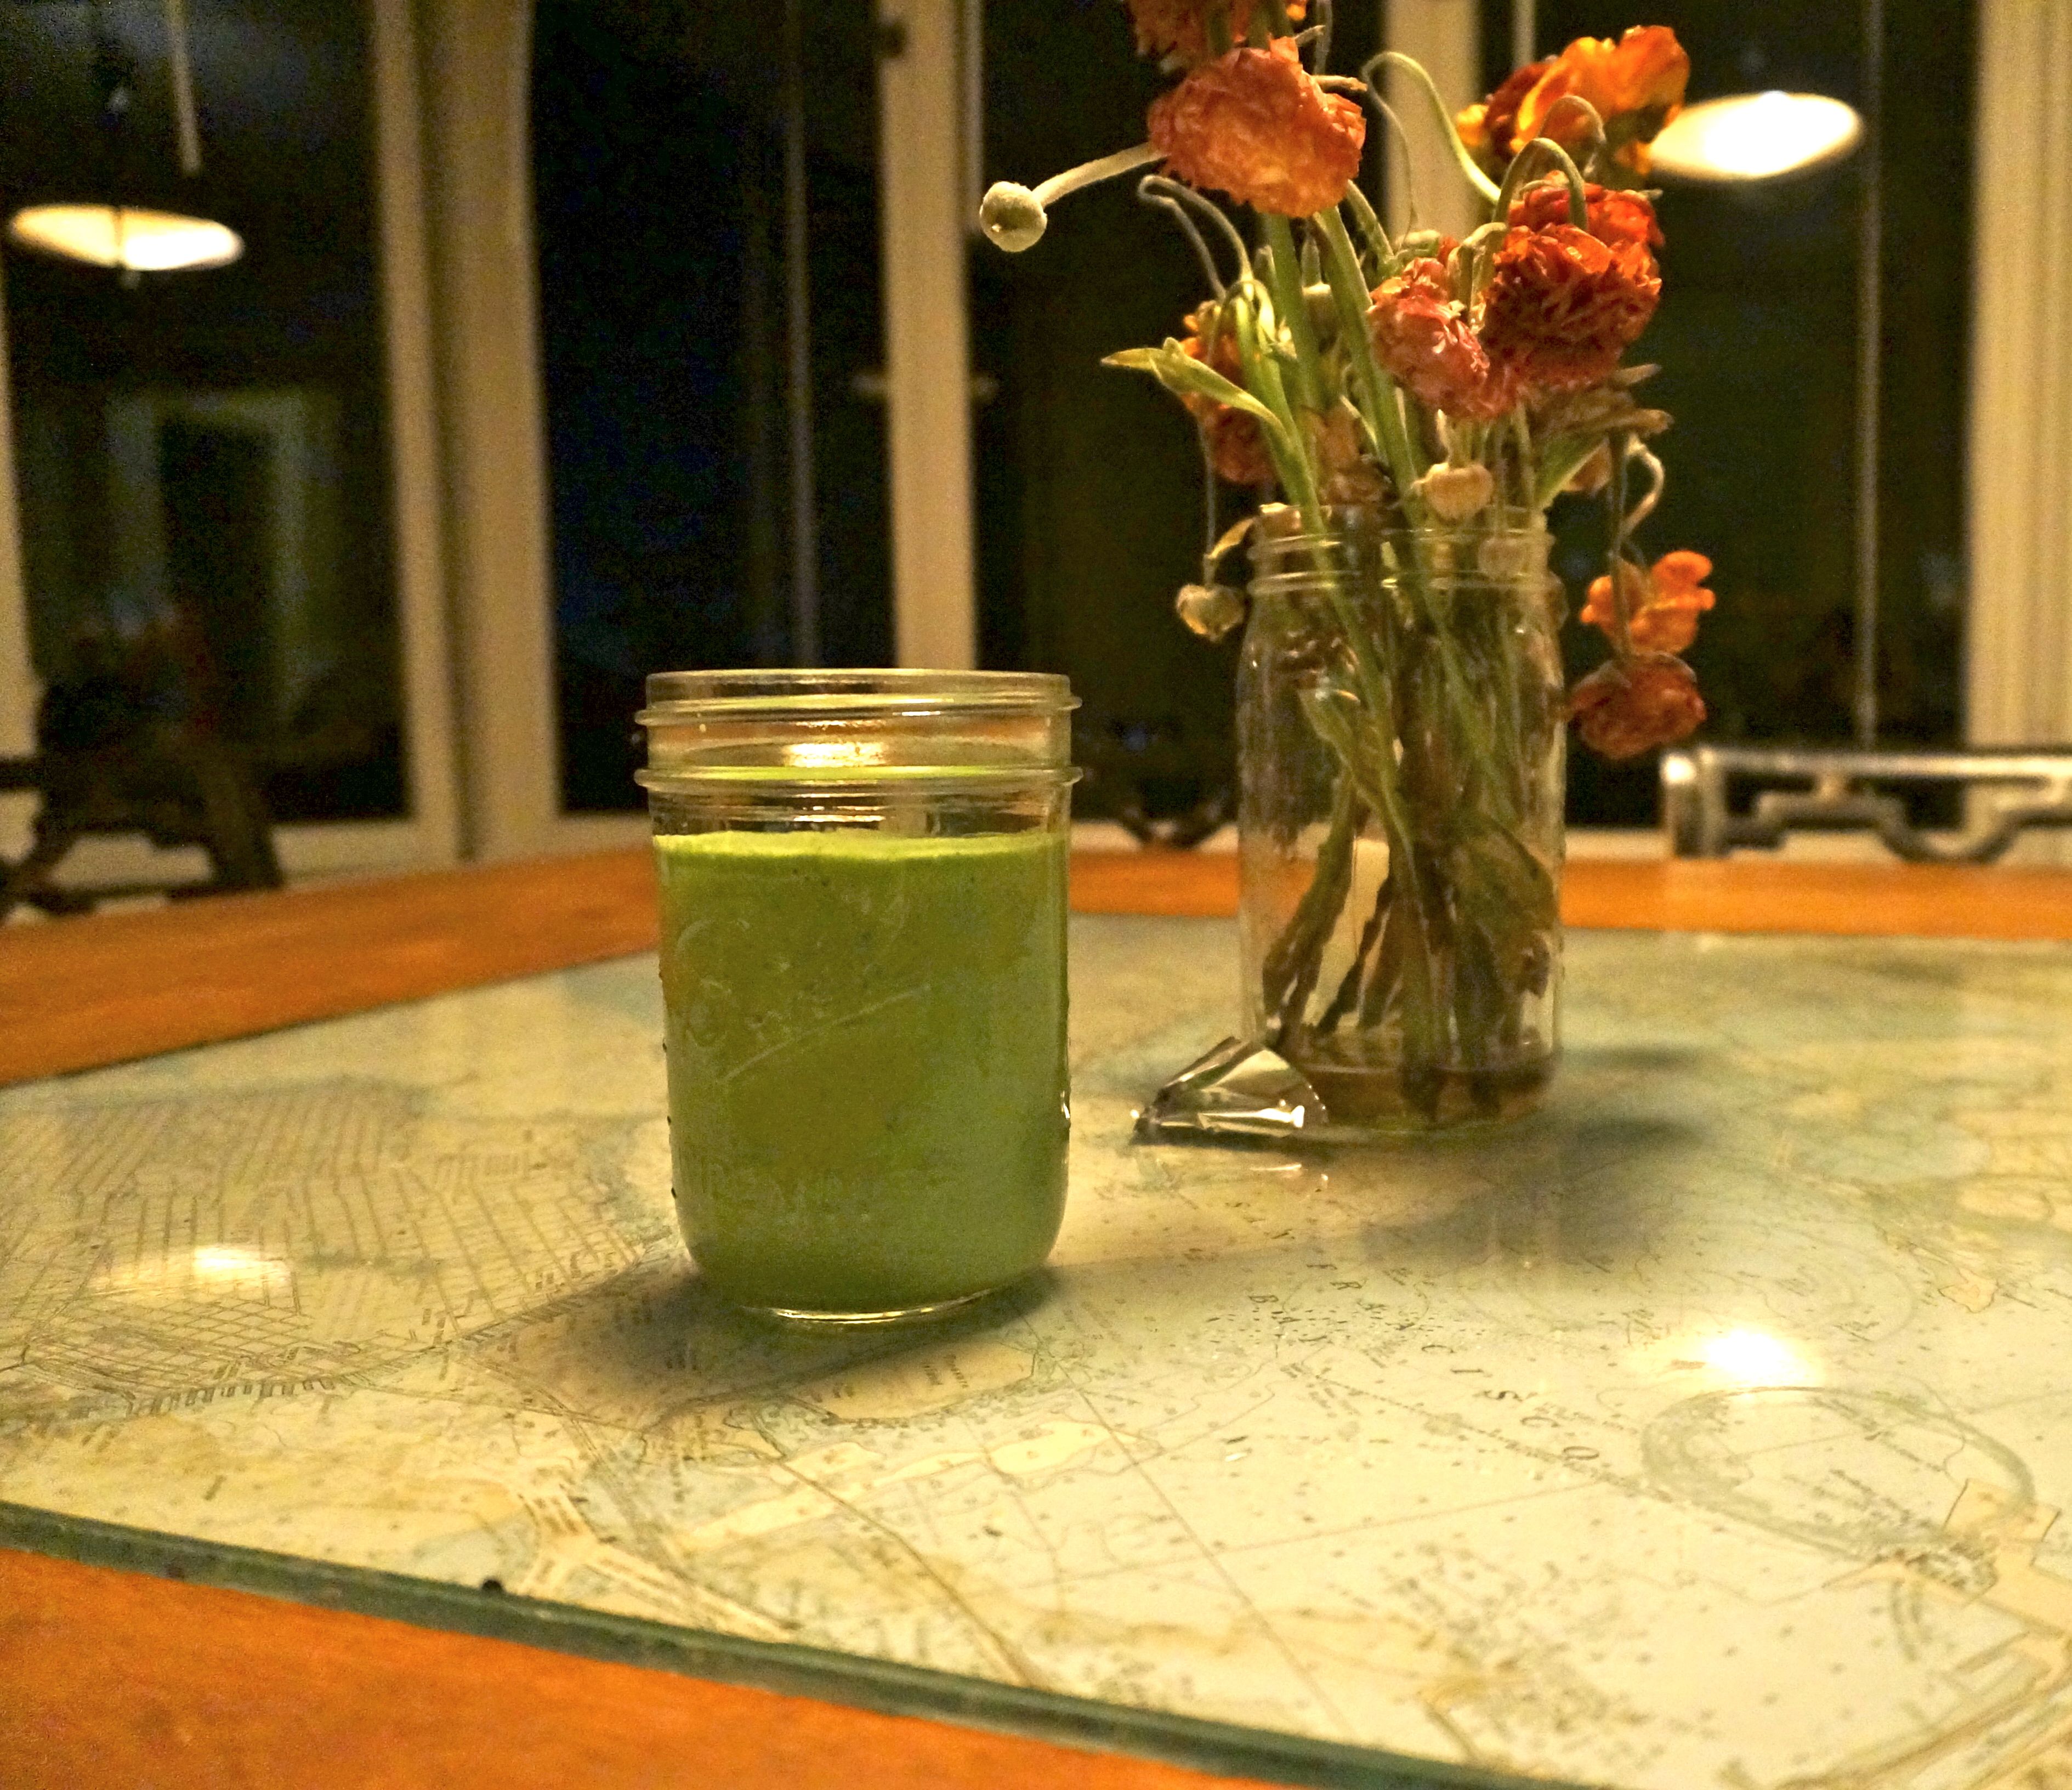
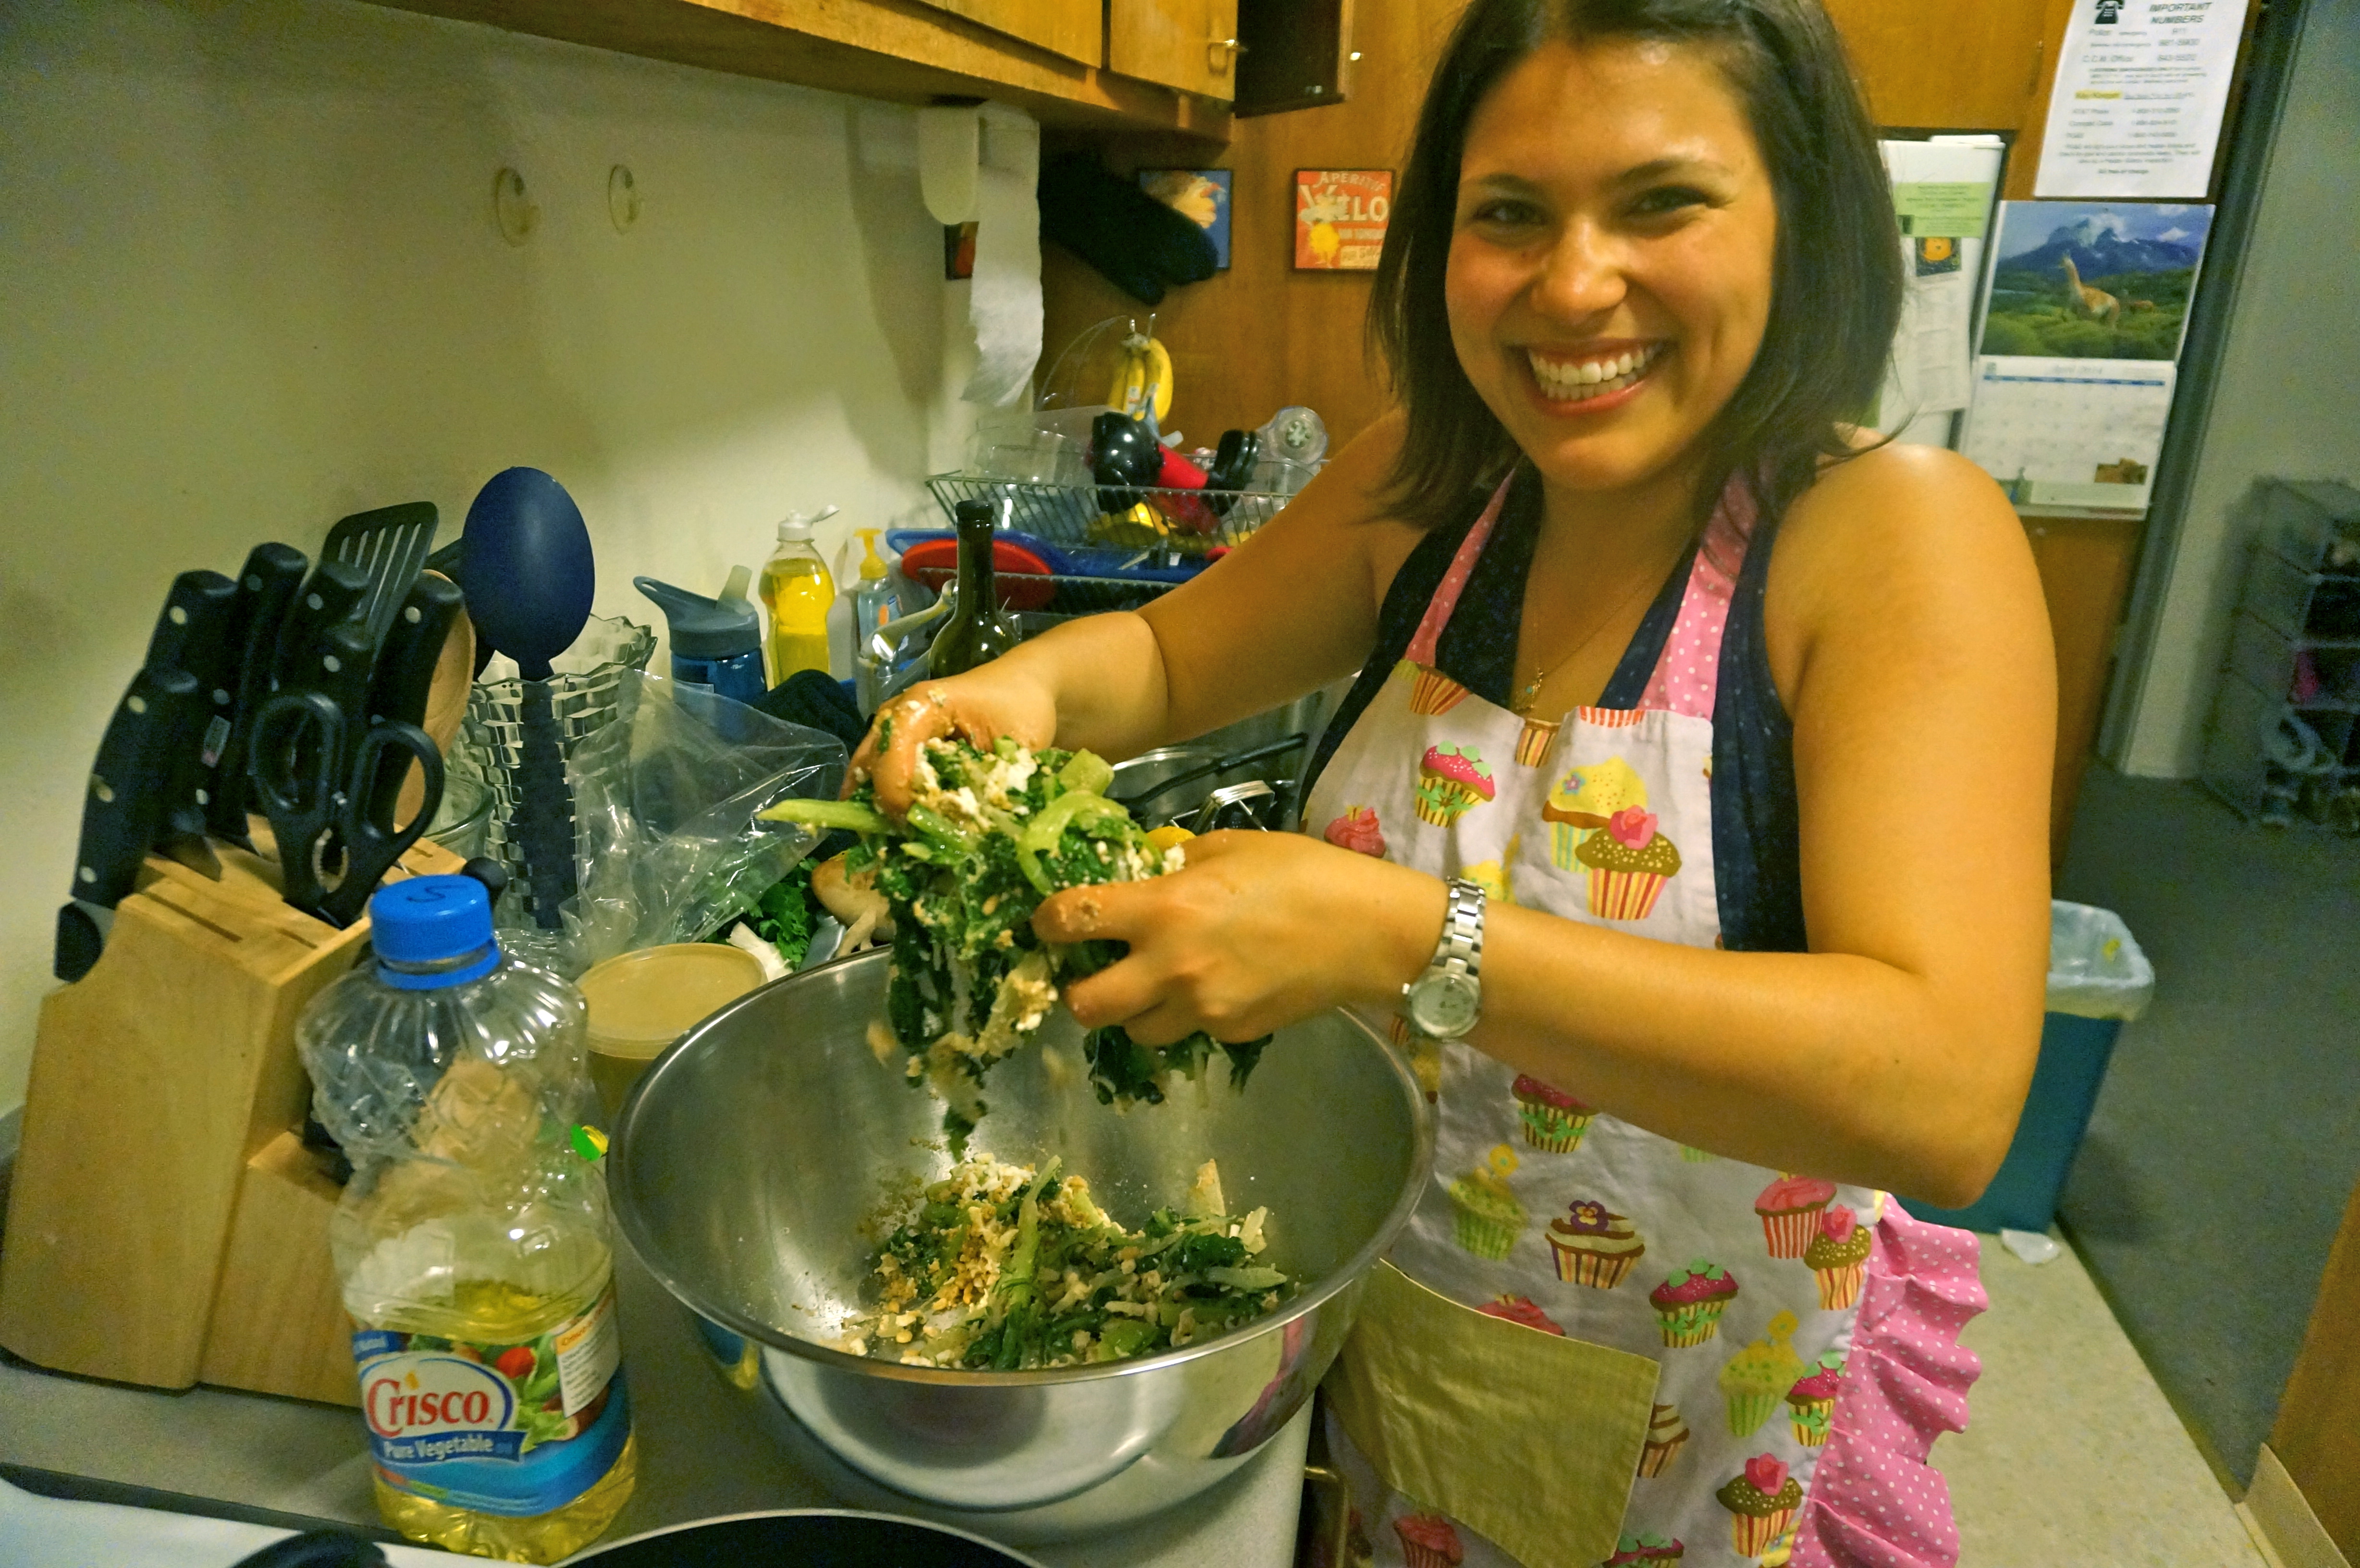
Next, pulse several more times until well mixed. Then slowly start streaming in olive oil as the food processor is mixing the rest of the ingredients. I would say the amount of olive oil you add is up to you depending on how chunky you like your pesto. Prior to making the pesto, which is really quick and only takes 5-10 minutes total, I had boiled some water and made some pasta. Once the pesto was finished, I mixed it in with the pasta and added a few extra pine nuts and some shredded Parmesan cheese on top.
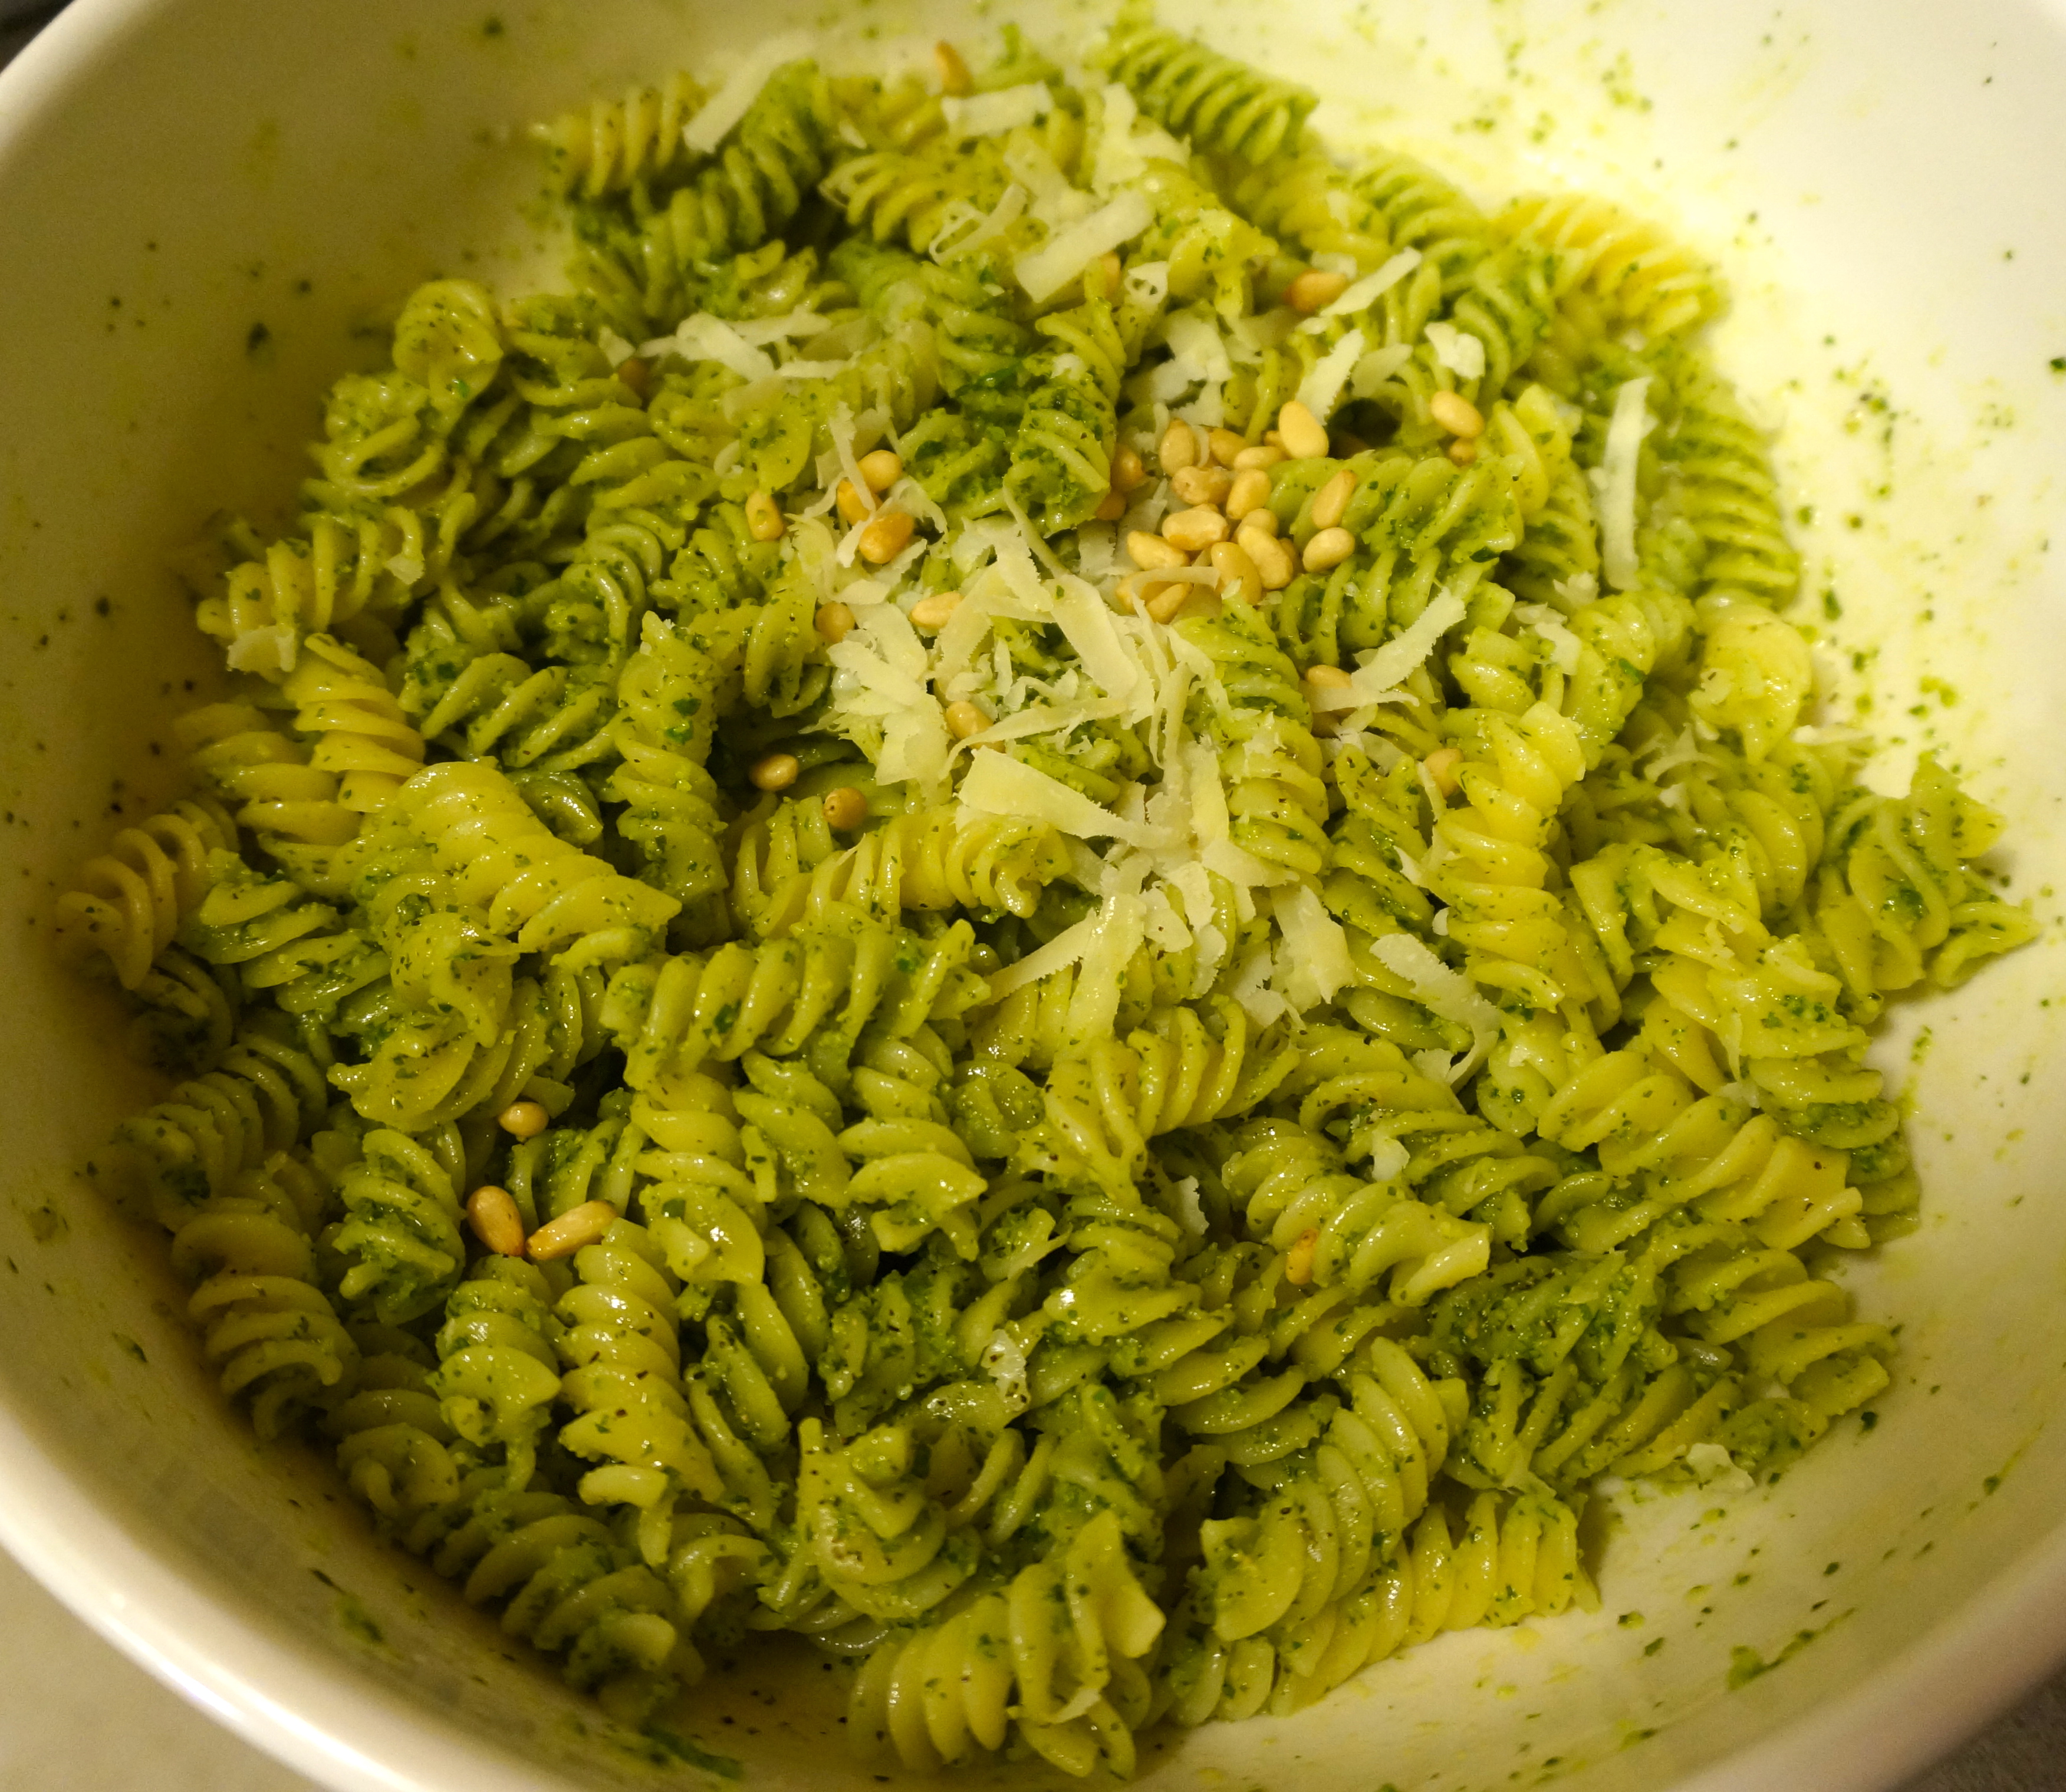
Home made pesto mixed with pasta topped with extra pine nuts and Parmesan.
To me, the point of the pasta was really only to play a supporting role to the freshly foraged mushrooms, so I loaded lots of crispy sautéed mushrooms on top.
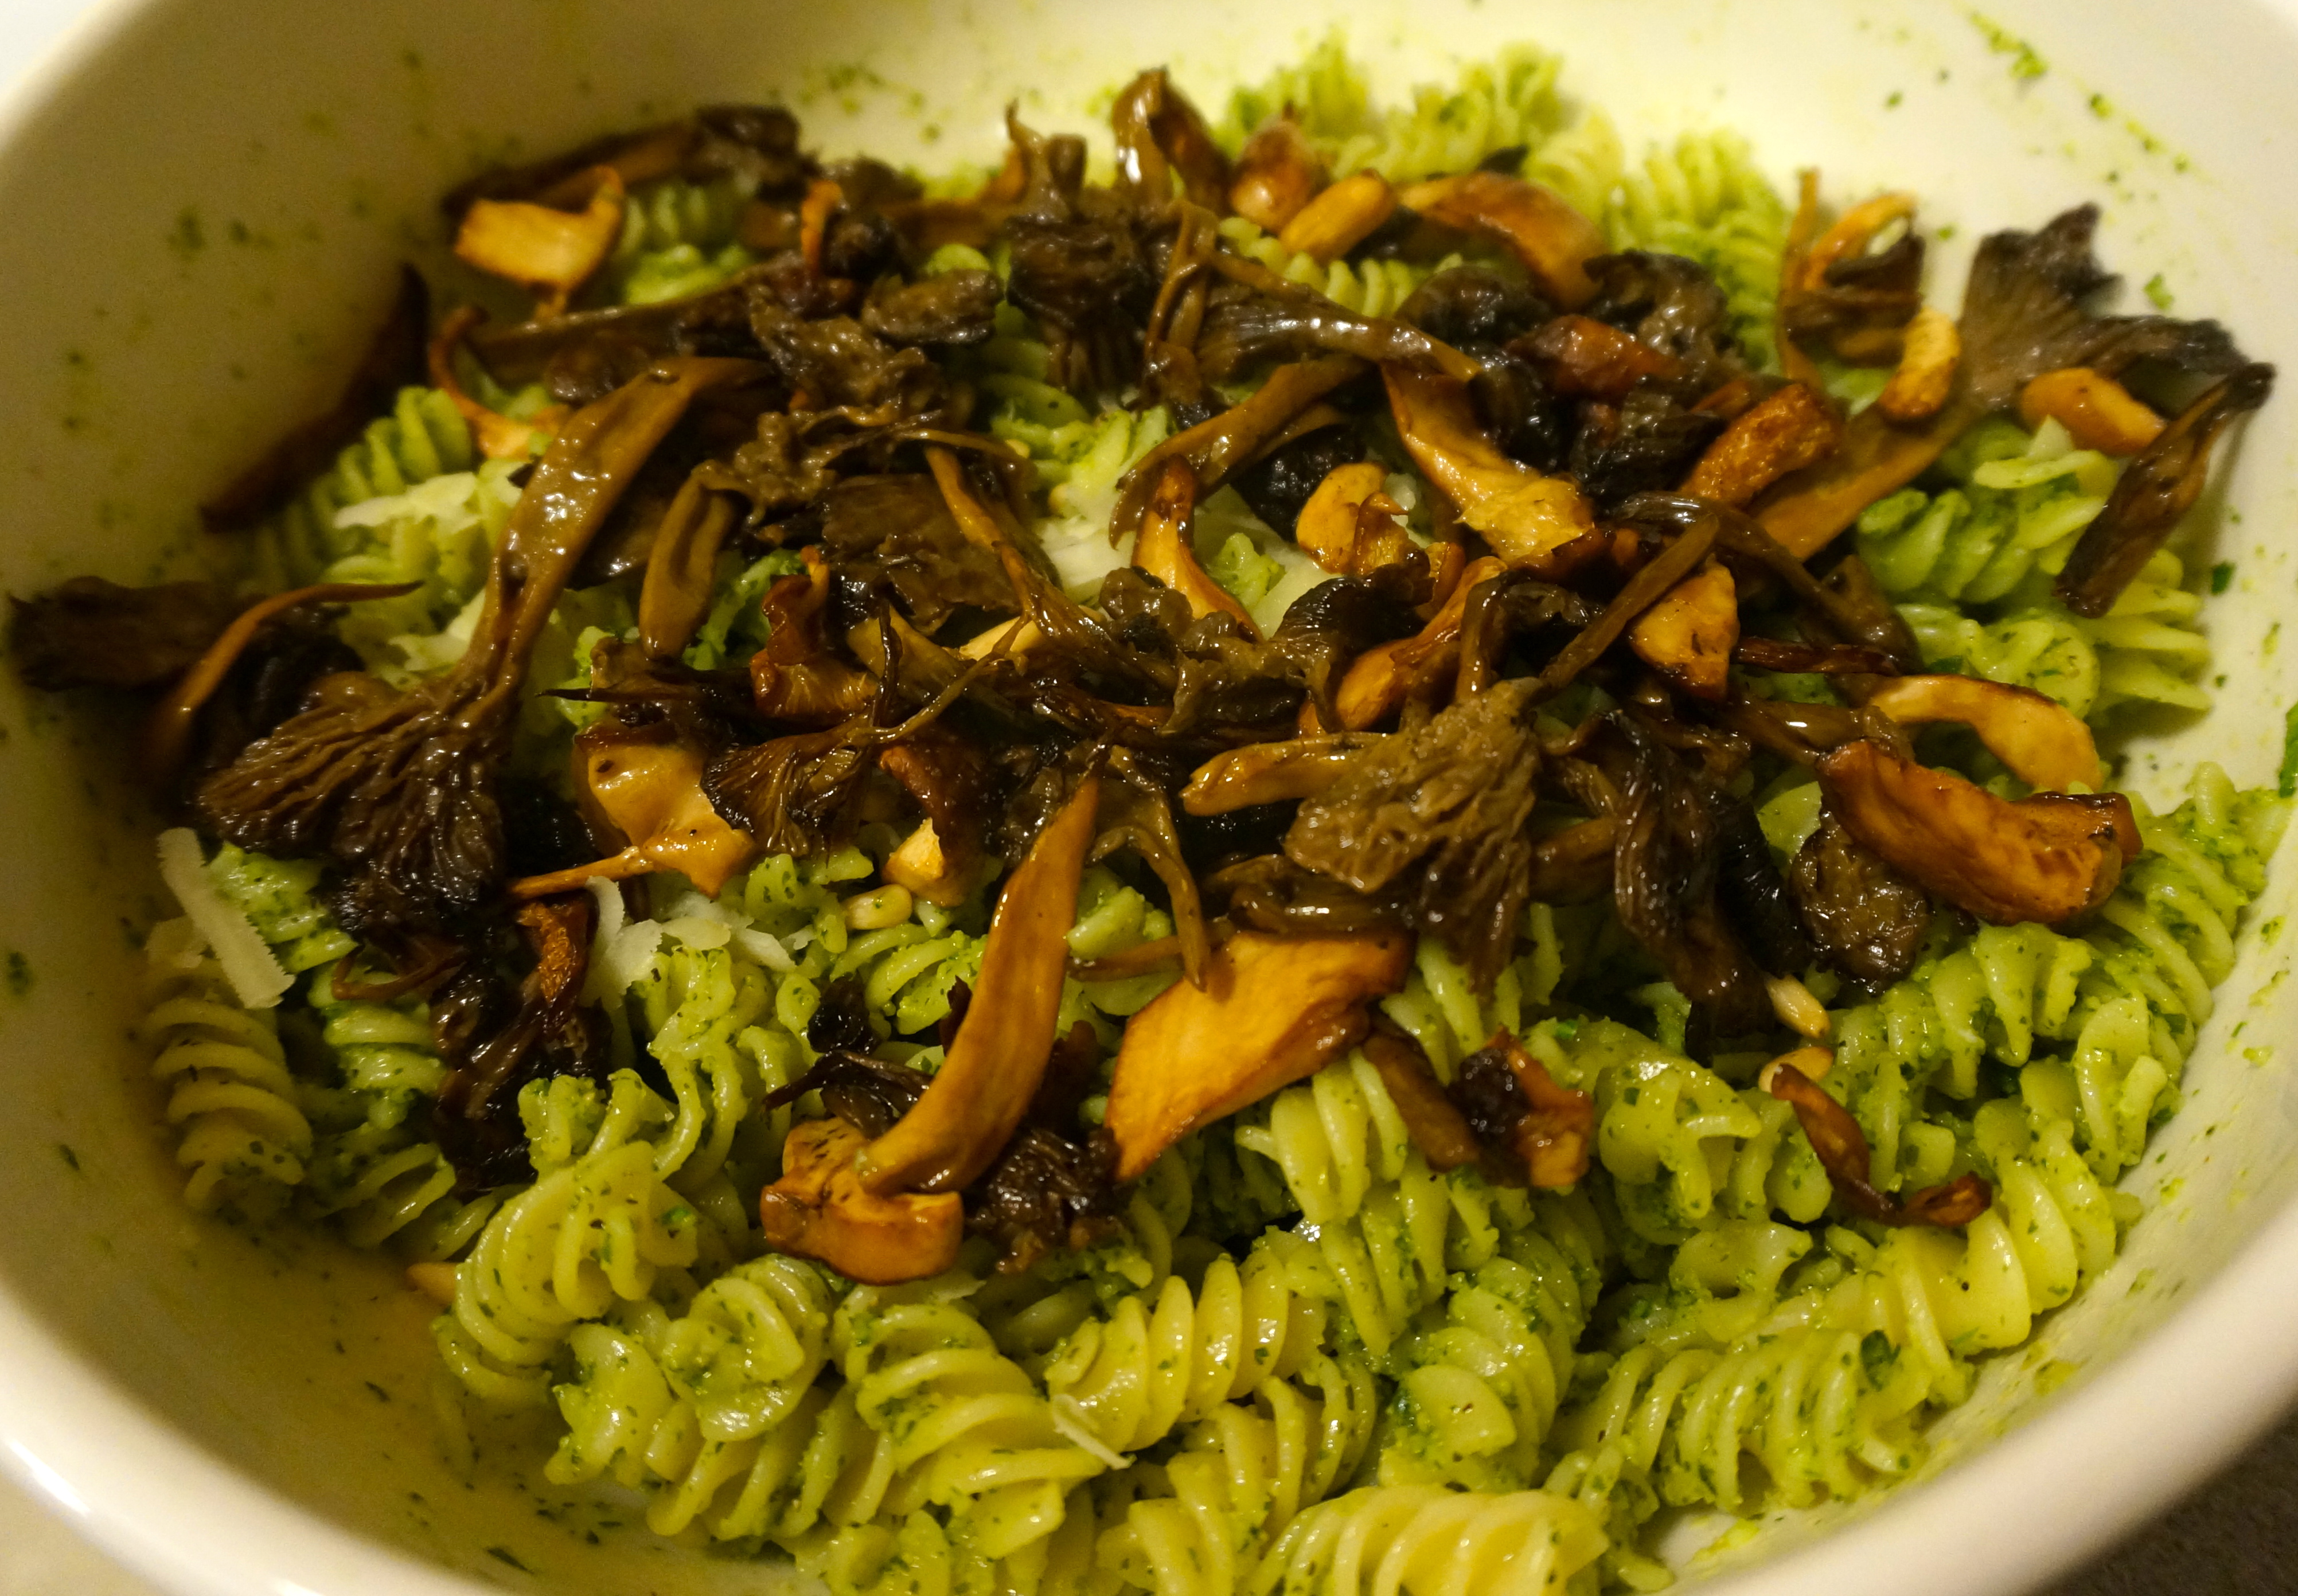
Pesto pasta with hedgehog and yellow foot chanterelles on top.

Simple pesto pasta to accompany freshly foraged hedgehog and yellow foot chanterelles.
It turned out deliciously. Patrick was obsessed with the pesto and scarfed down all of the excess pesto that wasn’t used for the pasta by spooning it onto pieces of baguette. For me, I cannot wait to get back to Humboldt and hike in the redwoods and forage for mushrooms again. For Patrick, he cannot wait for me to make the next batch of home made pesto!