Tag Archives: dinner

Sparassis stir fry!

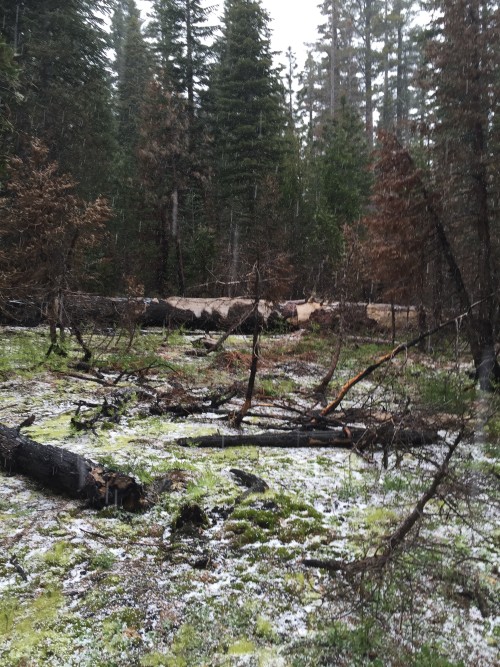
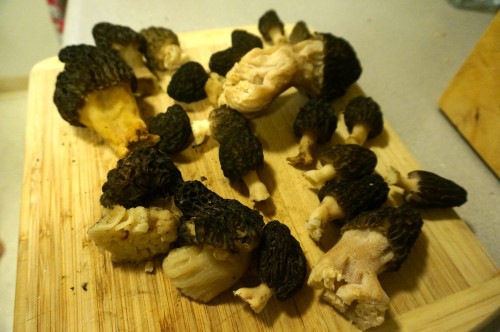
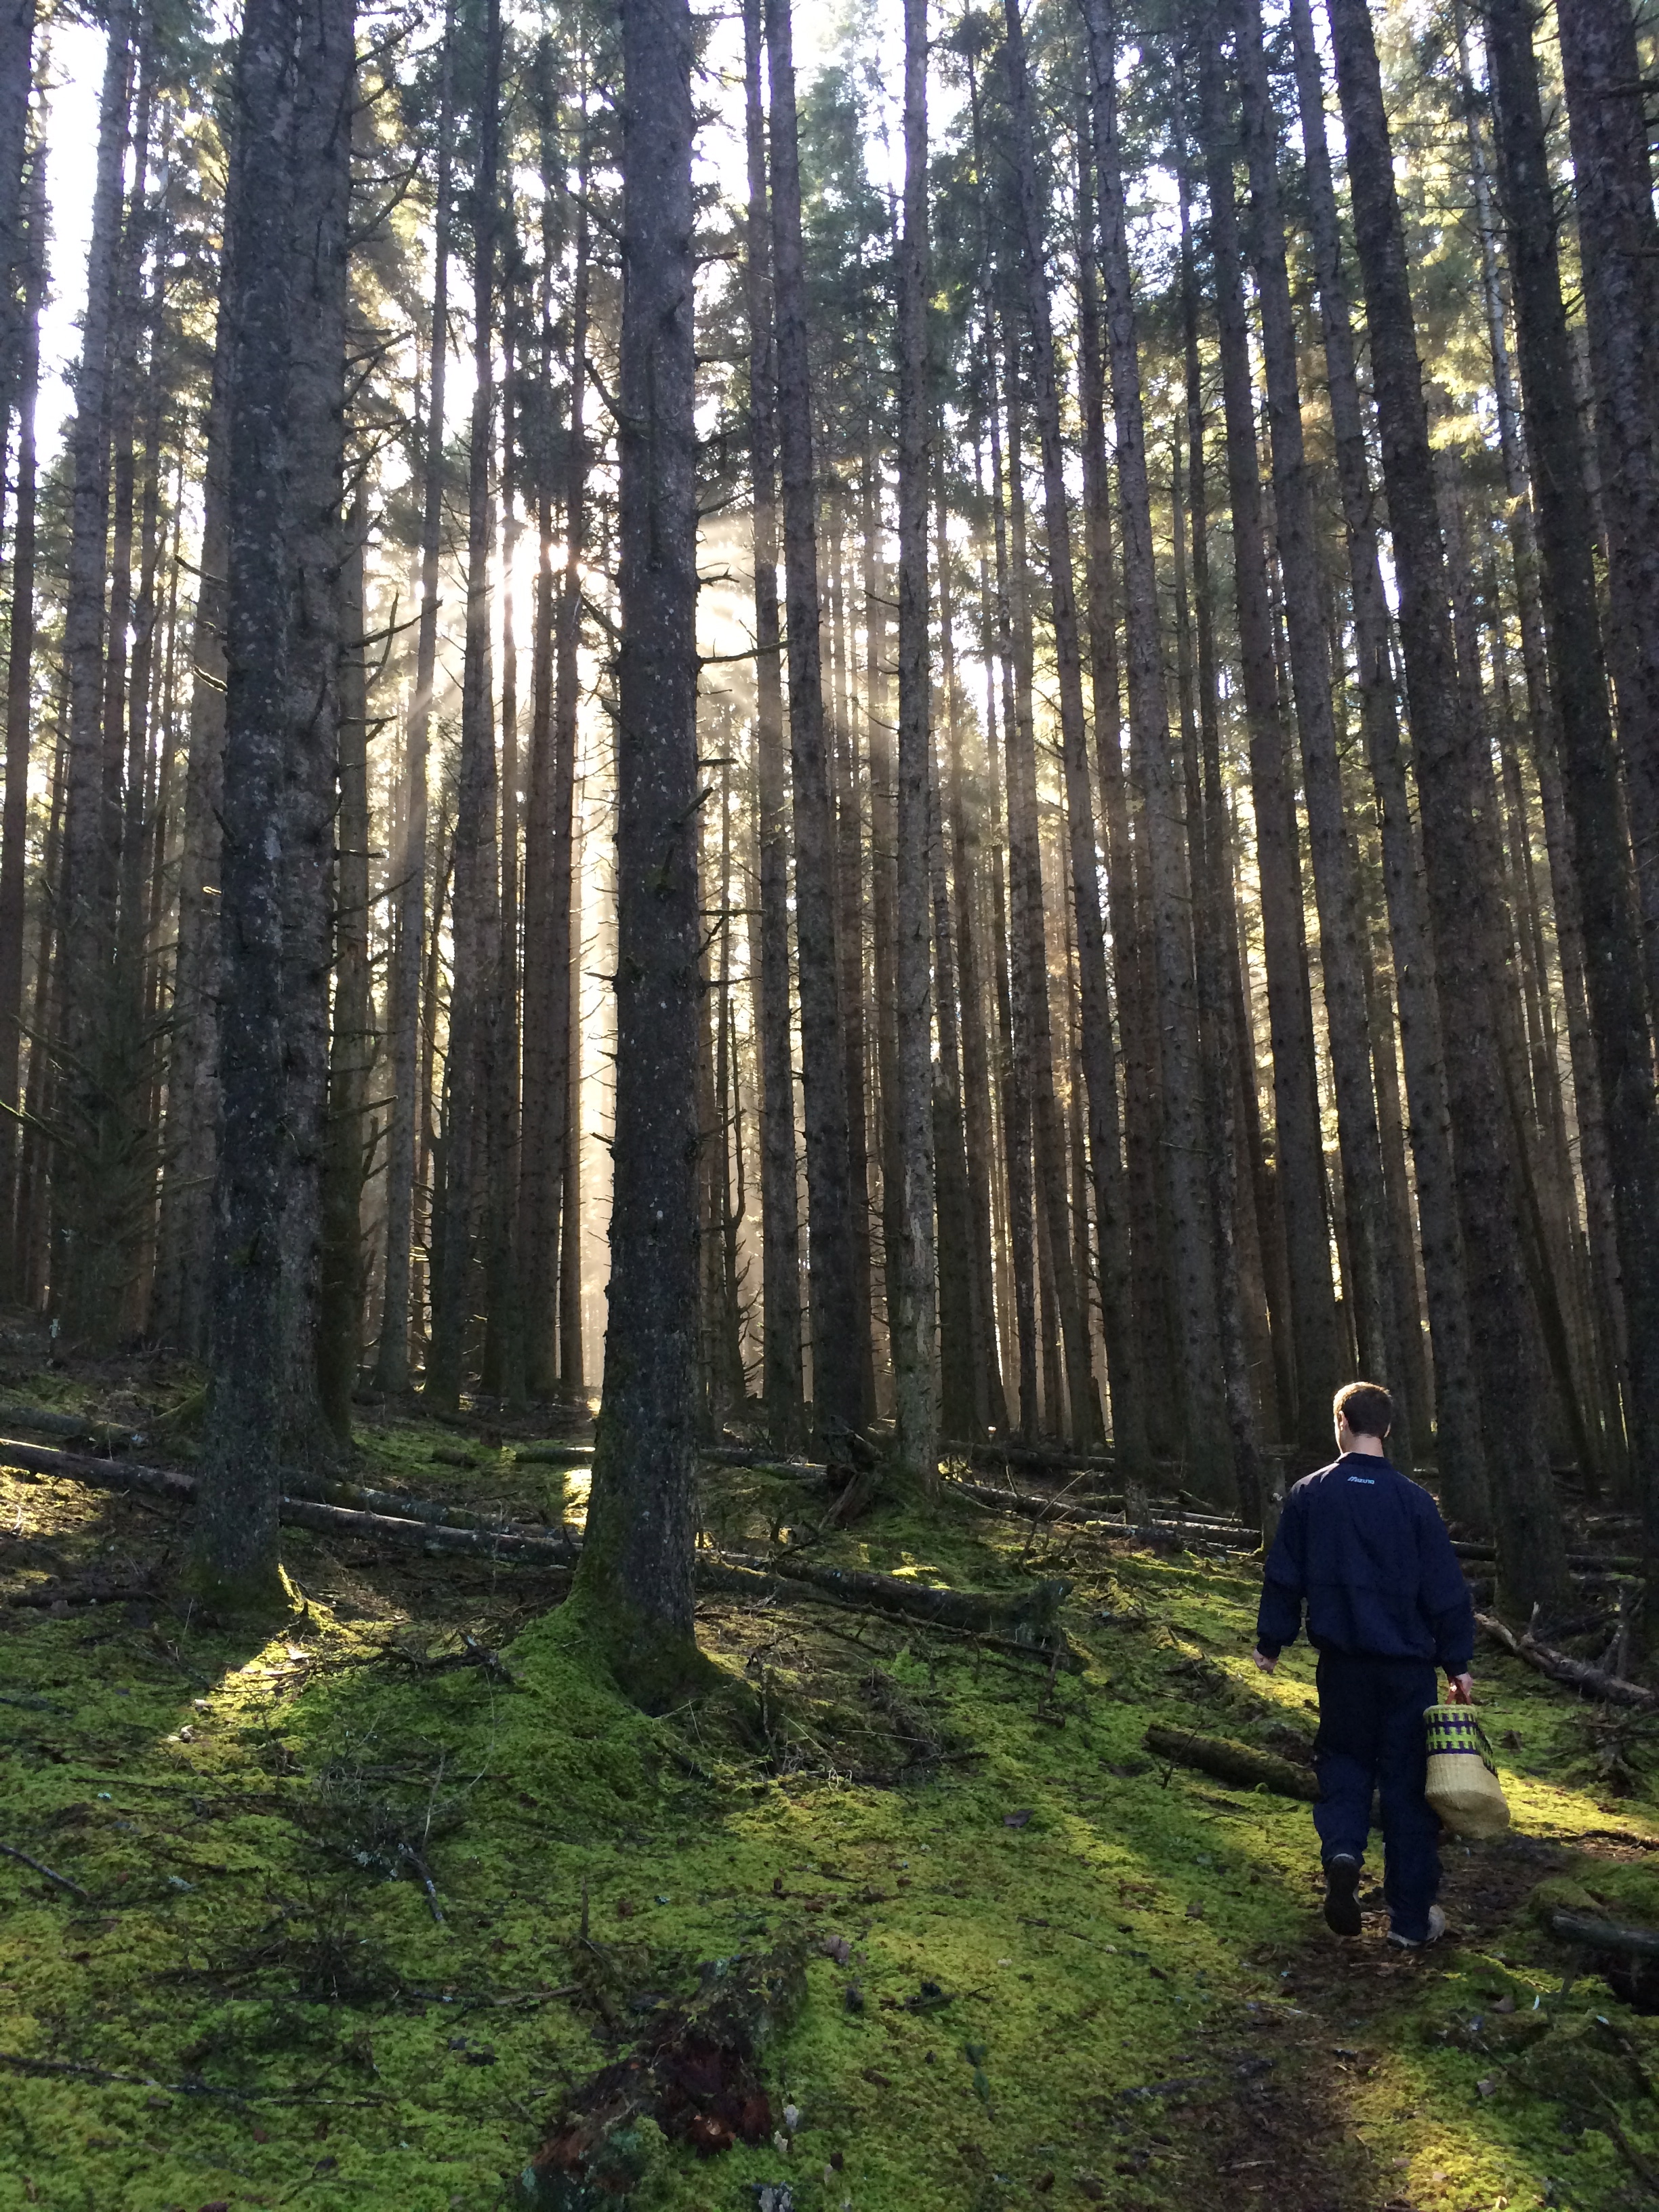
Living in so cal again has been wonderful except for one main thing missing from my life – mushrooms!! It’s been pretty tough for me living in a place without a distinct mushroom season, so I planned a destination mushroom hunting trip to Portland this last week to get my mushroom fix :) It was so fun to tromp around through the woods in the beautiful and wet conifer forests of the Pacific Northwest. Unfortunately I missed out on finding any porcinis or chanterelles or matsutakes, but I did happen upon a relatively rare and special find Sparasiss radicata, commonly known as the cauliflower mushroom.

2016-12-04-15-06-06

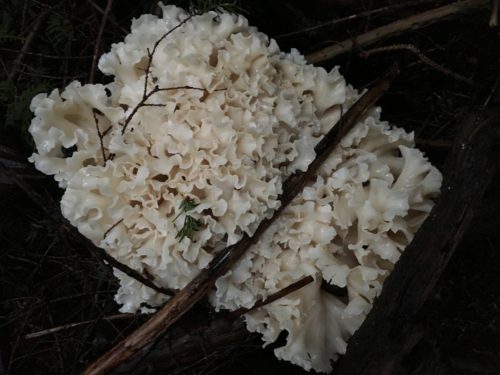
Sparassis radiata, the cauliflower mushroom

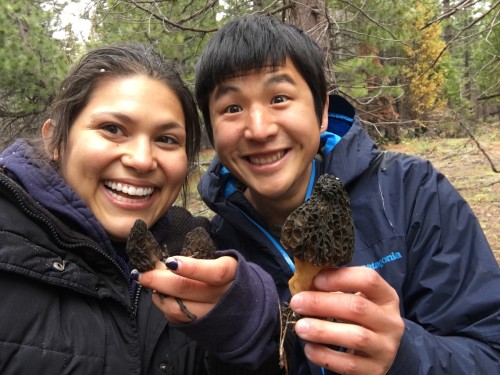
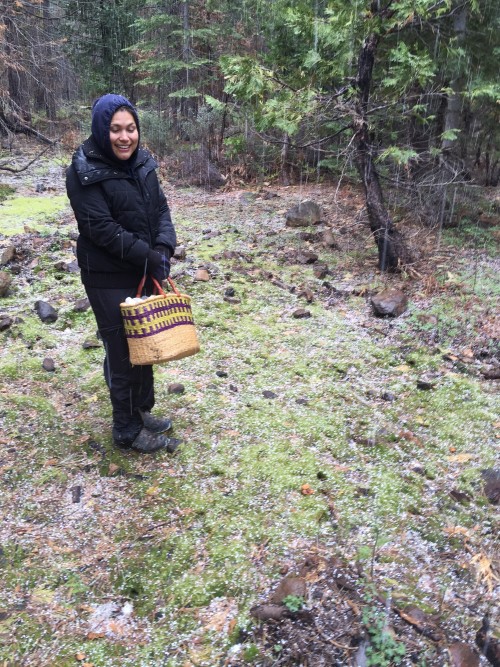
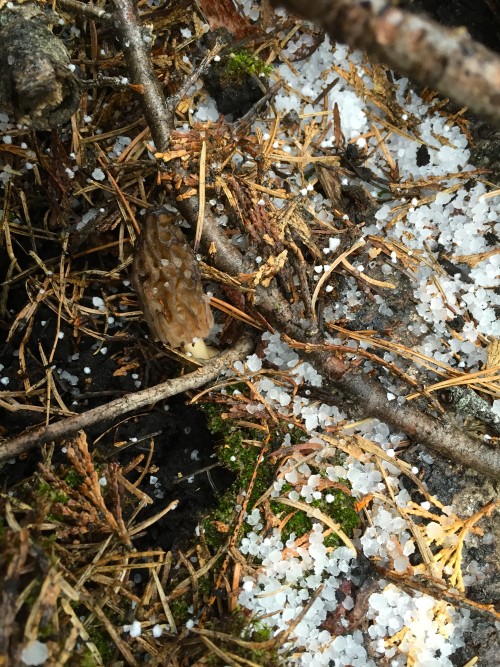
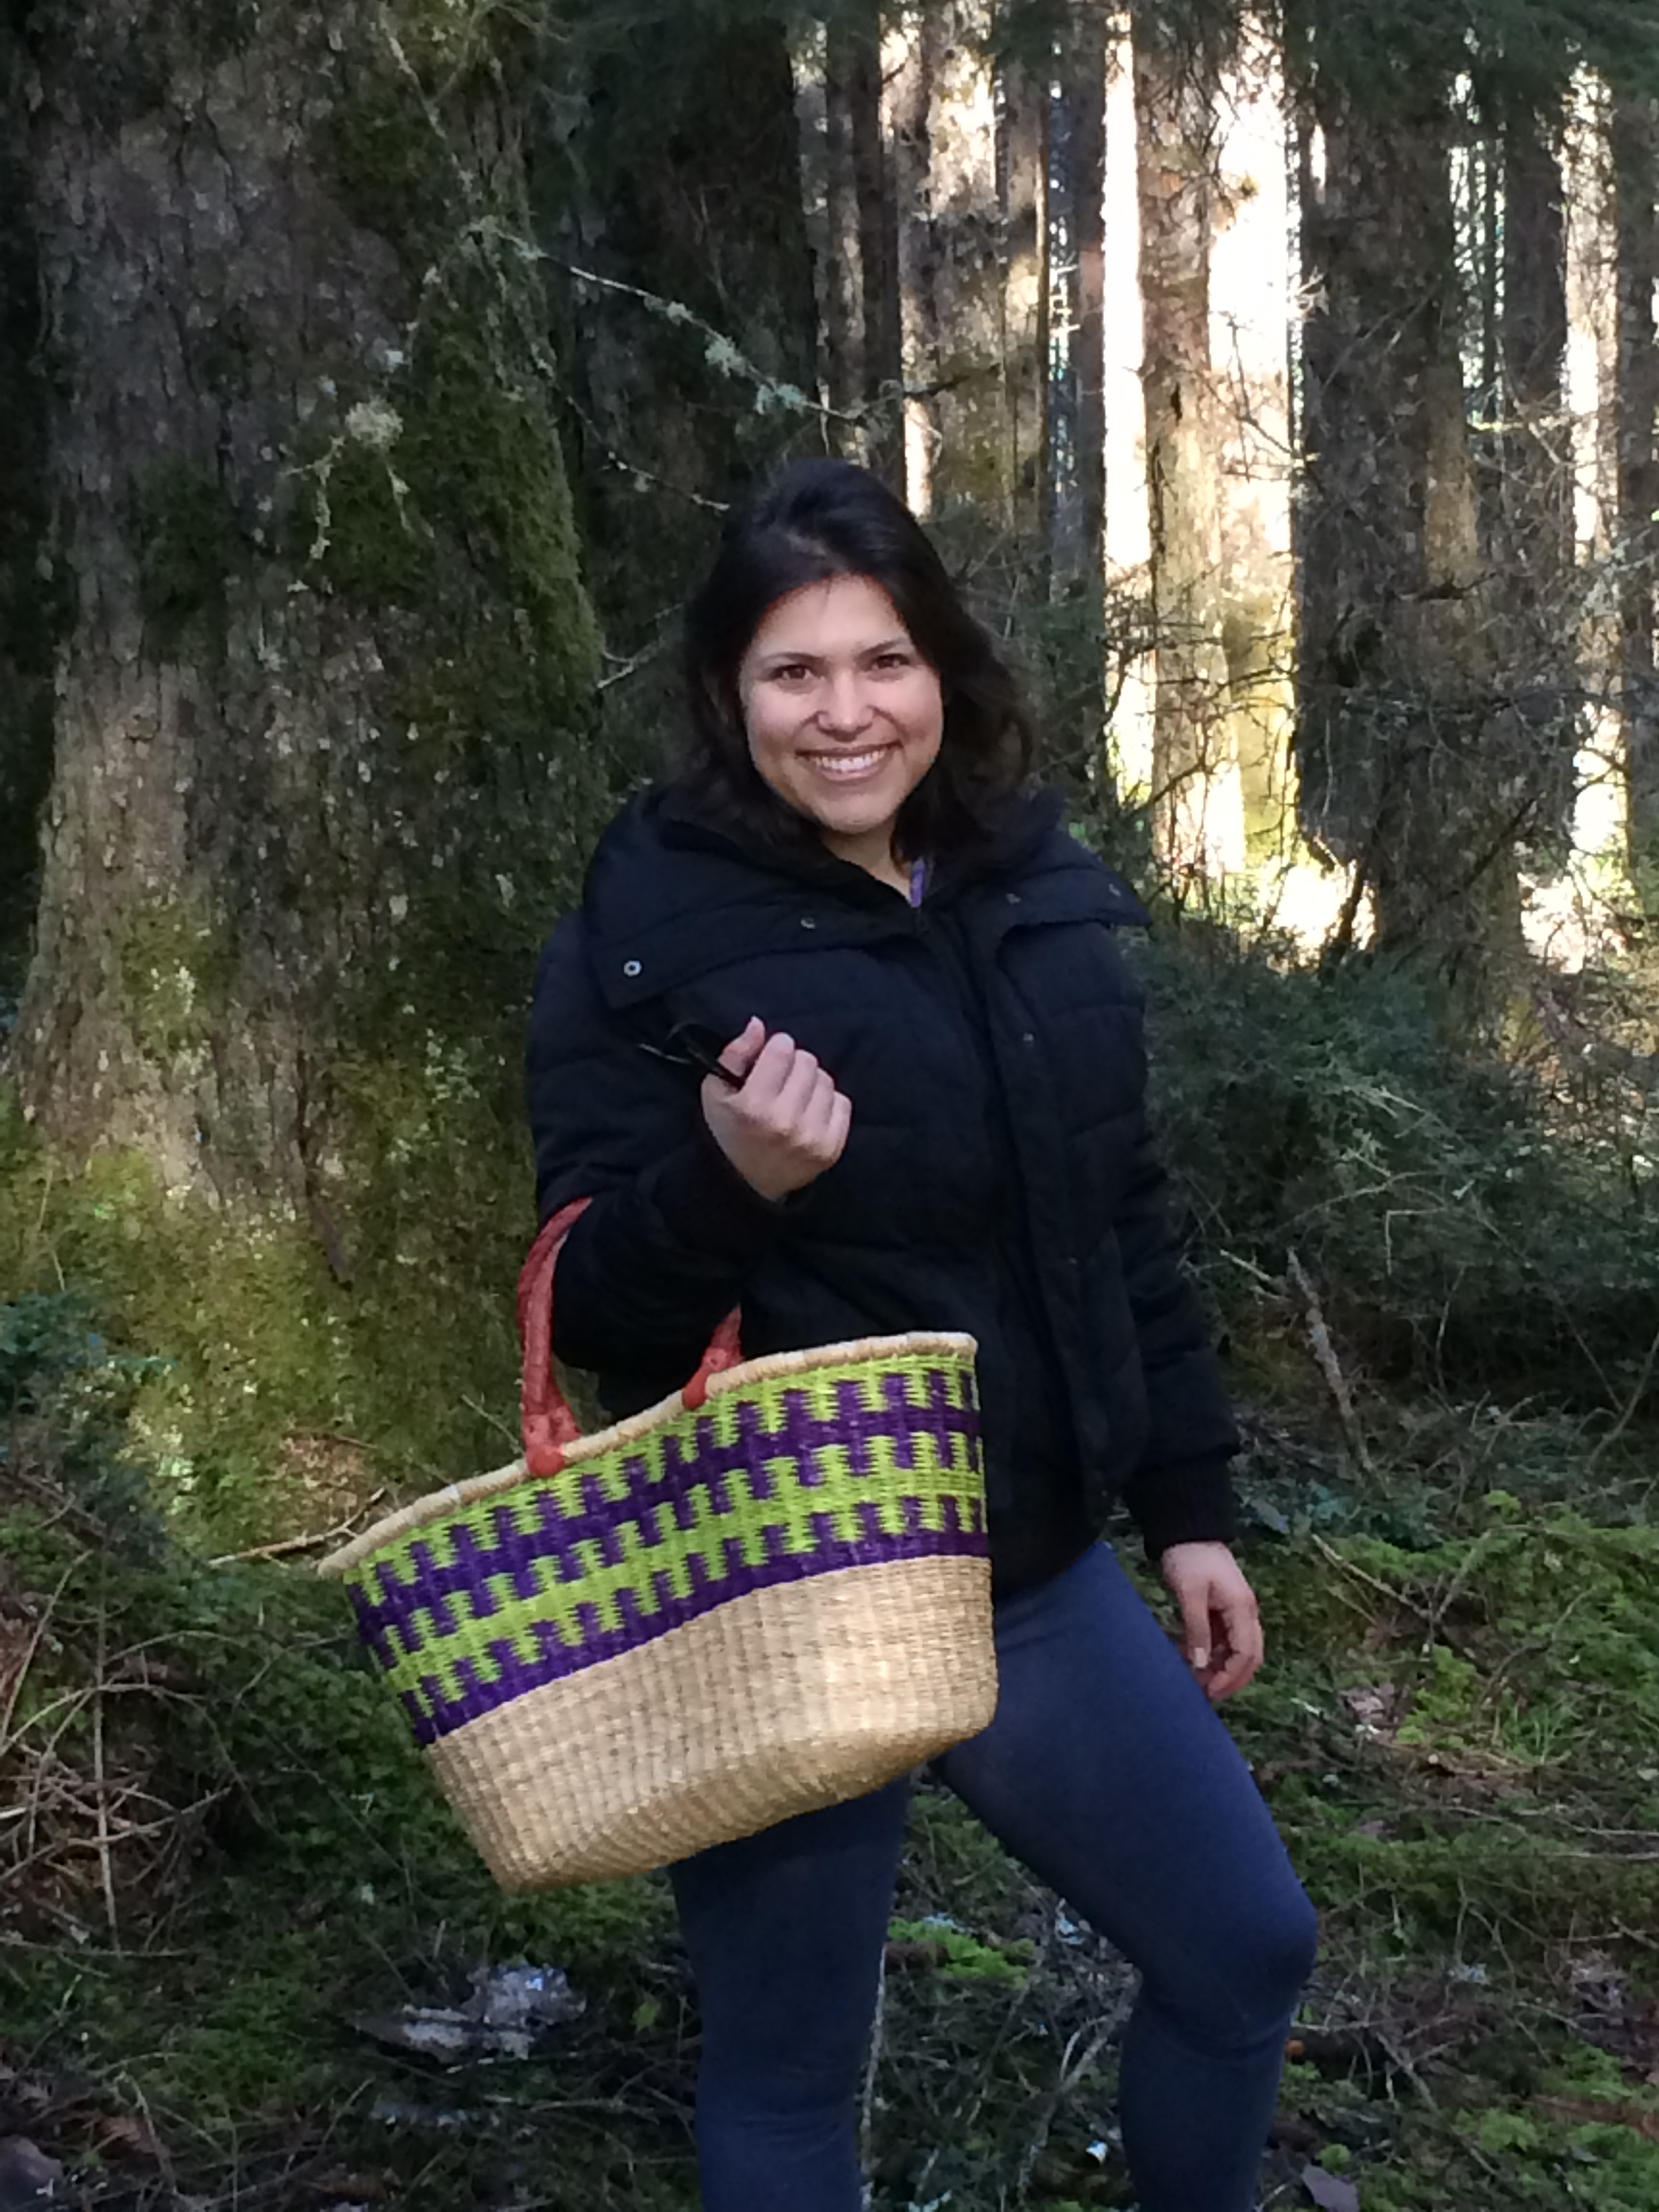
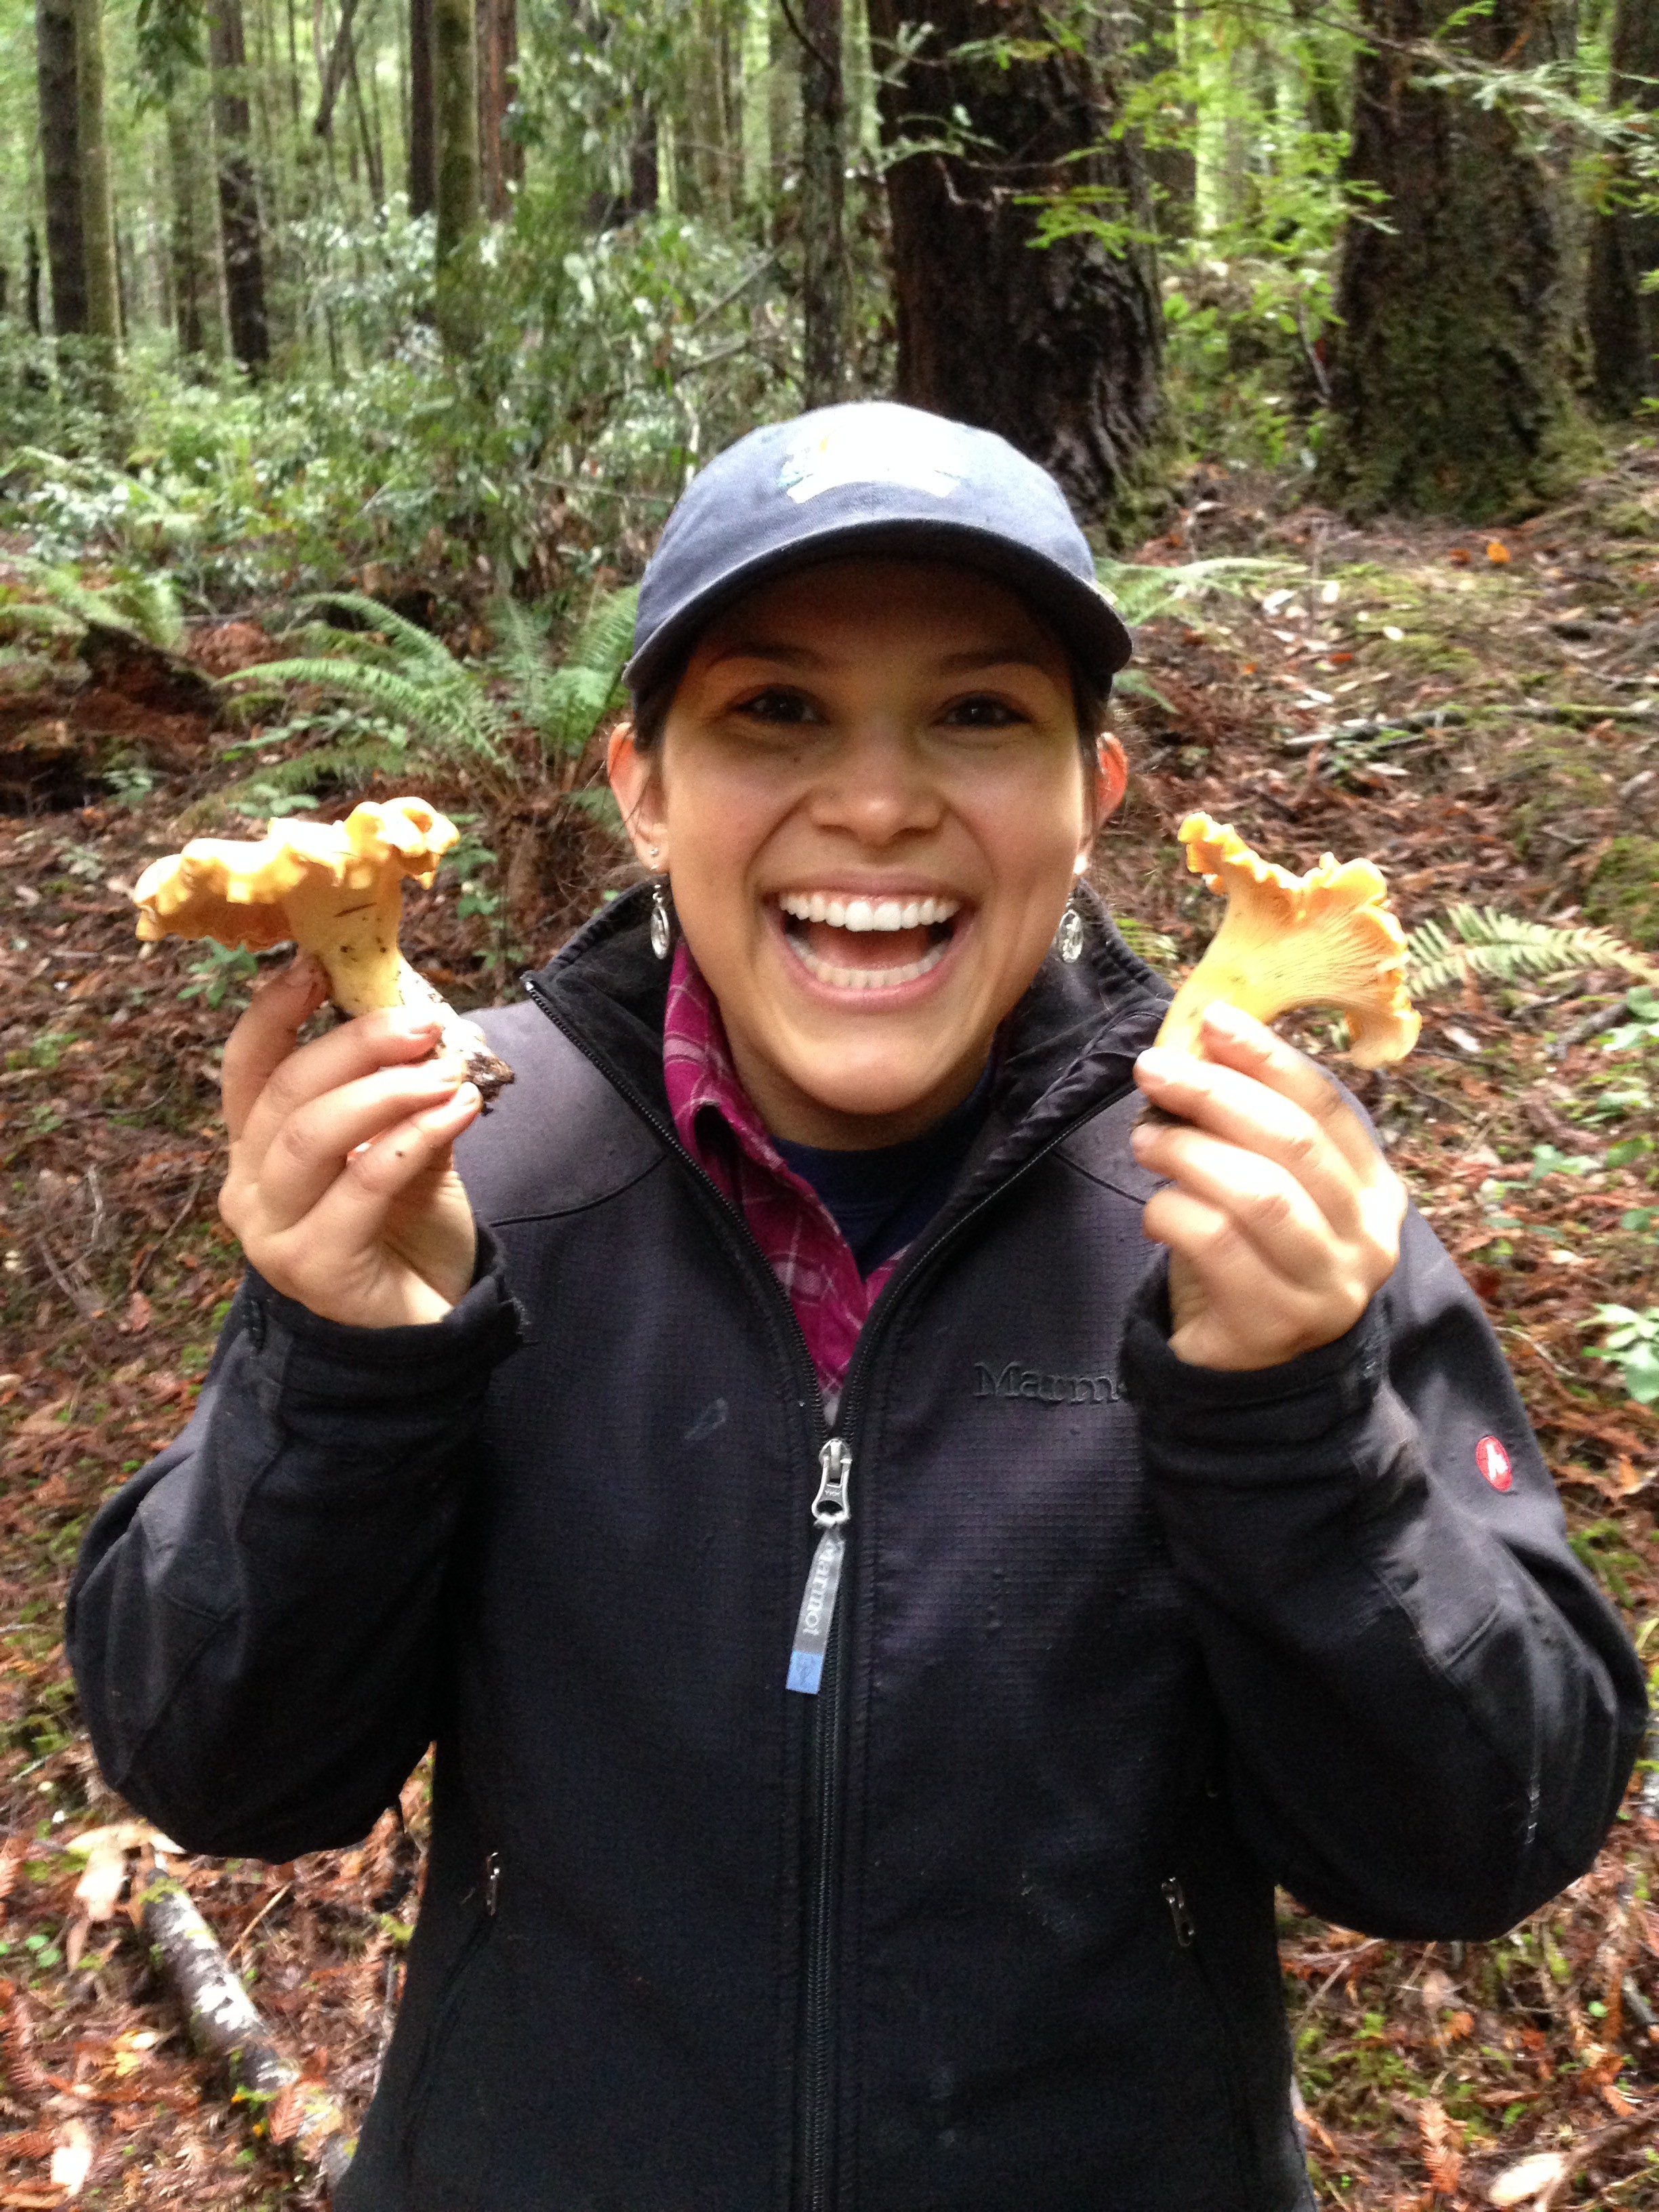
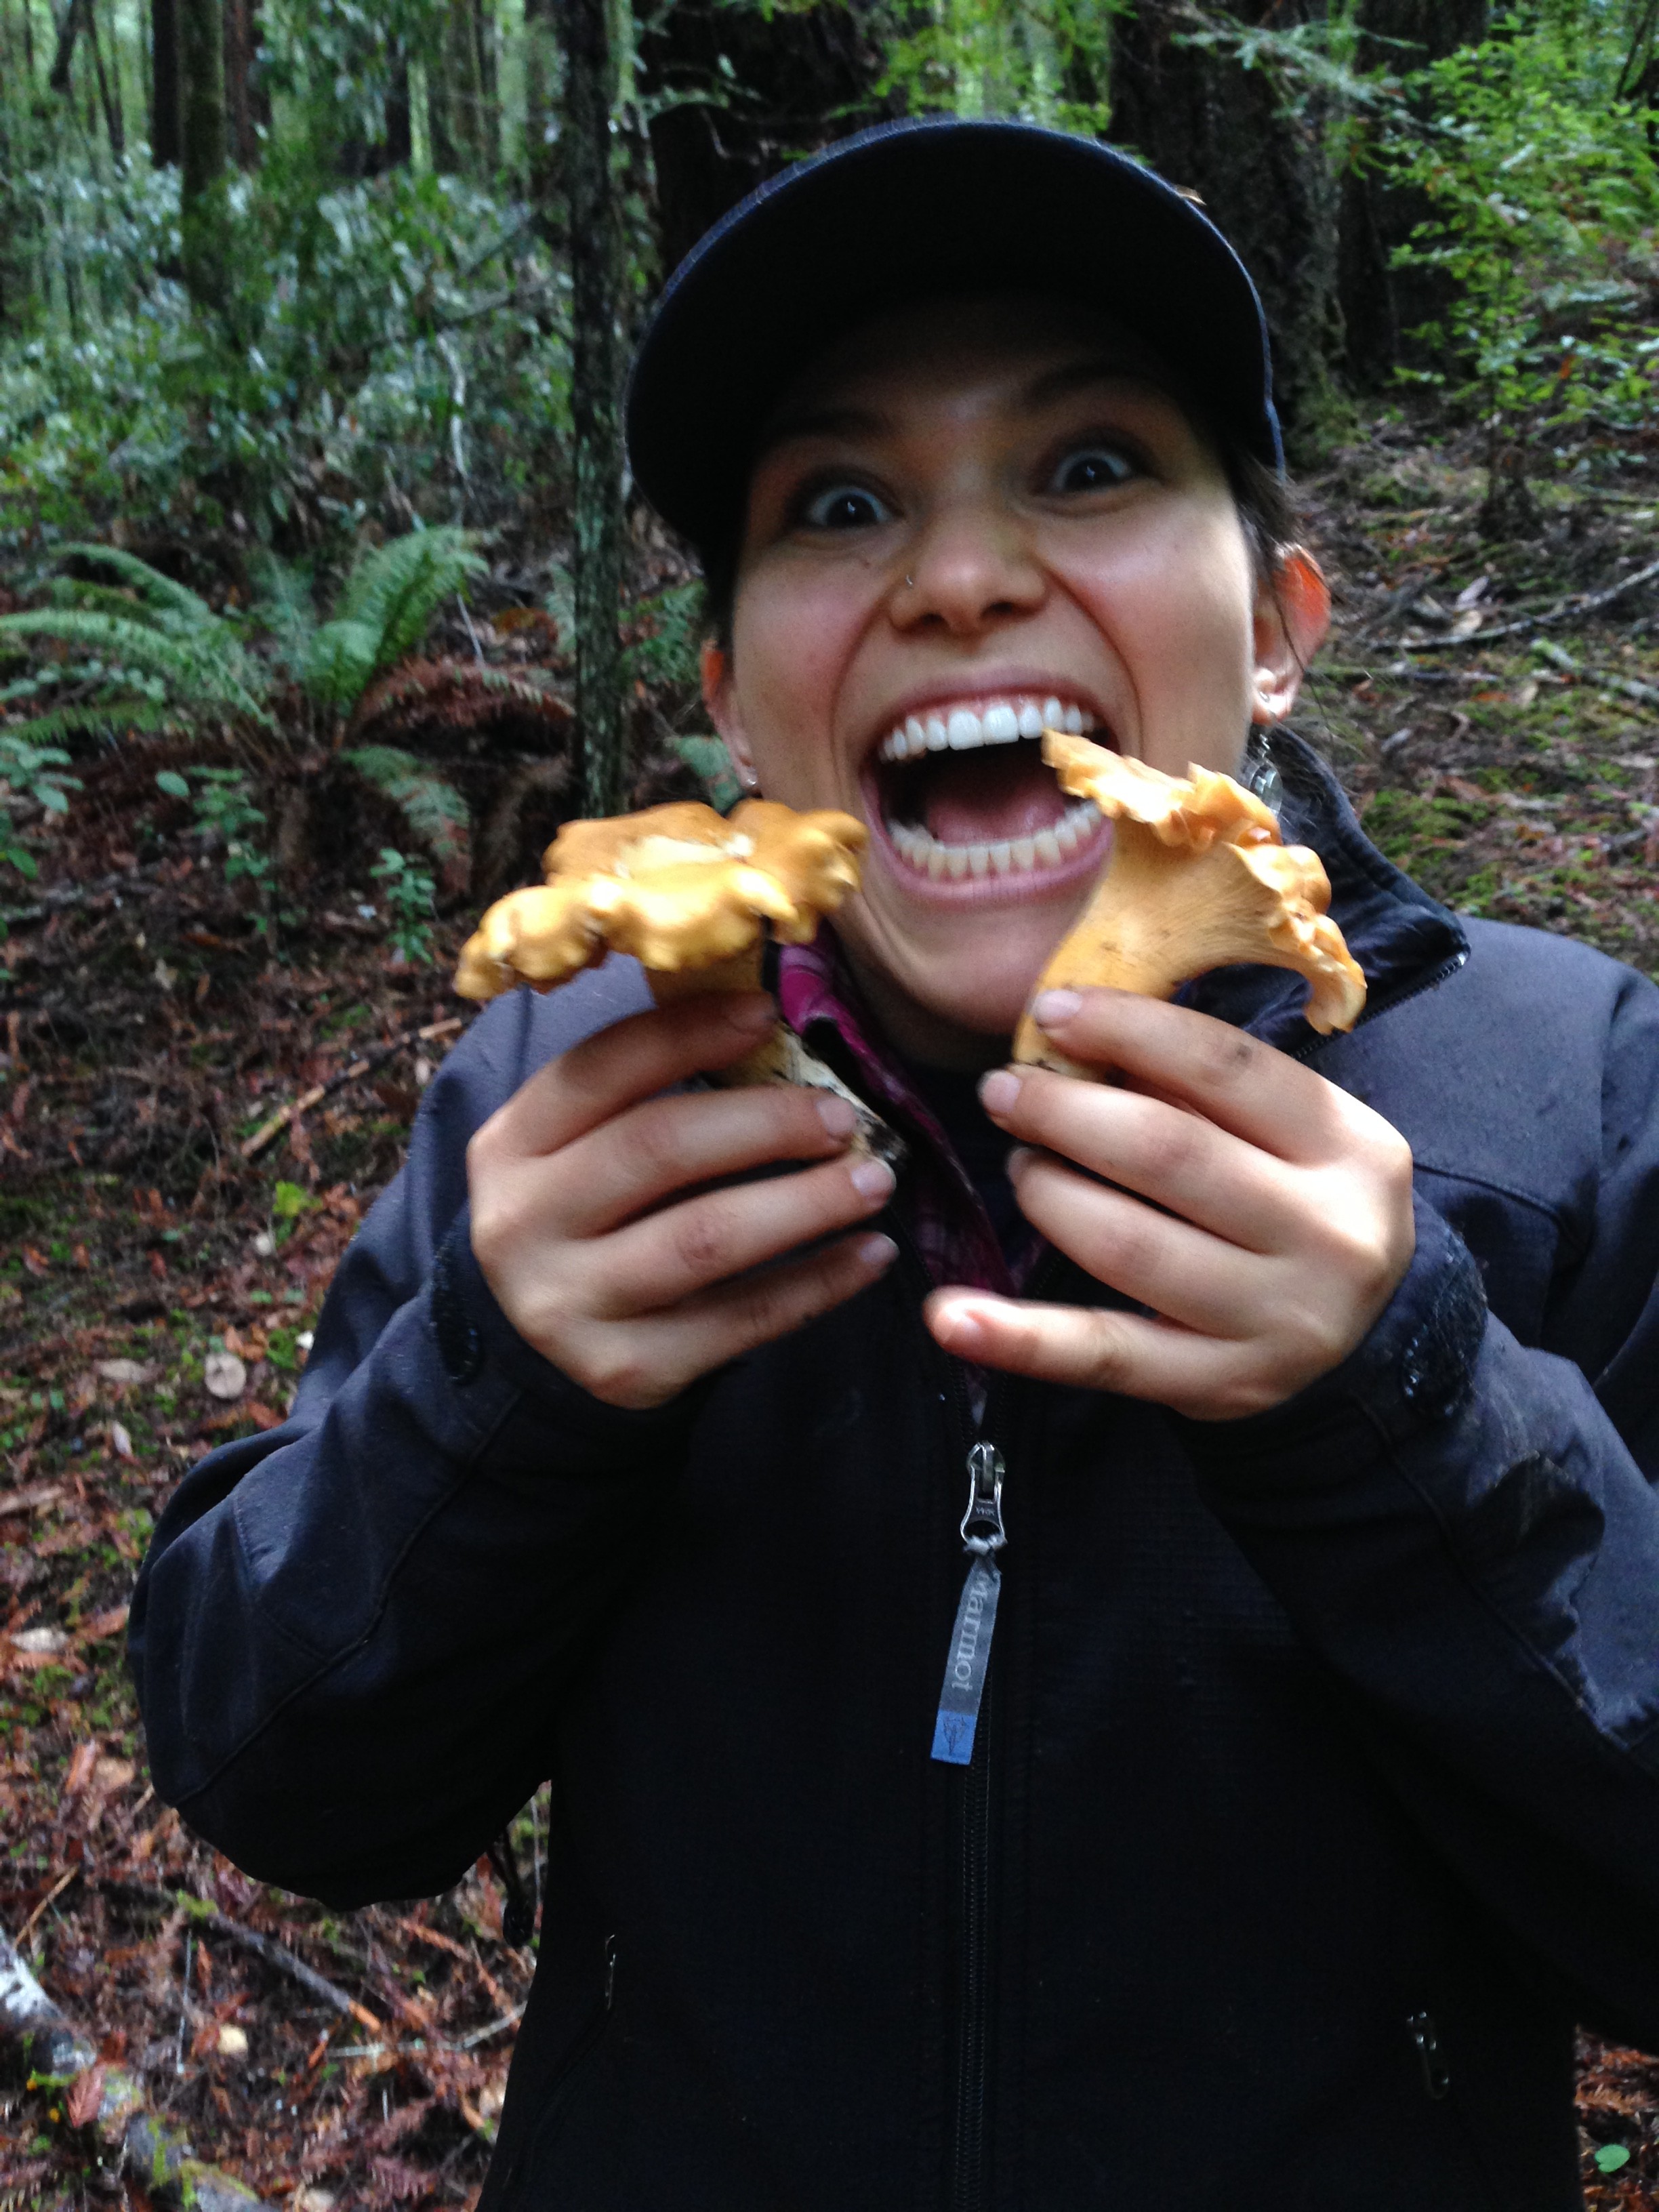
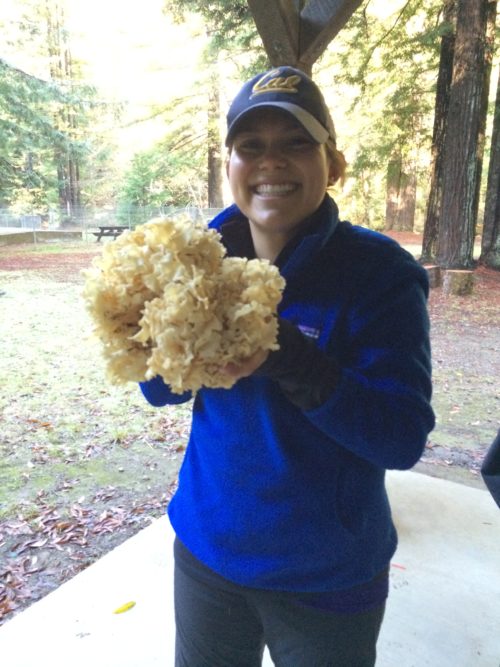
Sparassis radicata  is a wood decay fungus that tends to be found on the ground under dead conifers. I have only found one other Sparassis in my life and they are very tasty and hearty so I was super excited to find it again! It was about 35 degrees F, raining, and hailing, so I definitely worked hard for my find, but looking at the huge smile on my face you can tell it was worth it :)

2016-12-04-15-06-59

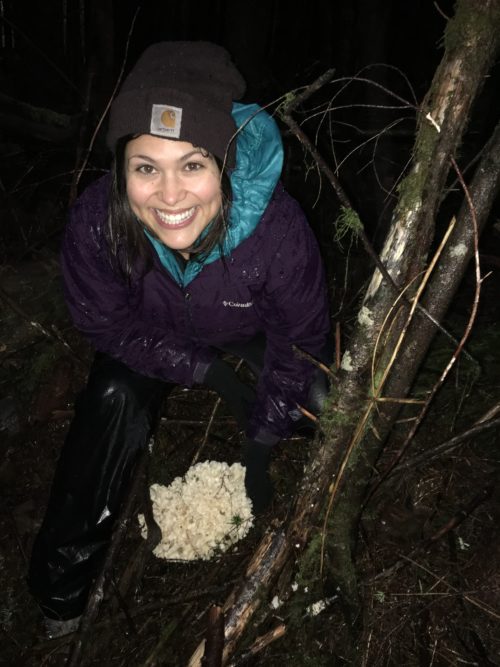
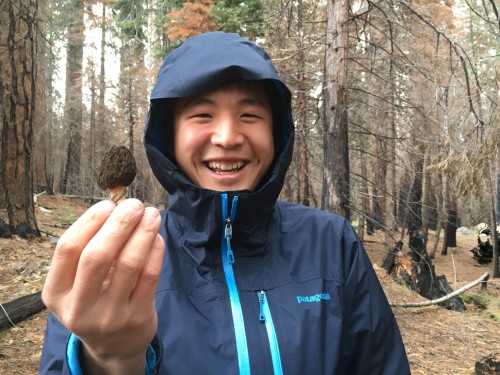
It was worth it to trek through the rain and hail to find this mushroom!

It was dark and rainy in the understory, which made it difficult to get a good photo, but you can tell that I’m super happy to finally have a giant edible mushroom in my hand.

2016-12-04-15-07-49

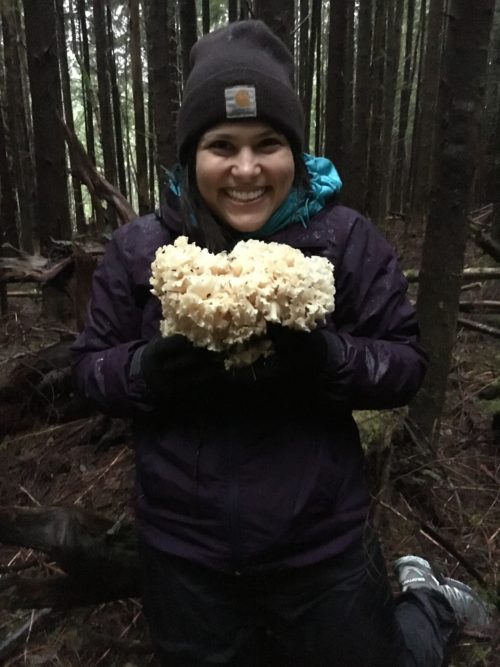
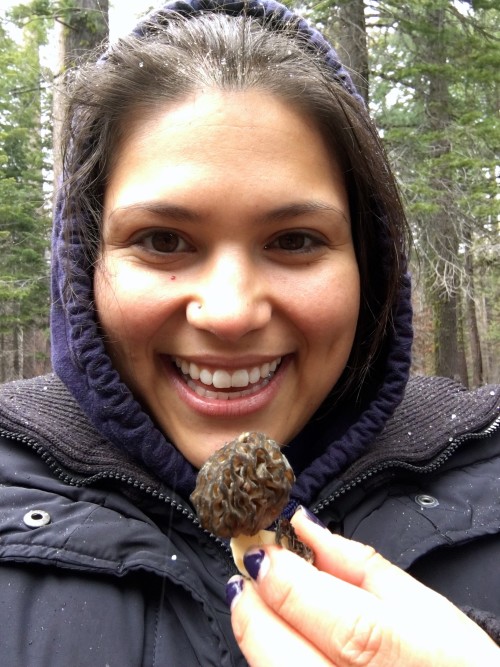
Cold and wet, but smiling huge with my giant Sparassis radicata mushroom bounty :)

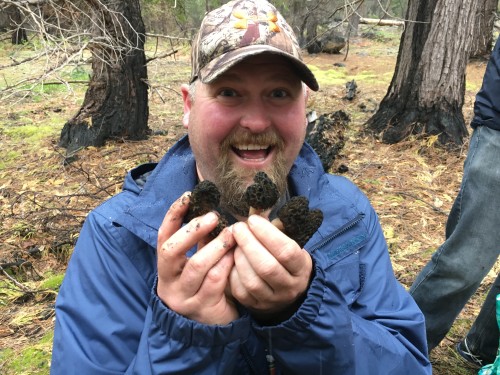
The last time I found one of these was back in in 2013 in Mendocino, CA. I typically think of it as a mushroom that you need a relatively old growth forest to find, so it is not a mushroom you find very often. Again, you can see the huge smile the Sparassis puts on my face :)

2013-11-24-11-07-26

2013 -Last time I found a Sparassis – this mushroom sure knows how to put a smile on my face!

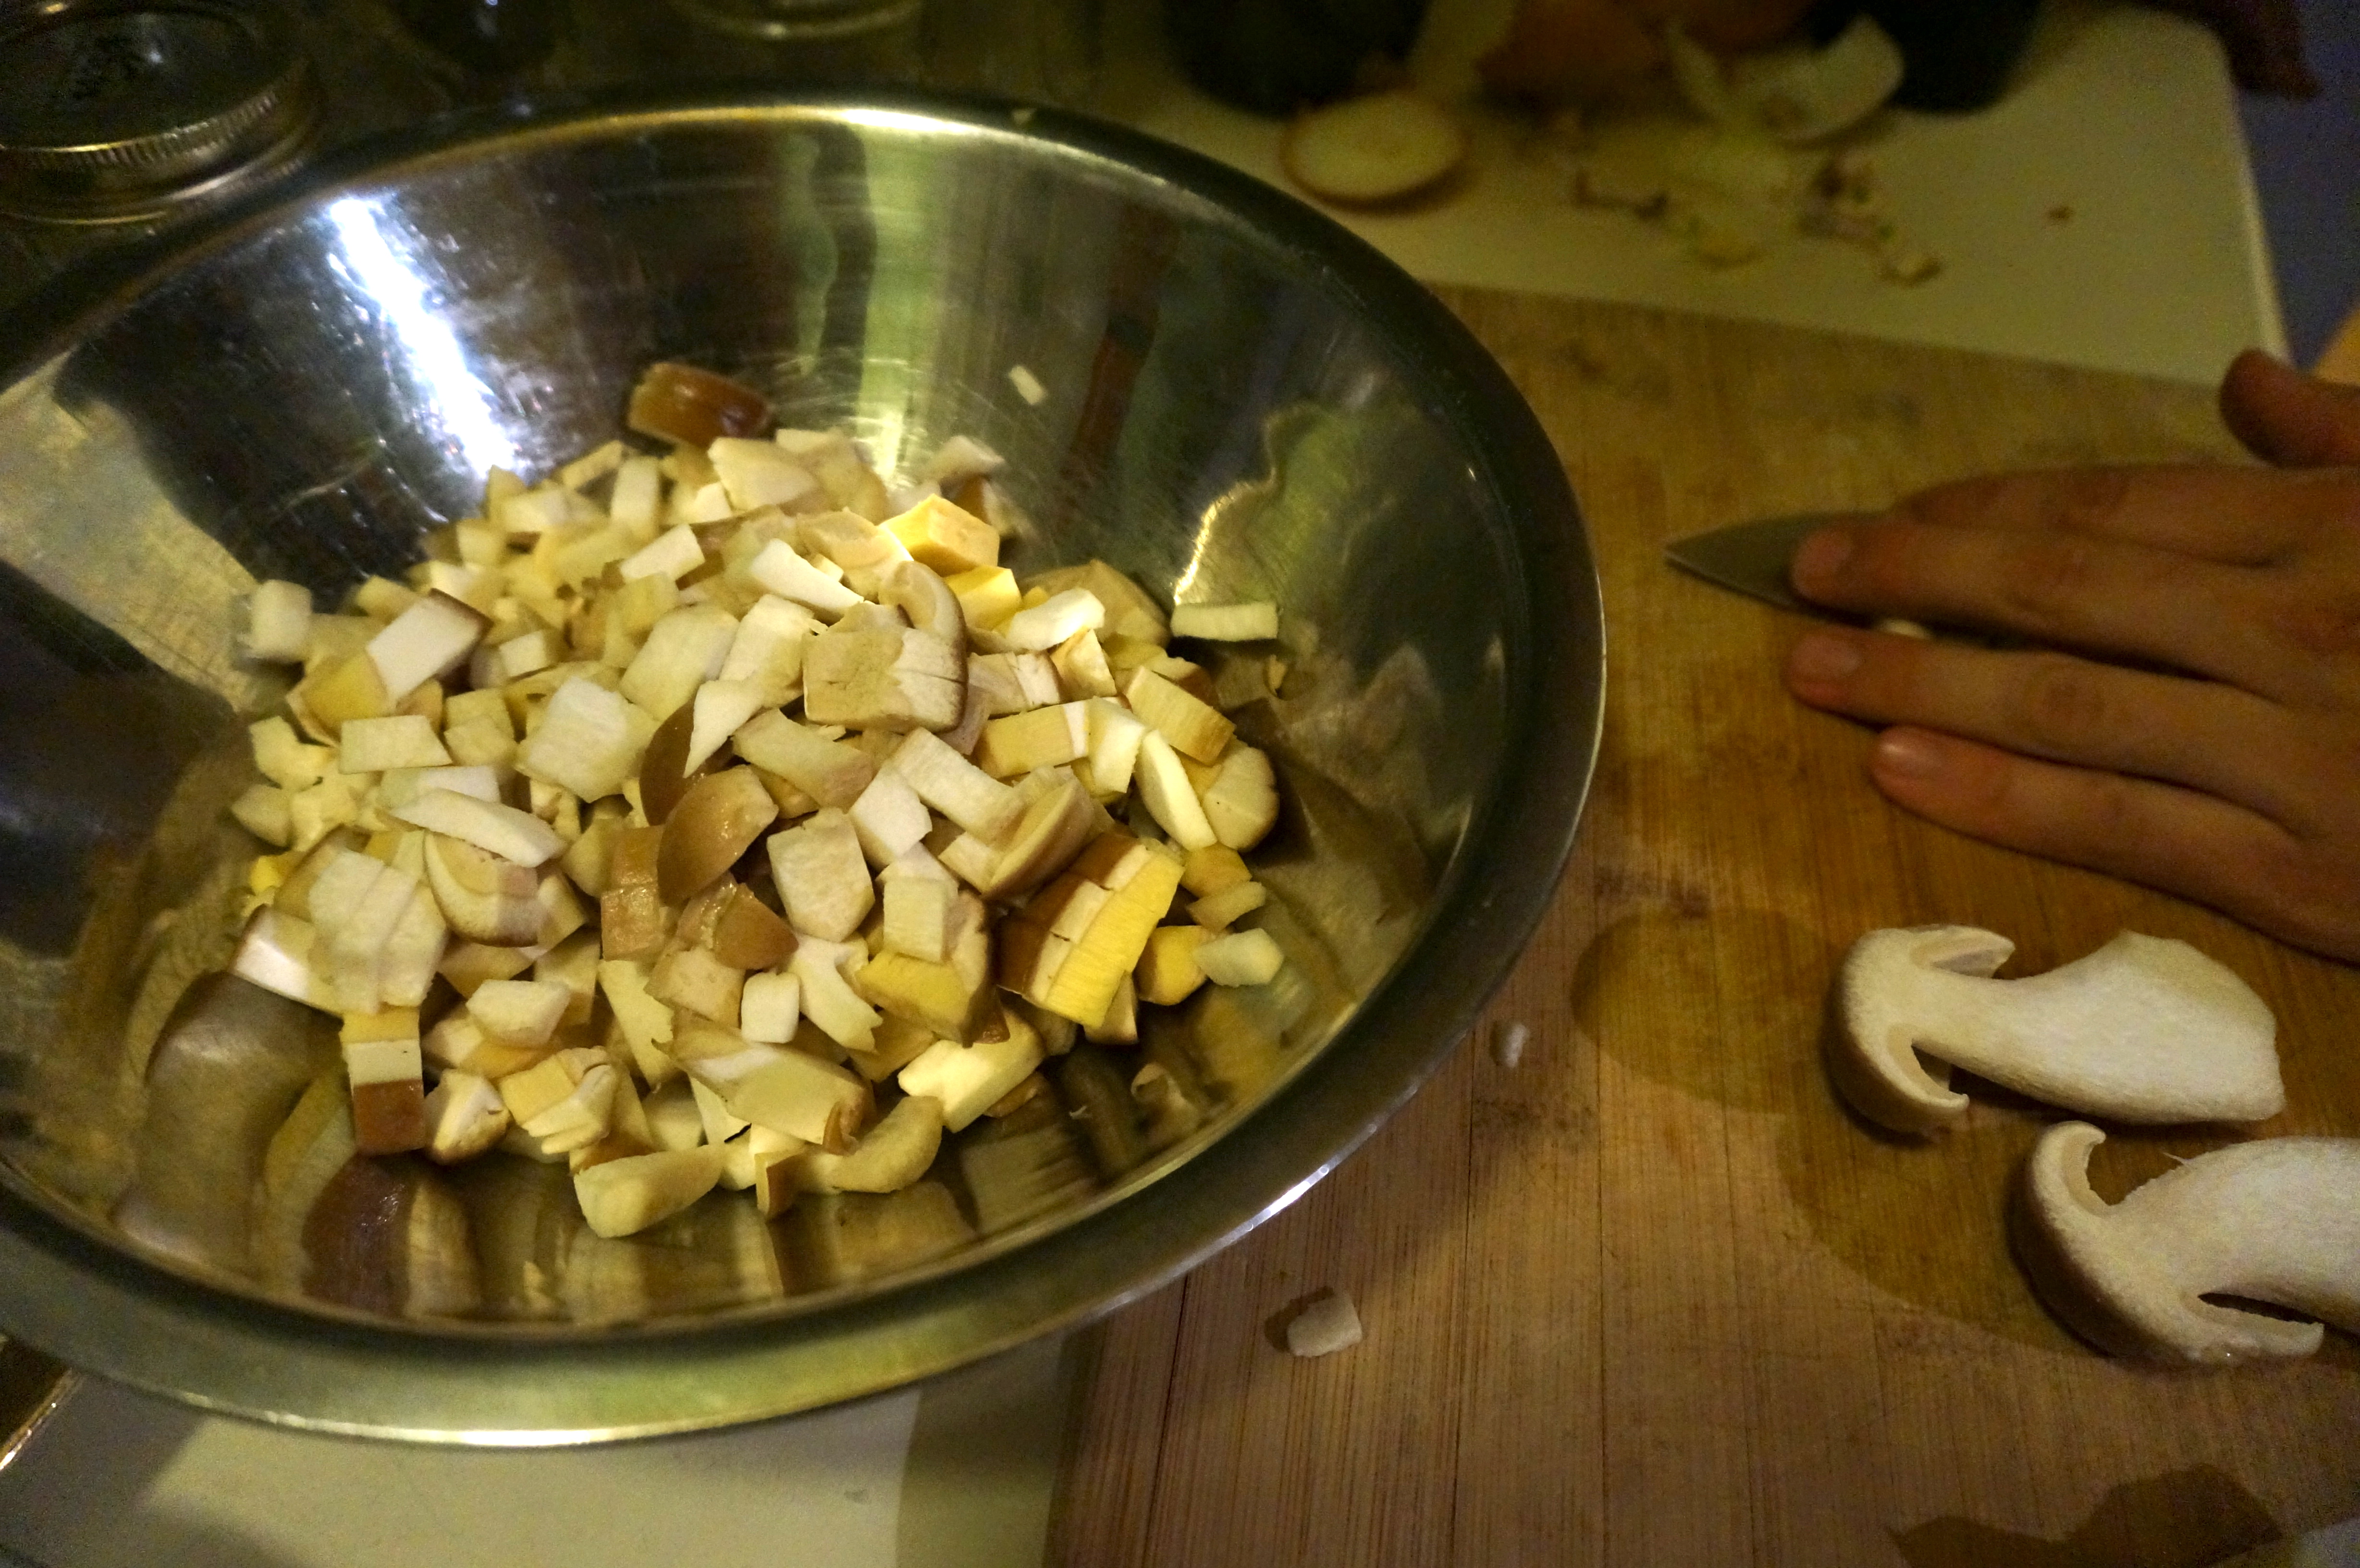
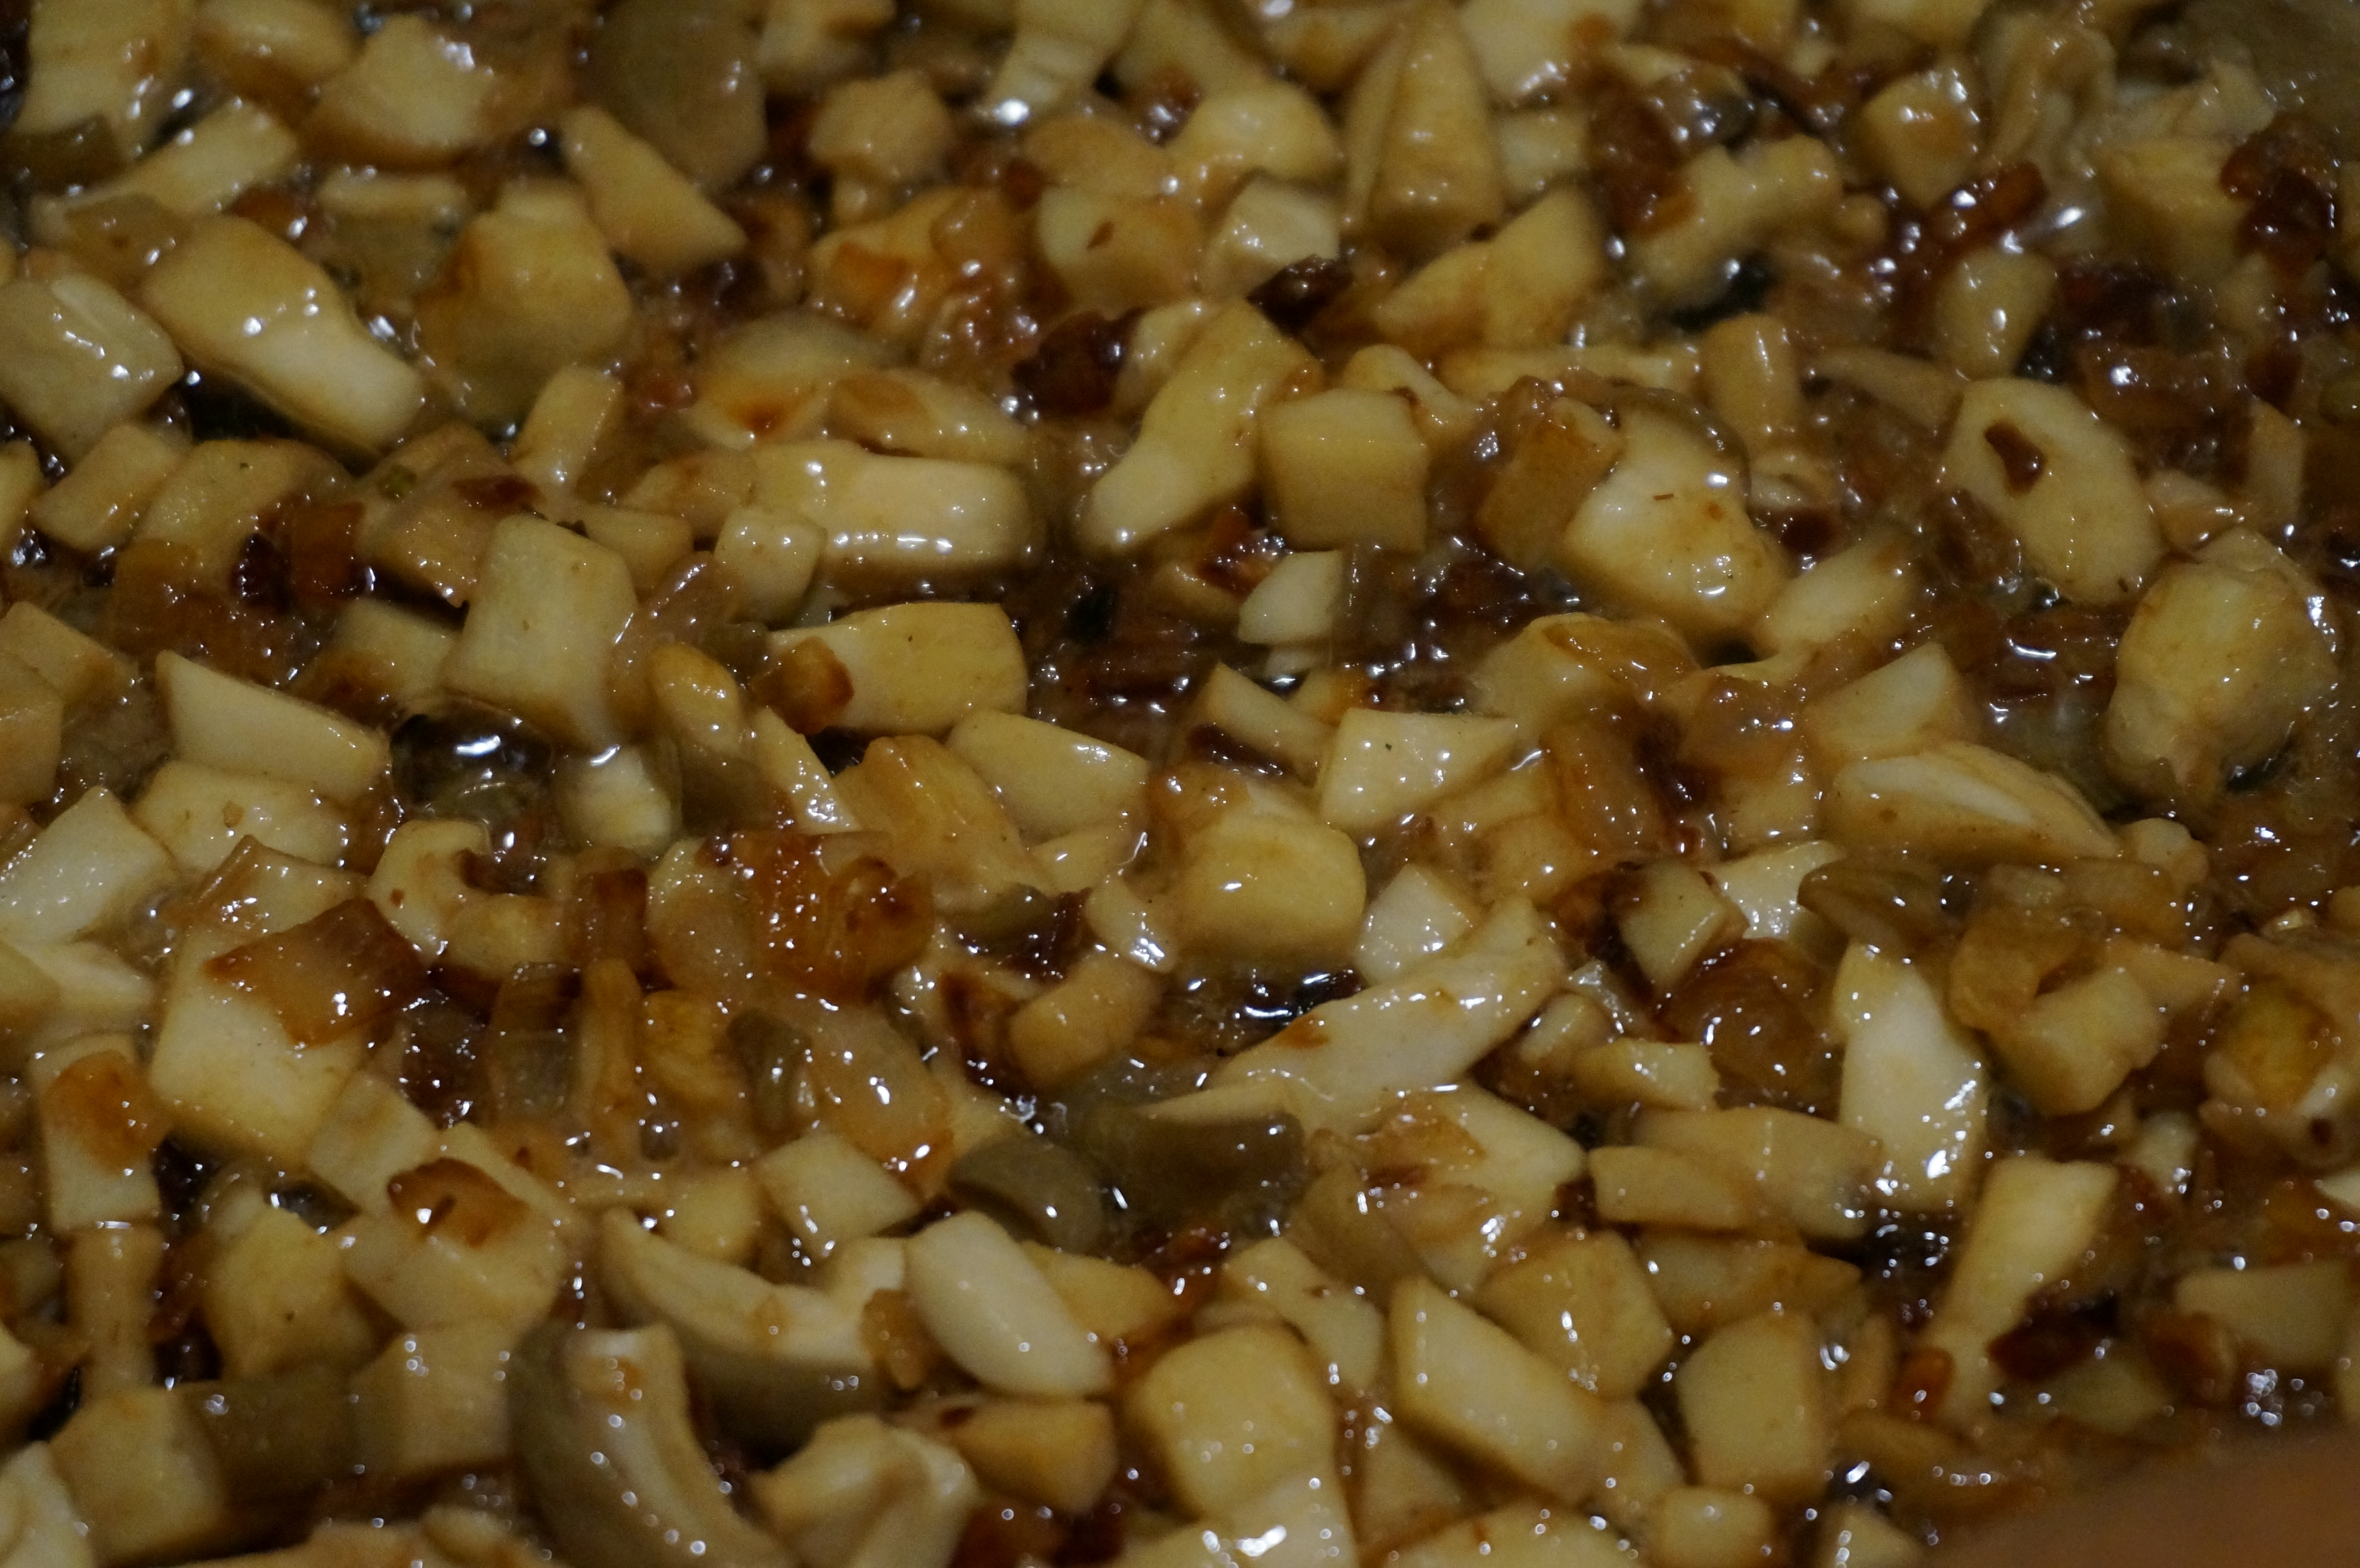
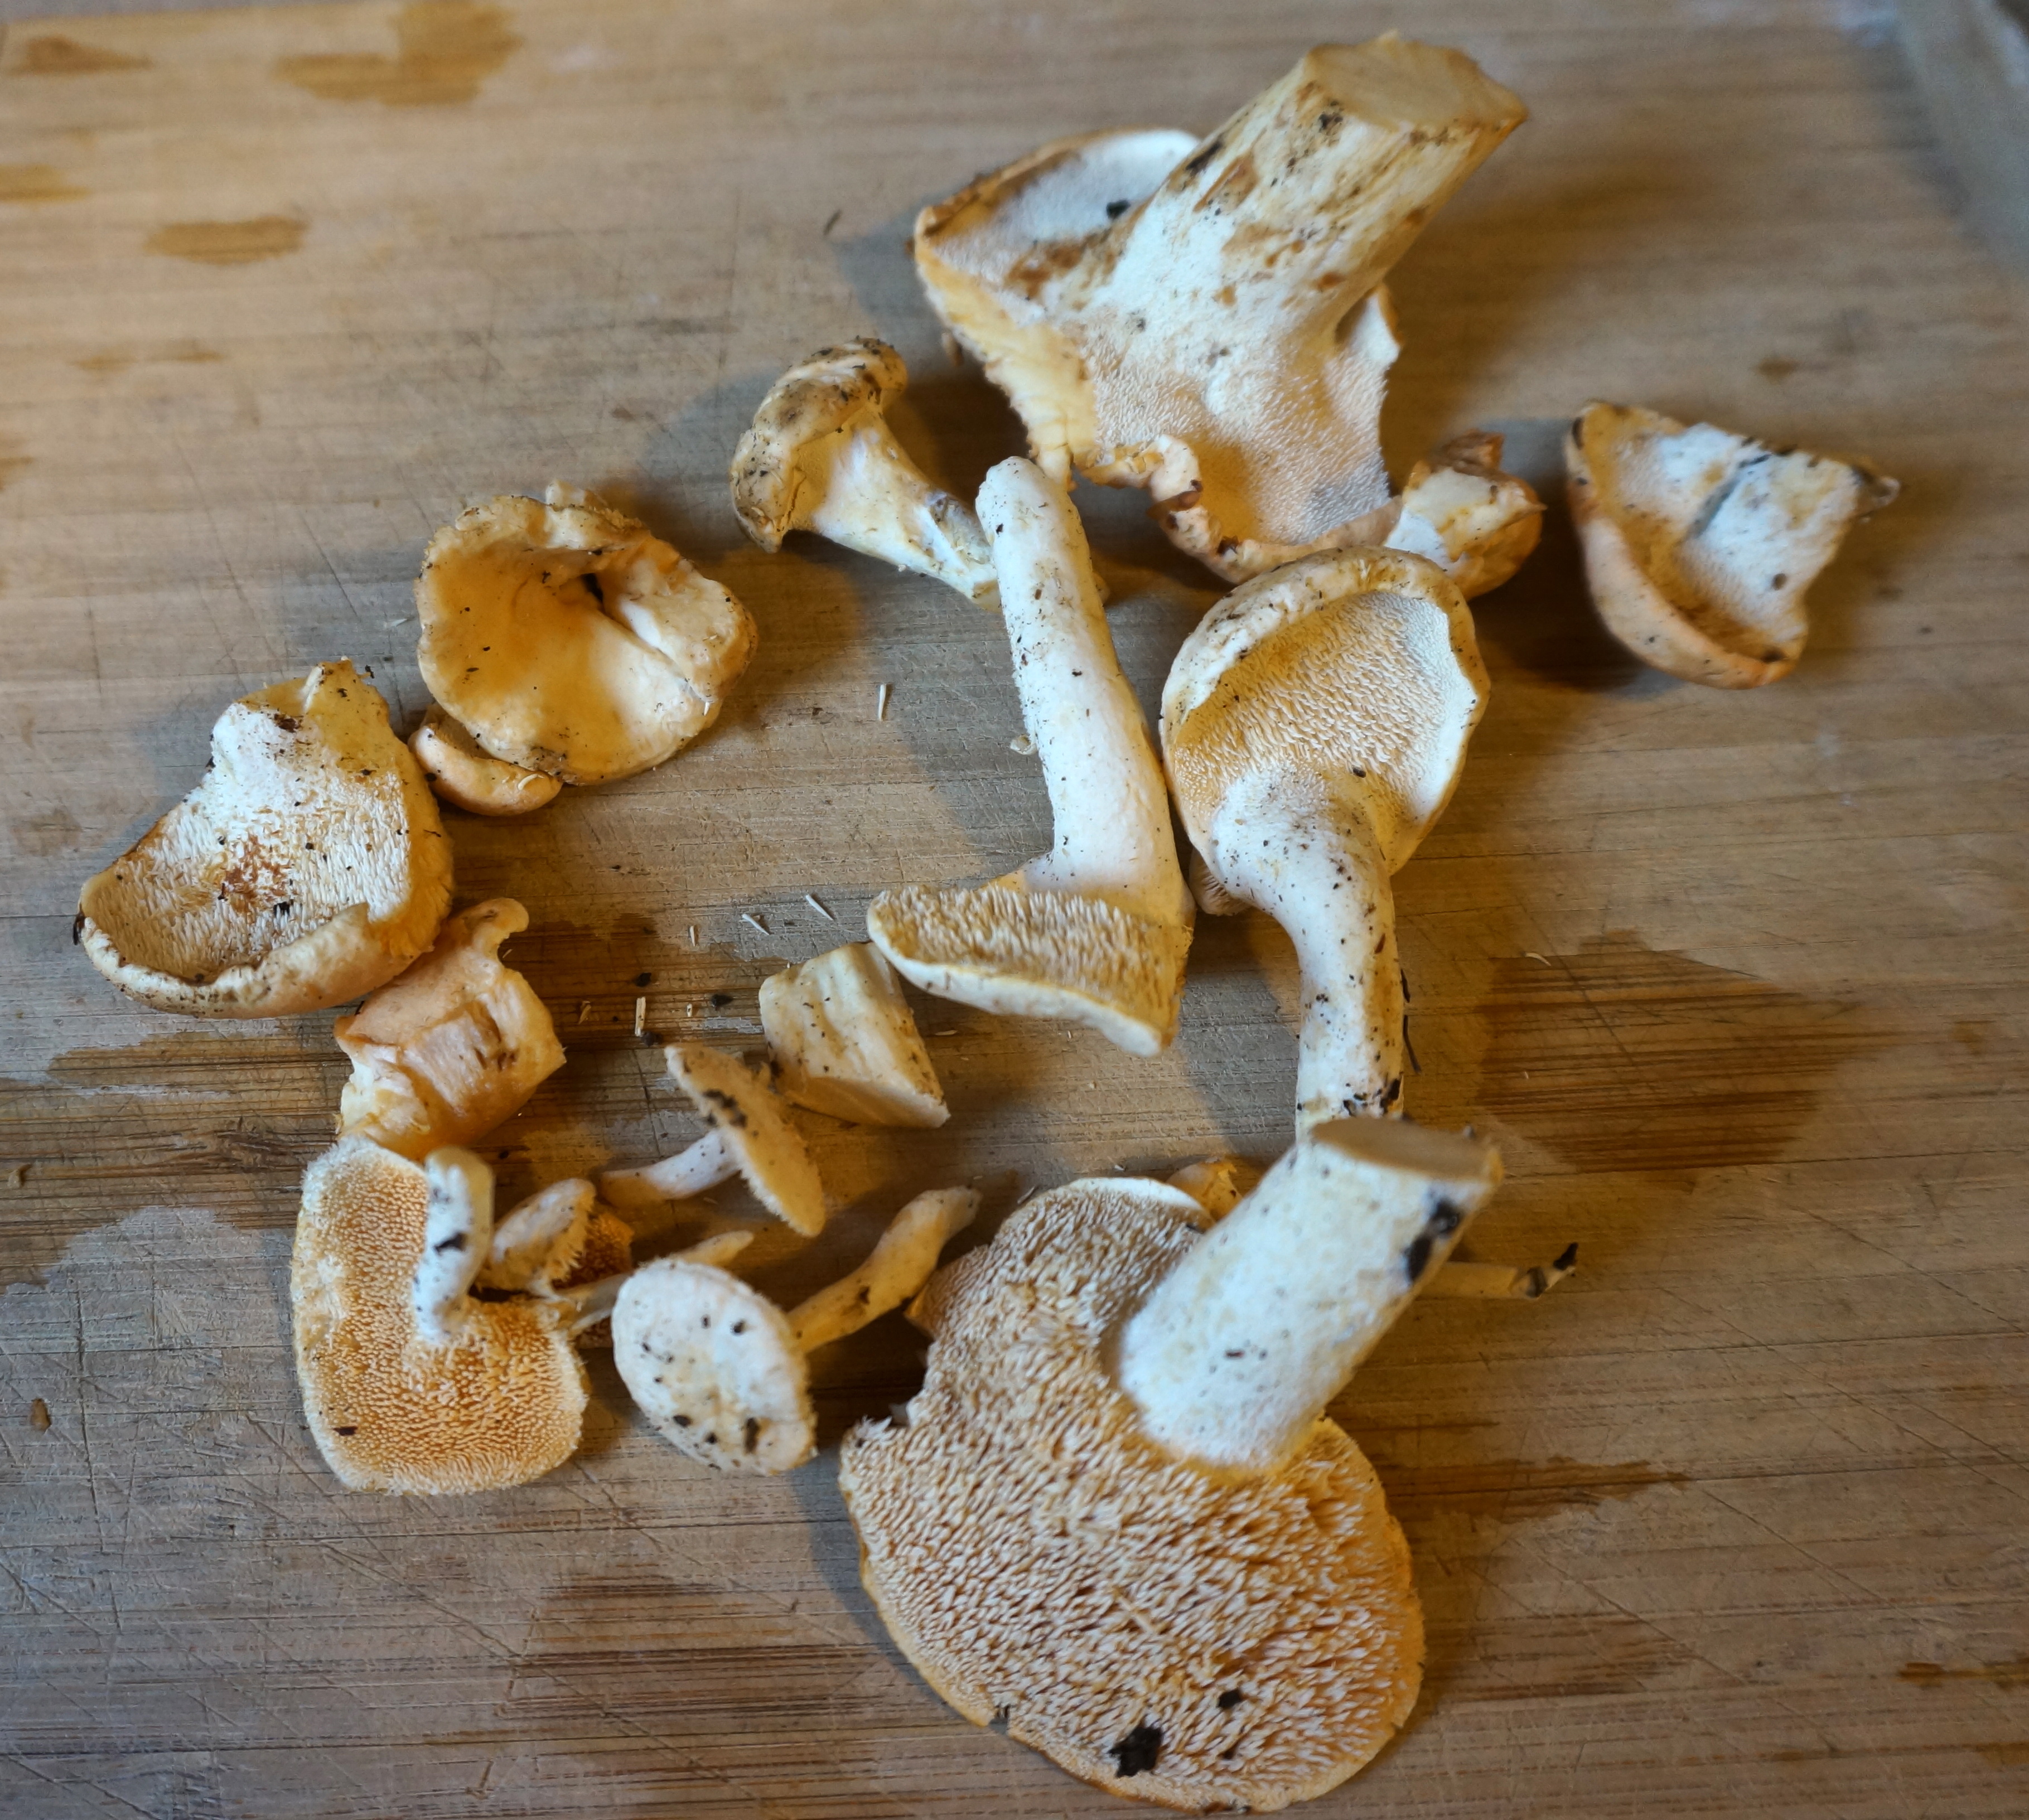
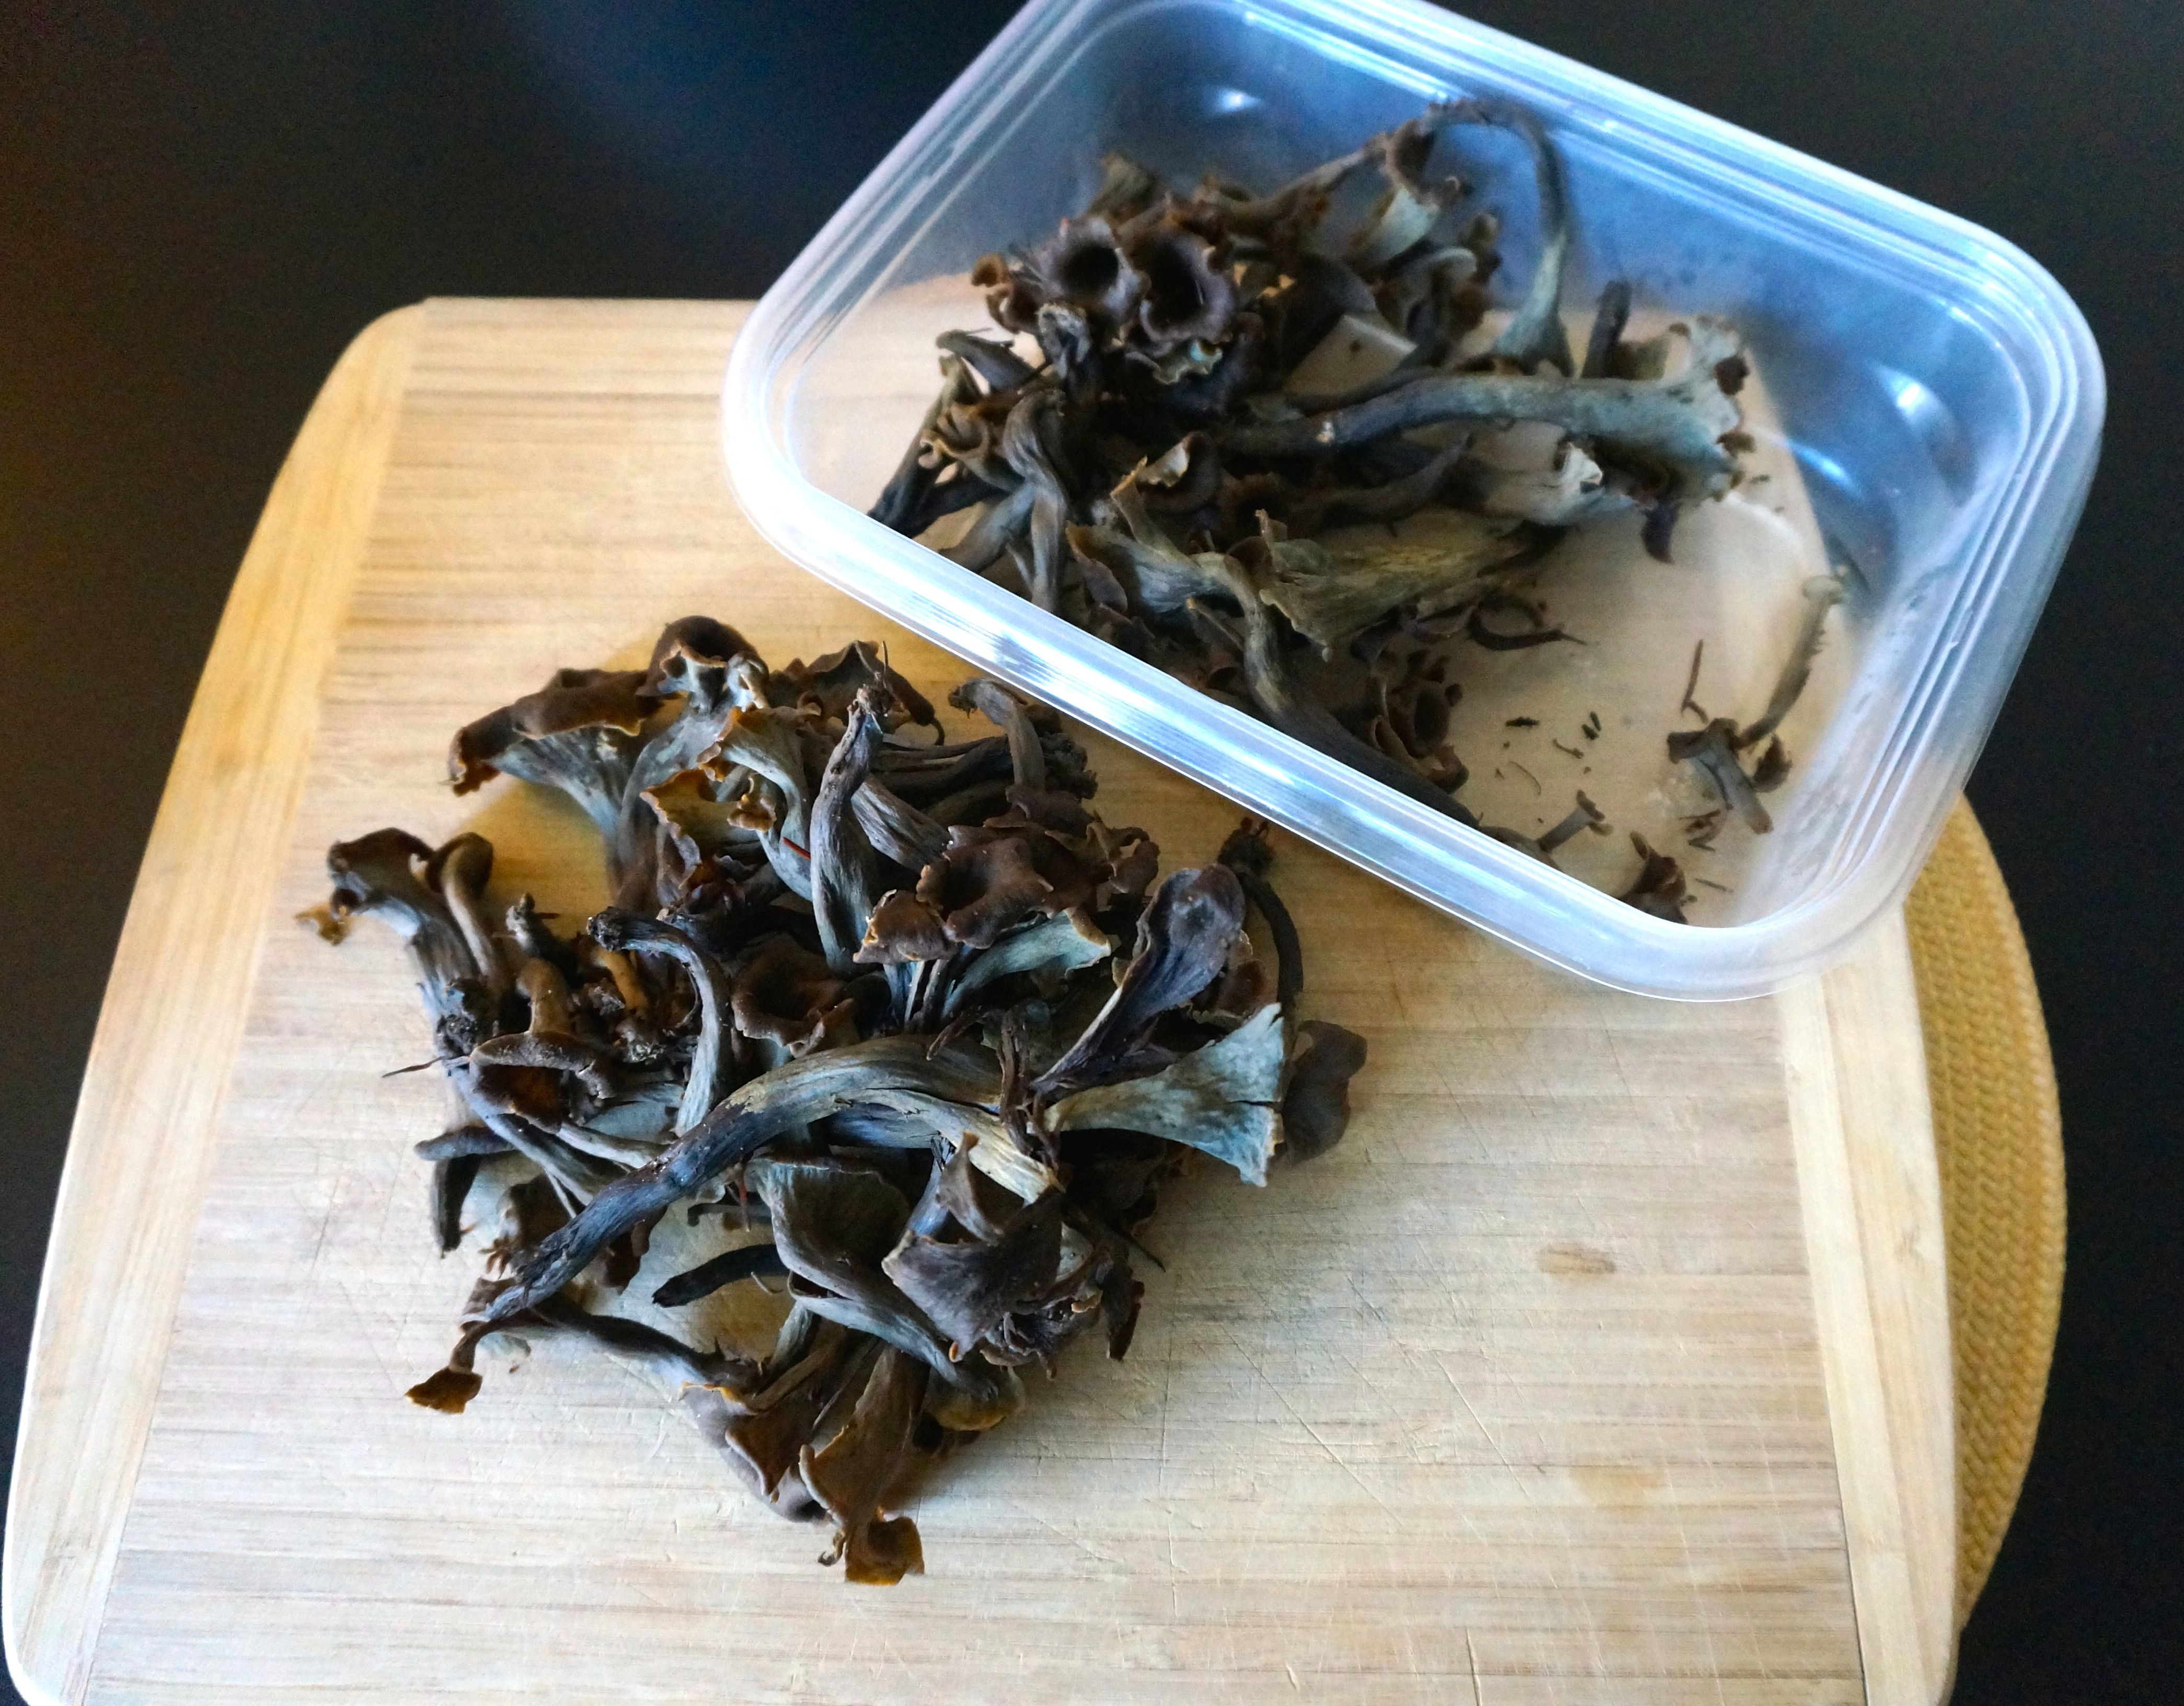
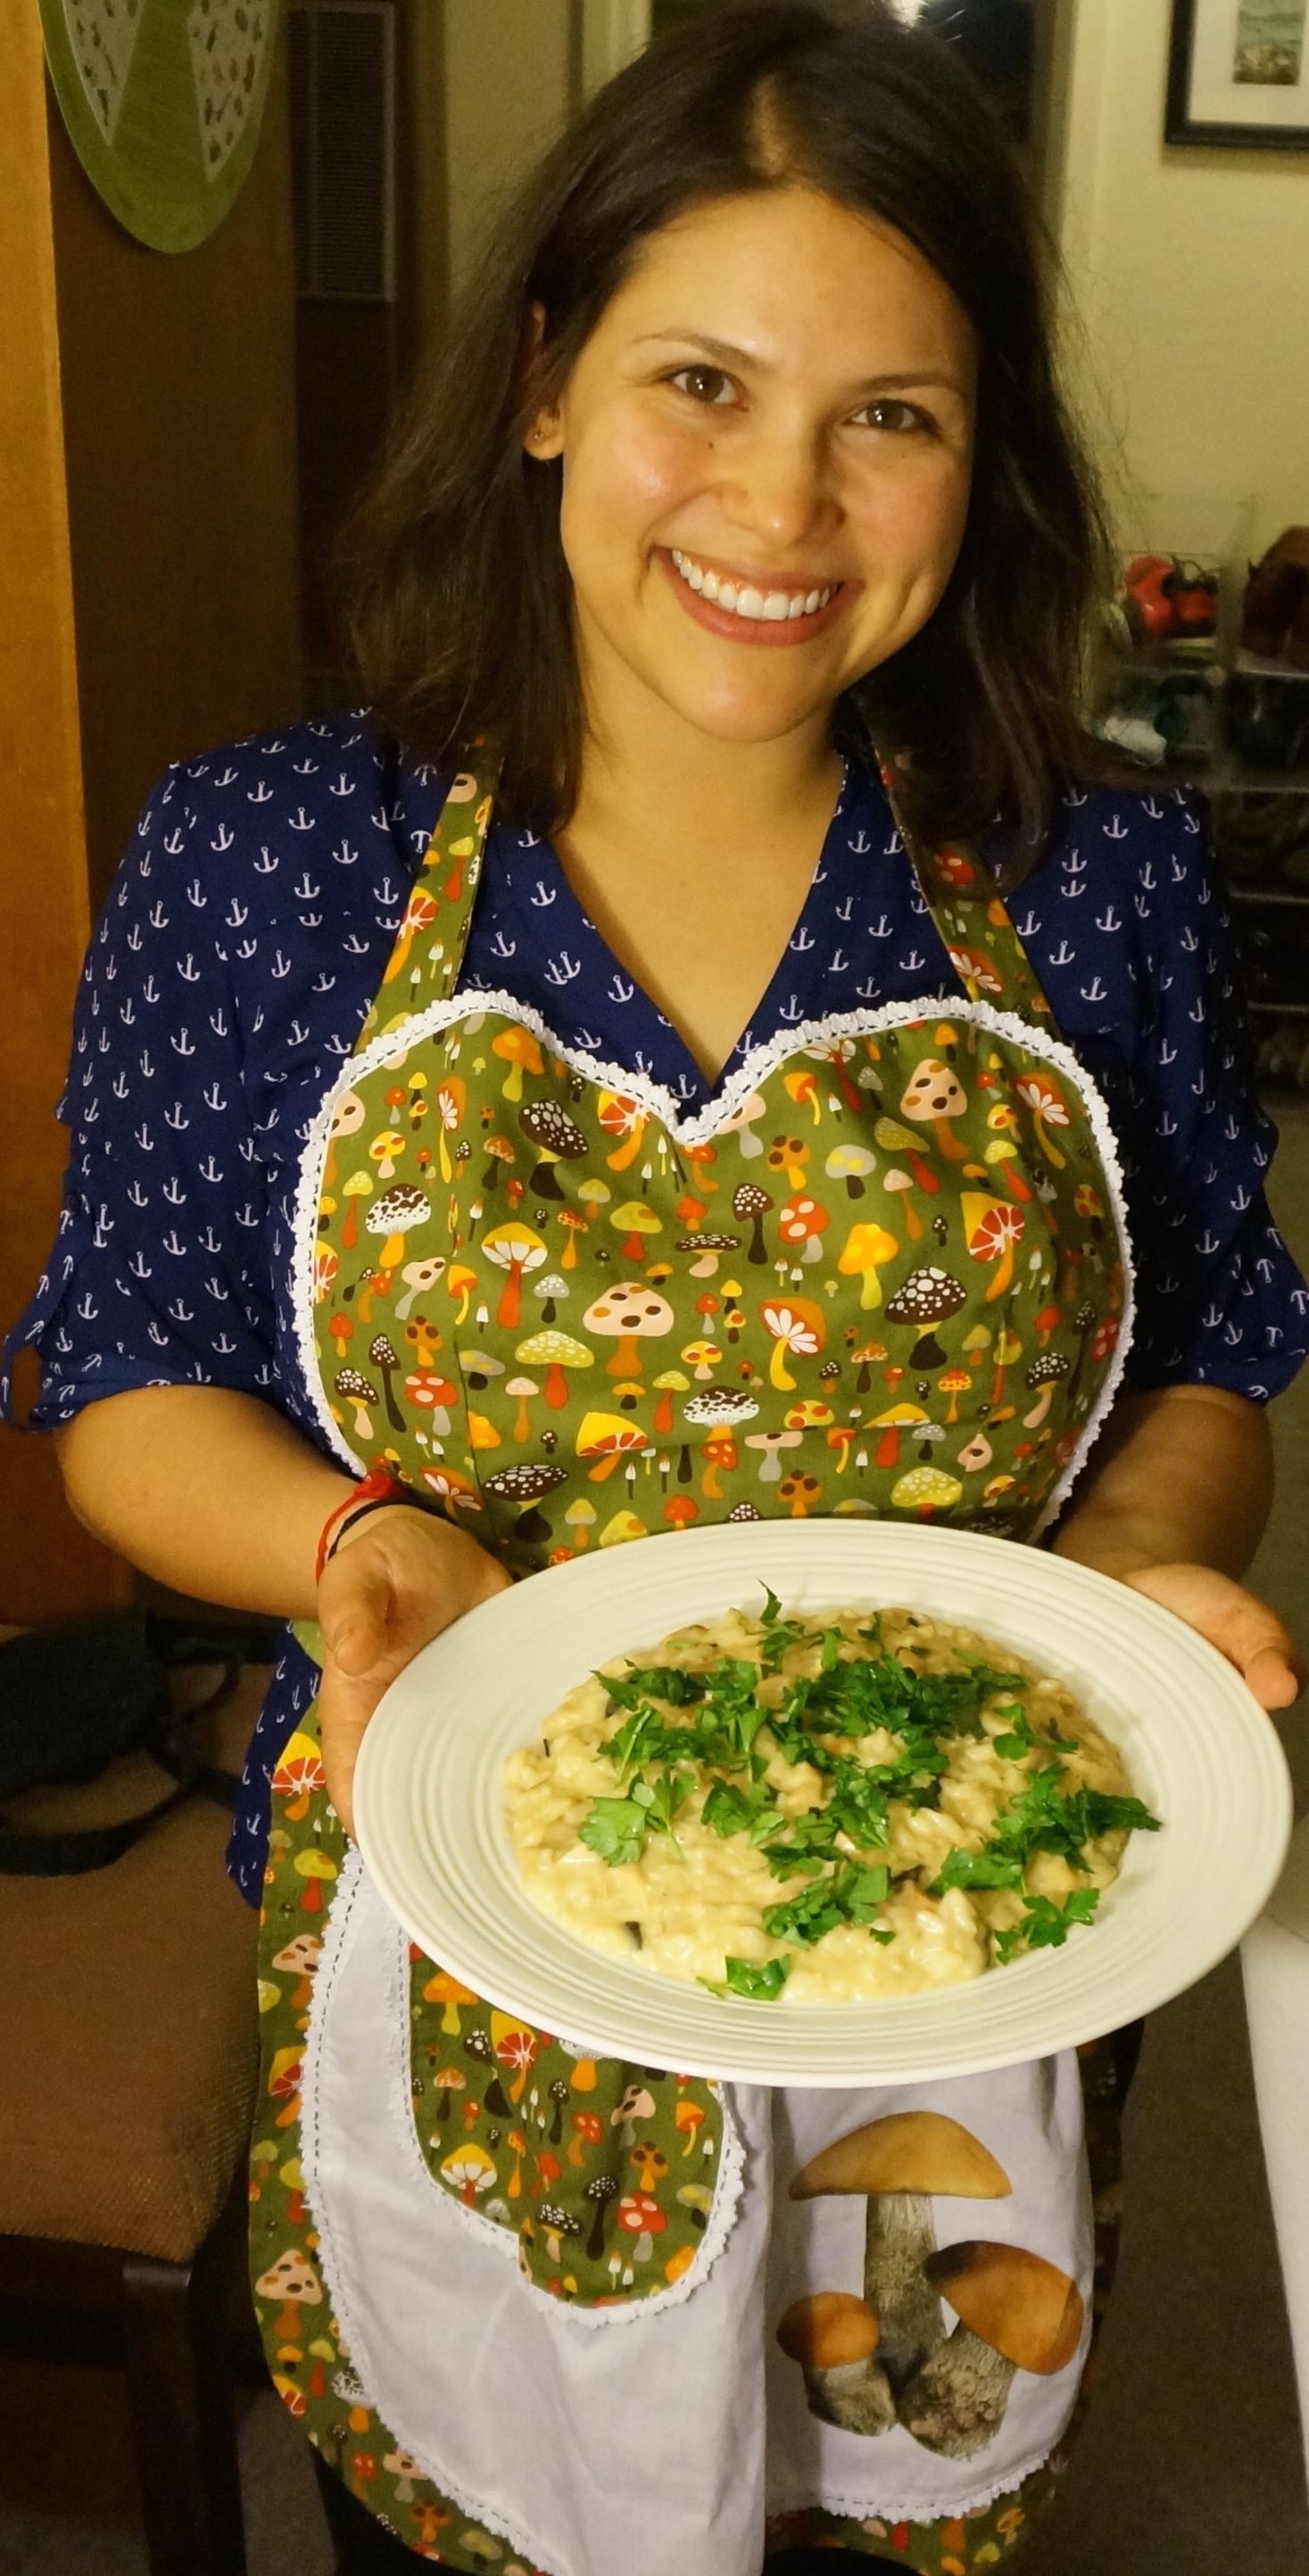
Sparassis has a very unique texture and makes a great replacement for egg noodles in a stir fry. Since my friend Zoie who we are staying with is vegan we decided to make a vegan vegetable and tofu stir fry with Sparassis as the base. Sparassis takes a while to clean since it grows on the ground and can accumulate a ton of conifer needles in all of its crevasses. I started by washing the Sparassis very well in the sink and roughly chopping it and storing it in a bowl.

2016-12-04-21-52-09

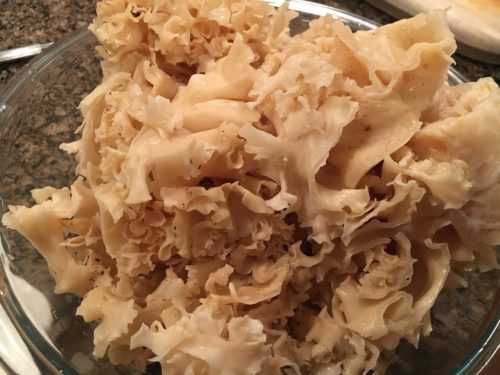
Sparassis washed and chopped and ready to be cooked!

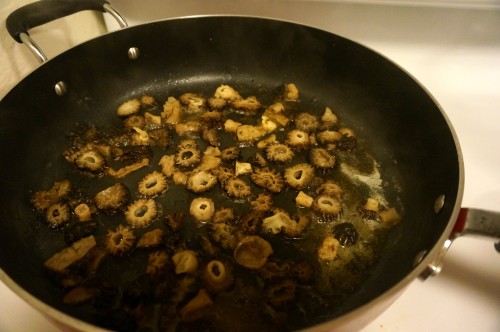
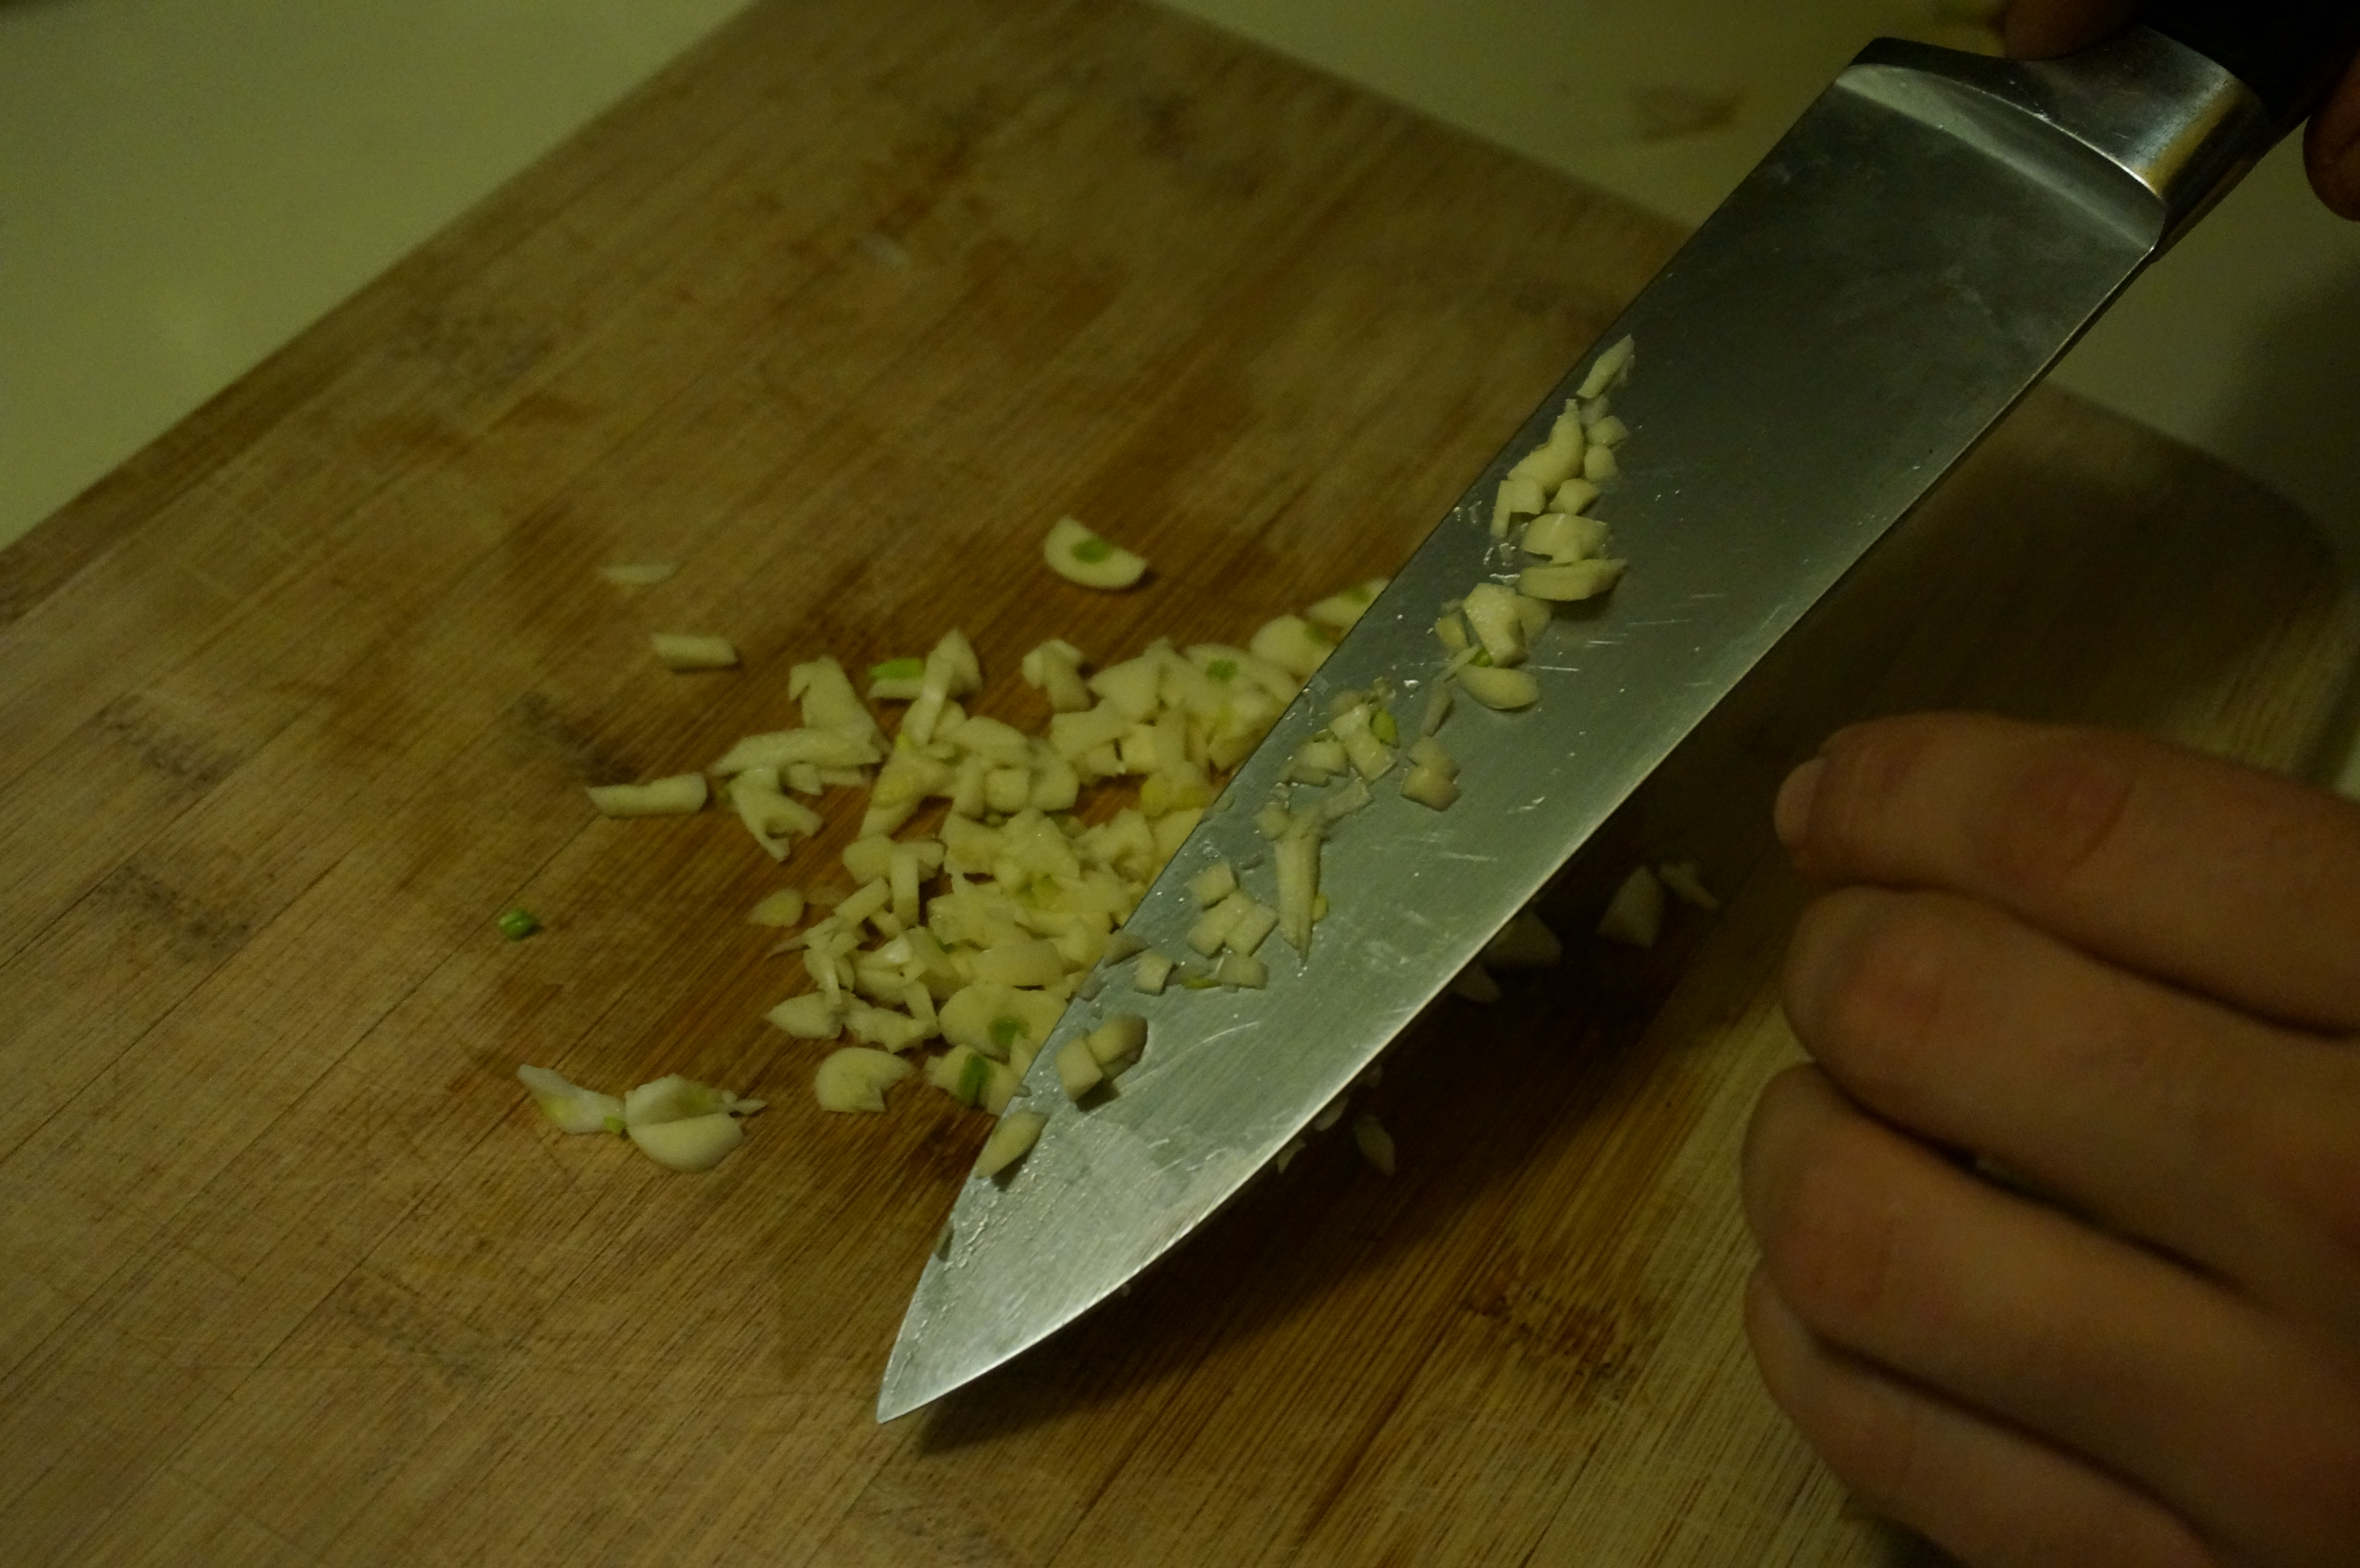
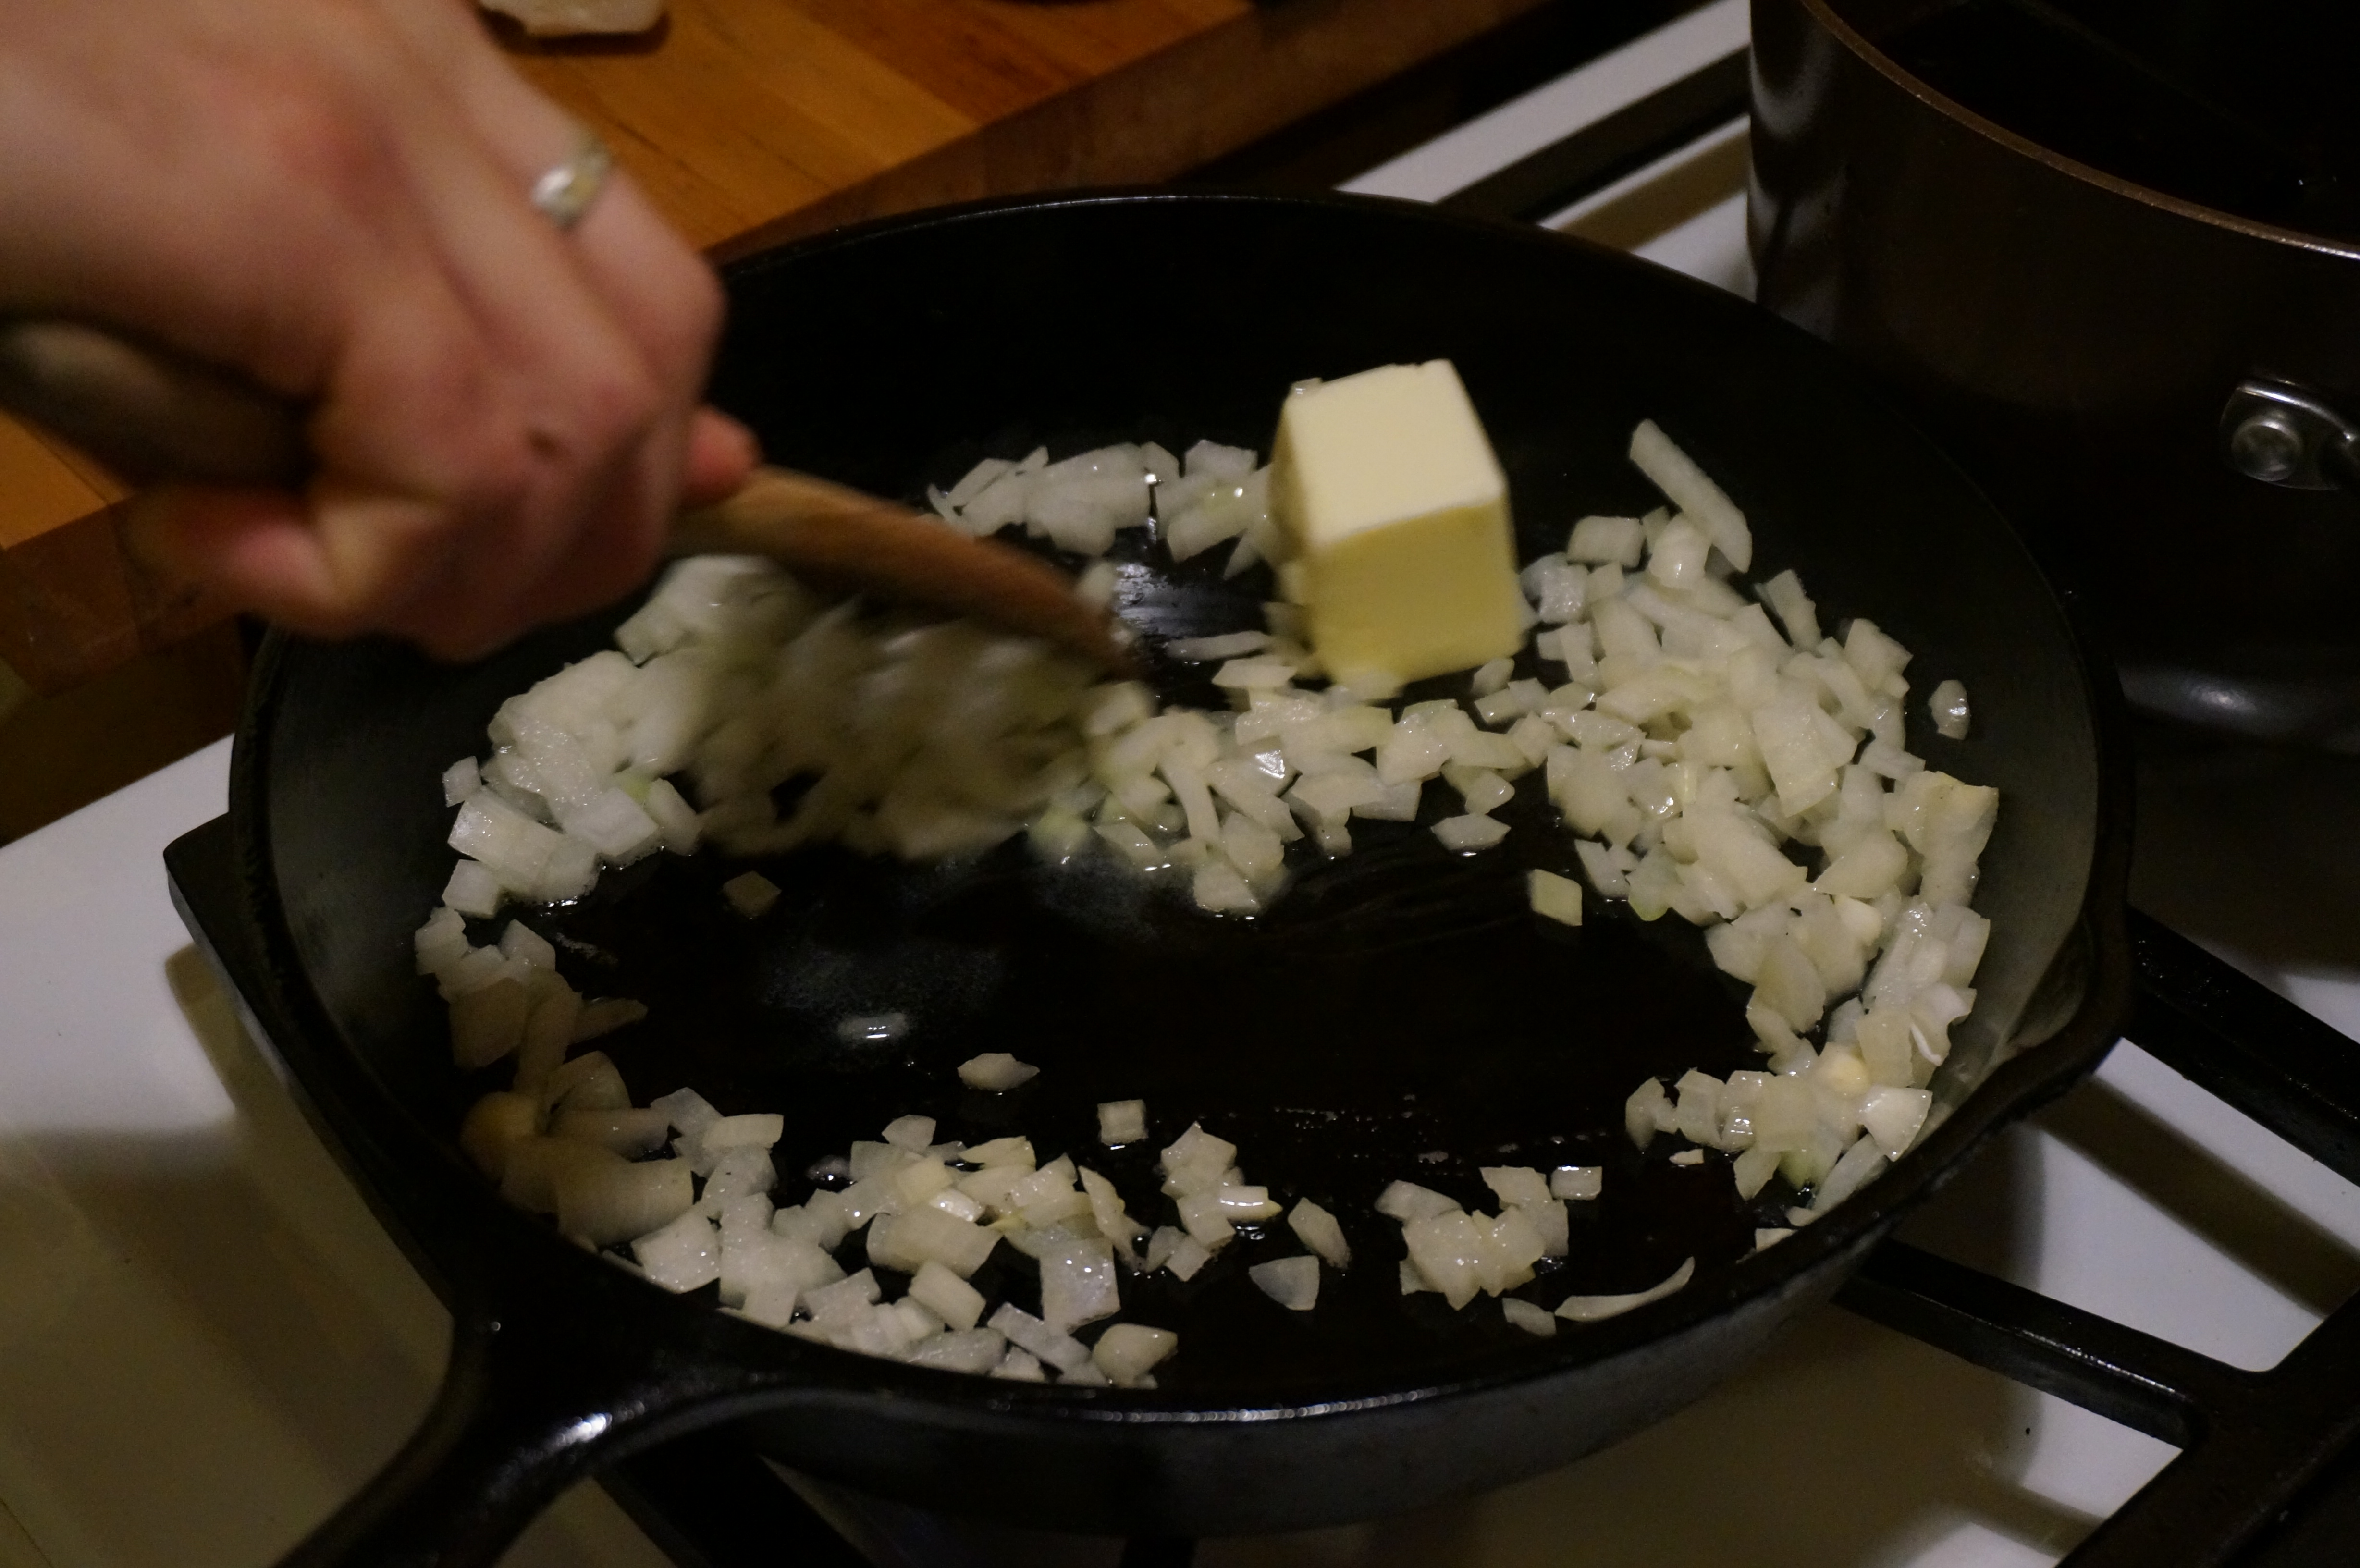
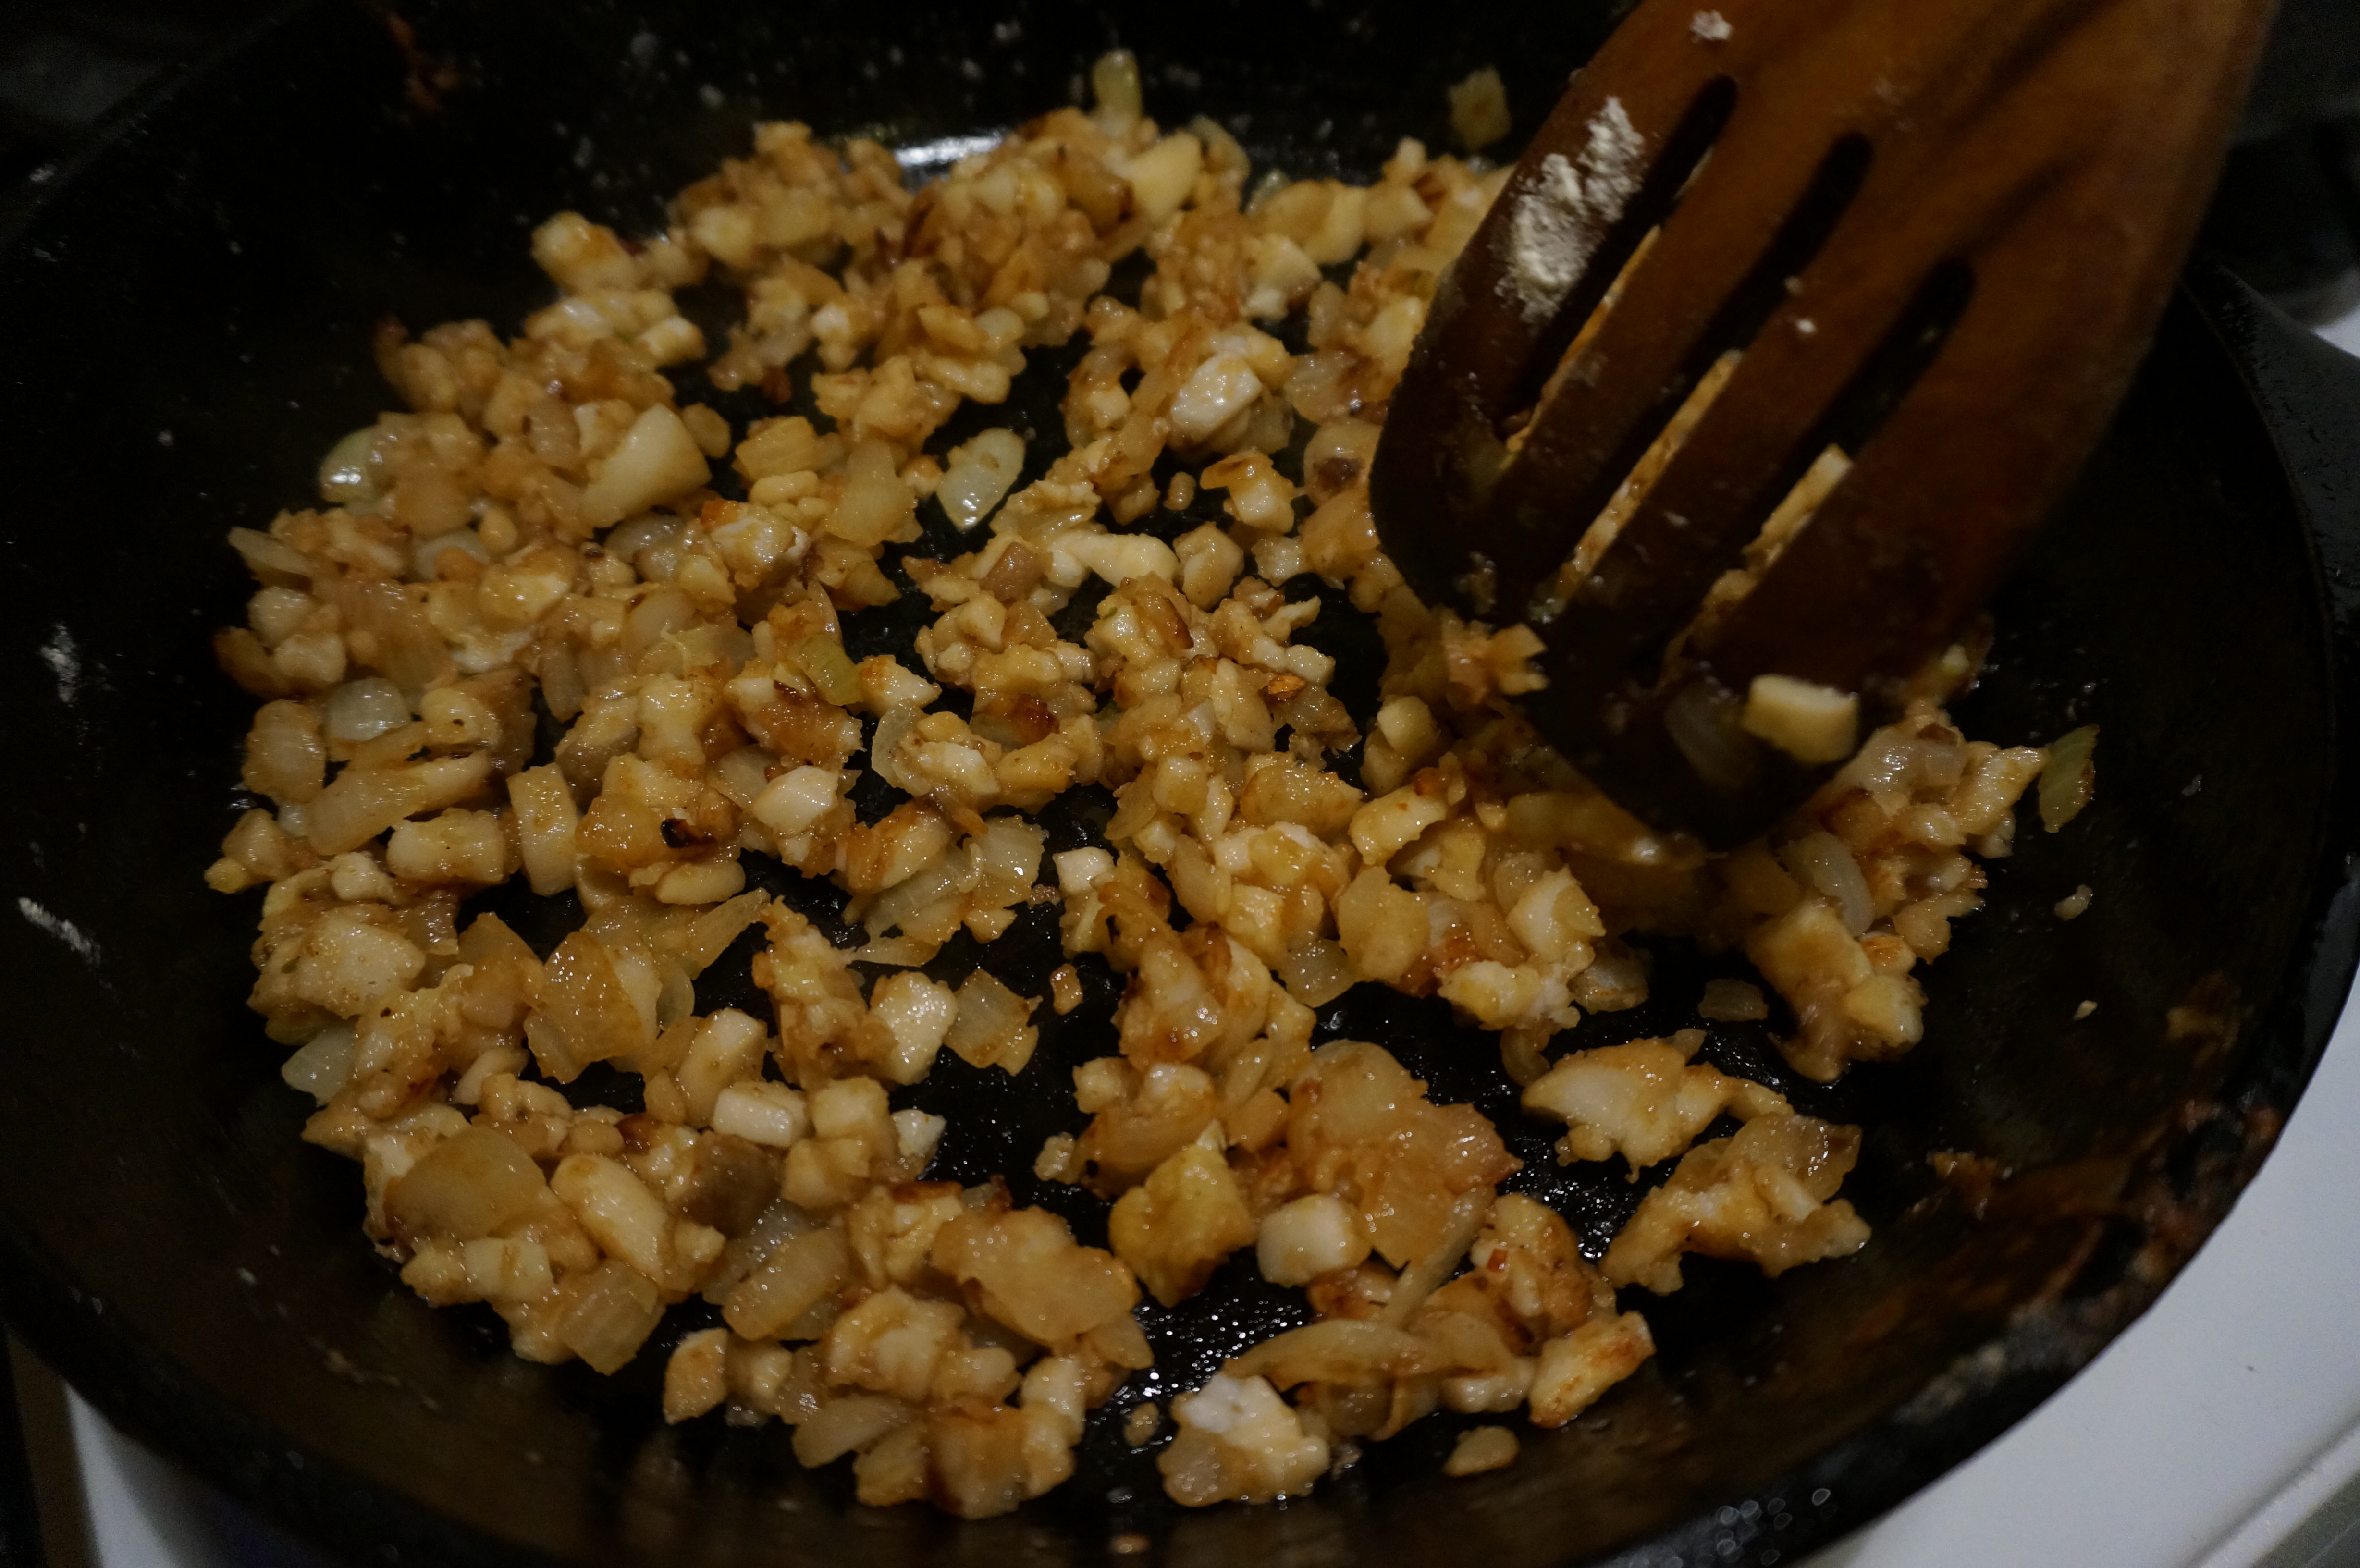
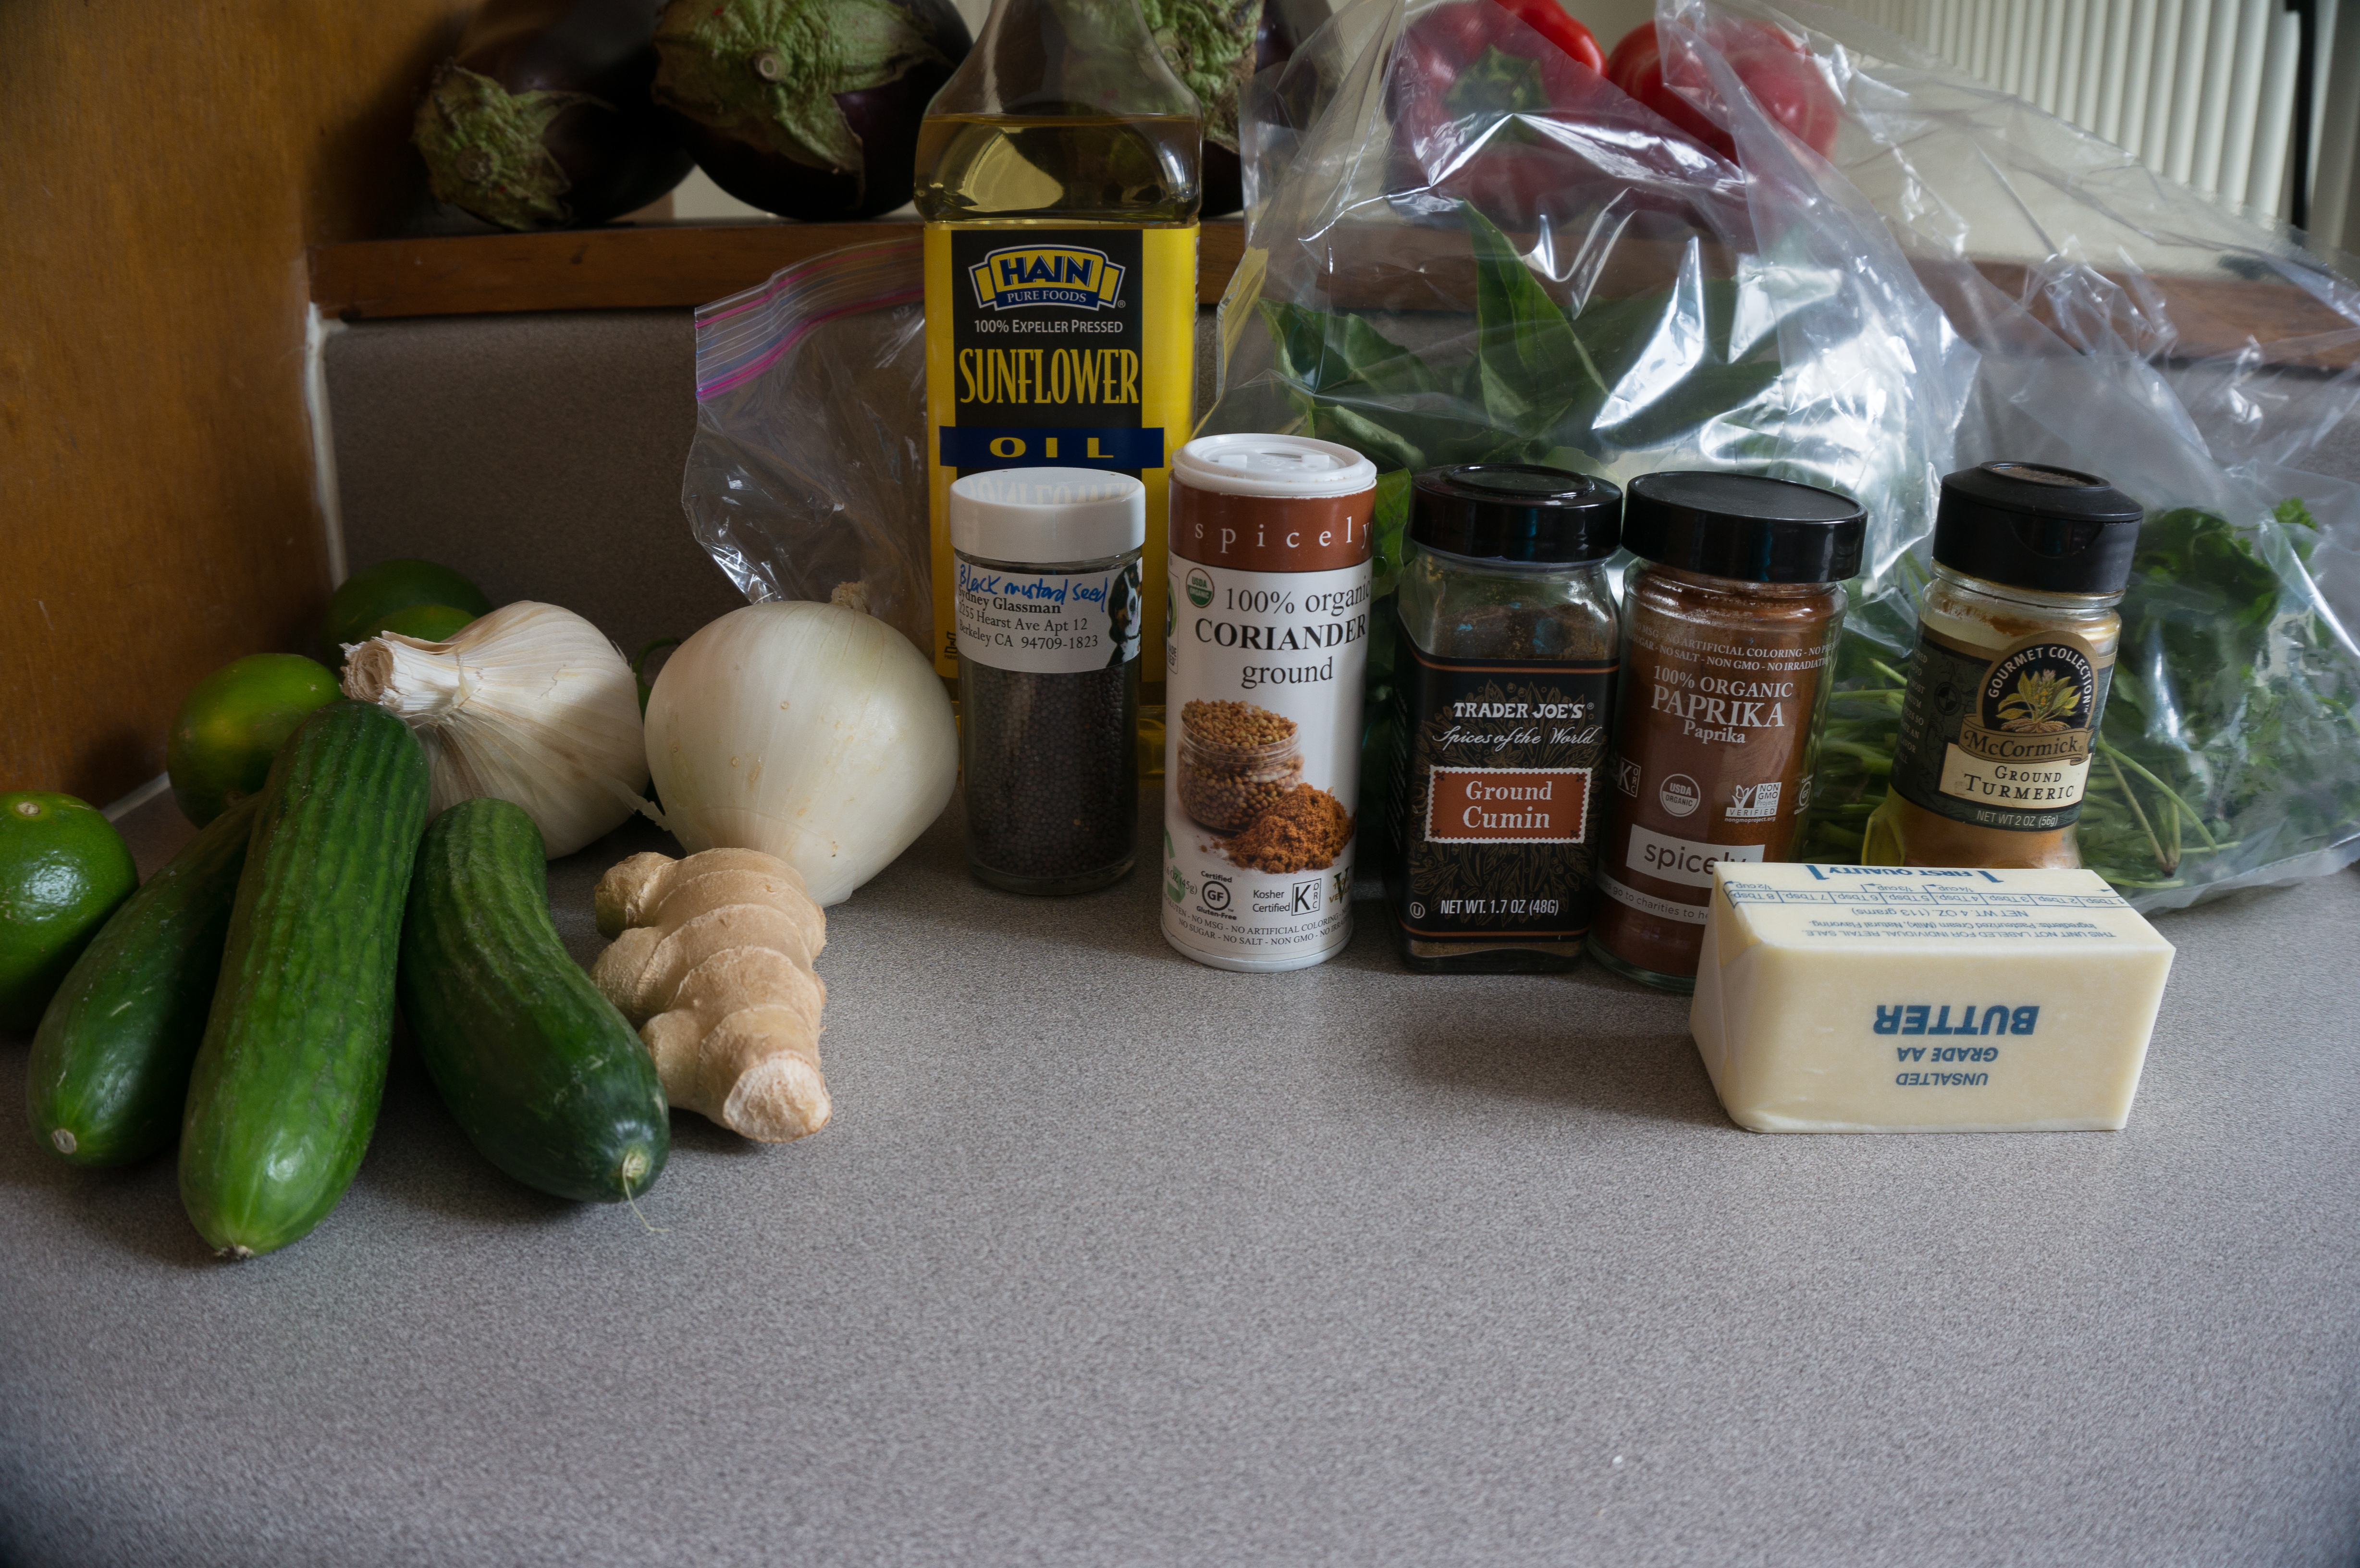
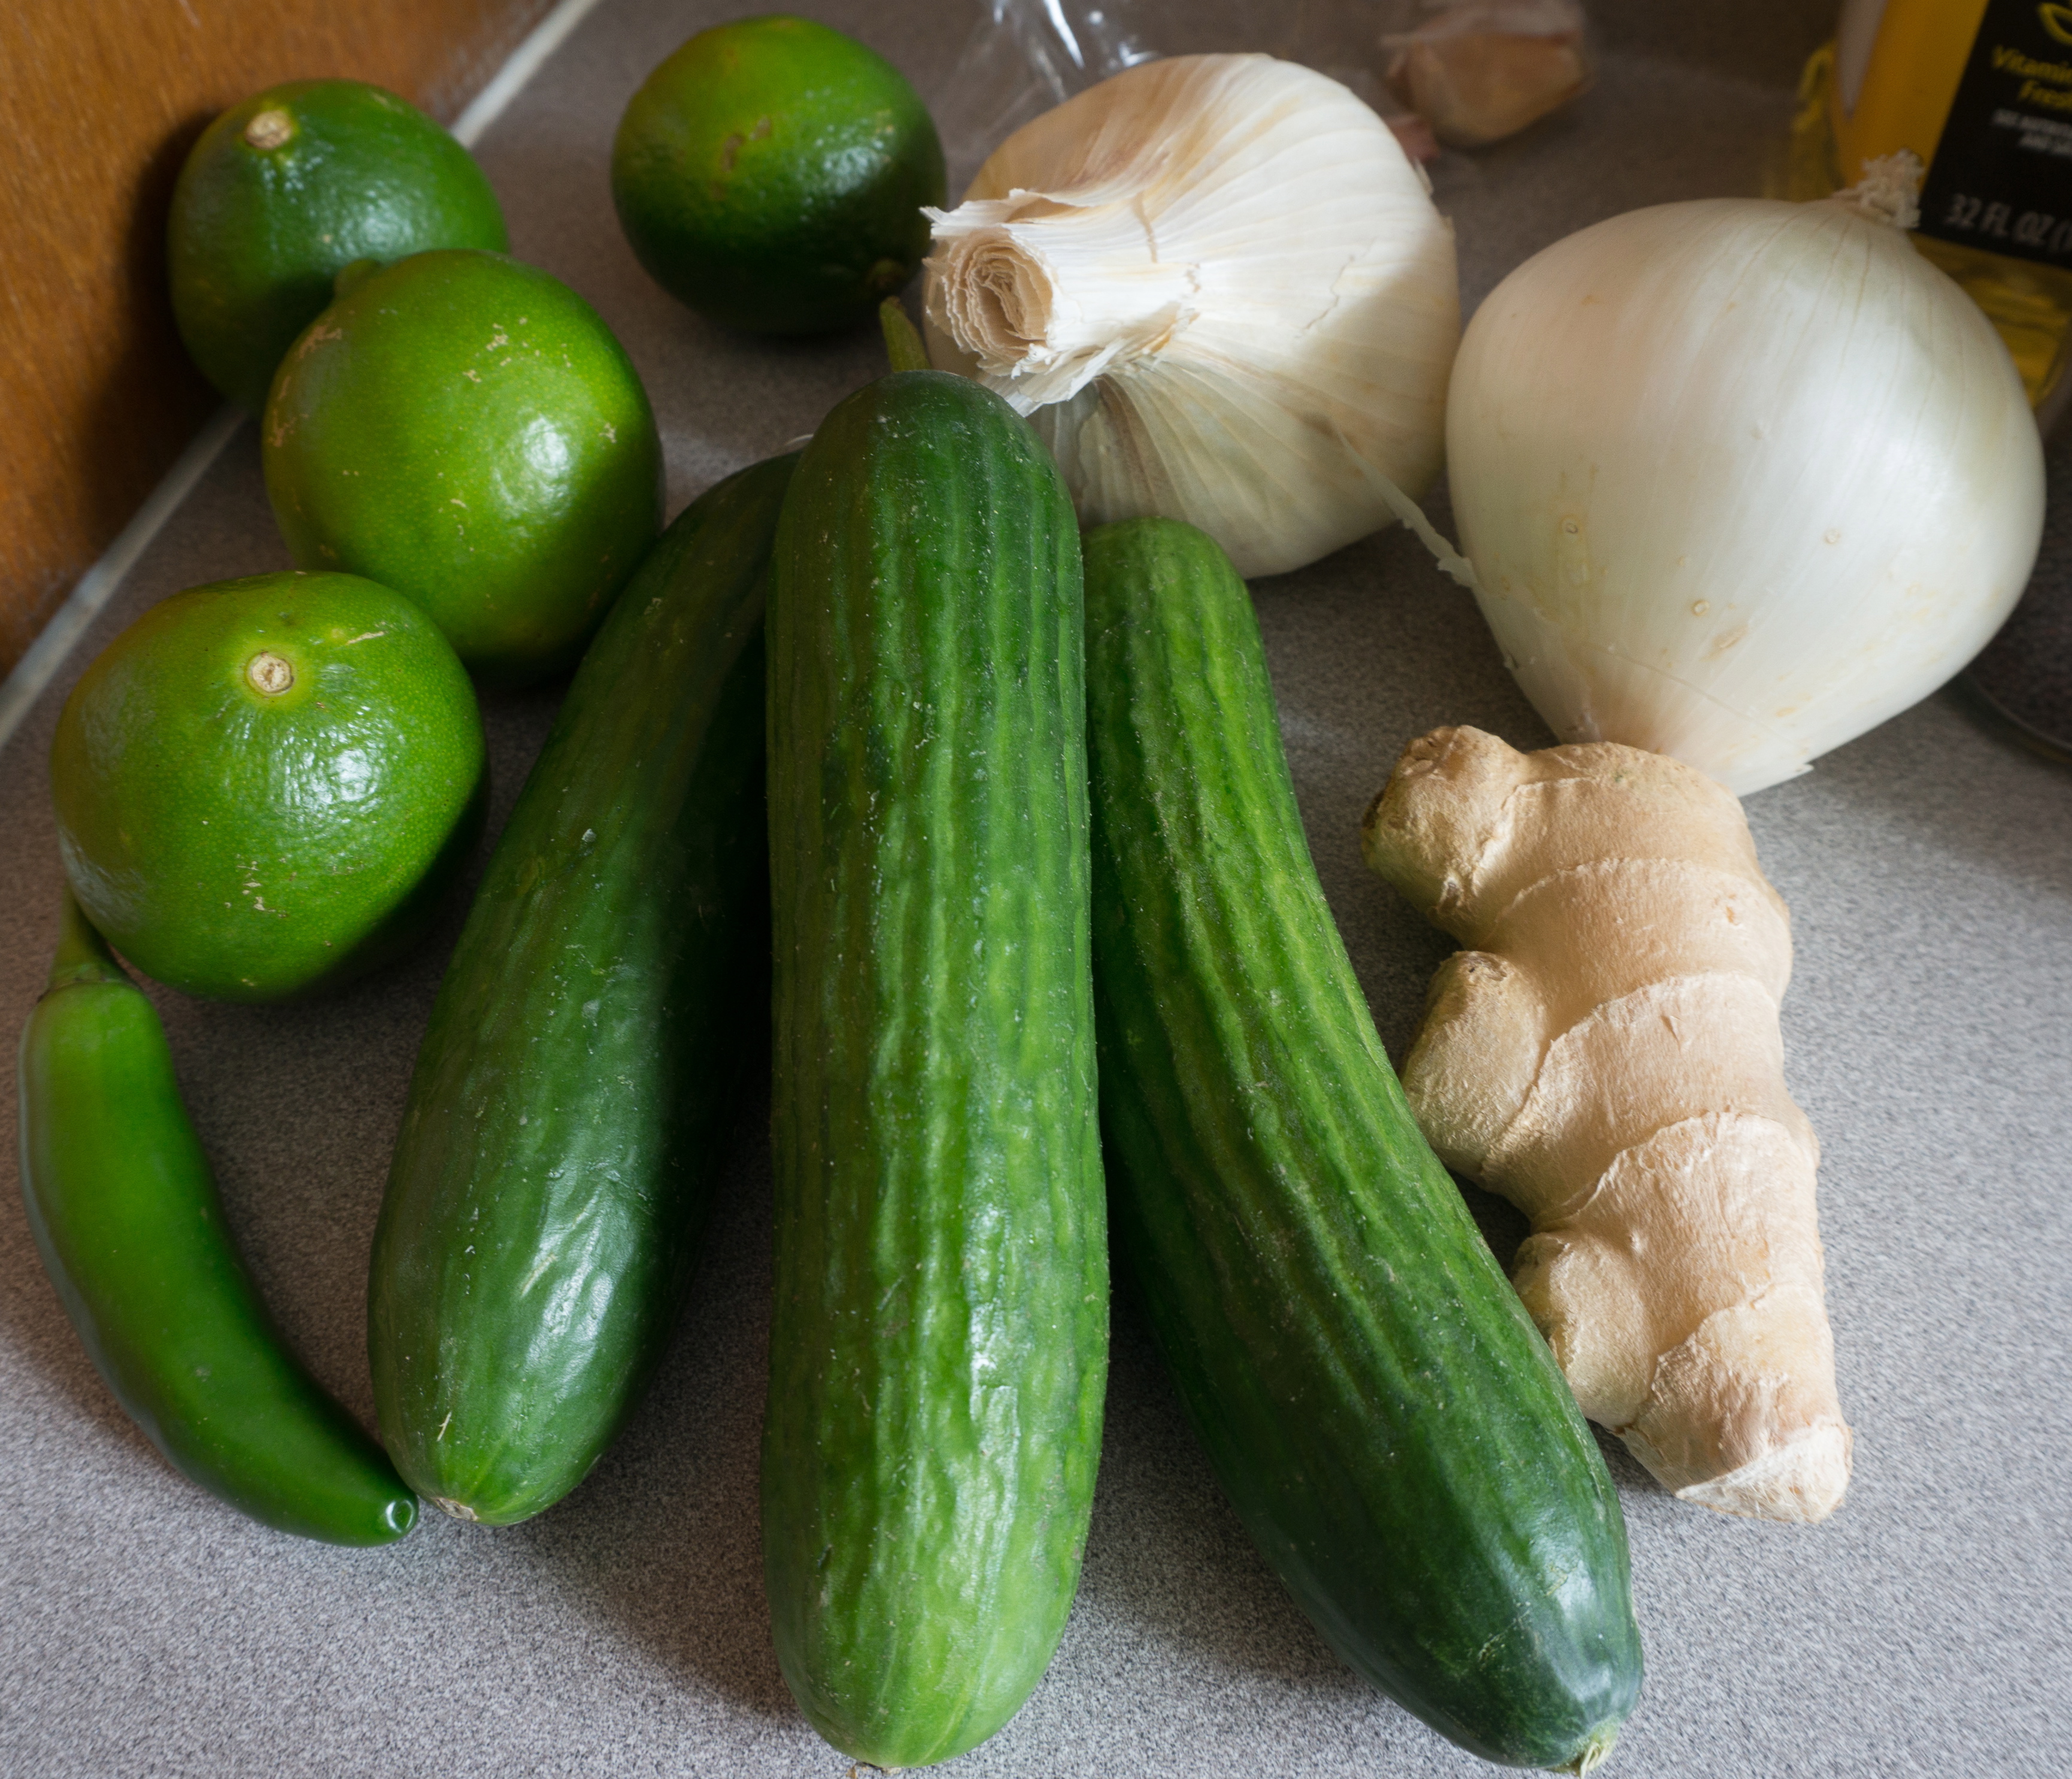
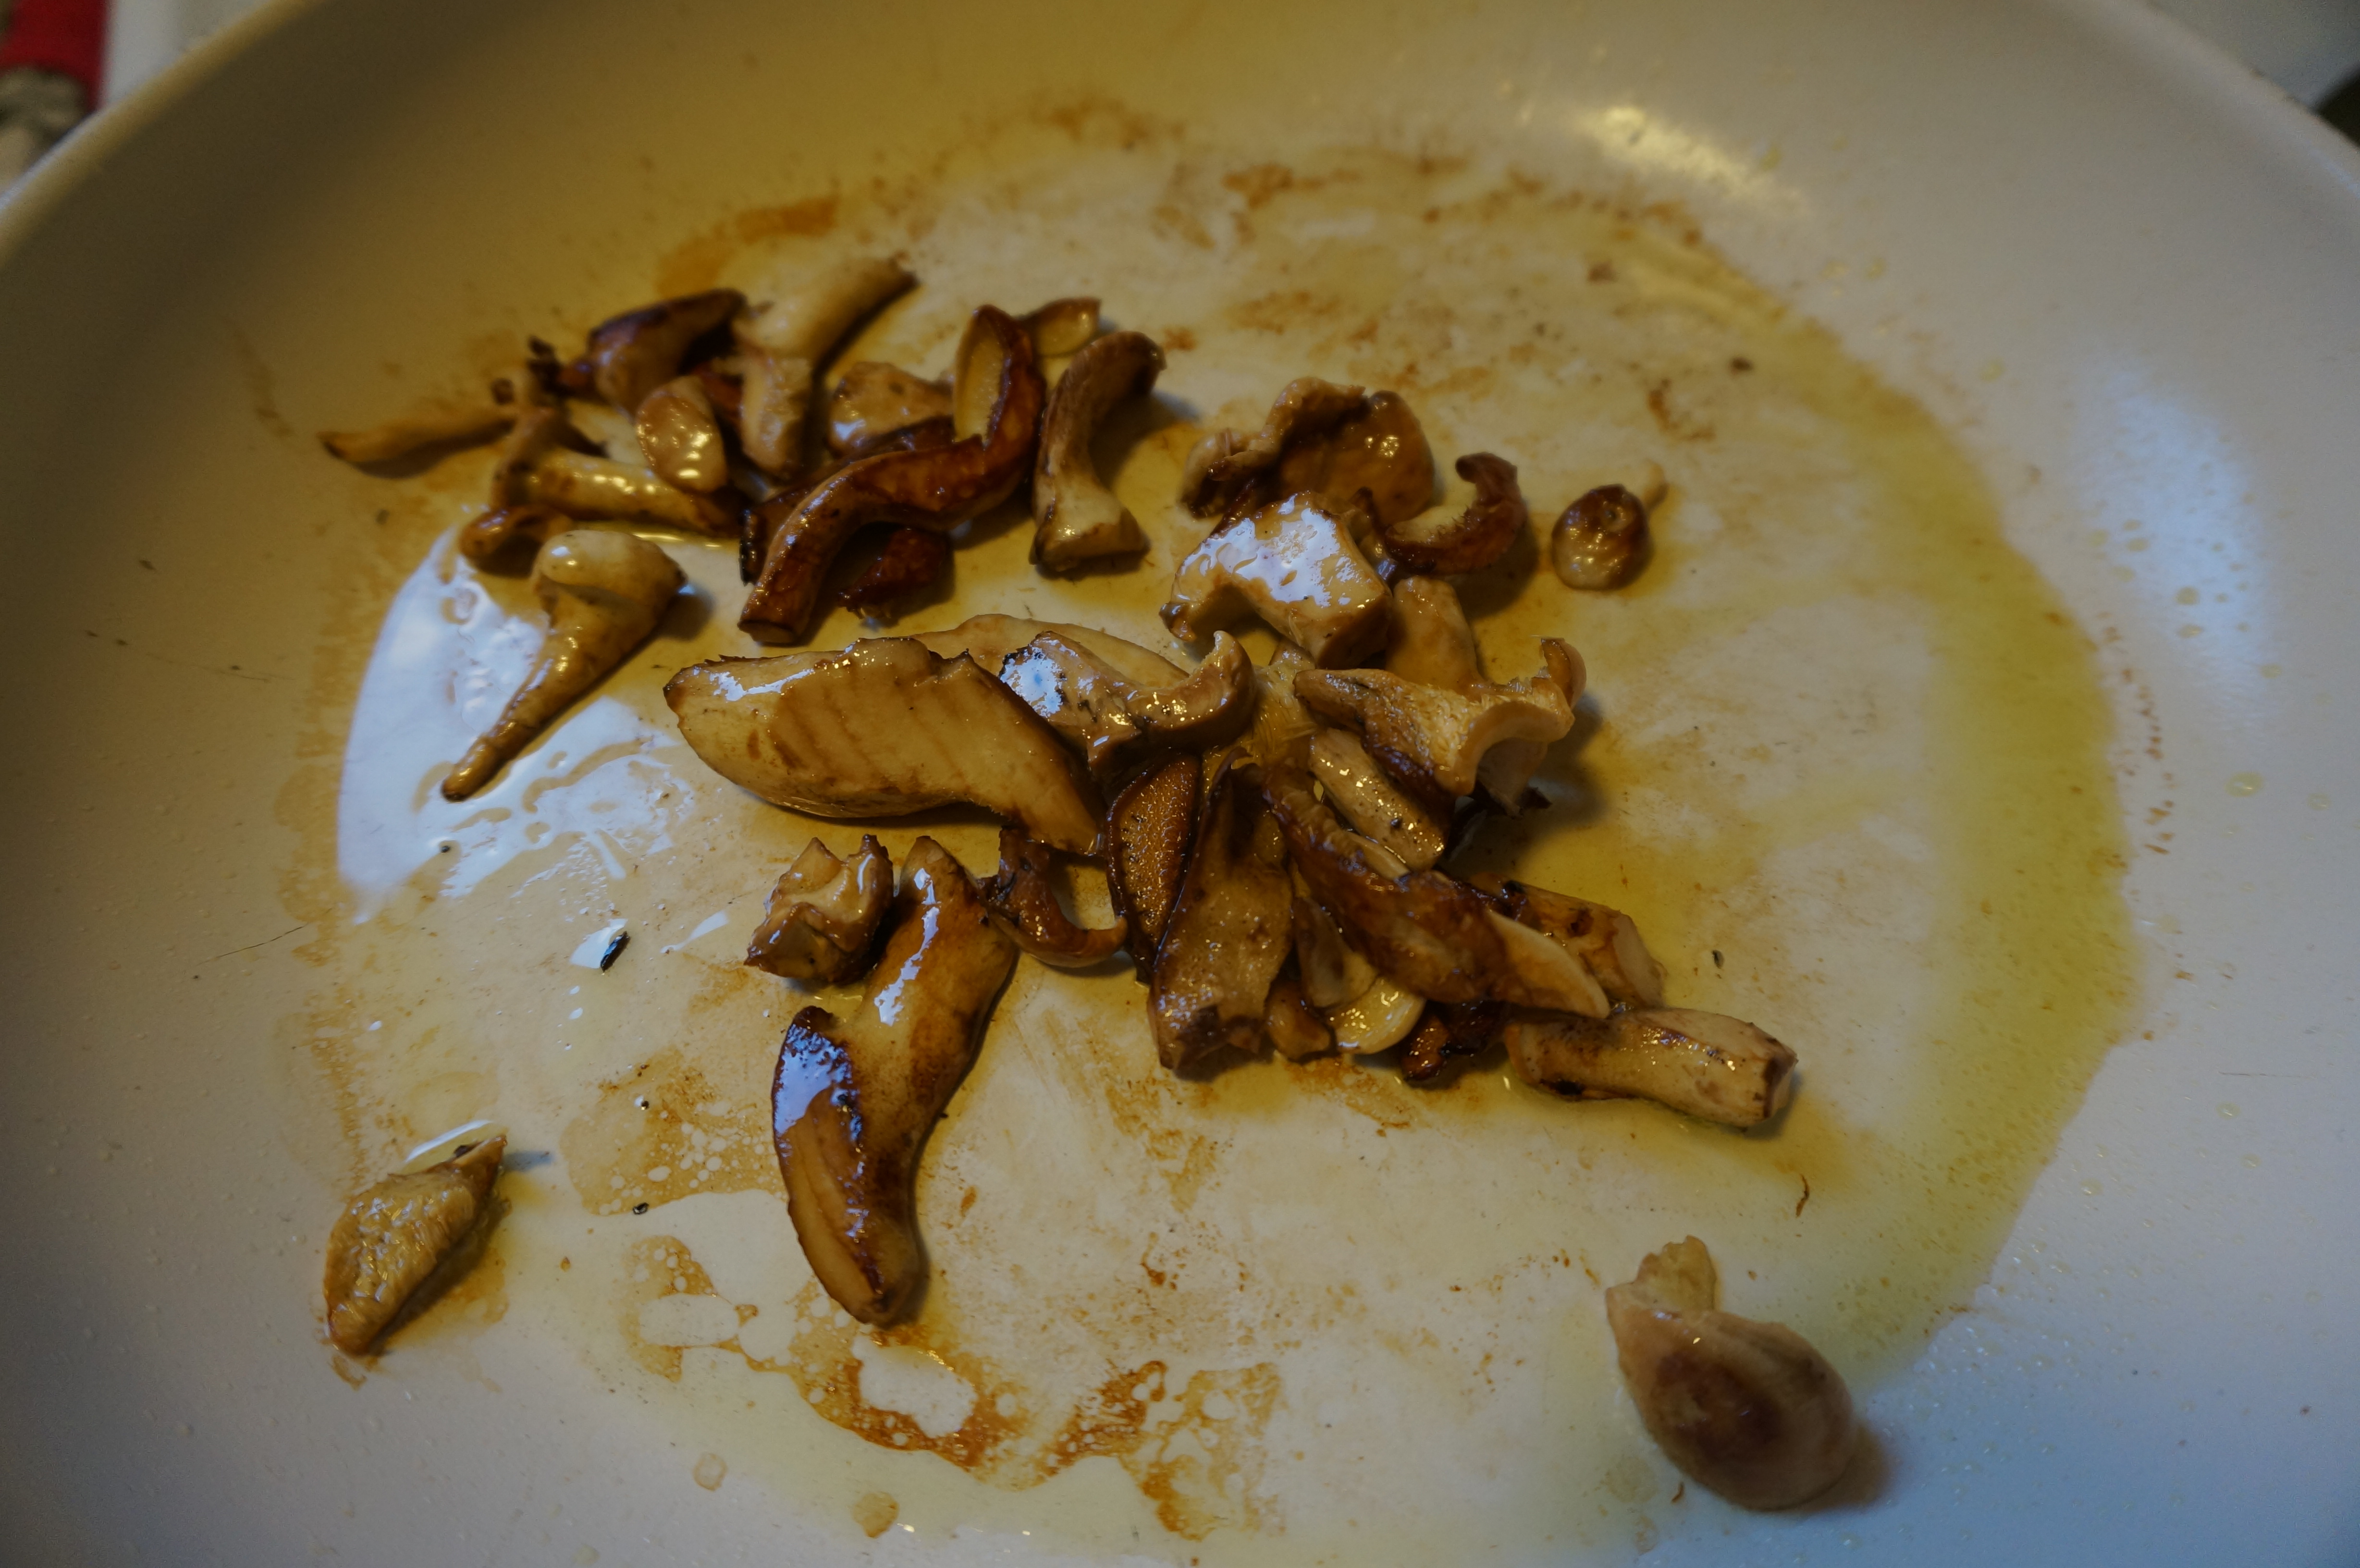
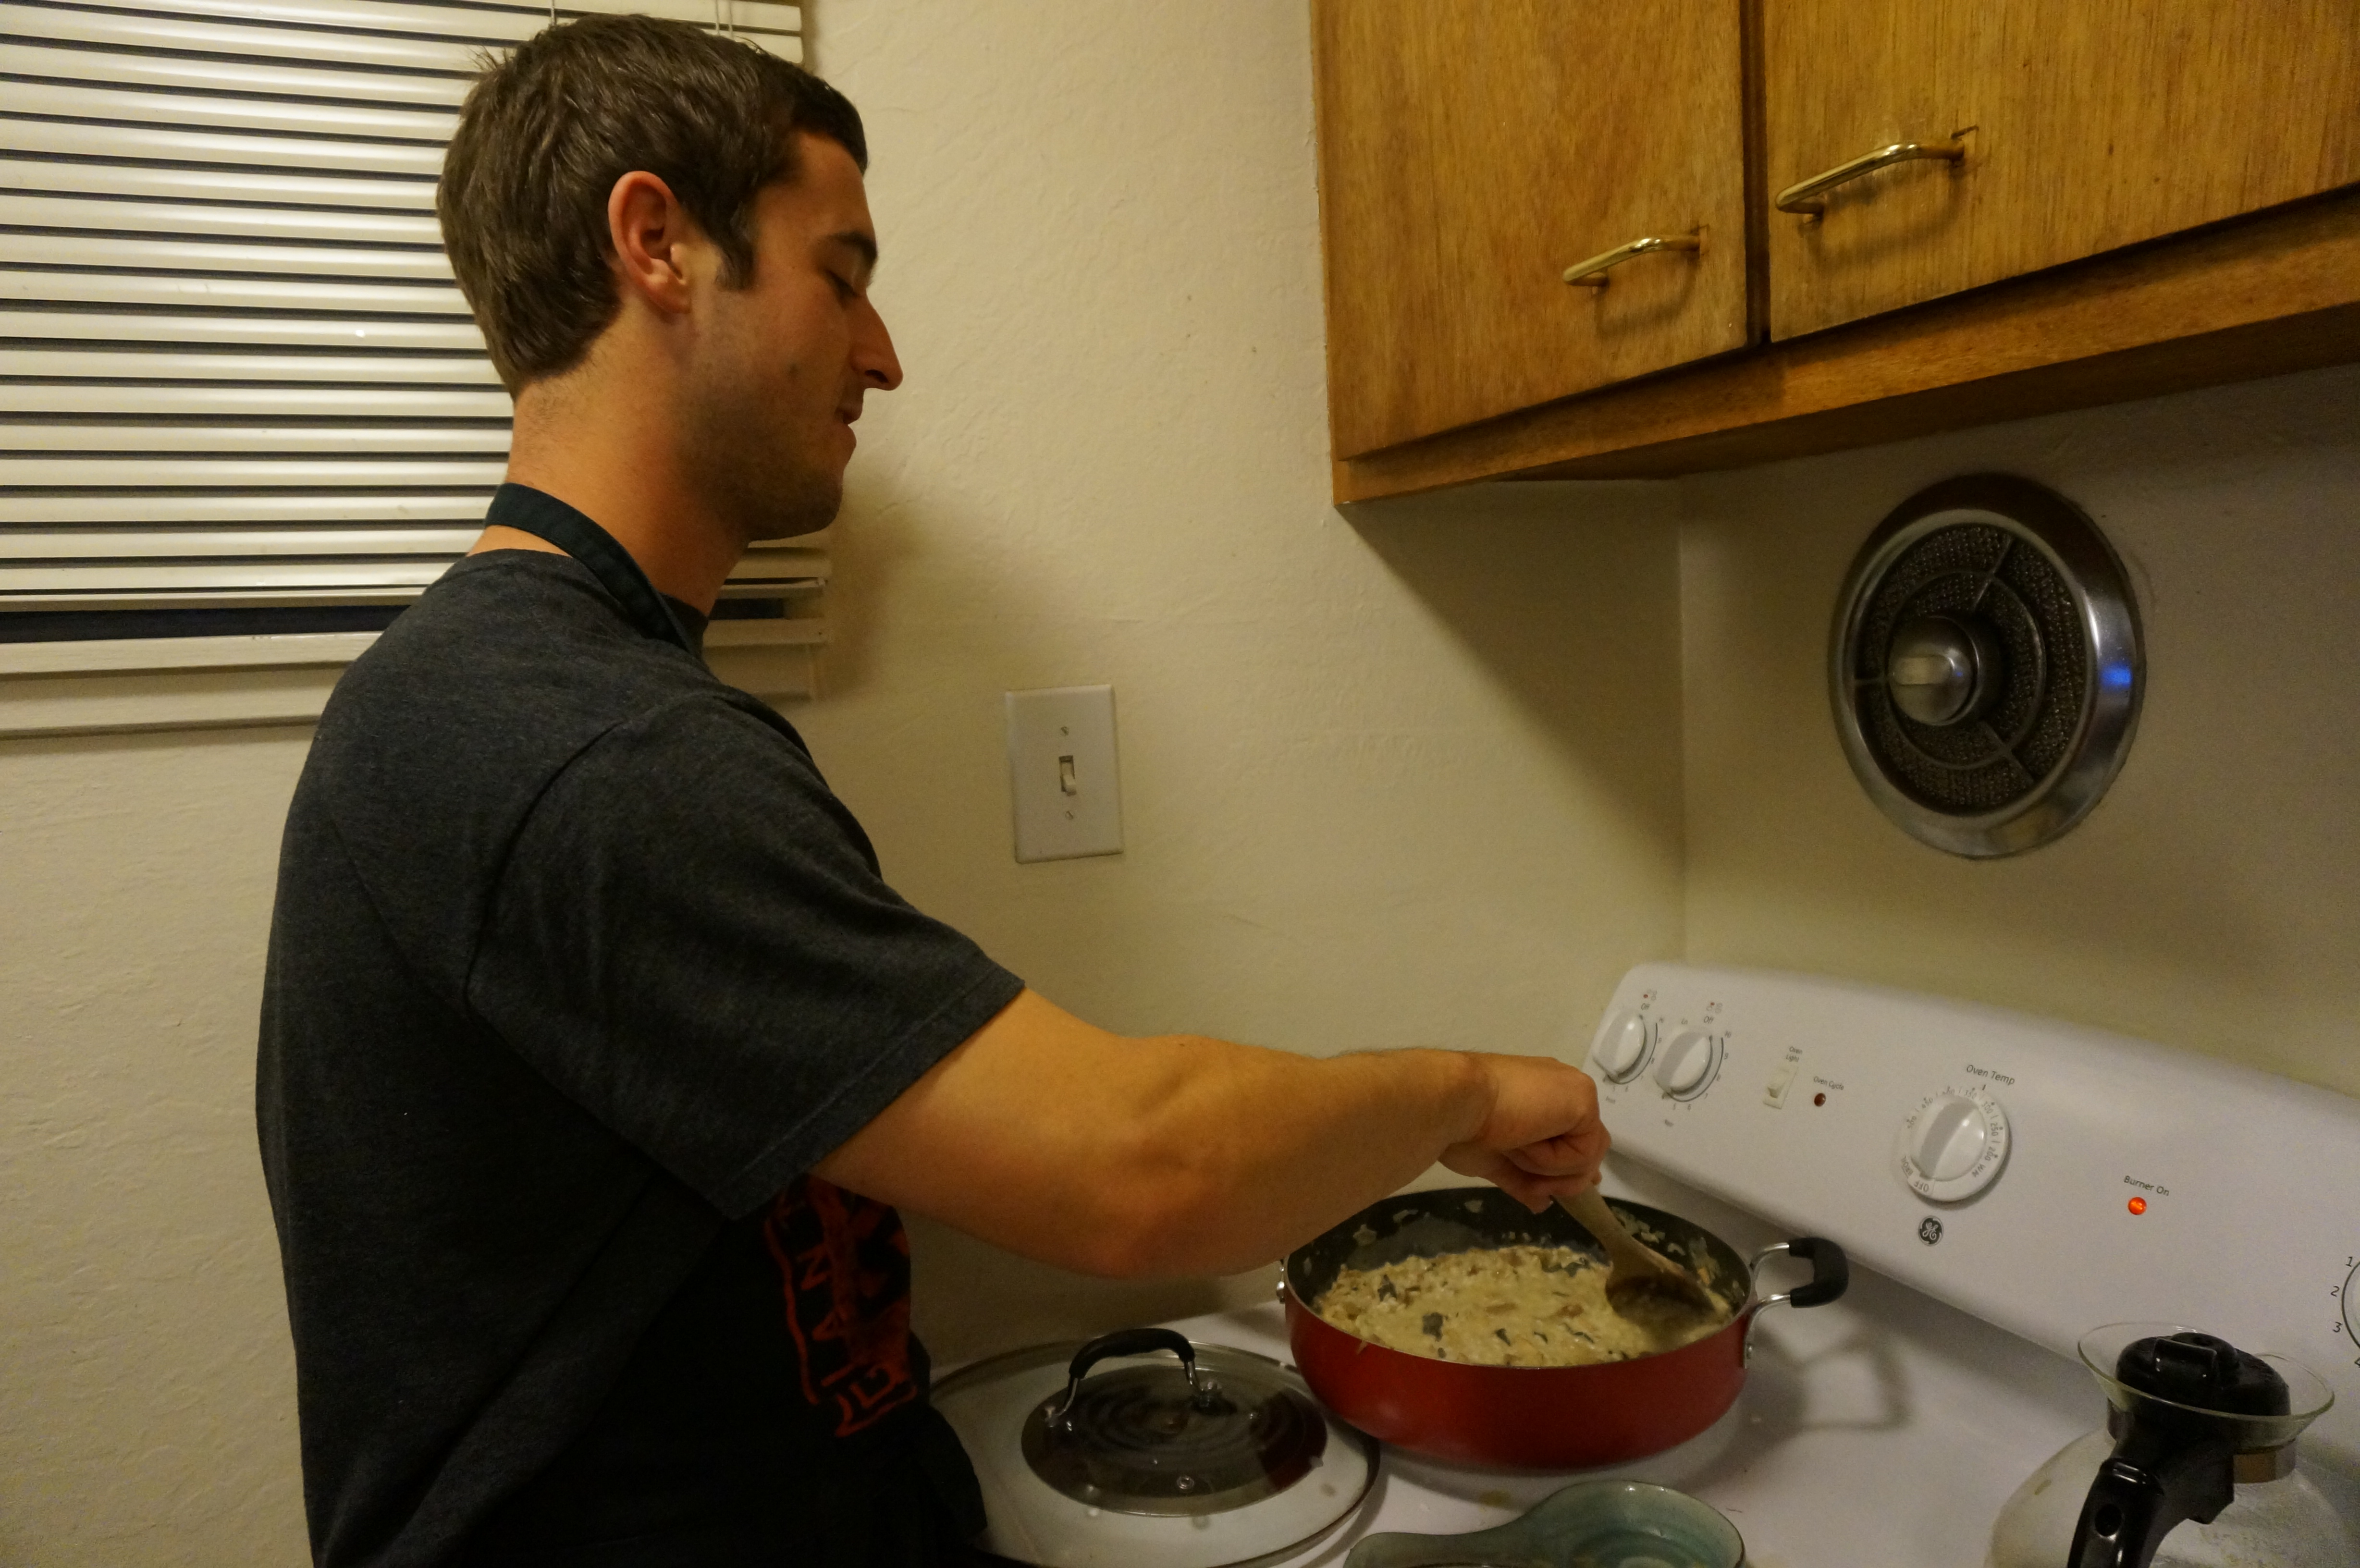
We first washed and chopped up all of the ingredients for the stir fry. We chose onions, garlic, ginger, carrots, red pepper, broccoli, and tofu, but you can be as creative and flexible as you would like with your stir fry ingredients! Once everything was chopped and ready to go, we heated the pan, added olive oil, then placed the roughly chopped onions and the chopped Sparassis to the pan.

2016-12-04-22-01-30

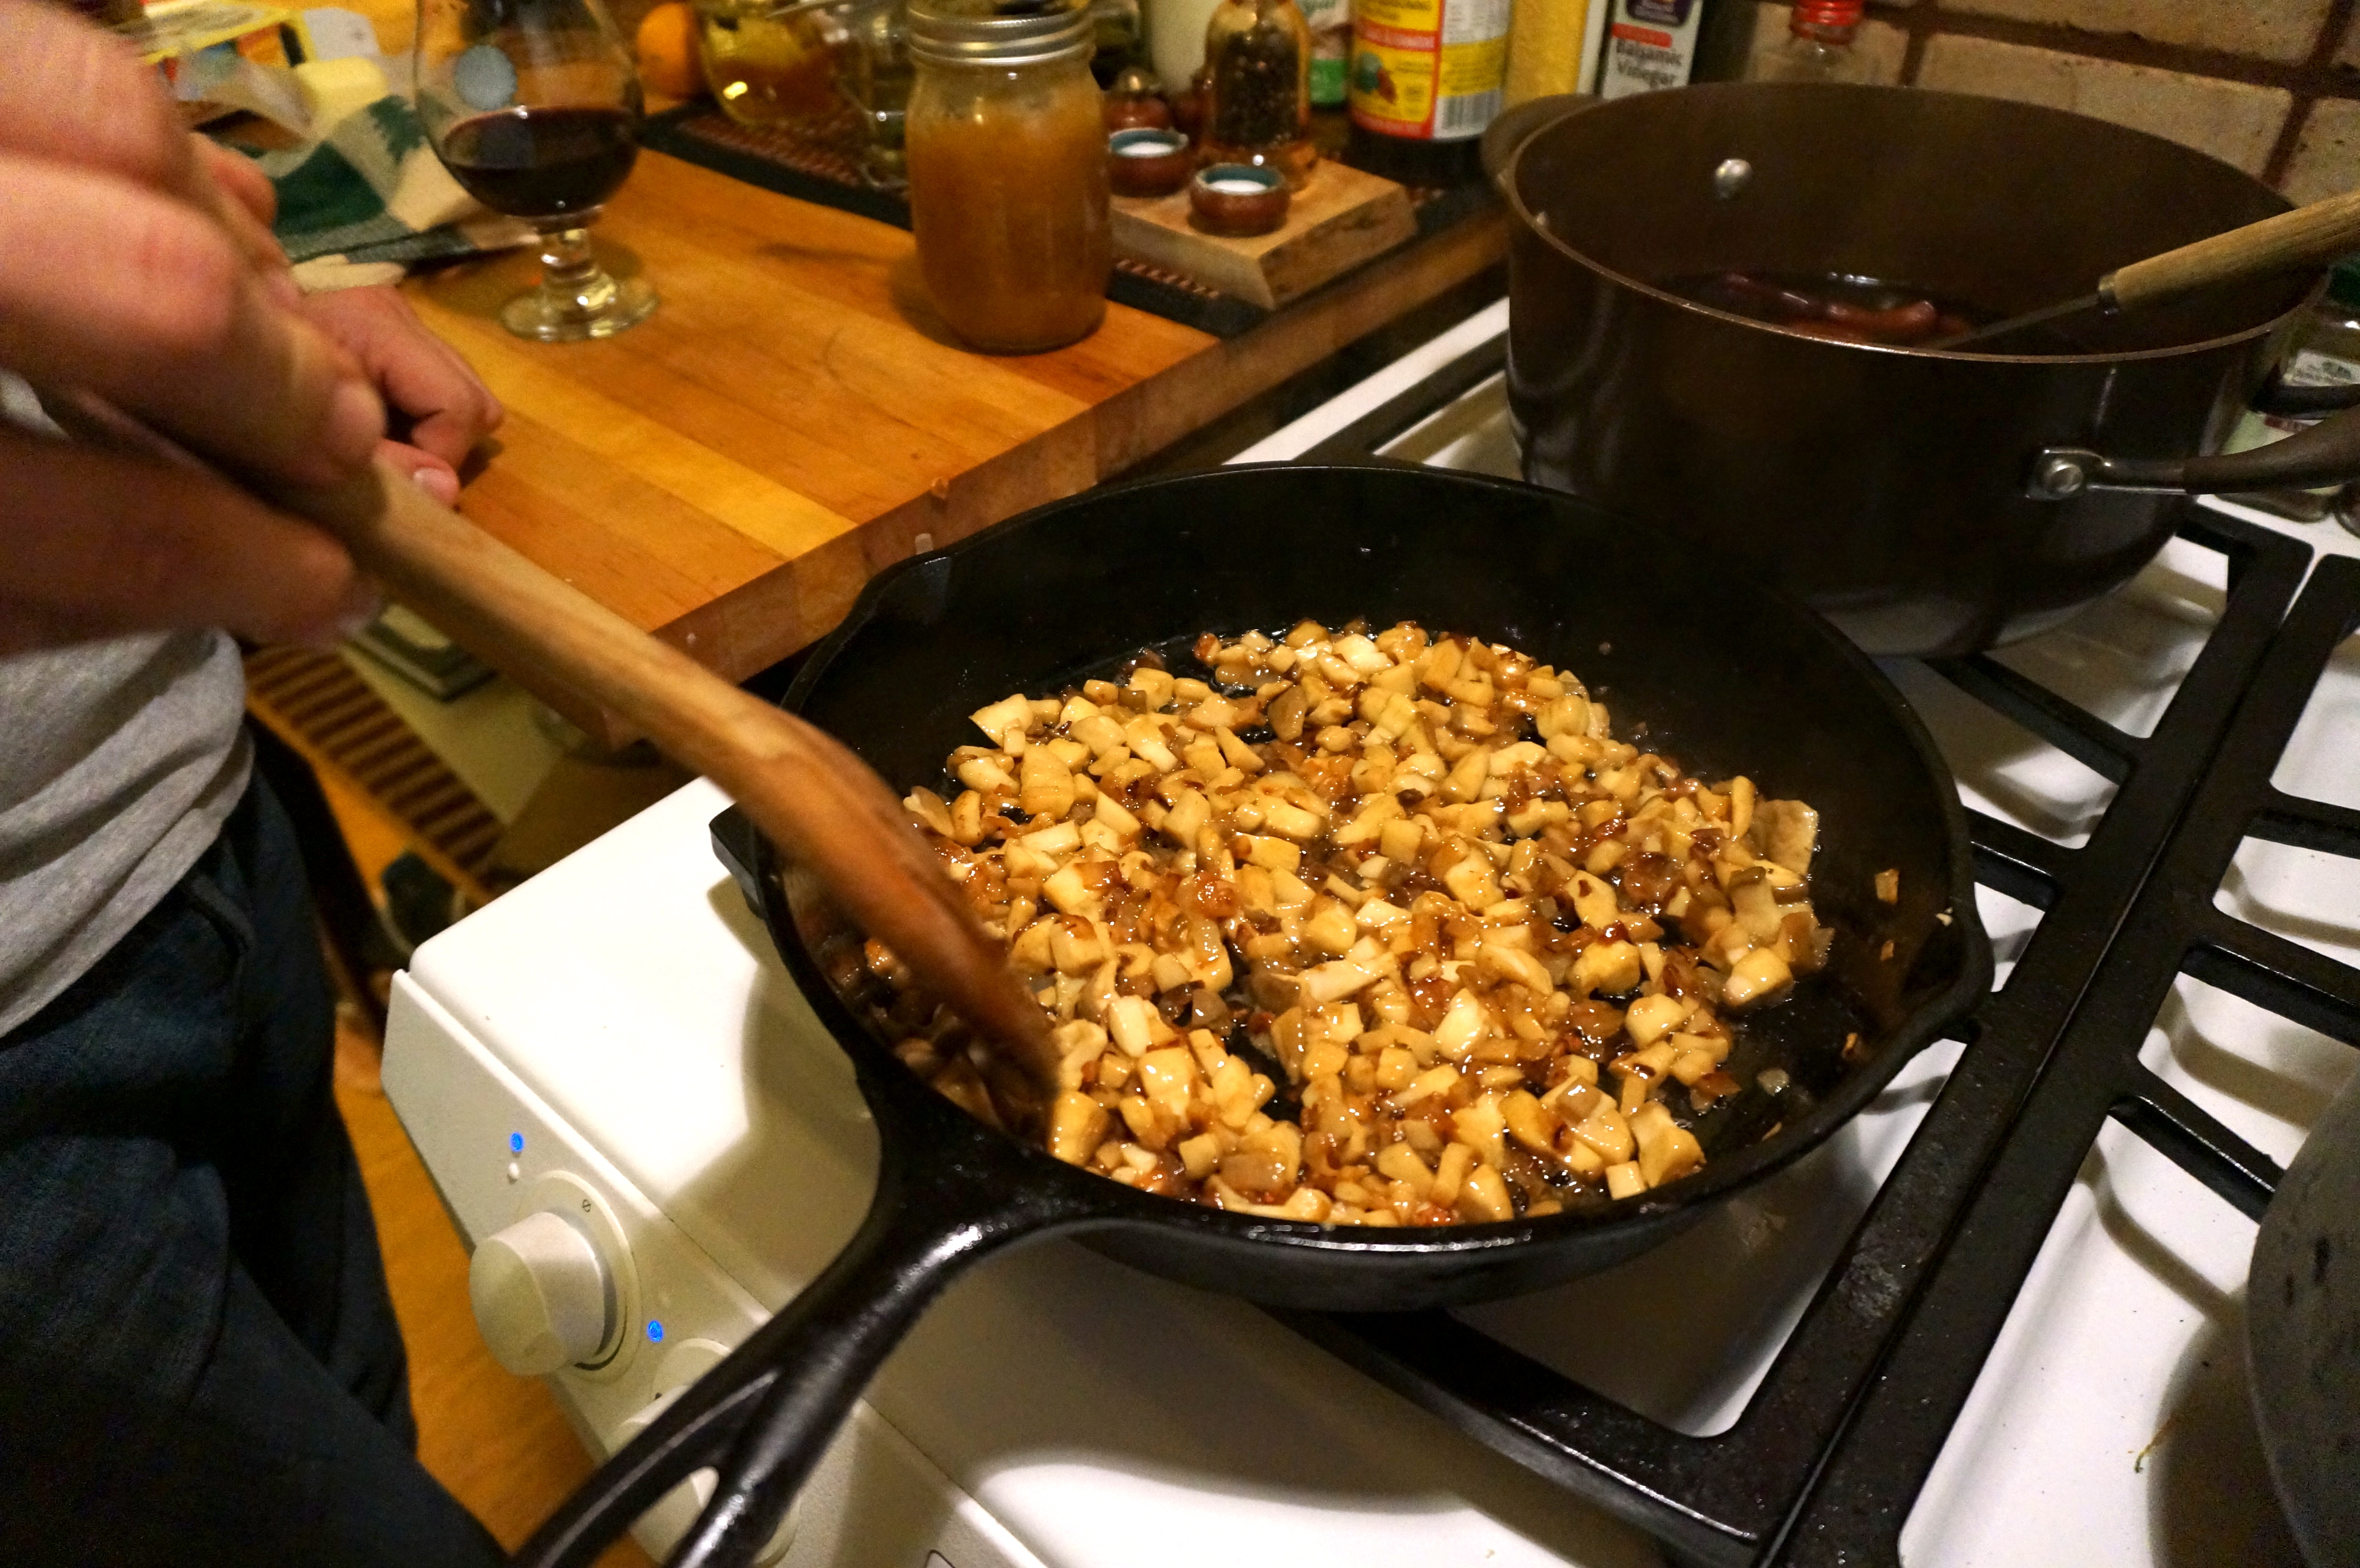
Chopped onions and Sparassis mushroom sautéeing in pan

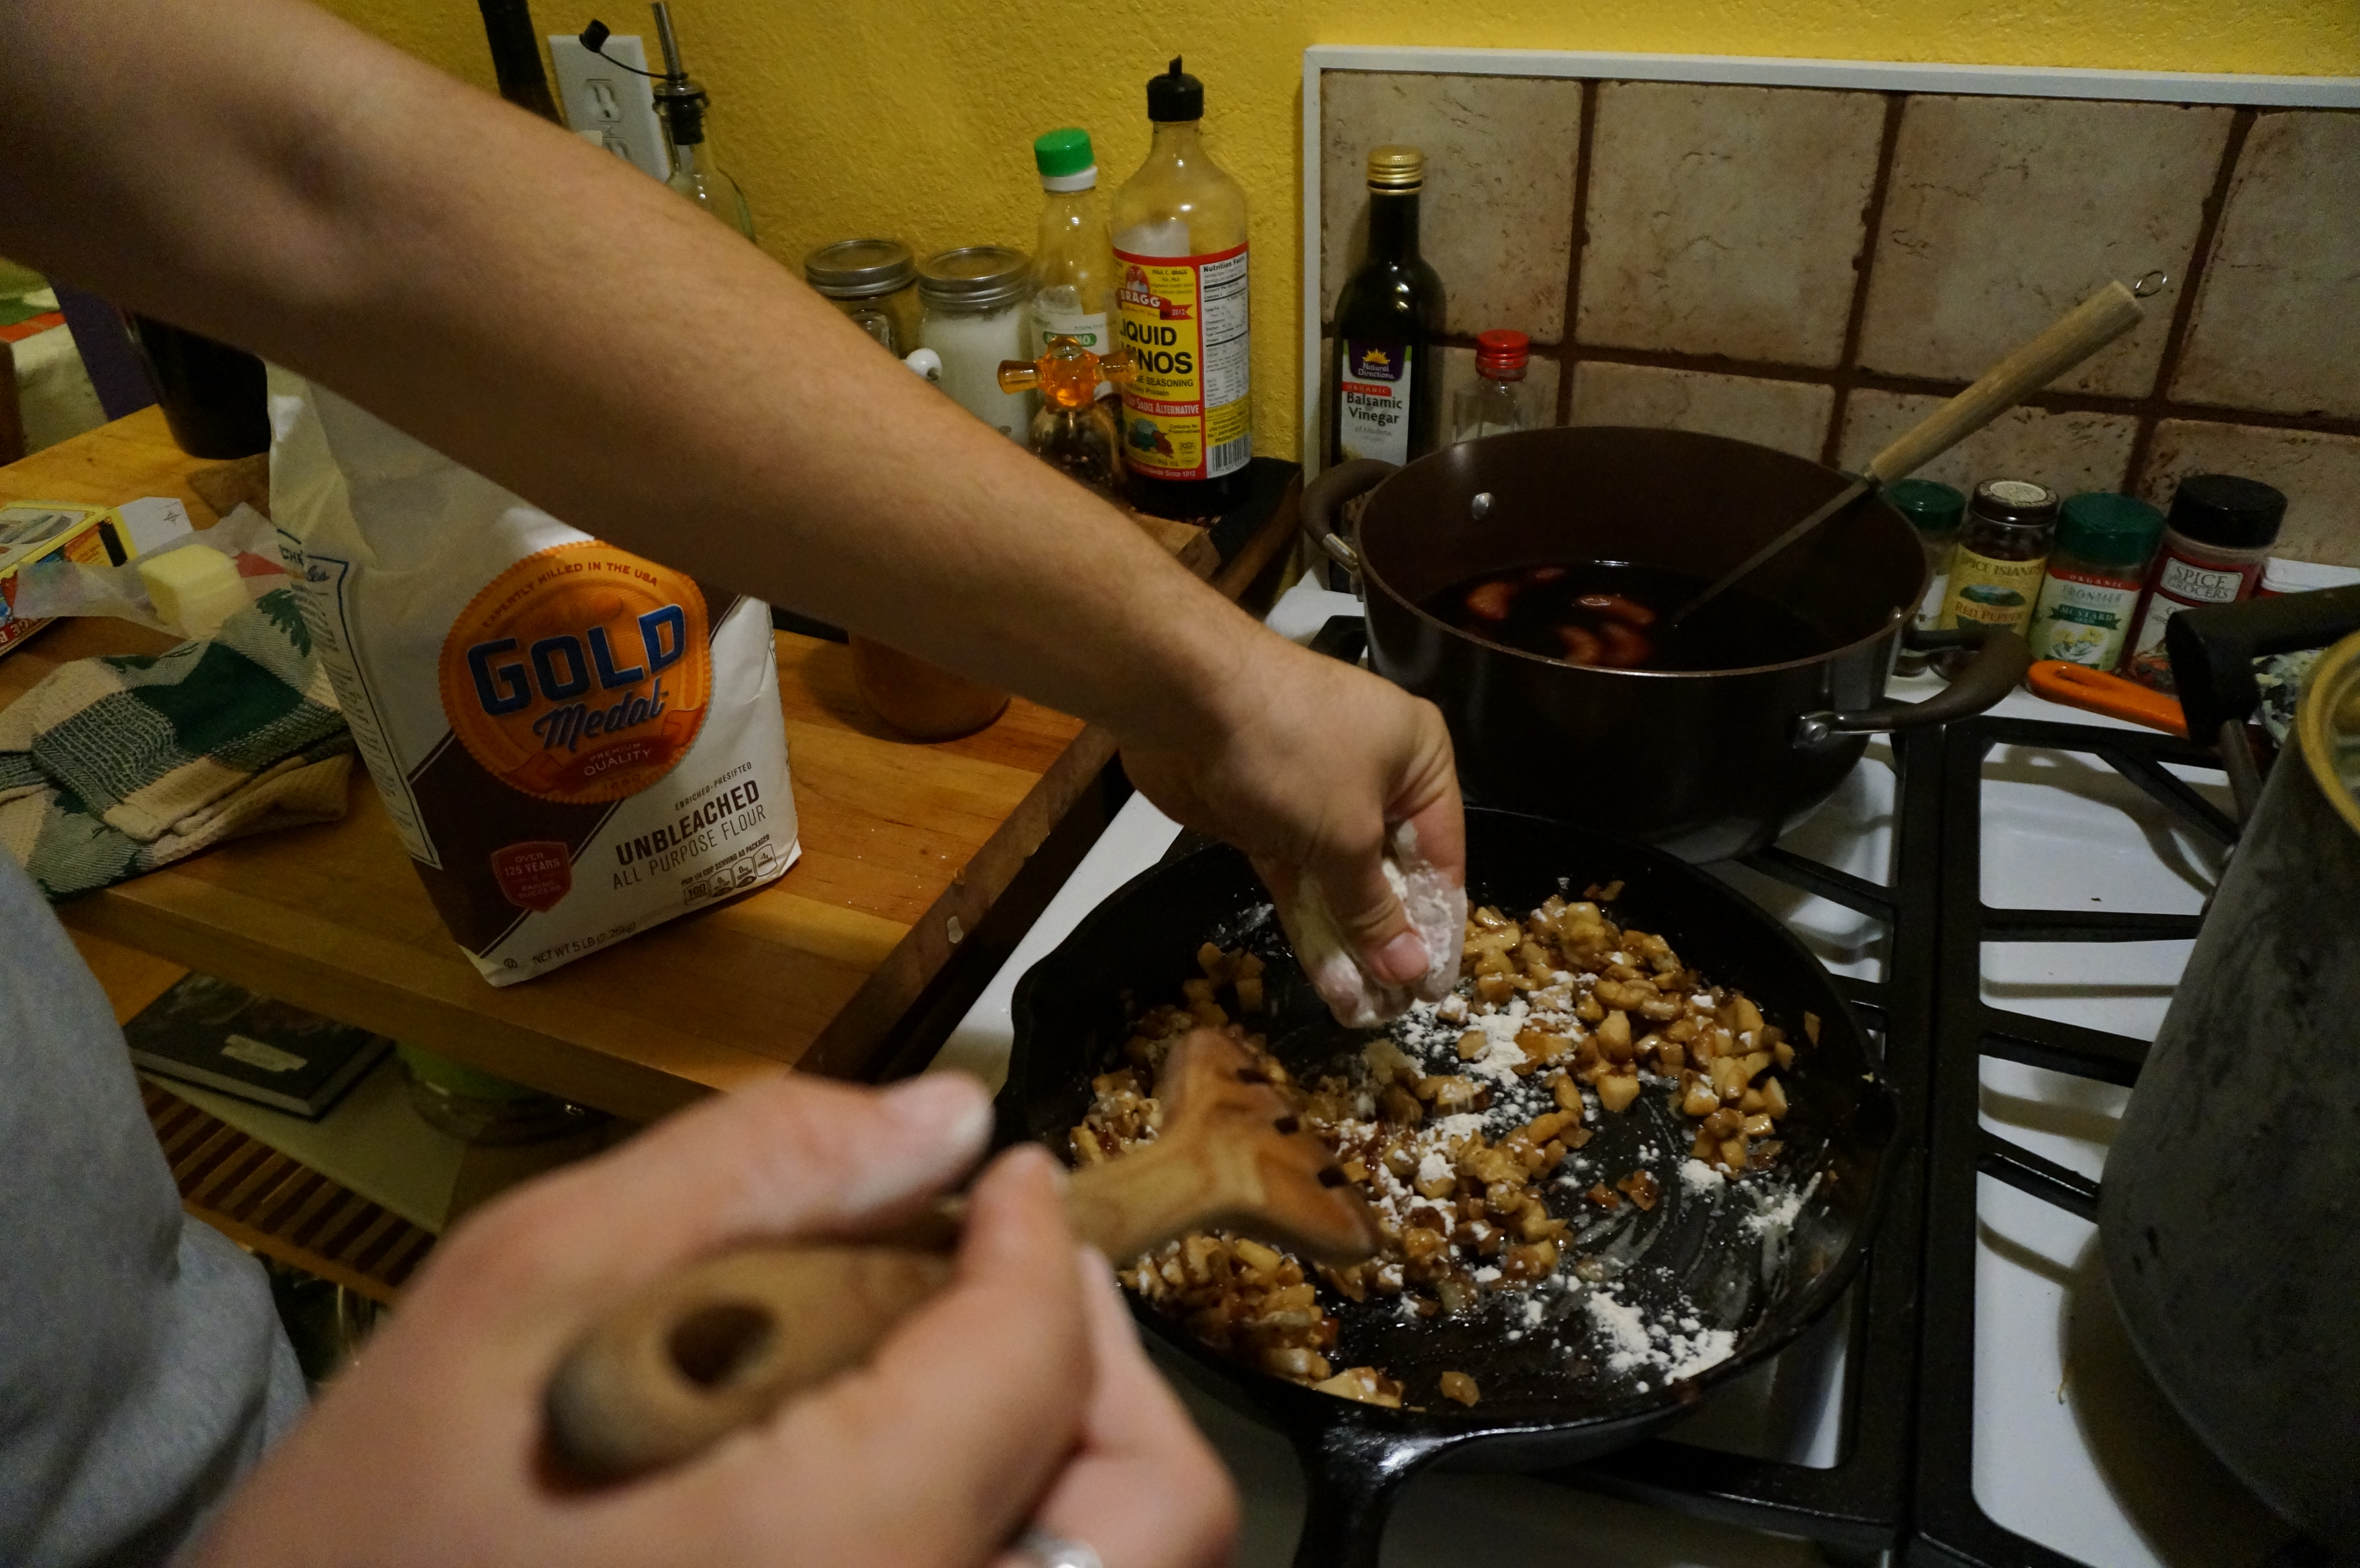
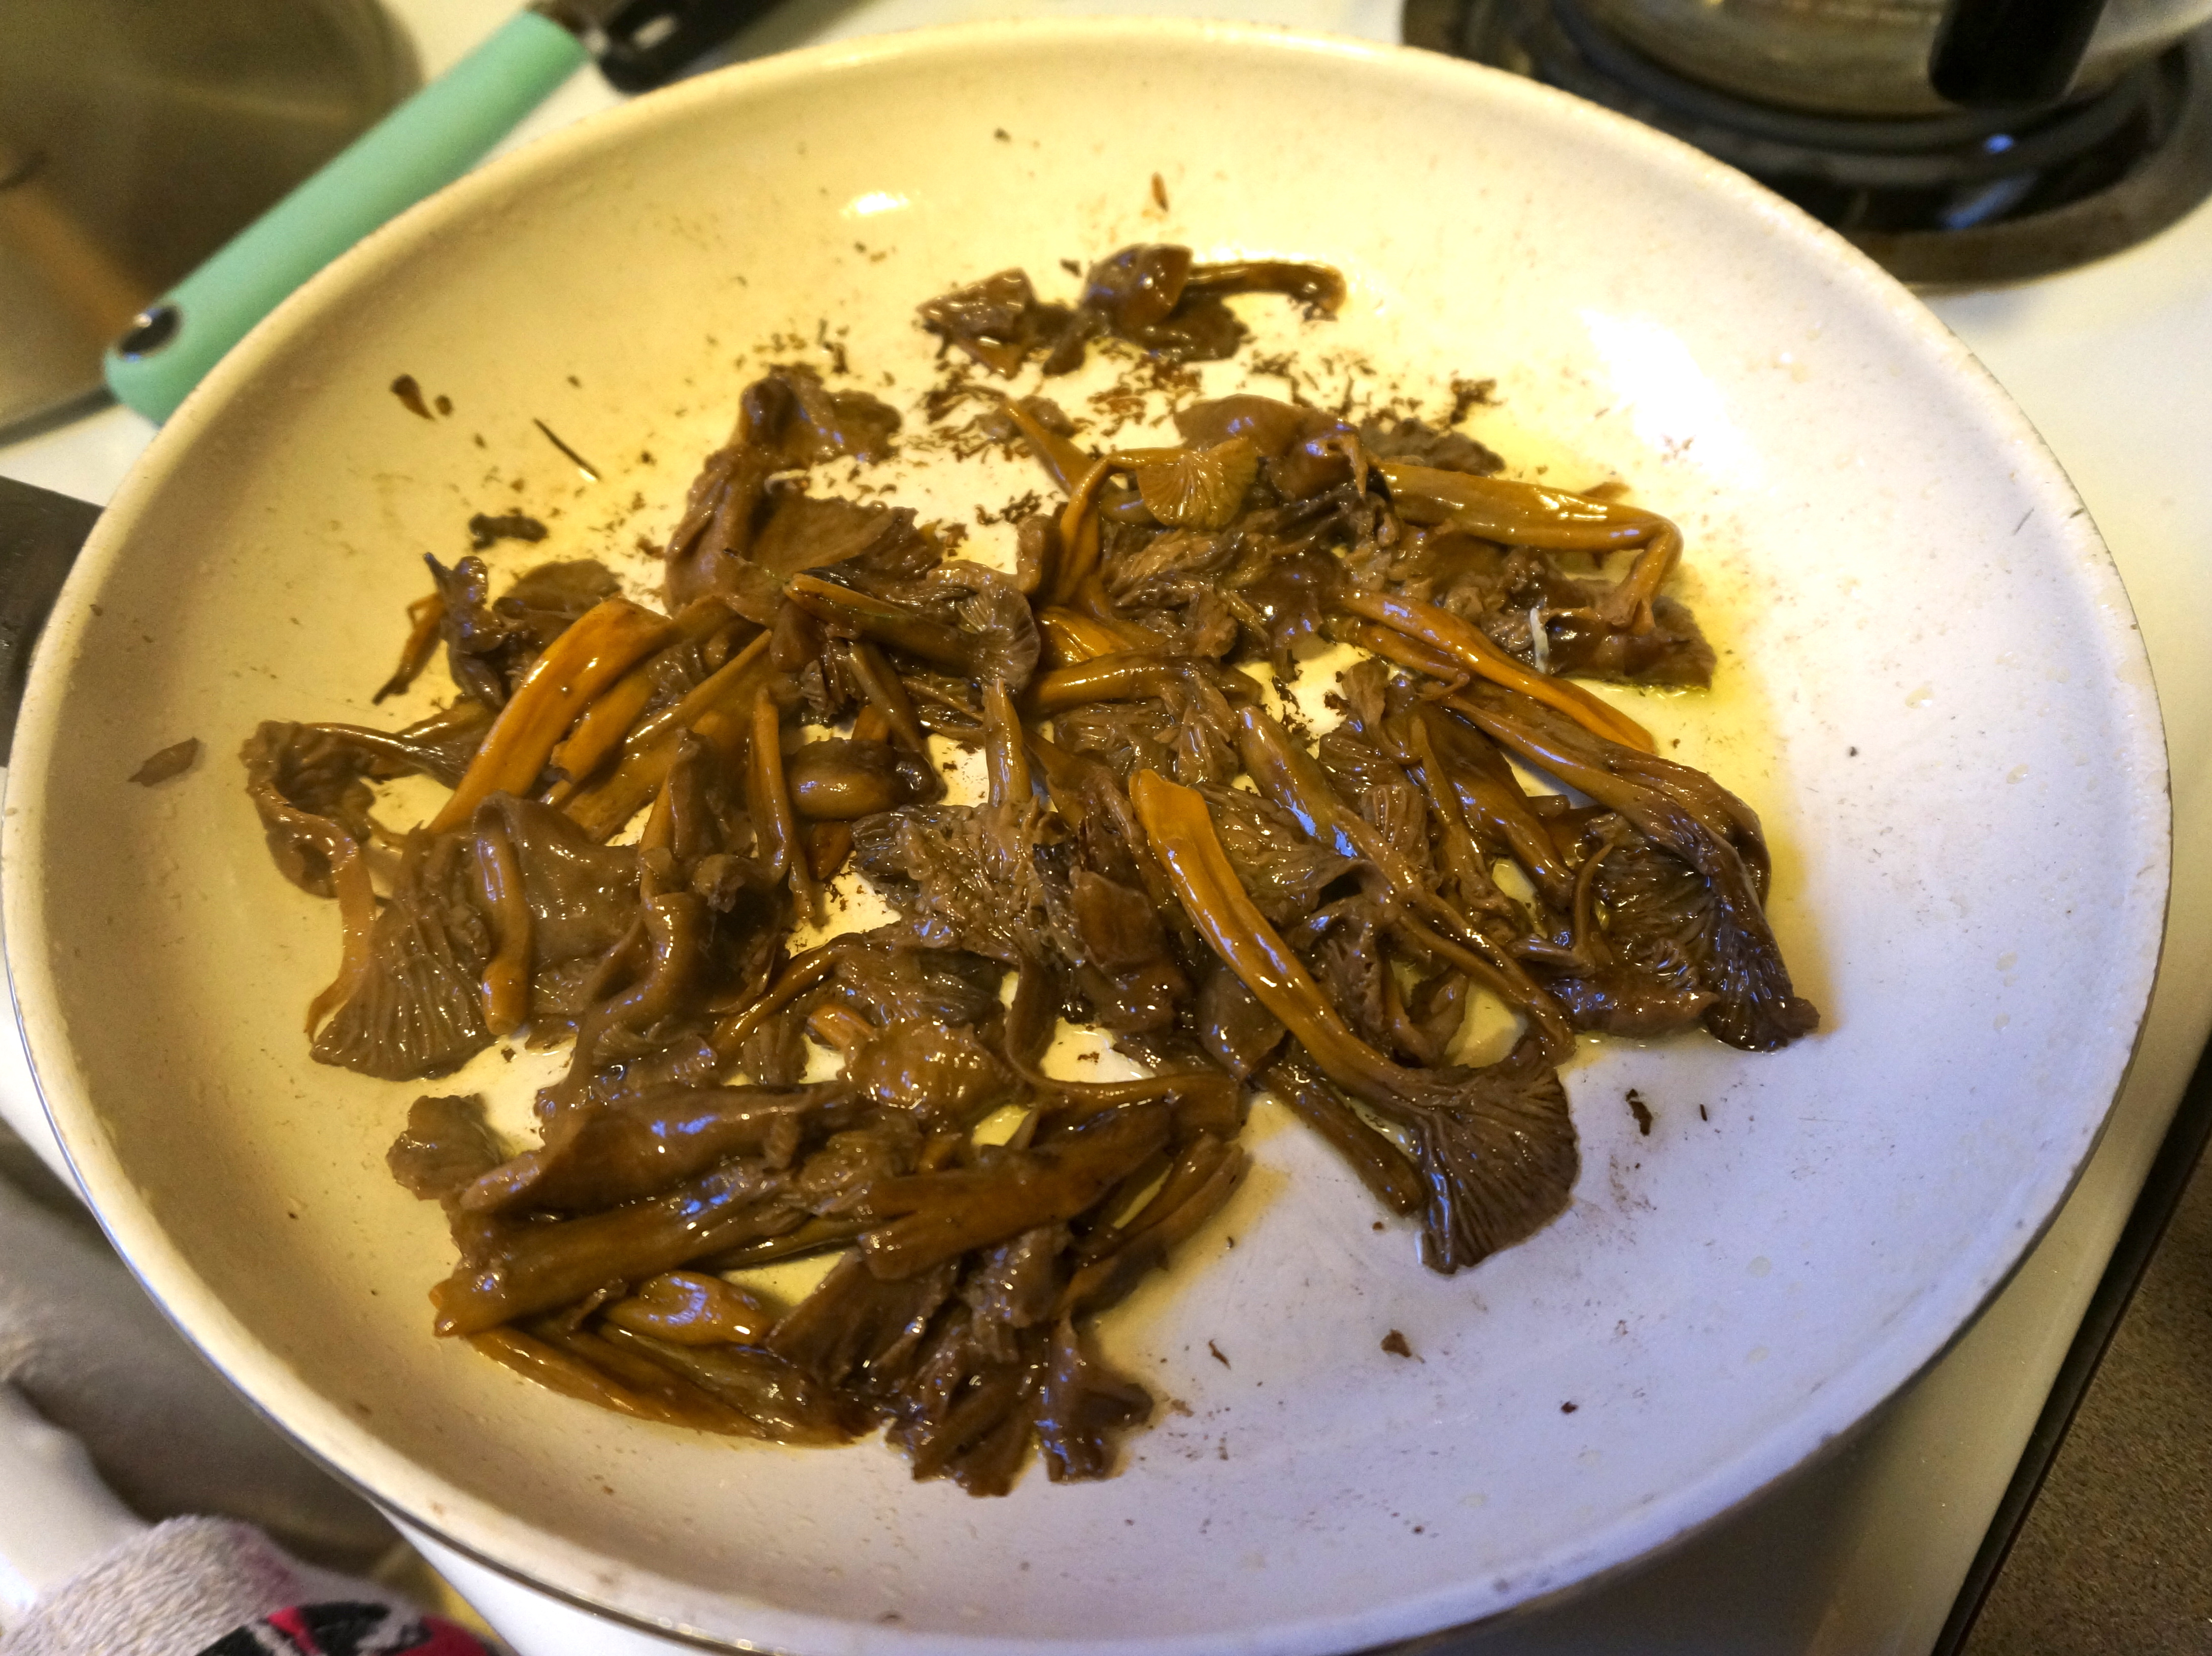
I will warn you this is not a quick stir fry. It takes a while for the mushroom to get rid of all of its water and fully cook. The pan will start filling with water from the mushroom, and you will have to be patient while it evaporates so the mushroom can start to crisp up. The mushroom will have a fairly crunchy texture but it lends a nice meatiness to the dish. After 10-15 minutes, we added a ton of chopped garlic and fresh ginger, which infused into the mushroom and added a lot of flavor. Next, we added chopped broccoli.

2016-12-04-22-10-26

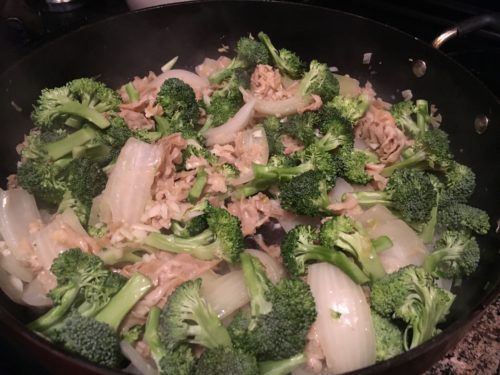
Onions, garlic, ginger, Sparassis, and broccoli sautéing in pan

Of course you can add any vegetable you want to your stir fry. We like lots of vegetables and color so we added red peppers next after the broccoli.

2016-12-04-22-17-29

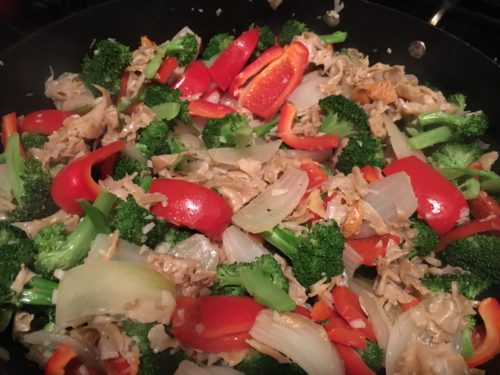
Don’t the red peppers at a nice fresh pop of color?

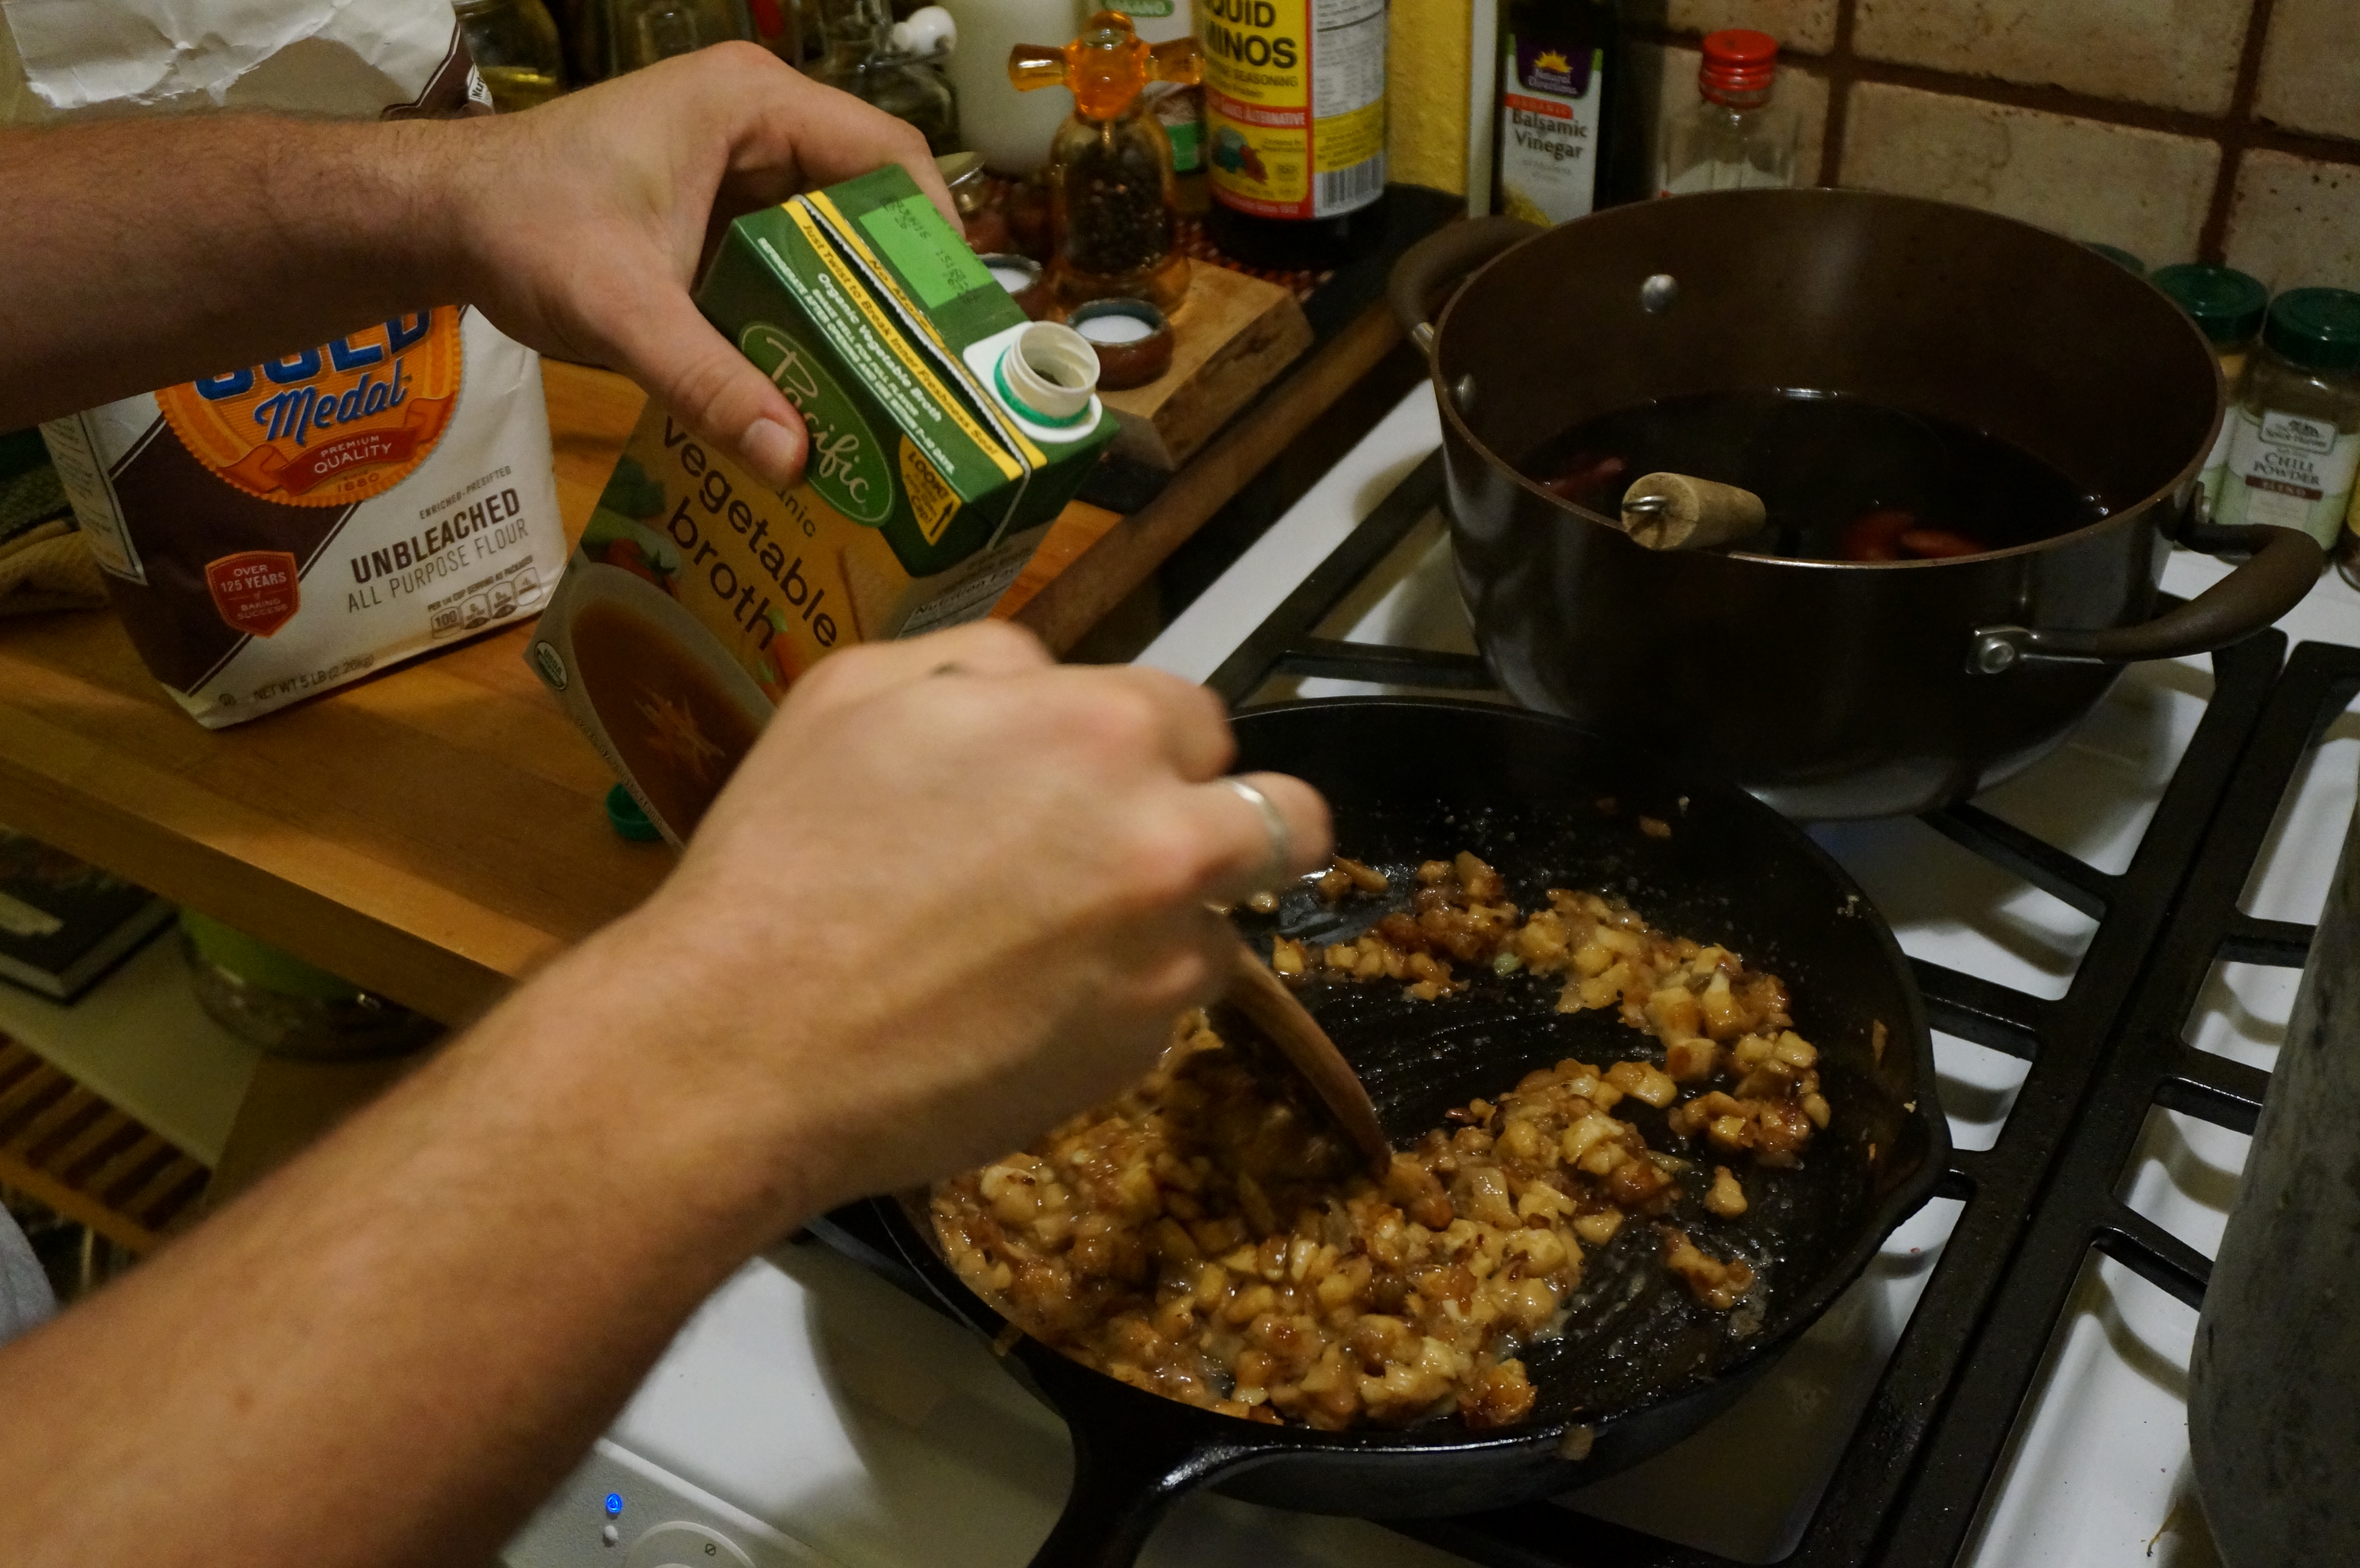
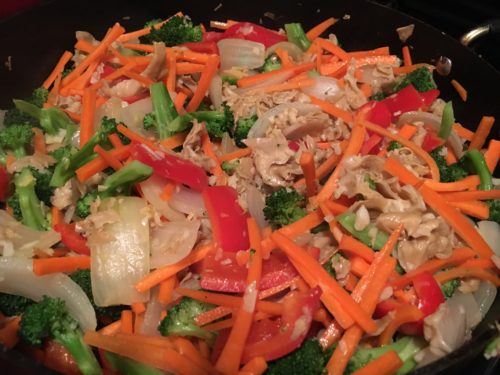
After the broccoli and red pepper cooked for ~10 minutes, we added thinly slivered carrots to the pan. Isn’t the stir fry beautifully colorful? We also had a separate pan for the tofu, which we stir fried in olive oil in its own pan to get a crispier outside.

2016-12-04-22-18-26

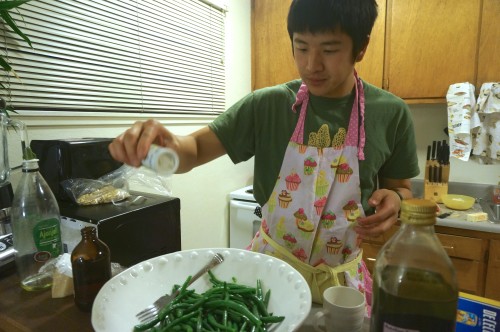
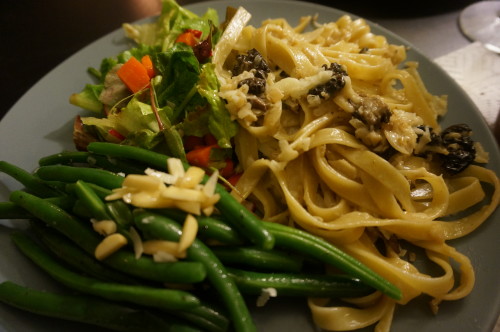
In the meanwhile, Zoie whipped up a delicious sauce to add to the stir fry. We whisked together soy sauce, rice vinegar, sesame oil, a little bit of sugar, and a bit of sriracha and chile. Again, this dish is flexible so you can mix any flavors you like for this sauce. The world is your oyster mushroom :)  We added the sauce and let the flavors meld for another few minutes. Finally, we were ready to serve!

2016-12-04-22-28-39

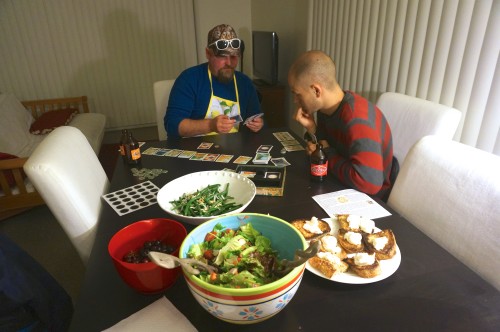
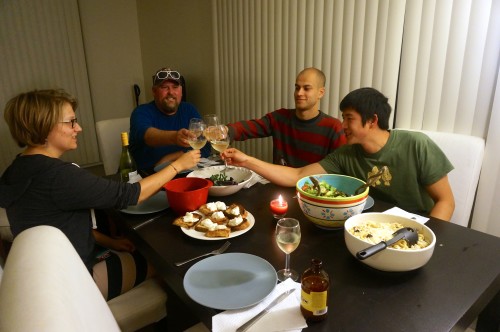
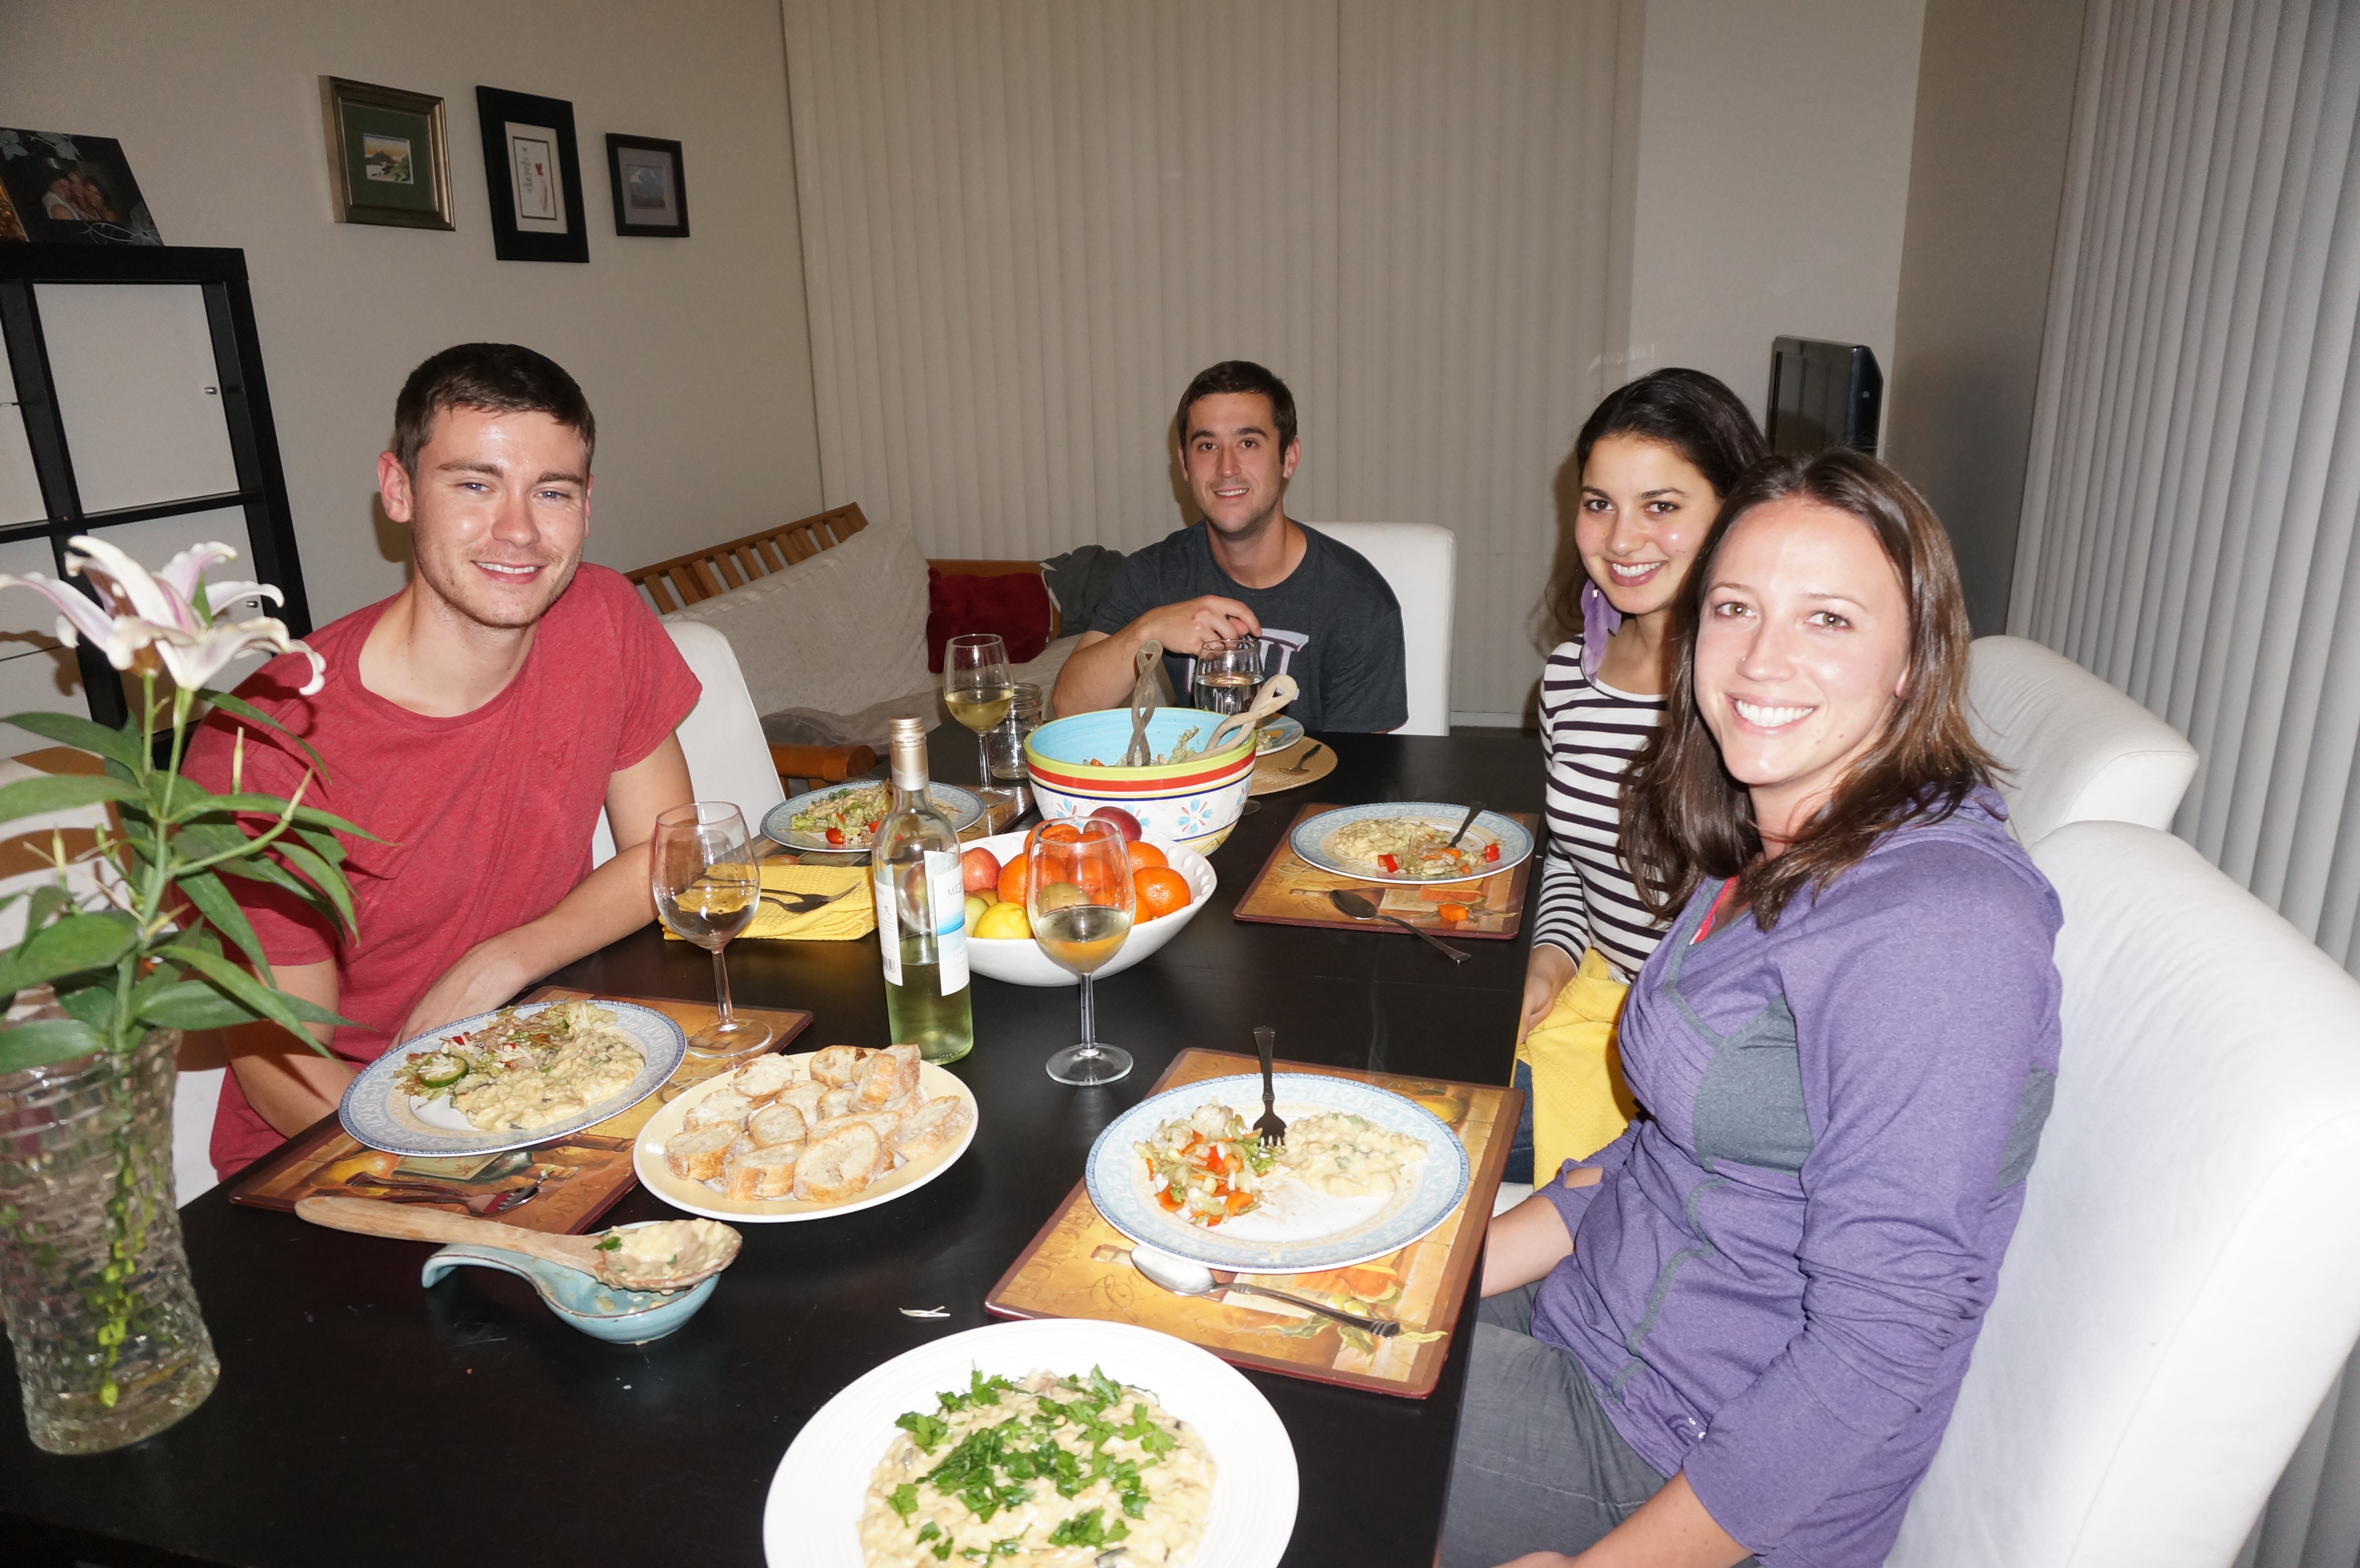
We were all super enthusiastic and delighted at how well this dish came out. It was absolutely delicious! If you ever are lucky enough to come across as Sparassis at the farmer’s market or in the woods, go ahead and stir fry it up! Thanks Roo, Zoie, Kim, and Heather for joining me on an awesome Oregon mushroom hunting adventure :)

Morel Madness and Creamy Morel Pasta

Ever since I returned from New Zealand I’ve been hearing tales and seeing pictures of abundant morels popping up all over northern California. We had tons of wildfires in California in the last two years and are having a very rainy spring thanks to El Niño, which means a perfect storm for morels! Morels are known to pop up in recent burn scars, and since I just graduated with my PhD from UC Berkeley May 15, I finally had time to head to the mountains and poke around for these elusive earthen treats myself!

IMG_6250

Burn scar from the King Fire

We headed up to the Sierra Nevada mountains in California to check out the burn scars from the giant King Fire that scorched over 97,000 acres of land two years ago. Spring in the Sierras is beautiful and we saw tons of dogwoods blooming.

IMG_6267

Dogwoods blooming

We knew we were onto something when we began to see the burned ground carpeted with these cute little orange cups, Geopyxis carbonaria, which are associated with wildfires.

IMG_6240

Cute orange cups of Geopyxis fruiting in the burned duff!

Morels are quite elusive, and it took us a while to find what we were looking for, but in the meantime we enjoyed our tromp through the beautiful Sierran conifer forests.

IMG_6296

Posing with a giant Jeffrey pine

Before we could find any of the delicious elusive treats, we had to survive some infamous Sierran inclement weather first – it started to hail!

IMG_0585

Hailing in the Sierran conifer forests

We were beginning to lose hope, and then finally Vince found the first morel of the day!

IMG_6322

Vince grins with delight at the first morel of the day!

It cold and hailing, but that instantly melted away when I found my first morel – so much glee!

IMG_6335

Me posing with my first ever California morel!

We were getting so much hail that we considered turning around and heading back to the car, but those thoughts quickly melted away after Brian found the mother lode!

IMG_6349

Brian posing with his morel finds!

We were all infected with the morel fever which kept us warm despite the continued hail.

IMG_6348

Hail in our hair and we don’t care! We got the crazy mushroom eyes!

At a certain point it began to hail so hard we decided it was indeed prudent to return to the car..

IMG_0582

Shivering in the pouring hail

We still found some morels poking out from under the hail as we tromped back to the car!

IMG_0588

Can you see the morel poking out from under the hail?

At the end of the day, it was totally worth it!

DSC07510

The morel catch of the day!

Flying high with the morel mushroom fever, we could not wait to prepare a feast to highlight our mushroom bounty. We made a quick stop at Berkeley Bowl on our way home from the mountains to gather ingredients. We decided to cook a creamy morel pasta served with salad, green beans, and fresh baked sourdough toasts (courtesy of Vince) topped with burrata cheese. After admiring our catch of the day, we set off to clean and cut the morels.

DSC07513

Morel bounty!

The first step was to cut and sauté the morels in butter.DSC07537


In the meanwhile, chef Vince prepared the green beans. I just love the morels on his t-shirt peeking out from behind the cupcake apron! It’s a good look, don’t you agree?

DSC07536

My sister and brother-in-law, who are big board game fans, gave me this Morel board game as a gift. The premise is that you are walking through the forest, hunting for morels. We thought it was a perfect activity for fellow hunters Brian and Alex to do while Vince and I prepared the pasta. Here they are deeply involved in the game sitting with the salad, green beans, toast with burrata, and cherries that we got to accompany the creamy morel pasta.

DSC07541

Can’t get enough of hunting for morels! Playing the Morel board game while the morels cook

The next step of the pasta after cooking the morels to golden brown perfection is to chop up two shallots and plenty of garlic and sauté them in butter until they also turn golden brown.

DSC07544

After the shallots and garlic are cooked, add in the heavy cream, then the mushrooms. The mushrooms permeate the cream with their flavor and it is sooo good!

DSC07545

While the mushrooms marinate in the cream, onions, and garlic, cook the pasta and grate the parmesan cheese. Once the pasta is cooked, mix it in with the creamy mushroom sauce.

DSC07551

Creamy morel pasta with shallots, garlic, cream, and morels

Next, add more parmesan to the pasta!

DSC07554

Adding way more parmesan to the pasta

Thanks to my fellow hunters for helping me find this awesome morel bounty!

DSC07560

Cheers to my fellow hunters – Brian, Alex, and Vince – about to enjoy the morel mushroom feast!

Cheers to morels and friends!DSC07562

The salad and green beans complemented the creamy morel pasta perfectly. It was definitely a meal to remember! Now let’s go hunt for some more morels!!!

DSC07567

Salad, green beans with slivered almonds, and creamy morel pasta!

Ingredients for creamy morel pasta:

  • Morels
  • fettucine pasta
  • heavy cream
  • salt and pepper, to taste
  • two shallots
  • lots of garlic! to taste
  • parmesan cheese

Rich porcini gravy

DSC06080

This post is dedicated to the beautiful king bolete Boletus edulis. We found a few gorgeous young specimens while crawling through the bramble in the Oregon dunes.

DSC06107

In my previous post about the Queen bolete I mentioned that you can identify boletes beause they have brown bun shaped caps, tubes instead of gills, and fine reticulation on the upper part of their stems. They are super buttery and delicious and add an amazing flavor to any creamy dish.

DSC06119

Below is another recipe courtesy of my mycology buddy Roo! Roo made a delicious vegetarian porcini gravy to serve on top of biscuits and mashed potatoes at a dinner party.

DSC06121

Luckily, the porcinis were amazingly maggot free! They were small but we were lucky and got them nice and young before they had time to attract bugs. Roo chopped them to a nice even dice and set them in a bowl. The first step of the gravy is to chop up an onion and a bunch of garlic.

DSC06114

Then you sauté it in A LOT of butter.

DSC06111

Once the onions and garlic are starting to brown add the mushrooms.

DSC06127

OMG yum this looks so good! I want this in my mouth now!

DSC06128

At this point add a handful of flour.

DSC06129

Stir it up with the flour for a while until the flour finely coats the ingredients.
DSC06142

Then start slowly adding in vegetable stock letting it incorporate little by little as you stir so the gravy does not get clumpy.

DSC06131

Add the broth slowly and keep stirring for a few minutes.

DSC06132

Add broth until the gravy reaches the desired consistency. Then let it simmer on the stove for 20-30 minutes to let the flavors develop.

DSC06134

This potluck was amazing and had so many delicious foods! Here is my plate loaded up with goodies with the porcini gravy covering my mashed potatoes! Yum!

DSC06135

Ingredients:

  • porcinis – as many as you can find!
  • 1 onion
  • 5 garlic cloves
  • half a stick of butter
  • handful of flour
  • 1 pint vegetable broth

Sauté 1 onion and 5 garlic cloves in half a stick of butter, then add the porcinis and sauté until they released their juices. Then add a handful of flour to make a roux, and brown the flour (add more butter if needed). Then slowly added about a pint of vegetable broth, stirring in each addition thoroughly. Then just let it simmer for ~30 min or so, to let the flavors blend. Thanks to Roo for the recipe and professional photographer Brian Jones for most of the cooking photos!

Beet, avocado, and pea Salad with beef meatballs with lemon and celeriac

The news today is…..I got Plenty More!!!!!! My wonderful friend Gabrielle Haug got it for me as a thank you gift for staying at my house while on a visit from NYC. I’m am soo excited to have the newest book from my main man Yotam Ottolenghi. The first dish I made from this brilliant vegetarian book is the Beet, Avocado, and Pea Salad featured on pg 65 and online here. I paired it with beef meatballs with lemon and celeriac that I found the recipe for online here.

Beet, avocado, and pea salad with beef meatballs with lemon and celeriac 3

Beet, avocado, and pea salad with beef meatballs with lemon and celeriac.

I’m not going to lie, this dish is kind of a mess to make. And by kind of a mess, I mean beets are really freaking messy. They get bloody looking beet juice everywhere! But it is so good and beets are so healthy that I’m going to go ahead and say that it is worth it. It is so worth it, in fact, that I made it twice in the same week. So there you go.

Peeling and thinly slicing beets is messy work

Peeling and thinly slicing beets is messy work

First, peel the beets and cut them into thin slices. This is the messy disaster zone part, so wear an apron.

Boiling beets looks a bit like a witch's brew, doesn't it?

Boiling beets looks a bit like a witch’s brew, doesn’t it?

Then blanch them in boiling water for 3-5 minutes. This is the part that is really genius. Making beets is usually such a pain because they take so long to roast. But, blanching them for a few minutes in boiling water is so much quicker!  Place them in boiling water for a few minutes, then rinse them in the sink in a colander, dry them off, then mix them in a bowl with chopped red onion, 3 tbsp sherry or red wine vinegar, 1/4 cup olive oil, 1/2 tsp sugar, 1-3 tsp Cholula Hot Sauce, 1 tsp salt, and some pepper. Once that is mixed up place it in the fridge for a while to let the flavors meld. I think this recipe tastes even better the next day because the beets have more time to soak up the flavors and get softer from the vinegar.

Beets with onion, vinegar, oil, and spices1

Beets with onion, vinegar, oil, and spices.

Next, prepare the green part of the dish. I love all of the fresh herbs that Ottolenghi incorporates into his recipes. It makes everything taste so flavorful, fresh, and healthy! It is the perfect way to infuse some freshness into this wintry root vegetable dish. Cut up 2 avocados and add some peas. I used frozen peas and blanched them for a few minutes in boiling water.

Peas and avocado for the salad

Peas and avocado for the salad.

Wash and tear up some mint leaves, cilantro leaves, and pea shoots. I was amazed to find pea shoots at the Berkeley Bowl (that place has everything!), but I had never used them before so if you can’t find them just use some other sort of fancy green.

Mint, cilantro, pea shoots, avocado, and green peas3

Mint, cilantro, pea shoots, avocado, and green peas3

Then you just set these items aside and wait to mix them together until you are ready to eat. I chose to cook the meatballs in the meanwhile but you could easily prepare these two parts in advance and mix them together when you are ready to serve later that day or even the next day. I think the beets taste even better the next day because all of the flavors meld. Earlier in the week when I made the salad, I paired it with the chicken with cardmom rice dish that I had made in Naples, Italy for my cousin and his wife.

Beet, avocado, and pea salad with chicken with cardmom rice2

Beet, avocado, and pea salad with chicken with cardamom rice

This time I decided to try out a beef dish, so I found this meatball recipe online. As you all know, I don’t cook meat dishes very often. With all of the delicious vegetarian recipes to choose from in Plenty and now Plenty More, and of course those hearty meaty mushrooms that I love, it’s hard to miss the meat. However, I am a complete omnivore these days and I thought meatballs would go really well with this dish. The first step was to mix together the beef, onion, parsley, breadcrumbs, allspice, salt, and pepper with my hands and form the meatball shapes. Ottolenghi says the recipe is supposed to make 20 meatballs, but we only got 10. Go figure!

Beef meatballs with onion, parsley, egg, breadcrumbs, allspice, salt, and pepper

Beef meatballs with onion, parsley, egg, breadcrumbs, allspice, salt, and pepper

Heat a pan with 2 tbsp olive oil, then sear the meatballs for 5 minutes on each side.

Meatballs searing in olive oil1

Meatballs searing in olive oil

Once the meatballs are seared on each side, remove them from the pan.

Seared meatballs

Seared meatballs

Add celeriac, 3 crushed garlic cloves, 1/2 tsp each of ground turmeric, cumin, and cinnamon, and 1.5 tsp fennel seeds. I forgot to add the paprika and added way more than 3 garlic cloves, and it still turned out really yummy, so I think the spice amounts are open to interpretation. Celeriac is probably the oddest ingredient of the bunch. It’s a variety of celery cultivated for its roots, and looks a bit like what I imagine a parsnip mixed with a pineapple would look like.

Celeriac with turmeric, cumin, cinnamon, and garlic.

Celeriac with turmeric, cumin, cinnamon, and garlic.

Celeriac is very plain on its own and it soaked up the flavor of the spices very well, so it was a tangy addition to the meatballs. It was crunchy but less heavy than a potato would be. Cook the celeriac on high heat, stirring, for two minutes. Then return the meatballs to the pan, and add 2 cups of chicken stock. The recipe calls for 3 tbsp of lemon juice, but I love lemons, and I love my lemon squeezer, so I added in the juice of about 3 fresh lemons, which was probably closer to 5 tbsp. Add some salt and pepper, bring to a boil, then turn down the heat, cover and simmer for 30 minutes. After 30 minutes, Ottolenghi says to remove the lid and leave to bubble way for 10 minutes, until the sauce is quite thick. While this was happening I took the opportunity to make couscous to serve with the meatballs.

Beef meatballs with lemon and celeriac on a bed of couscous1

Beef meatballs with lemon and celeriac on a bed of couscous1

Here is what the beet, avocado, and pea salad looks like when everything is mixed together:

Beet, avocado, and pea salad

Beet, avocado, and pea salad


Here are my friends enjoying the beautiful wintry meal!

Patrick, Gabbie, and Hrach enjoying the meal. Gabbie isn't looking but everyone looks so happy in this picture I had to include it!

Patrick, Gabbie, and Hrach enjoying the meal. Gabbie isn’t looking but everyone looks so happy in this picture I had to include it!

Ingredients for beet, avocado, and pea salad:

4 medium raw beets
1 small red onion, thinly sliced
3 tbsp sherry vinegar
4 tbsp olive oil, plus a little extra to finish
½ tsp sugar
1-3 tsp savory chilli sauce or paste (Tabasco or Mexican Cholula hot sauce, for instance)
1 tsp salt
Freshly ground black pepper
2 medium avocados, peeled and thinly sliced
10g coriander (parsley) leaves
10g mint leaves
20g pea shoots
150g peas

Ingredients for the beef meatballs with lemon and celeriac:

400g minced beef
1 medium onion, peeled and finely chopped
120g breadcrumbs
20g chopped flat-leaf parsley leaves, plus 1 tbsp extra, to garnish
1 egg, beaten
½ tsp ground allspice
Salt and black pepper
2 tbsp olive oil
1 small celeriac, cut into 5cm x 1.5cm batons
3 garlic cloves, peeled and crushed
½ tsp each ground turmeric, cumin and cinnamon
1½ tsp fennel seeds, lightly crushed
¾ tsp smoked paprika
500ml chicken stock
3½ tbsp lemon juice
60g Greek yogurt

Spiced red lentils with cucumber yogurt

Up until this weekend, when we thankfully received our first rains of 2015, it hadn’t rained in Berkeley in months. With no mushrooms to inspire me, combined with the fact that I’ve been in hardcore dissertation writing mode lately, I haven’t taken as much time to cook. But I’m still a poor PhD student and cannot afford to eat out every night, so I was in search of a dish that was healthy, cheap, and easy to prepare. I turned to my old friend Yotam Ottolenghi for some inspiration, and I found this lovely lentil dish “Spiced red lentils with cucumber yogurt” on p. 221 of Plenty, which can be found online here.

Ingredients for curried red lentils

Ingredients for spiced red lentils.

I do not know why it took me so long to discover lentils. Lentils are the perfect food, especially for a PhD student low on funds such as me.  Lentils are really healthy and cheap, and when prepared correctly, can be super delicious and satisfying. Let me tell you, this dish prepares them correctly. This dish is THE BOMB.  It has flavor and spice up the wazoo. As a fair warning, there are a lot of spices involved, all of which I thankfully already own due to the spice buying investments I’ve been making over the last year. But trust me, this dish is so worth it.  You have to soak the lentils in water for 30 minutes prior to cooking, and since I already had the lentils, I placed them in water before heading out to the Berkeley Bowl to grocery shop, so they had ample time to soak.

Limes, cucumbers, ginger, garlic, and onion

Limes, cucumbers, ginger, garlic, and onion for the curried lentils.

Upon returning from the Berkeley Bowl, I started by making the chopped onion mix. I cut off the stalks of the cilantro and roughly chopped the leaves and set those aside. Then I stuck the cilantro stalks in my food processor, followed by a finely diced onion.

Onion mixture in the food processor

Onion, garlic, ginger, green chile, and cilantro in the food processor.

Then I added 3 peeled garlic cloves, 2.5 inches peeled ginger, and a fresh chile. I used a serrano chile, which I removed the seeds from, but presumably any green chile would work.  This mix is a flavor powerhouse. It smelled so fresh and delicious.

curriedlentils-09-2

This onion, garlic, cilantro, chile mixture was a flavor POWERHOUSE. It smelled so good!

Place a large pan on medium heat and put the mustard seeds in it and wait for them to pop. They start to sound sort of like popcorn – it’s pretty fun! Then add the 4 tbsp sunflower oil and the onion mixture. This is such a flavorful mix – I’m definitely going to have to start employing it in more of my cooking.

While the onion mixture cooks, I mixed together the spices. Mix 1.5 tsp coriander, 1 tsp cumin, 0.5 tsp turmeric, and 0.25 tsp (sweet) paprika. I used regular paprika since I don’t have sweet, but all in all this is a pretty standard curry mix. The one ingredient I did not have was the curry leaves, which I read online you could substitute with basil and a dash of lemon. After the onion mix has been cooking for 10 minutes, add the spices and leaves and cook for 5 minutes.

Coriander, cumin, turmeric, paprika spice mix

Coriander, cumin, turmeric, and paprika spice mixture.

The spices and onion mixture smelled so good while they were simmering! My whole apartment smelled amazing. Two friends dropped by my apartment to pick something up while I was cooking and commented on how good it smelled as soon as they entered the door. Between you and me, I think they were pretty jealous that they weren’t invited over for dinner!

Onion mixture with spice mix and basil leaves

Onion mixture with spice mix and basil leaves.

While the mixture is cooking, take the time to open up a can of peeled chopped tomatoes or to chop up some fresh tomatoes. Peeling tomatoes seemed like too much work for me so I just threw them in whole, and then I added the red lentils with the water they had been soaking in.

Spice and onion mixture with red lentils and tomatoes

Spice and onion mixture with red lentils and tomatoes.

While the lentils simmer for 30 minutes, mix together the Greek yogurt with diced cucumber and olive oil. Once the lentils are cooked, stir in some butter. Ottolenghi suggests 1/3 cup unsalted butter, but I used closer to 2 tbsp. Squeeze the juice from 1 fresh lime and add that to the lentils, and mix in the chopped cilantro leaves that you had set aside earlier. Serve the lentils in bowls, and top with a dollop of the Greek yogurt mixture. While this may not be the best photogenic dish ever, I swear it tasted divine.

Curried red lentils with Greek yogurt and cucumber

Curried red lentils with Greek yogurt and cucumber.

This is definitely going to be my new go-to for a simple and healthy mid-week dish. Especially when there are no mushrooms around!

Ingredients:

  • 1 cup split red lentils
  • 1.5 cups water
  • 1 bunch cilantro
  • 1 small onion, peeled
  • 2.5 inches fresh ginger
  • 3 garlic cloves, peeled
  • 1 mild fresh green chile
  • 1.5 tsp black mustard seeds
  • 4 tbsp sunflower oil
  • 1.5 tsp ground coriander
  • 1 tsp ground cumin
  • 0.5 tsp ground turmeric
  • 0.25 tsp sweet paprika (I don’t have sweet paprika so I used plain paprika)
  • 10 curry leaves (I didn’t have these so I used basil with a dash of lemon juice, which I read online was a good substitute)
  • 1.75 cups peeled chopped tomatoes (fresh or canned)
  • 2 tsp sugar
  • 0.25 tsp fenugreek (I didn’t have this so I used garlic salt)
  • pinch of asafetida (optional)
  • salt
  • 3/4 cup Greek yogurt
  • 3/4 finely diced cucumber
  • 1.5 tbsp olive oil
  • 1/3 cup unsalted butter (as much as you like)
  • 1.5 tbsp lime juice

Pesto pasta with yellowfoot chanterelles and hedgehog mushrooms

I’d been wanting to go back to Humboldt and Del Norte Counties ever since I visited them for the first time last year. MLK weekend gave the perfect opportunity to make the long drive north. Hiking through the majestic giant redwood forests made me feel like I took a giant leap back in time; I wouldn’t be surprised if a T-Rex came rambling around the next corner.

Majestic giant redwoods in Redwood National Park

Majestic giant redwoods in Redwood National Park

Humboldt is truly spectacular. The towns of Eureka and Arcata are charming, friendly, and have fantastic food. Humboldt County gets an average of 55 inches of precipitation per year, which is nearly double the precipitation of Berkeley at 25.4 inches of rain per year. This means good things for mushrooms! People really appreciate foraged food up there, and I ate a delicious wild mushroom casserole at this cozy gem in Eureka, Brick and Fire Bistro. Usually when I mushroom hunt I just use the Berkeley Mycology baskets that I borrow from lab. But in Arcata they were selling beautiful mushroom baskets, and I finally got one my very own!

My very own mushroom basket!

My very own mushroom basket!

I was lucky to get some insider tips on some legal places to mushroom hunt, and here we are foraging in one of those special spots. Isn’t it spectacular?

Taking a walk through 'mushroom heaven' in Humboldt

Taking a walk through ‘mushroom heaven’ in Humboldt

We found some some awesomely giant yellow foot chanterelles, which were at least double in size beyond what I’ve ever found before. Must be all that rain they get in Humboldt!

DSC05653

Giant yellow foot chanterelles

I also found some adorable hedgehog mushrooms, which if you’ve read my previous blog posts, you might remember are distinguished because they have teeth instead of gills.

Hedgehog mushrooms have teeth!

Hedgehog mushrooms have teeth!

Now what to cook with my gorgeous mushrooms? I’ve already made lasagna, polenta, frittata, risotto, and pizza featuring wild mushrooms. This time I wanted to make something simple and filling but that would highlight the delicious prized edible mushrooms. I always clean my mushrooms and start cooking them first before starting with the rest of the meal because it is important that they are cooked well, and of course I view them as the centerpiece of the dish :) This time I decided to try making a quick pesto pasta to serve as a bed for the mushrooms.

Browned hedgehog mushrooms.

Browned hedgehog mushrooms.

The trick with cooking mushrooms is that it is really important to just leave them alone after you put them in the hot pan that has been coated with oil or butter. They need time to just hang out and do their thing. It takes a while for all of the excess water to boil off  – it never ceases to amaze me how much mushrooms can shrink down! Then it takes a while for them to get that nice brown color and crispiness that makes them taste so good. So trust me when I tell you to relax and go do something else while the mushrooms are in the sauté pan, and let them get nice and brown before you start mixing them up with your spatula. At the very end you can add salt and then set them aside.

Yellow foot chanterelles

Yellow foot chanterelles

While the mushrooms were browning, I got started on the pesto. Having never made a pesto sauce before, I turned to the internet and found a great recipe here. Why have I never made pesto from scratch before? It is so easy! It is so much more vibrant and fresh tasting when you make it at home and the ingredients are very simple. It is also very easy to modify if you have a specific nut or cheese allergy. The recipe I used suggests using walnuts as an alternative to pine nuts, and I’ve also heard of people replacing the pine nuts with almonds.

Ingredients for the pesto: olive oil, garlic, basil, pine nuts, parmesan cheese.

Ingredients for the pesto: olive oil, garlic, basil, pine nuts, parmesan cheese.

The ingredients for pesto are simple: olive oil, parmesan cheese, garlic, basil, and pine nuts. The first step is to wash the basil leaves and place them into a food processor with the pine nuts and pulse them a few times.

Pine nuts and basil in the food processor

Pine nuts and basil in the food processor

Next, add the garlic cloves and freshly grated Parmesan cheese.

Basil, pine nuts, and garlic.

Basil, pine nuts, and garlic.

Basil, pine nuts, garlic, and Parmesan

Basil, pine nuts, garlic, and Parmesan cheese.

Next, pulse several more times until well mixed. Then slowly start streaming in olive oil as the food processor is mixing the rest of the ingredients. I would say the amount of olive oil you add is up to you depending on how chunky you like your pesto. Prior to making the pesto, which is really quick and only takes 5-10 minutes total, I had boiled some water and made some pasta. Once the pesto was finished, I mixed it in with the pasta and added a few extra pine nuts and some shredded Parmesan cheese on top.

Home made pesto mixed with  pasta topped with extra pine nuts and Parmesan.

Home made pesto mixed with pasta topped with extra pine nuts and Parmesan.

To me, the point of the pasta was really only to play a supporting role to the freshly foraged mushrooms, so I loaded lots of crispy sautéed mushrooms on top.

Pesto pasta with hedgehog and yellow foot chanterelles on top.

Pesto pasta with hedgehog and yellow foot chanterelles on top.

DSC05678

Simple pesto pasta to accompany freshly foraged hedgehog and yellow foot chanterelles.

It turned out deliciously. Patrick was obsessed with the pesto and scarfed down all of the excess pesto that wasn’t used for the pasta by spooning it onto pieces of baguette. For me, I cannot wait to get back to Humboldt and hike in the redwoods and forage for mushrooms again. For Patrick, he cannot wait for me to make the next batch of home made pesto!

Black trumpet, hedgehog, and chanterelle wild mushroom risotto

Last weekend I went mushroom hunting in Mendocino with the UC Berkeley, UC Davis, and SF State mycology classes. It was AWESOME. The mushrooms were out in abundance. After such a dry and disappointing mushroom hunting season last year, I was stoked to say the least.

Yay for mushrooms!!!

Yay for mushrooms!!!

I was so excited to finally find mushrooms after so much terrible dry weather things got a little extreme…

Me with the mushroom-fever-crazy-eyes

Me with the mushroom-fever-crazy-eyes

I found black trumpets (Craterellus cornucopioides) for the first time ever! They really blend in with the redwood duff so it is hard to find them:

Can you see the black trumpet mushrooms in this photo?

Can you see the black trumpet mushrooms in this photo?

I climbed up a super steep slope to find these but it was totally worth it :) I’ve never collected these mushrooms before and I got a pretty good amount of them:

Black trumpet mushrooms that I collected from the redwood tanoak forests in Mendocino

Black trumpet mushrooms that I collected from the redwood tanoak forests in Mendocino

In addition to black trumpets and oak and golden chanterelles (Cantharellus californicus and formosus), I found a bunch of yellow foot chanterelles (Craterellus tubaeformis), which were out very early this year. Usually, they don’t start coming out until December or January, but I’m not complaining!

yellowfoot AKA winter chanterelles

yellowfoot AKA winter chanterelles

The mushrooms that I found in the greatest abundance were hedgehog mushrooms (Hydnum umbilicatum). I’ve never found so many in my life.

Bowl of hedgehog bounty

Bowl of hedgehog bounty

These are a really good edible, so I was very excited to find so many! They are also a good mushroom for an amateur since they are very difficult to misidentify. They call them the hedgehog mushroom because instead of gills they have teeth. Can you see the teeth in this photo?

Can you see the teeth? That's why they call it the hedgehog

Can you see the teeth? That’s why they call it the hedgehog

With all of my beautiful mushrooms, I decided to invite over some friends and make a wild mushroom risotto. I sauteéd up some of the chanterelles, hedgehogs, and black trumpets in olive oil and put them on baguette toasts for everyone to eat as an appetizer while the risotto was cooking.

wild mushrooms (chanterelles, hedgehogs, black trumpets) on toast

Wild mushrooms (chanterelles, hedgehogs, black trumpets) on toast

I have only cooked risotto once or twice before, so I turned to Google for help with finding a recipe. I decided to base my recipe of off this mushroom risotto. Risotto is actually rather easy to make. All you need to do is sauté up some onions and garlic and whatever vegetables you like, then add 1 cup of arborio rice, and slowly add liquids while stirring continuously. Whether you decide to add milk, cream, vegetable or chicken stock is completely up to you! I started out with sautéing 3-4 chopped shallots and a few cloves of garlic in oil. I added a bit of minced celery, chopped parsley, salt, and pepper. Then I added a bunch of hedgehogs, black trumpets, and golden chanterelles to the pan. I used a lot more mushrooms than was recommended, but in my opinion they are the best part :)

Shallots, garlic, parsley, celery, hedgehogs, chanterelles, and black trumpets sauteeing

Shallots, garlic, parsley, celery, hedgehogs, chanterelles, and black trumpets sautéing

After the mushrooms are sautéed, you add milk and cream to the mixture. I decided to increase the size of the recipe to make sure I had enough risotto for all of my friends, so I added 1.5 cups of milk and 3/8 cups heavy cream. The recipe called for whole milk but I found that skim milk still made a very creamy and delicious risotto and was slightly healthier – but you can use whatever you’d like! Next I added 1.5 cups of arborio rice.  After adding the rice you start to add stock/broth one cup at a time. I used vegetable broth because one of my friends is a vegetarian, but you can use whatever kind of stock you want. This is what the risotto looks like when you first start to cook it:

risotto cooking

Risotto cooking

Risotto requires a lot of stirring. I’m talking like 25-45 minutes of non-stop stirring. You are supposed to stir continuously and add the broth one cup at a time as it absorbs. There is no magic number for how long it takes, you just cook it until it’s done. Make sure you invite a lot of friends over to help you stir :)

Meera being a good friend and helping me stir the risotto

Meera being a good friend and helping me stir the risotto

Stirring is tiring stuff. Patrick takes over the stirring for a while.

Stirring is tiring stuff. Patrick takes over the stirring for a while.

Taste test the risotto to tell if it’s done cooking. It should be creamy but still a little bit al dente. This recipe took about 4 cups of vegetable broth and 45 minutes of stirring. At this point, we added the cheese. The recipe calls for grated Parmesan – we decided to use a mix of Parmesan Stravecchio and Reggiano. I skipped adding the butter because I thought it was rich enough.

Finally the stirring is done!

Finally, the stirring is done!

I was concerned my risotto looked a bit drab but luckily Kari was there to suggest that I sprinkle parsley on top to color it up. It worked beautifully :)

Wild mushroom risotto with parsley sprinkled on top

Wild mushroom risotto with parsley sprinkled on top

I served the risotto with a giant vegetable salad. It was a nice light accompaniment to the rich risotto and made us feel slightly healthier :)

wild mushroom risotto served with salad

Wild mushroom risotto served with salad

And of course the most important part of any meal is having good friends to share it with! Thanks to all my friends who came over and helped me cook this delicious wild mushroom feast!

Gavin, Patrick, Meera, and Kari helping me eat the risotto

Gavin, Patrick, Meera, and Kari helping me eat the risotto

Bon appétit!

Me showing off my wild mushroom risotto and my awesome mushroom apron

Me showing off my wild mushroom risotto and my awesome mushroom apron


Ingredient list (to make 5 generous servings):

  • 4 shallots
  • 3 garlic cloves
  • 0.5 cup parsley
  • 1 celery stalk
  • salt and pepper to taste
  • 4 cups vegetable or chicken stock
  • 1.5 cups skim or whole milk
  • 3/8 cup heavy cream
  • 1.5 cups arborio rice
  • 1-2 cups grated cheese of your choice (Parmesan-like)