Last weekend I went mushroom hunting in Mendocino with the UC Berkeley, UC Davis, and SF State mycology classes. It was AWESOME. The mushrooms were out in abundance. After such a dry and disappointing mushroom hunting season last year, I was stoked to say the least.
Yay for mushrooms!!!
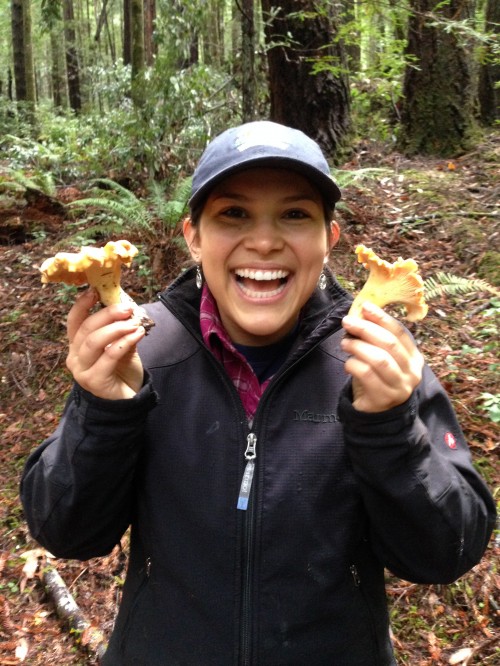
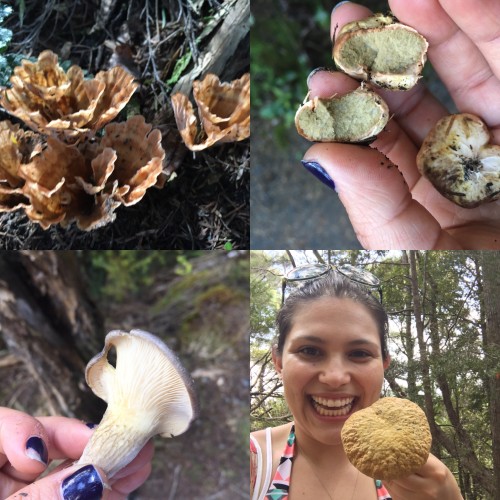
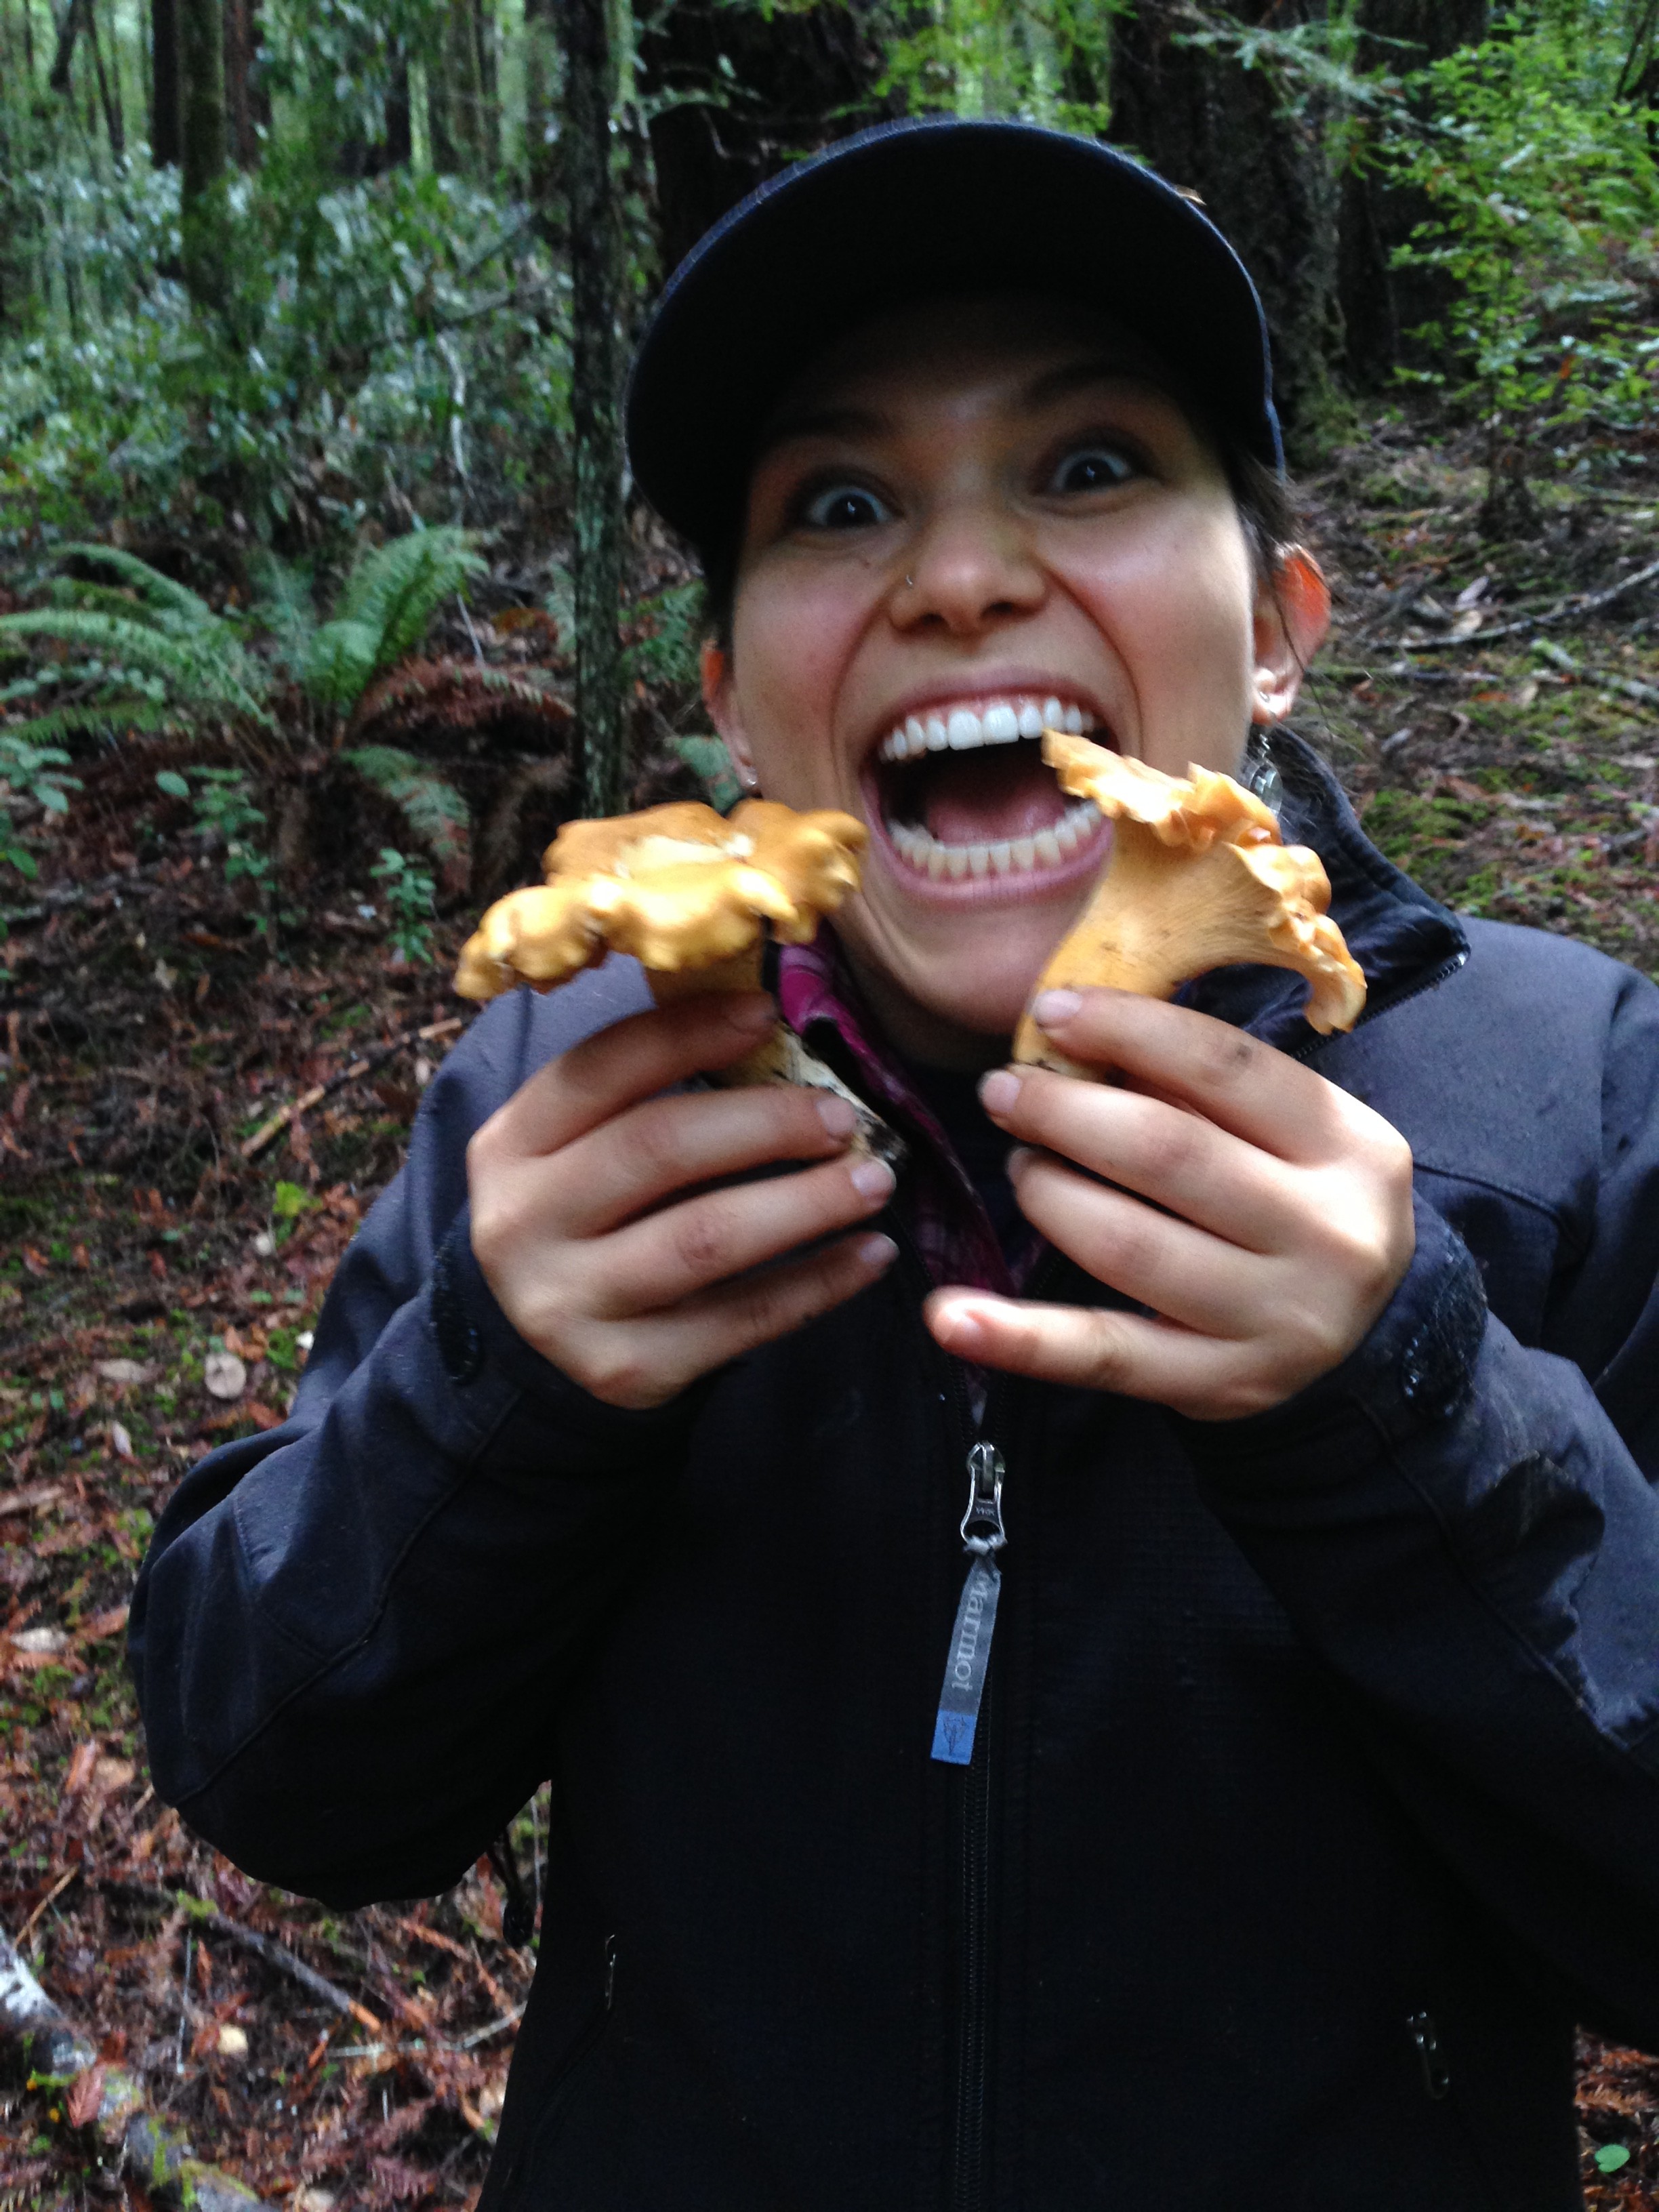
I was so excited to finally find mushrooms after so much terrible dry weather things got a little extreme…

Me with the mushroom-fever-crazy-eyes
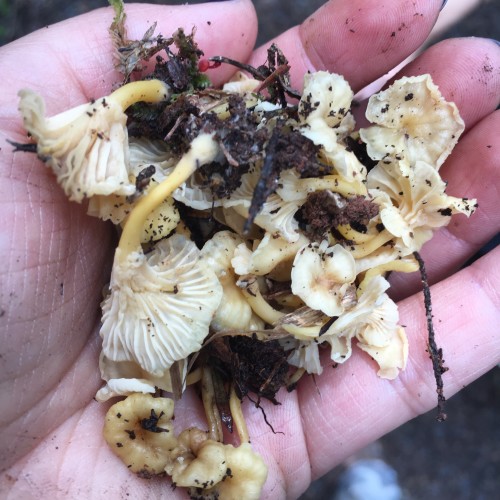
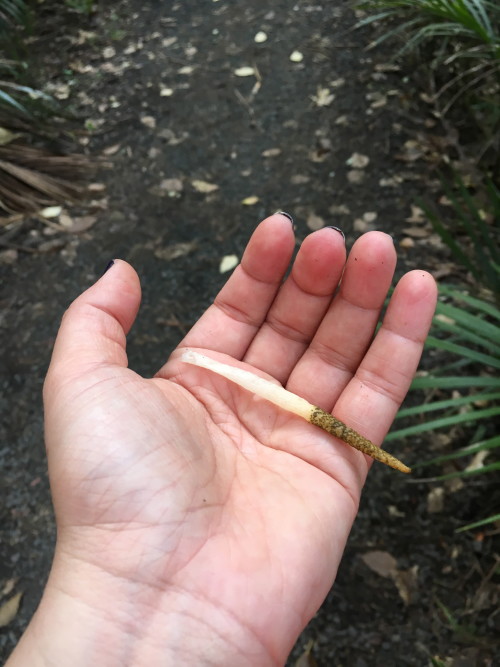
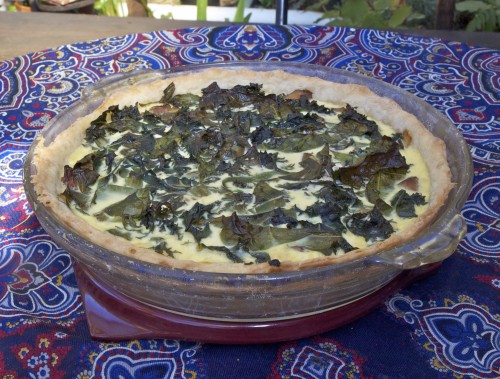
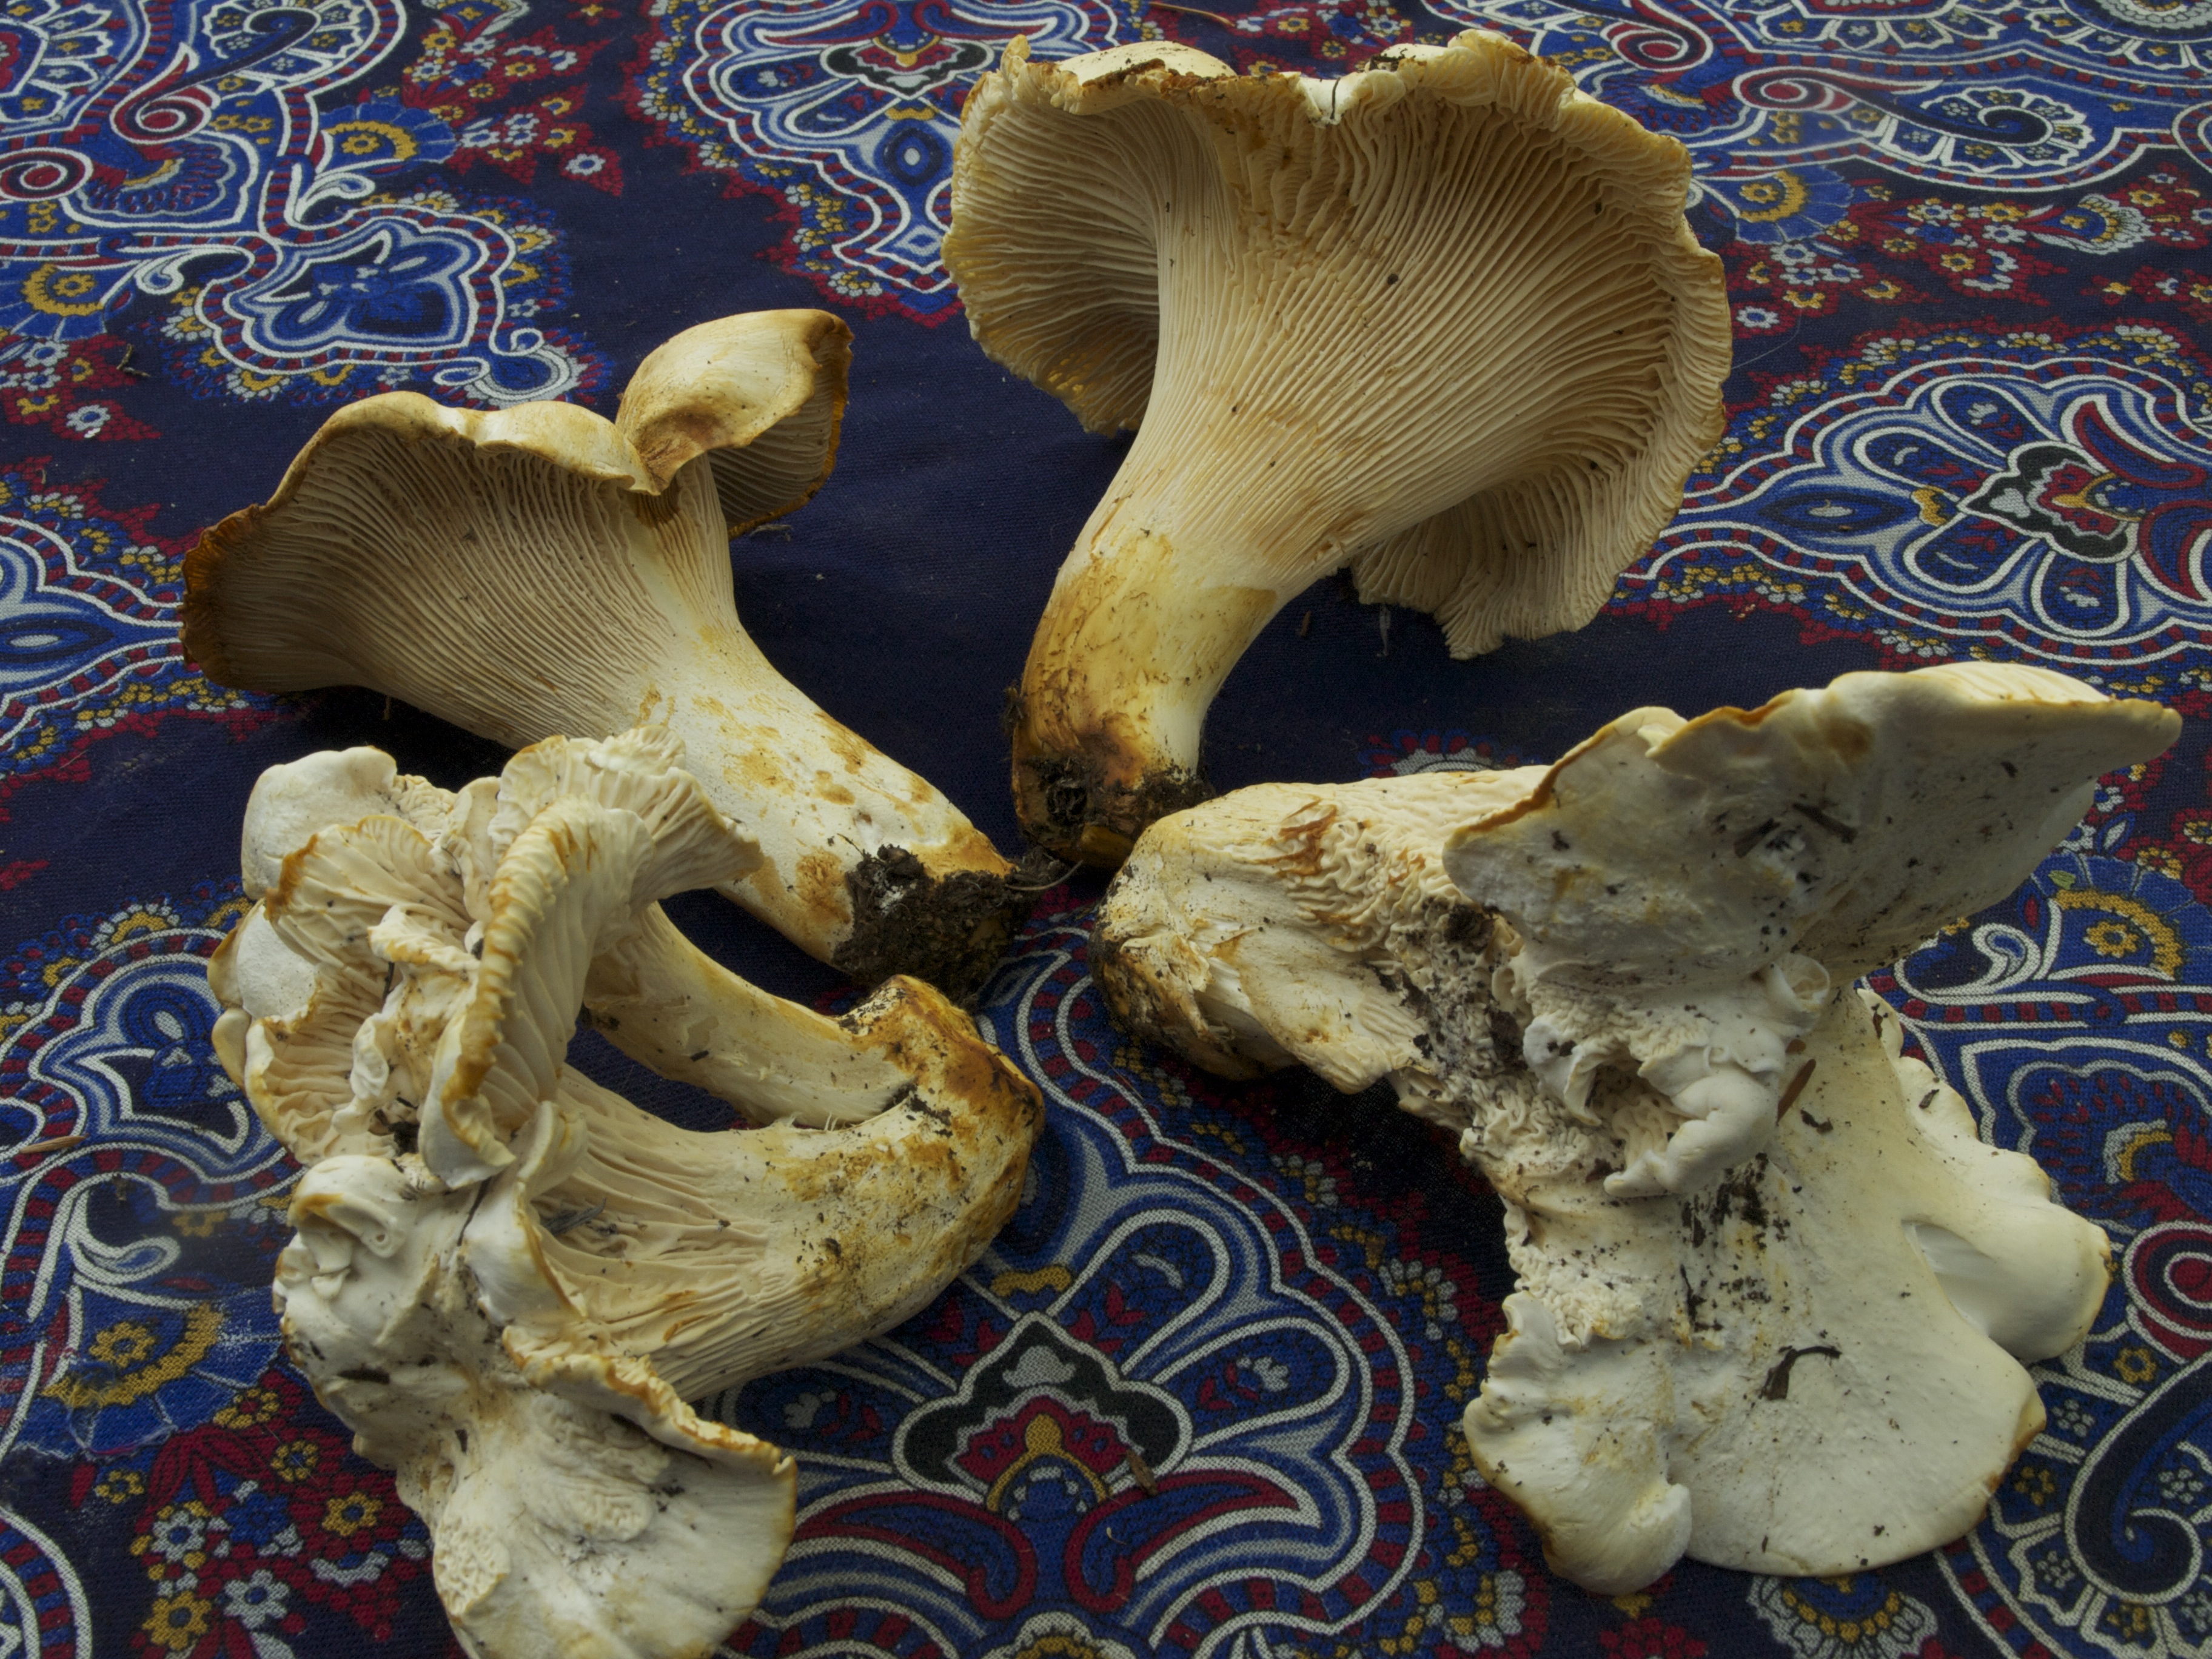
I found black trumpets (Craterellus cornucopioides) for the first time ever! They really blend in with the redwood duff so it is hard to find them:
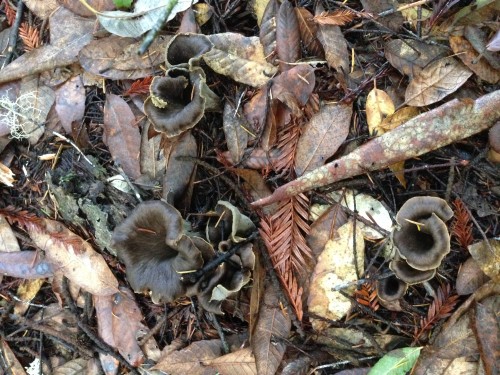
Can you see the black trumpet mushrooms in this photo?
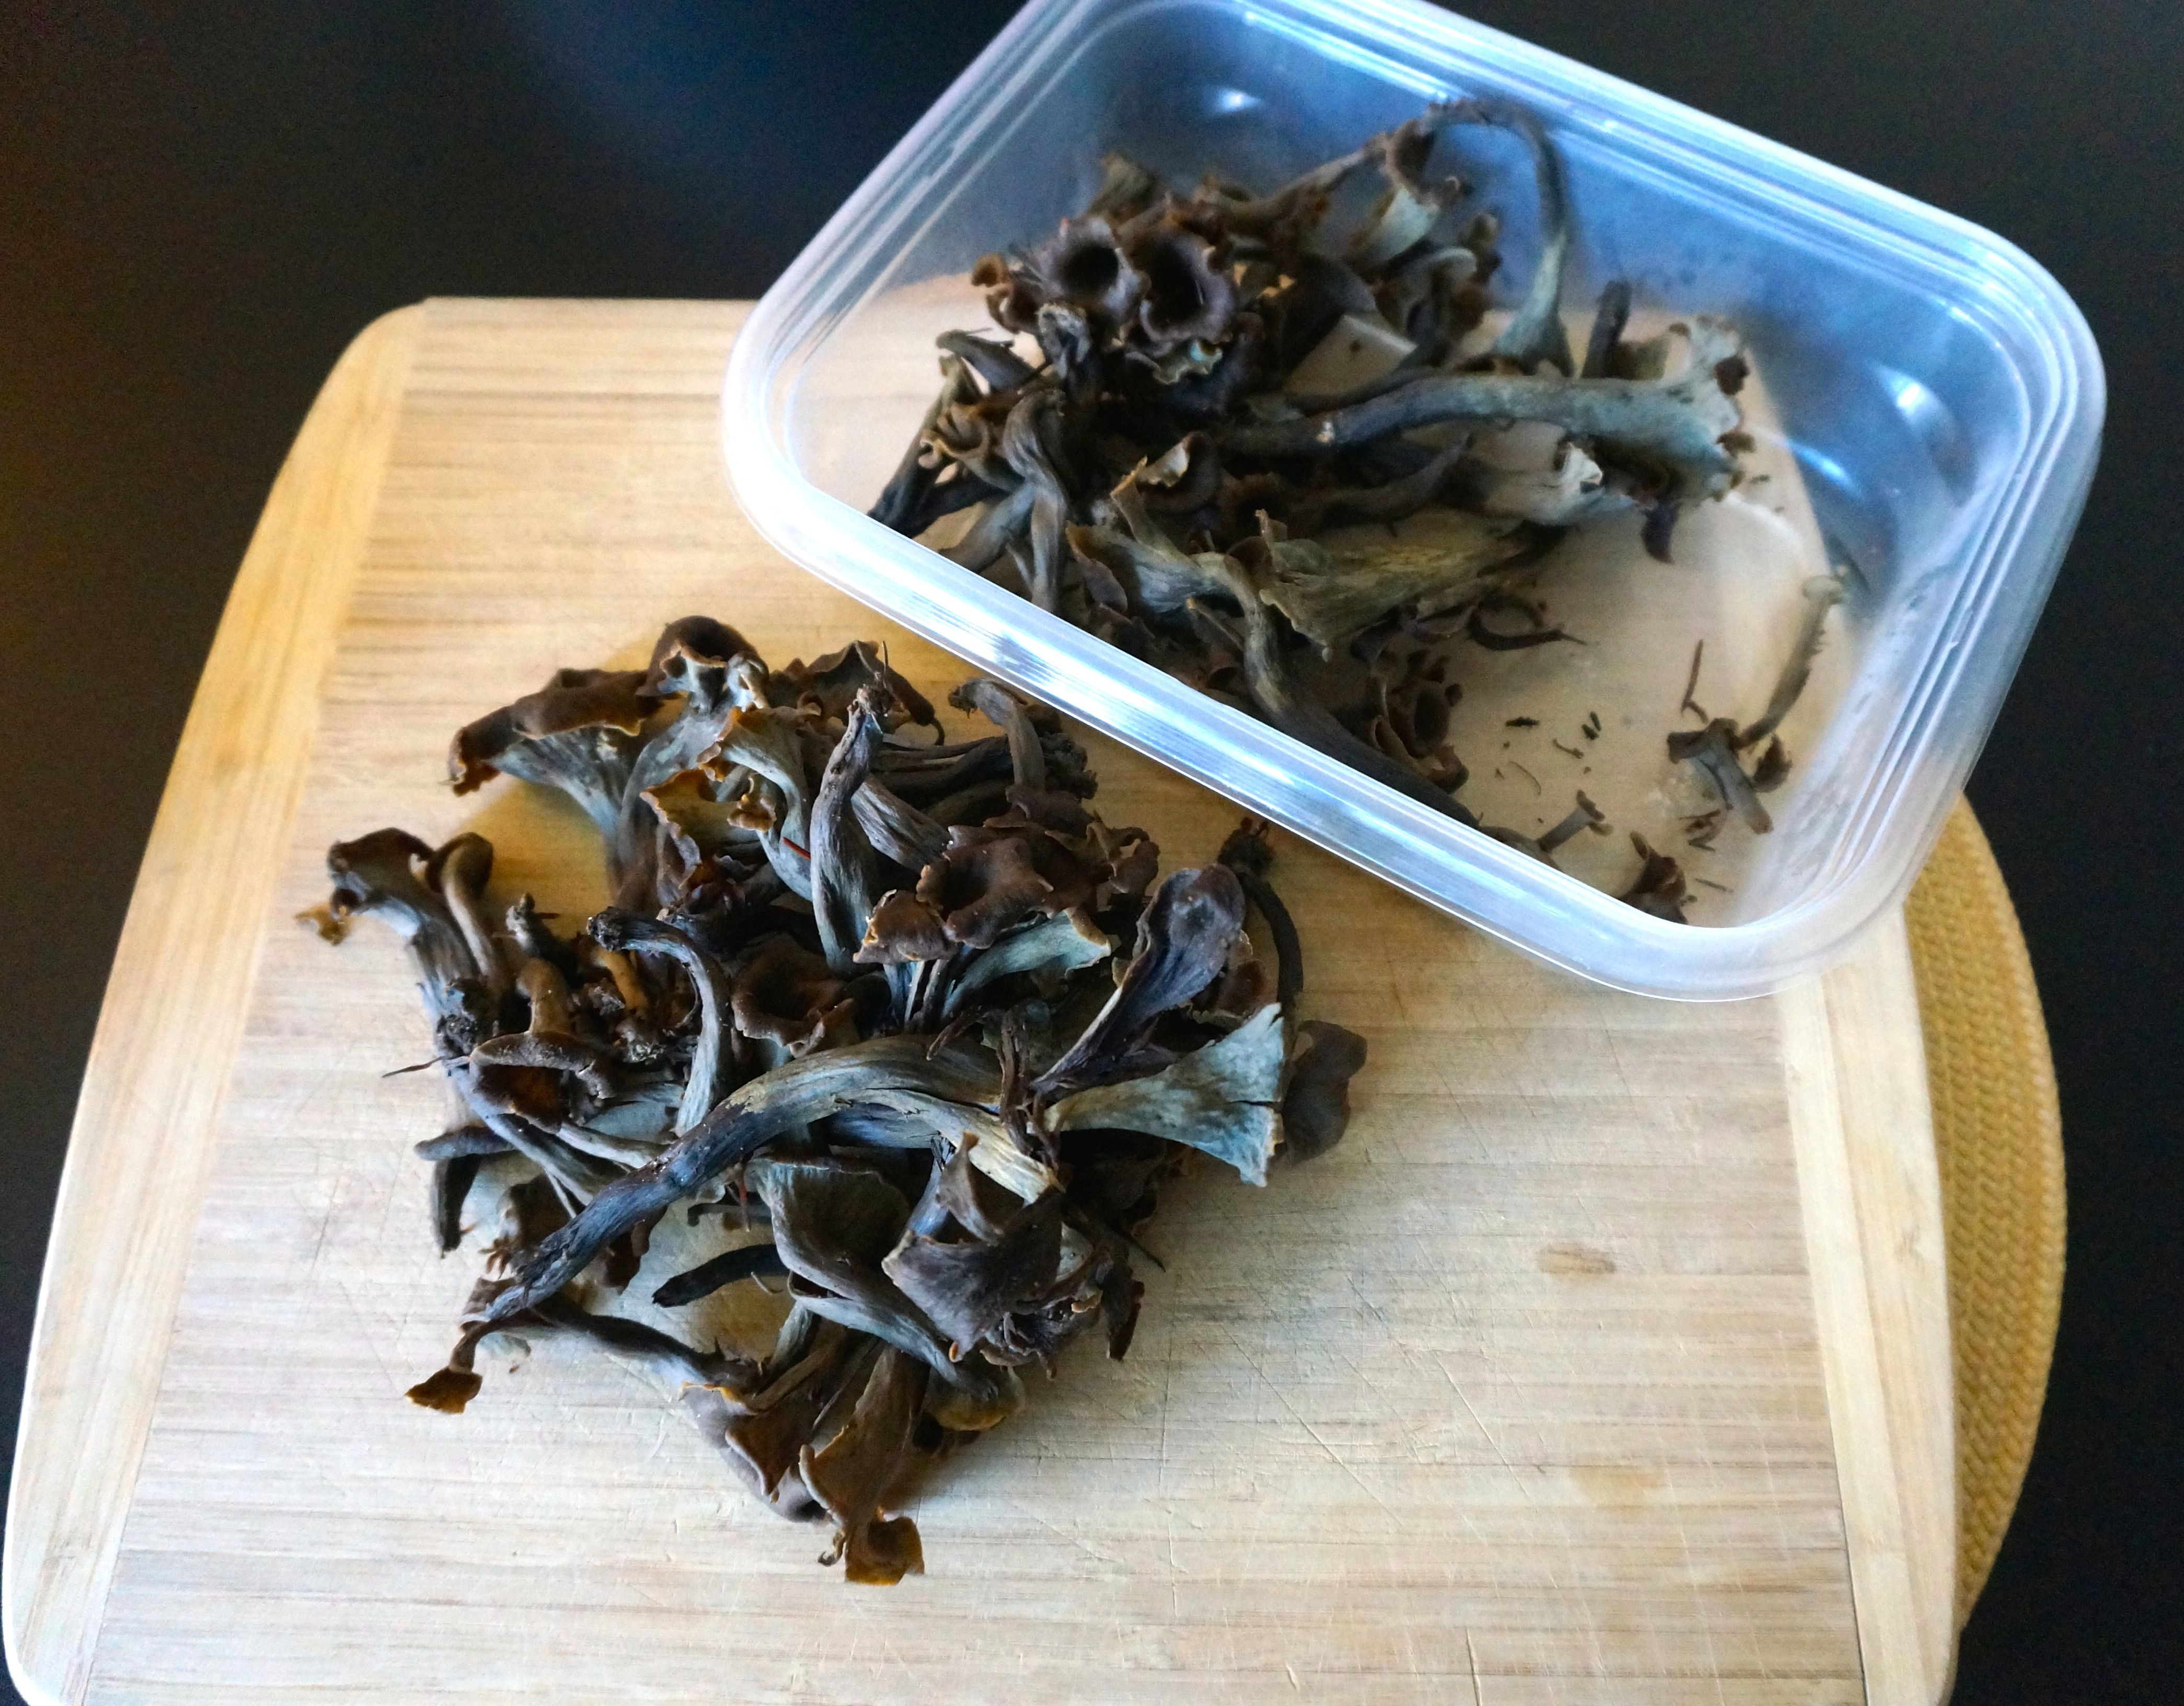
I climbed up a super steep slope to find these but it was totally worth it :) I’ve never collected these mushrooms before and I got a pretty good amount of them:

Black trumpet mushrooms that I collected from the redwood tanoak forests in Mendocino
In addition to black trumpets and oak and golden chanterelles (Cantharellus californicus and formosus), I found a bunch of yellow foot chanterelles (Craterellus tubaeformis), which were out very early this year. Usually, they don’t start coming out until December or January, but I’m not complaining!
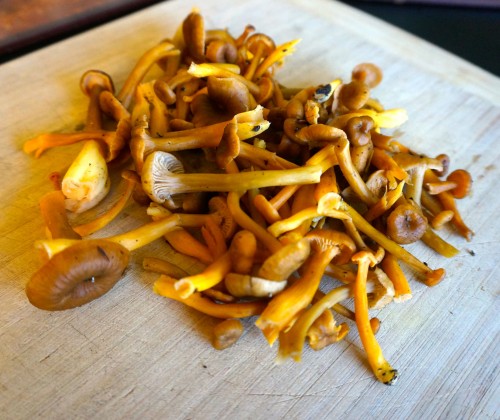
yellowfoot AKA winter chanterelles
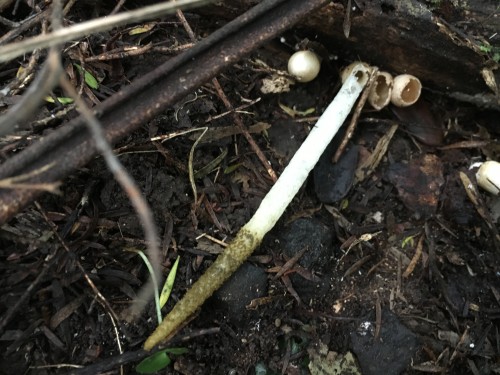
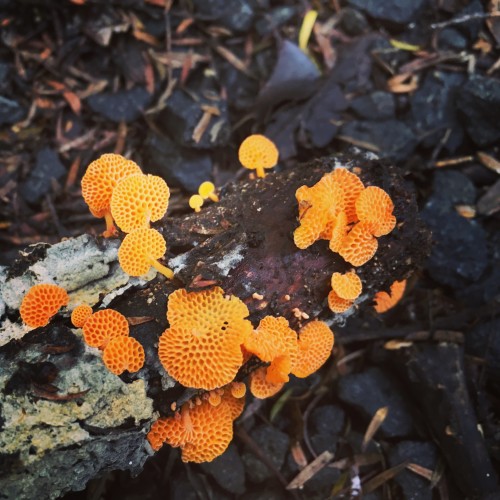
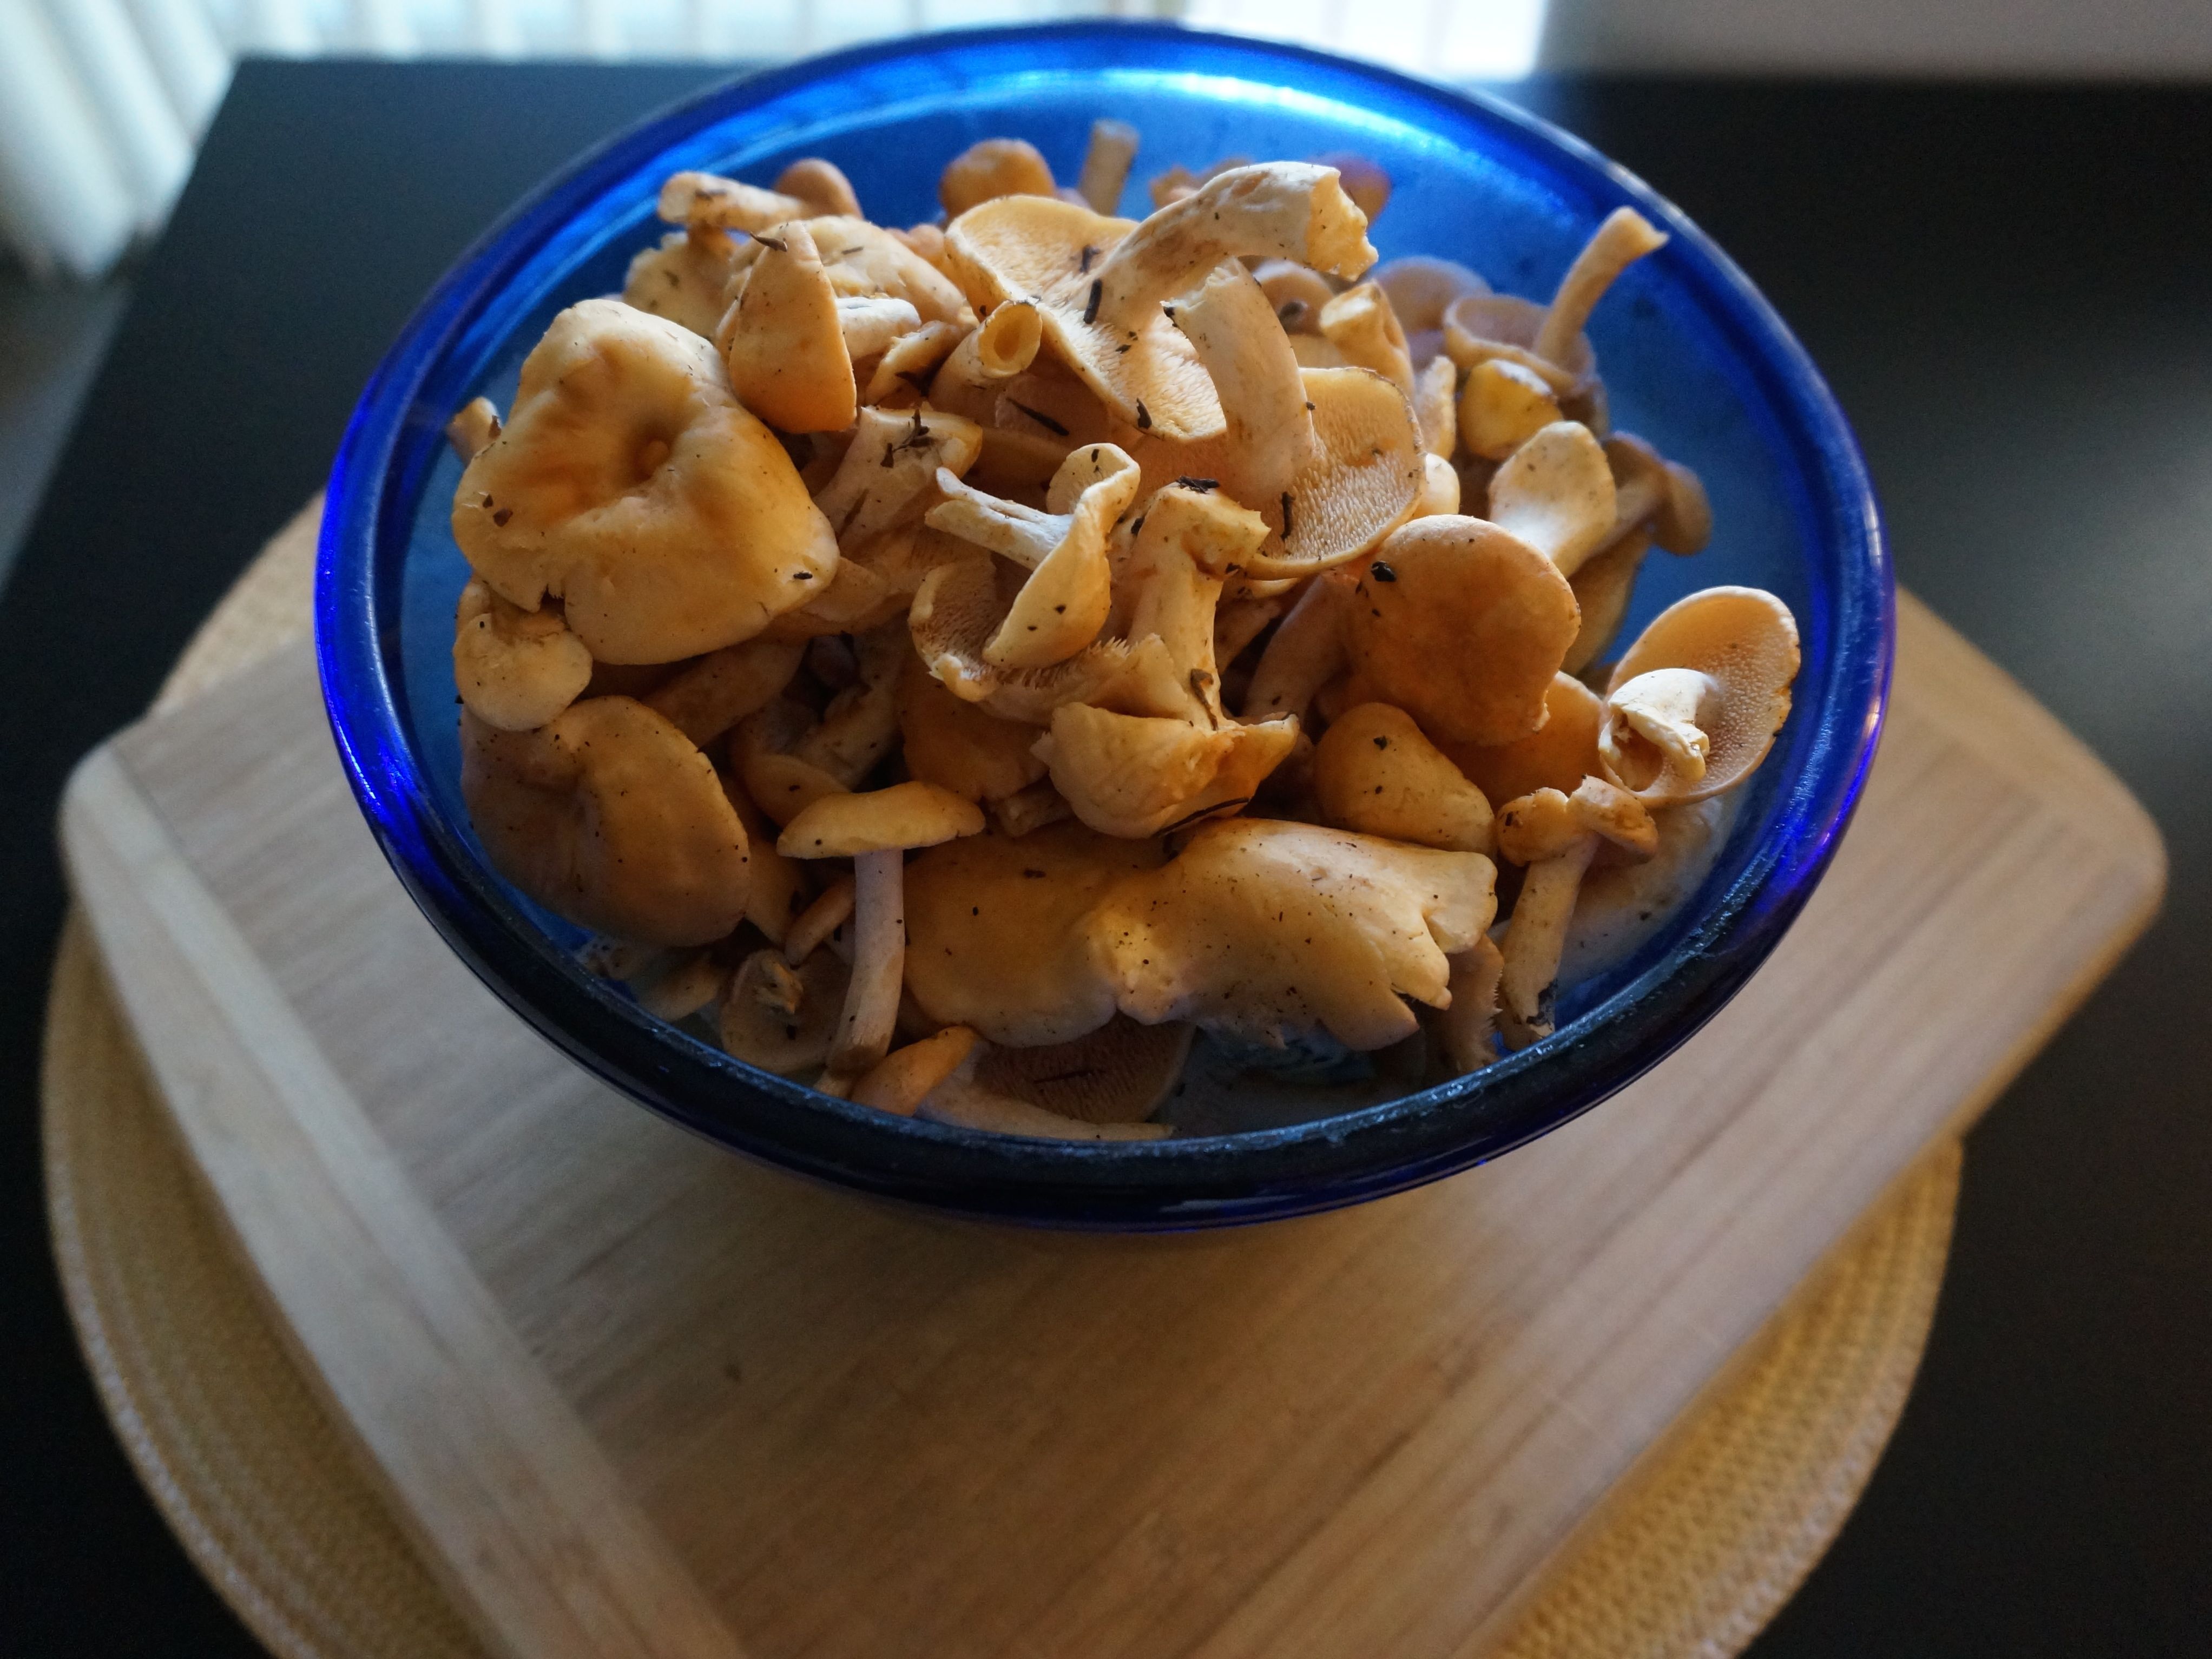
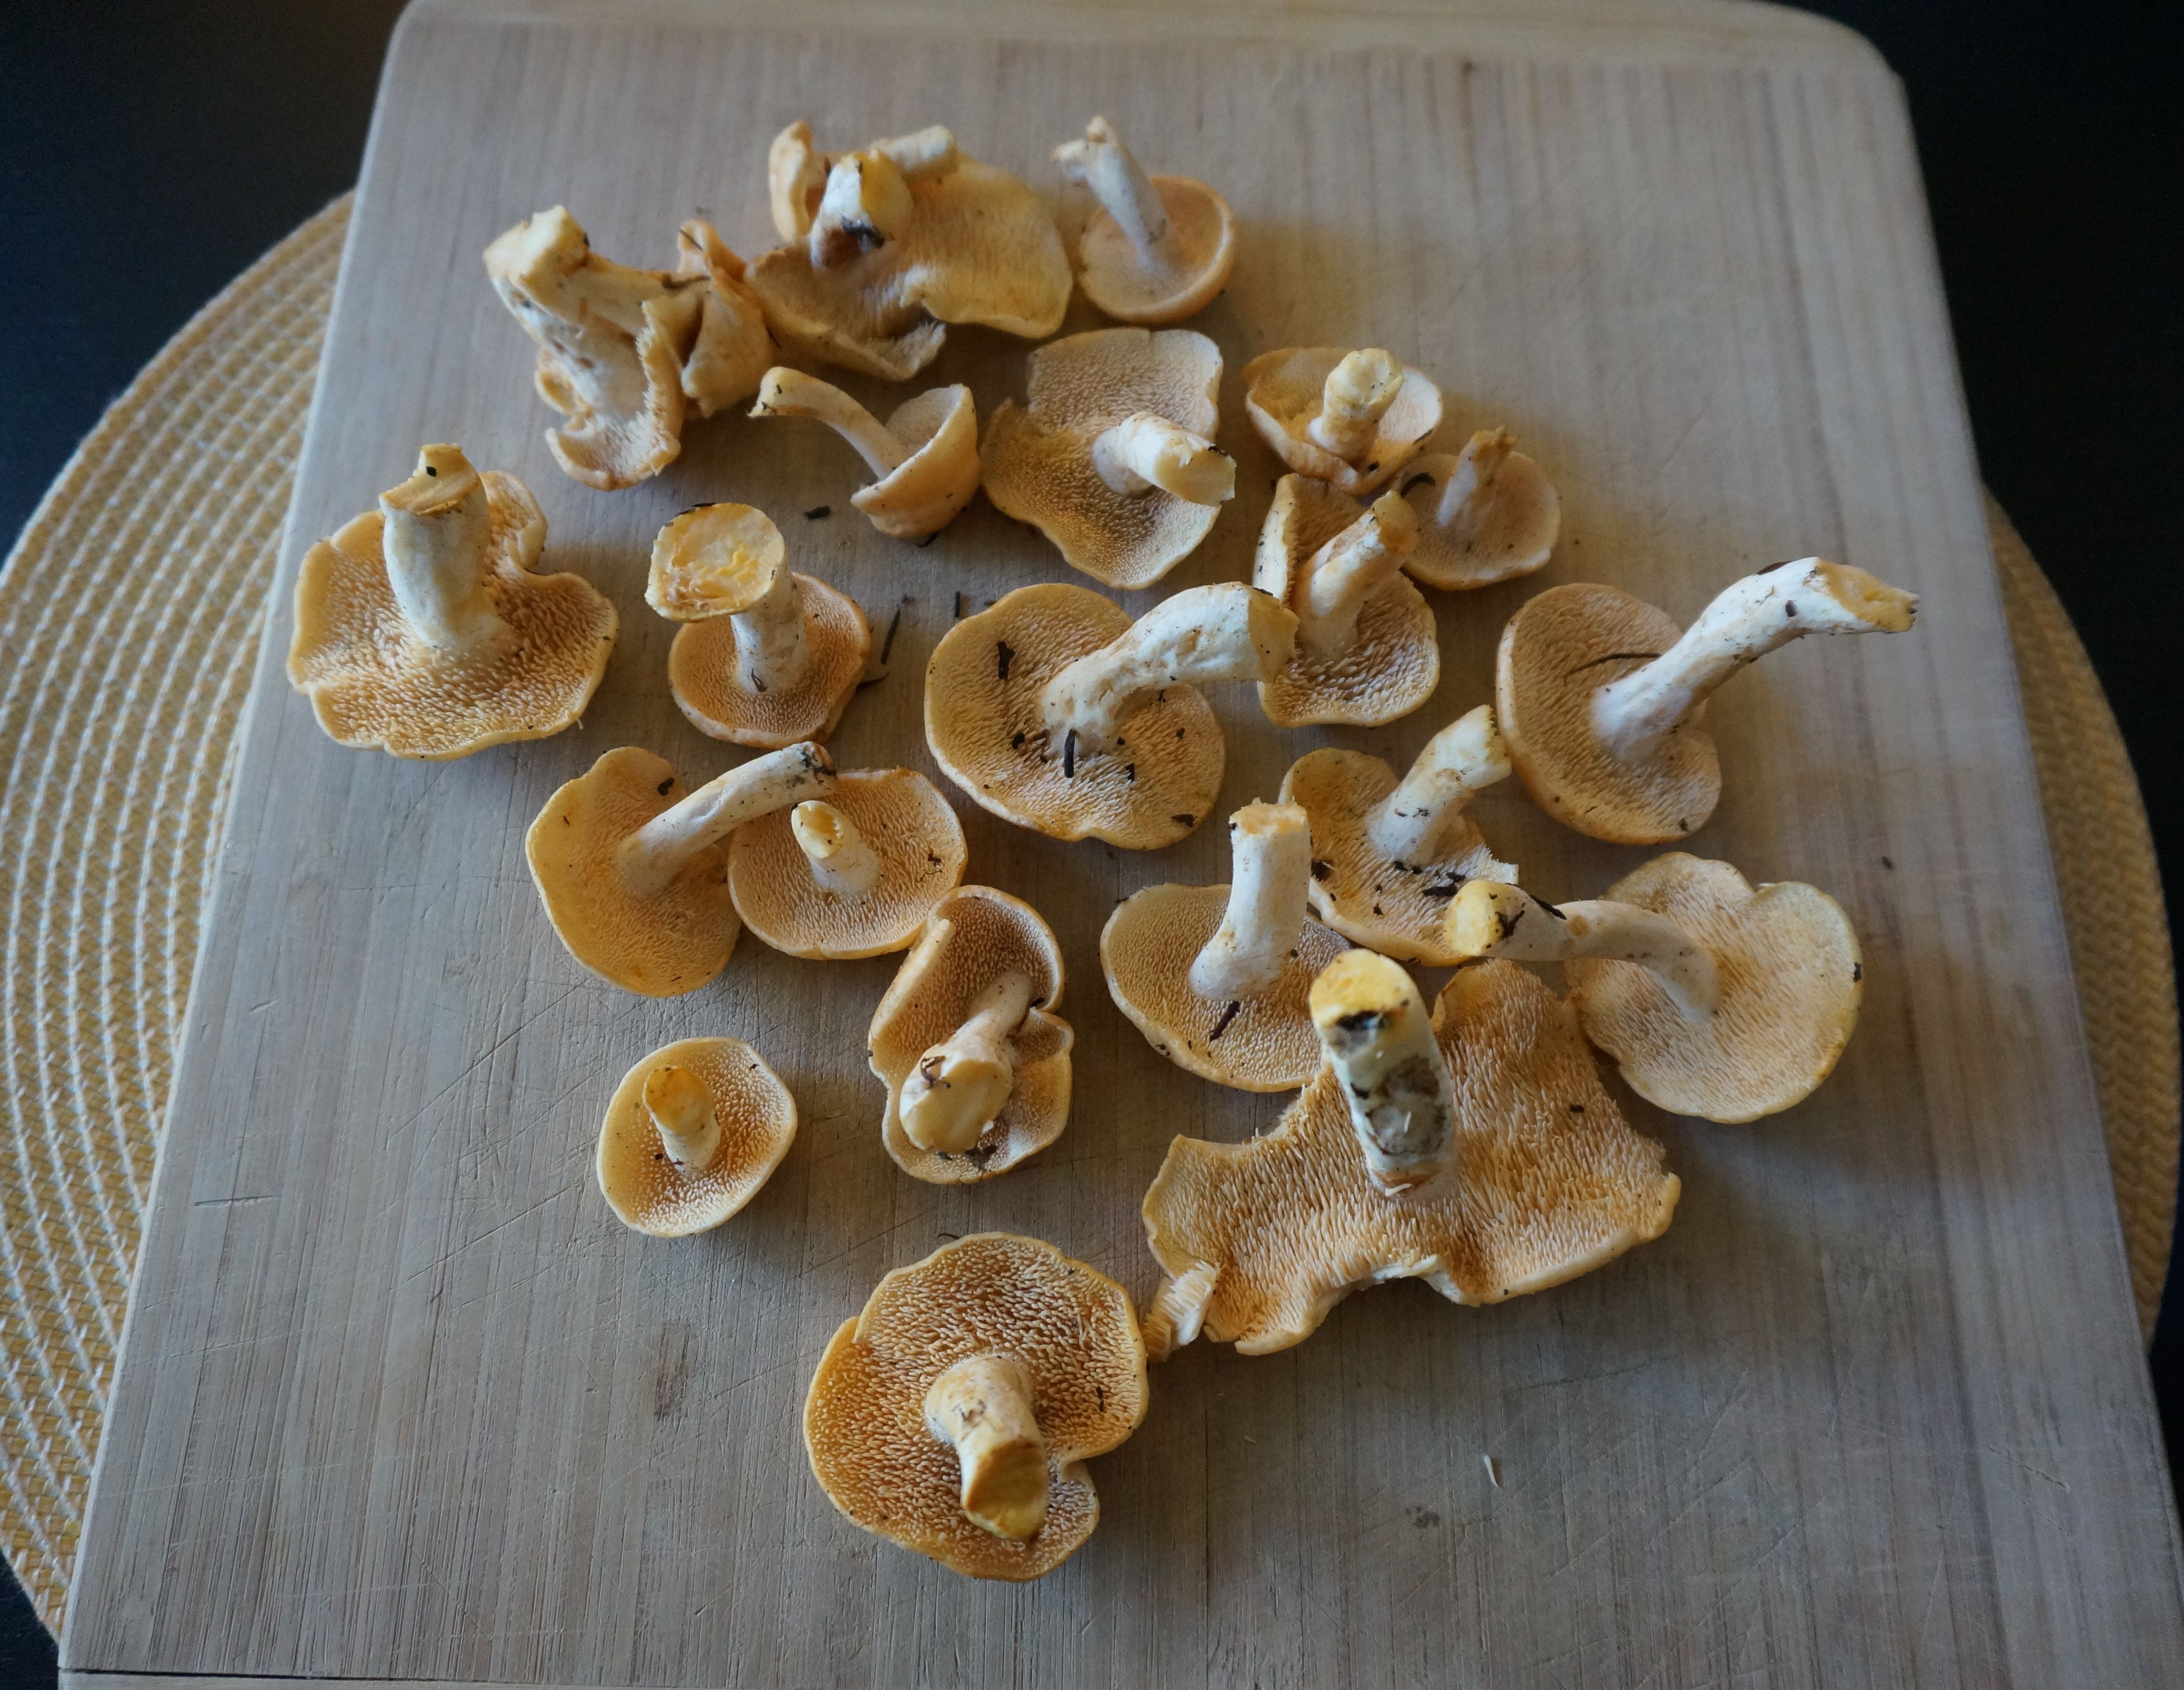
The mushrooms that I found in the greatest abundance were hedgehog mushrooms (Hydnum umbilicatum). I’ve never found so many in my life.

Bowl of hedgehog bounty
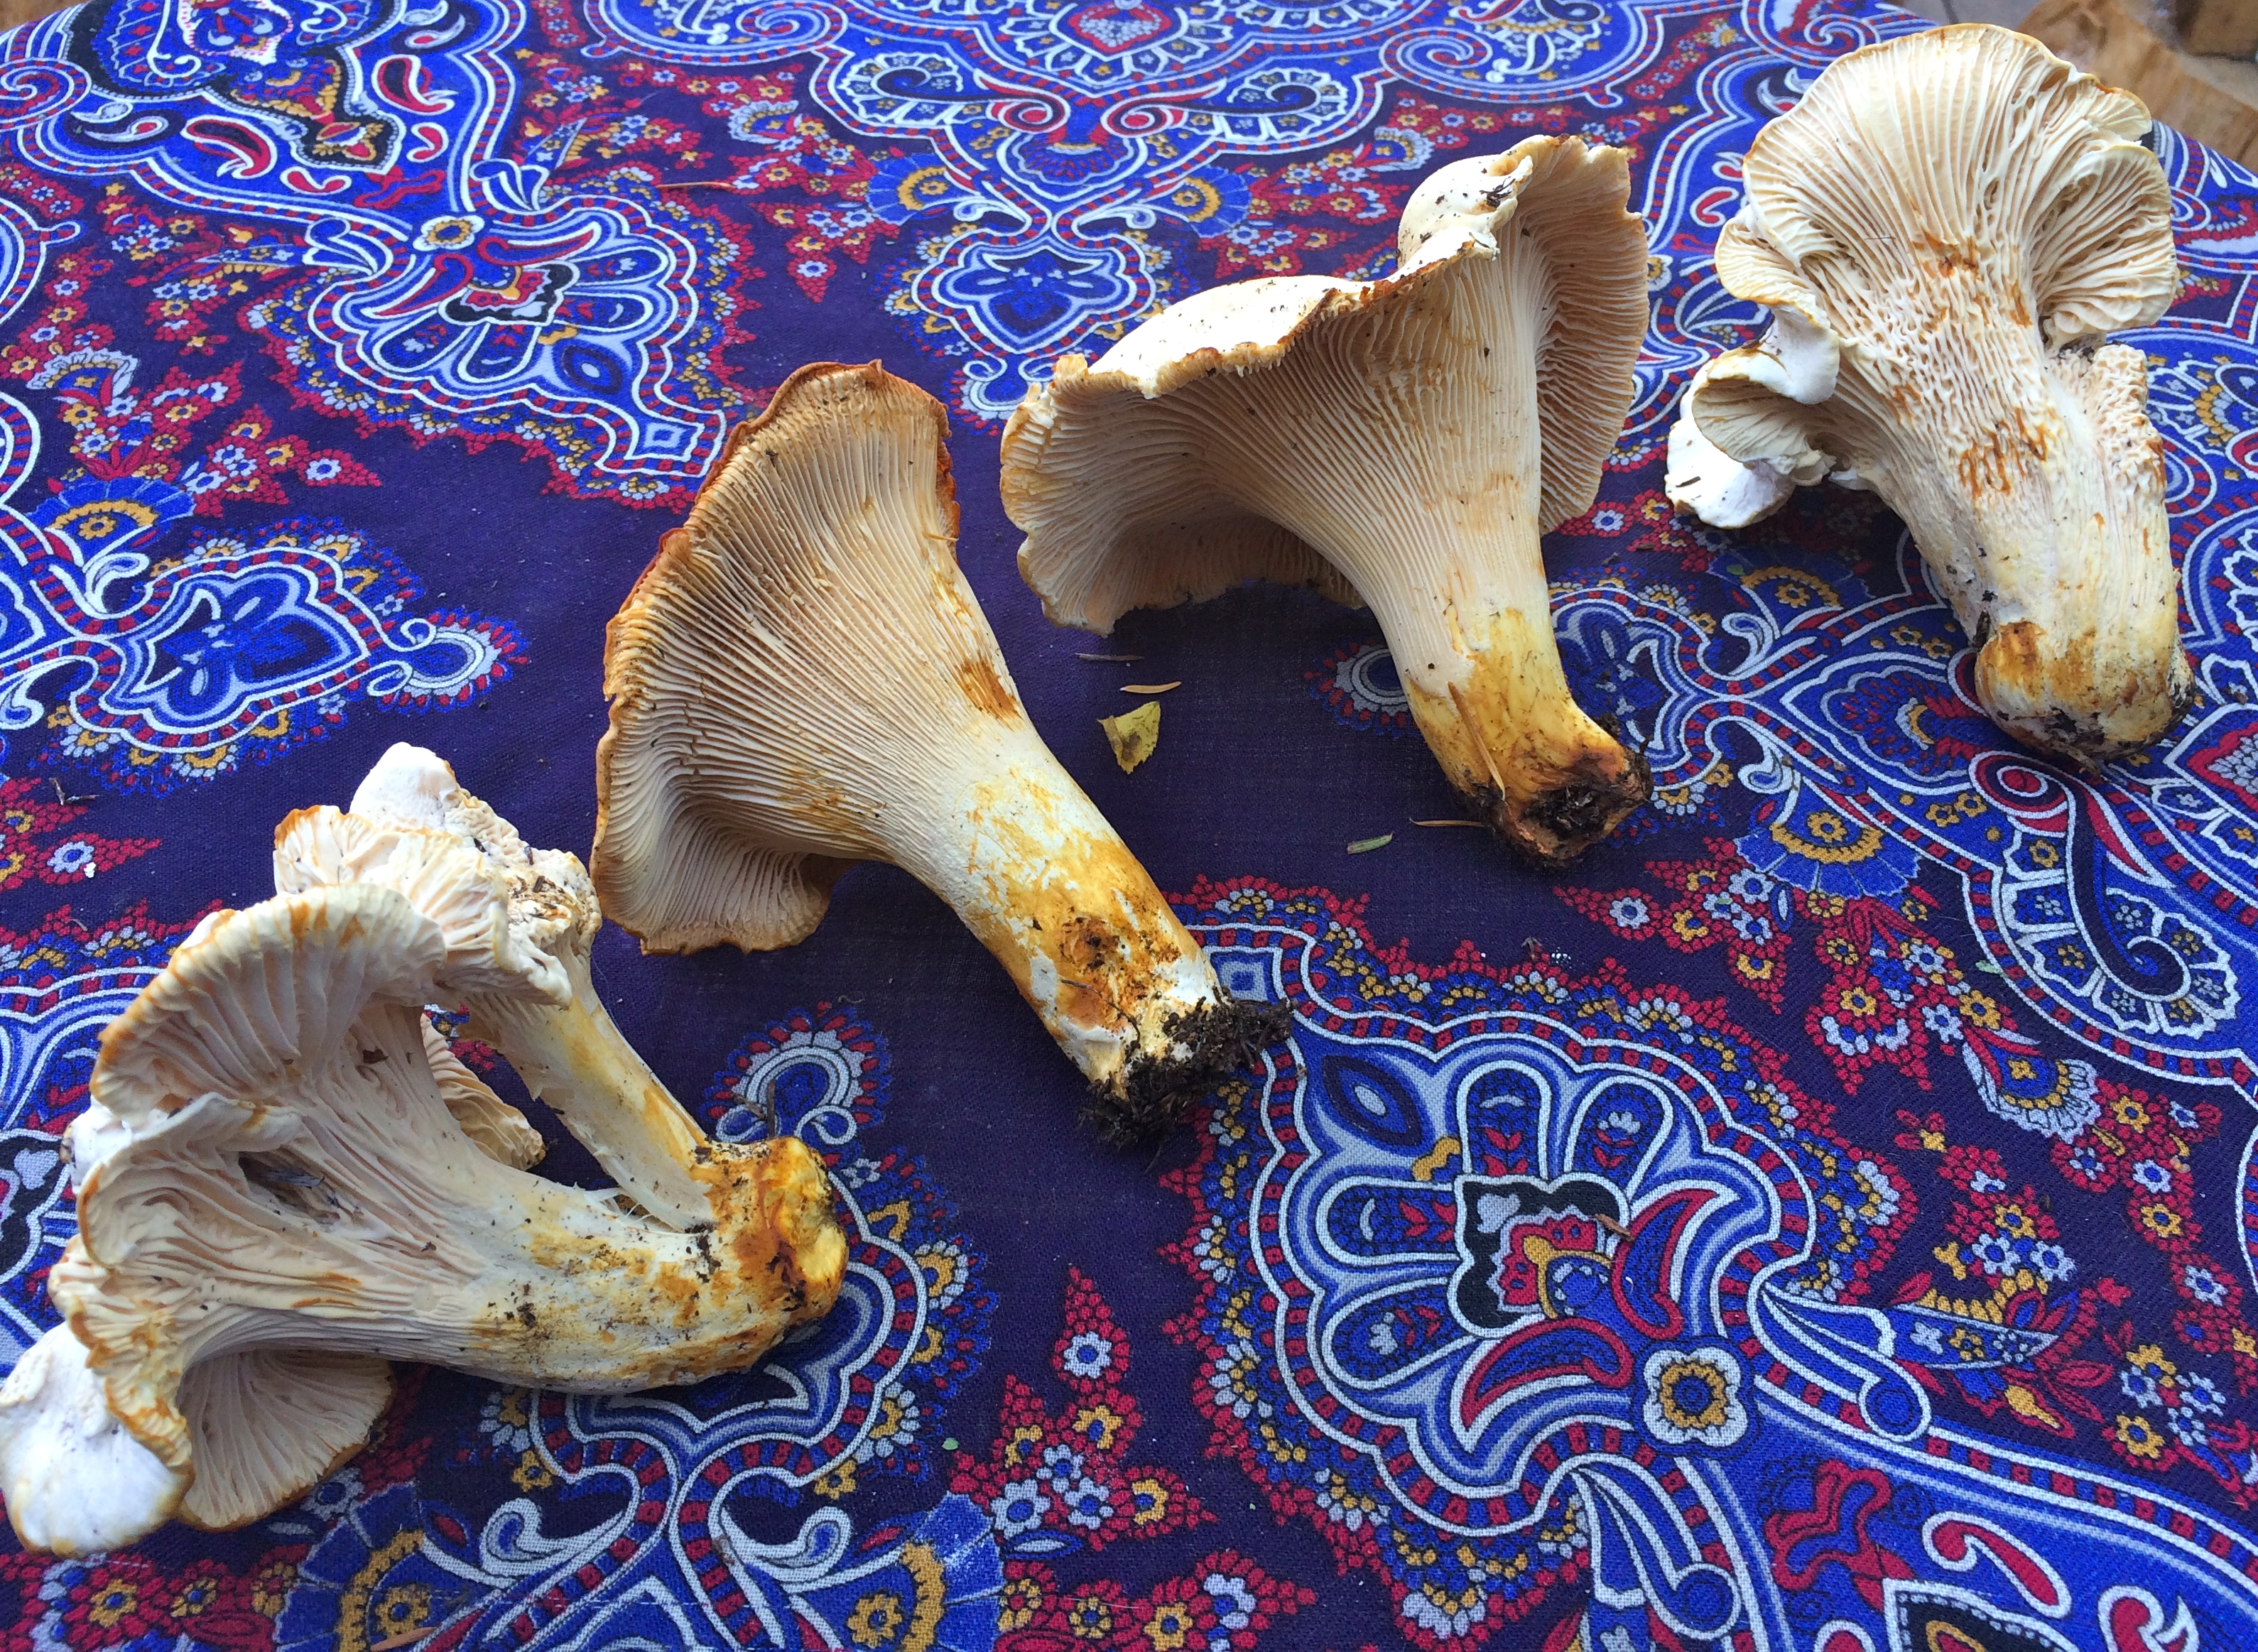
These are a really good edible, so I was very excited to find so many! They are also a good mushroom for an amateur since they are very difficult to misidentify. They call them the hedgehog mushroom because instead of gills they have teeth. Can you see the teeth in this photo?

Can you see the teeth? That’s why they call it the hedgehog
With all of my beautiful mushrooms, I decided to invite over some friends and make a wild mushroom risotto. I sauteéd up some of the chanterelles, hedgehogs, and black trumpets in olive oil and put them on baguette toasts for everyone to eat as an appetizer while the risotto was cooking.
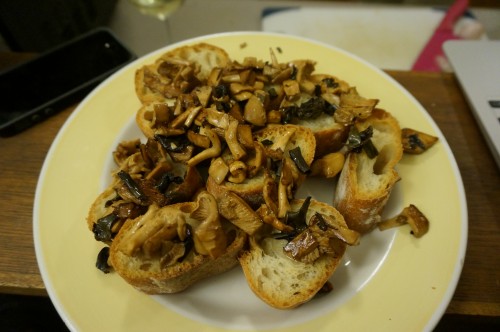
Wild mushrooms (chanterelles, hedgehogs, black trumpets) on toast
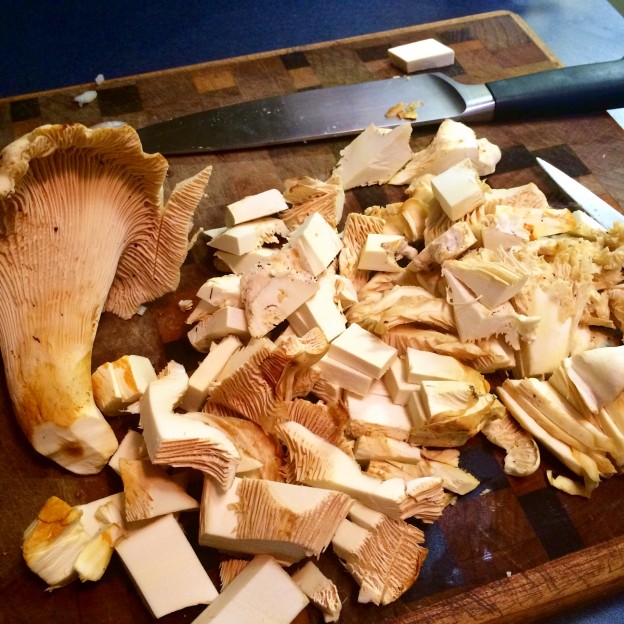
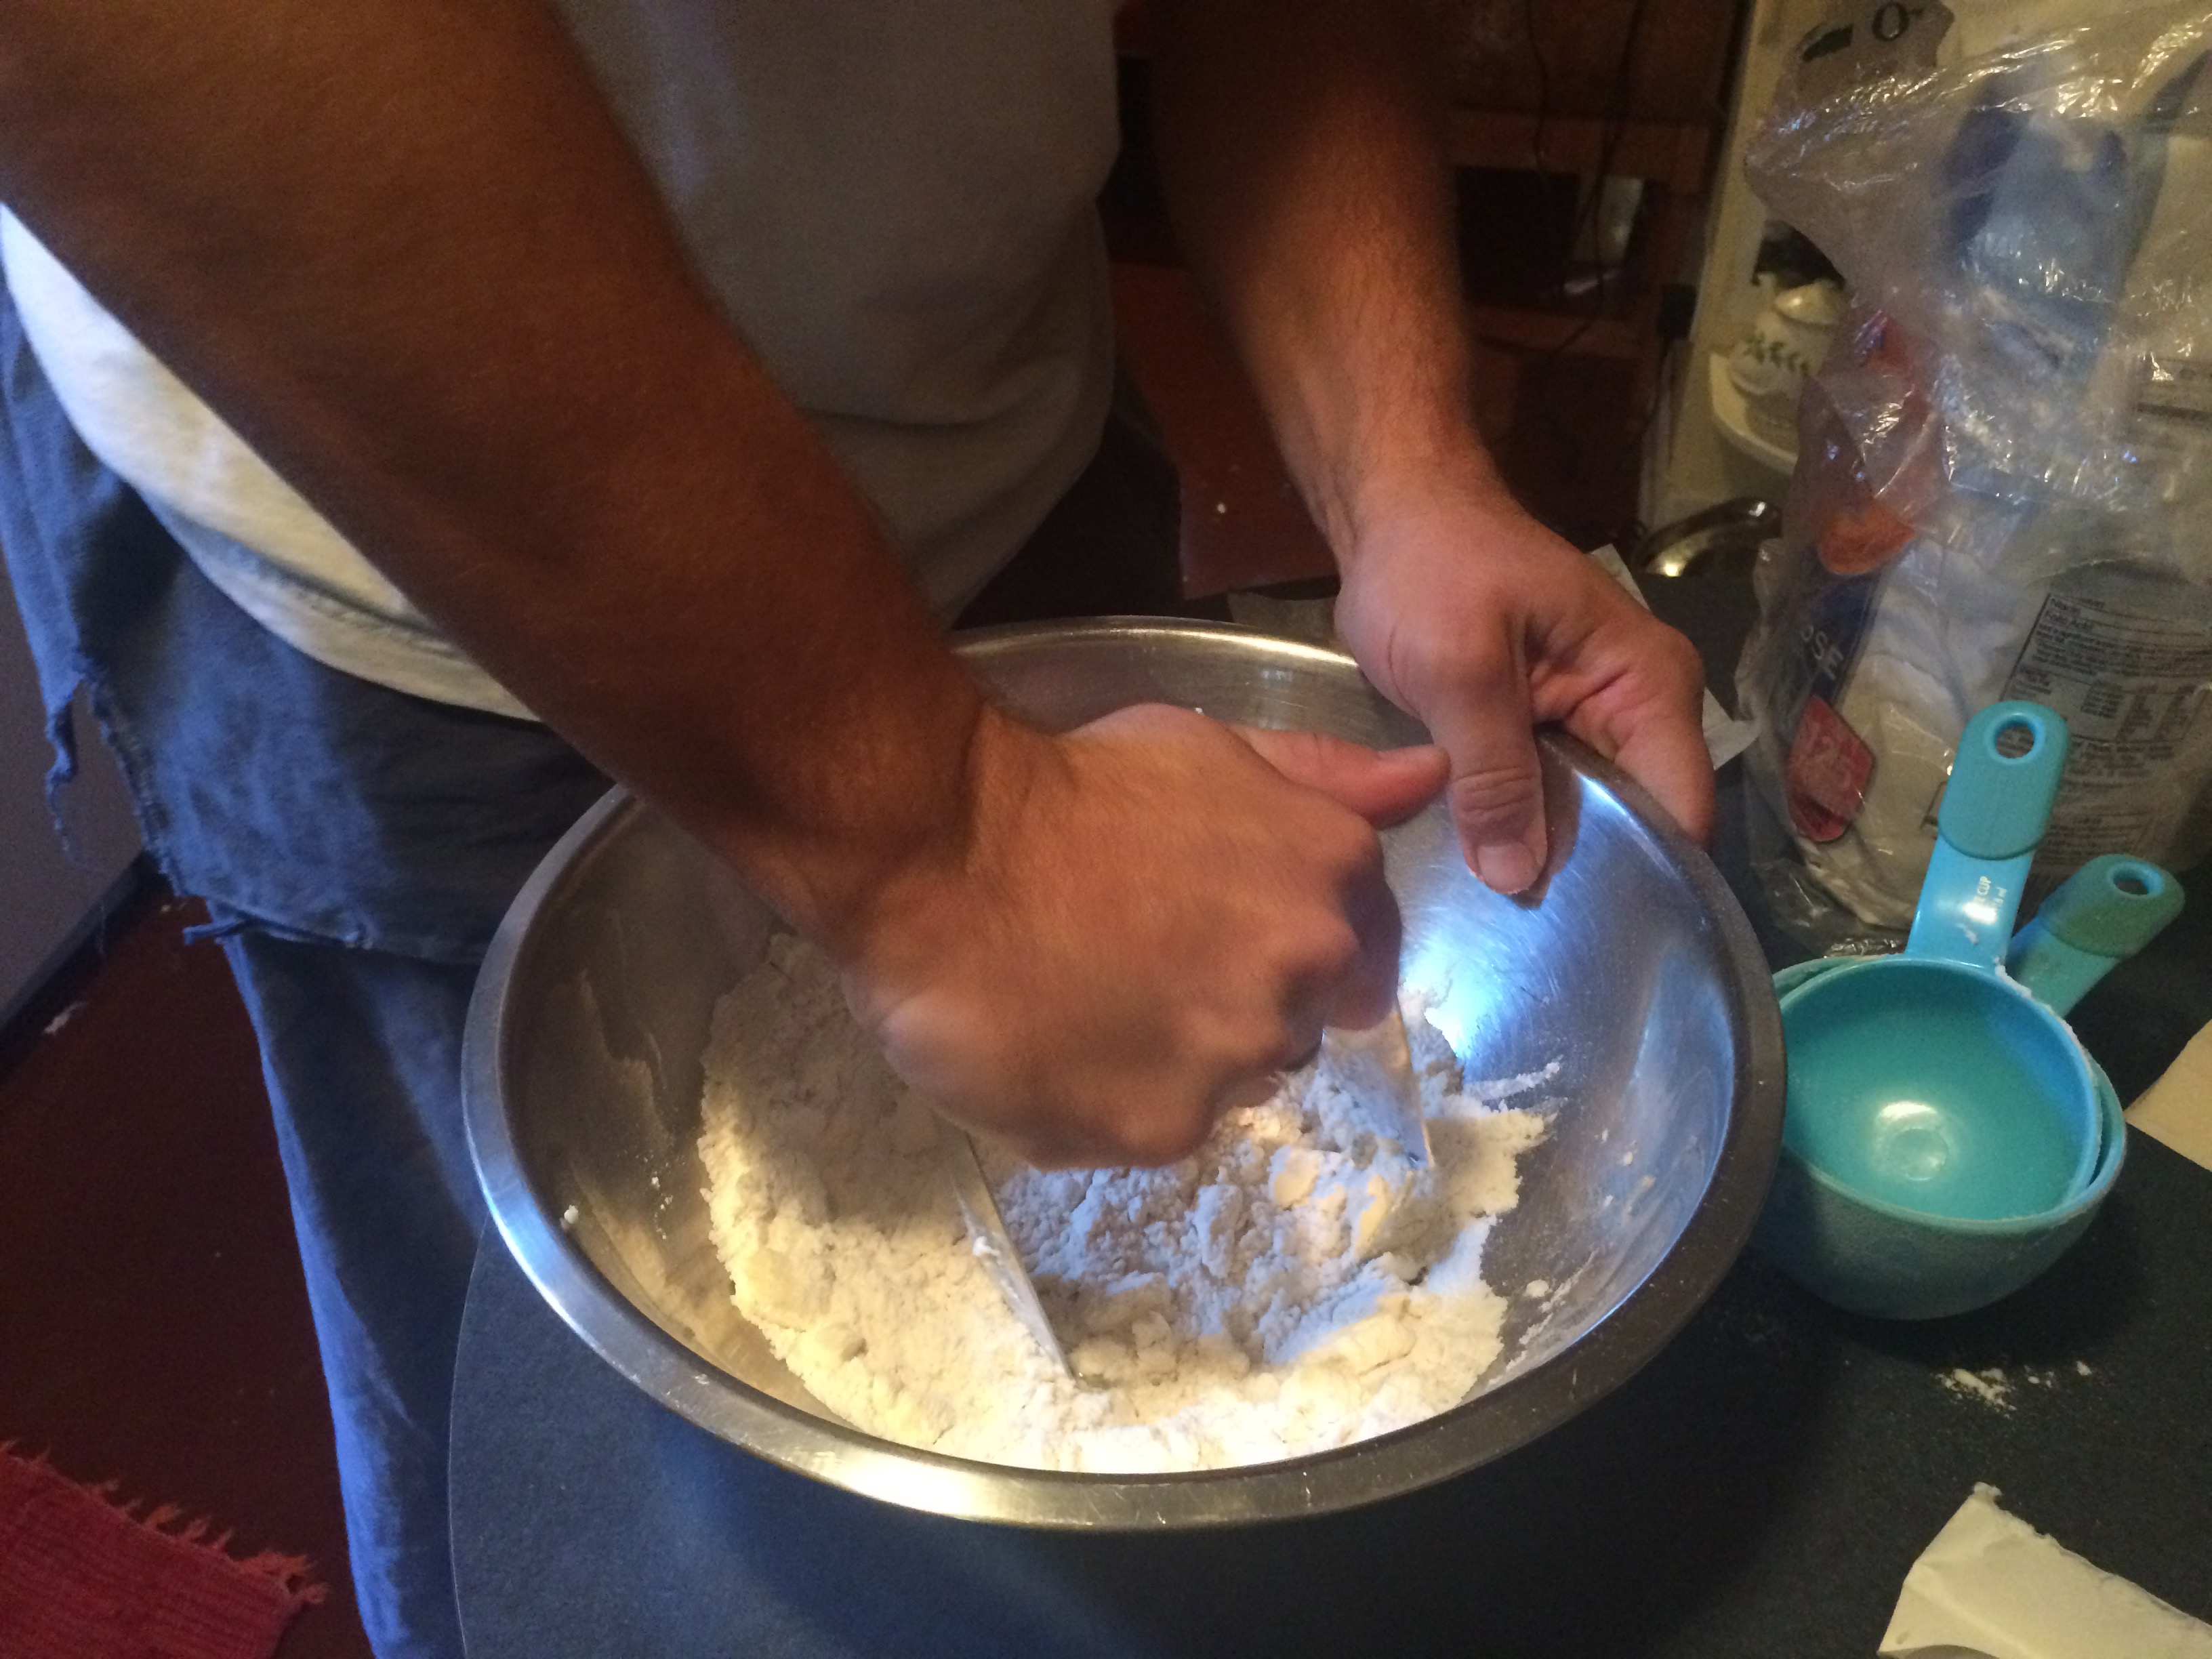
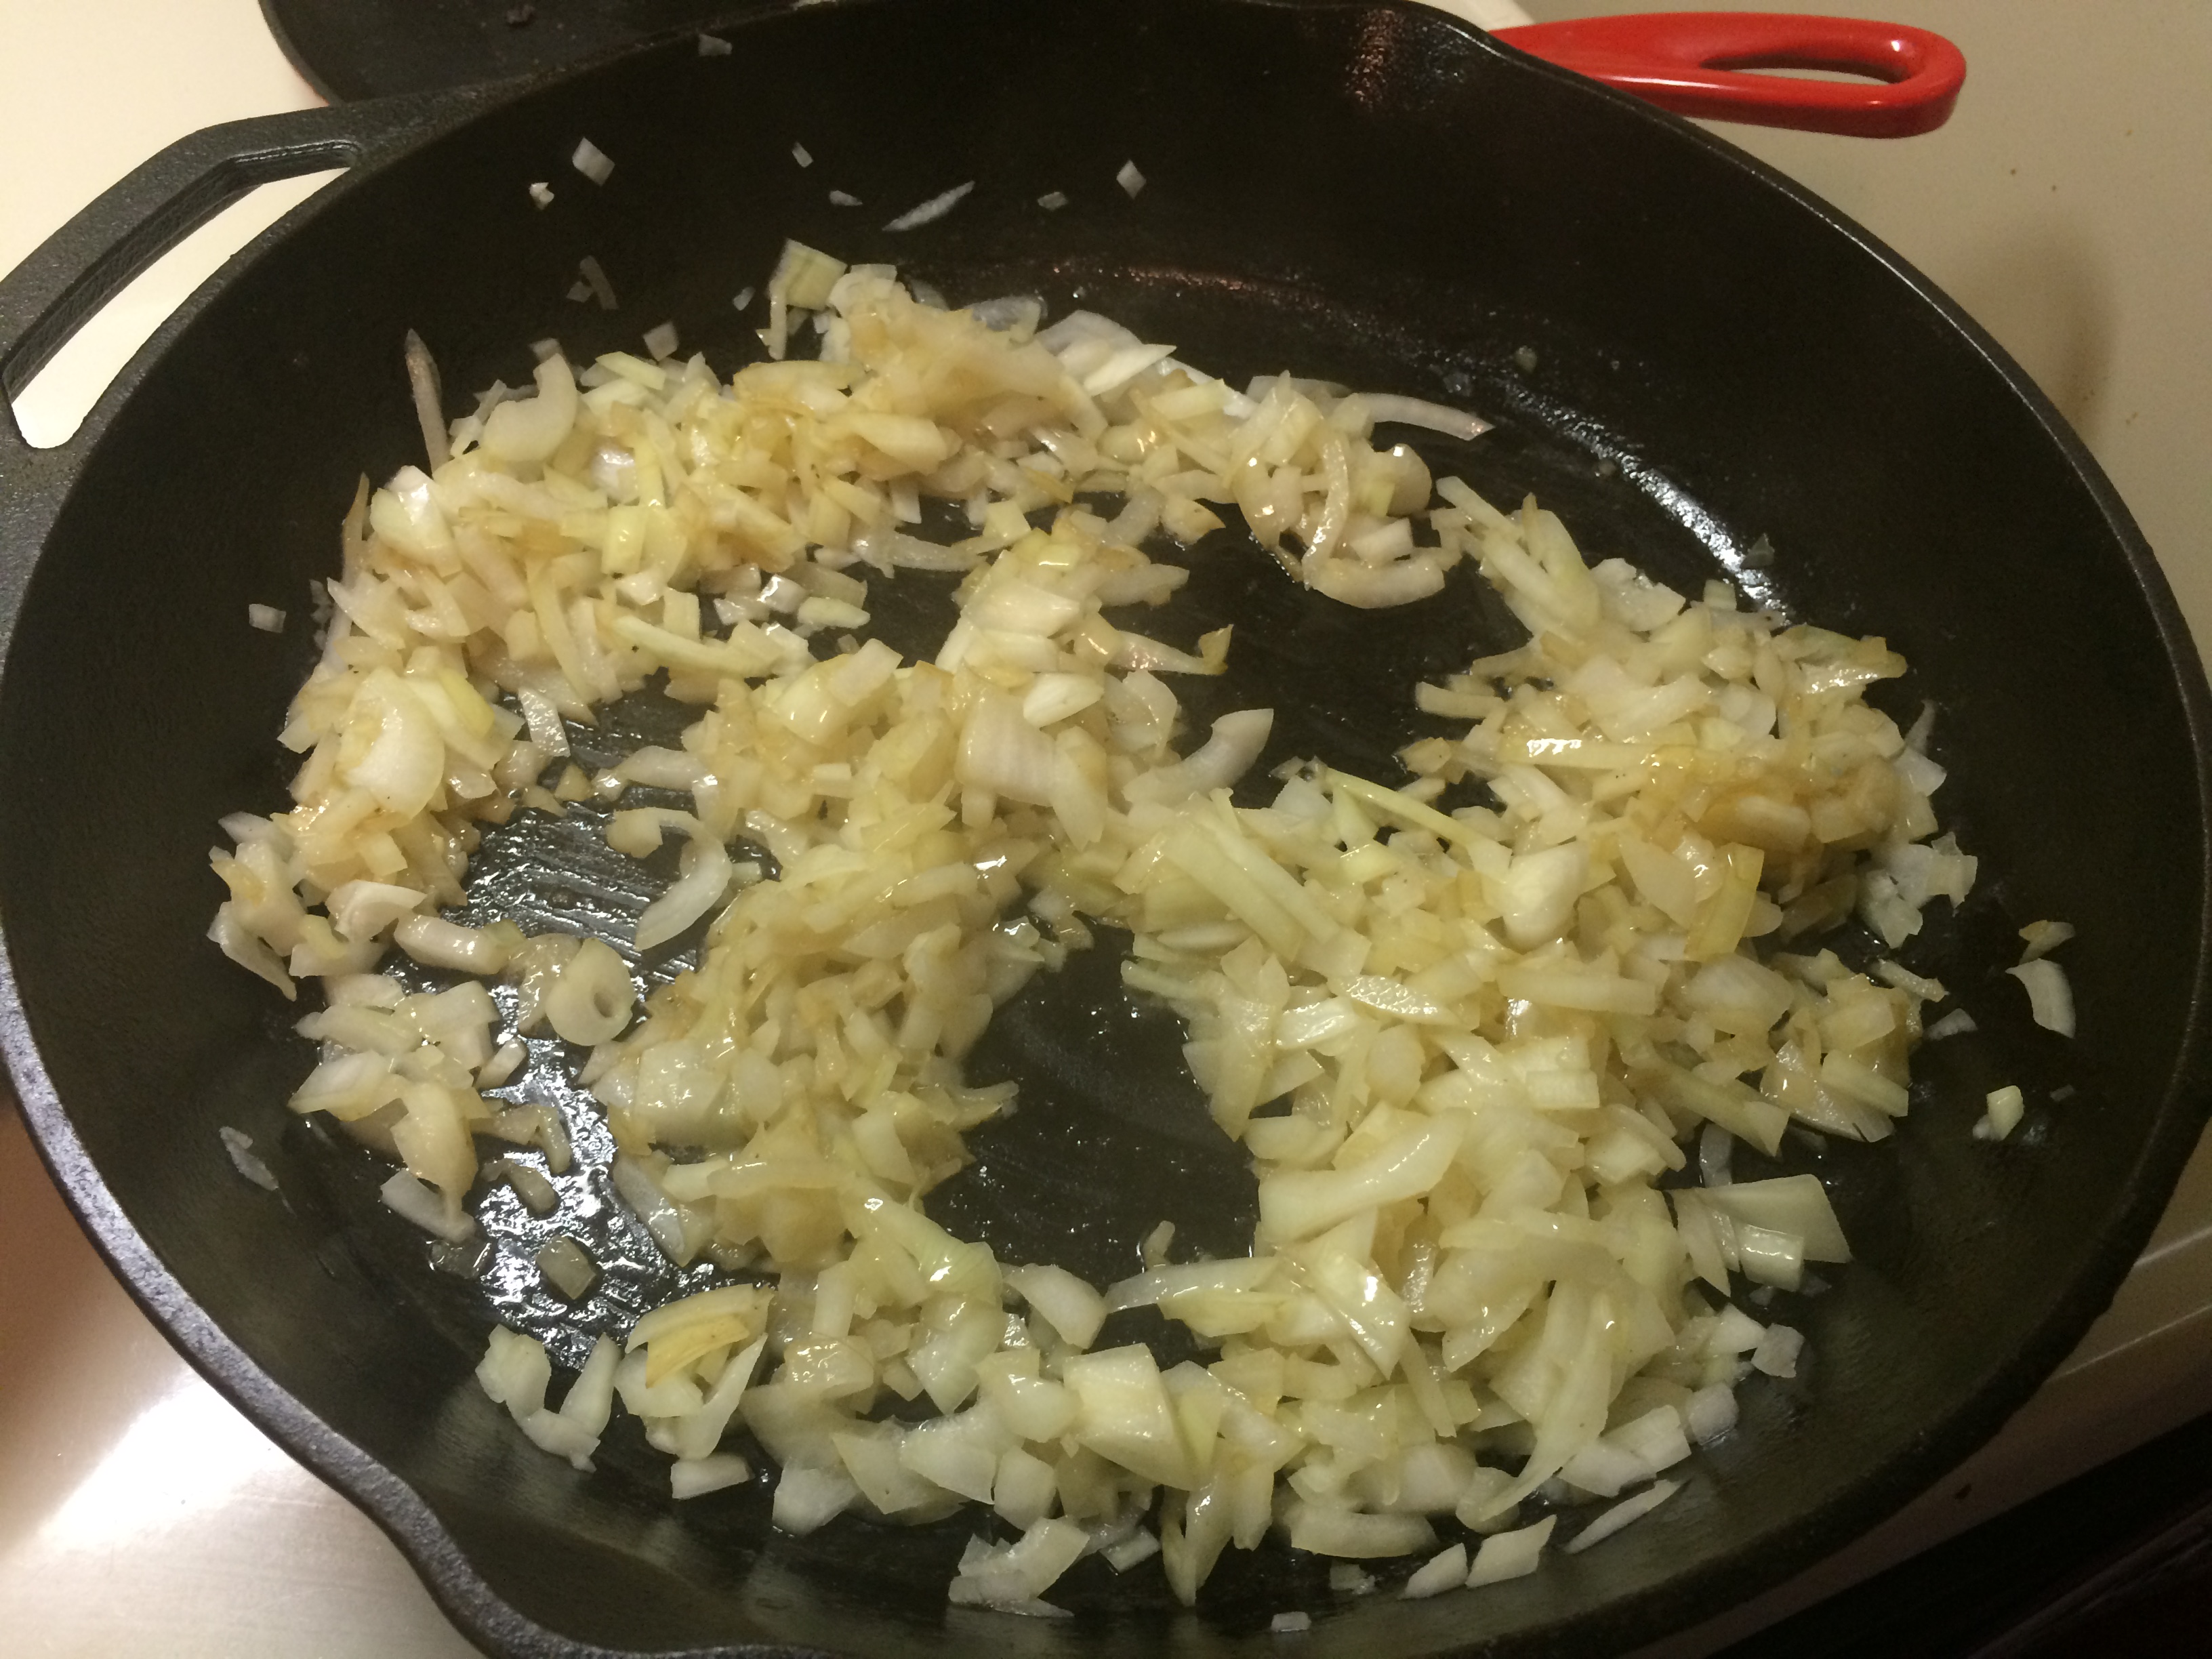
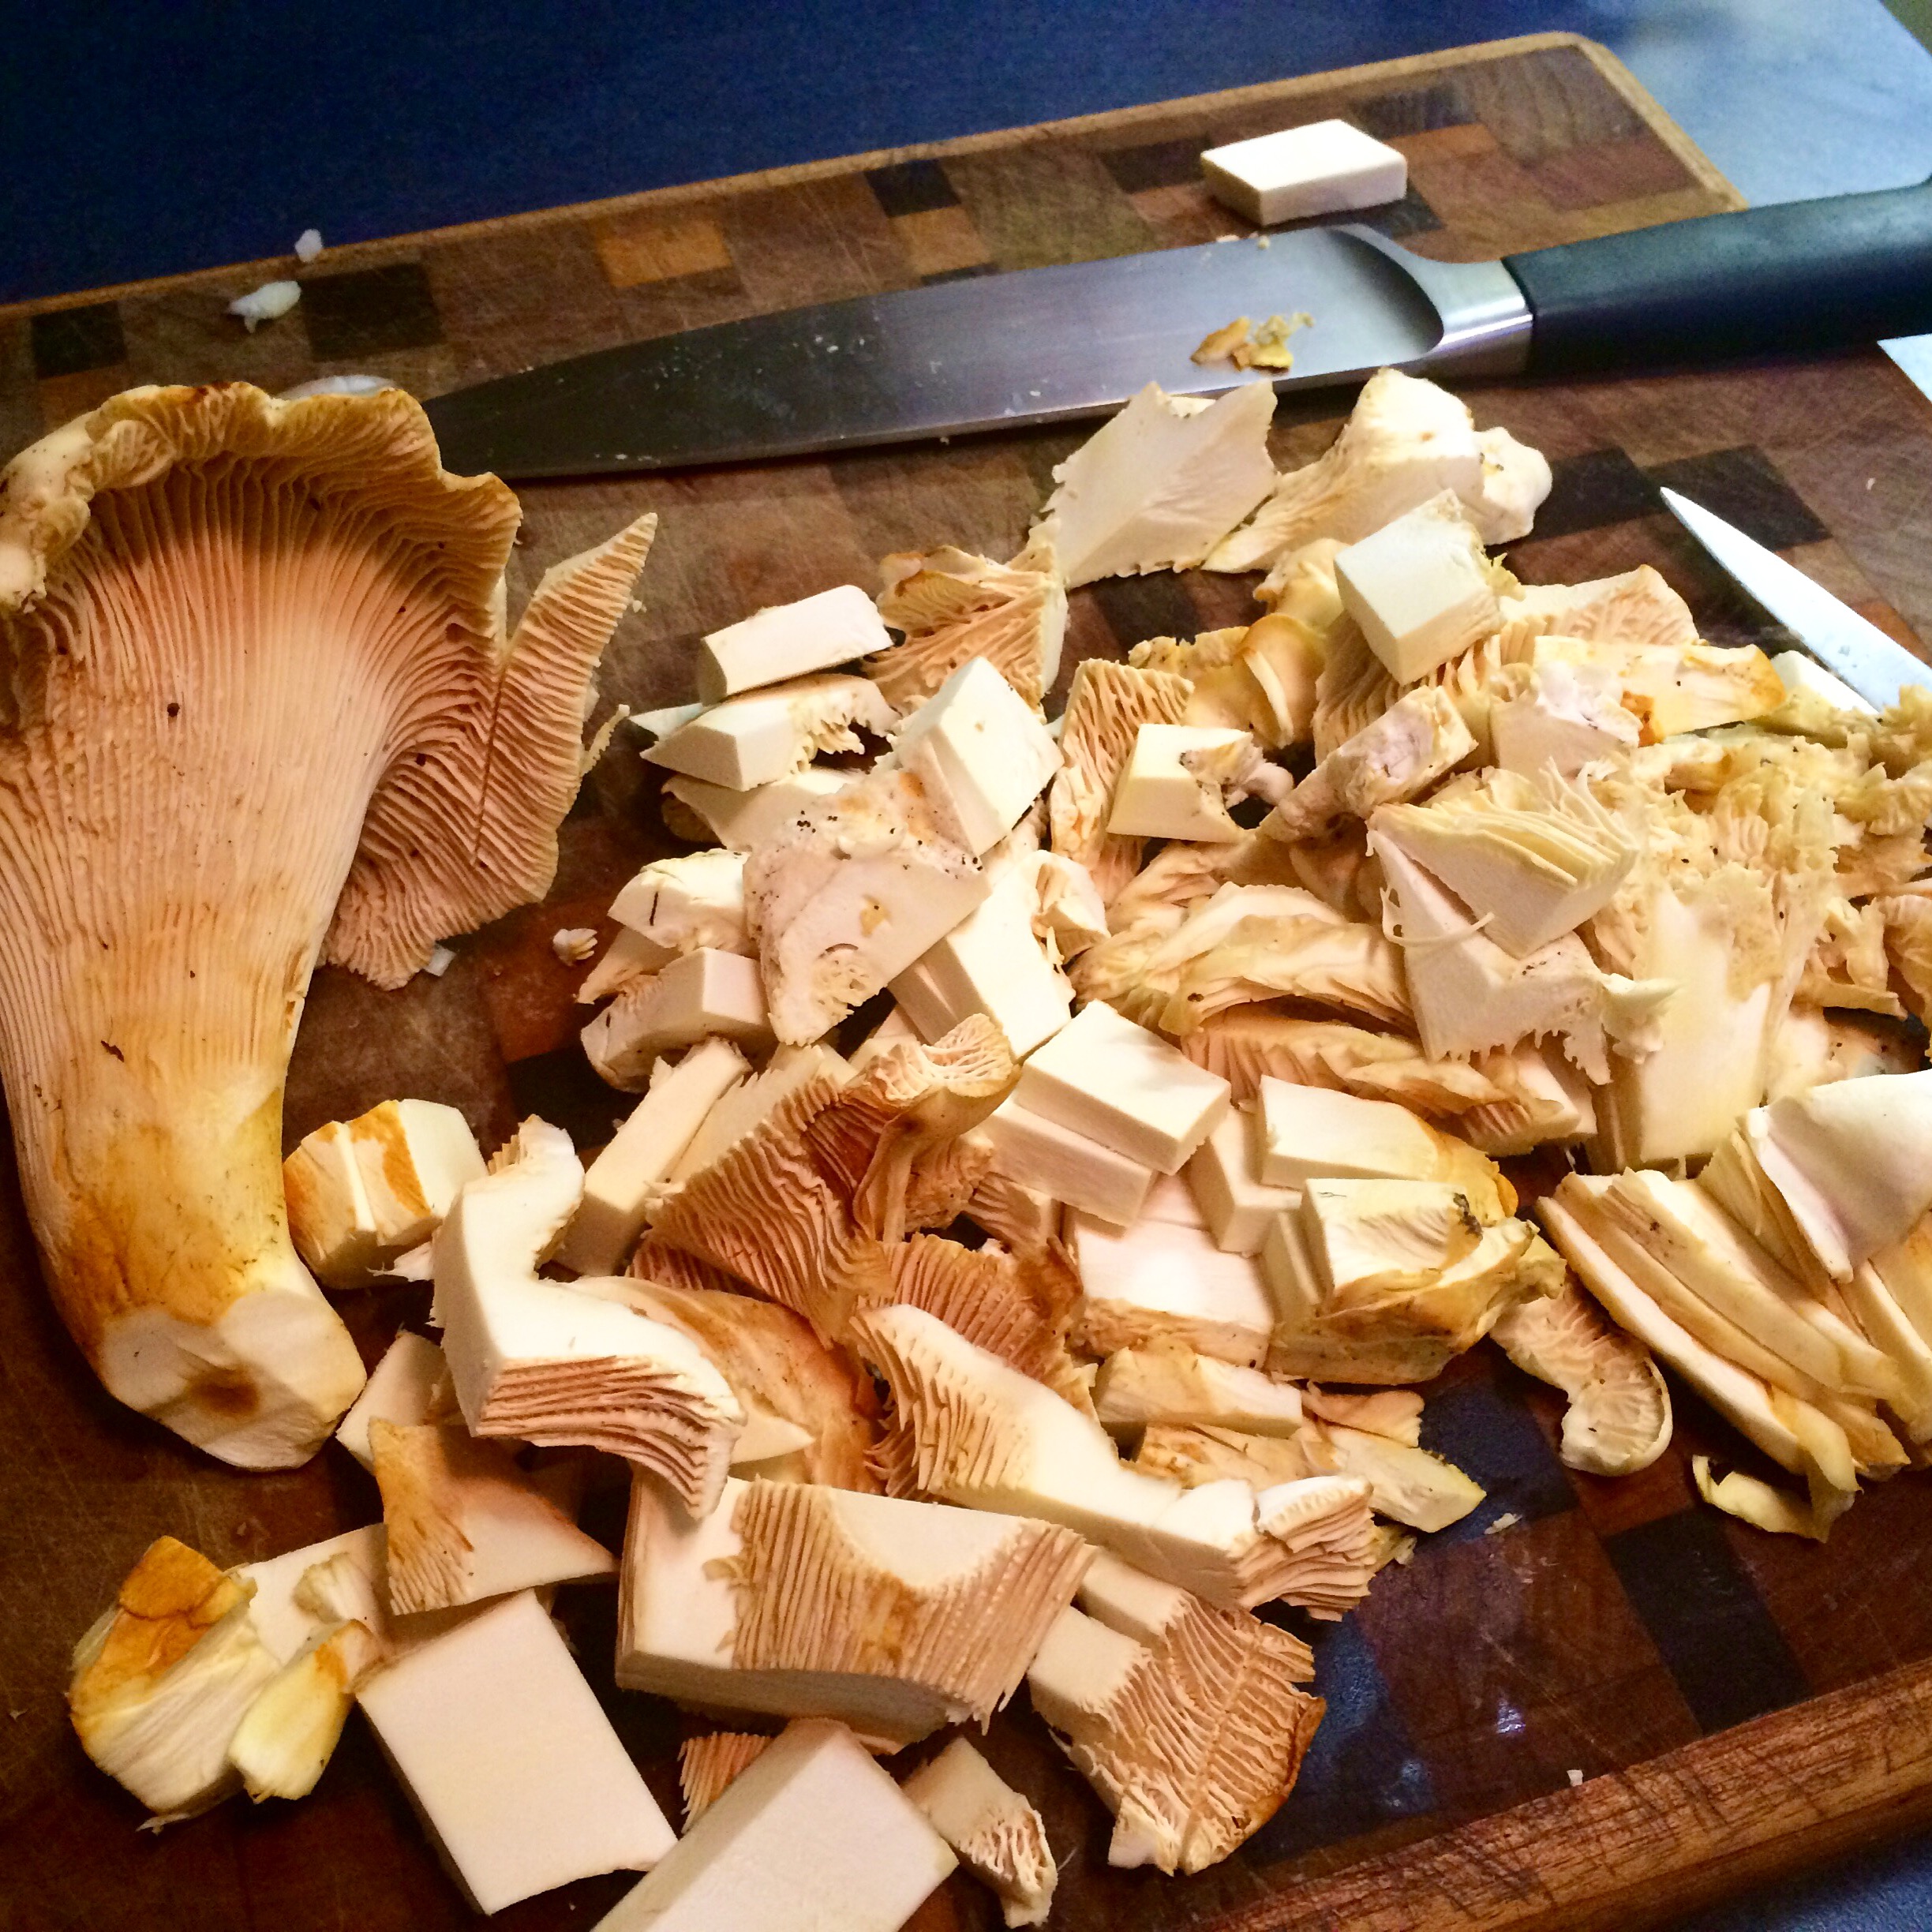
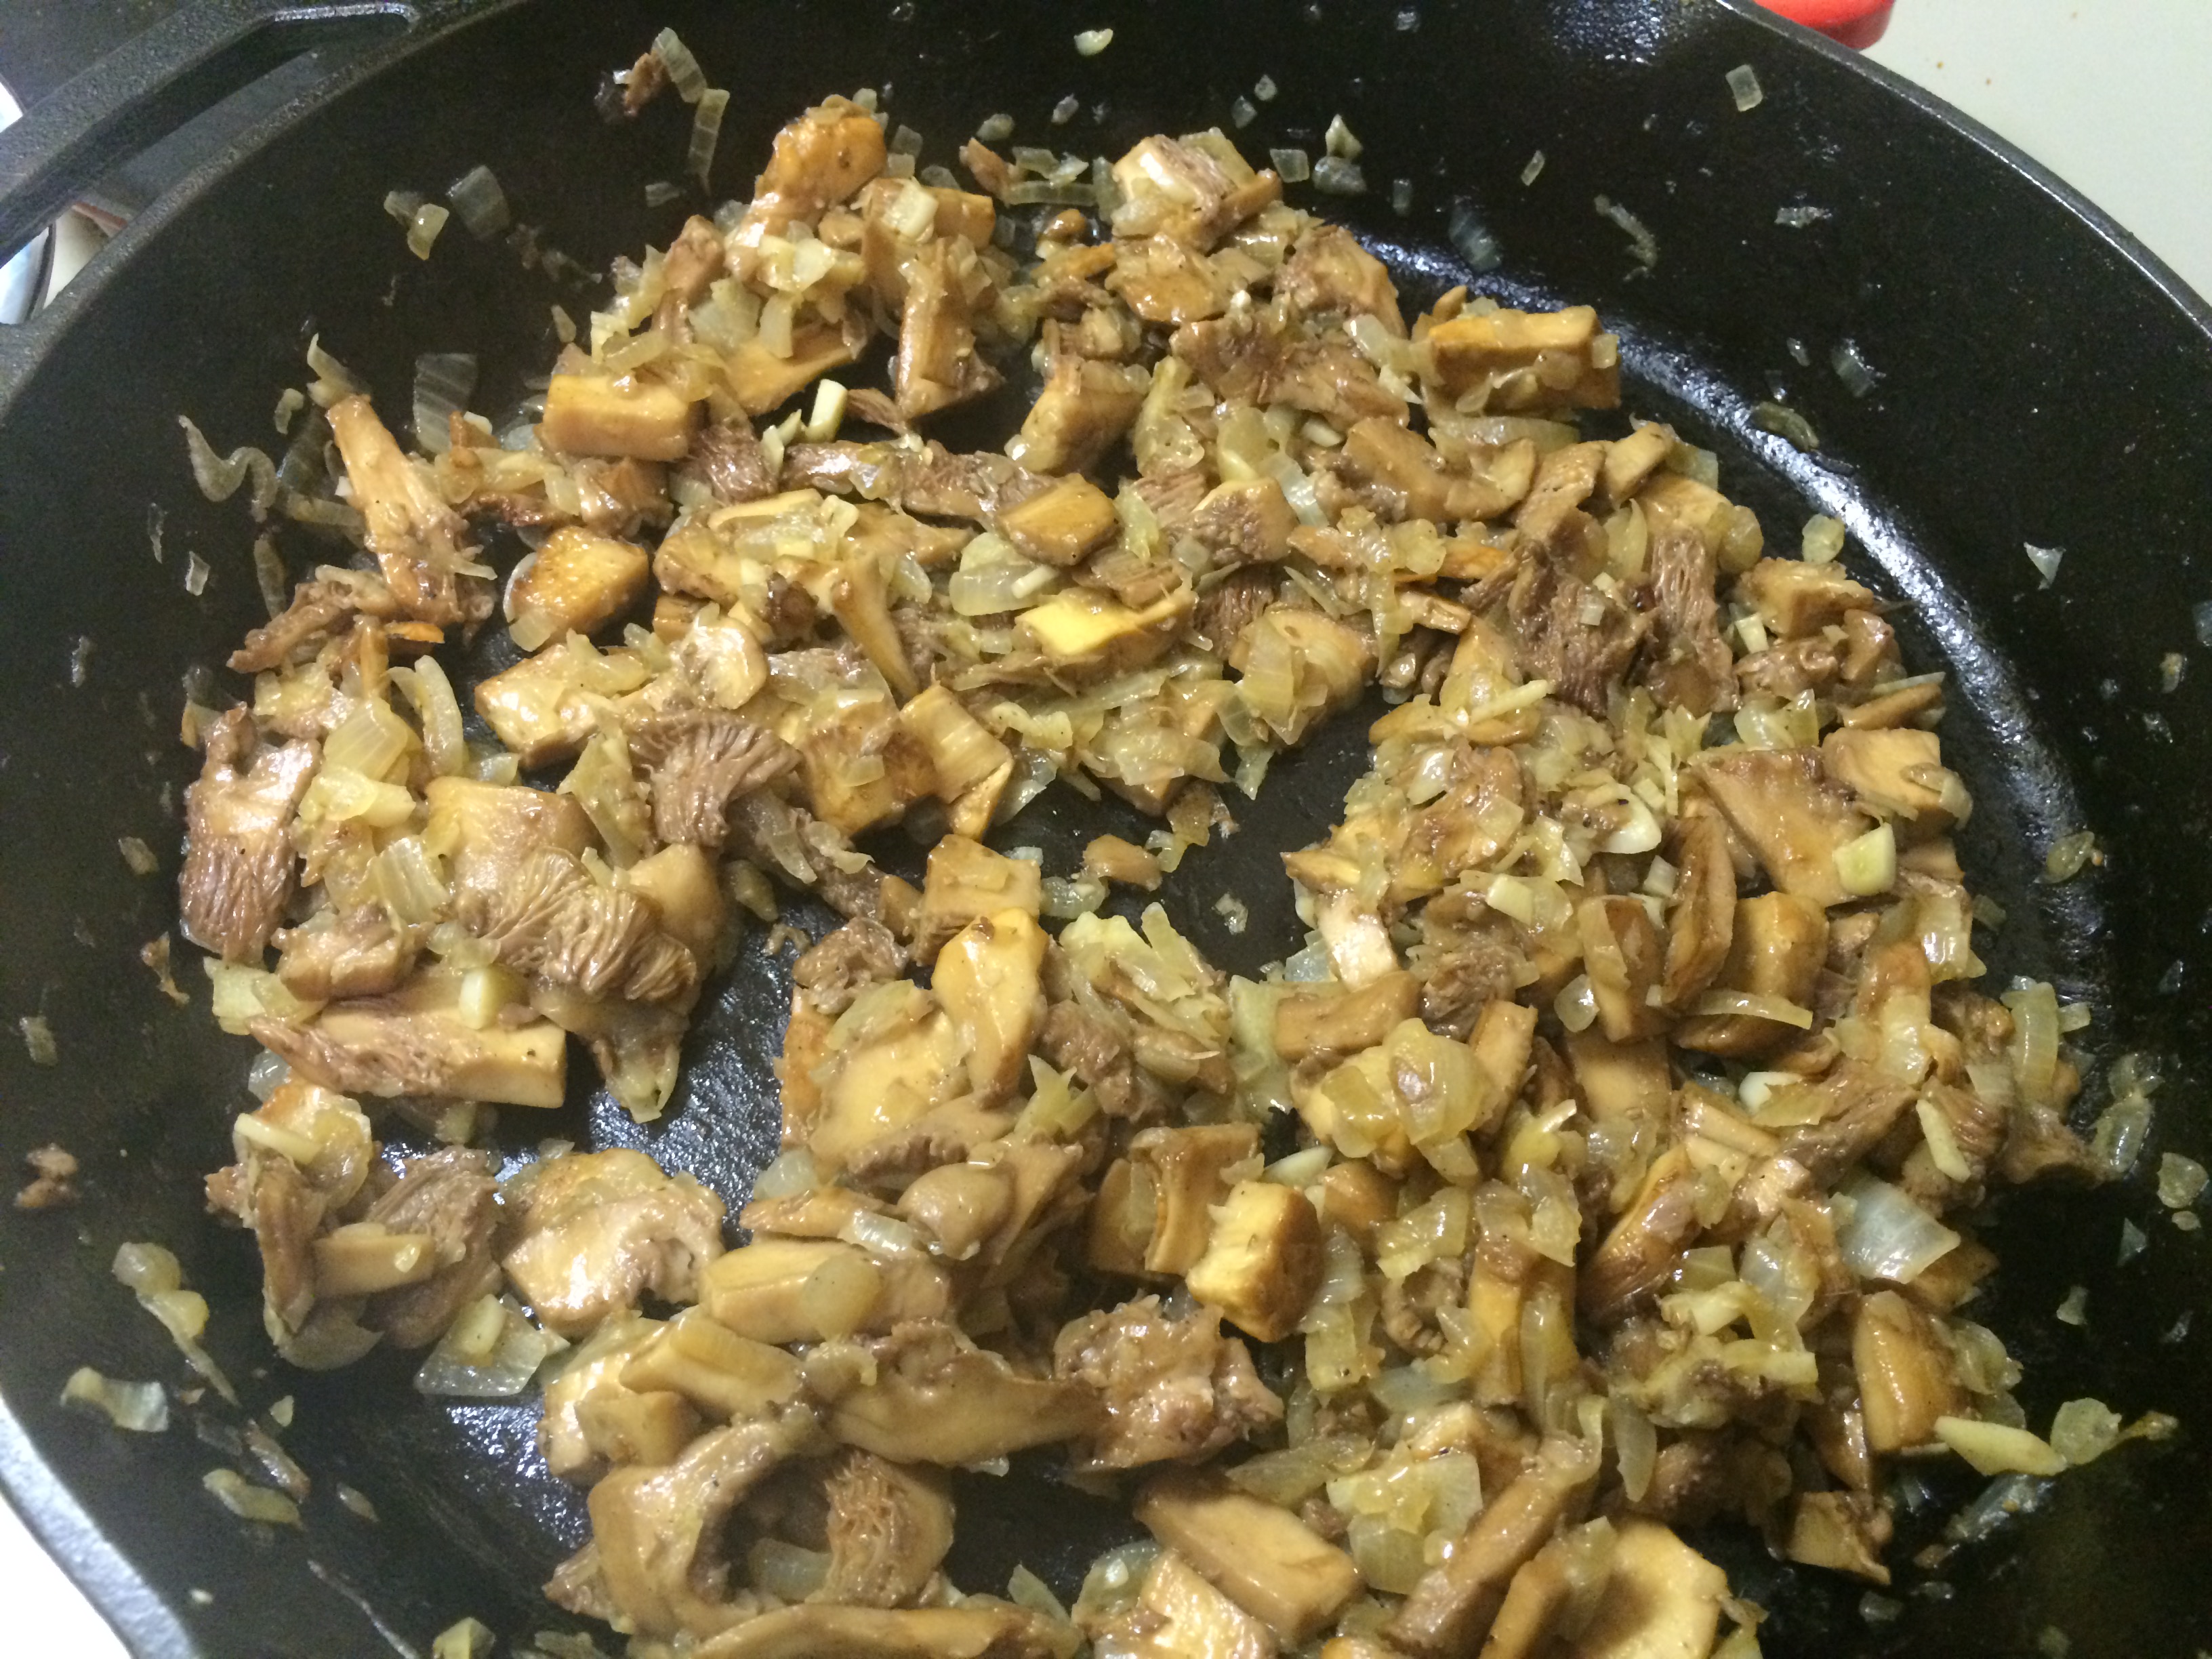
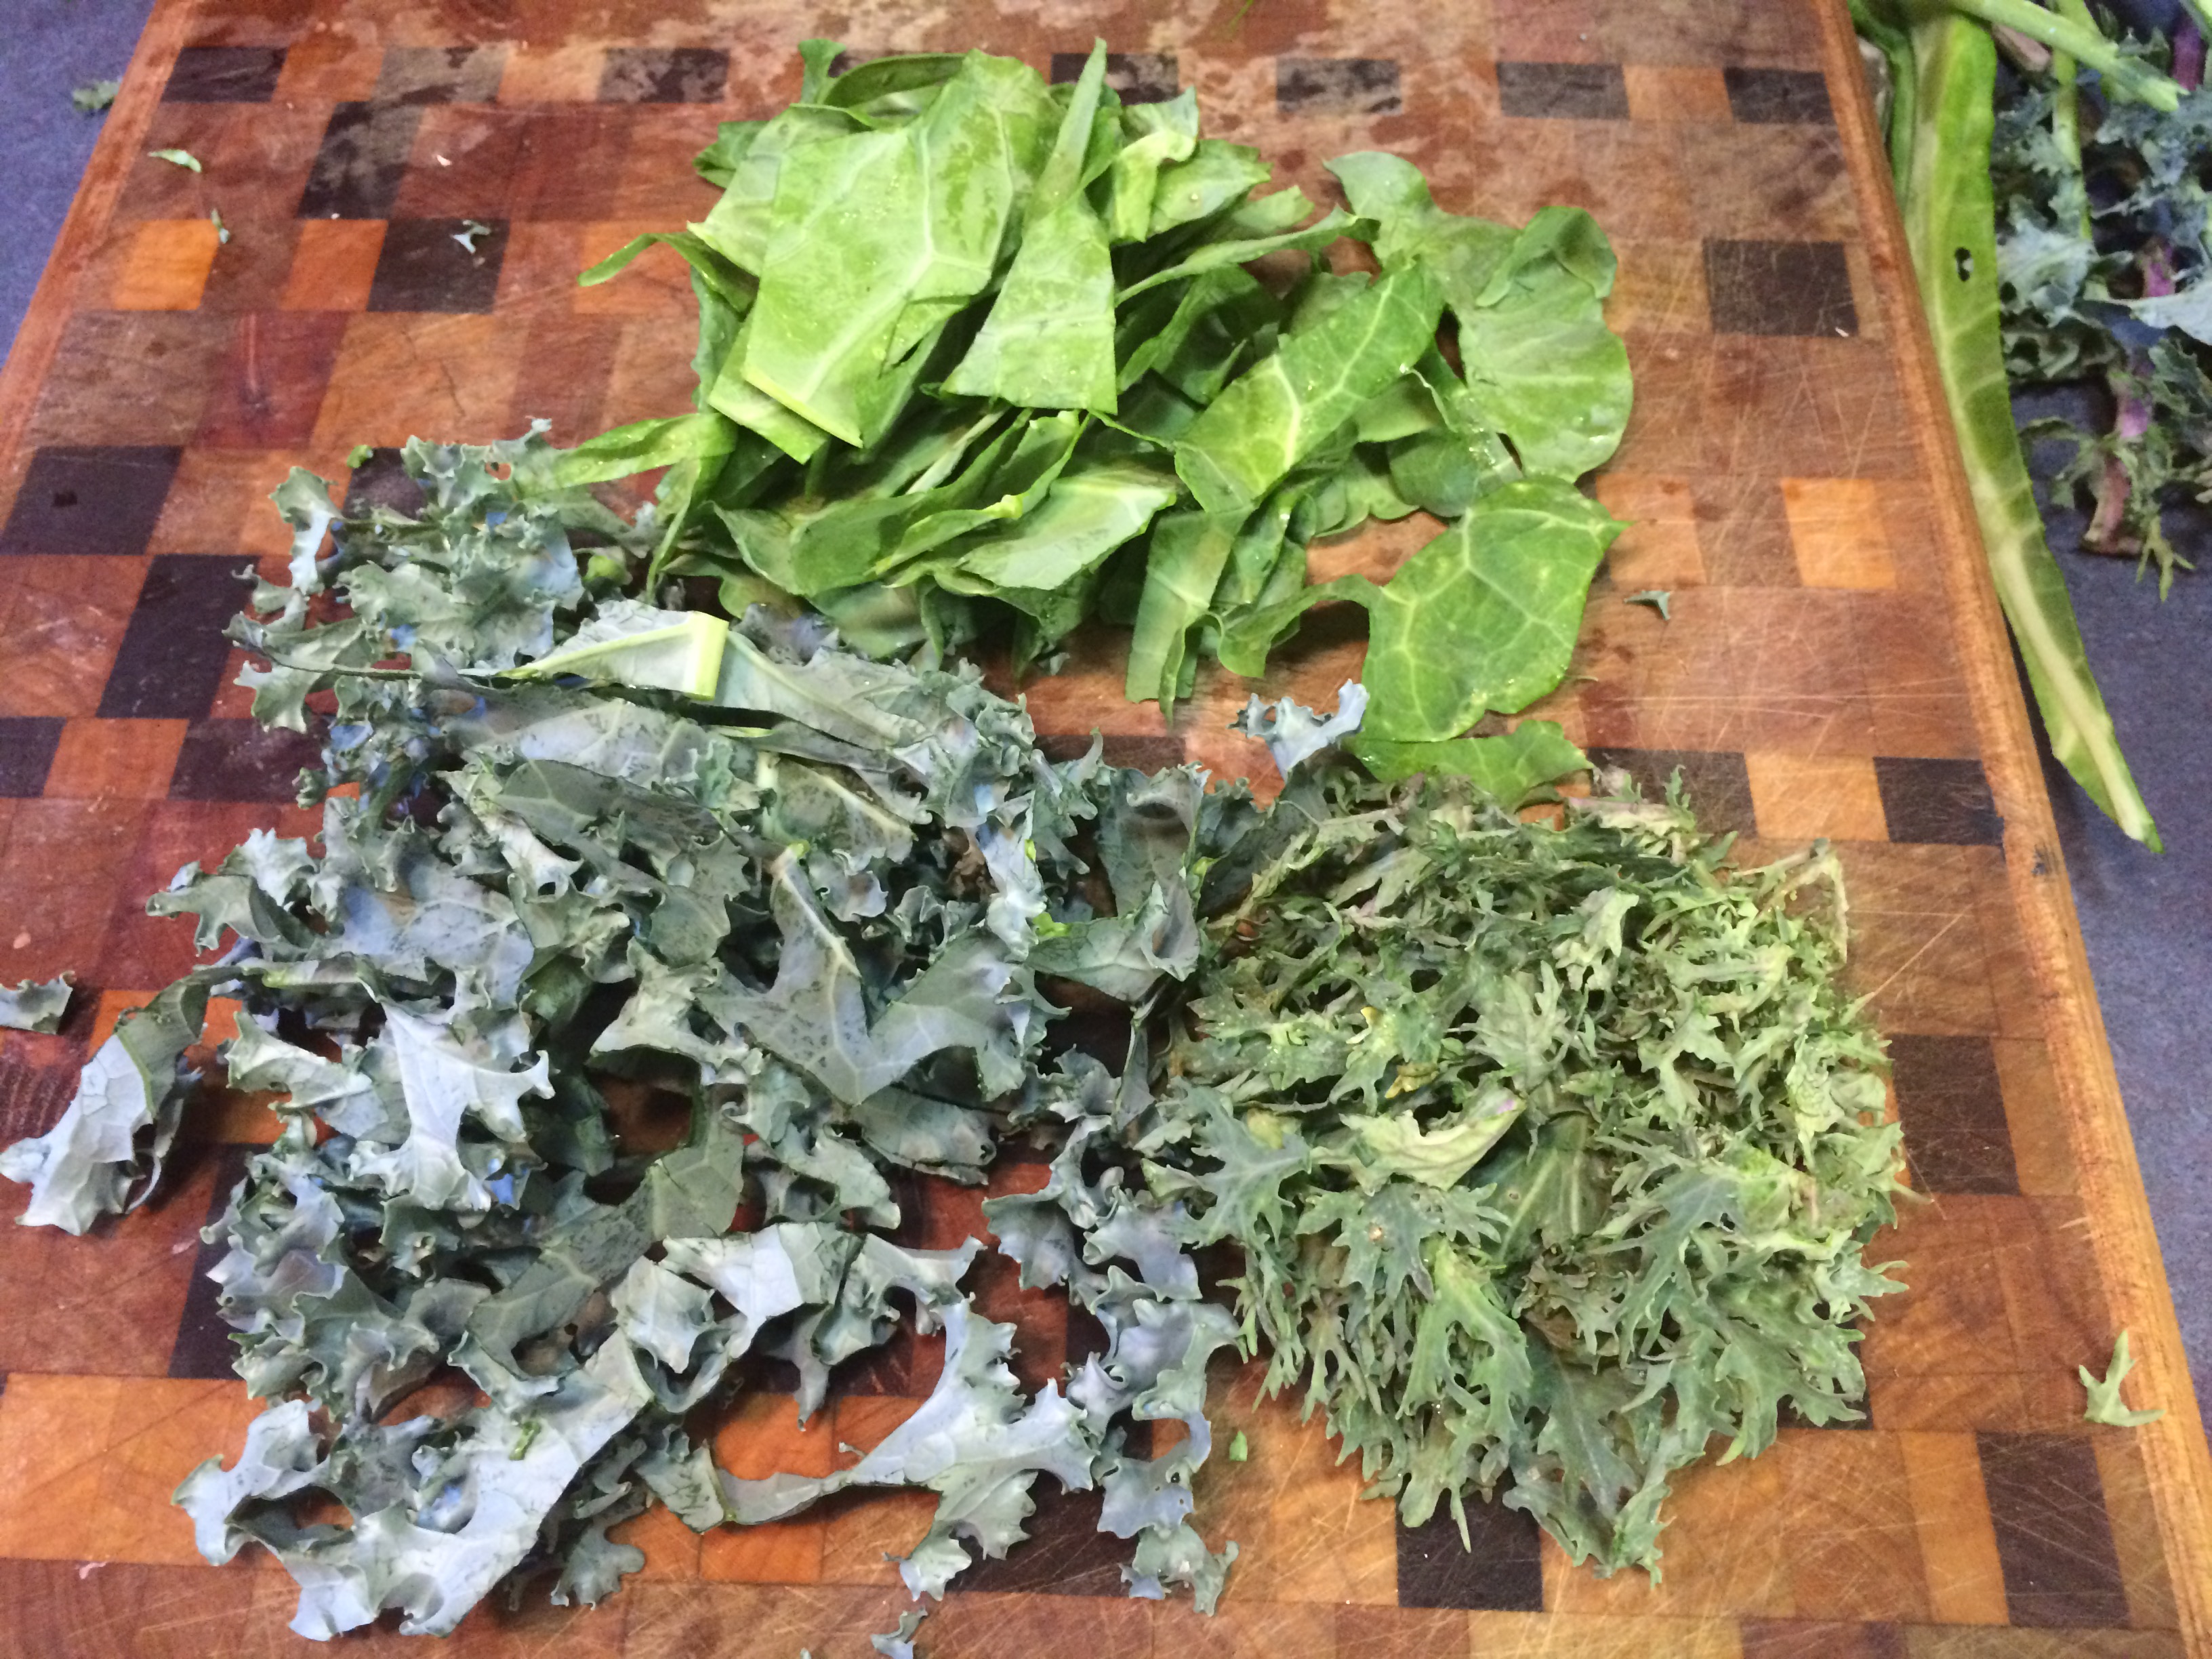
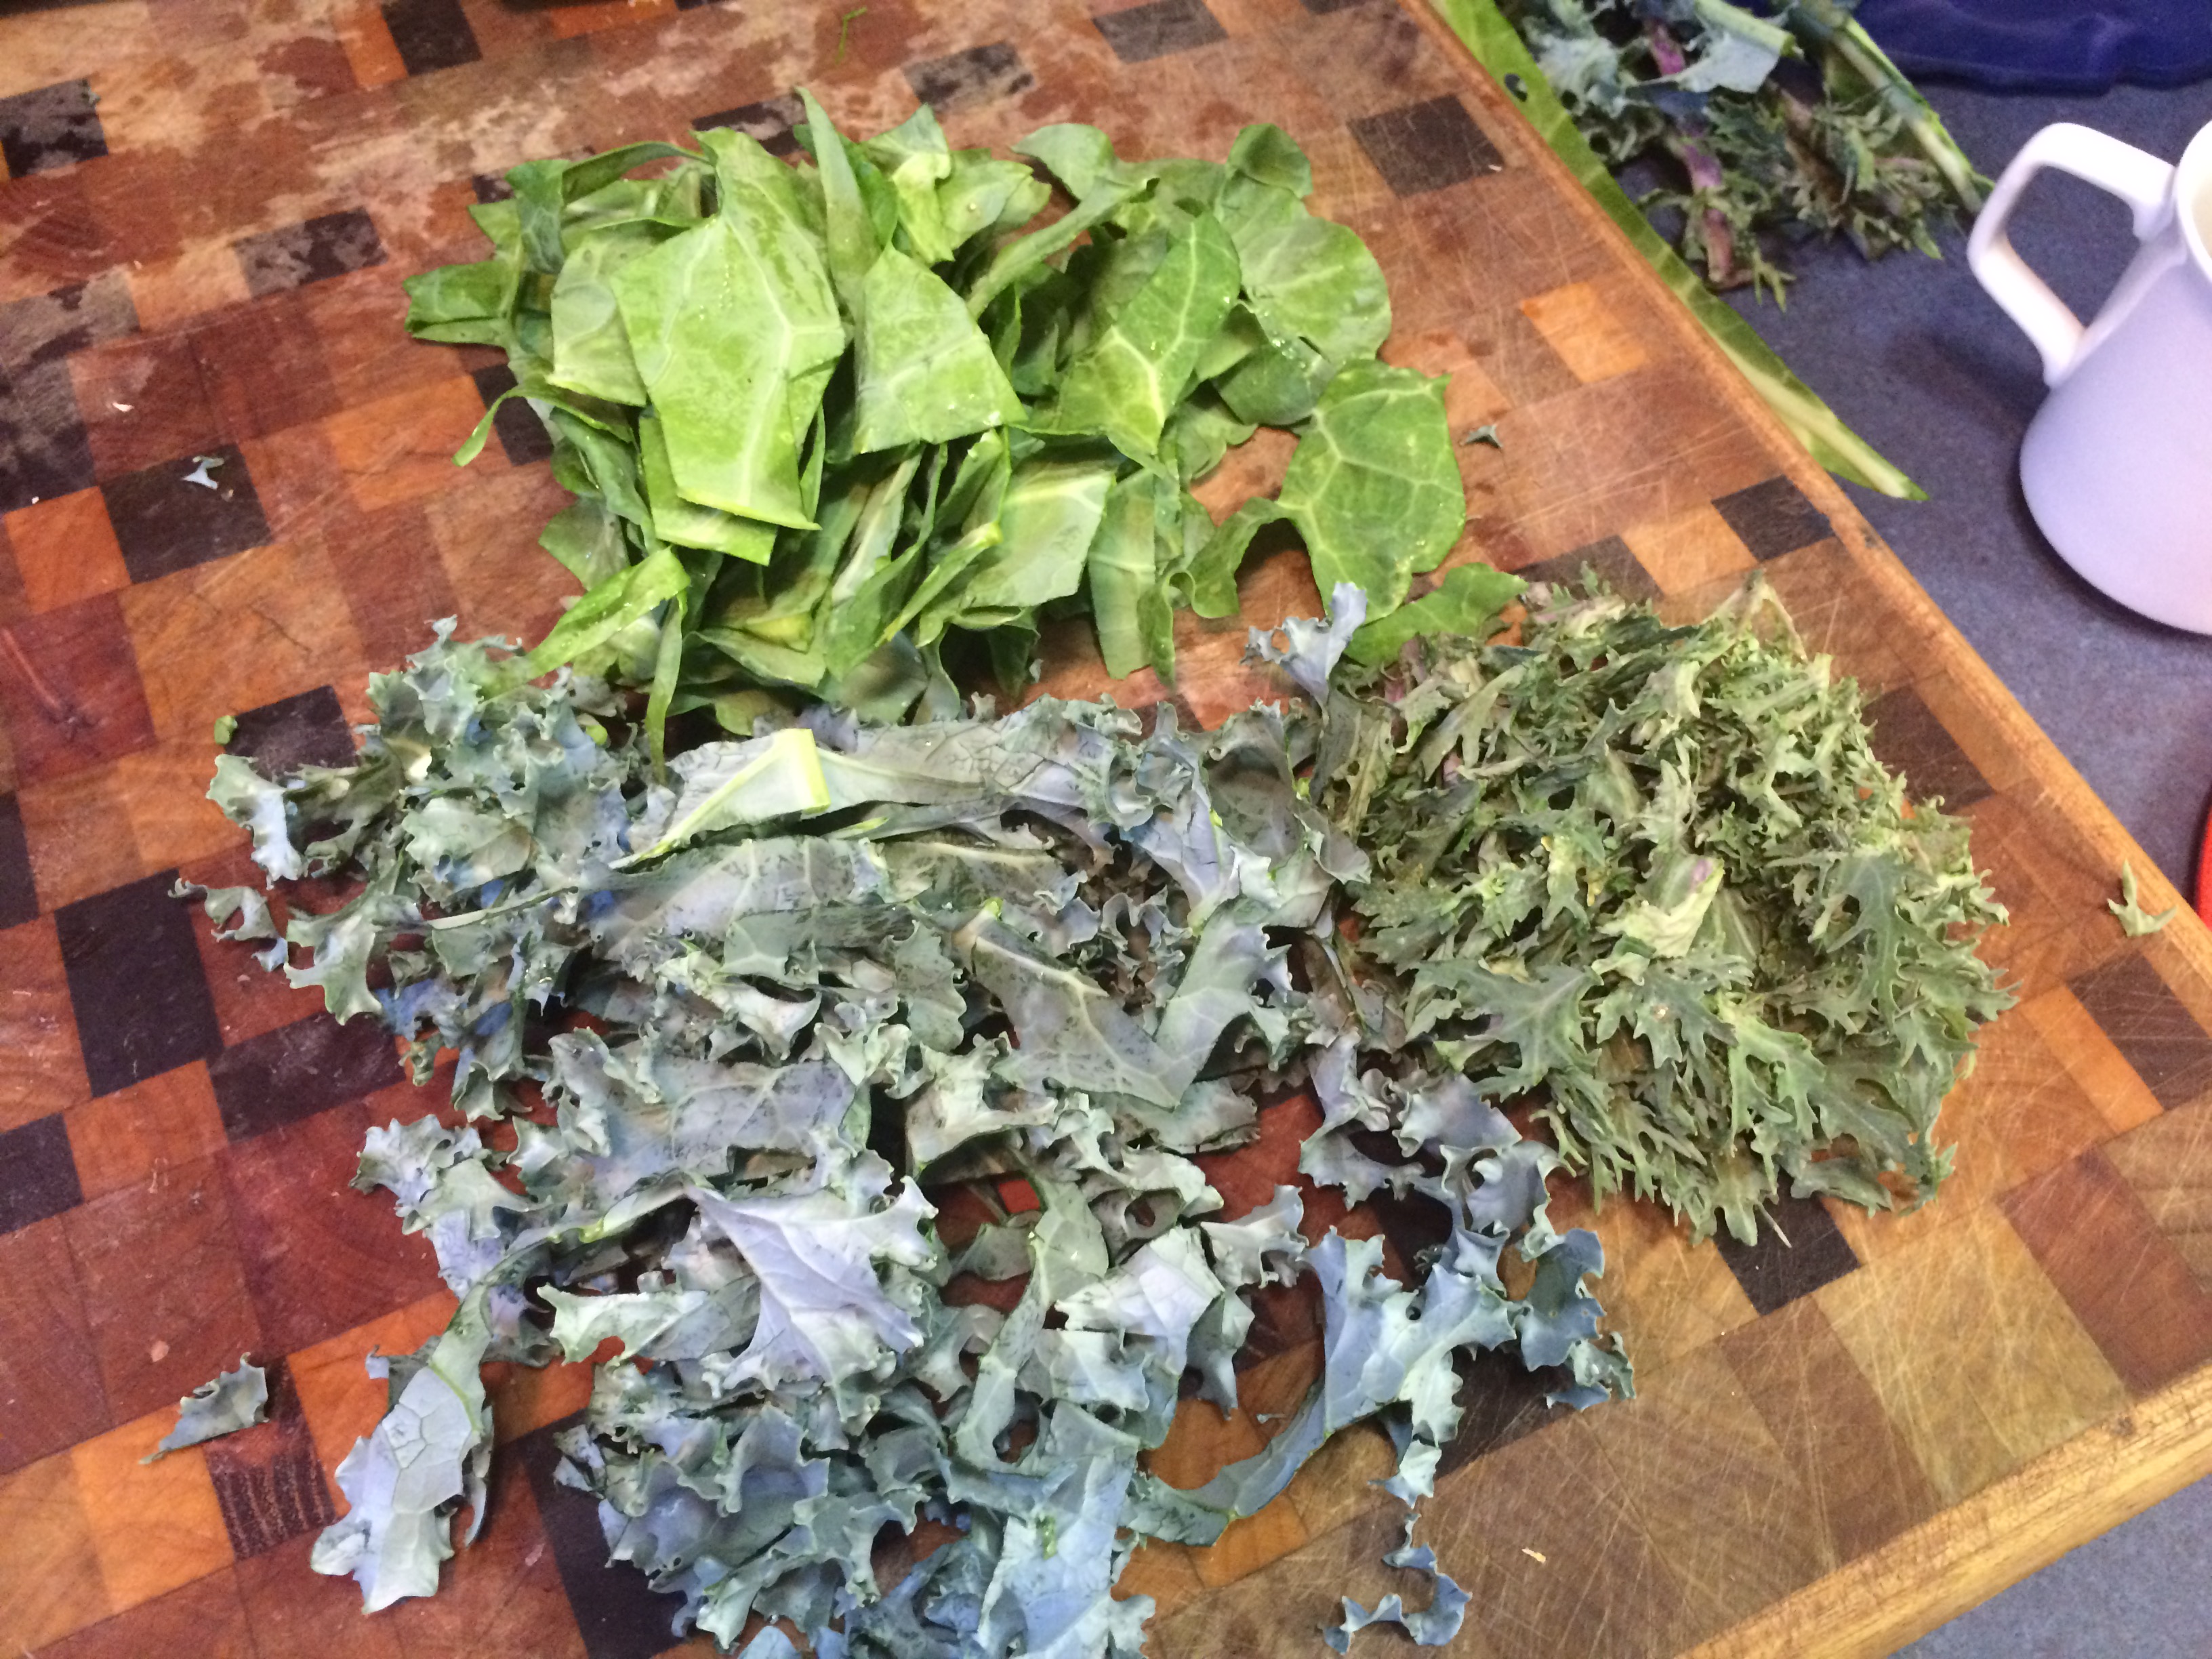
I have only cooked risotto once or twice before, so I turned to Google for help with finding a recipe. I decided to base my recipe of off this mushroom risotto. Risotto is actually rather easy to make. All you need to do is sauté up some onions and garlic and whatever vegetables you like, then add 1 cup of arborio rice, and slowly add liquids while stirring continuously. Whether you decide to add milk, cream, vegetable or chicken stock is completely up to you! I started out with sautéing 3-4 chopped shallots and a few cloves of garlic in oil. I added a bit of minced celery, chopped parsley, salt, and pepper. Then I added a bunch of hedgehogs, black trumpets, and golden chanterelles to the pan. I used a lot more mushrooms than was recommended, but in my opinion they are the best part :)
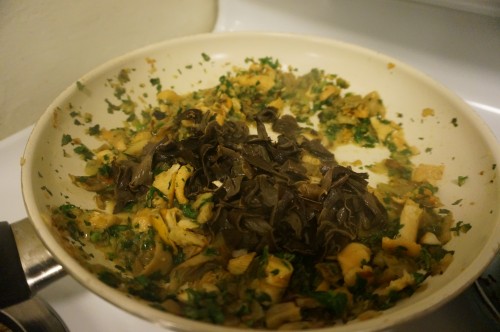
Shallots, garlic, parsley, celery, hedgehogs, chanterelles, and black trumpets sautéing
After the mushrooms are sautéed, you add milk and cream to the mixture. I decided to increase the size of the recipe to make sure I had enough risotto for all of my friends, so I added 1.5 cups of milk and 3/8 cups heavy cream. The recipe called for whole milk but I found that skim milk still made a very creamy and delicious risotto and was slightly healthier – but you can use whatever you’d like! Next I added 1.5 cups of arborio rice. After adding the rice you start to add stock/broth one cup at a time. I used vegetable broth because one of my friends is a vegetarian, but you can use whatever kind of stock you want. This is what the risotto looks like when you first start to cook it:
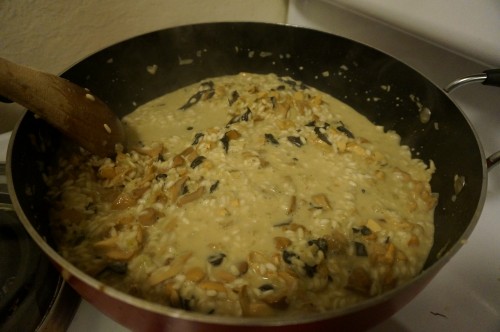
Risotto cooking
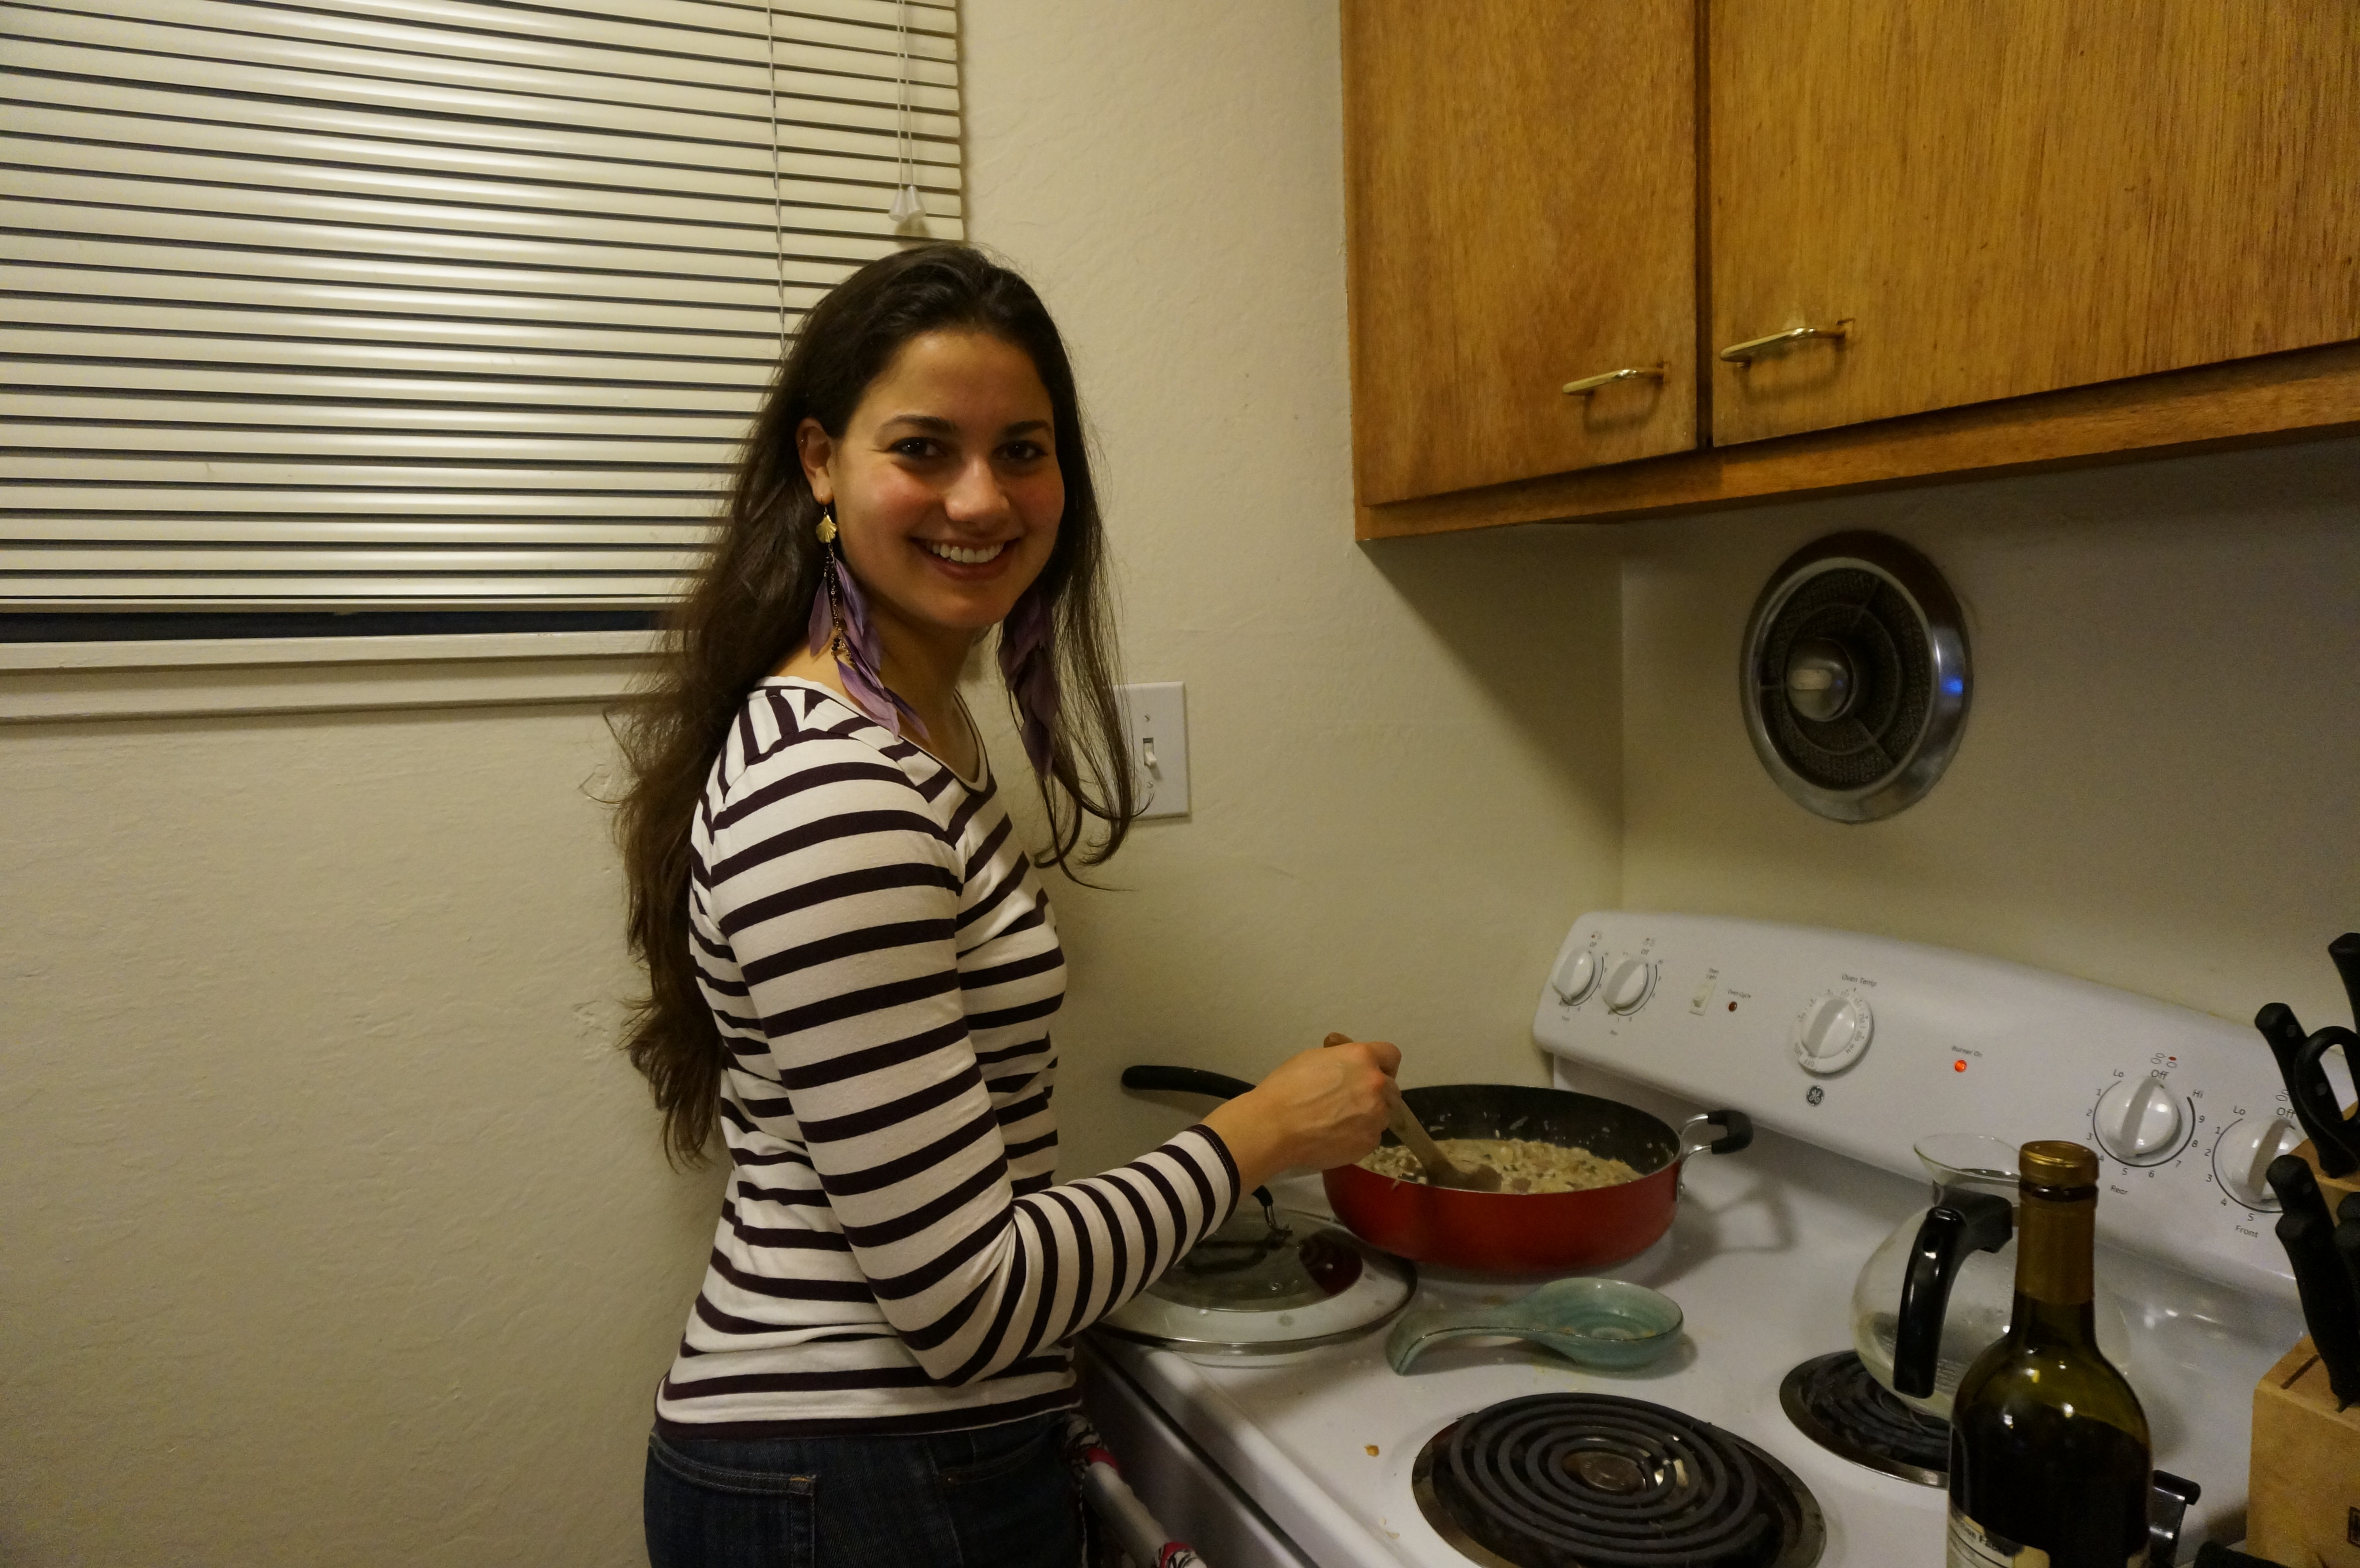
Risotto requires a lot of stirring. I’m talking like 25-45 minutes of non-stop stirring. You are supposed to stir continuously and add the broth one cup at a time as it absorbs. There is no magic number for how long it takes, you just cook it until it’s done. Make sure you invite a lot of friends over to help you stir :)

Meera being a good friend and helping me stir the risotto
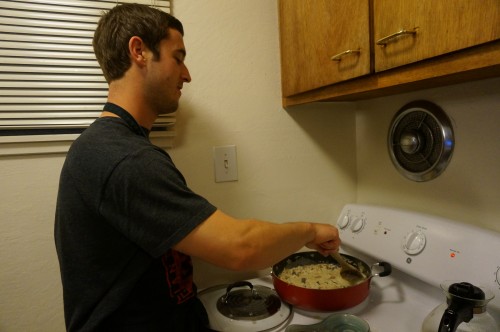
Stirring is tiring stuff. Patrick takes over the stirring for a while.
Taste test the risotto to tell if it’s done cooking. It should be creamy but still a little bit al dente. This recipe took about 4 cups of vegetable broth and 45 minutes of stirring. At this point, we added the cheese. The recipe calls for grated Parmesan – we decided to use a mix of Parmesan Stravecchio and Reggiano. I skipped adding the butter because I thought it was rich enough.
Finally, the stirring is done!
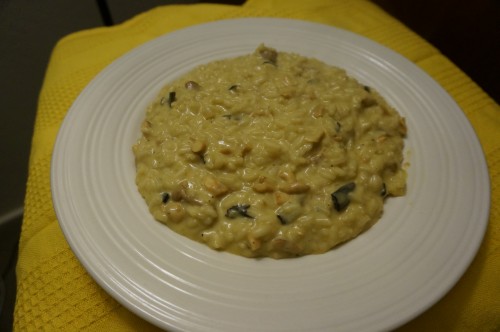
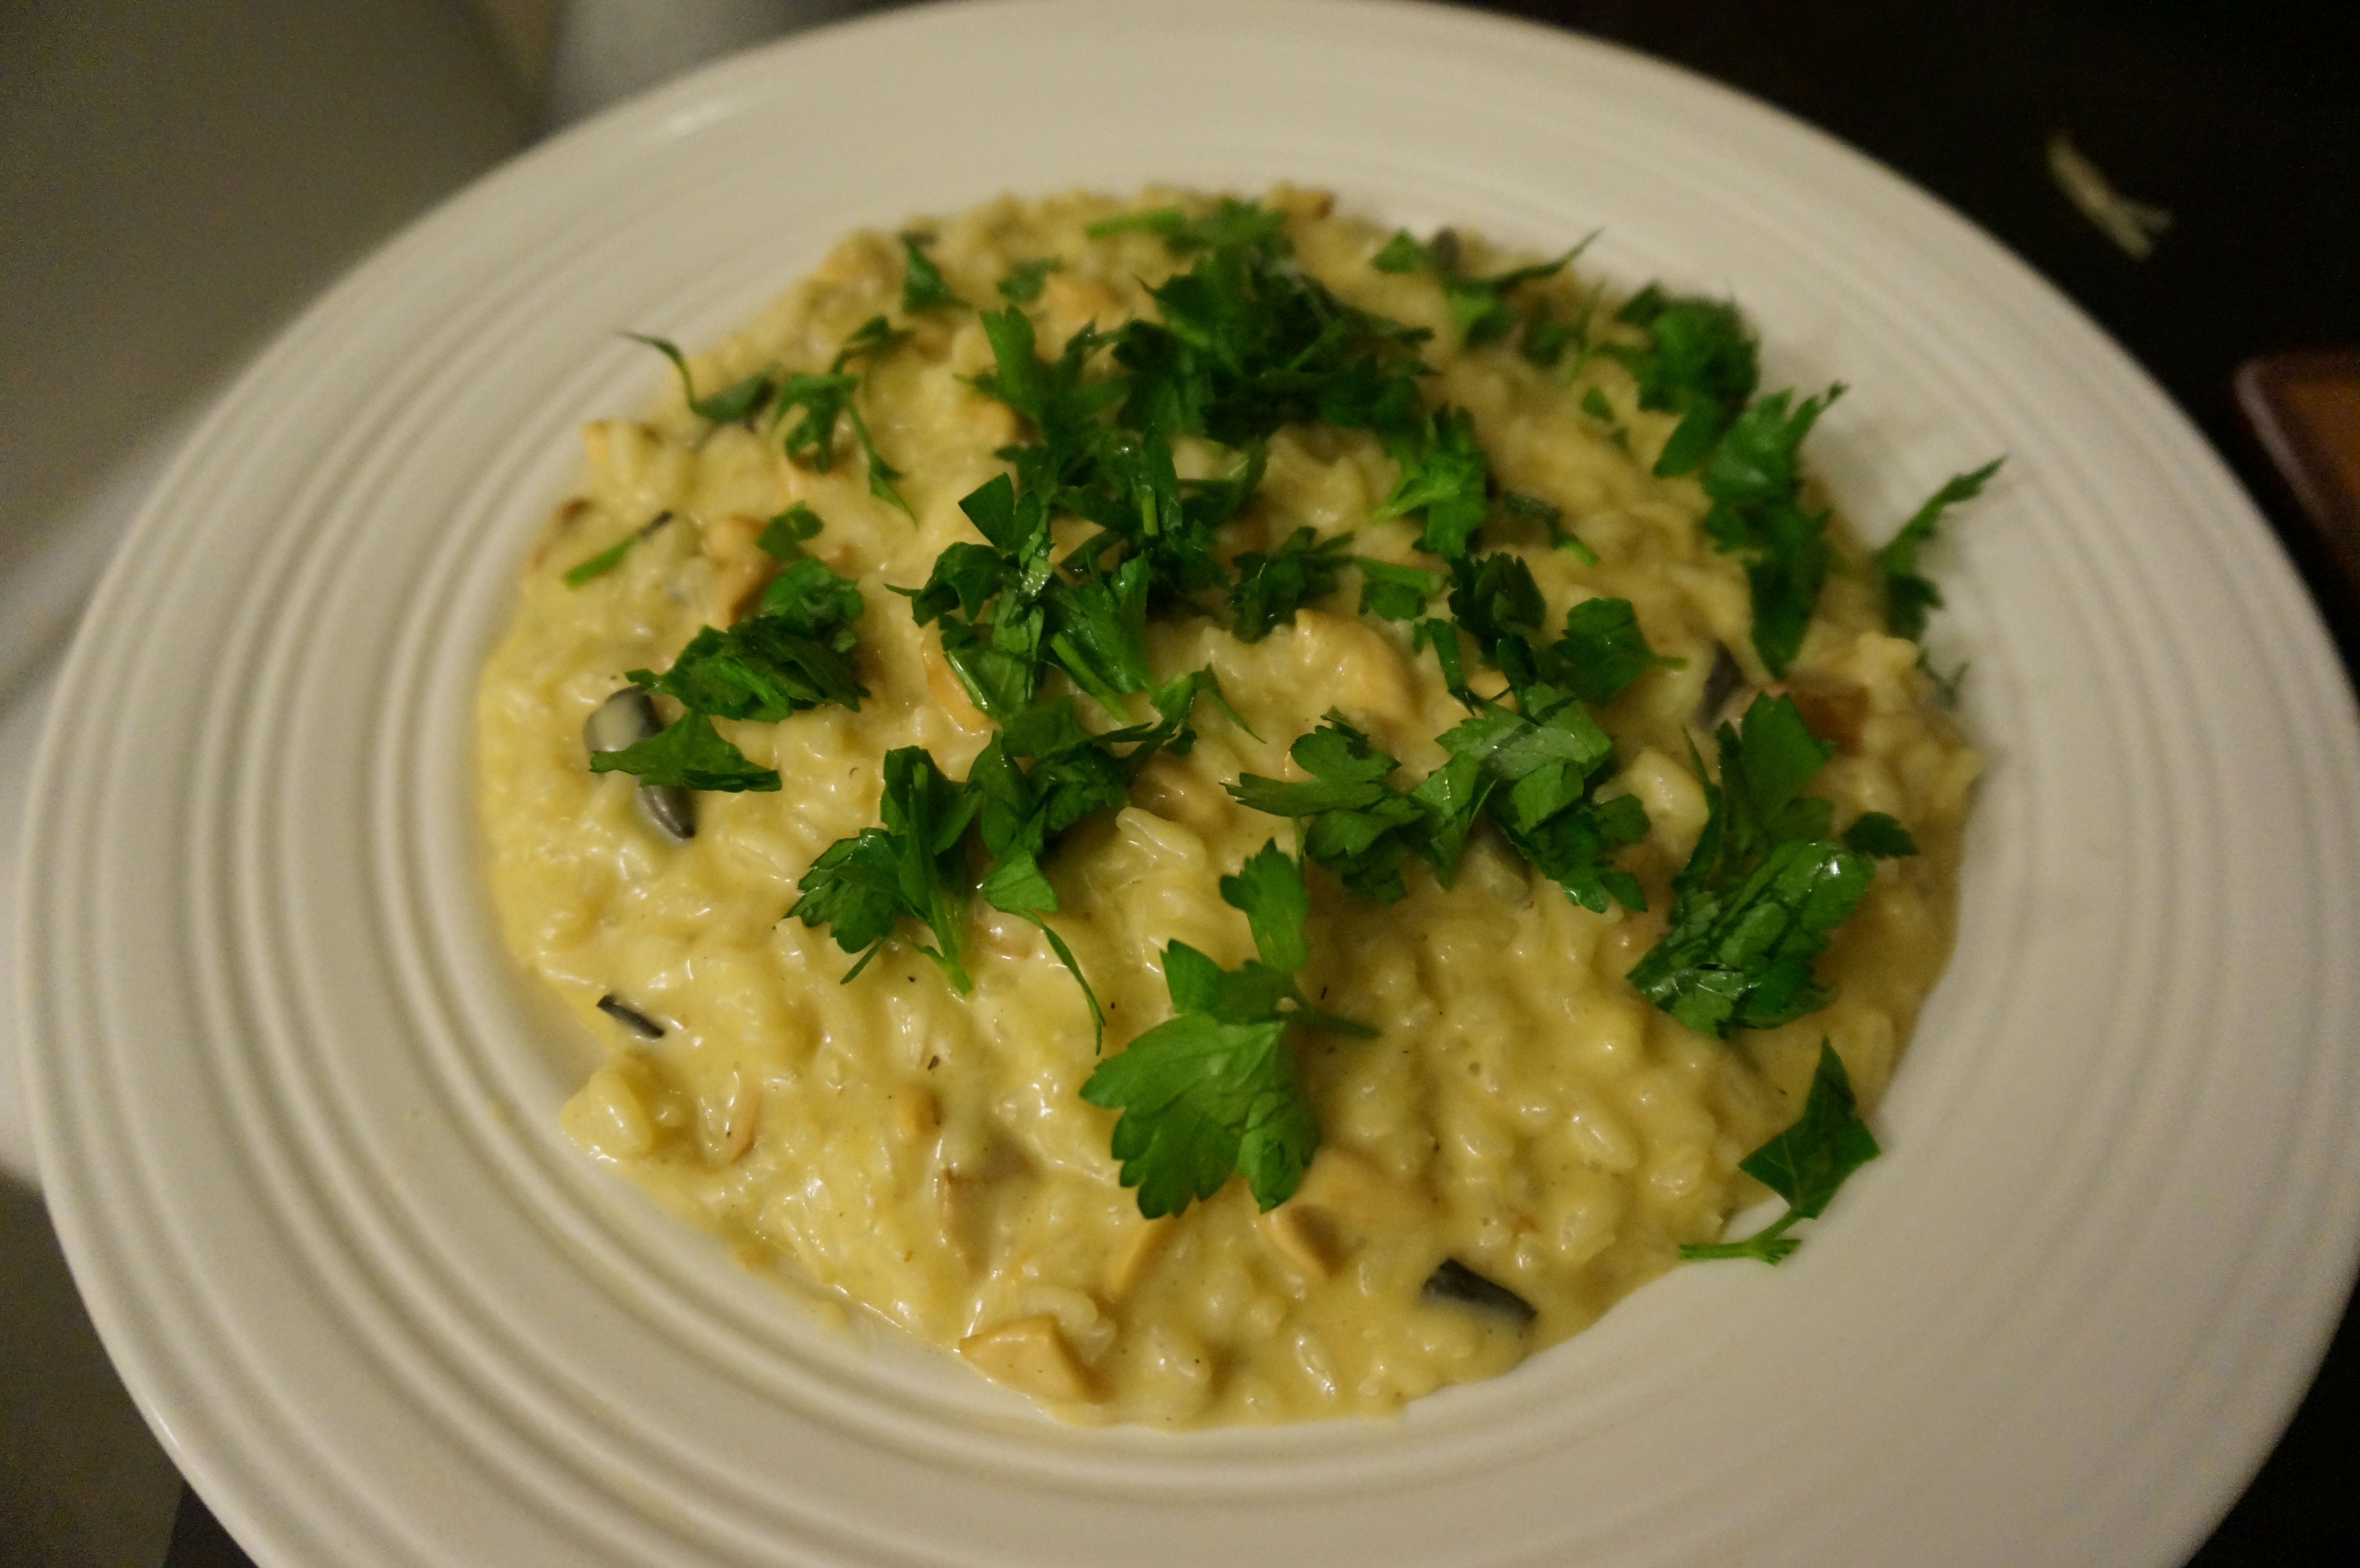
I was concerned my risotto looked a bit drab but luckily Kari was there to suggest that I sprinkle parsley on top to color it up. It worked beautifully :)
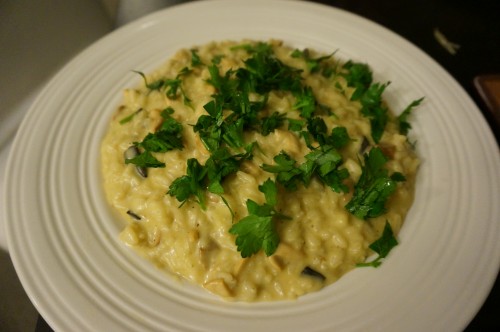
Wild mushroom risotto with parsley sprinkled on top
I served the risotto with a giant vegetable salad. It was a nice light accompaniment to the rich risotto and made us feel slightly healthier :)
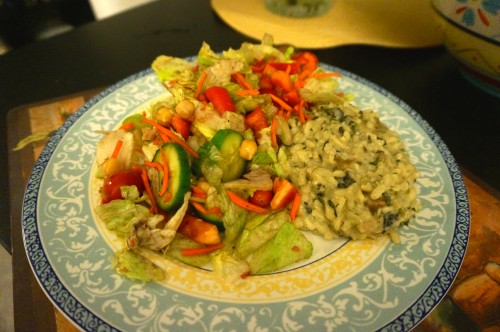
Wild mushroom risotto served with salad
And of course the most important part of any meal is having good friends to share it with! Thanks to all my friends who came over and helped me cook this delicious wild mushroom feast!
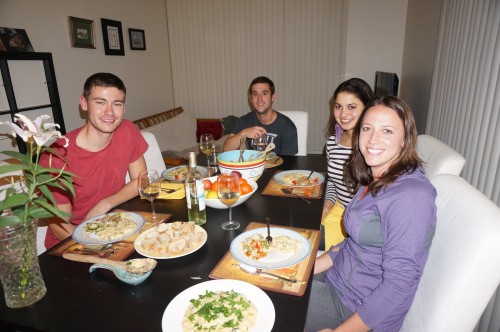
Gavin, Patrick, Meera, and Kari helping me eat the risotto
Bon appétit!
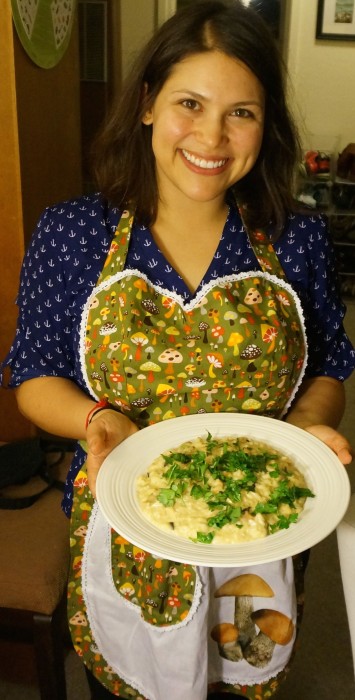
Me showing off my wild mushroom risotto and my awesome mushroom apron
Ingredient list (to make 5 generous servings):
- 4 shallots
- 3 garlic cloves
- 0.5 cup parsley
- 1 celery stalk
- salt and pepper to taste
- 4 cups vegetable or chicken stock
- 1.5 cups skim or whole milk
- 3/8 cup heavy cream
- 1.5 cups arborio rice
- 1-2 cups grated cheese of your choice (Parmesan-like)


