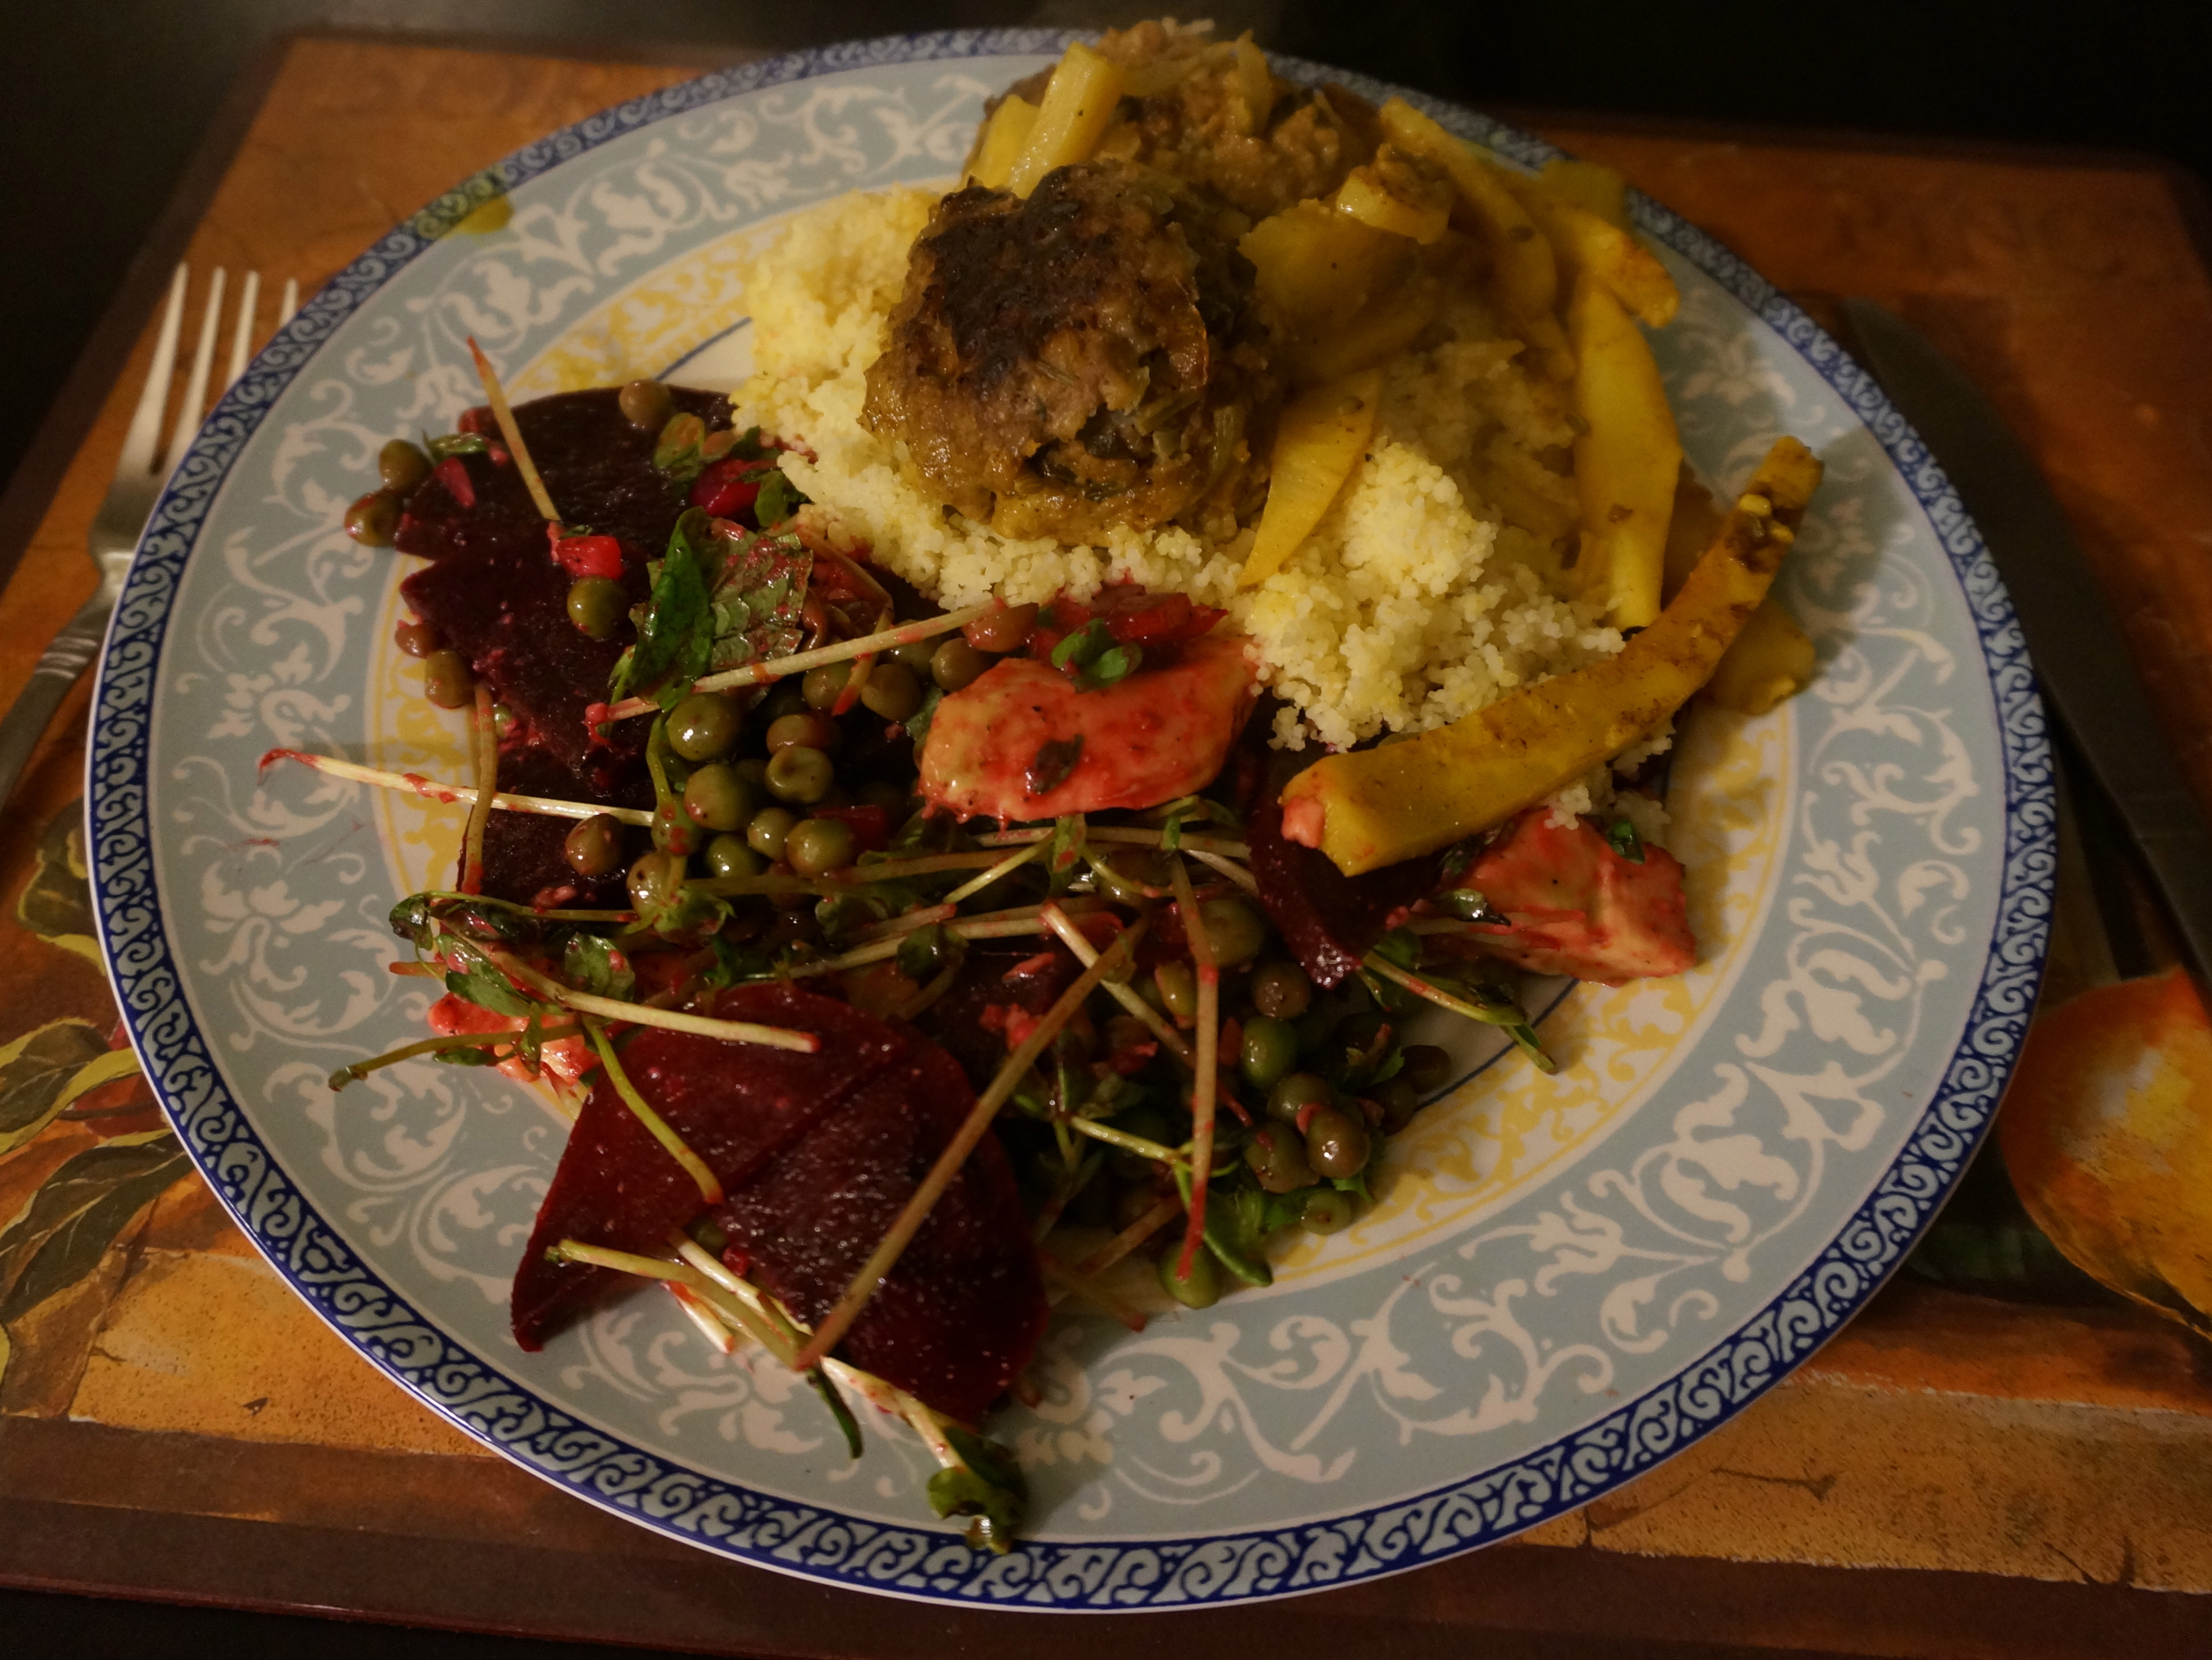
The news today is…..I got Plenty More!!!!!! My wonderful friend Gabrielle Haug got it for me as a thank you gift for staying at my house while on a visit from NYC. I’m am soo excited to have the newest book from my main man Yotam Ottolenghi. The first dish I made from this brilliant vegetarian book is the Beet, Avocado, and Pea Salad featured on pg 65 and online here. I paired it with beef meatballs with lemon and celeriac that I found the recipe for online here.

Beet, avocado, and pea salad with beef meatballs with lemon and celeriac.
I’m not going to lie, this dish is kind of a mess to make. And by kind of a mess, I mean beets are really freaking messy. They get bloody looking beet juice everywhere! But it is so good and beets are so healthy that I’m going to go ahead and say that it is worth it. It is so worth it, in fact, that I made it twice in the same week. So there you go.

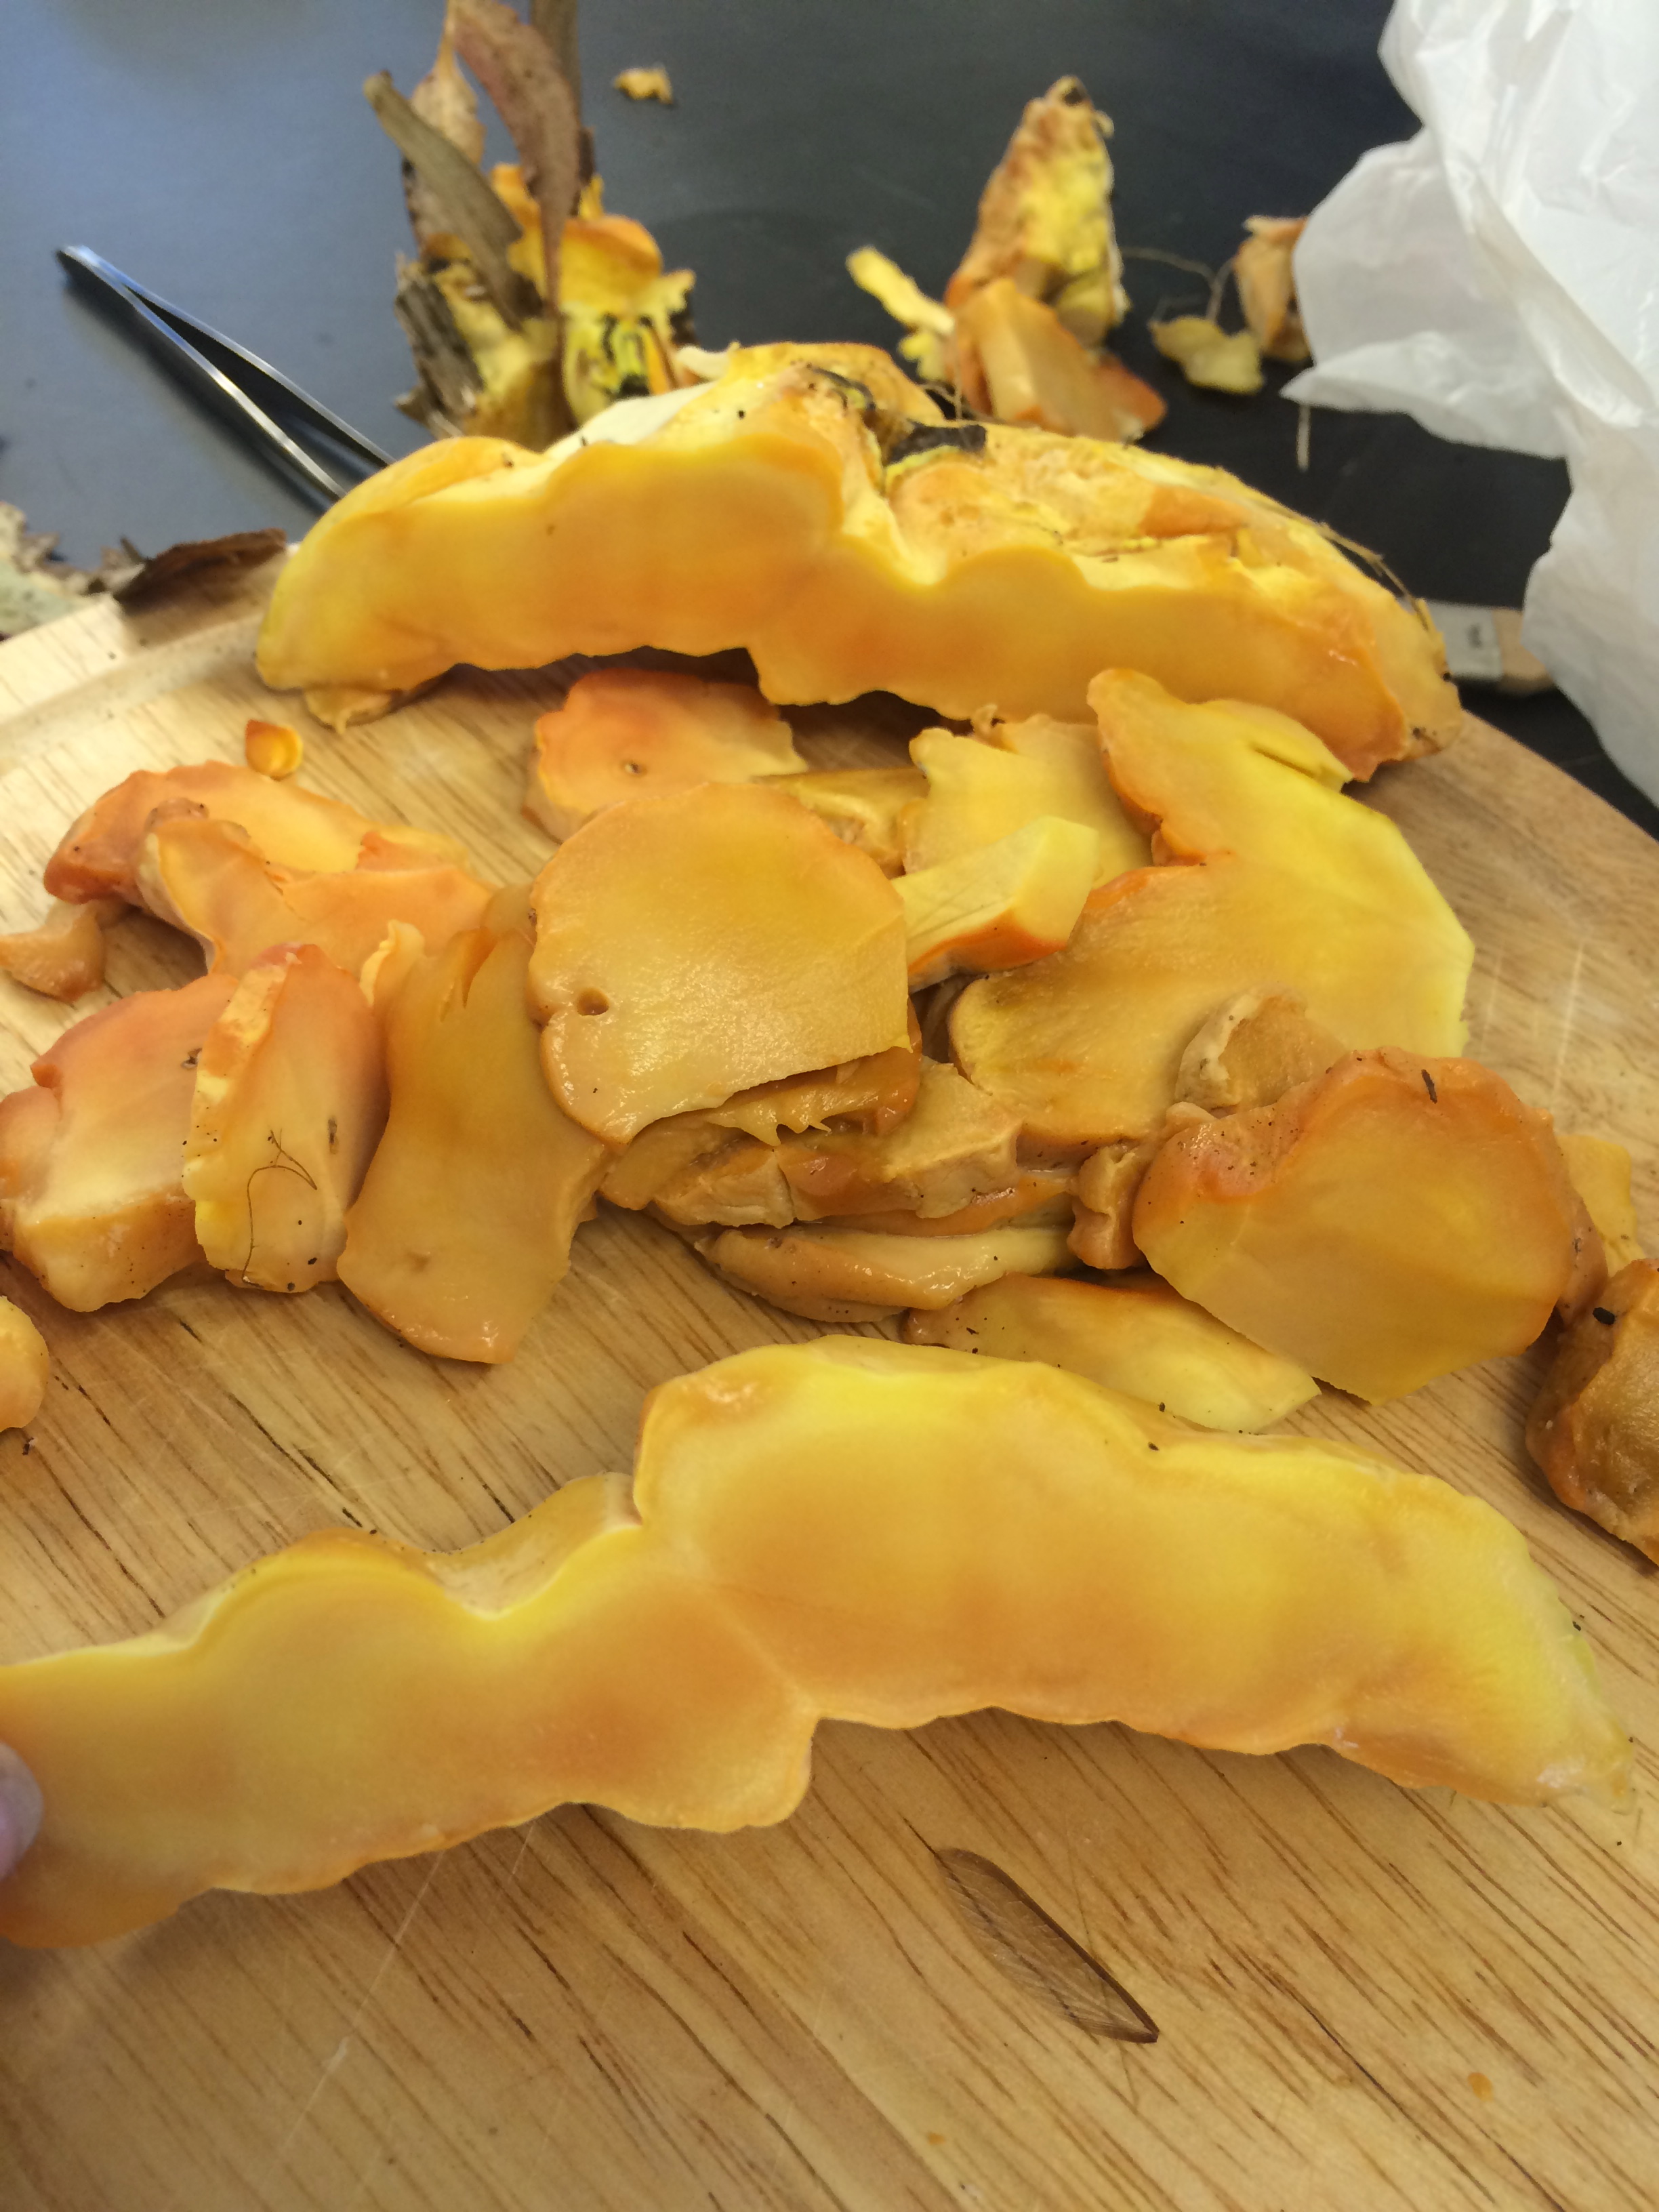
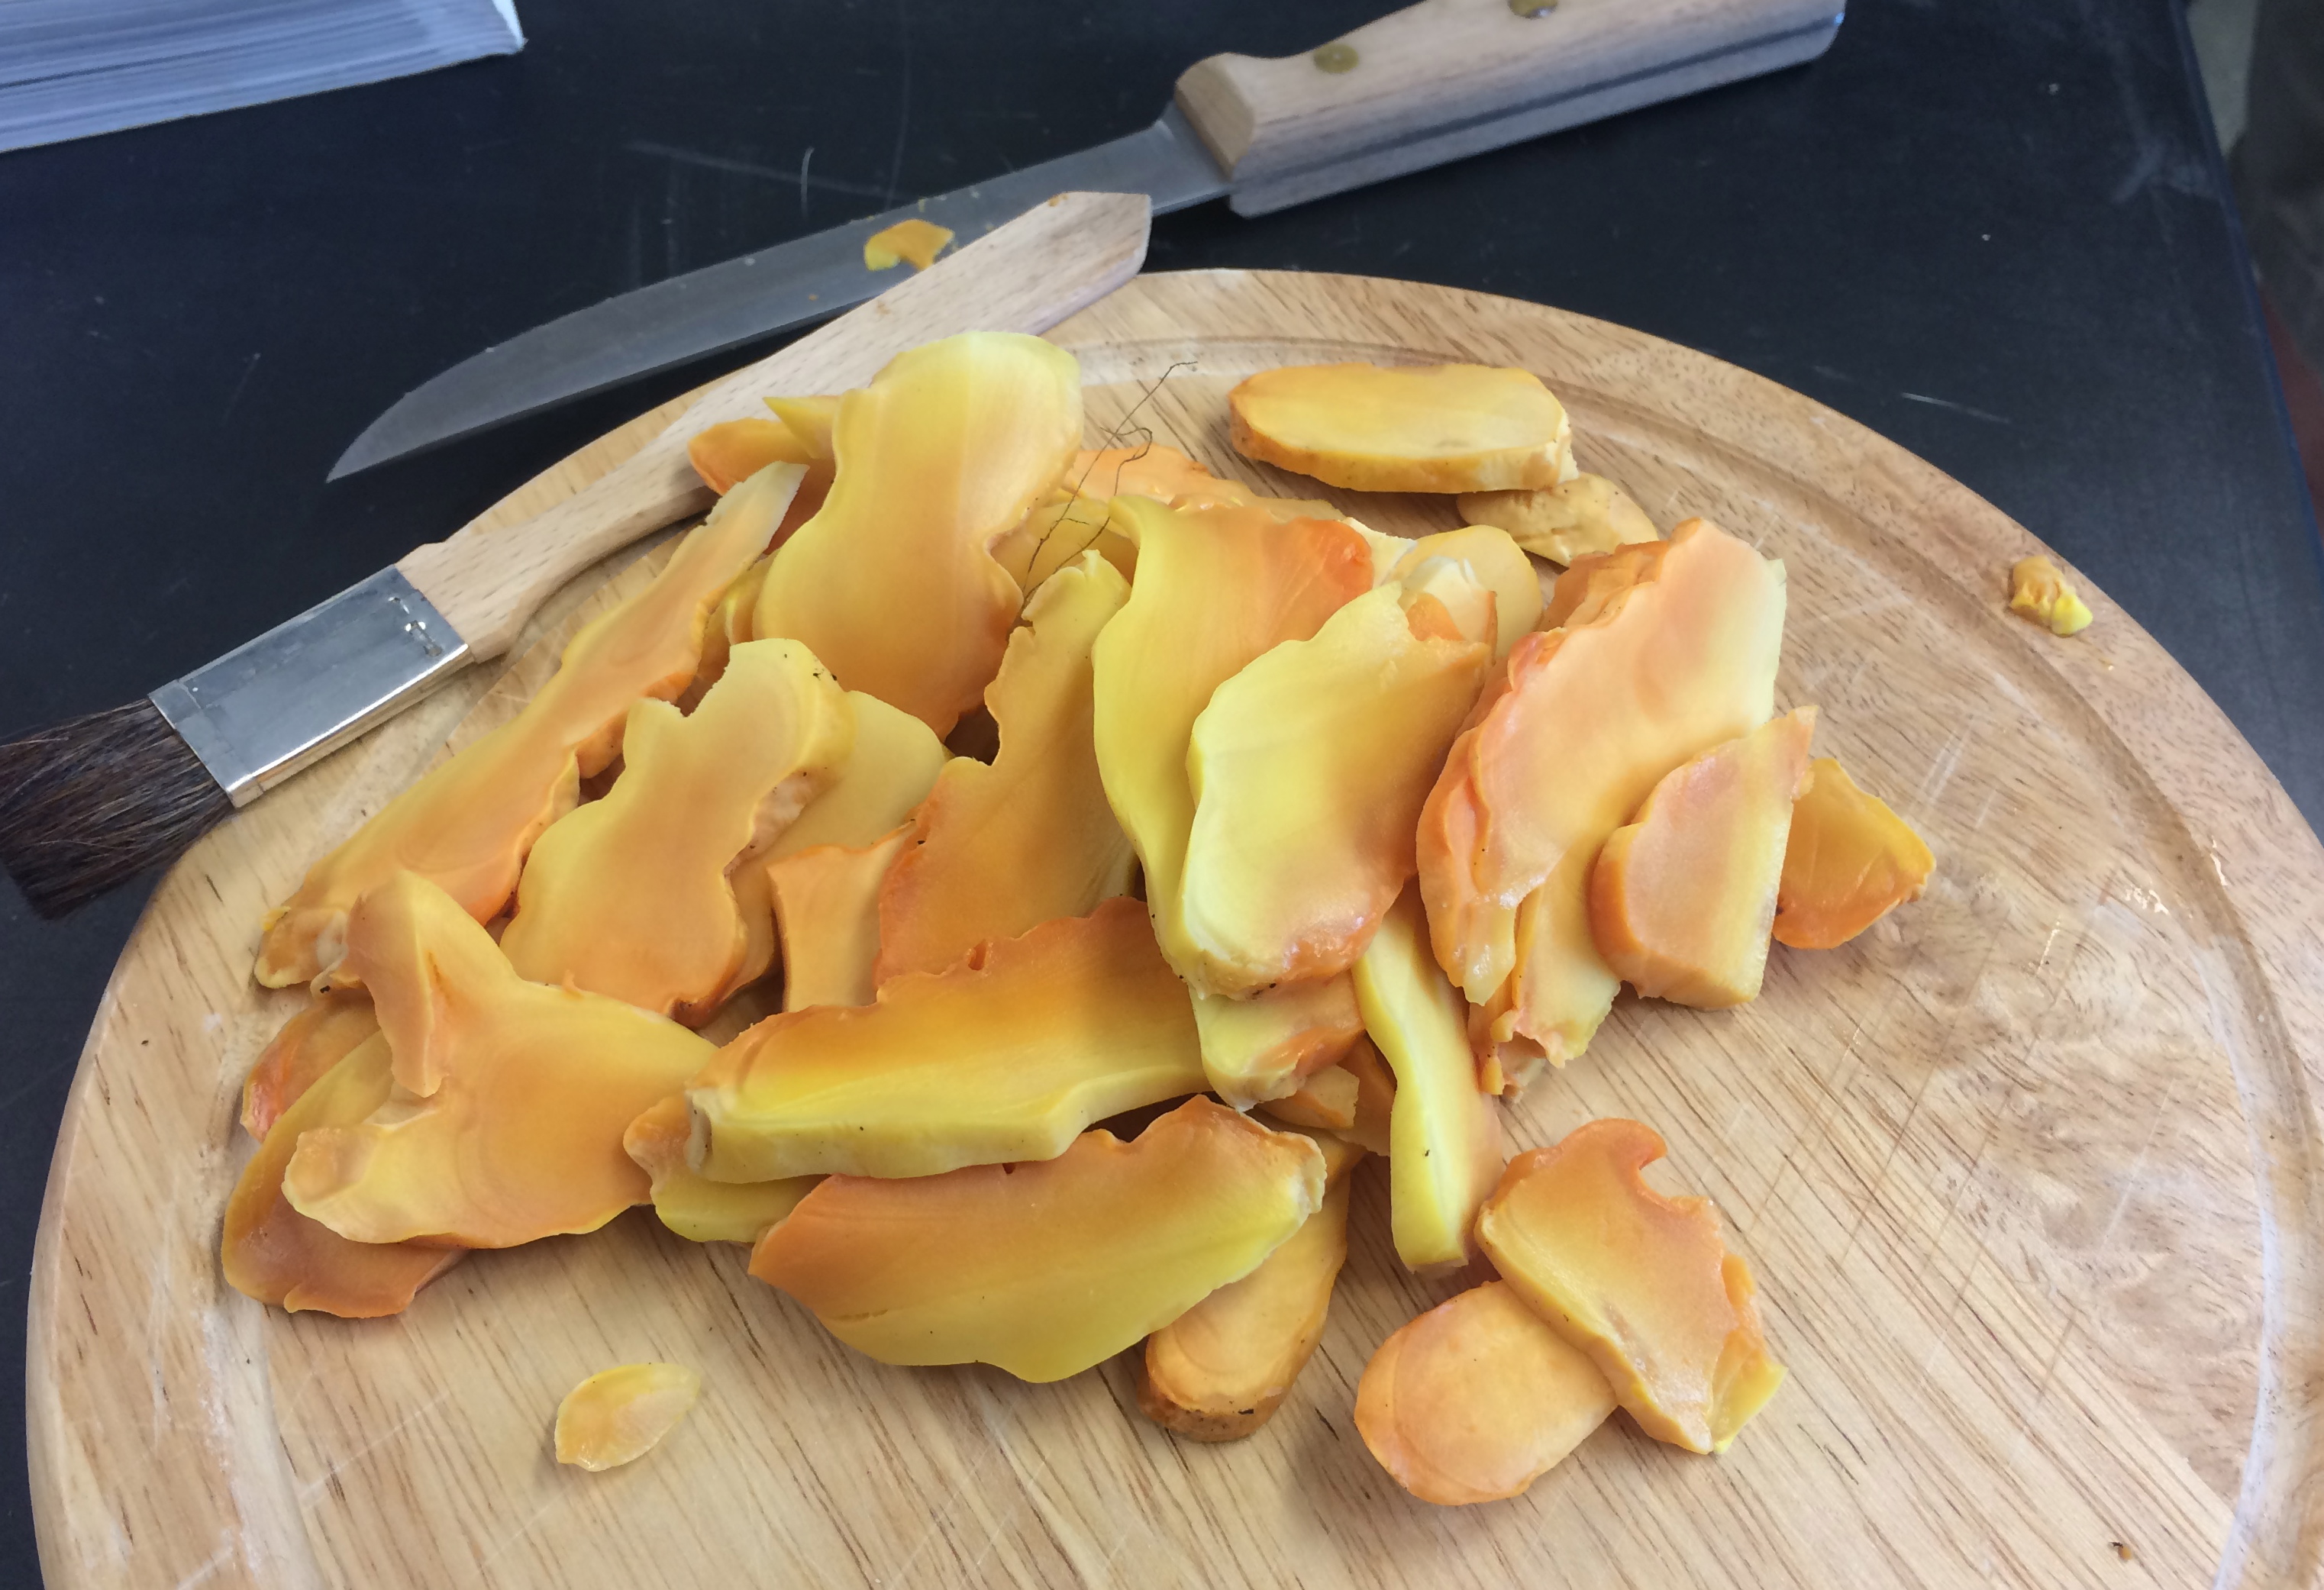
Peeling and thinly slicing beets is messy work
First, peel the beets and cut them into thin slices. This is the messy disaster zone part, so wear an apron.
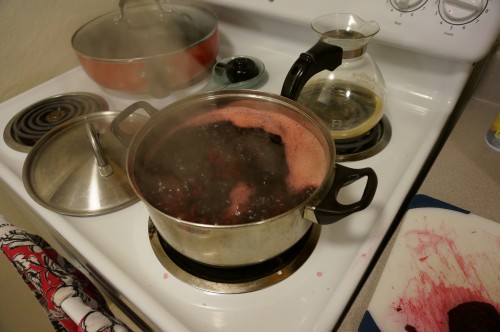
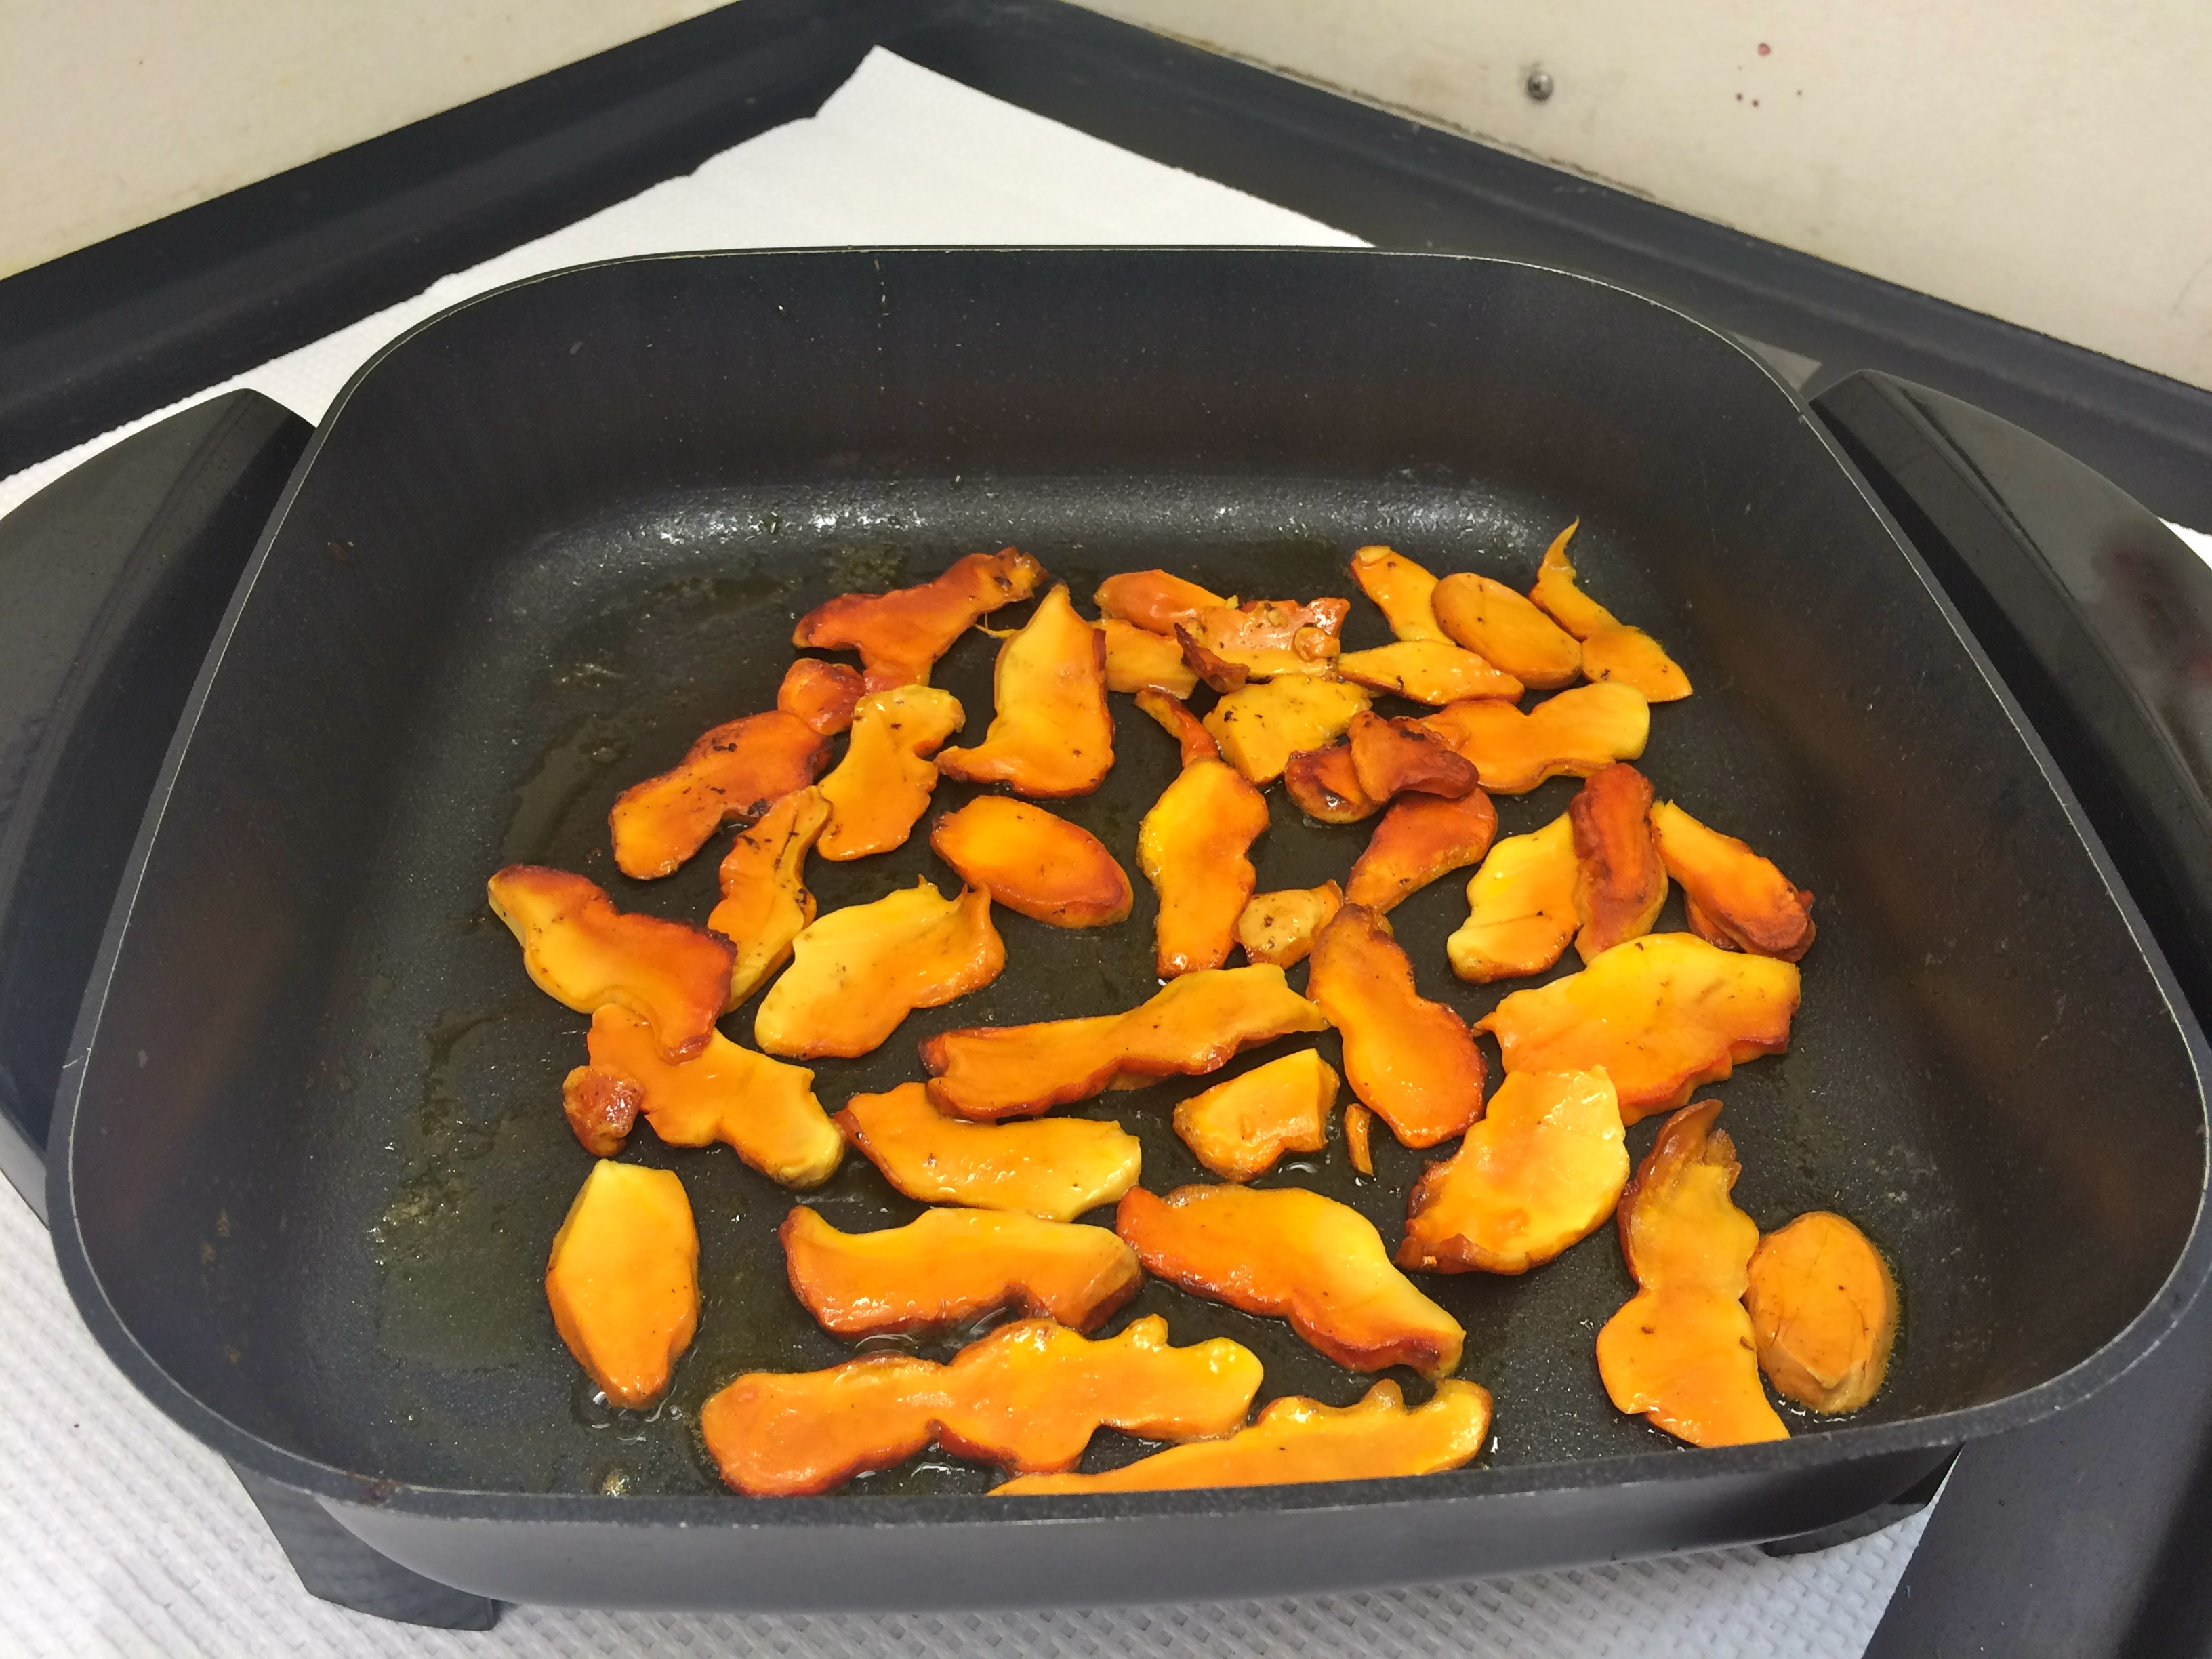
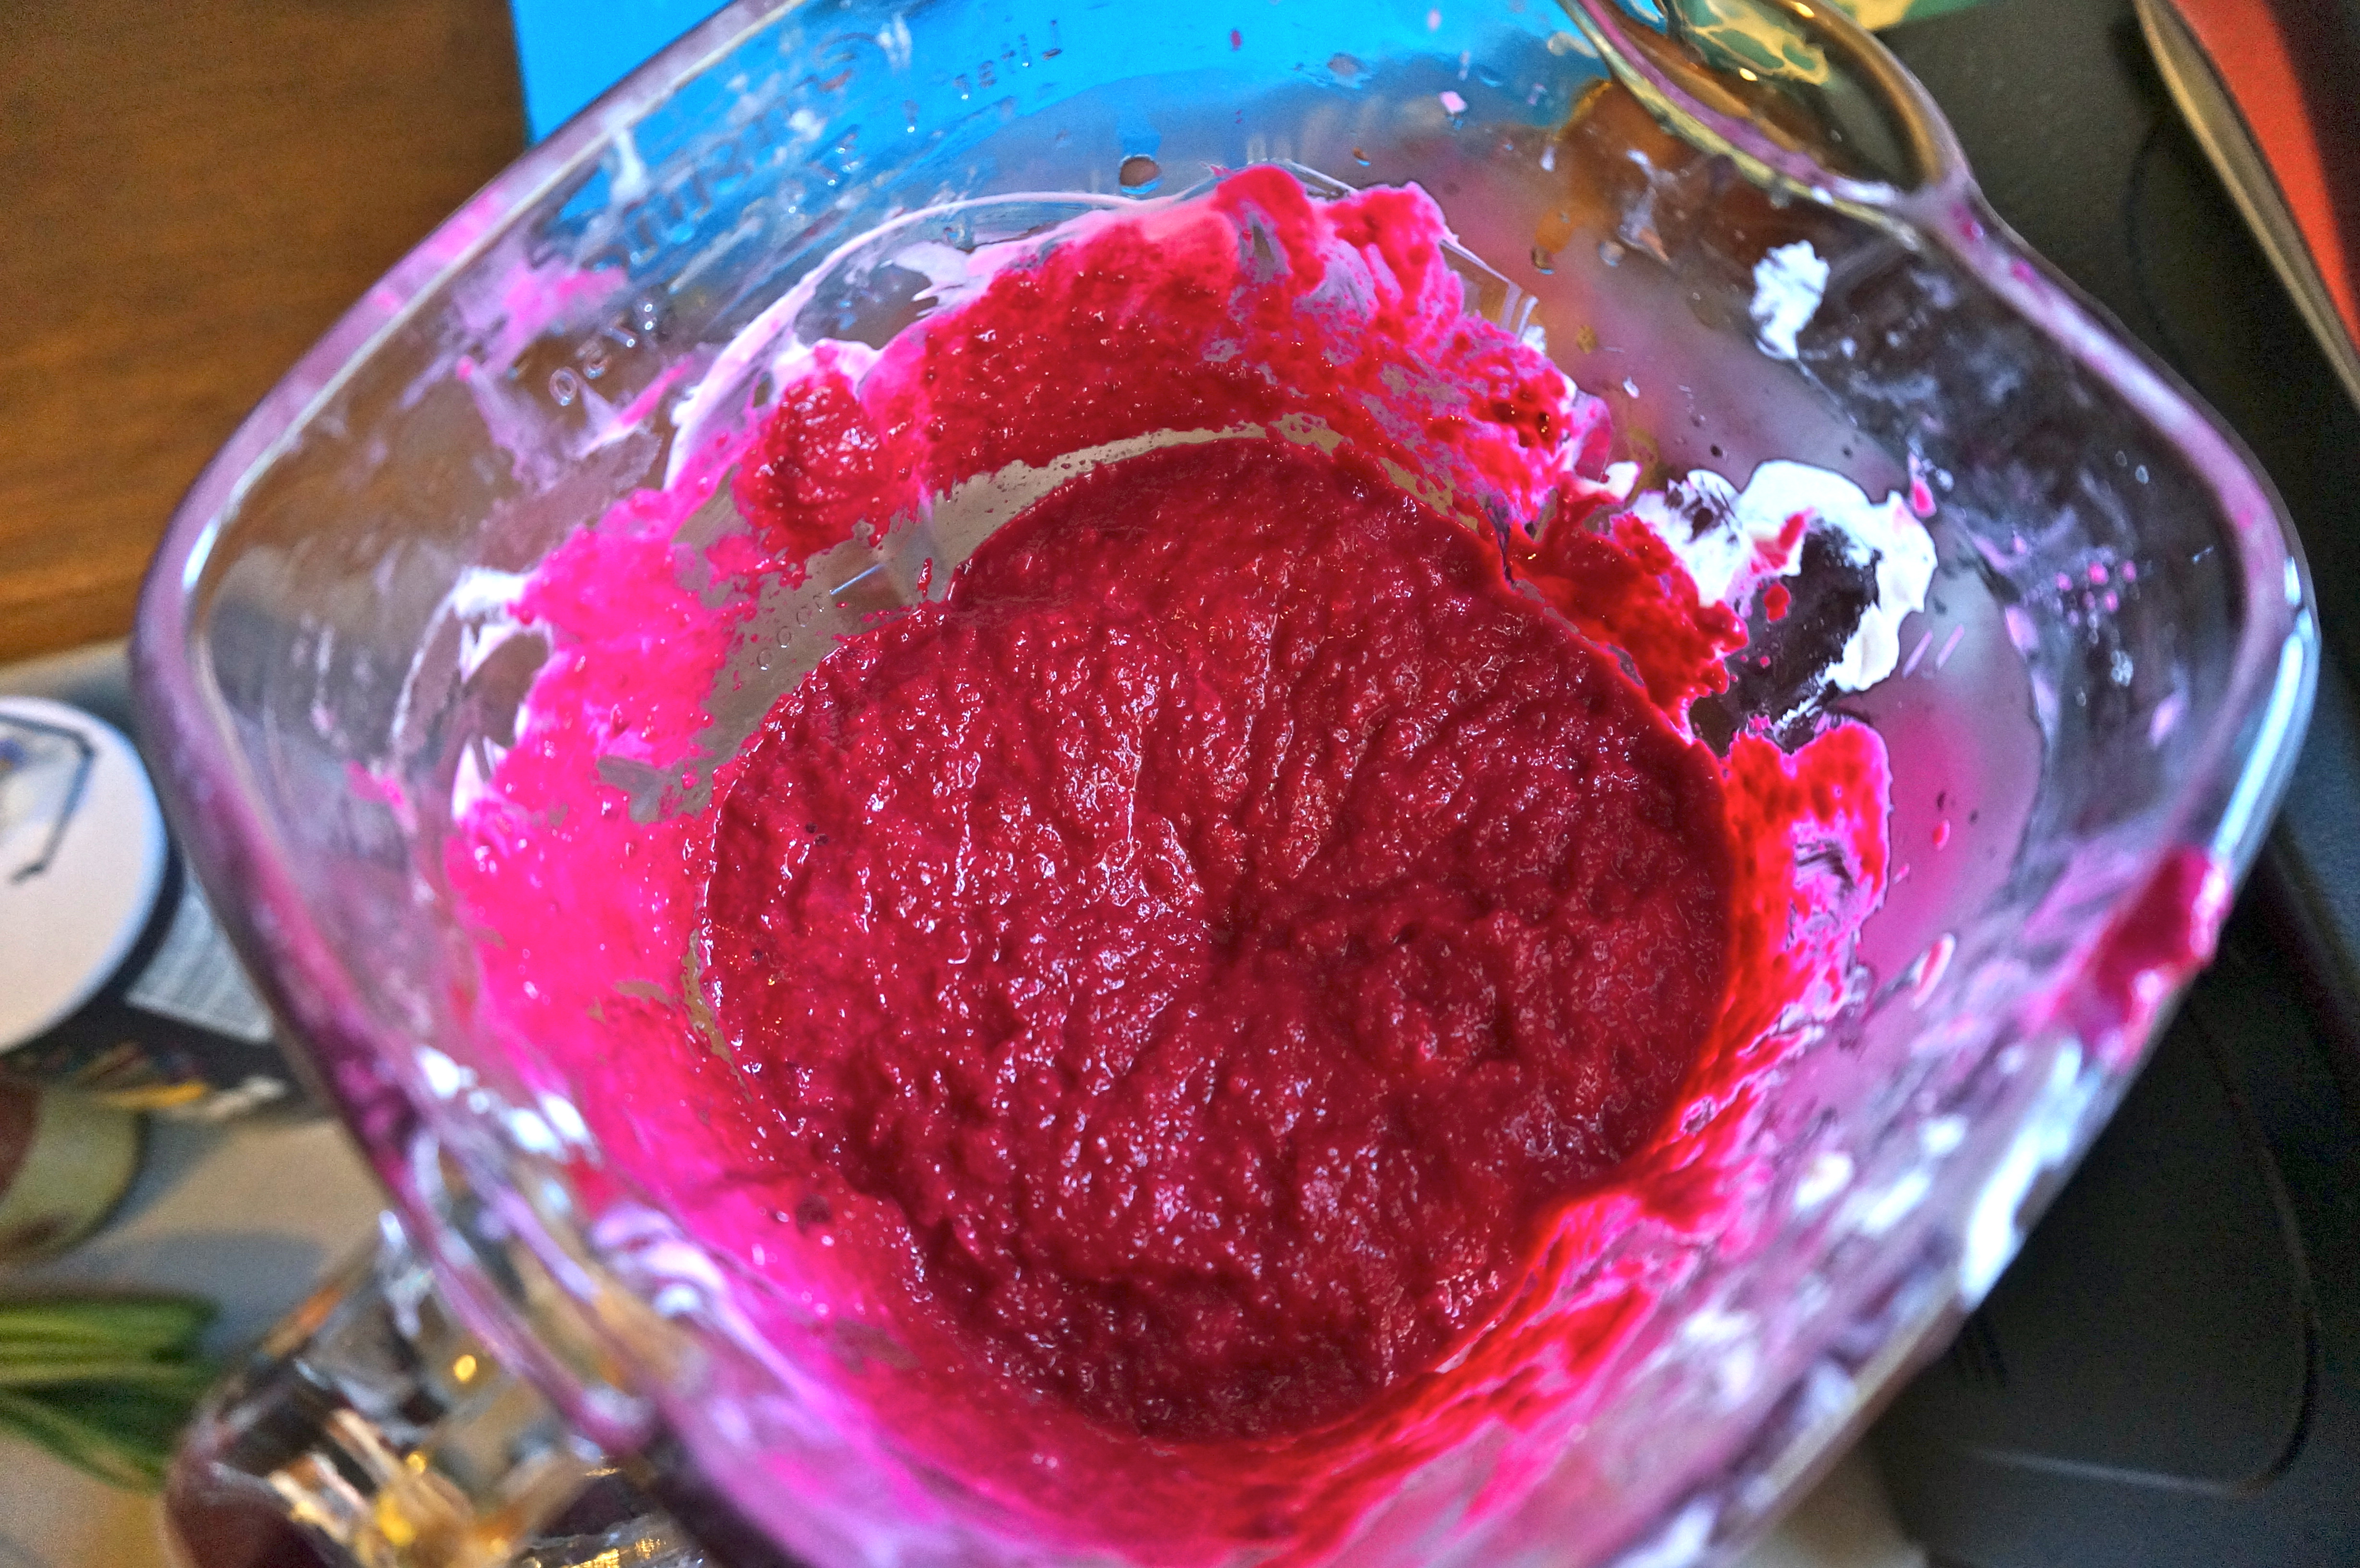
Boiling beets looks a bit like a witch’s brew, doesn’t it?
Then blanch them in boiling water for 3-5 minutes. This is the part that is really genius. Making beets is usually such a pain because they take so long to roast. But, blanching them for a few minutes in boiling water is so much quicker! Place them in boiling water for a few minutes, then rinse them in the sink in a colander, dry them off, then mix them in a bowl with chopped red onion, 3 tbsp sherry or red wine vinegar, 1/4 cup olive oil, 1/2 tsp sugar, 1-3 tsp Cholula Hot Sauce, 1 tsp salt, and some pepper. Once that is mixed up place it in the fridge for a while to let the flavors meld. I think this recipe tastes even better the next day because the beets have more time to soak up the flavors and get softer from the vinegar.
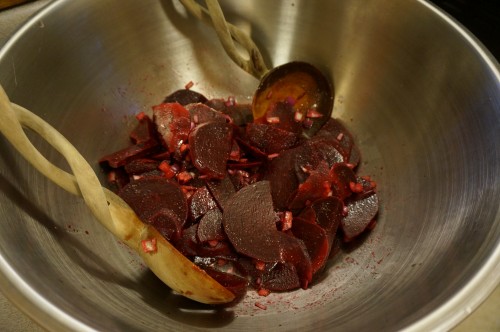
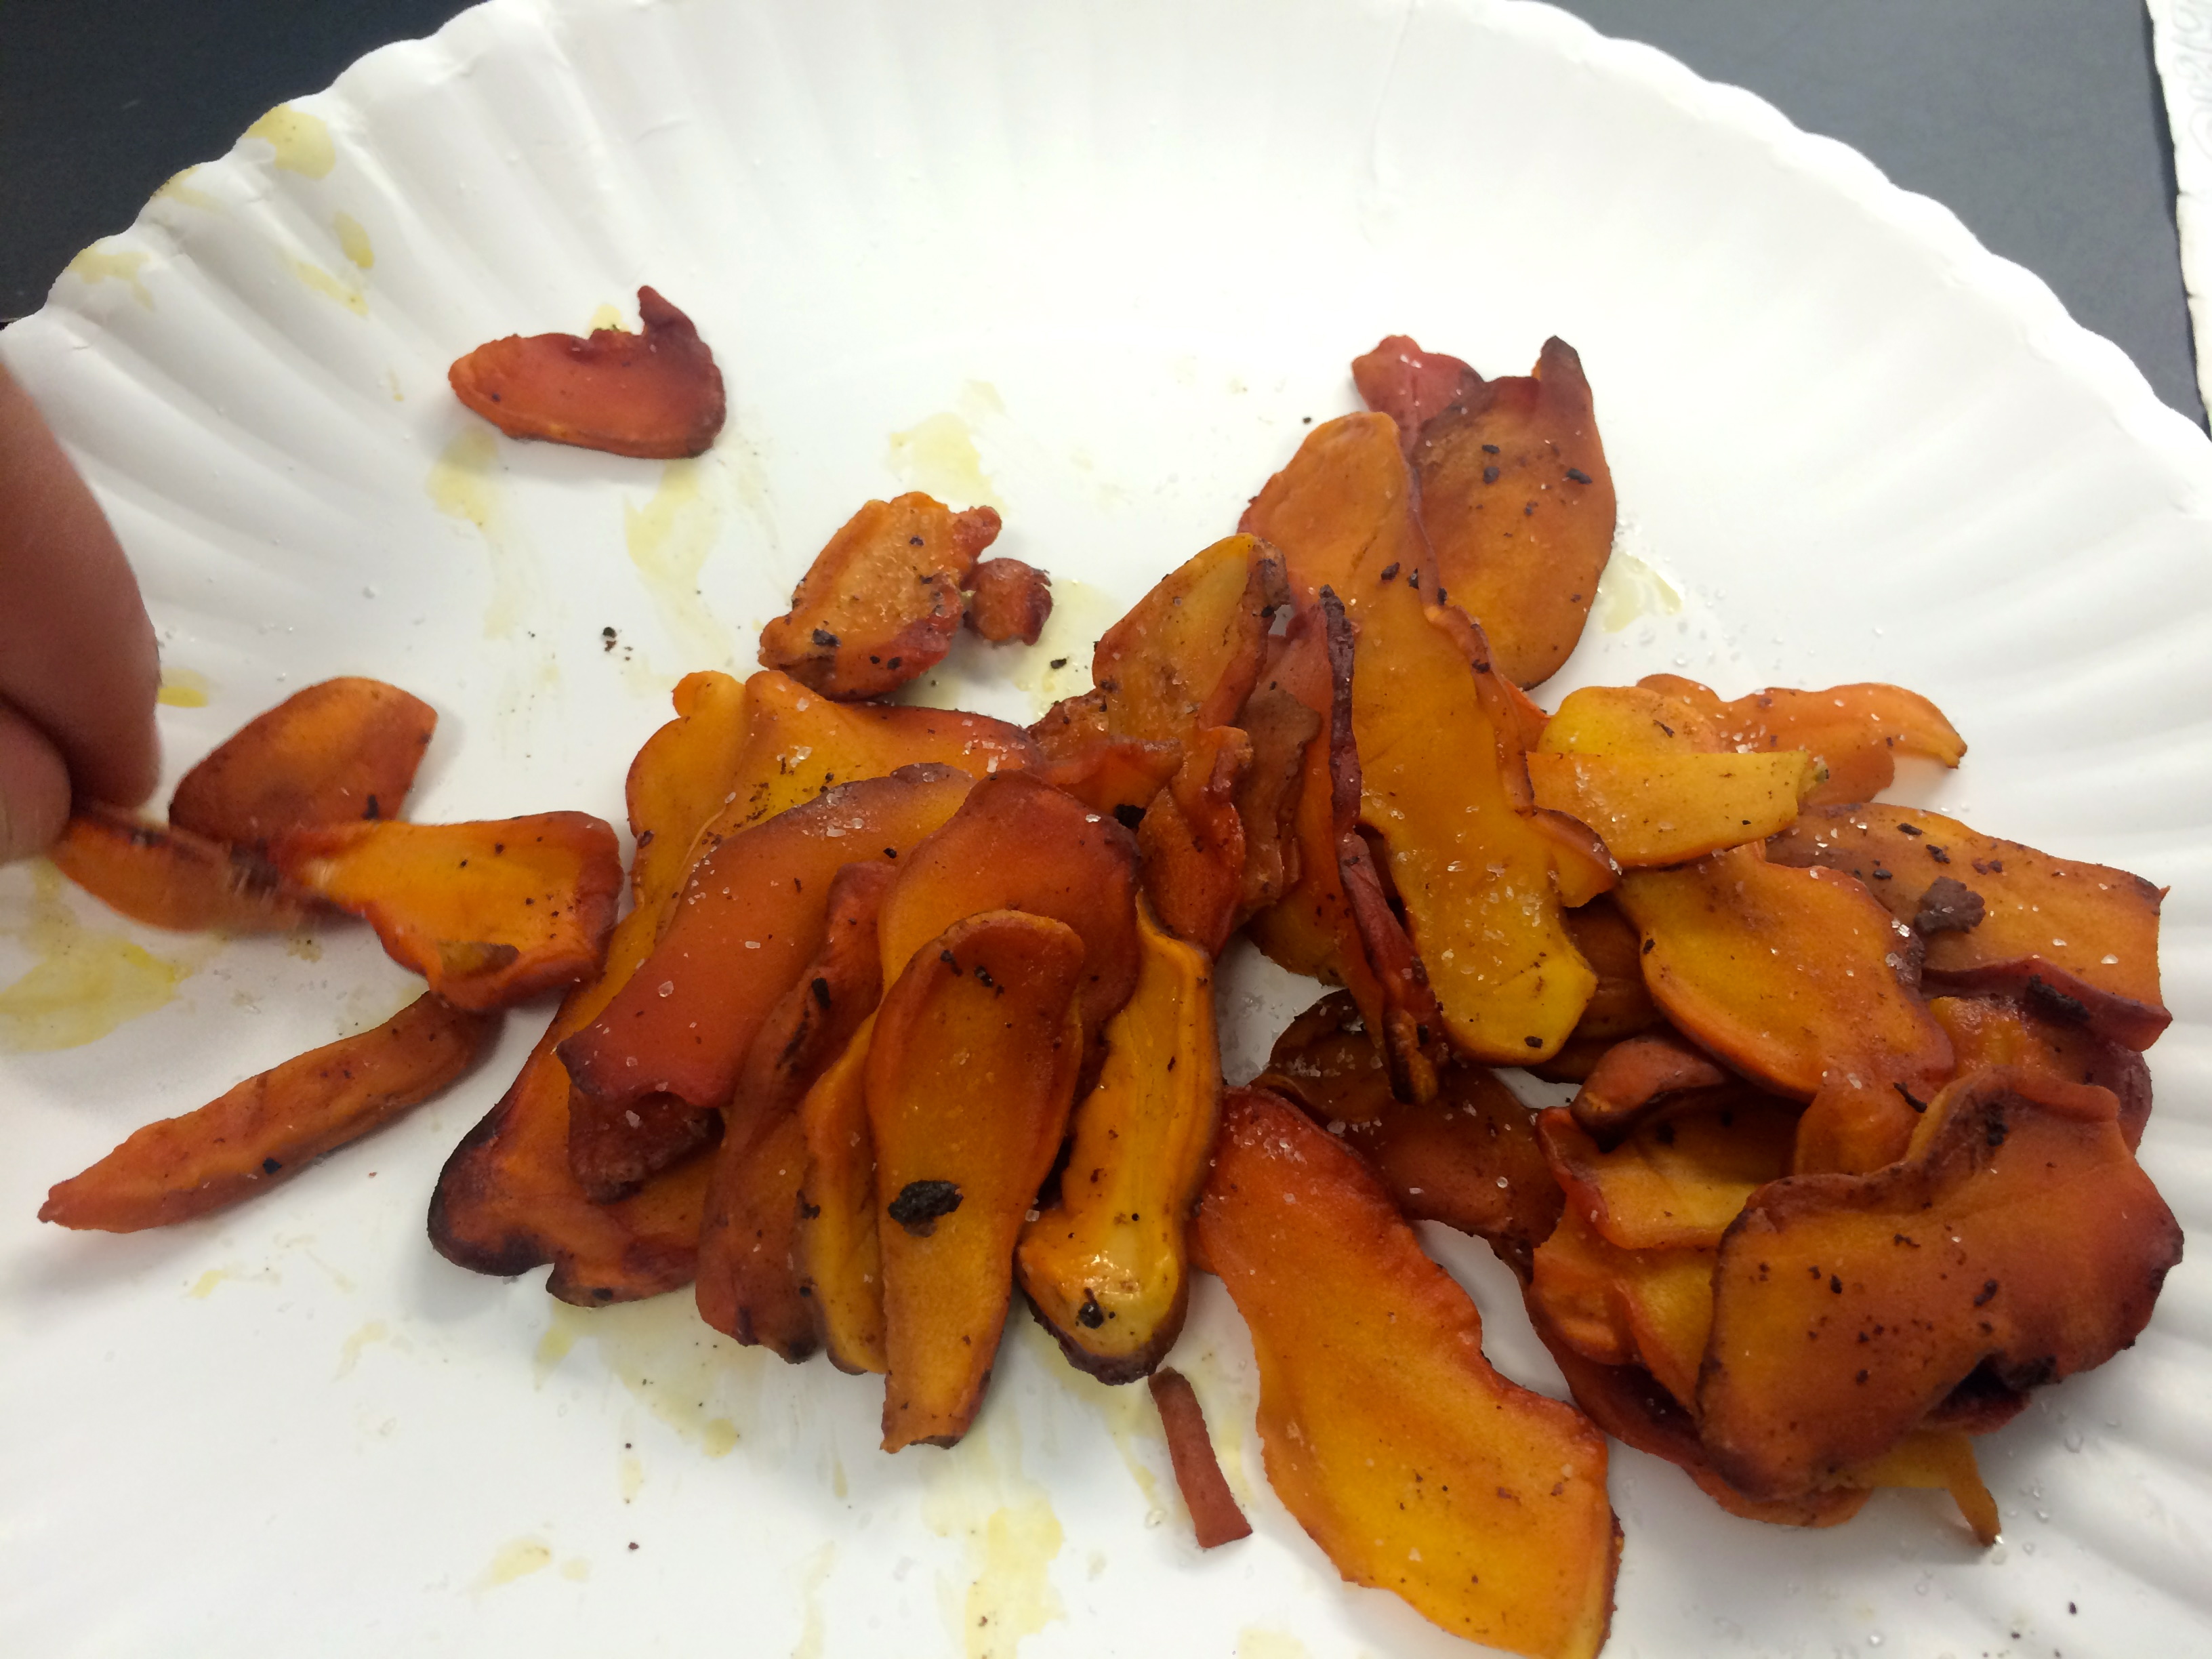
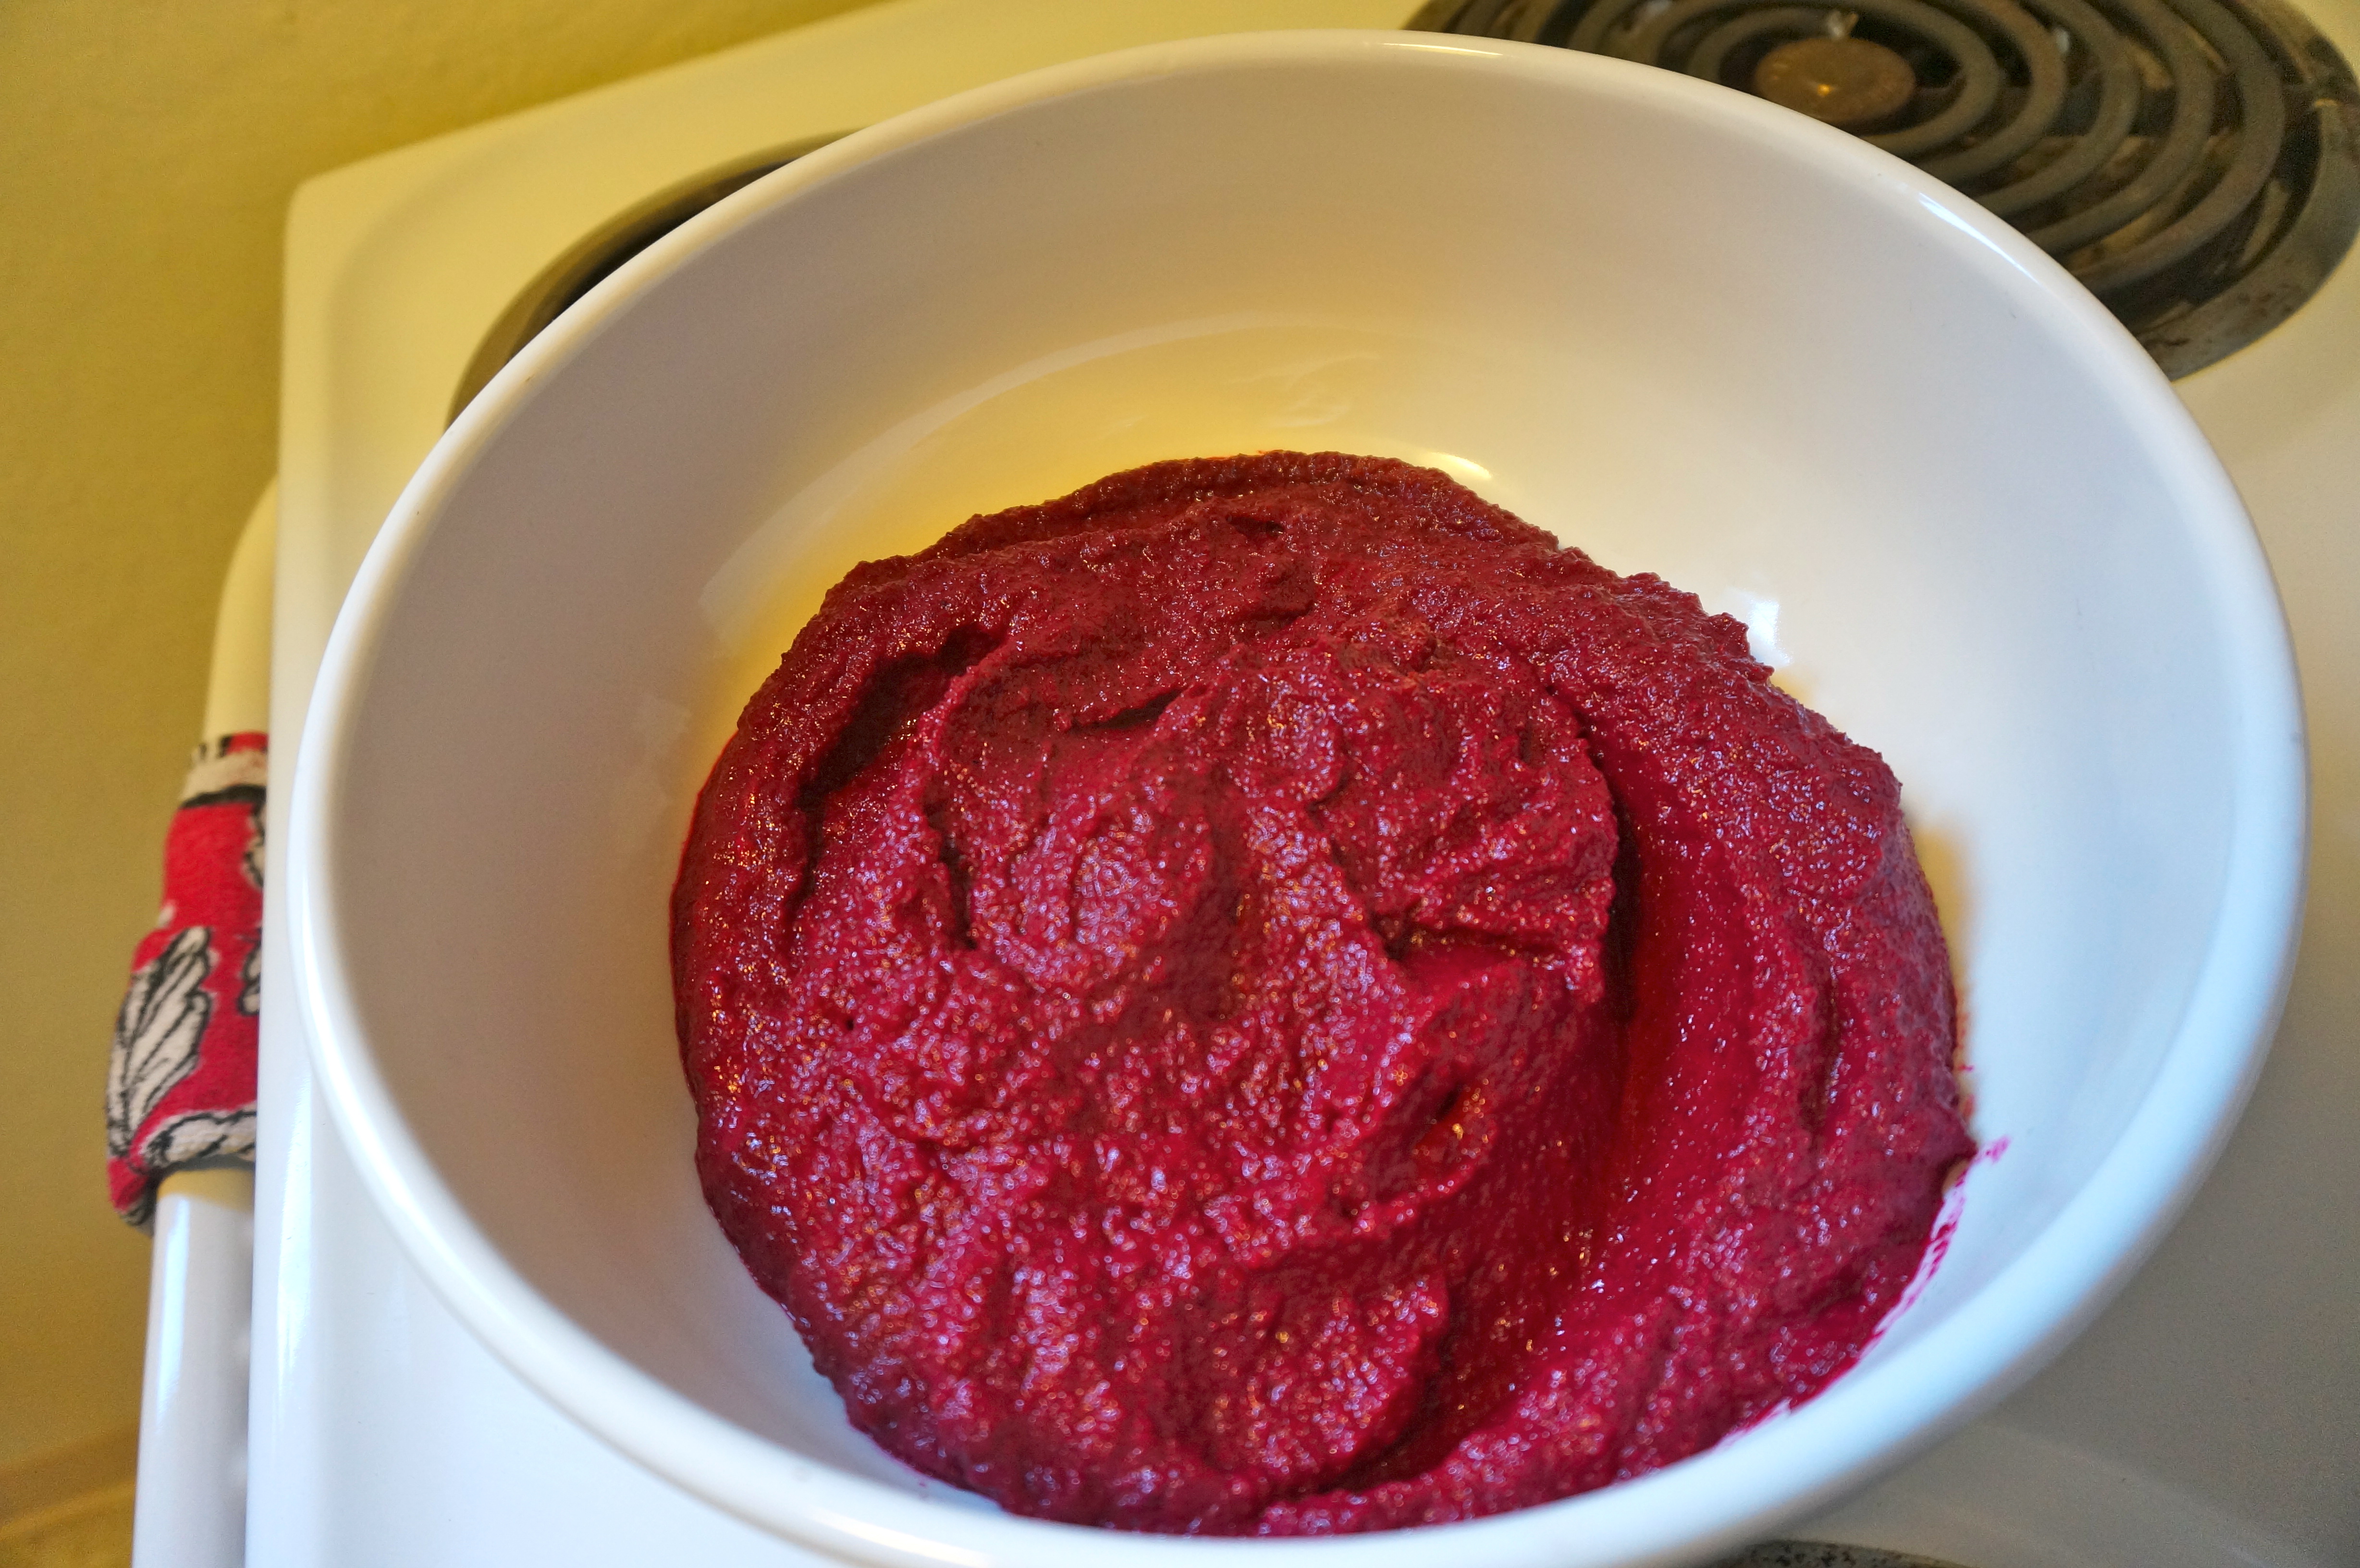
Beets with onion, vinegar, oil, and spices.
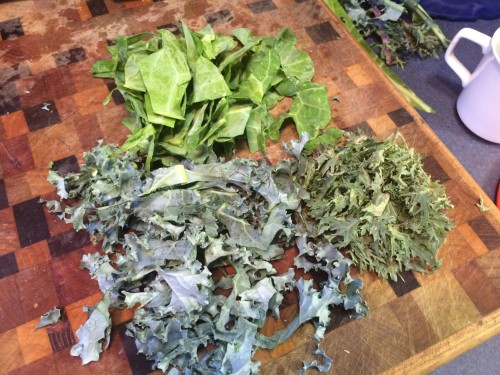
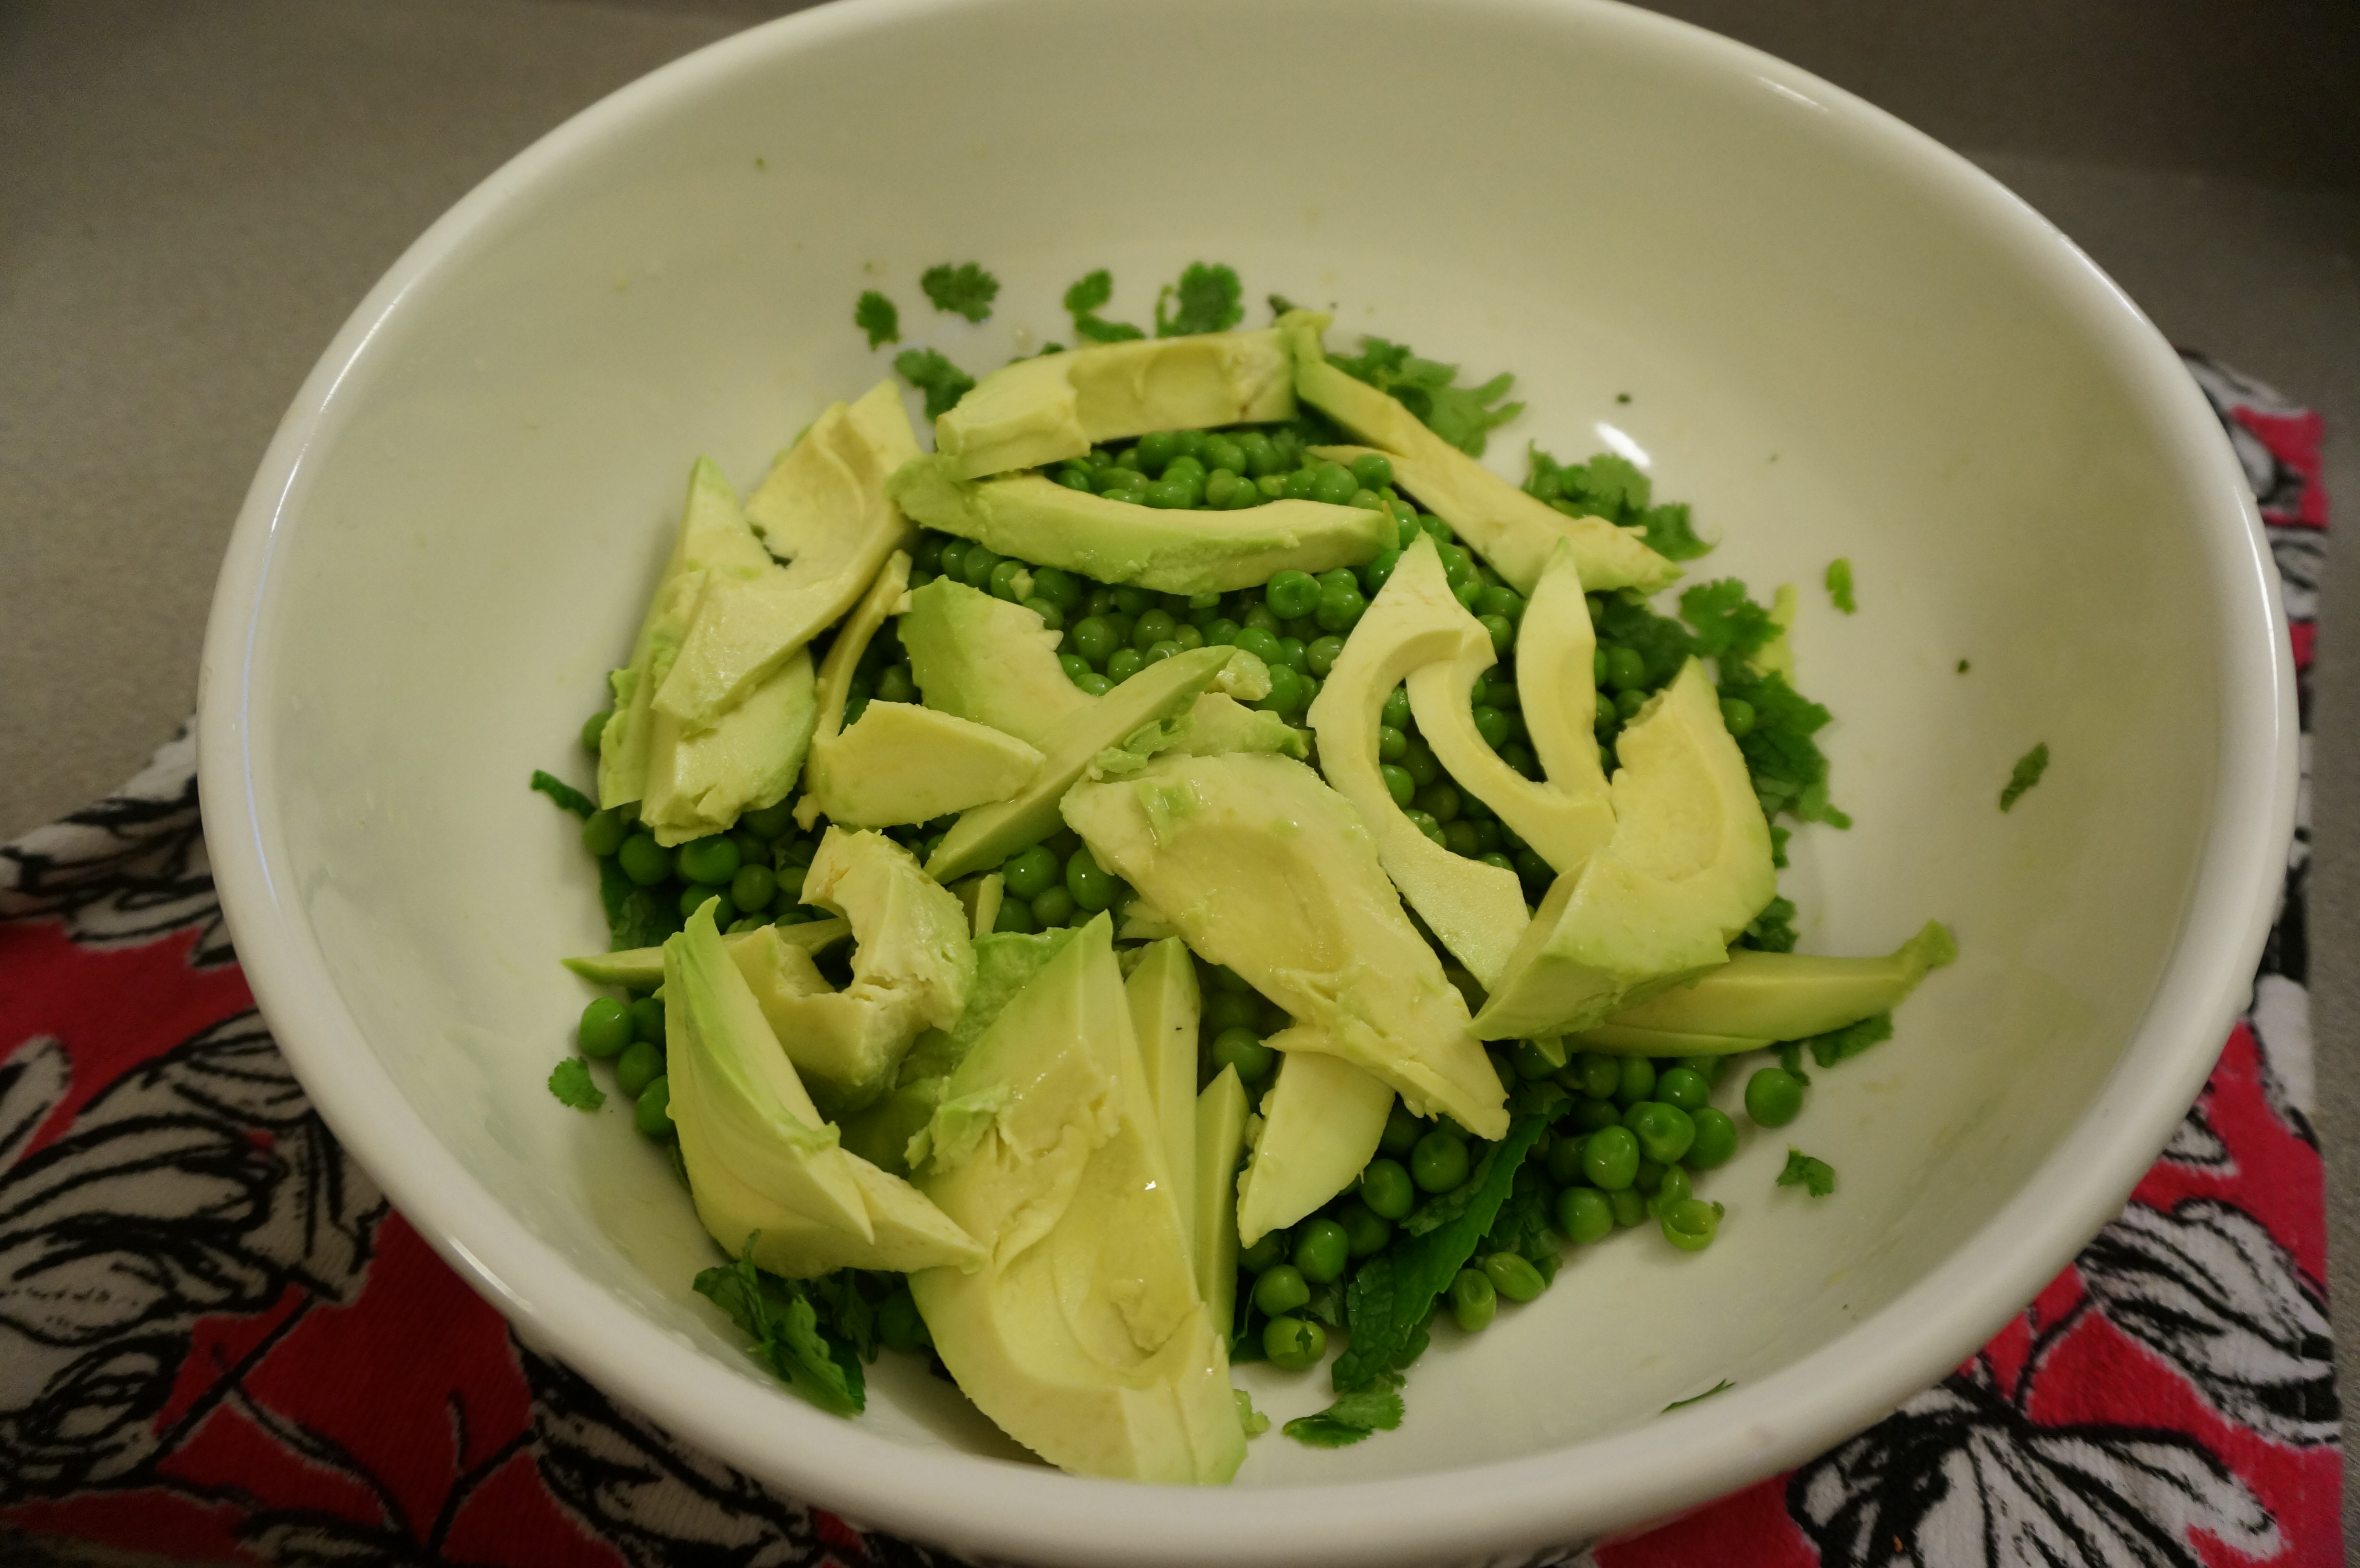
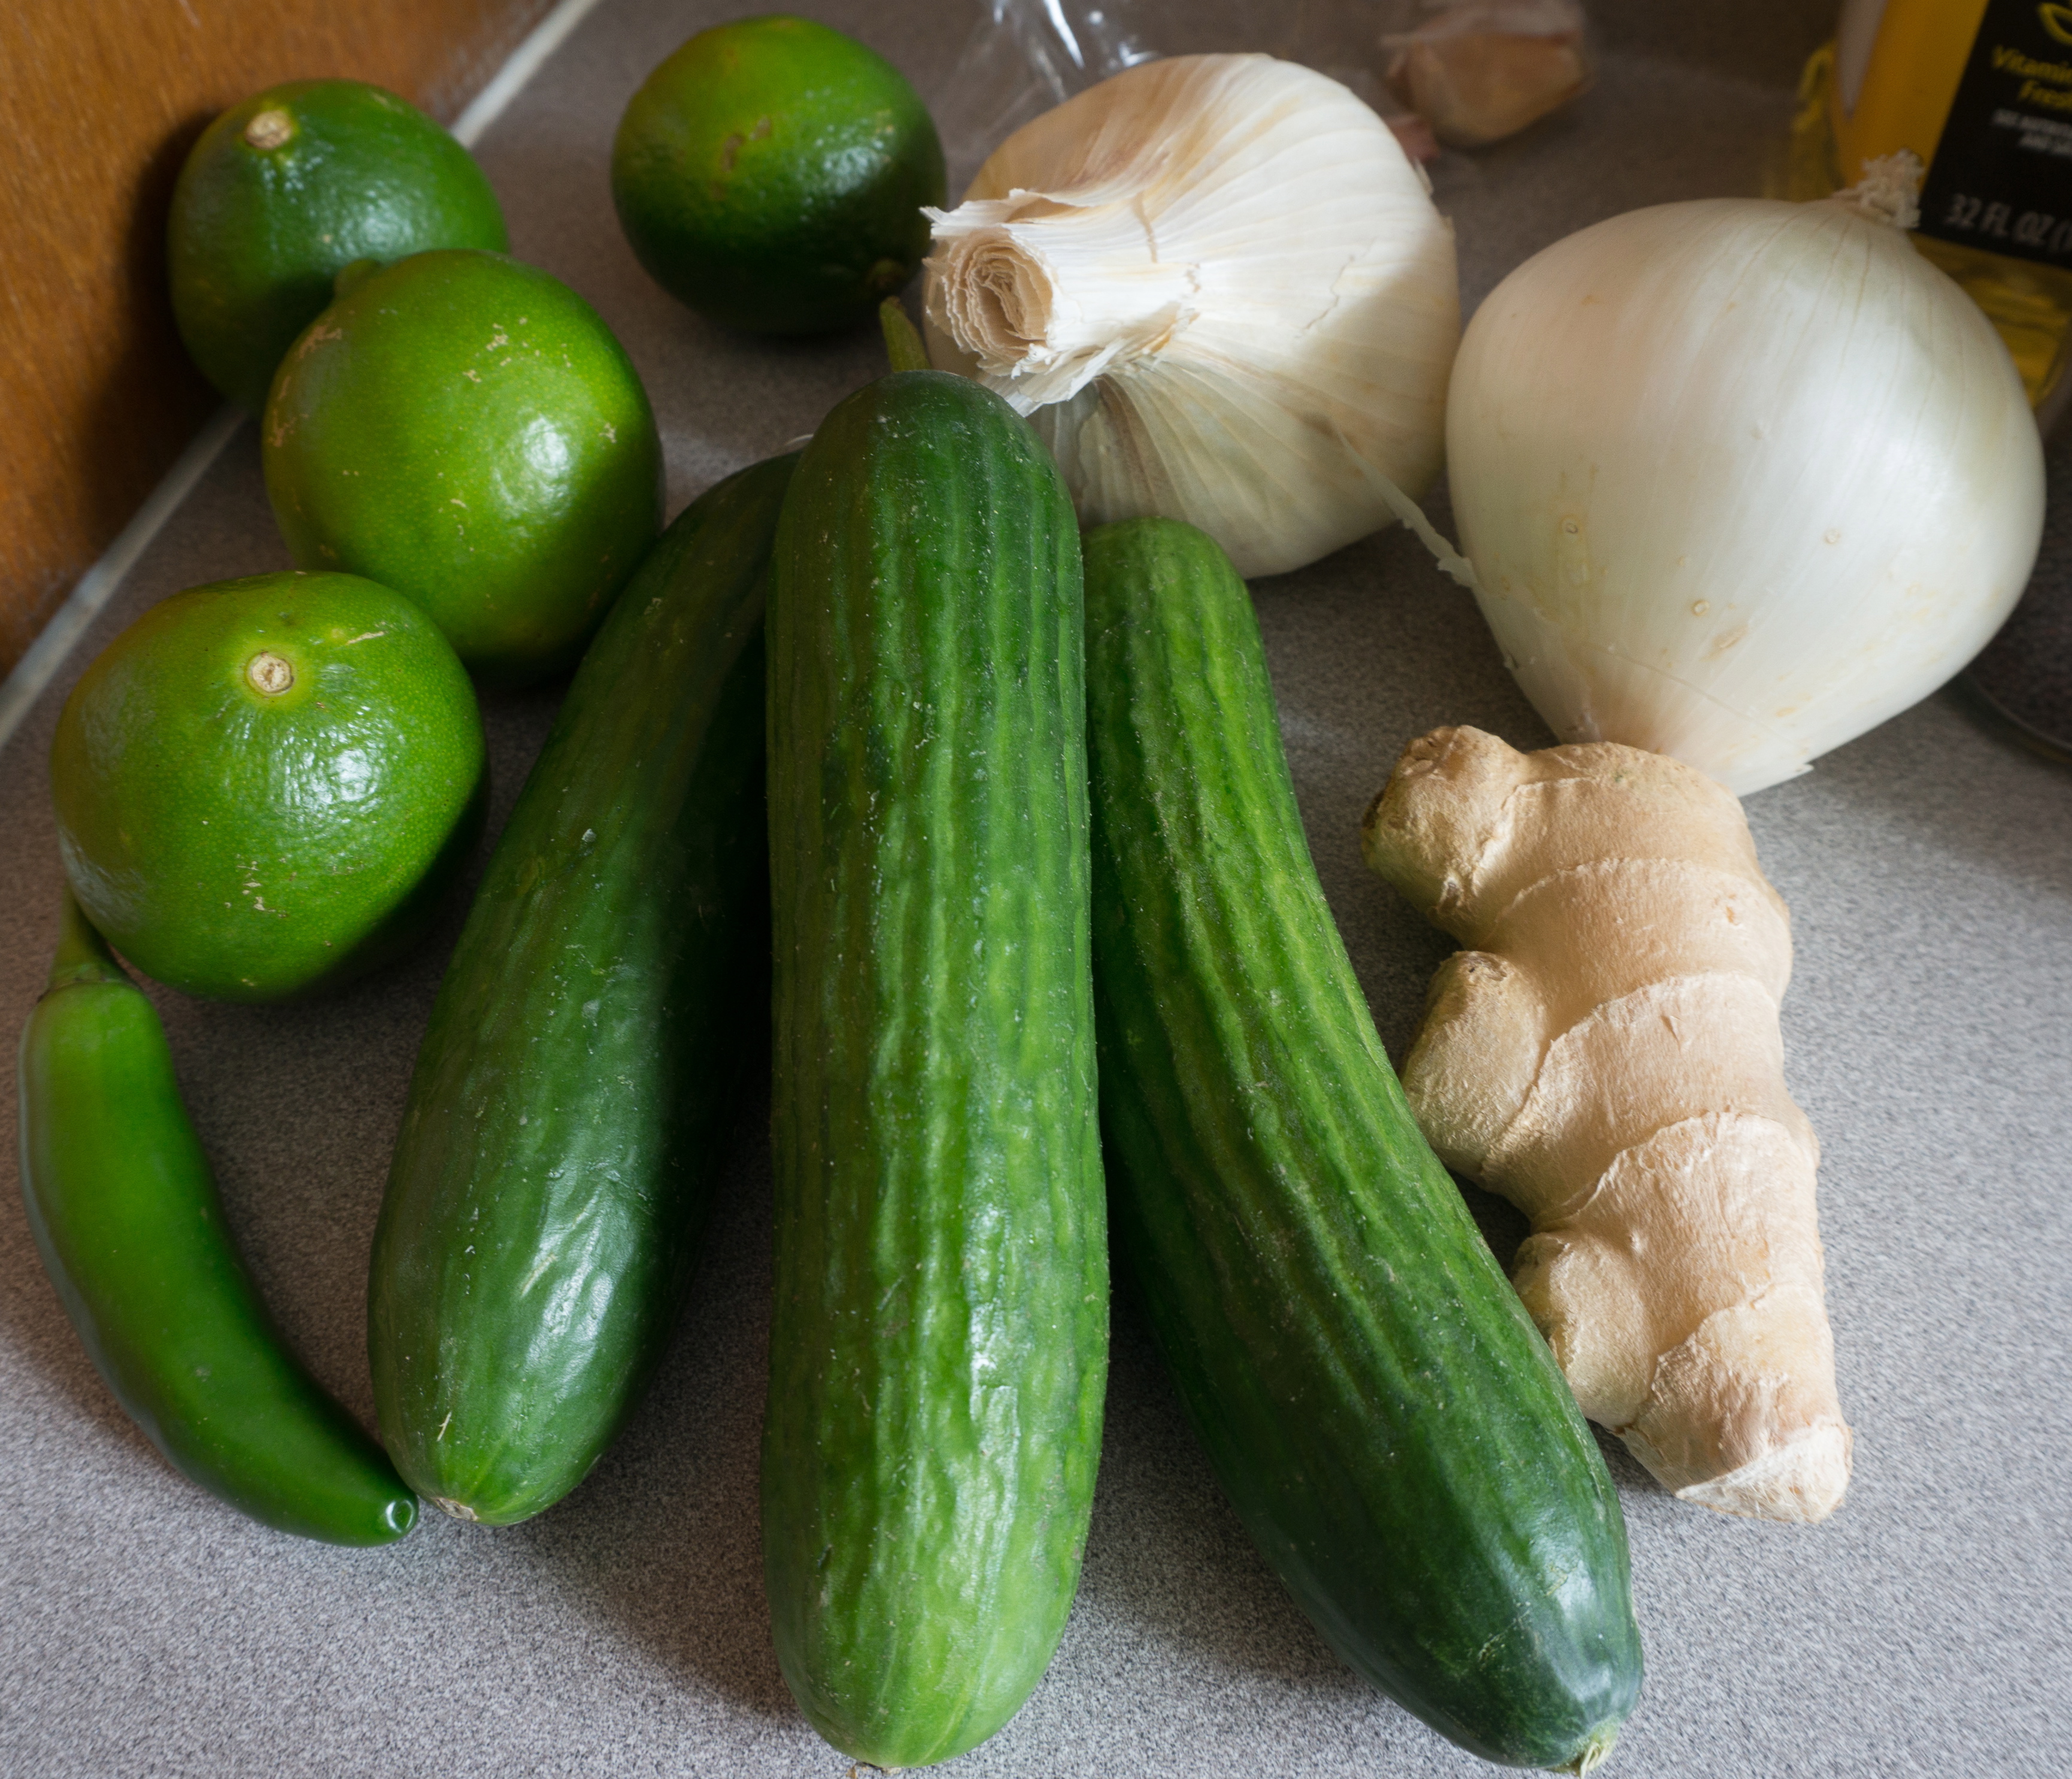
Next, prepare the green part of the dish. I love all of the fresh herbs that Ottolenghi incorporates into his recipes. It makes everything taste so flavorful, fresh, and healthy! It is the perfect way to infuse some freshness into this wintry root vegetable dish. Cut up 2 avocados and add some peas. I used frozen peas and blanched them for a few minutes in boiling water.

Peas and avocado for the salad.
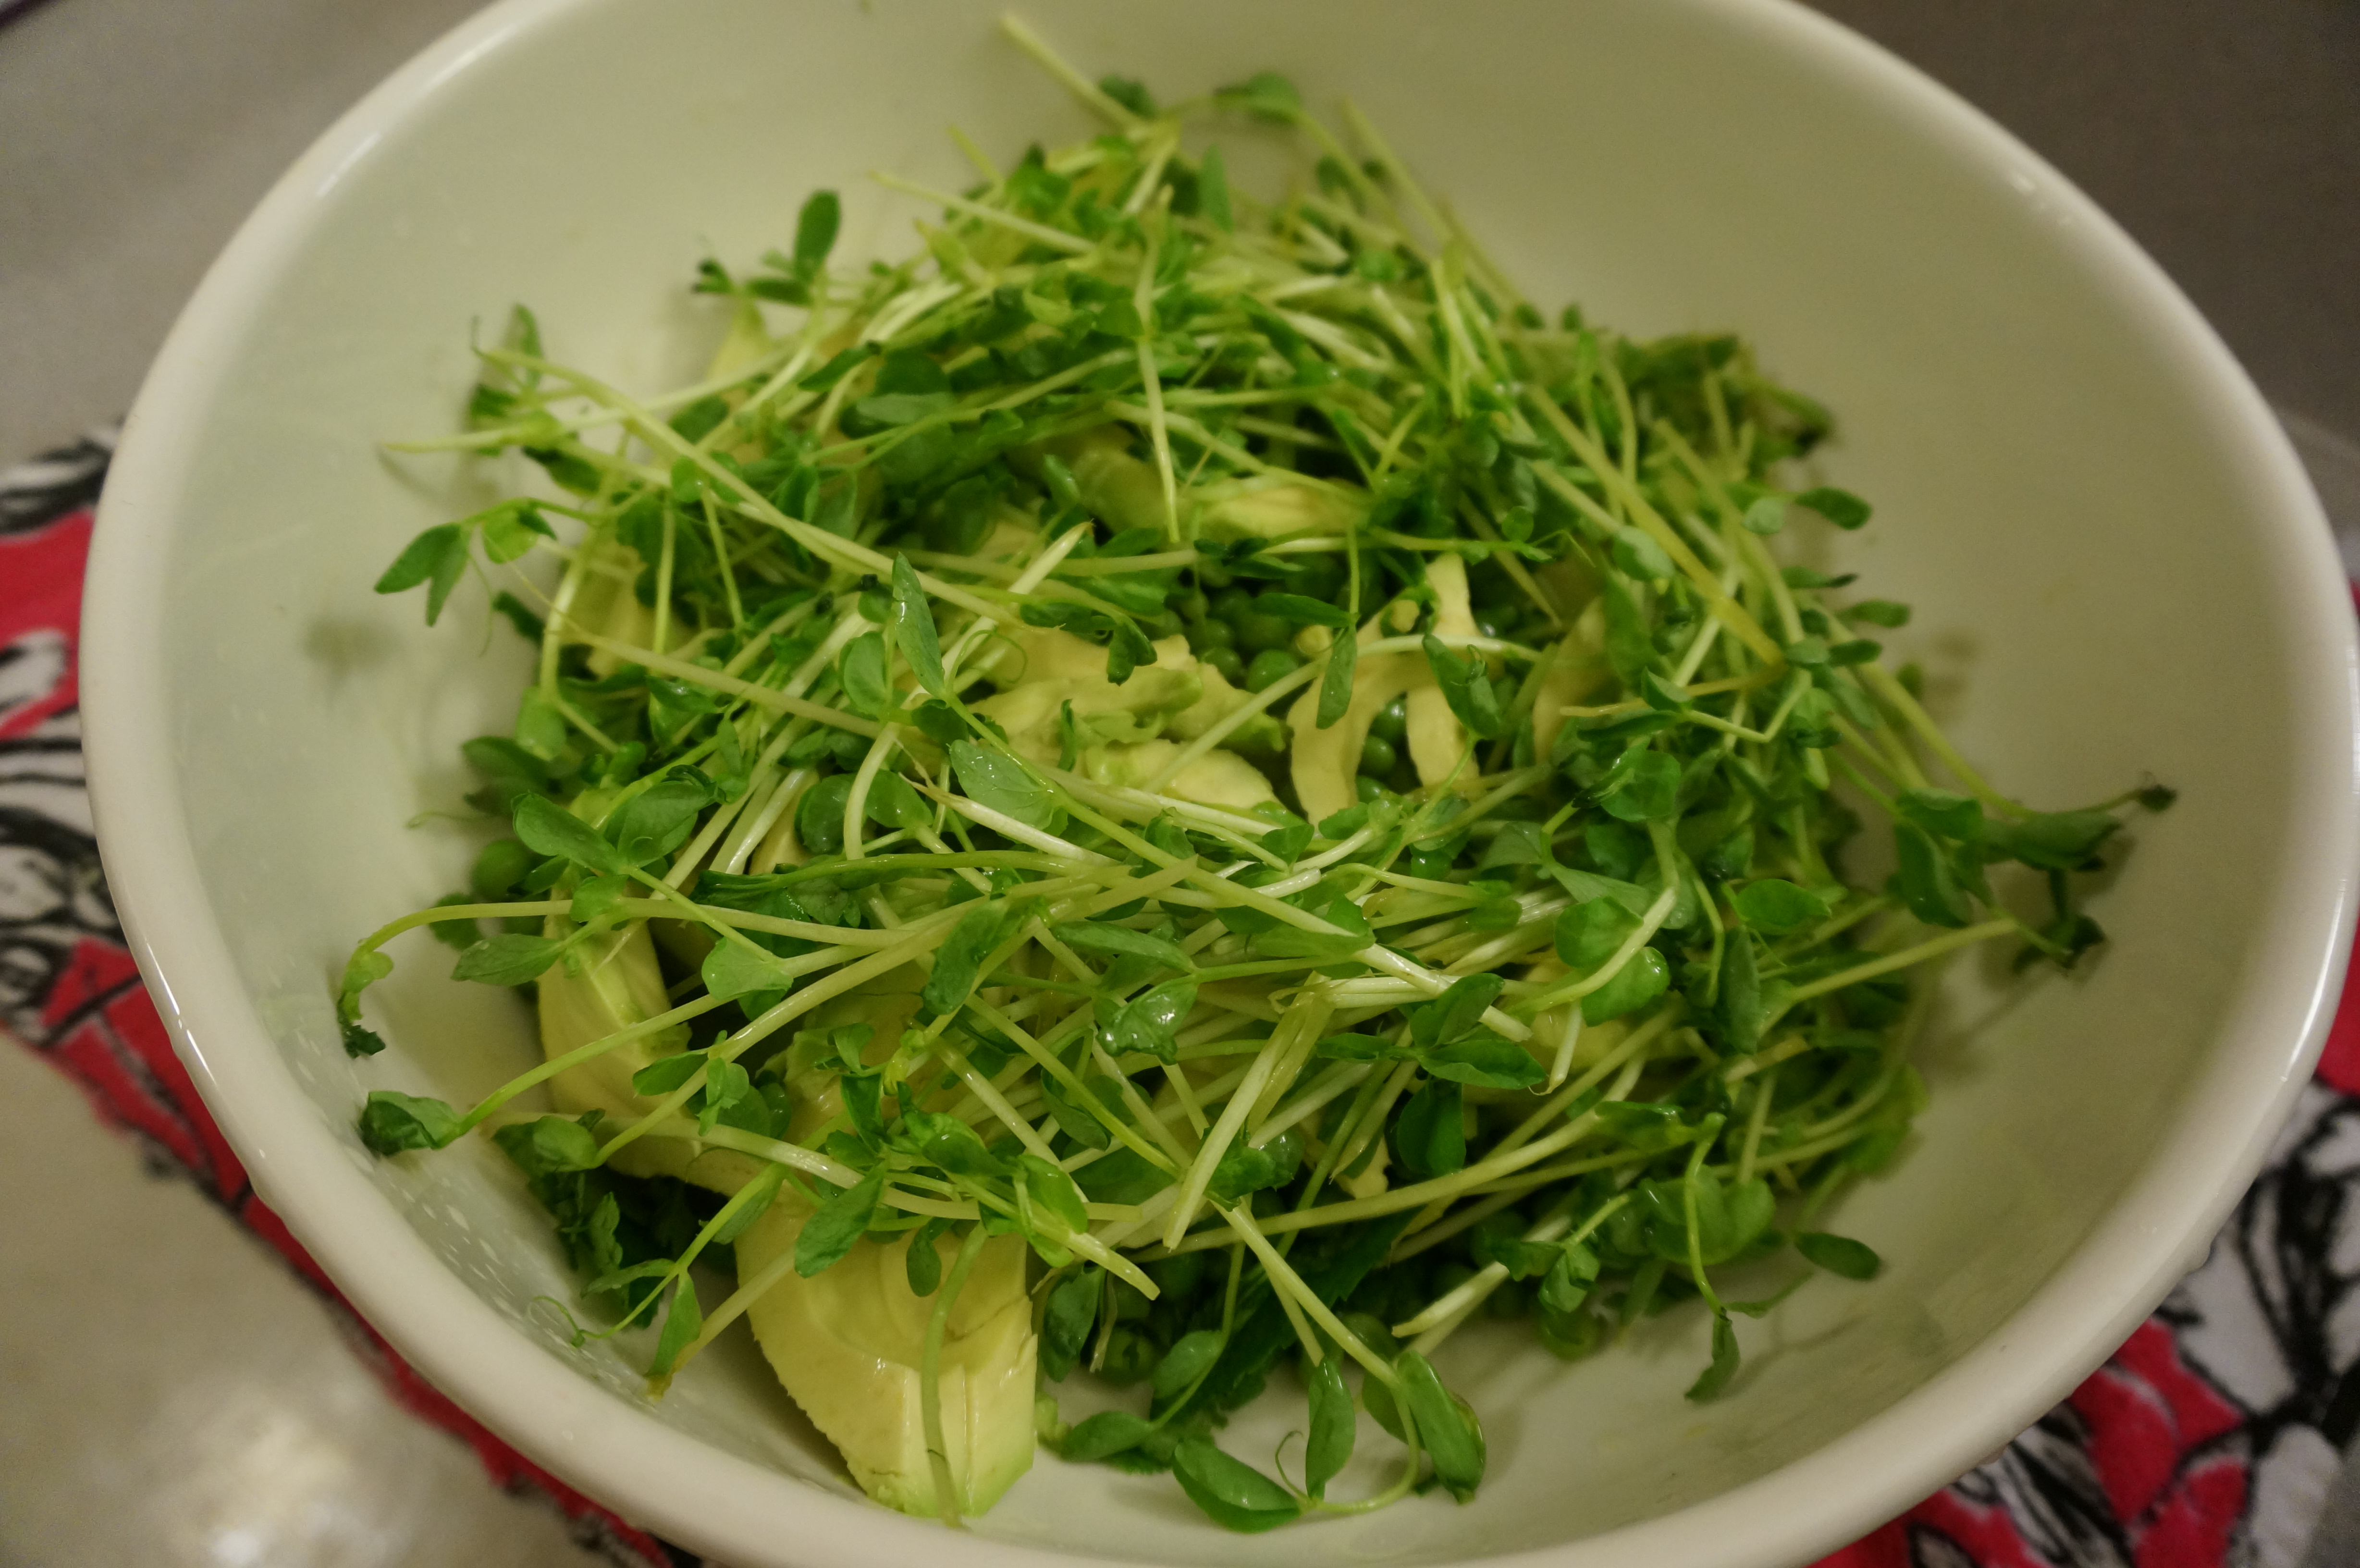
Wash and tear up some mint leaves, cilantro leaves, and pea shoots. I was amazed to find pea shoots at the Berkeley Bowl (that place has everything!), but I had never used them before so if you can’t find them just use some other sort of fancy green.

Mint, cilantro, pea shoots, avocado, and green peas3
Then you just set these items aside and wait to mix them together until you are ready to eat. I chose to cook the meatballs in the meanwhile but you could easily prepare these two parts in advance and mix them together when you are ready to serve later that day or even the next day. I think the beets taste even better the next day because all of the flavors meld. Earlier in the week when I made the salad, I paired it with the chicken with cardmom rice dish that I had made in Naples, Italy for my cousin and his wife.
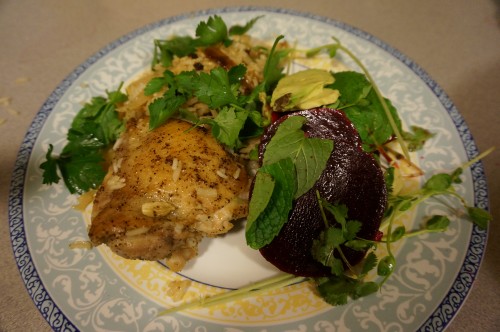
Beet, avocado, and pea salad with chicken with cardamom rice
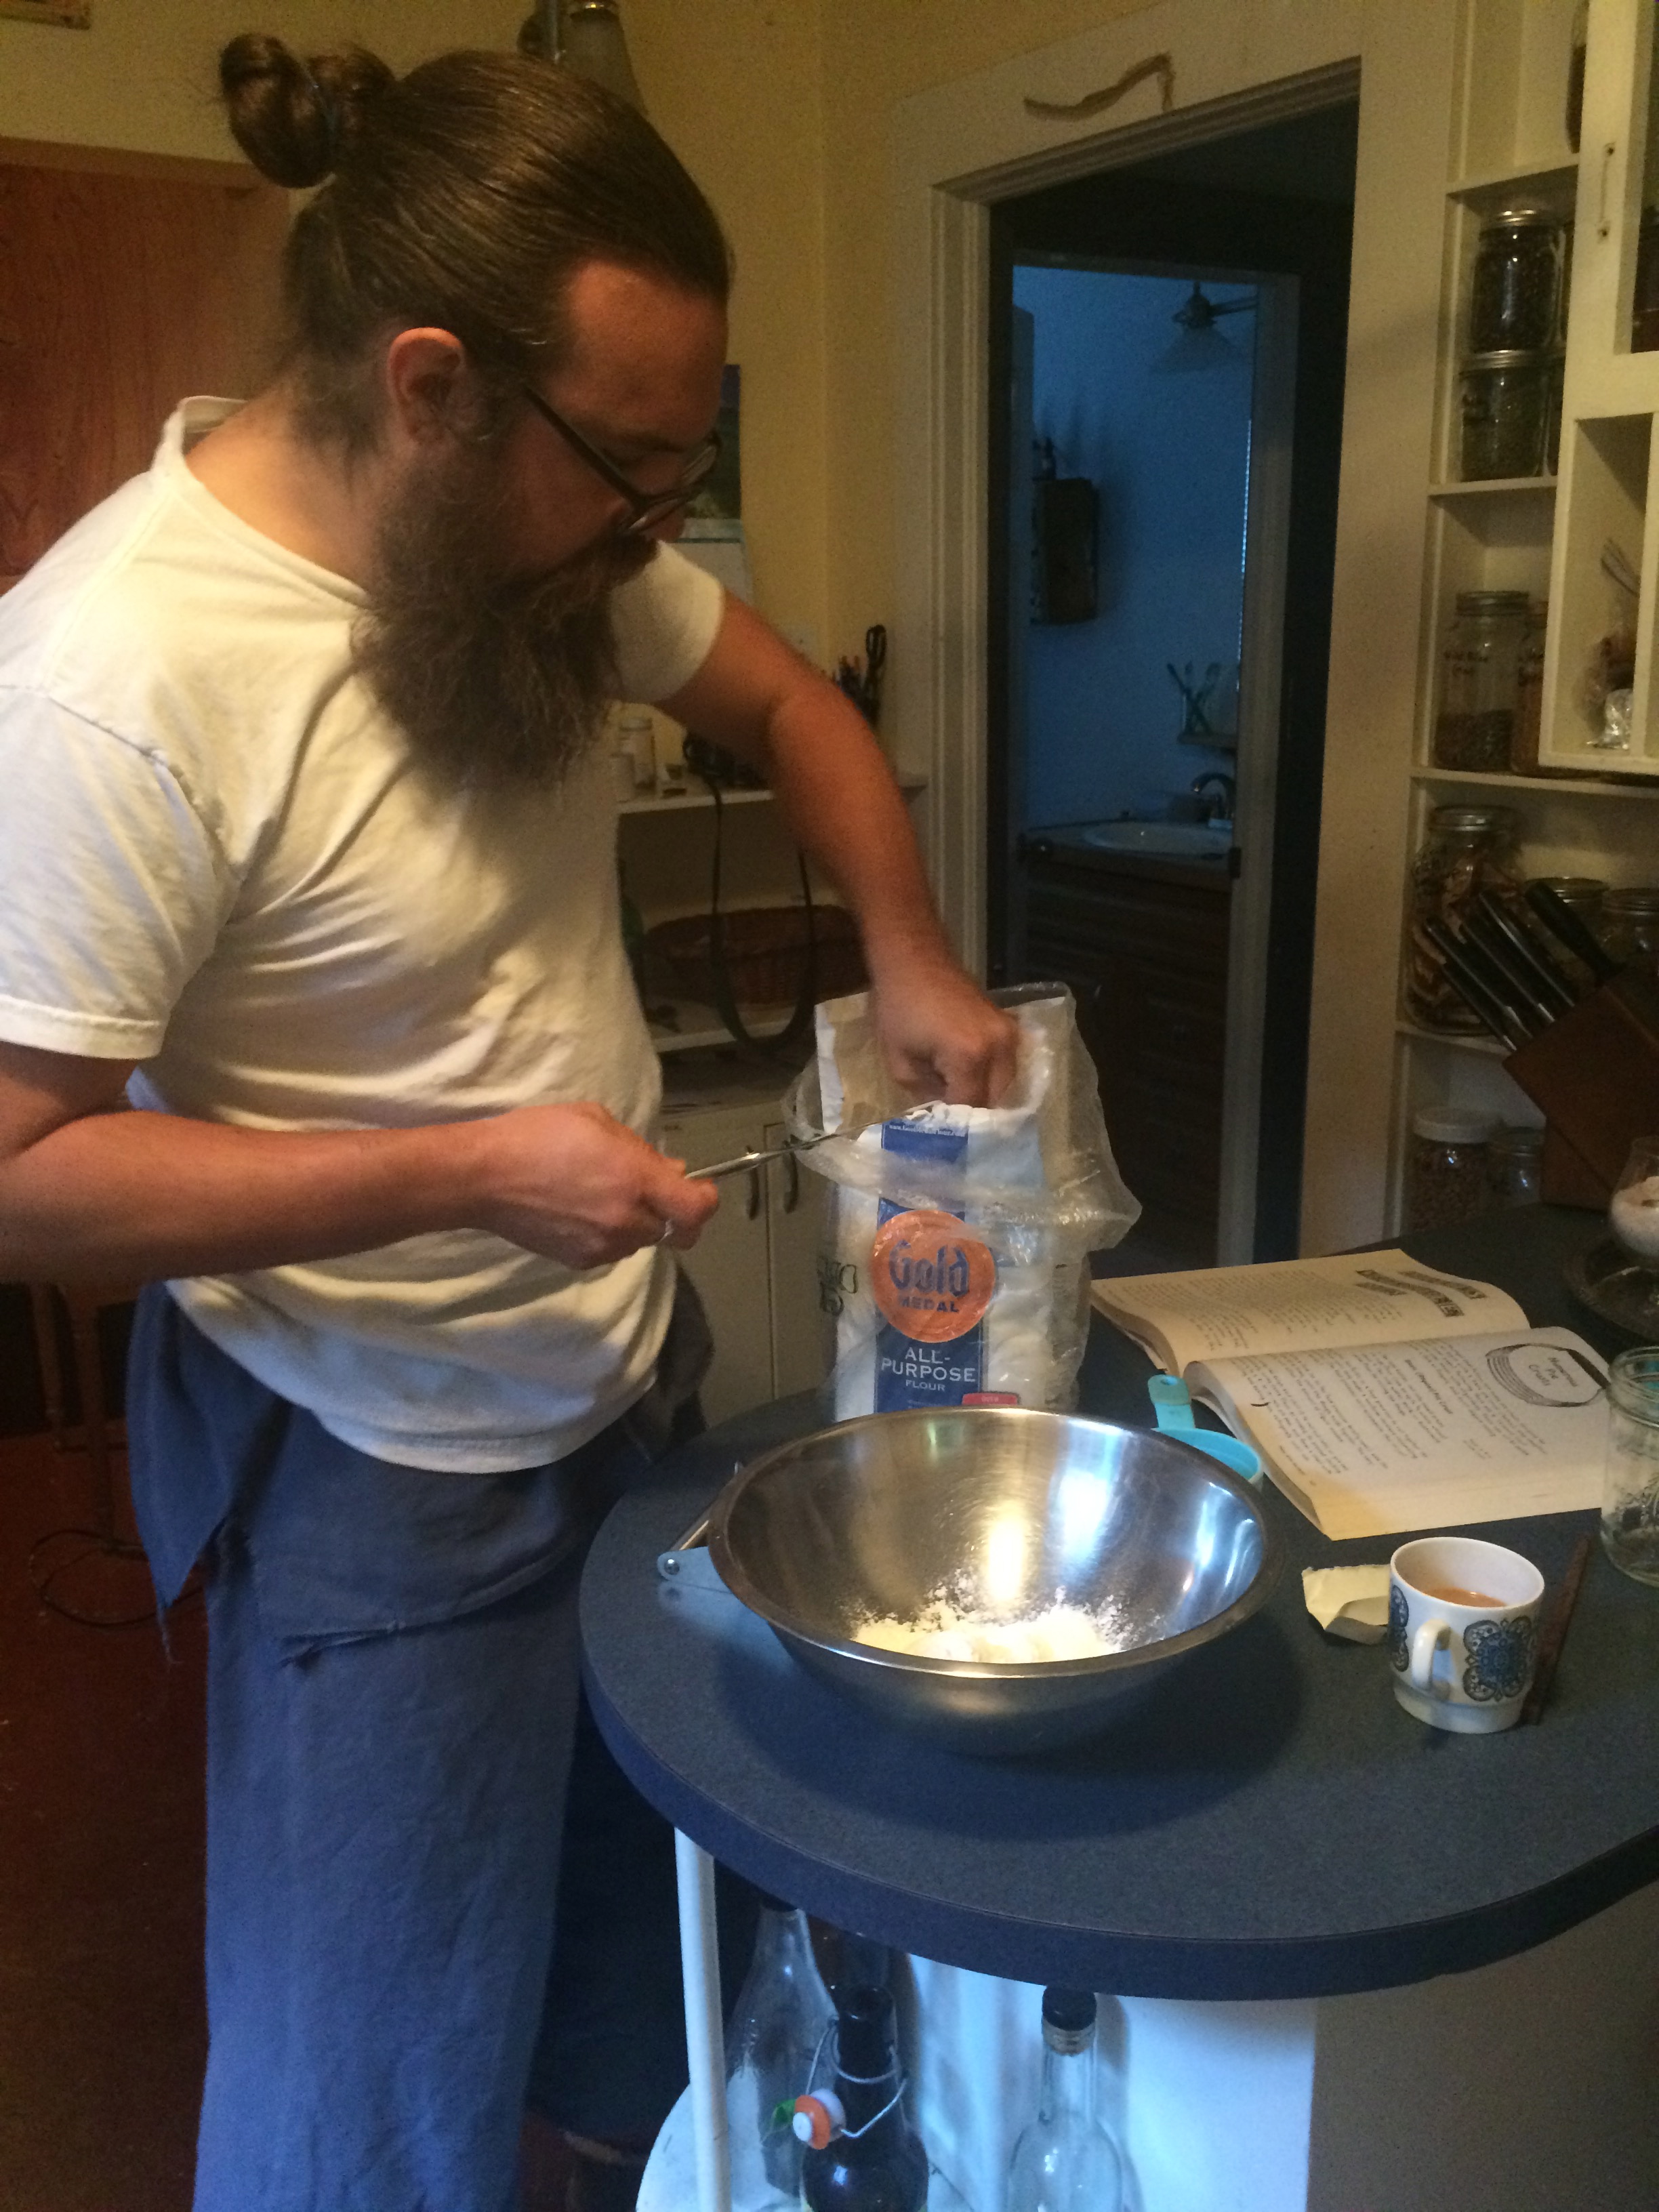
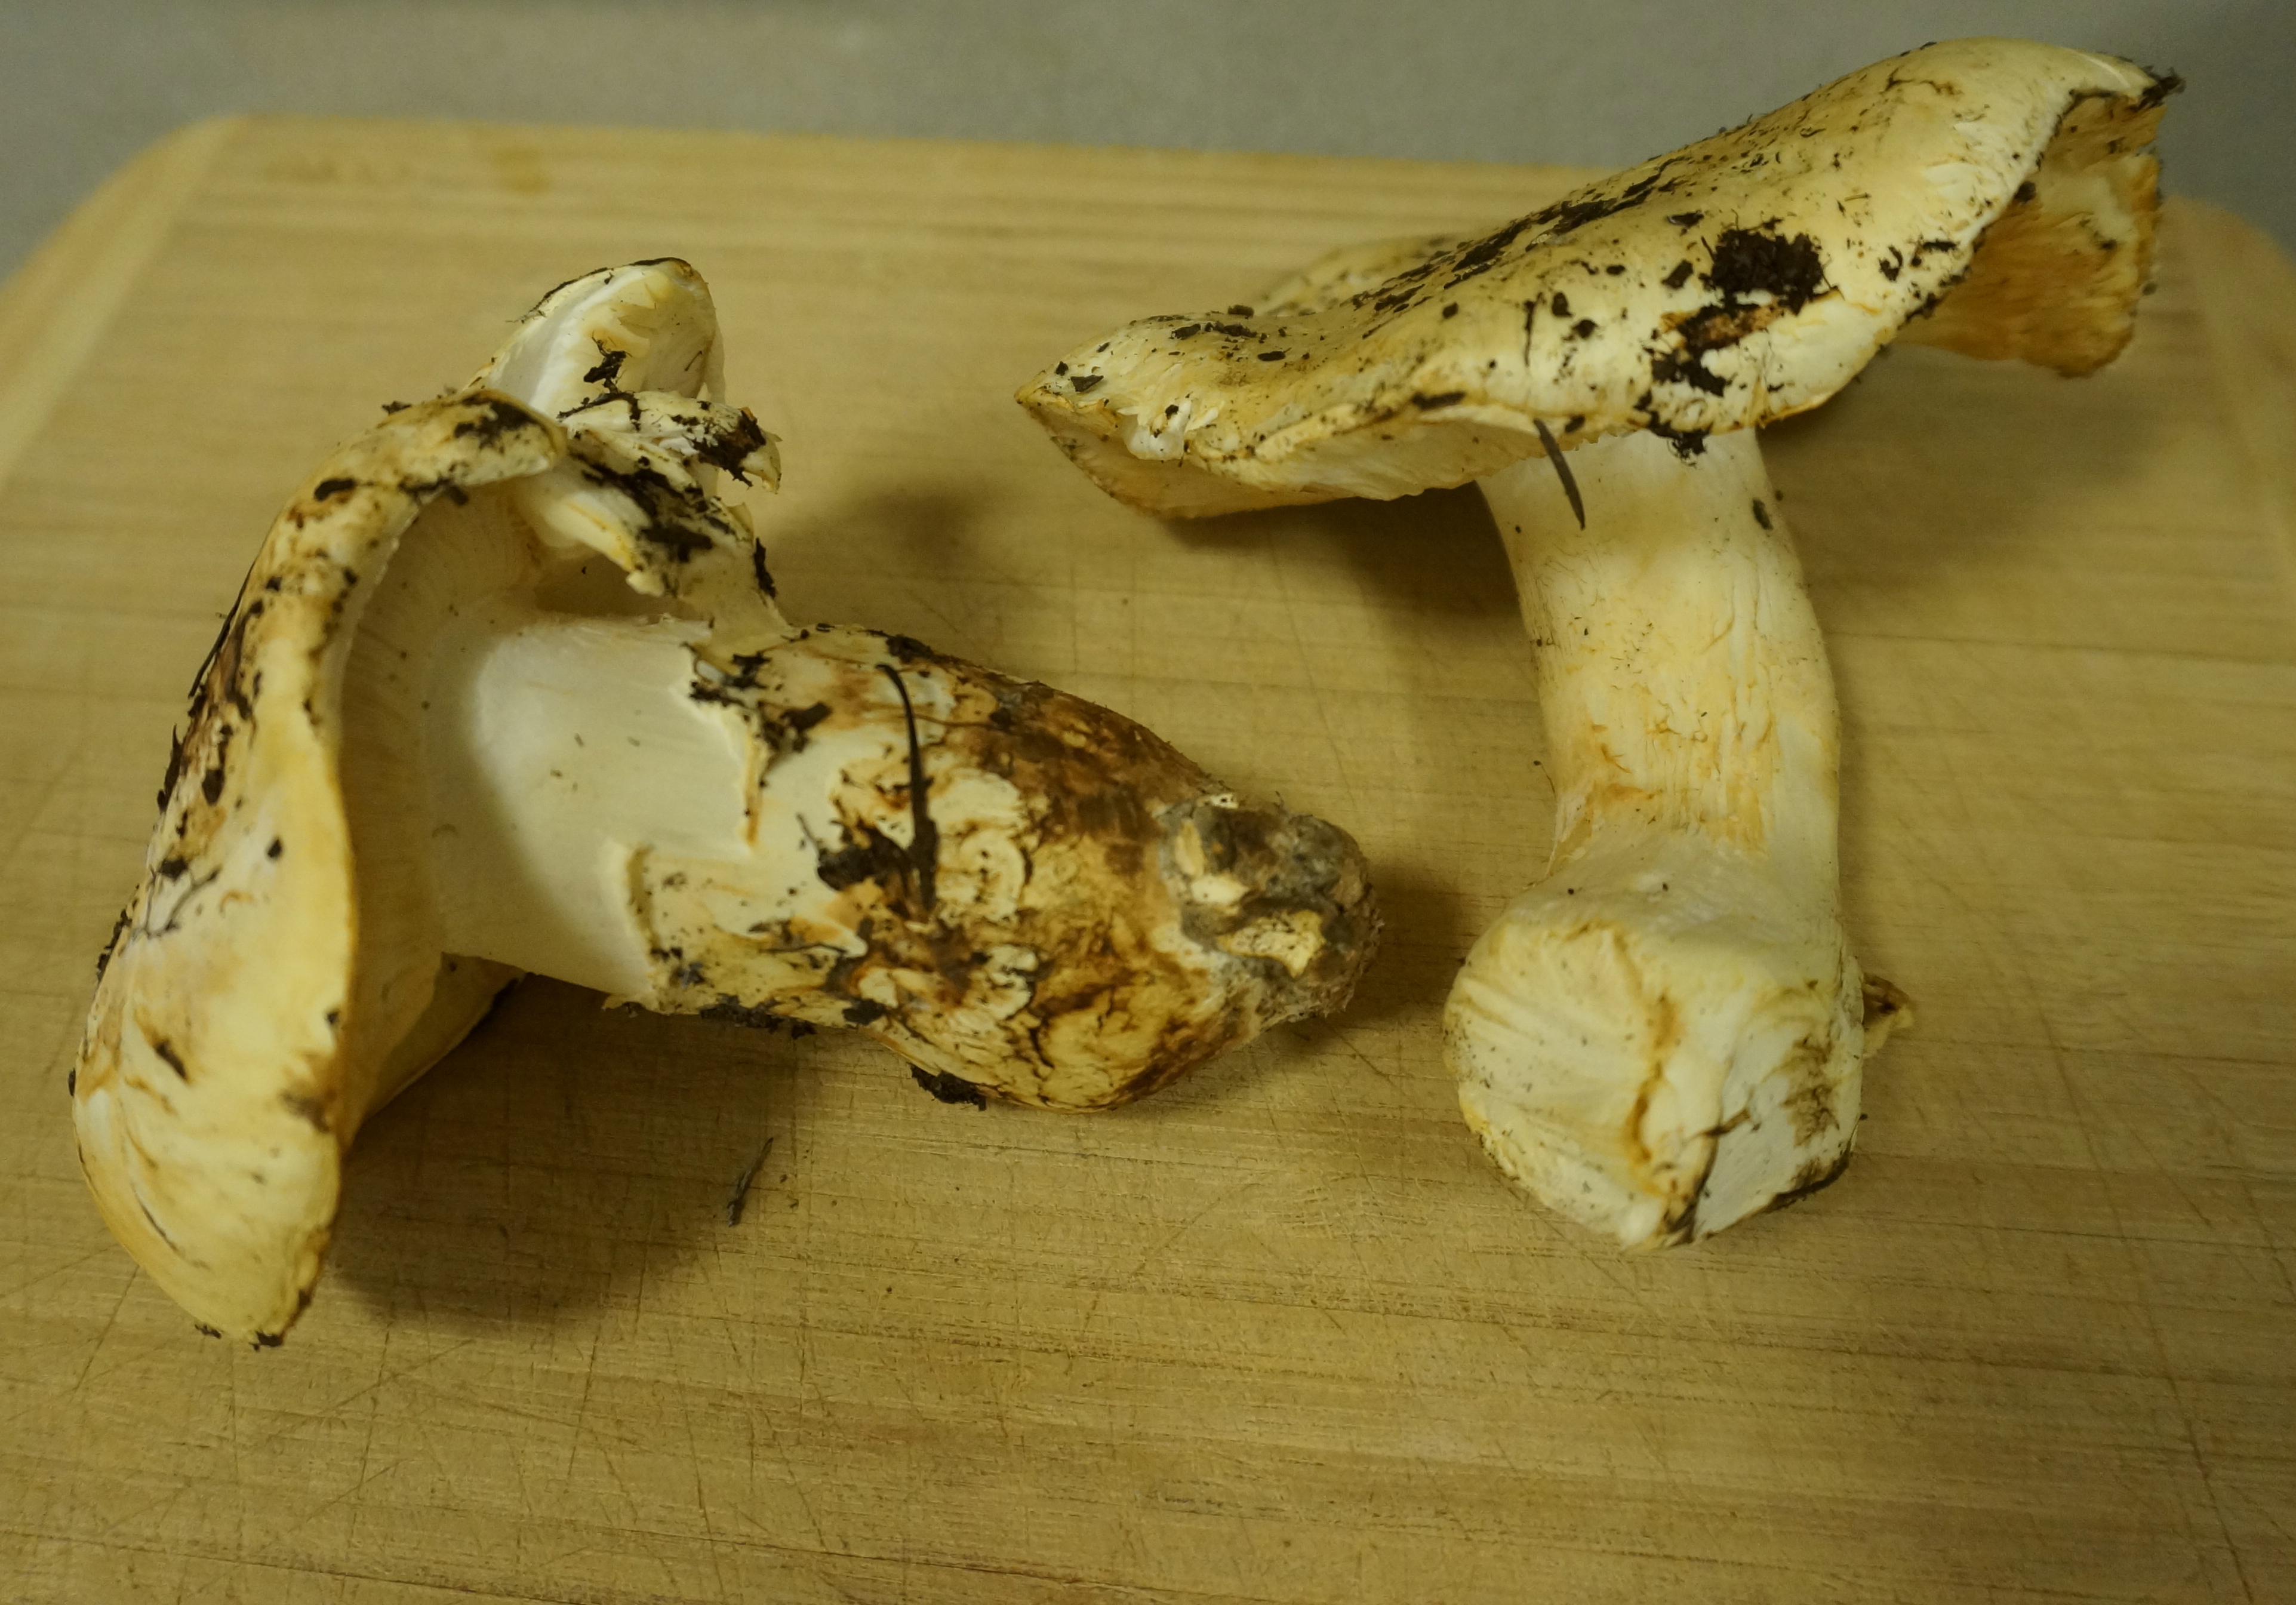
This time I decided to try out a beef dish, so I found this meatball recipe online. As you all know, I don’t cook meat dishes very often. With all of the delicious vegetarian recipes to choose from in Plenty and now Plenty More, and of course those hearty meaty mushrooms that I love, it’s hard to miss the meat. However, I am a complete omnivore these days and I thought meatballs would go really well with this dish. The first step was to mix together the beef, onion, parsley, breadcrumbs, allspice, salt, and pepper with my hands and form the meatball shapes. Ottolenghi says the recipe is supposed to make 20 meatballs, but we only got 10. Go figure!
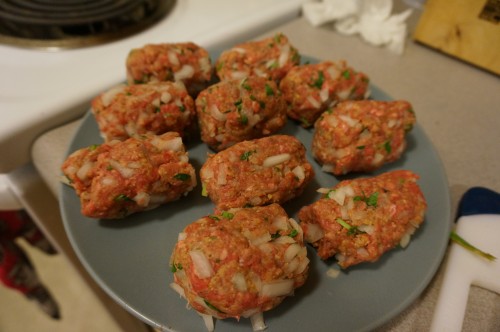
Beef meatballs with onion, parsley, egg, breadcrumbs, allspice, salt, and pepper
Heat a pan with 2 tbsp olive oil, then sear the meatballs for 5 minutes on each side.
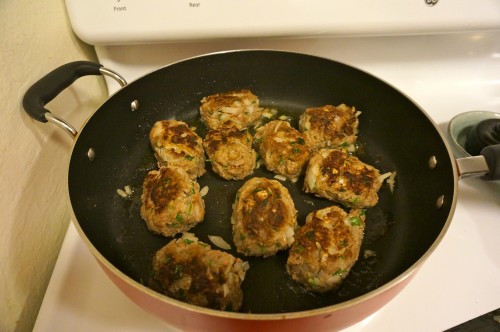
Meatballs searing in olive oil
Once the meatballs are seared on each side, remove them from the pan.
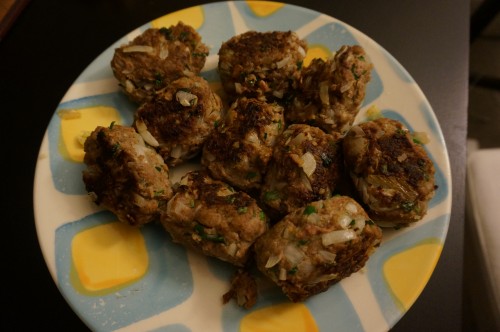
Seared meatballs
Add celeriac, 3 crushed garlic cloves, 1/2 tsp each of ground turmeric, cumin, and cinnamon, and 1.5 tsp fennel seeds. I forgot to add the paprika and added way more than 3 garlic cloves, and it still turned out really yummy, so I think the spice amounts are open to interpretation. Celeriac is probably the oddest ingredient of the bunch. It’s a variety of celery cultivated for its roots, and looks a bit like what I imagine a parsnip mixed with a pineapple would look like.
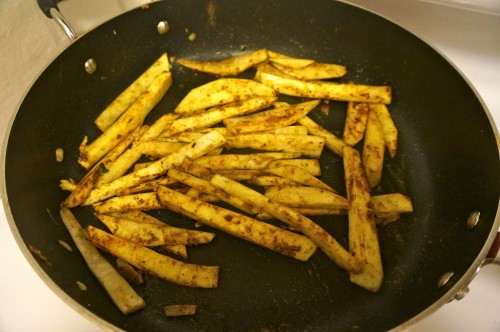
Celeriac with turmeric, cumin, cinnamon, and garlic.
Celeriac is very plain on its own and it soaked up the flavor of the spices very well, so it was a tangy addition to the meatballs. It was crunchy but less heavy than a potato would be. Cook the celeriac on high heat, stirring, for two minutes. Then return the meatballs to the pan, and add 2 cups of chicken stock. The recipe calls for 3 tbsp of lemon juice, but I love lemons, and I love my lemon squeezer, so I added in the juice of about 3 fresh lemons, which was probably closer to 5 tbsp. Add some salt and pepper, bring to a boil, then turn down the heat, cover and simmer for 30 minutes. After 30 minutes, Ottolenghi says to remove the lid and leave to bubble way for 10 minutes, until the sauce is quite thick. While this was happening I took the opportunity to make couscous to serve with the meatballs.

Beef meatballs with lemon and celeriac on a bed of couscous1
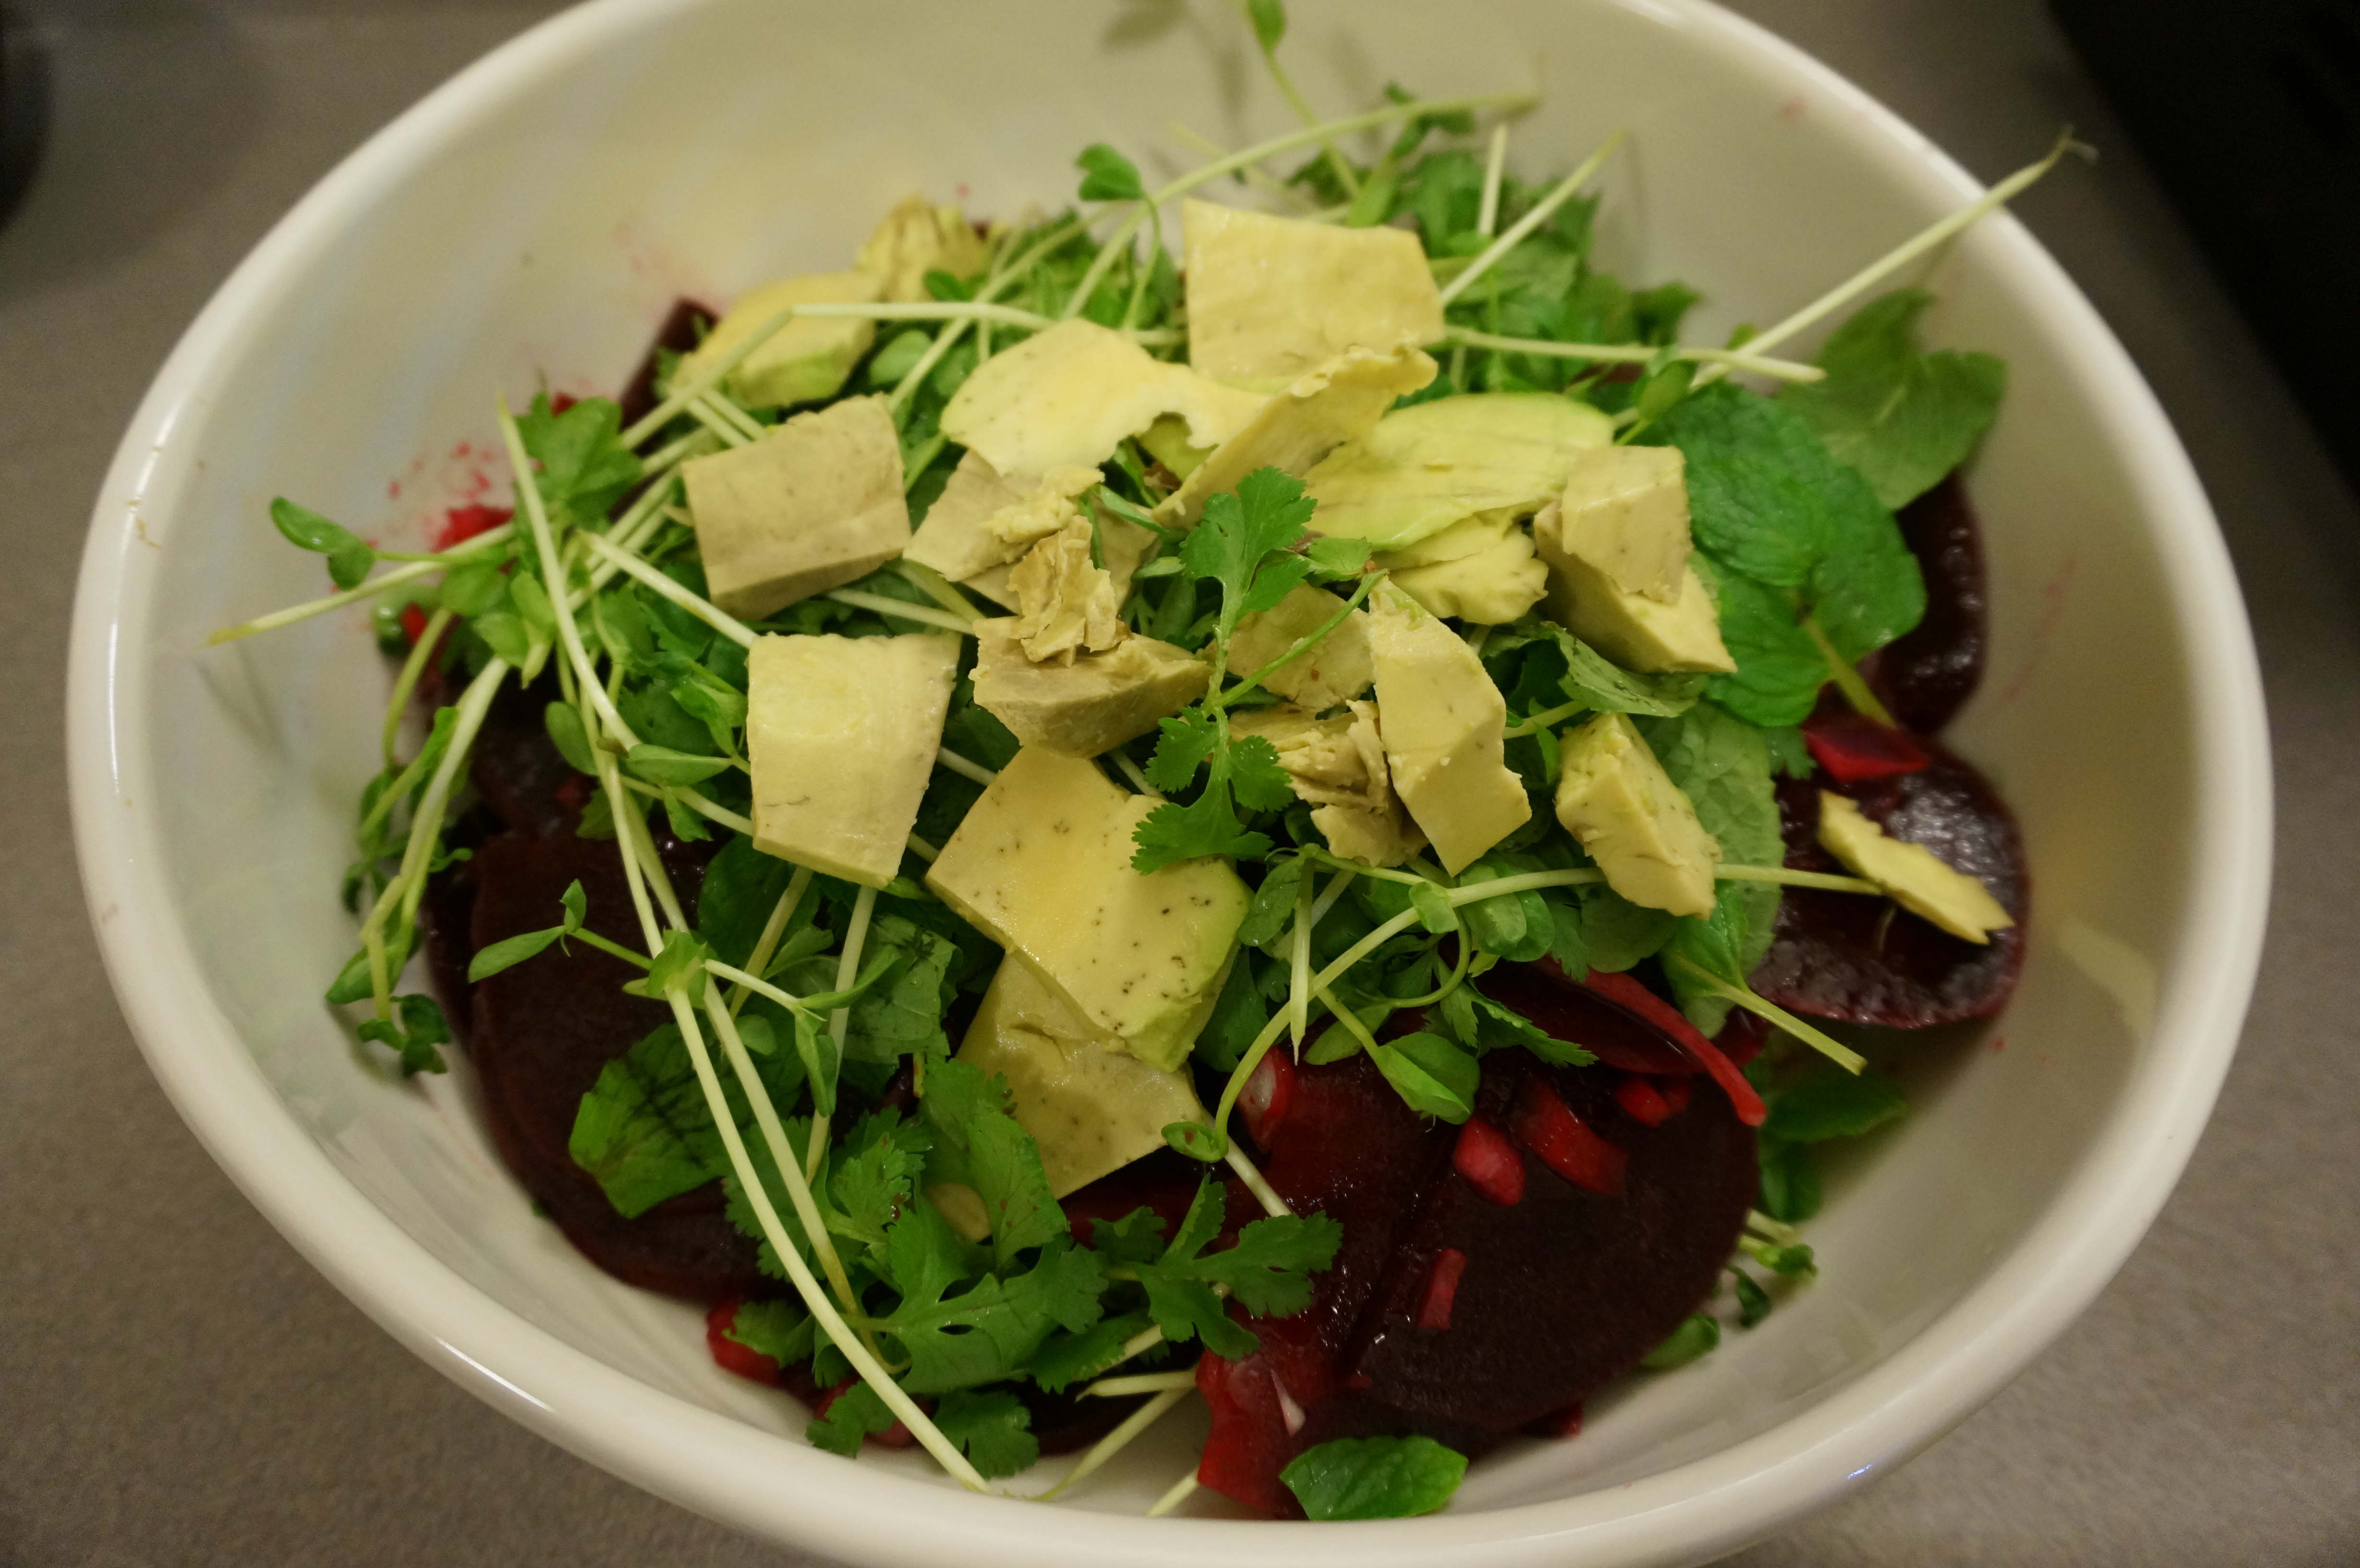
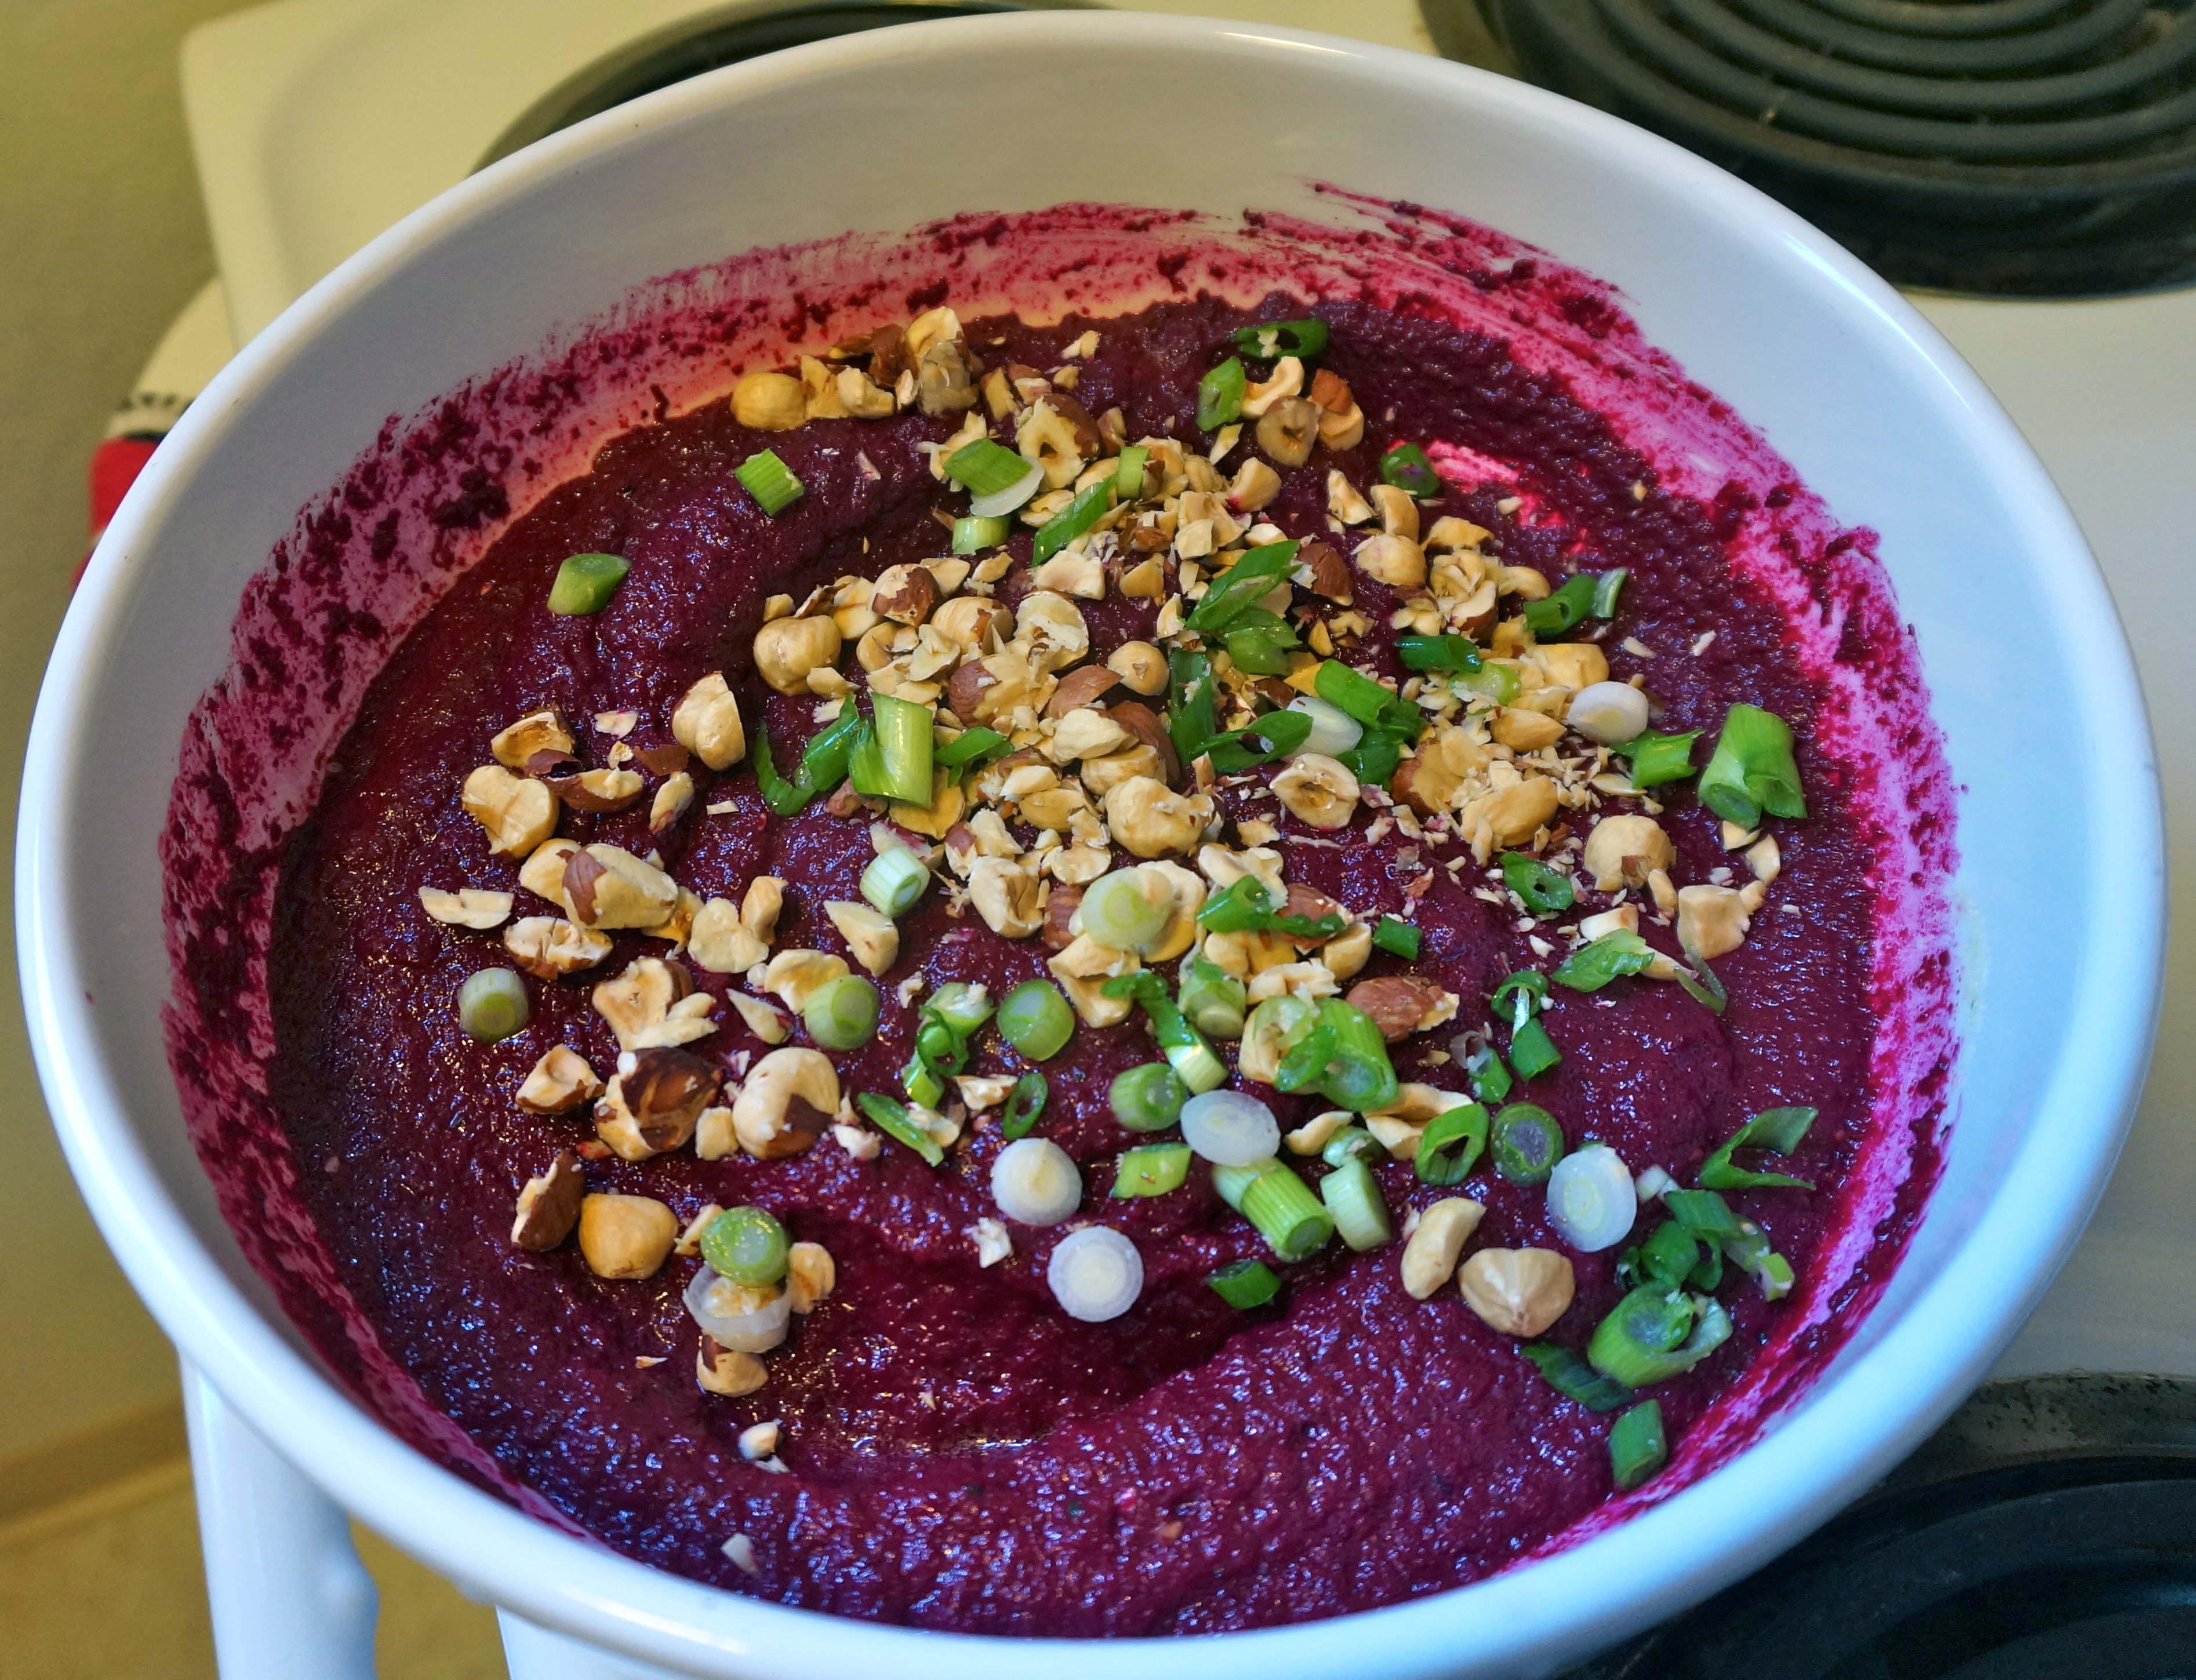
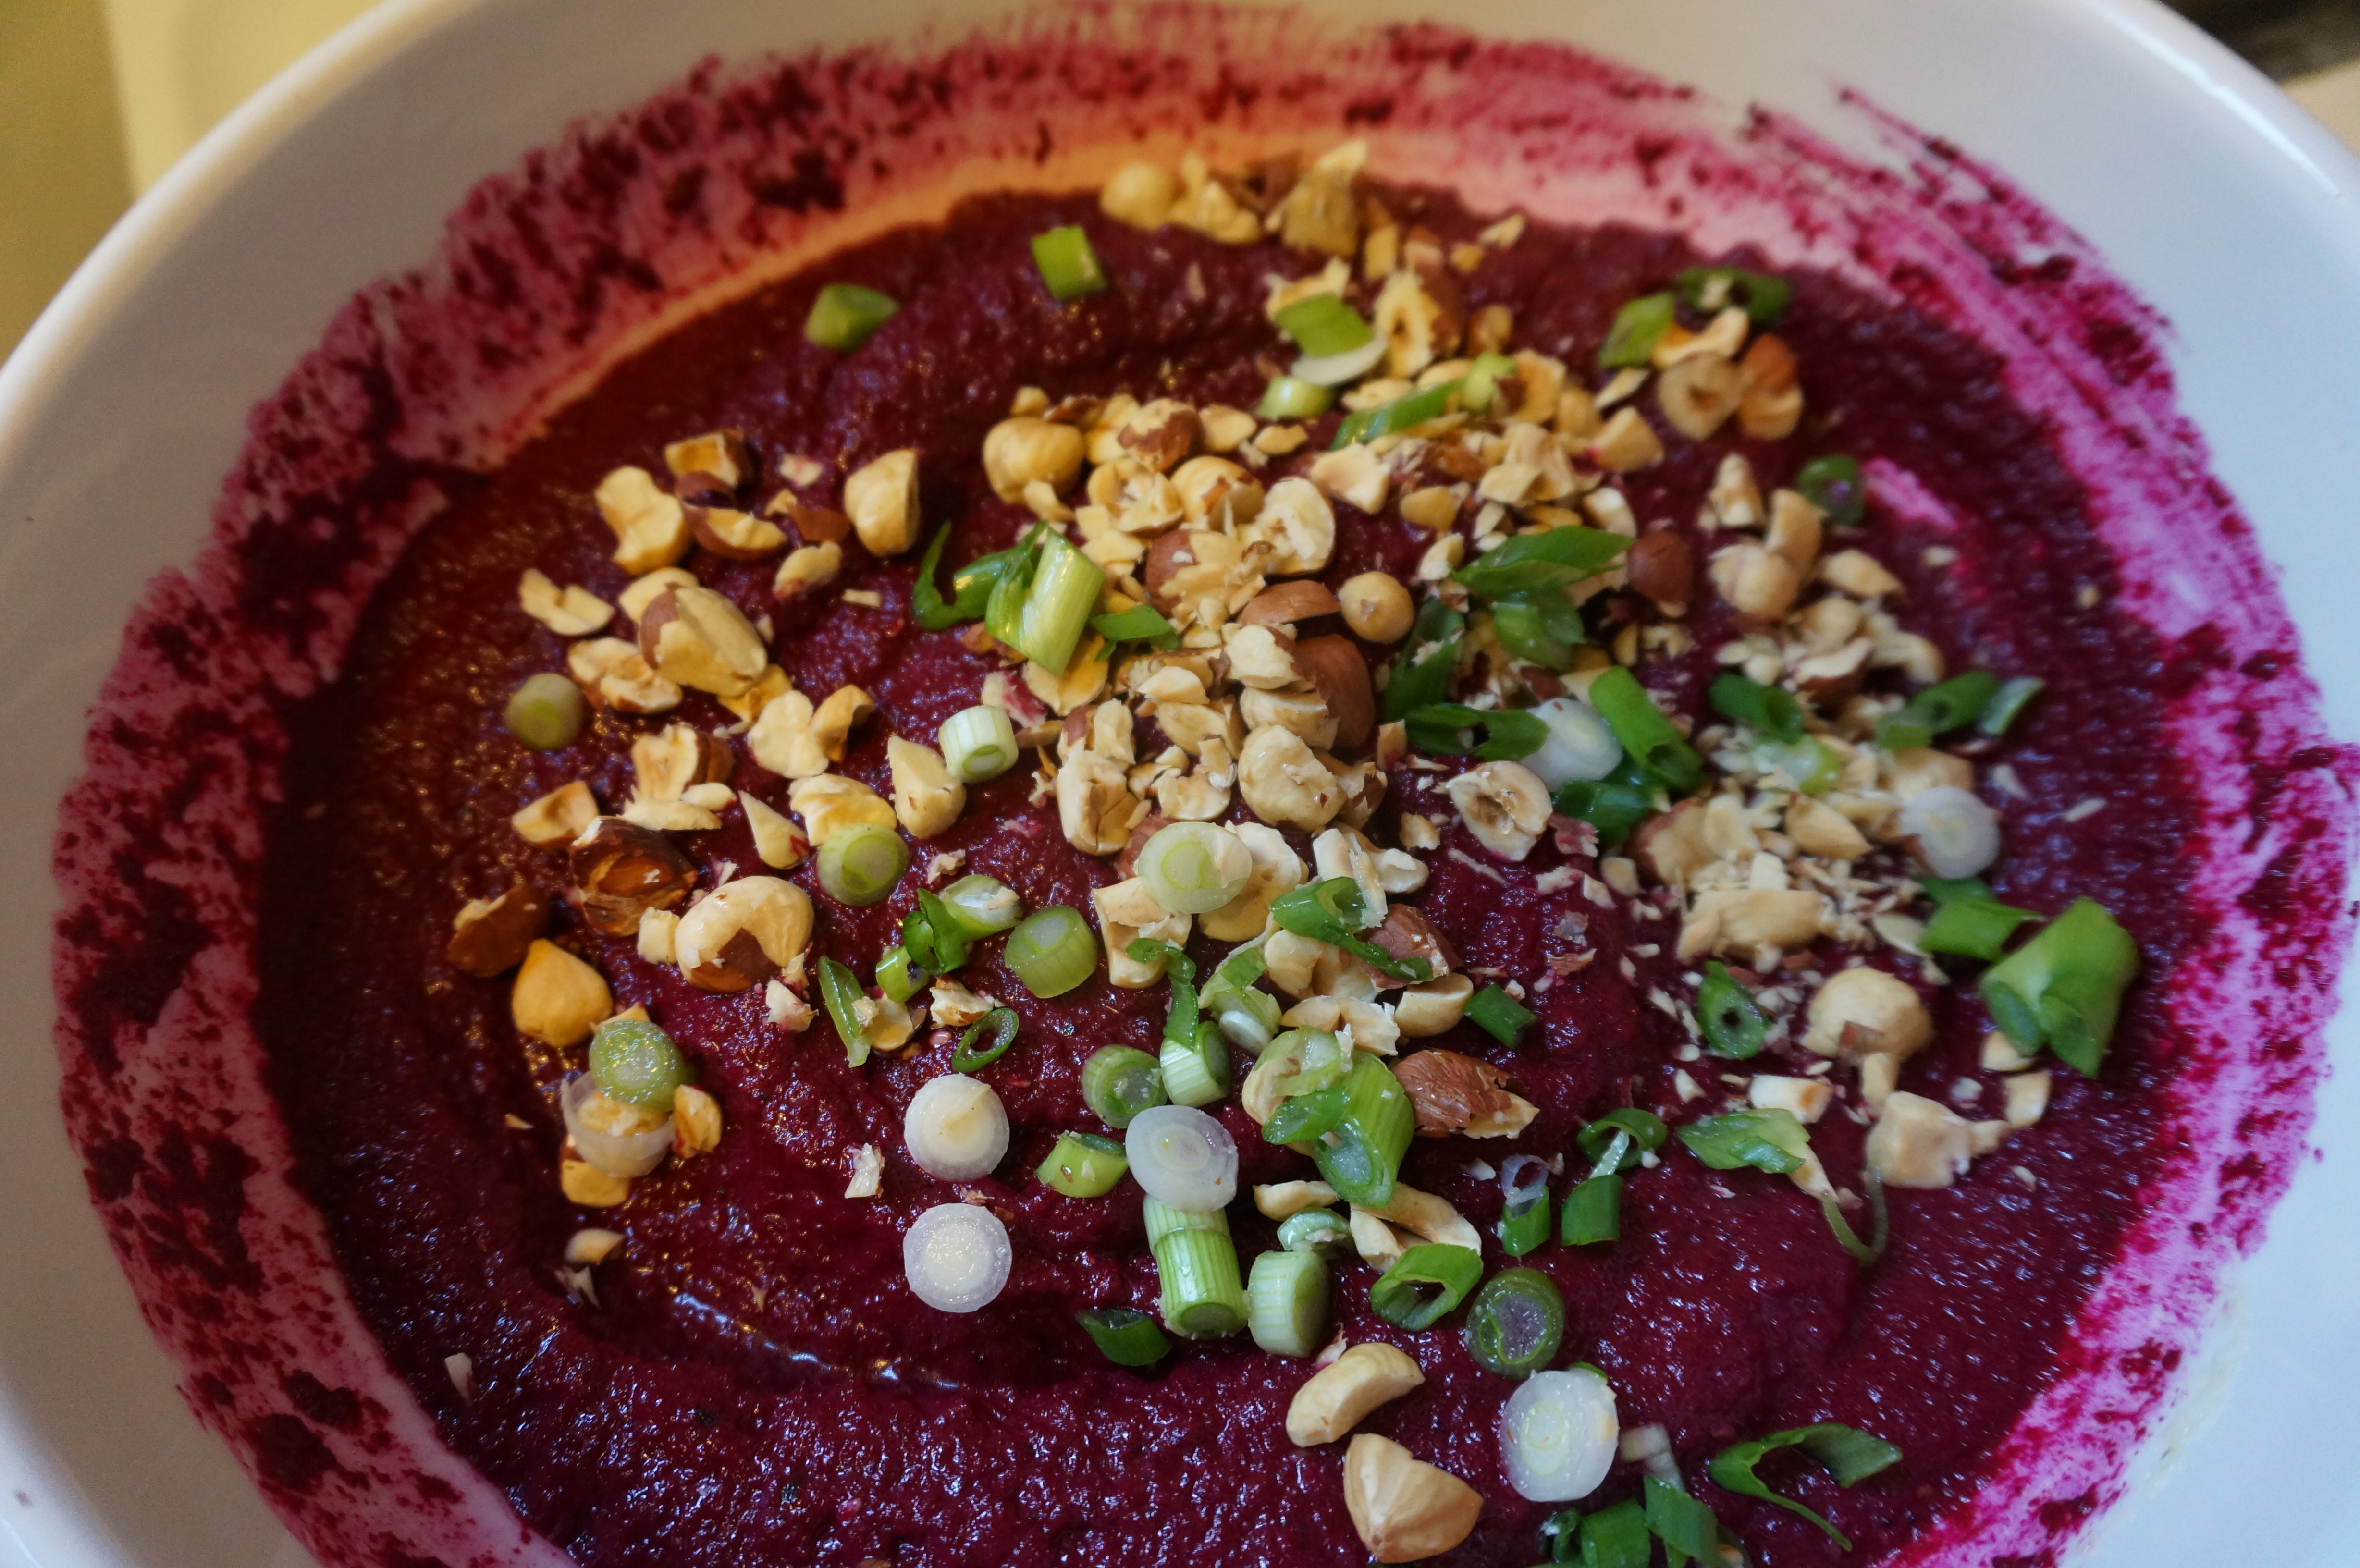
Here is what the beet, avocado, and pea salad looks like when everything is mixed together:
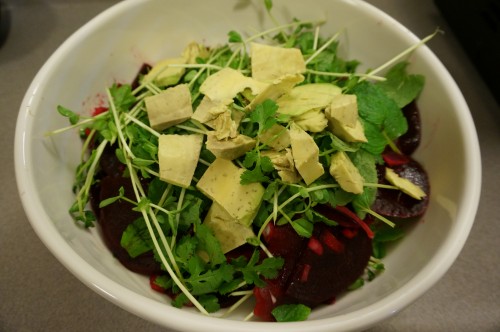
Beet, avocado, and pea salad
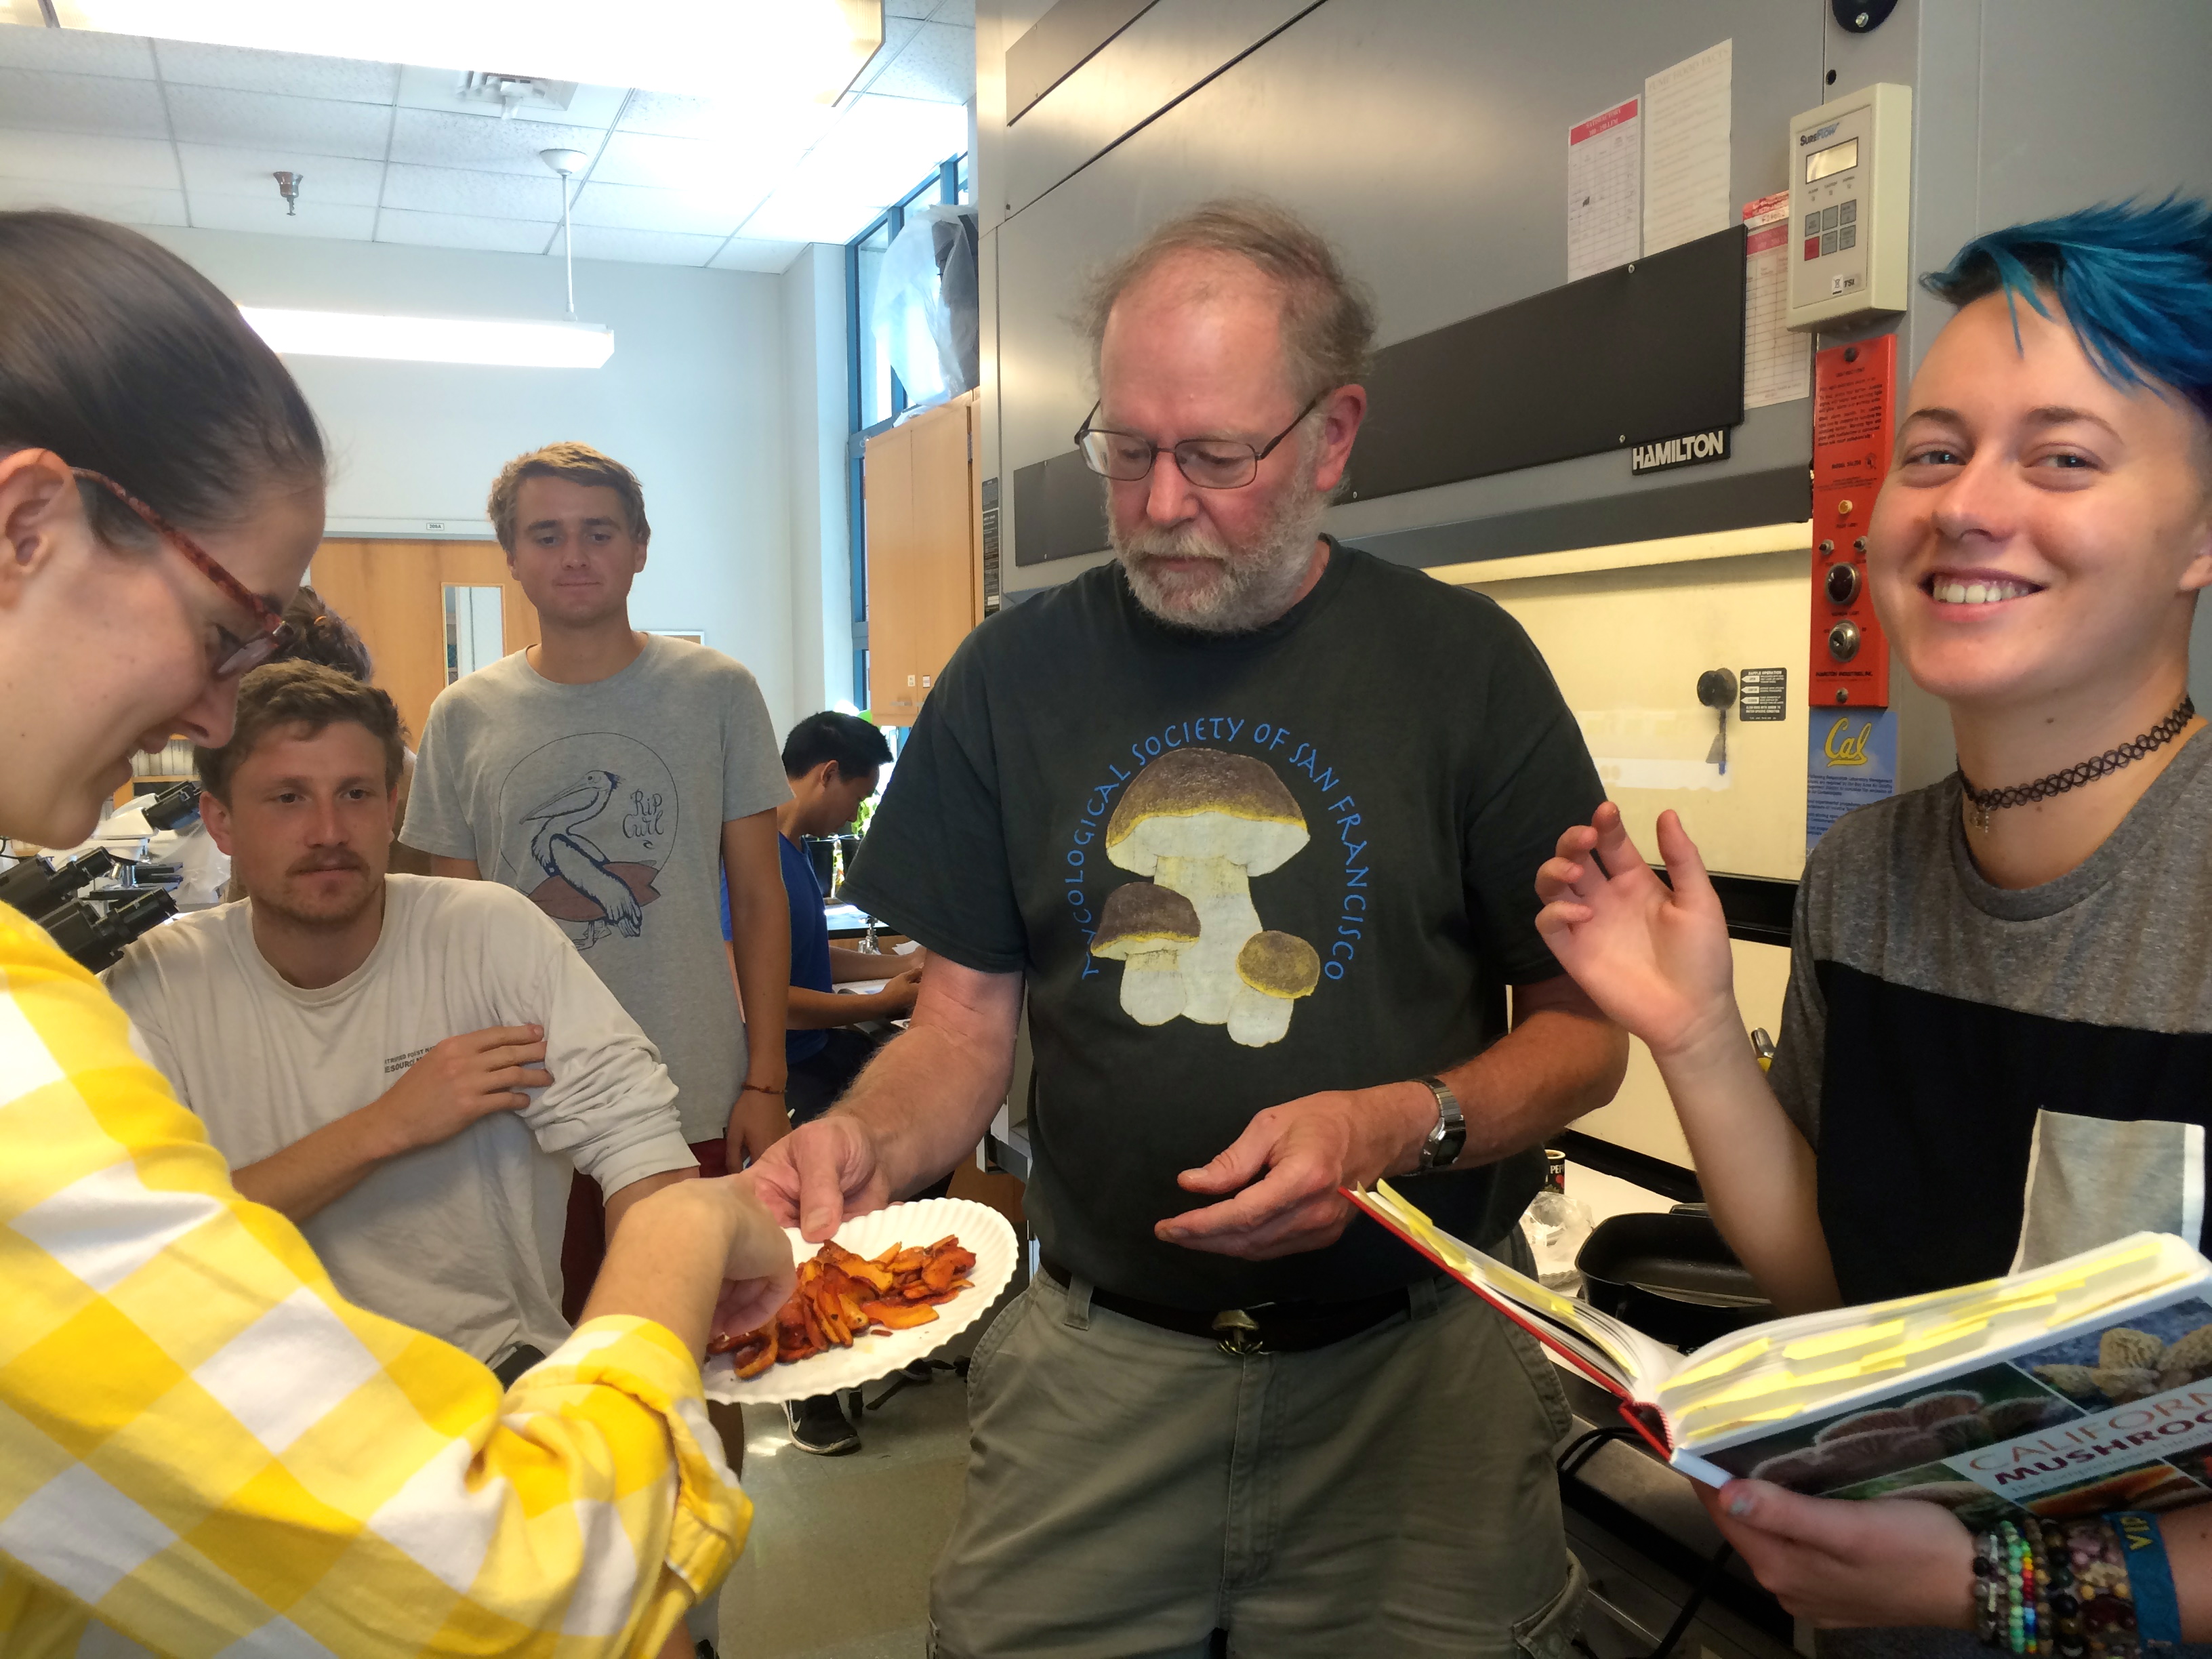
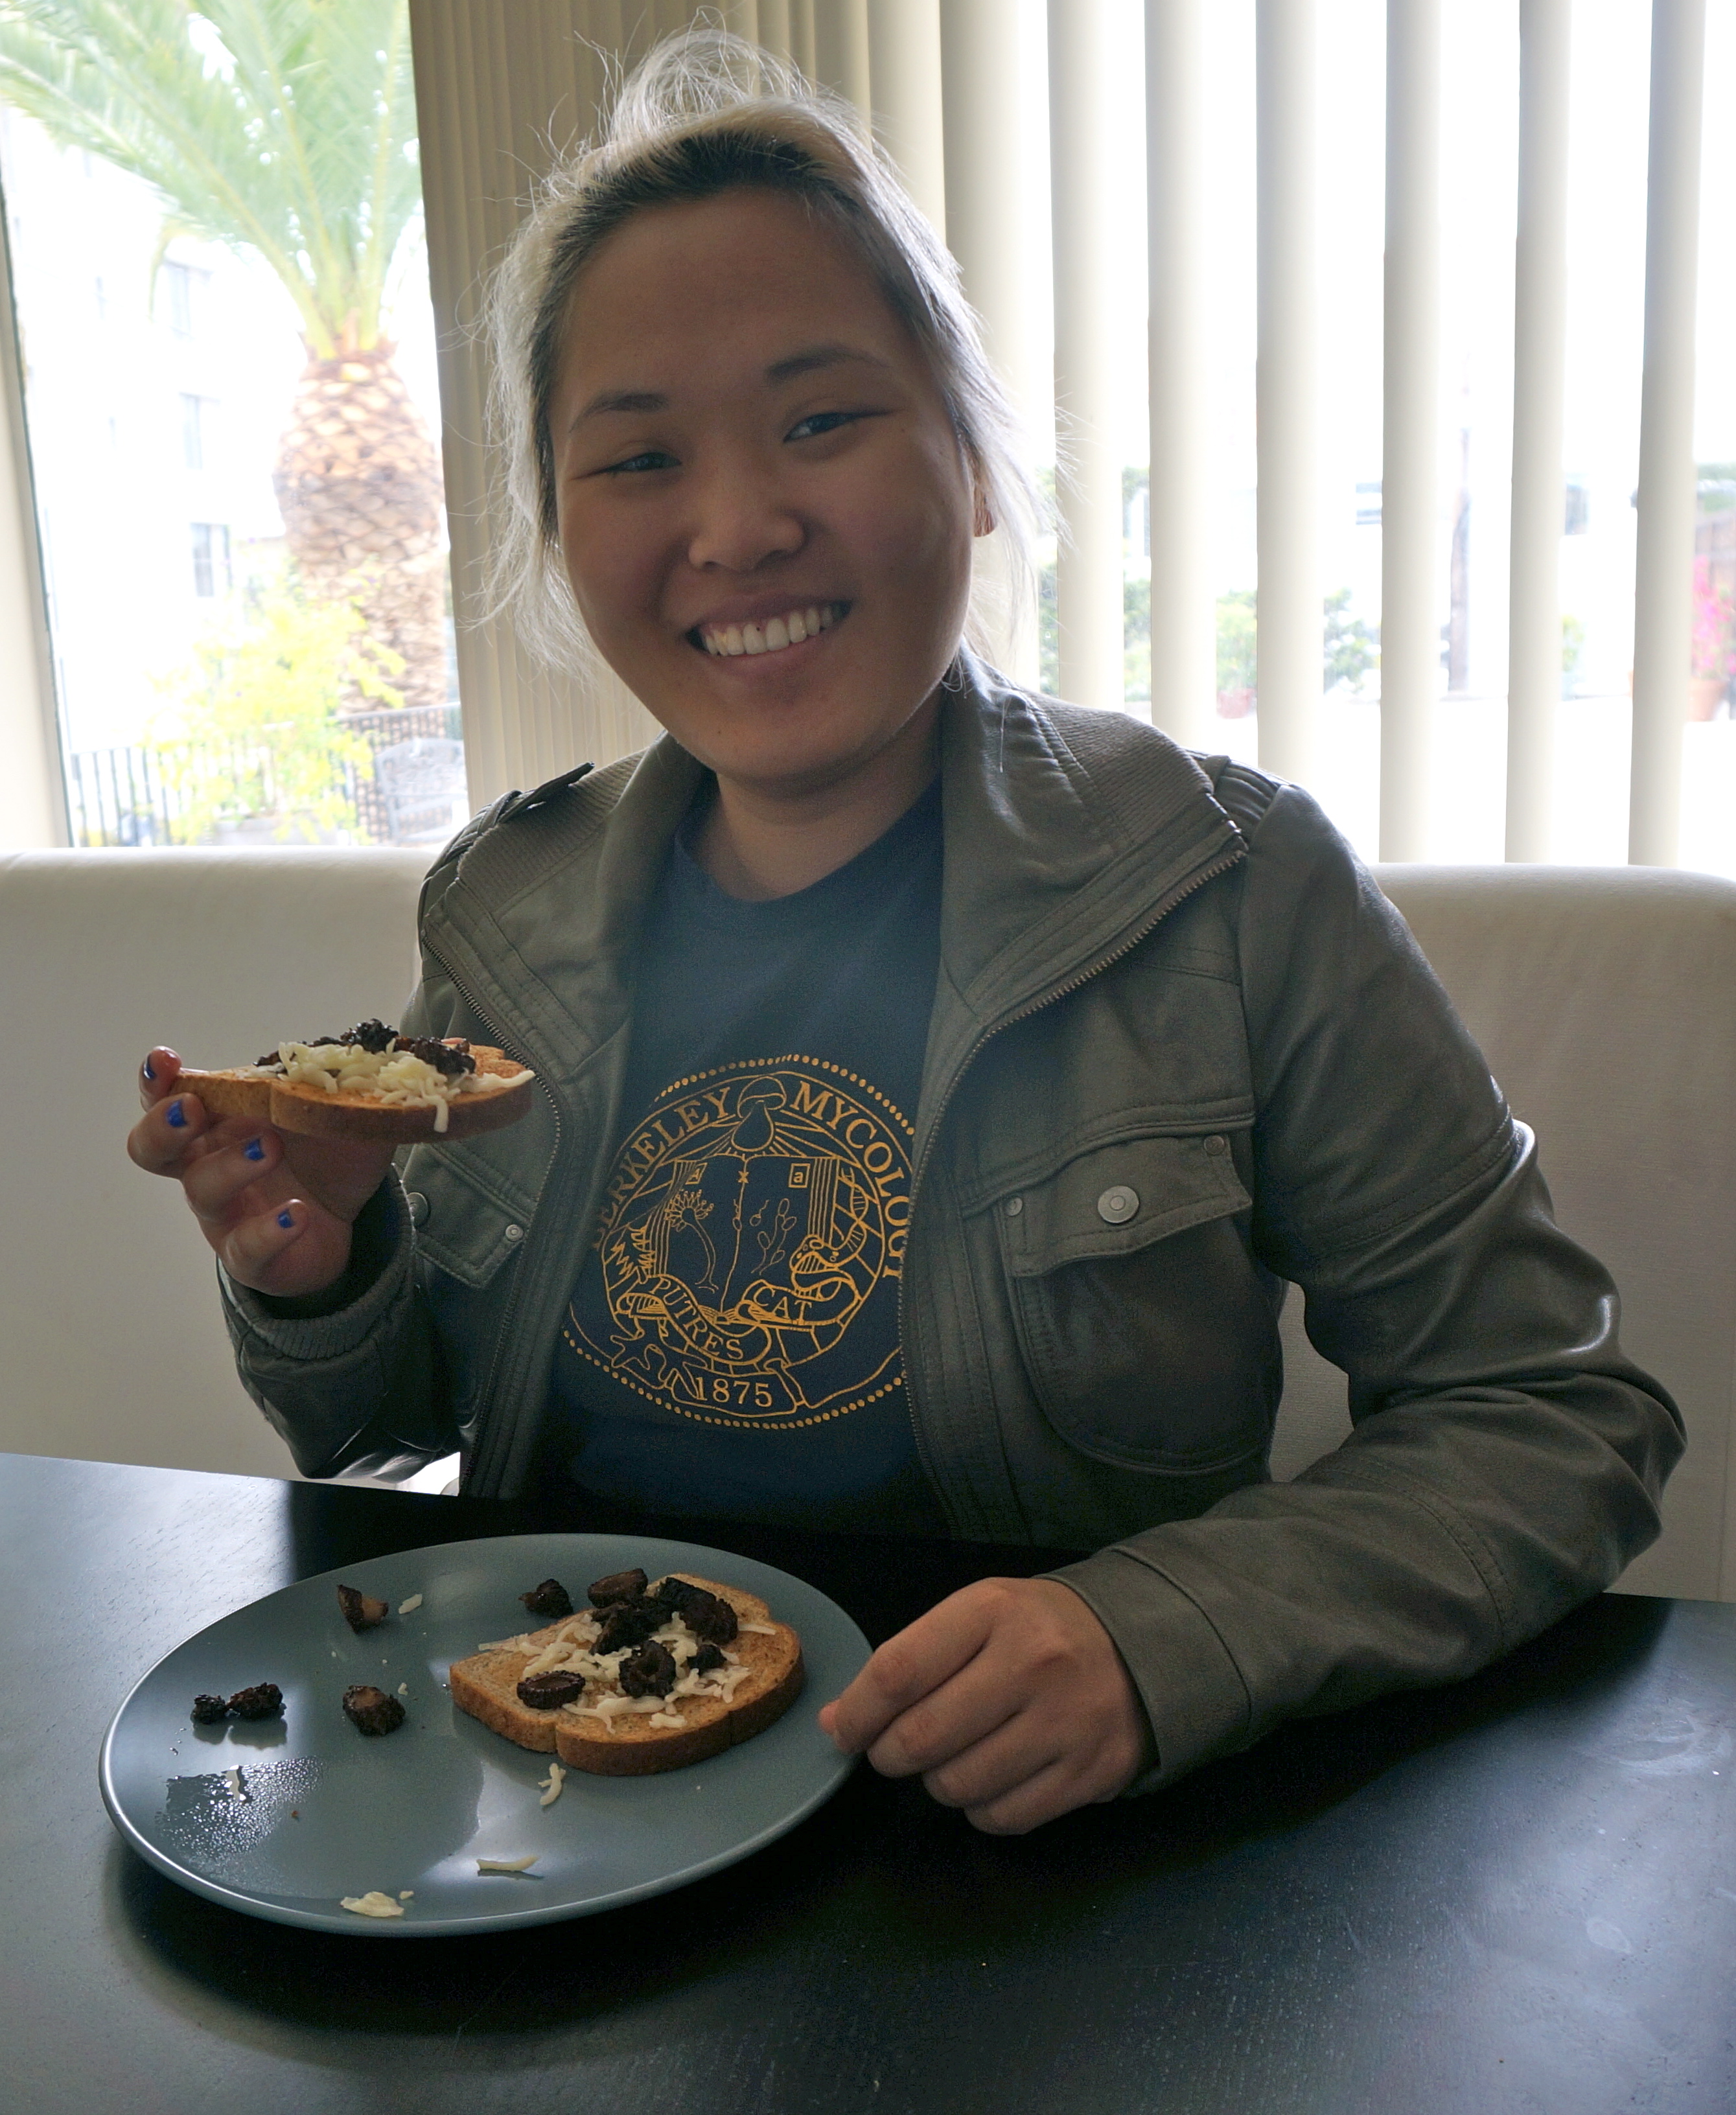
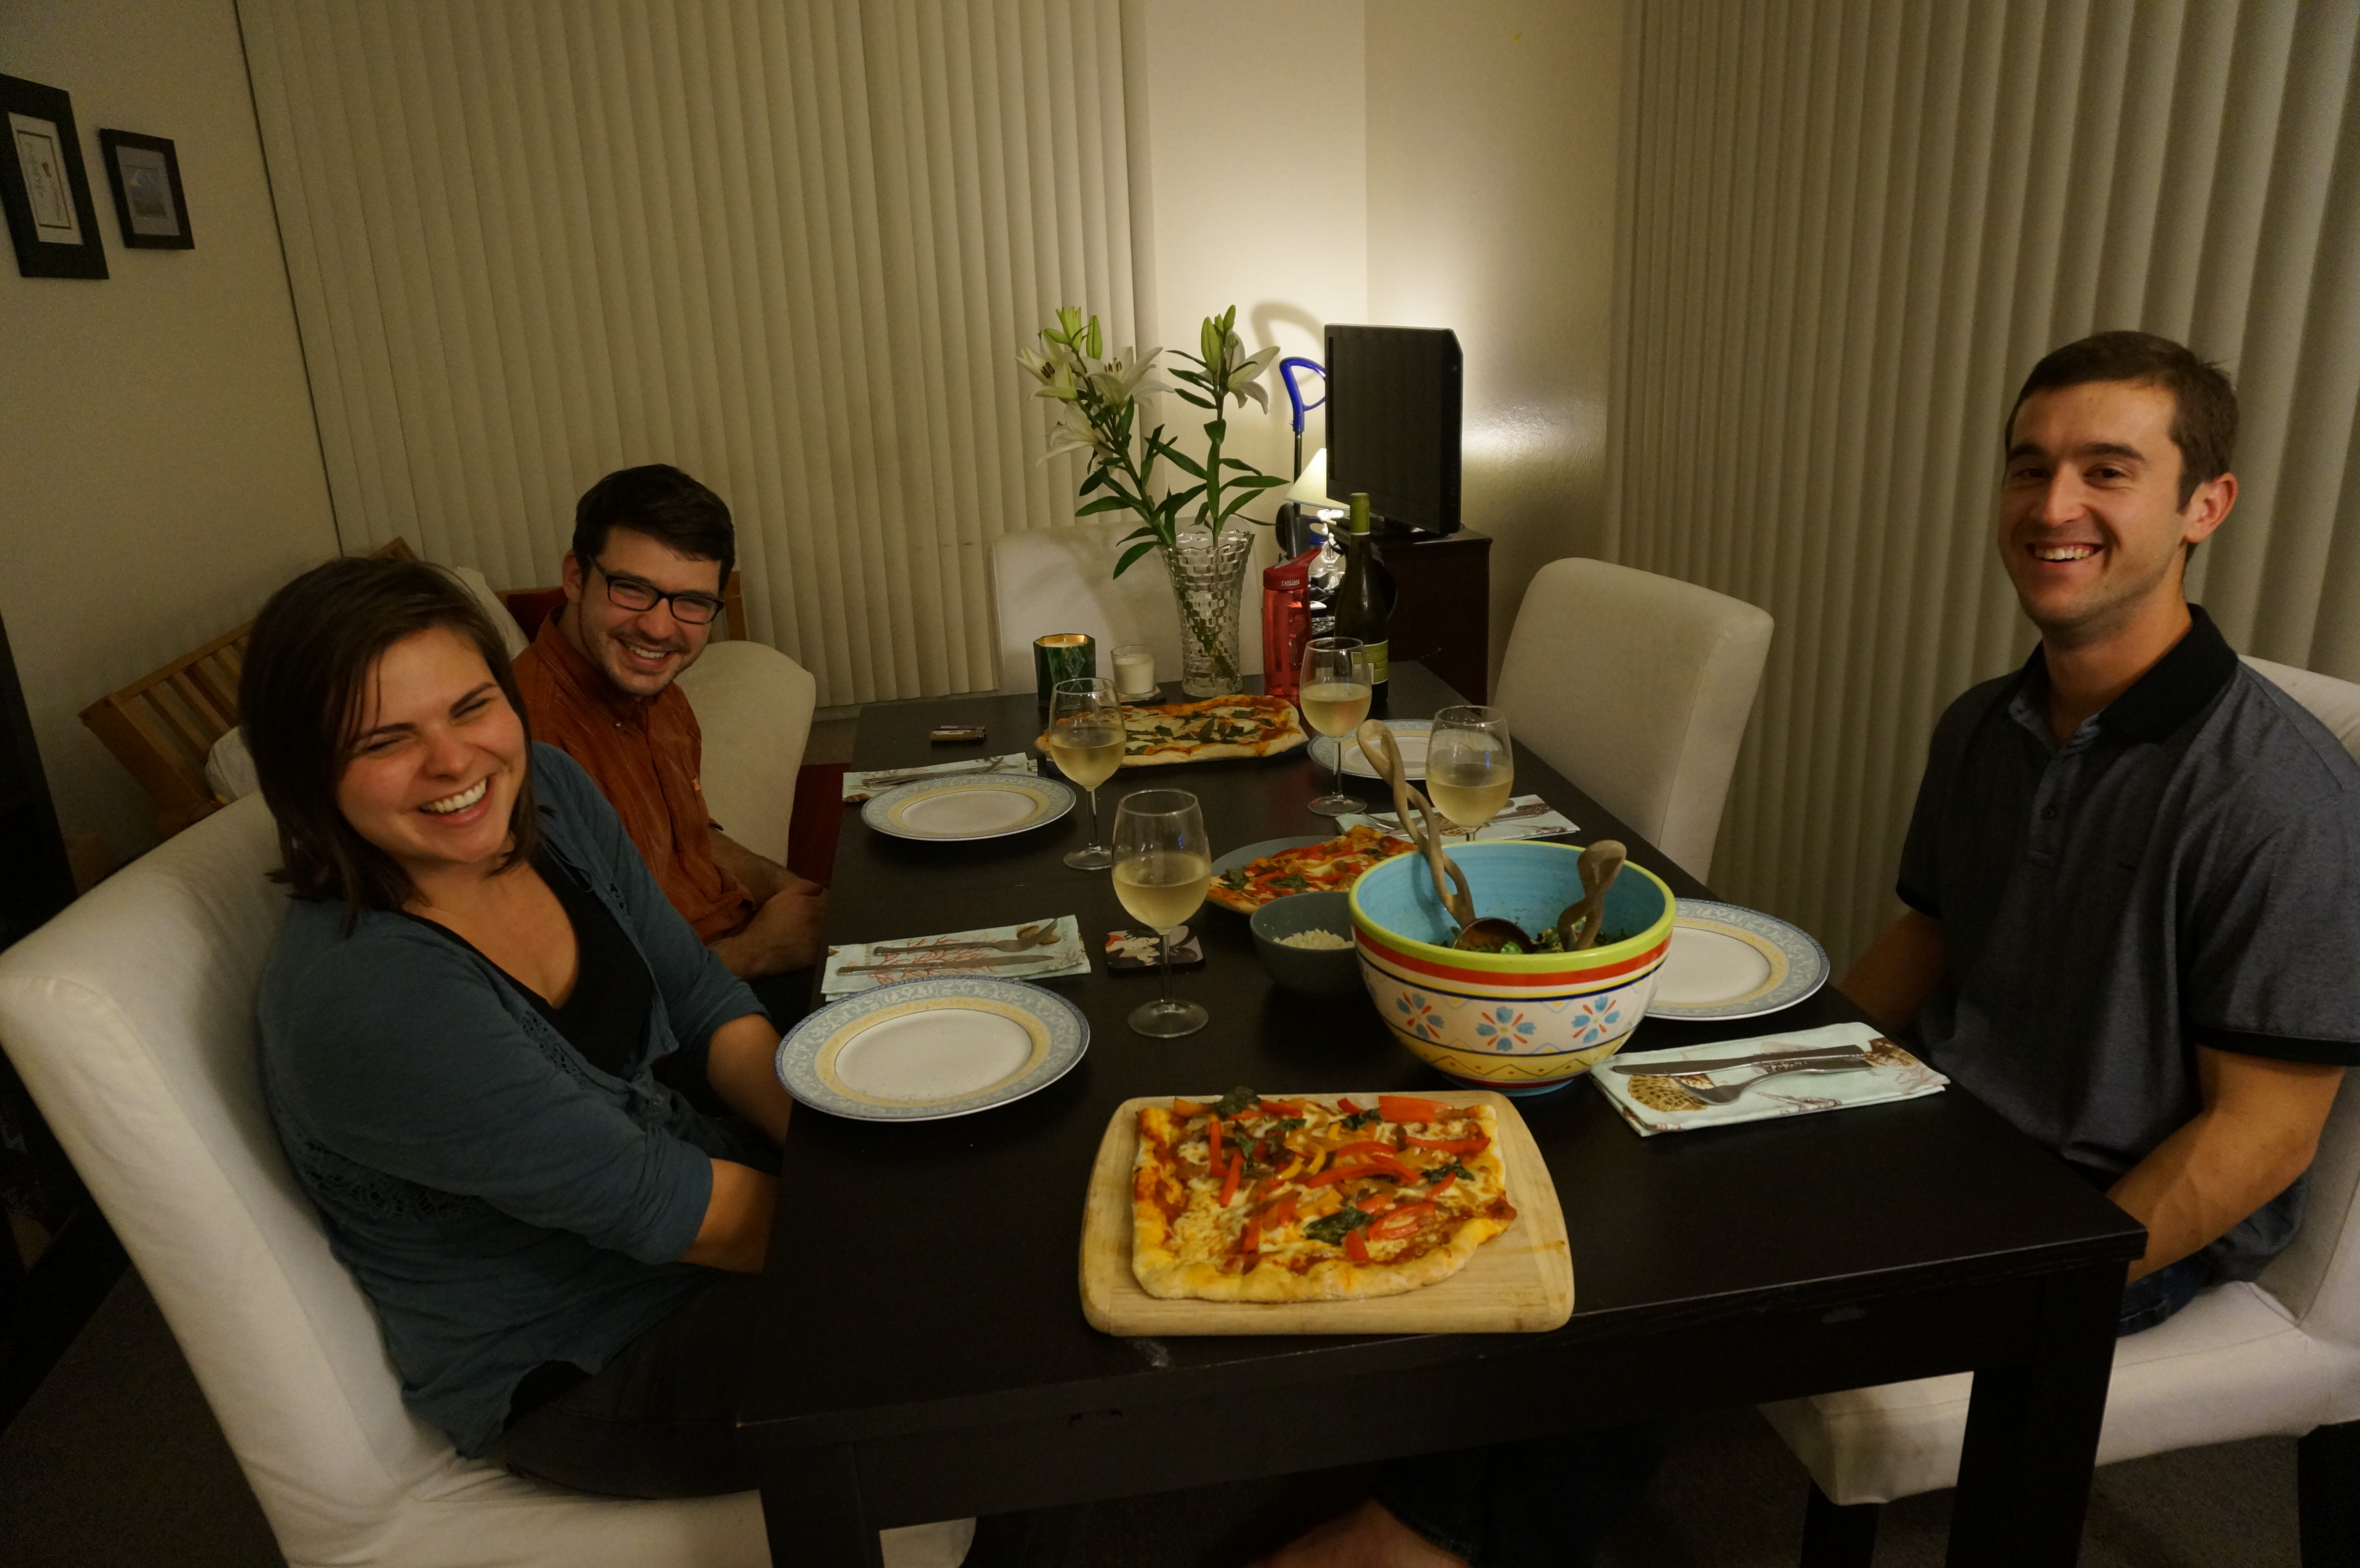
Here are my friends enjoying the beautiful wintry meal!

Patrick, Gabbie, and Hrach enjoying the meal. Gabbie isn’t looking but everyone looks so happy in this picture I had to include it!
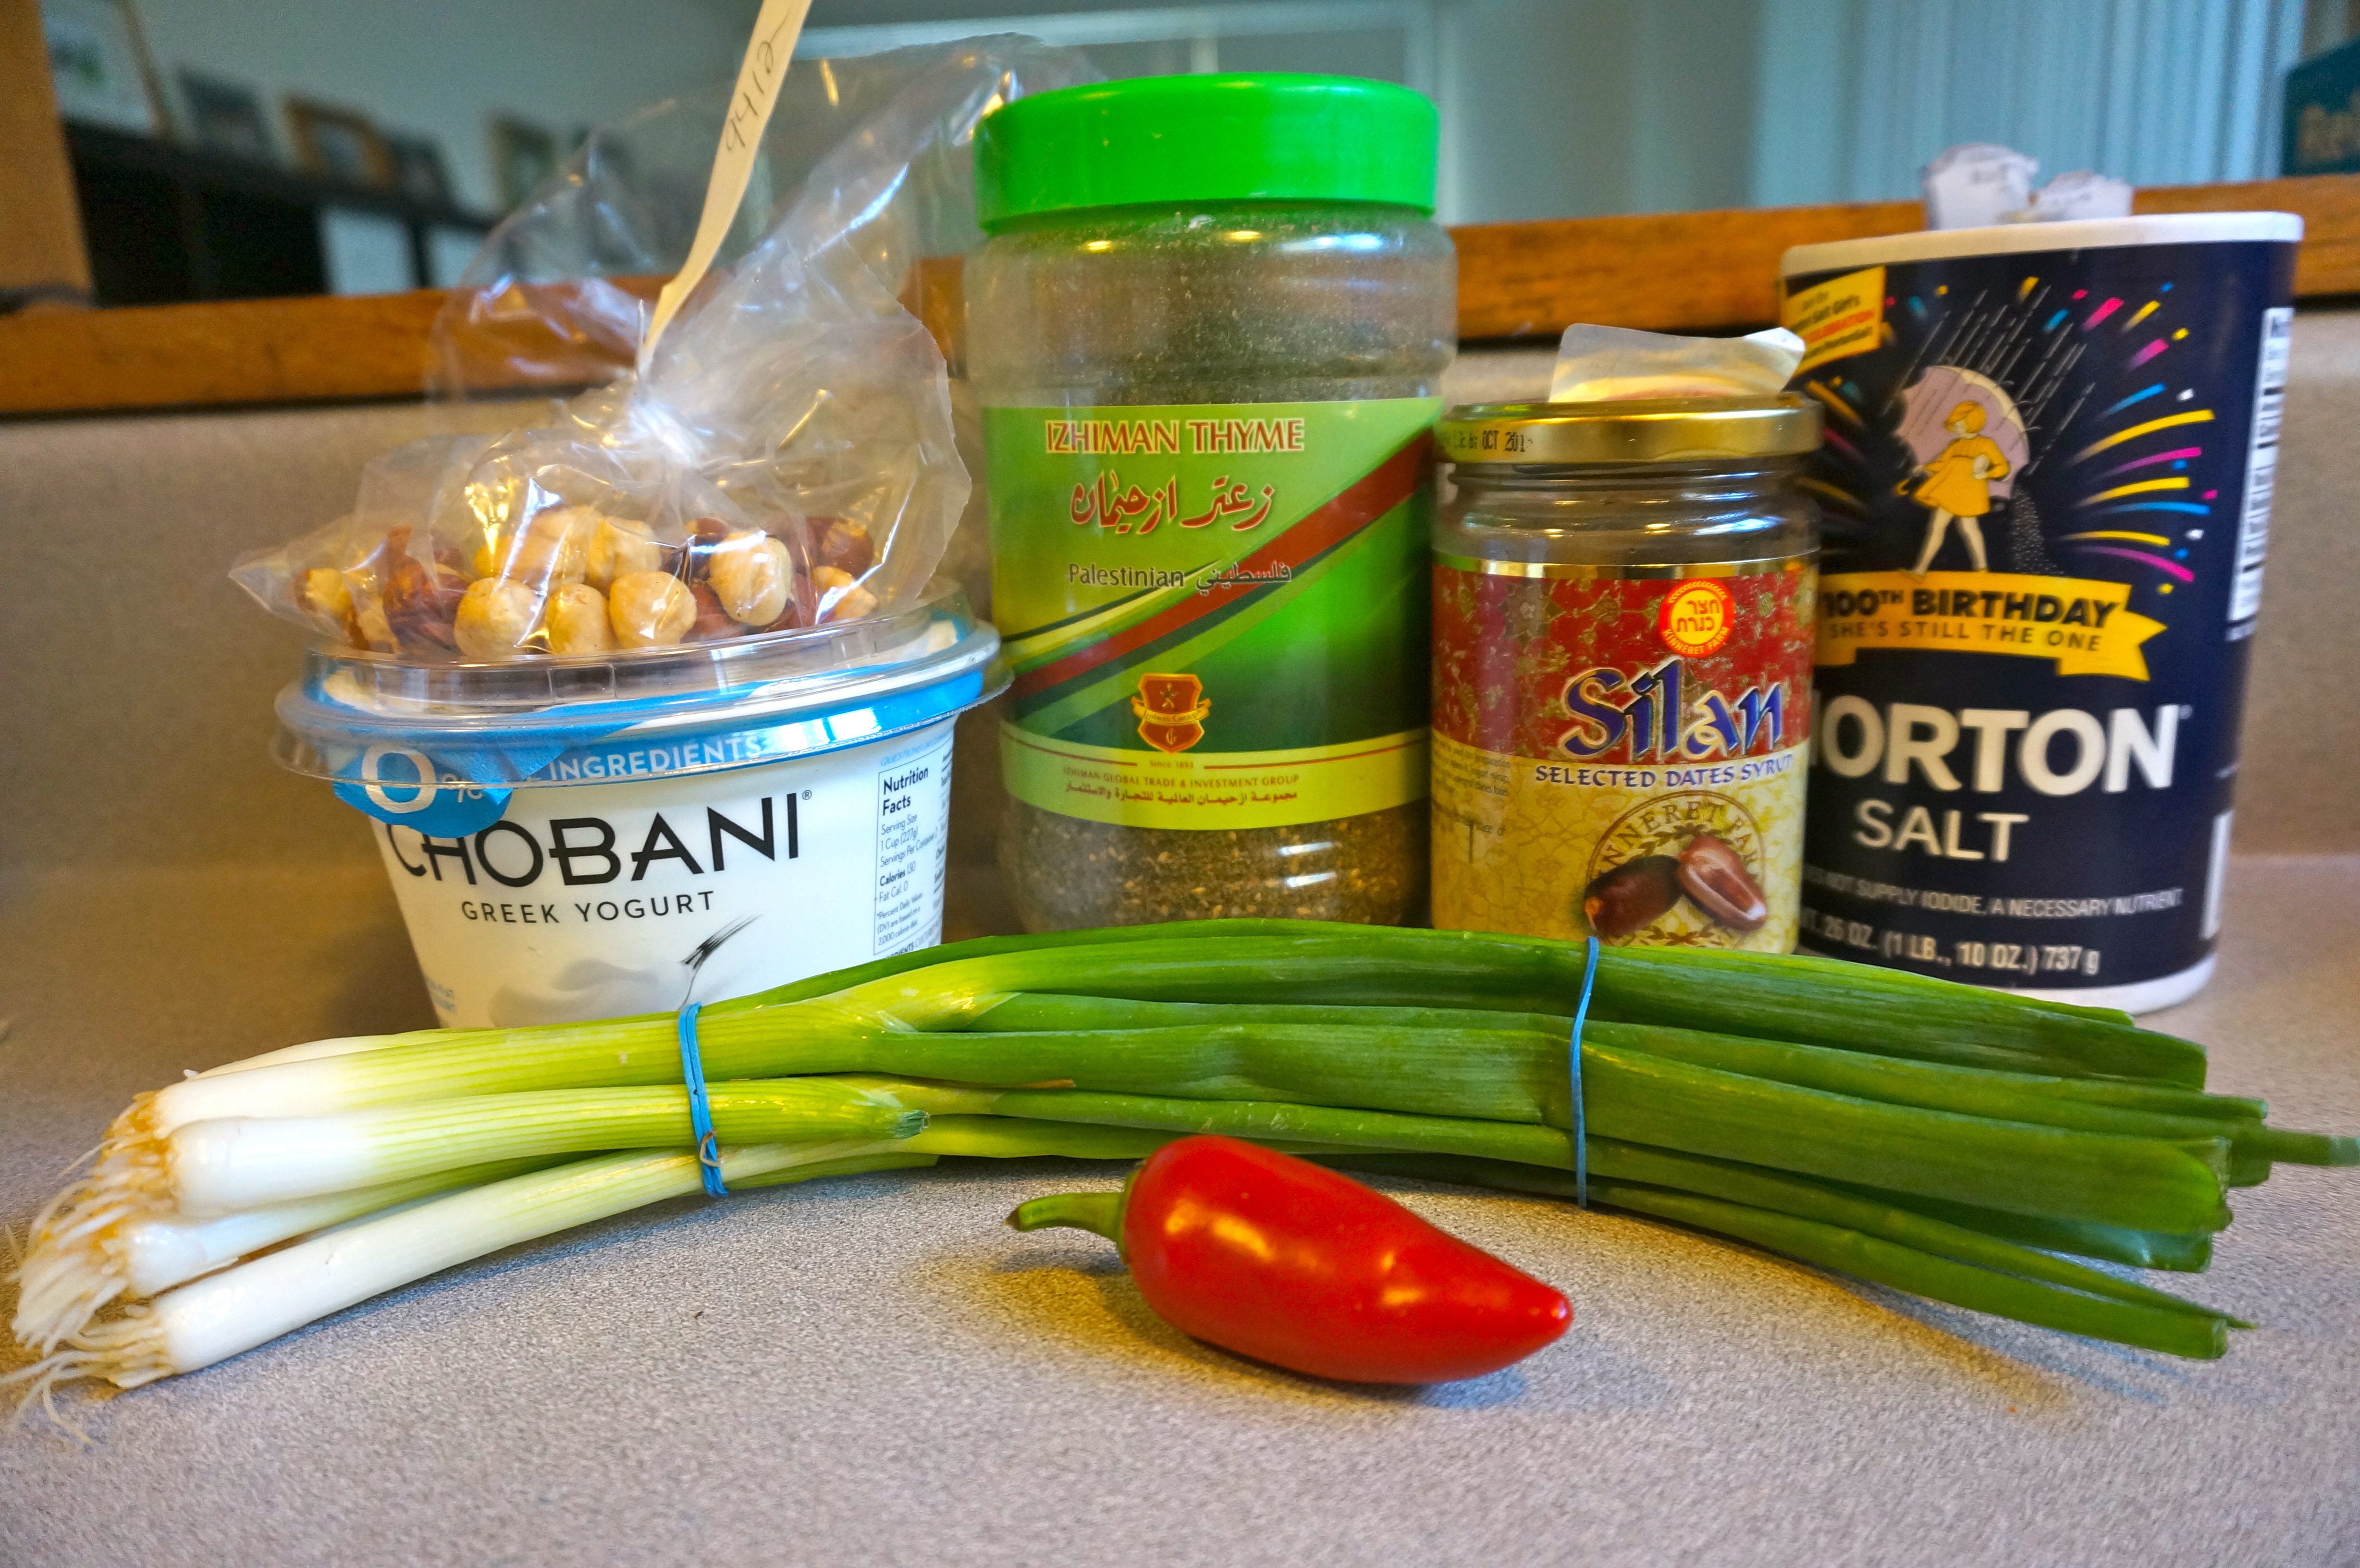
Ingredients for beet, avocado, and pea salad:
4 medium raw beets
1 small red onion, thinly sliced
3 tbsp sherry vinegar
4 tbsp olive oil, plus a little extra to finish
½ tsp sugar
1-3 tsp savory chilli sauce or paste (Tabasco or Mexican Cholula hot sauce, for instance)
1 tsp salt
Freshly ground black pepper
2 medium avocados, peeled and thinly sliced
10g coriander (parsley) leaves
10g mint leaves
20g pea shoots
150g peas
Ingredients for the beef meatballs with lemon and celeriac:
400g minced beef
1 medium onion, peeled and finely chopped
120g breadcrumbs
20g chopped flat-leaf parsley leaves, plus 1 tbsp extra, to garnish
1 egg, beaten
½ tsp ground allspice
Salt and black pepper
2 tbsp olive oil
1 small celeriac, cut into 5cm x 1.5cm batons
3 garlic cloves, peeled and crushed
½ tsp each ground turmeric, cumin and cinnamon
1½ tsp fennel seeds, lightly crushed
¾ tsp smoked paprika
500ml chicken stock
3½ tbsp lemon juice
60g Greek yogurt


